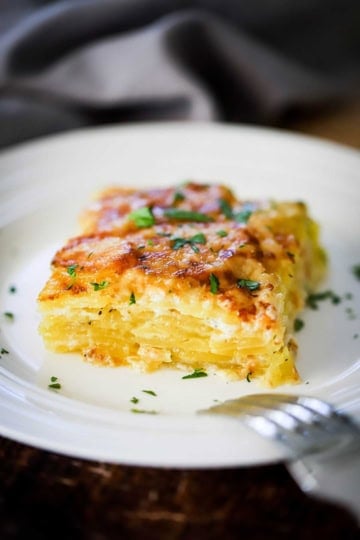
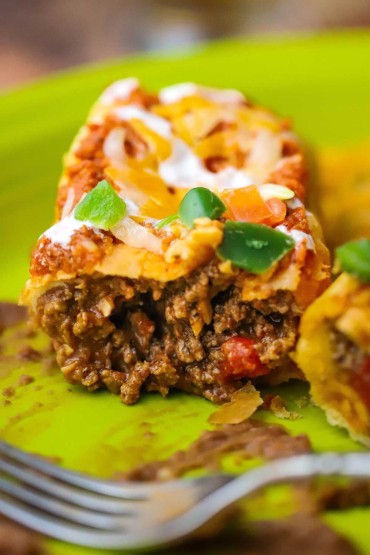
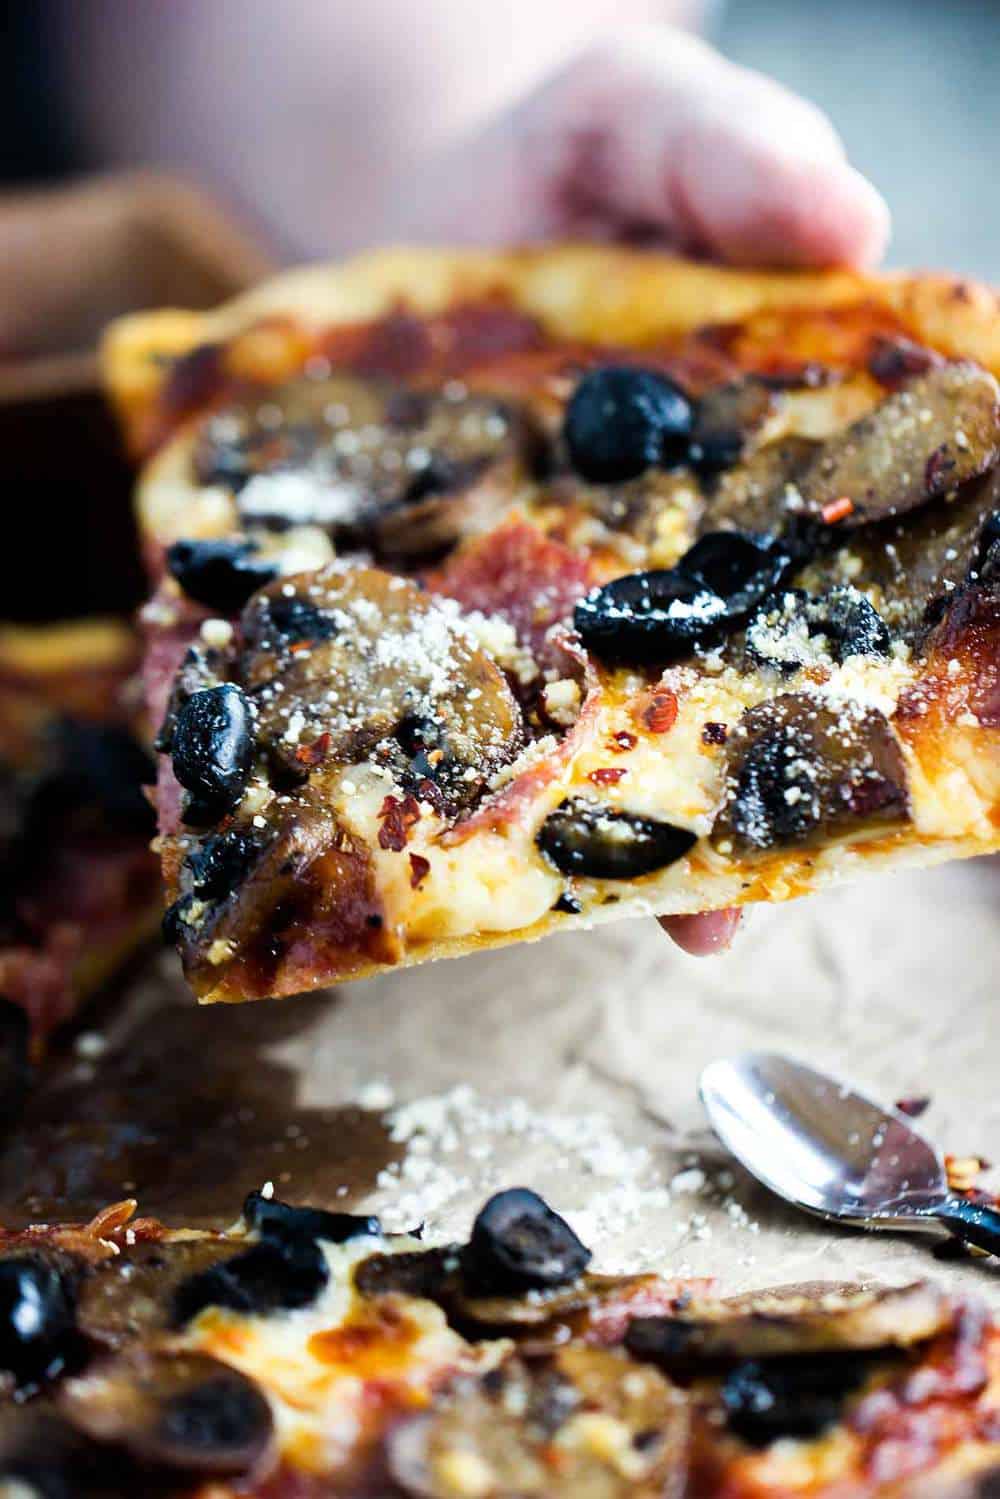
If you love lasagna, you are going to flip for this dish.
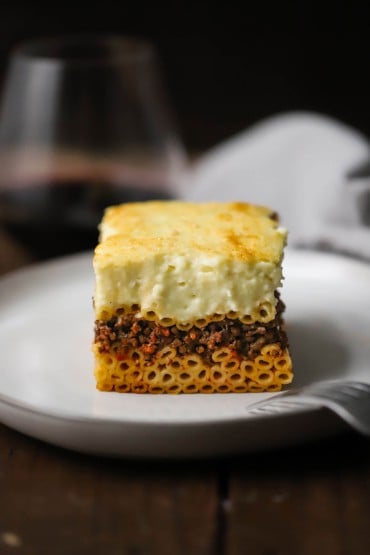
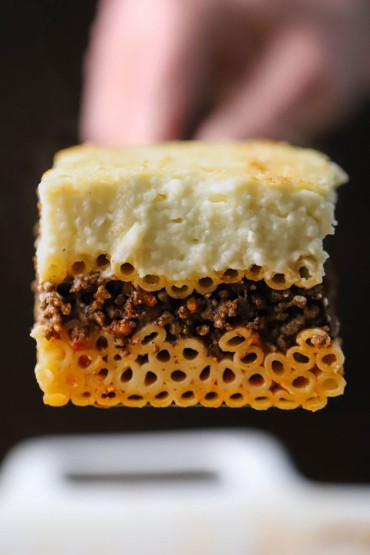
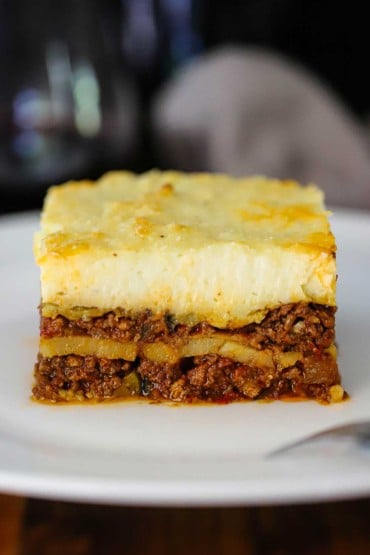
This is Greece’s answer to an Italian lasagna. The meat sauce has a hint of sweetness, but not too much. The eggplant and potato add to the incredible flavor profile, and the thick layer of bechamel is light, delicious, and the perfect topping to this iconic casserole.
How To Make Greek Moussaka
The Ingredients You Will Need
The meat sauce and the bechamel sauce are very similar to Pastitsio. Here’s what you’ll need to have one hand:
For the Meat Sauce:
Oil – Olive oil or extra-virgin.
Onion – Chopped.
Carrot – Chopped.
Garlic – Minced.
Beef – Preferably 85 to 90% lean.
Wine – Red is recommended, but white will work, too. Or, substitute beef broth.
Tomato paste
Whole tomatoes – We use canned San Marzano and then crush them by hand. Canned crushed tomatoes will work, too.
Beef bouillon cube – Crushed.
Bay leaves – Fresh or dried, either will work.
Spices – Cinnamon, allspice, ground cloves, salt, and pepper.
For the Bechamel:
Butter – Unsalted.
Flour – All-purpose.
Milk – Whole.
Nutmeg – Ground.
Parmesan cheese – Grated.
Egg yolks
For the Casserole:
Eggplant – Partially peeled, in strips. Cut into ½-inch slices.
Potatoes – Russet potatoes are best, peeled and cut into ¼-inch slices.
Oil – Vegetable is best for lightly frying.
EXPERT TIP: To fry the potatoes and eggplant, add just enough oil to the bottom of a large skillet to just cover the vegetables. If you don’t want to fry them, you can boil the potatoes until soft, and you can roast the eggplant slices in the oven or an air fryer. They should be soft and just browned before adding to the casserole.

Tips for Making Perfect Greek Moussaka
Allow the Beef Sauce to Reduce – You’ll want to simmer the sauce, stirring often, for a long enough time so that much of the liquid has evaporated. This deepens the flavor and allows for easy slicing.
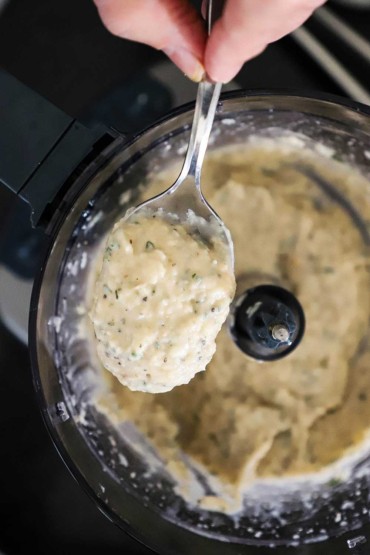
Prepare the Bechamel Topping Carefully – Take care to cook the flour and butter mixture (roux) to a golden color before gradually adding the milk to create a smooth, thick sauce. Continue working the sauce to remove as many lumps as possible, but it’s okay if there are still some small lumps.
Layer evenly – Place the fried eggplant and potatoes evenly in the baking dish to create a well-balanced moussaka. This will ensure that each bite has a perfect combination of flavors and textures.

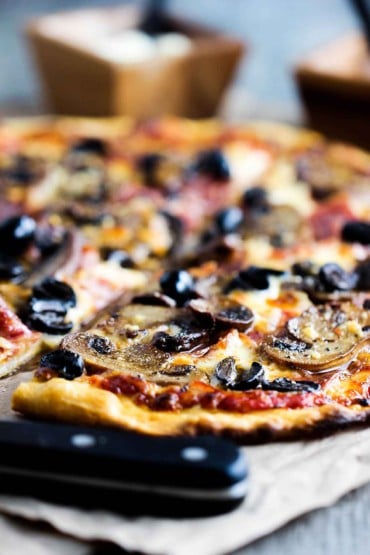
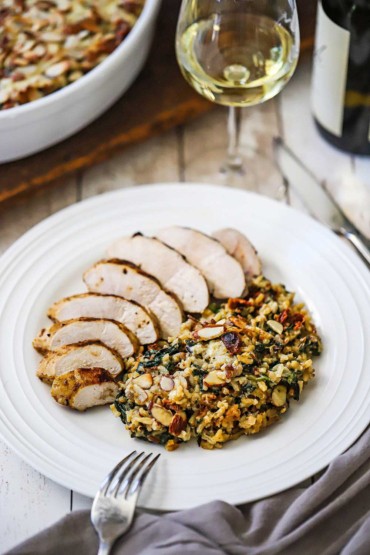
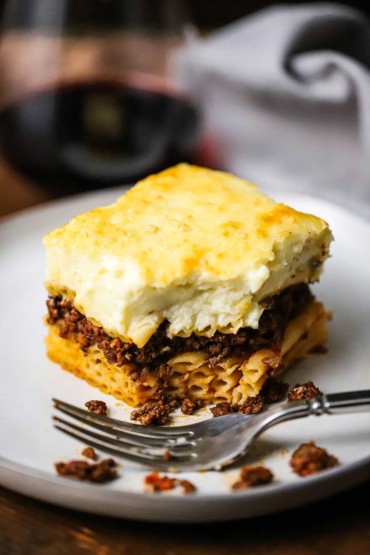
How to Serve
It’s important to allow the moussaka to cool for at least 15 to 20 minutes before serving.
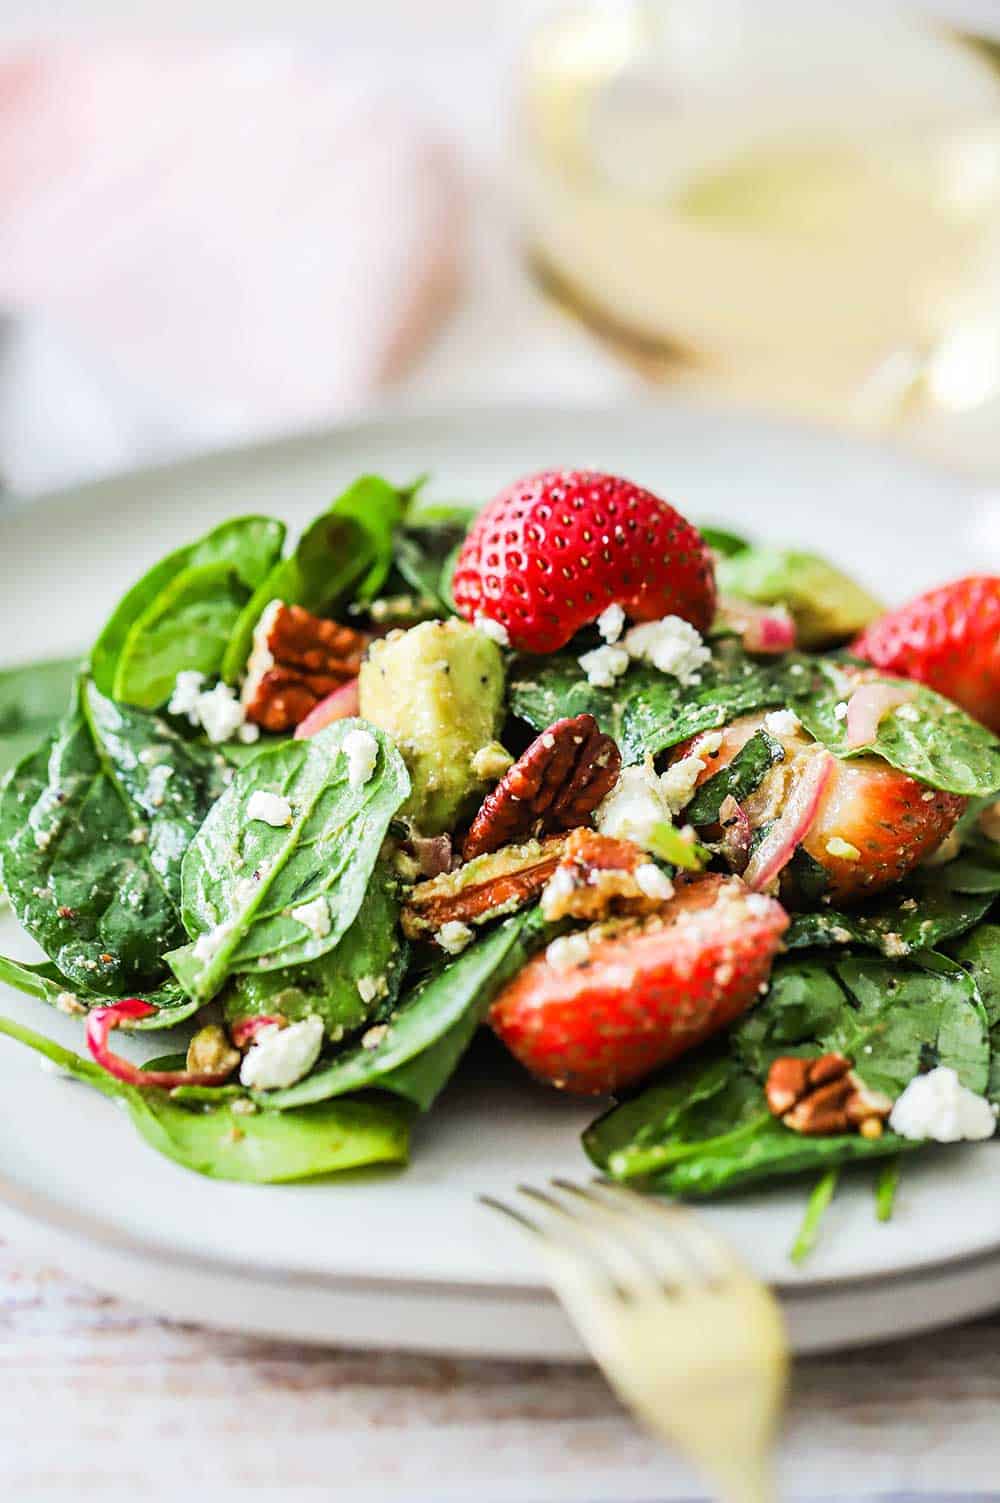
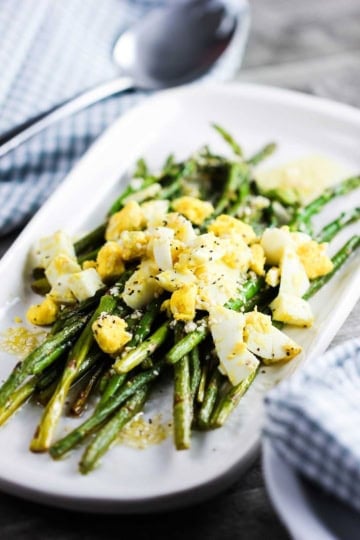
We love to serve the dish with warmed pita bread (heat in a skillet with a little melted butter) and a Classic Greek salad (use this recipe but omit the grilled steak).
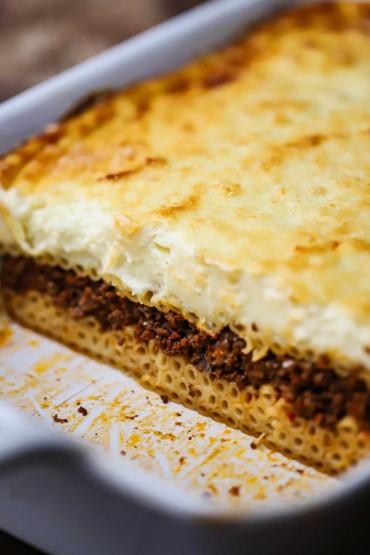
To serve perfectly shaped servings to guests, we cut one square out of the side first. We call this our sacrificial slice (keep it for nibbling on later). The remaining slices will be much easier to cut out in pristine condition.
EXPERT TIP: Bake until the topping of the dish is lightly browned and fully set. This typically takes 45 to 60 minutes. Keep an eye on it, don’t let it burn!

Other Amazing Greek Recipes to Try
Greek cuisine is one of our all-time favorites to eat, and it is so much better when you make it at home. Here is a collection of some of our all-time favorites:
Pastitsio (Greek Lasagna)
Sheet Pan Greek Chicken with Vegetables
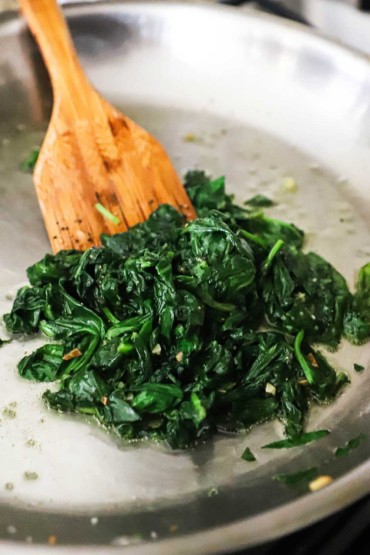
Spanikopita (Spinach Pie)
Greek Salad with Grilled Steak
Best-Ever Chicken Gyro
Homemade Tzatziki Sauce
Tzatziki Cucumber Salad
Grilled Lamb Lollipops
These are all so amazing in their own amazing Greek way. But, in the meantime, isn’t this dish calling your name?

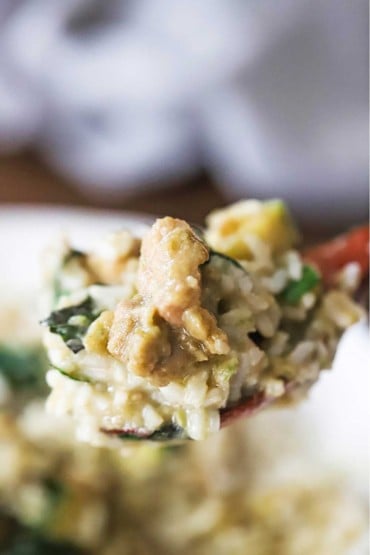
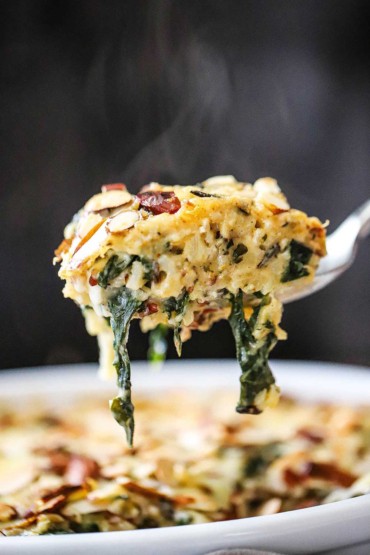
This dish is the ultimate comfort food casserole.
It’s an amazing mix of savory with a touch of sweetness.
And it is ideal for serving guests at a wonderful Greek-themed dinner party. It feeds a hungry crowd and is guaranteed to make you a culinary superstar.

Ready to make the best dish this side of Athens, Greece? Go for it!
And when you do, be sure to take a photo of it, post it on Instagram, and tag @HowToFeedaLoon and hashtag #HowToFeedaLoon!

Greek Moussaka (Beef and Eggplant Casserole)
Equipment
- 10"x10" baking dish or 9x13" dish
Ingredients
For the Meat Sauce
- 2 tablespoon olive oil
- 1 medium onion chopped
- 2 medium carrots chopped
- 3 cloves garlic minced
- 2 lbs ground beef 85 to 90% lean
- 1 cup red wine
- ¼ cup tomato paste
- 1 28 oz. can whole tomatoes crushed by hand, with juice
- 1 beef bouillon cube
- 2 bay leaves dried or fresh
- 1 cinnamon stick
- ¼ teaspoon ground cinnamon
- ¼ teaspoon allspice
- ¼ teaspoon ground cloves
- 2 teaspoon Kosher salt
- 1 teaspoon black pepper
For the Bechamel Sauce
- 4½ cup whole milk
- 8 tablespoon unsalted butter 1 stick
- 1 cup all-purpose flour
- ¼ teaspoon ground nutmeg
- 1 teaspoon Kosher salt
- ½ cup Parmesan cheese grated
- 2 egg yolks
For the Moussaka
- vegetable oil you'll need about ½-inch in the bottom of your pan.
- 2 large eggplants peeled (in strips, if desired) and cut into ½-inch medallions
- 2 medium russet potatoes peeled and cut into ¼-inch medallions
- ½ cup Parmesan cheese grated
Instructions
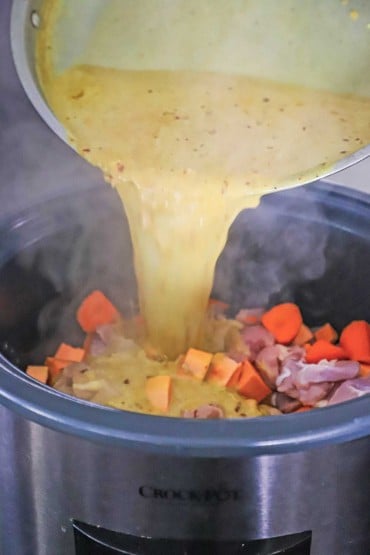
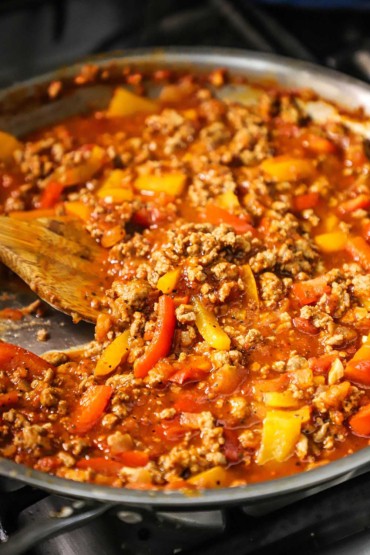
Make the Meat Sauce
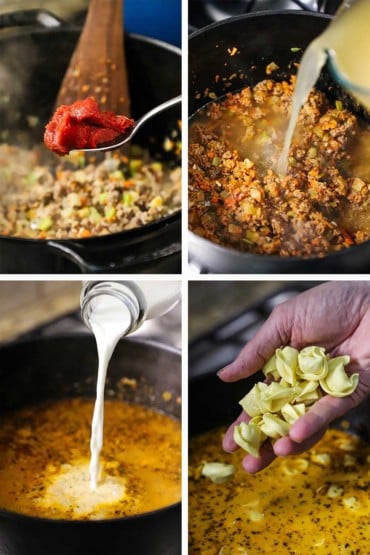
- In a large saucepan, heat the oil over medium heat. Add the onion and carrots and sauté, stirring often, until soft, about 4 minutes. Stir in the garlic and sauté until aromatic, about another 30 seconds.2 tablespoon olive oil, 1 medium onion, 2 medium carrots, 3 cloves garlic
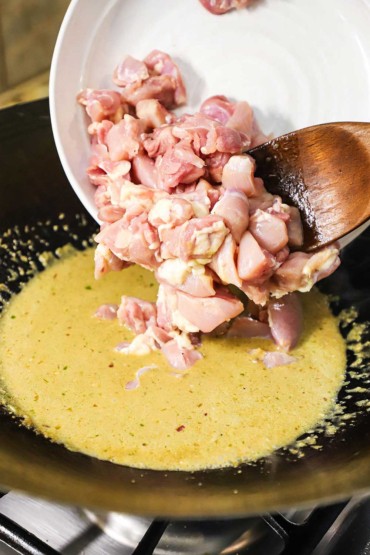
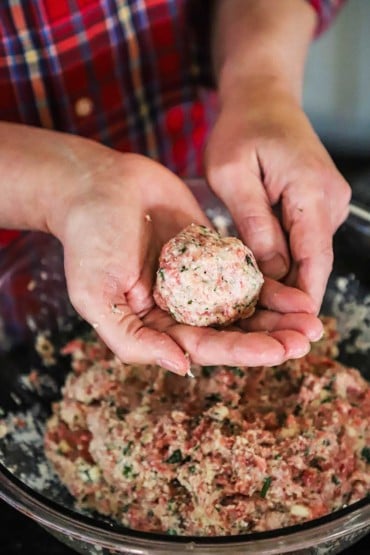
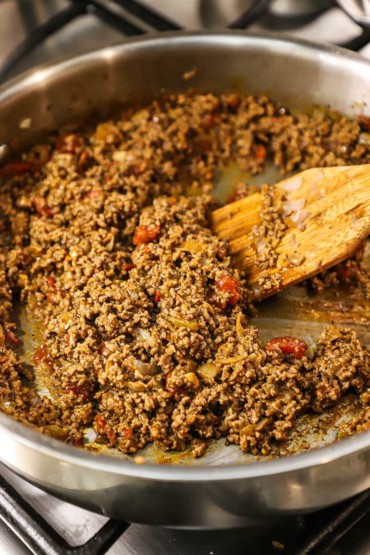
- Add the beef and use a wooden spatula to break it up. Cook until no longer pink, about 10 minutes. Tilt the skillet and use a large spoon to remove most of the rendered grease. You'll want to leave about 1 tablespoon of the grease. Safely discard the removed grease.2 lbs ground beef
- Add the wine and cook until almost completely evaporated, another 5 to 8 minutes. You may need to remove additional grease if more has accumulated.1 cup red wine
- Stir in the tomato paste, crushed tomatoes, bouillon cube, bay leaves, cinnamon stick, ground cinnamon, ground cloves, allspice, salt, and pepper. Simmer, stirring occasionally, until most of the liquid has evaporated and the sauce is thick, about 30 minutes. Set aside. (Cover and refrigerate if making in advance).¼ cup tomato paste, 1 28 oz. can whole tomatoes, 1 beef bouillon cube, 2 bay leaves, 1 cinnamon stick, ¼ teaspoon ground cinnamon, ¼ teaspoon allspice, ¼ teaspoon ground cloves, 2 teaspoon Kosher salt, 1 teaspoon black pepper
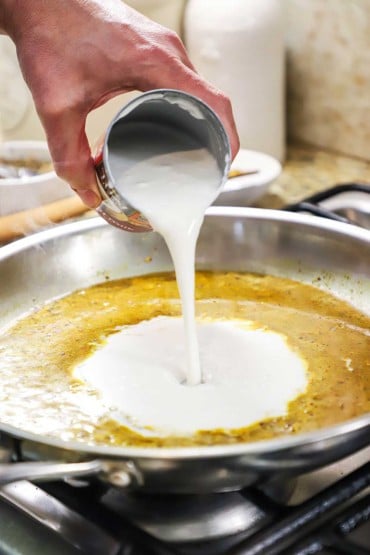
Make the Greek Bechamel Sauce
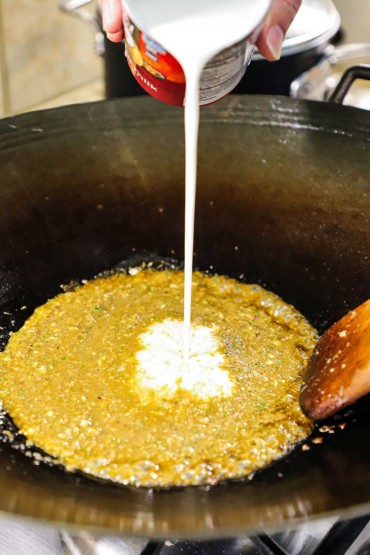
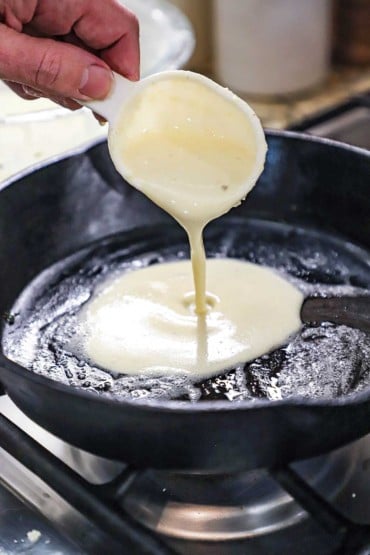
- In a medium saucepan, heat the milk until just starting to bubble along the sides of the pan.4½ cup whole milk
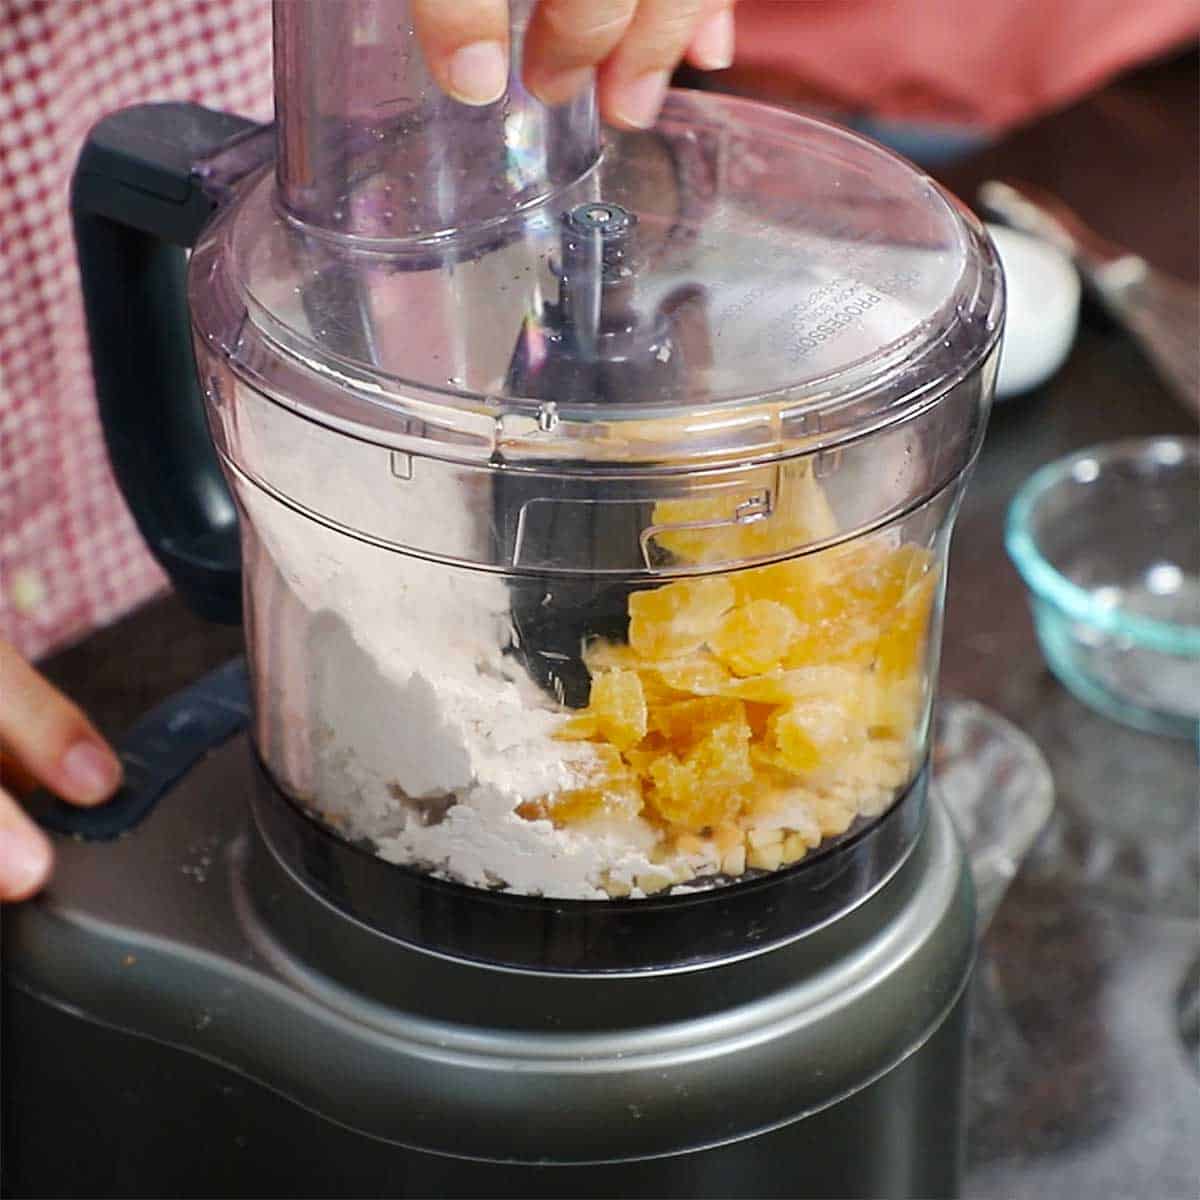
- Melt the butter in a large saucepan over medium heat. Stir in the flour and mix until completely combined. Cook the roux for about 1 to 2 minutes.8 tablespoon unsalted butter, 1 cup all-purpose flour
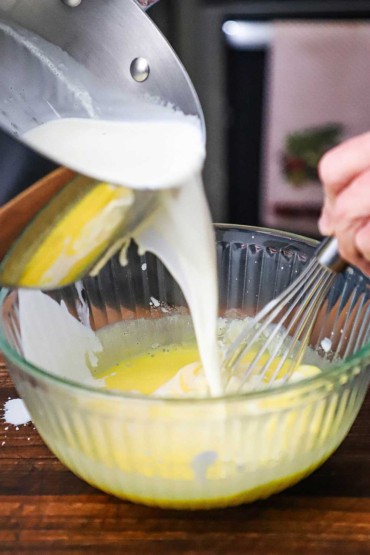
- Working in batches, carefully add the warm milk to the roux and whisk continuously, working to remove the lumps. Replace the whisk with a wooden spatula to incorporate the milk into the roux. Stir in the nutmeg, salt, and Parmesan cheese. Remove from the heat.¼ teaspoon ground nutmeg, 1 teaspoon Kosher salt, ½ cup Parmesan cheese
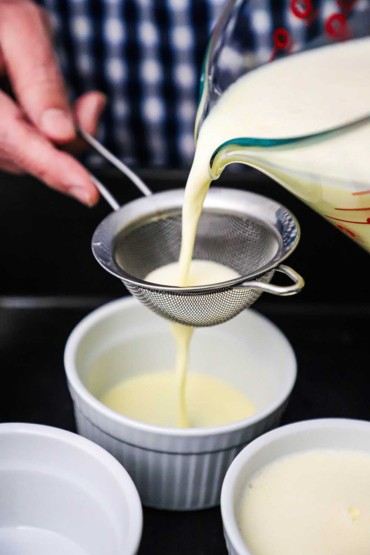
- Let the bechamel cool for about 10 minutes and then stir in the 2 egg yolks. Set aside until ready to use.2 egg yolks
Prepare the Eggplant and Potatoes and Assemble the Dish
- In a large saucepan, heat about ½-inch vegetable oil over medium-high heat. Working in batches, add the eggplant medallions and lightly fry until browned on both sides, using metal tongs to flip them every few minutes. Drain on a paper-towel-lined plate or platter. Repeat this process with the potatoes and set aside.vegetable oil, 2 large eggplants, 2 medium russet potatoes
- Preheat oven to 350°F.
- Place half of the fried eggplant in the bottom of your baking dish. Spread half of the meat sauce over the eggplant. Add a layer of all of the potatoes. Sprinkle a little salt over the potatoes. Spread the remaining meat sauce over the potatoes. Arrange the remaining eggplant medallions over the meat sauce and then spread the cooled bechamel sauce over the eggplant. Top with the Parmesan cheese.½ cup Parmesan cheese
- Bake for 50 minutes, or until the top is golden brown. Allow to rest for 20 minutes to 1 hour before cutting and serving. (Cover with foil if resting for more than 20 minutes).