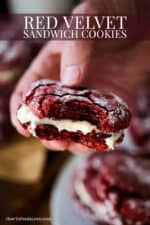

Our favorite cake, hands down, is a red velvet cake. But, is there anything much better than a red velvet chewy-on-the-inside cookie? And what about homemade cream cheese frosting? This incredibly festive cookie brings it all together. And they’re ready to eat within about 45 minutes!
How To Make Red Velvet Sandwich Cookies
As mentioned, these cookies really are a snap to prepare and don’t require a lot of exotic ingredients.
To be honest, they are so good, we make a double batch. They make wonderful holiday gifts, too!
Red velvet cake has had a surge in popularity in recent years. However, you may still be asking, What is red velvet cake?
Well, the origins are a little murky, but it’s believed originated in Maryland back in the 1920s.
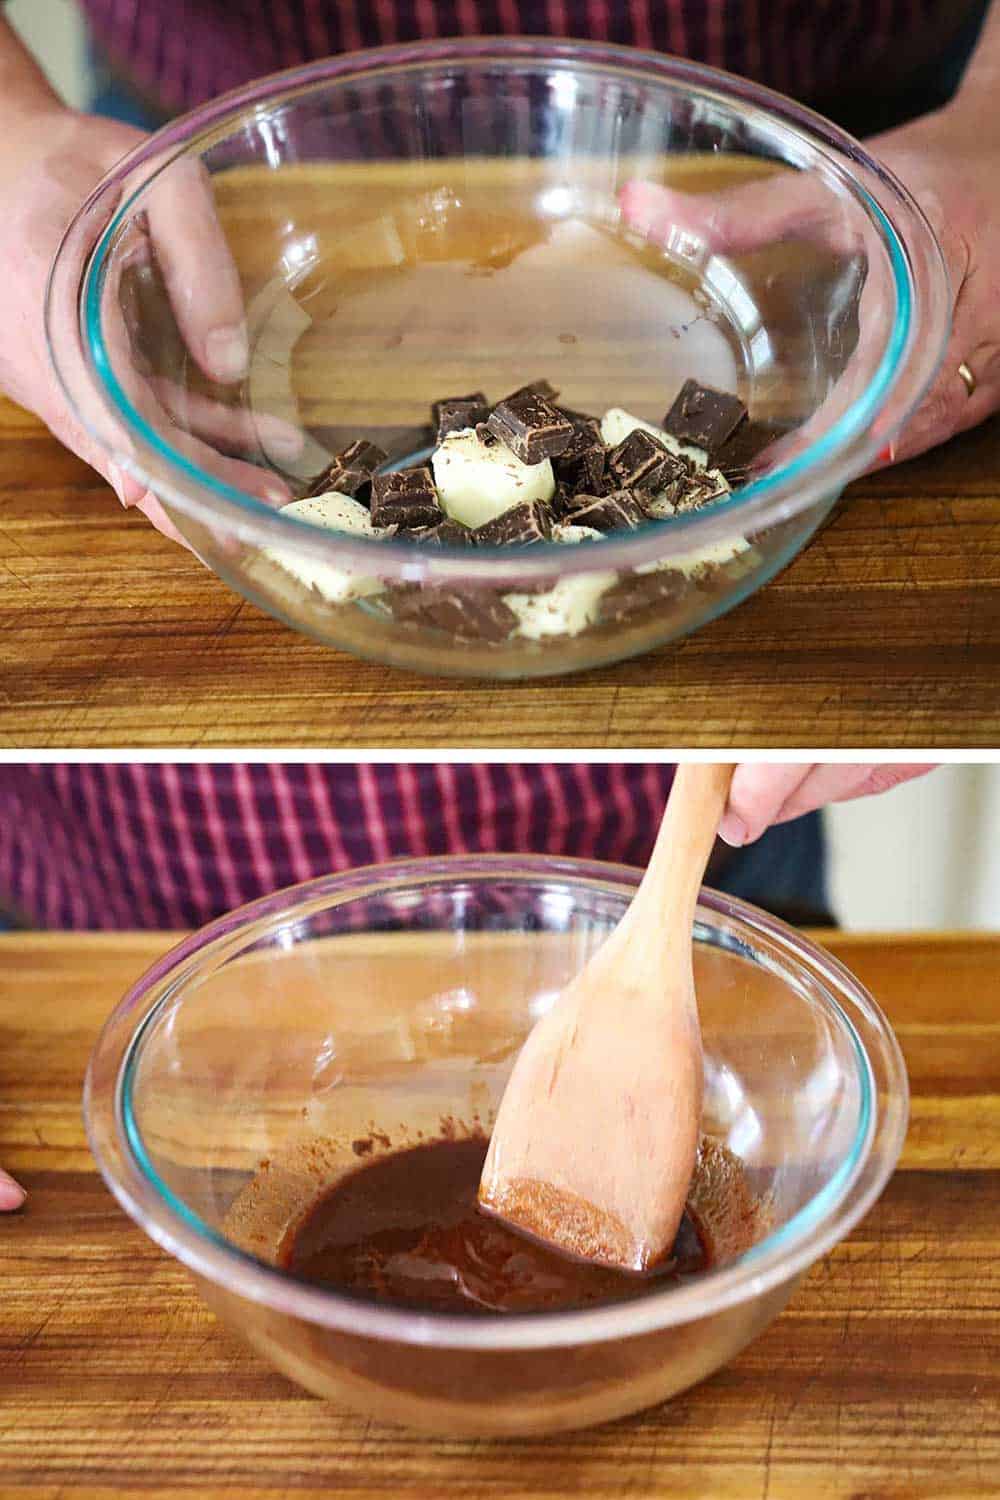
EXPERT TIP: Cocoa powder is a key ingredient in red velvet cake. We love the chocolate flavor so much, we love the addition of semisweet baking chocolate to the cookie batter. To melt the chocolate, simply break it up, place it in a large microwave-safe bowl with the butter, and nuke on high in three 30-second intervals. Give it a stir every 30 seconds.
What Makes Red Velvet Cake Red?
In the early days, red beets were often used to make the batter a beautiful red color.
Nowadays, a good dose of red food coloring brings about that beautiful red hue that we immediately recognize in the iconic cake.
EXPERT TIP: You may have heard that food dye can be harmful to your health. We did plenty of research on this subject, and the overall consensus is that there is no issue with food dye when used in recipes that are NOT loaded with chemicals and preservatives. It’s those by-products that are not healthy. These cookies use natural ingredients and red food coloring (unless you are allergic to food dye) pose no health risk.

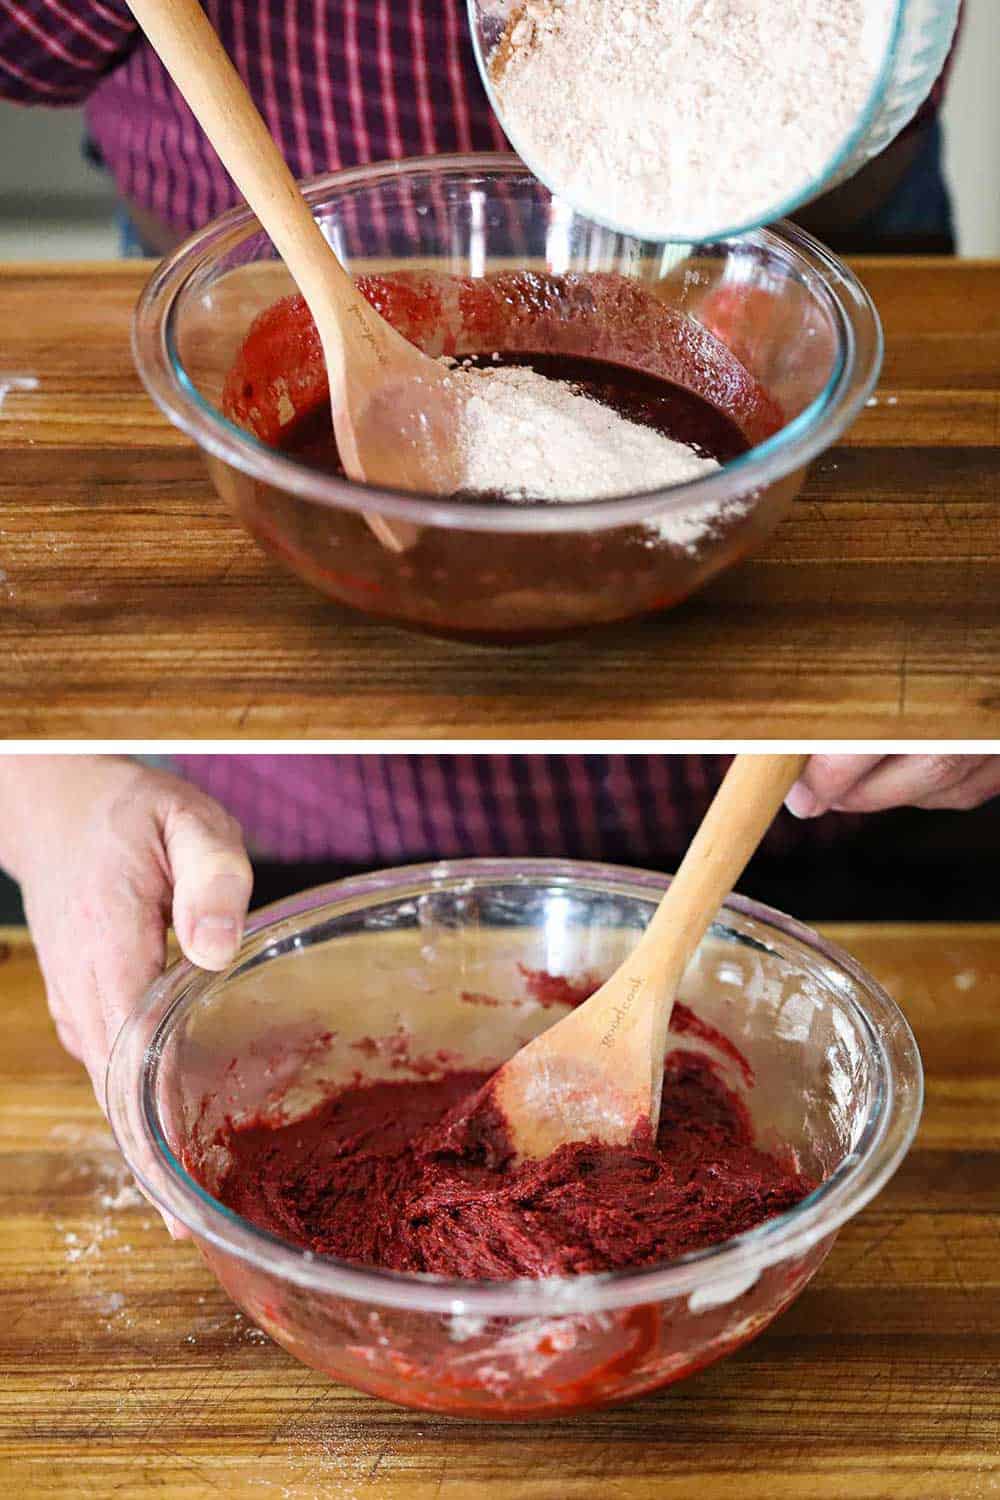
Now, a word of warning, the batter for these cookies is pretty dense.
As you add in the dry ingredients, it may seem like the ratio of wet to dry is not correct. Don’t worry, it is.
EXPERT TIP: You don’t want to overmix the batter, which is why we recommend mixing the flour into the wet mixture by hand with a wooden spoon. But it does take a little elbow grease. As an alternative, you can transfer the melted chocolate mixture to a stand mixer with a paddle attachment and gradually add the flour mixture until fully incorporated. Or, if your arm tires out when doing it by hand, grab a family member to pitch in. It’s really not that difficult, but be forewarned!
How To Form the Cookies
Since these are sandwich cookies, it is very helpful for the cookies to be all uniform in size.
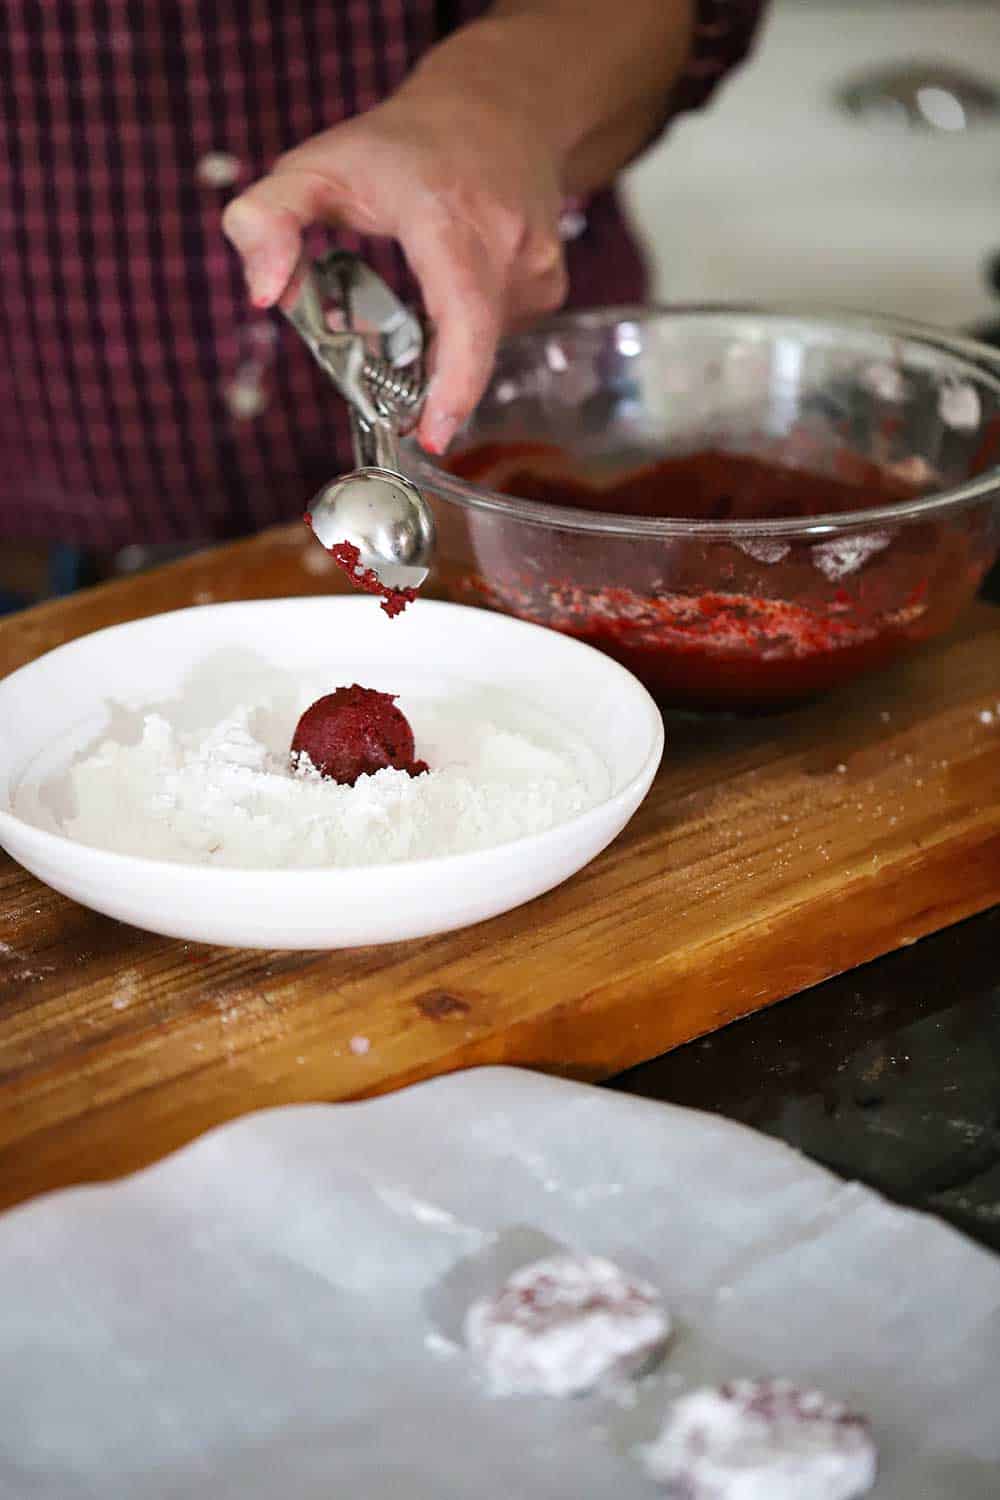
A trigger-handled ice cream scoop makes this so easy. Or, you can use your hands to form a couple of tablespoons of the batter into a ball. But the trigger-handle scooper makes it so easy!
EXPERT TIP: After you have formed a ball, simply drop it into a bowl filled with ½ cup of powdered sugar (confectioners) and roll it around until coated. As the cookies bake, the sugar spreads and ends up looking like a beautiful snow-covered sweet treat. Festive and delicious!
After you’ve rolled the dough in the powdered sugar, place them on a baking sheet lined with parchment paper, about 1 inch apart.
Use the heel of your hand to gently flatten the cookies just a little.
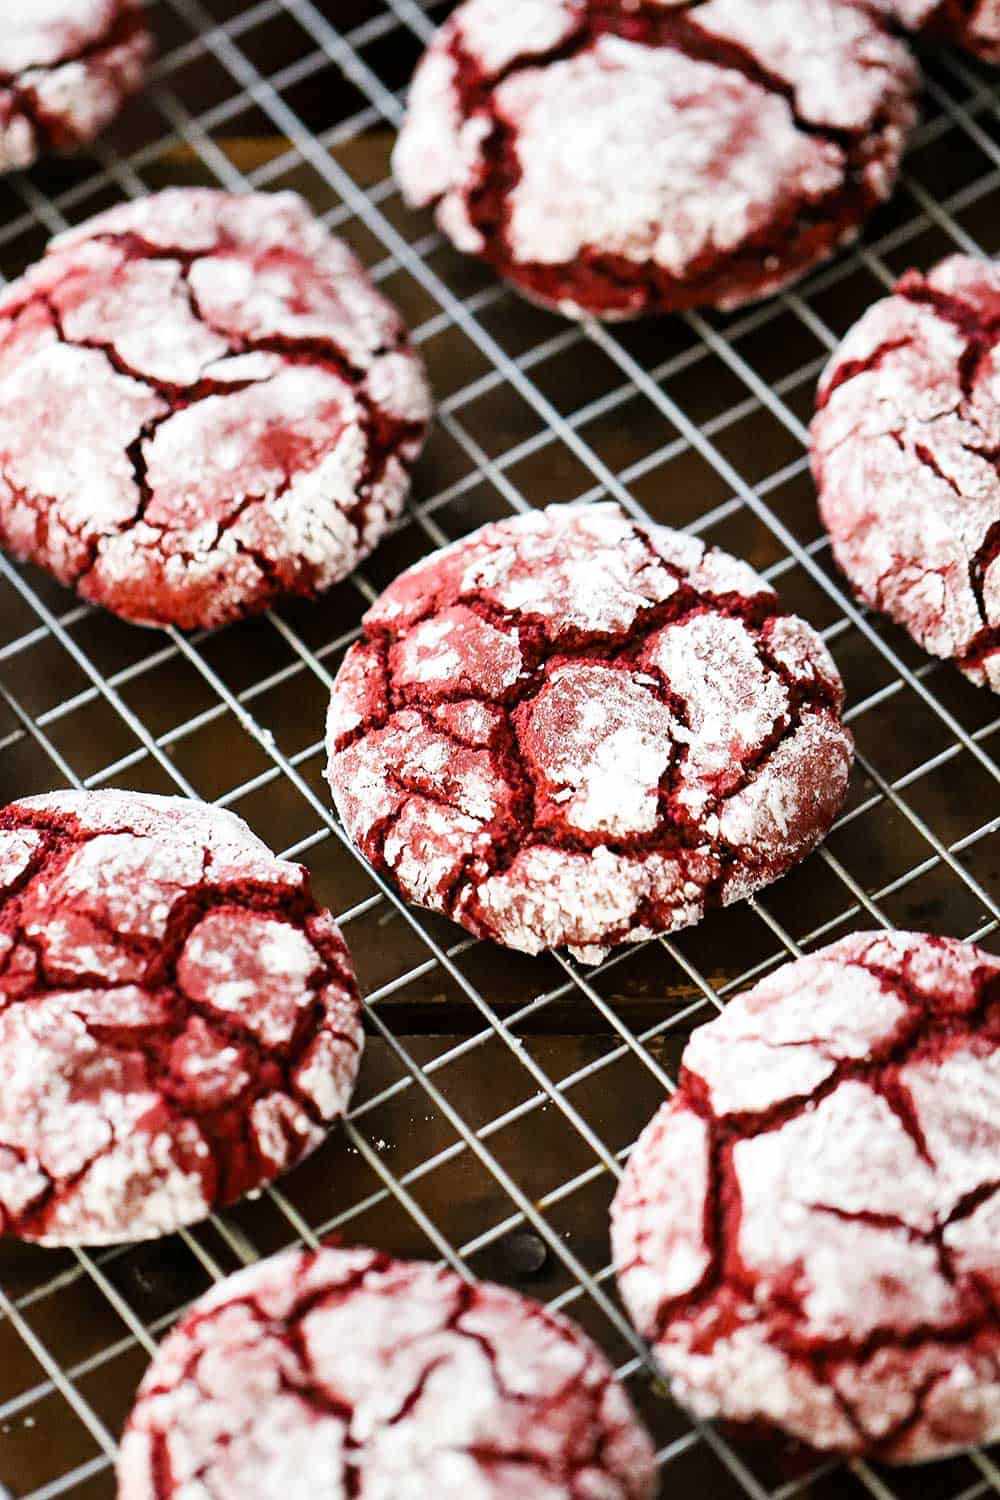
Bake for only 11 to 12 minutes, until slightly risen and just a little crusty on the bottoms. The red velvet cookies will crack on the surface, which is exactly what you want. Gorgeous!
EXPERT TIP: It’s important to allow the cookies to cool before you add the cream cheese filling. This only takes about 20 to 30 minutes. This is plenty of time to whip up the frosting that makes the most amazing filling for these red velvet sandwich cookies!
How To Make Cream Cheese Frosting
Cream cheese frosting is probably the most popular type of frosting for a red velvet cake, so it only makes sense that we use a slightly thicker version of it for the filling of these cookies.
Make sure your cream cheese is at room temperature before mixing it together with the powdered sugar and vanilla extract.
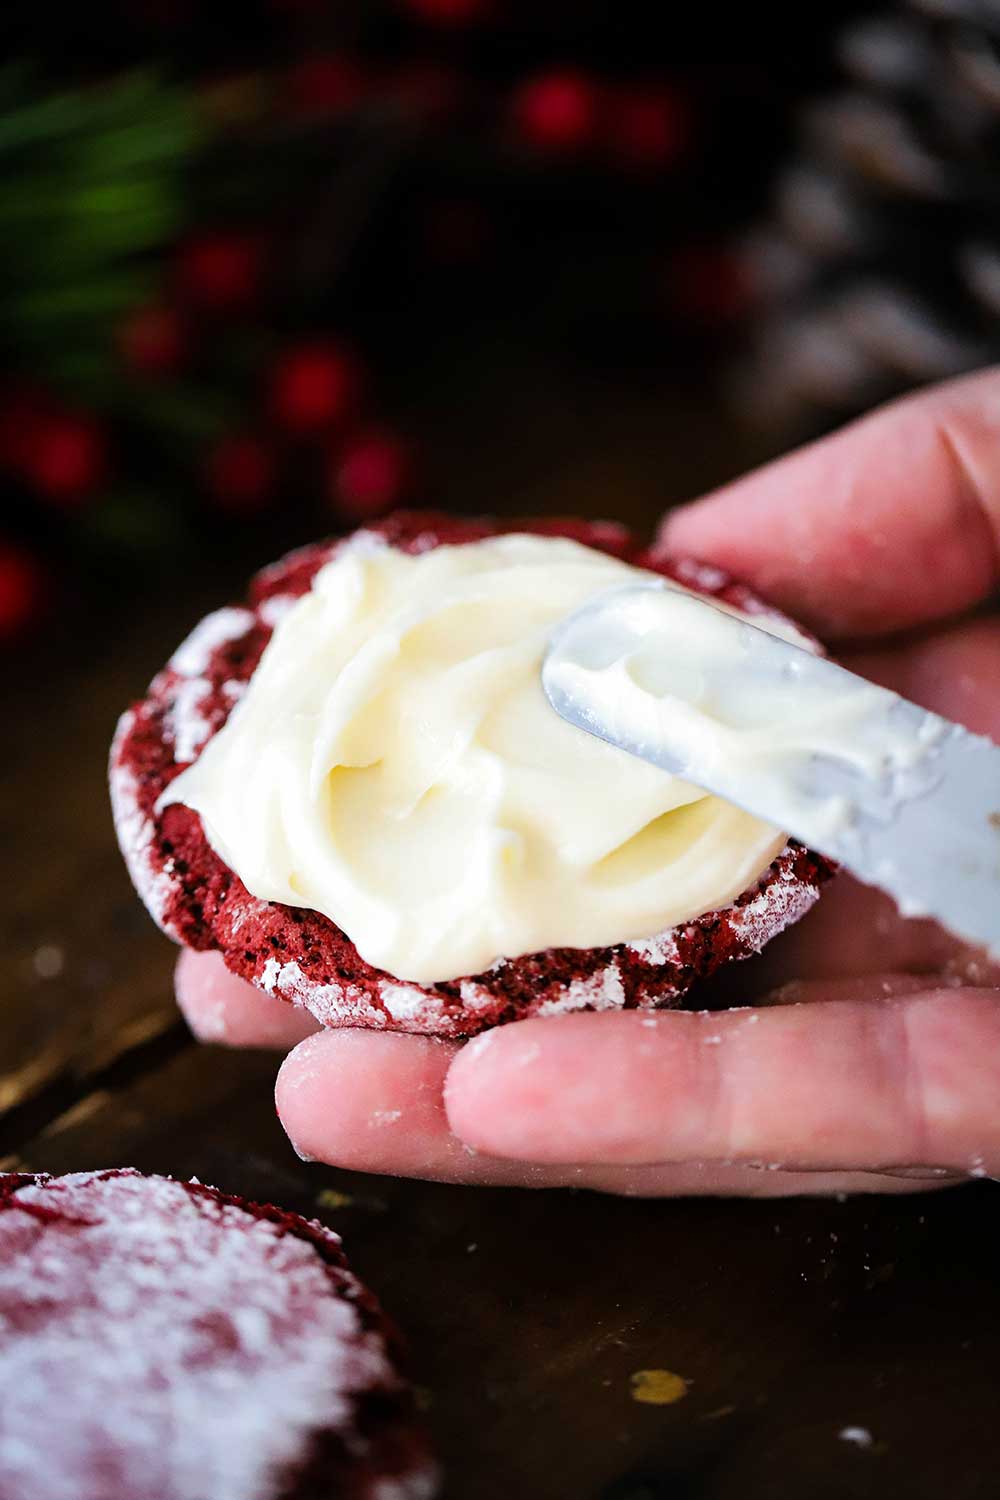
EXPERT TIP: When filling the cookies with the frosting, be sure to select two cookies that are very close to each other in size. Smear about 1 tablespoon of the frosting on the flat side of a cookie, and then press the bottom side of another similar-sized cookie into the frosting. So easy!
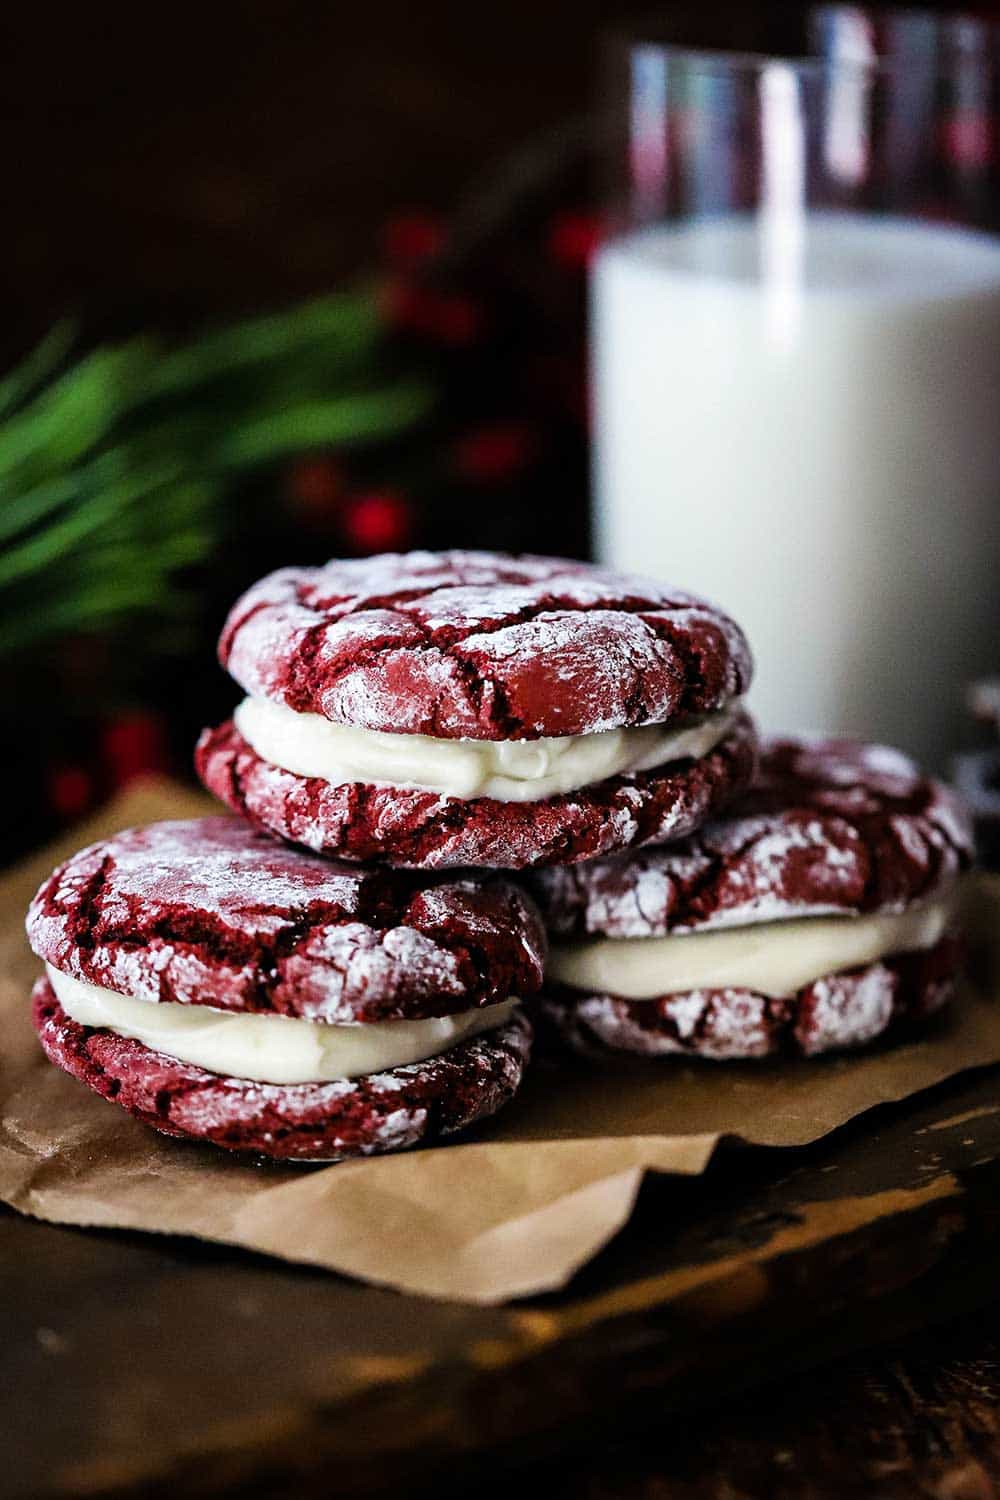
The Perfect Holiday Cookie
These cookies really are the quintessential Christmas cookie.
And talk about festive.
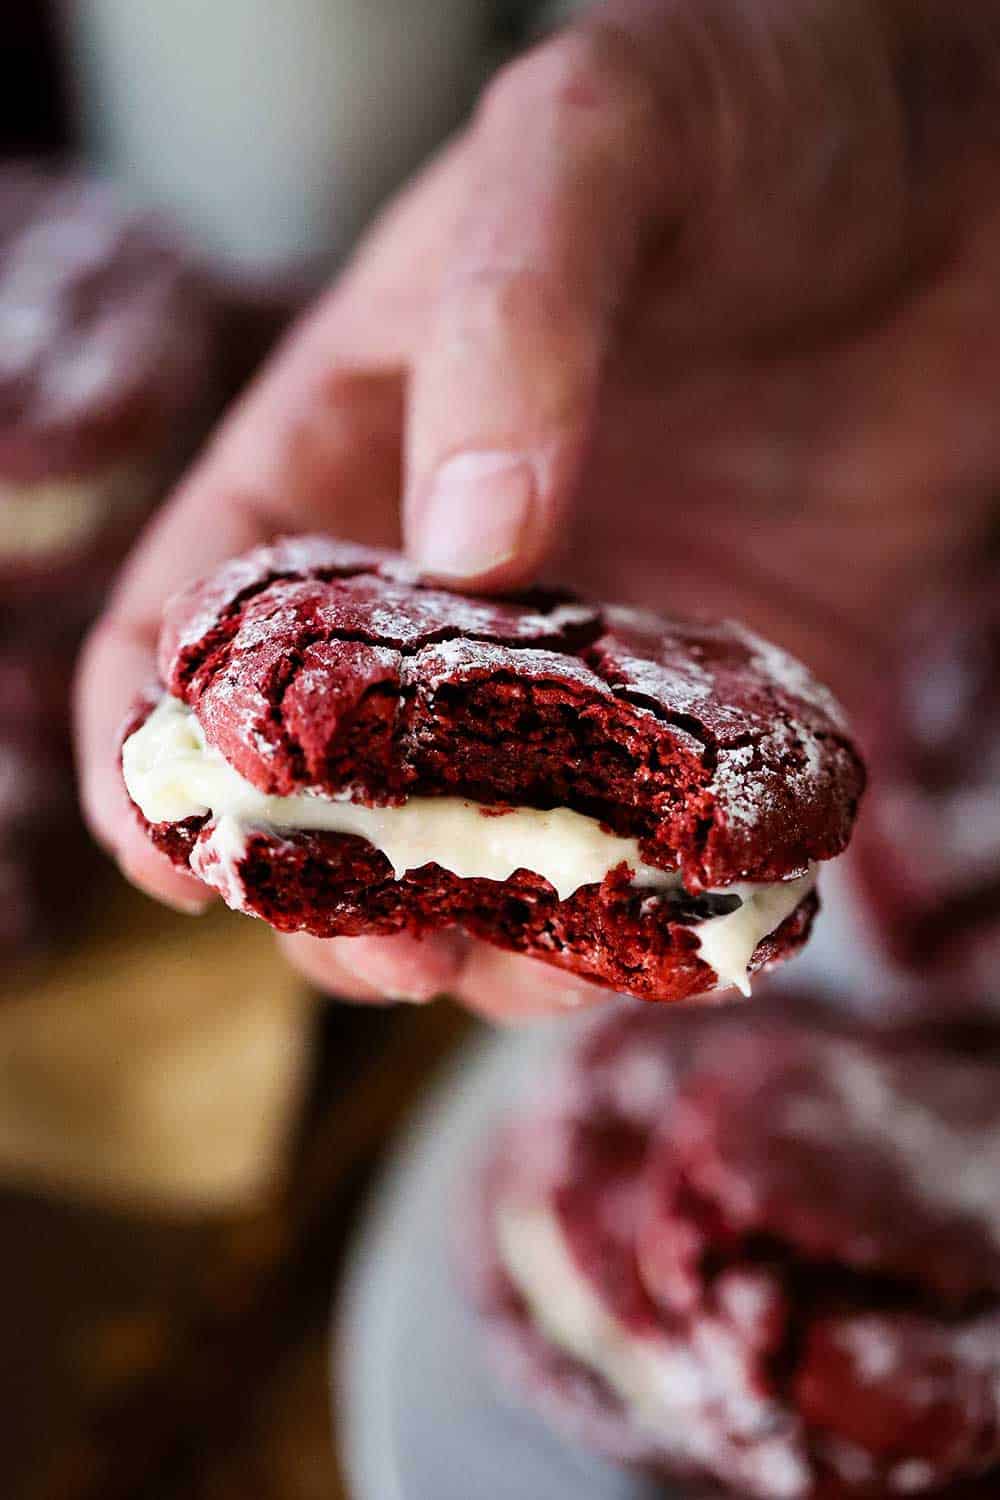
Besides being a really beautiful sandwich cookie, the taste is one of our all-time favorites.

These Red Velvet Sandwich Cookies are so much fun to make, too.
Bring in the kids and have a blast.
And just wait until you take that first bite. A real Christmas miracle of yumminess!
Ready to make the best holiday cookie this side of the North Pole? Go for it!
And when you do, be sure to take a photo, post it on Instagram, and tag @HowToFeedaLoon and hashtag #HowToFeedaLoon!

Red Velvet Sandwich Cookies
Video
Equipment
- Two baking sheets with racks
Ingredients
- 3 oz semisweet chocolate roughly chopped
- ¼ cup unsalted butter
- 1 cup sugar
- 2 large eggs
- 1 tablespoon red food coloring
- 2 cups all-purpose flour
- 2 tablespoon unsweetened cocoa
- 1 teaspoon baking powder
- ½ teaspoon baking soda
- ½ teaspoon Kosher salt
- 2½ cups powdered sugar divided
- 8 oz cream cheese softened
- 1 teaspoon vanilla extract
Instructions
- Preheat oven to 375°F. Place racks in the top third and bottom third of the oven.
- Place the chocolate and butter in a large microwave-safe bowl. Heat on HIGH in 30-second intervals for a total of 90 seconds, stirring with a wooden spoon after each interval.3 oz semisweet chocolate, ¼ cup unsalted butter
- Stir in the sugar, eggs, and red food coloring until fully combined and smooth.1 cup sugar, 2 large eggs, 1 tablespoon red food coloring
- In a separate bowl, whisk together the flour, cocoa, baking powder, baking soda, and salt.2 cups all-purpose flour, 2 tablespoon unsweetened cocoa, 1 teaspoon baking powder, ½ teaspoon baking soda, ½ teaspoon Kosher salt
- Gradually mix the flour mixture into the melted chocolate mixture. The batter will be very thick and requires a little elbow grease as you mix. This process can also be done in a stand mixer, just don't overmix the batter.
- Place ½-cup of the powdered sugar in a medium-sized bowl. Use a trigger-handle ice cream scoop, or a couple of tablespoons, to form a small ball of batter. Drop into the powdered sugar and turn to fully coat. Place on a baking sheet lined with parchment paper. Use the heel of your hand to gently flatten the ball just a bit. Dough balls should be spaced 1 inch apart from each other. You'll have enough dough to make between 24 to 30 cookies, depending on the size of your dough balls.2½ cups powdered sugar
- Bake the cookies for 11 to 12 minutes, until slightly fluffed. Remove from the oven and use a spatula to transfer the cookies to a baking rack. Cool for 20 to 30 minutes until completely cooled.
- Meanwhile, place the softened cream cheese in a medium-sized bowl. Add 2 cups of the powdered sugar with the vanilla extract. Use a hand mixer to beat until smooth.8 oz cream cheese, 1 teaspoon vanilla extract
- Spread about 1 tablespoon of the cream cheese filling over the flat side of half of the cookies. Press the remaining half of the cookies, flat side down, into the filling of the frosted cookies. Serve at once or store in an air-tight container with a lid.

Vicky says
I used a little heavy whipping cream in the cream cheese filling mixture…it took a little bit of the sweetness down just a tad…but it produced the most creamy/fluffy yet still firm filling ever!! Of course refrigerate the cookies and I recommend not letting them sit out a long time due to the whipping cream addition..you guys are so creative and tweak recipes to make them so special….. please try this sometime when you are craving the red velvet cookies or cake .. which is my favorite cake ever!!! Love me some Red Velvet,like the best loon I ever knew….
Kris Longwell says
Yay! This all sounds heavenly, Vicky!!! We LOVE anything and everything red velvet! Thanks so much for sharing and for the GREAT review. That means the world to us!!! xoxo Happy Sunday!
Victoria says
Beautiful cookie and delicious! Fairly easy to make and will definitely make again!
Kris Longwell says
Hi Victoria!! YAY!! We are so excited that you made the cookies and you loved them! And thank you SO MUCH for letting us know and for the wonderful review. That means the world to us! Please stay in touch!! All the best, Kris & Wesley
carol abrams says
Made these cookies last week, the neighbours loved them! I have to keep them all happy.!
I would cut the sugar a bit in the cookie part as the cream cheese filling is plenty delicious and I prefer things just not quite so sweet, but they were good and disappeared fast.
Thanks again Guys.
Kris Longwell says
Hi Carol!! So glad you and the neighbors enjoyed the cookies!! Thanks for the great review and for letting us know…as always…we appreciate that so so much!! xoxo
Malinda says
I just made these amazing cookies! They are beautiful! Thank you for this delicious recipe and the joy your video brought to the cooking experience!
Kris Longwell says
Hi Malinda!! Yay!! We are thrilled you made the cookies and loved them so much!!! And thank you for letting us know! Please stay in touch!! All the best, Kris & Wesley