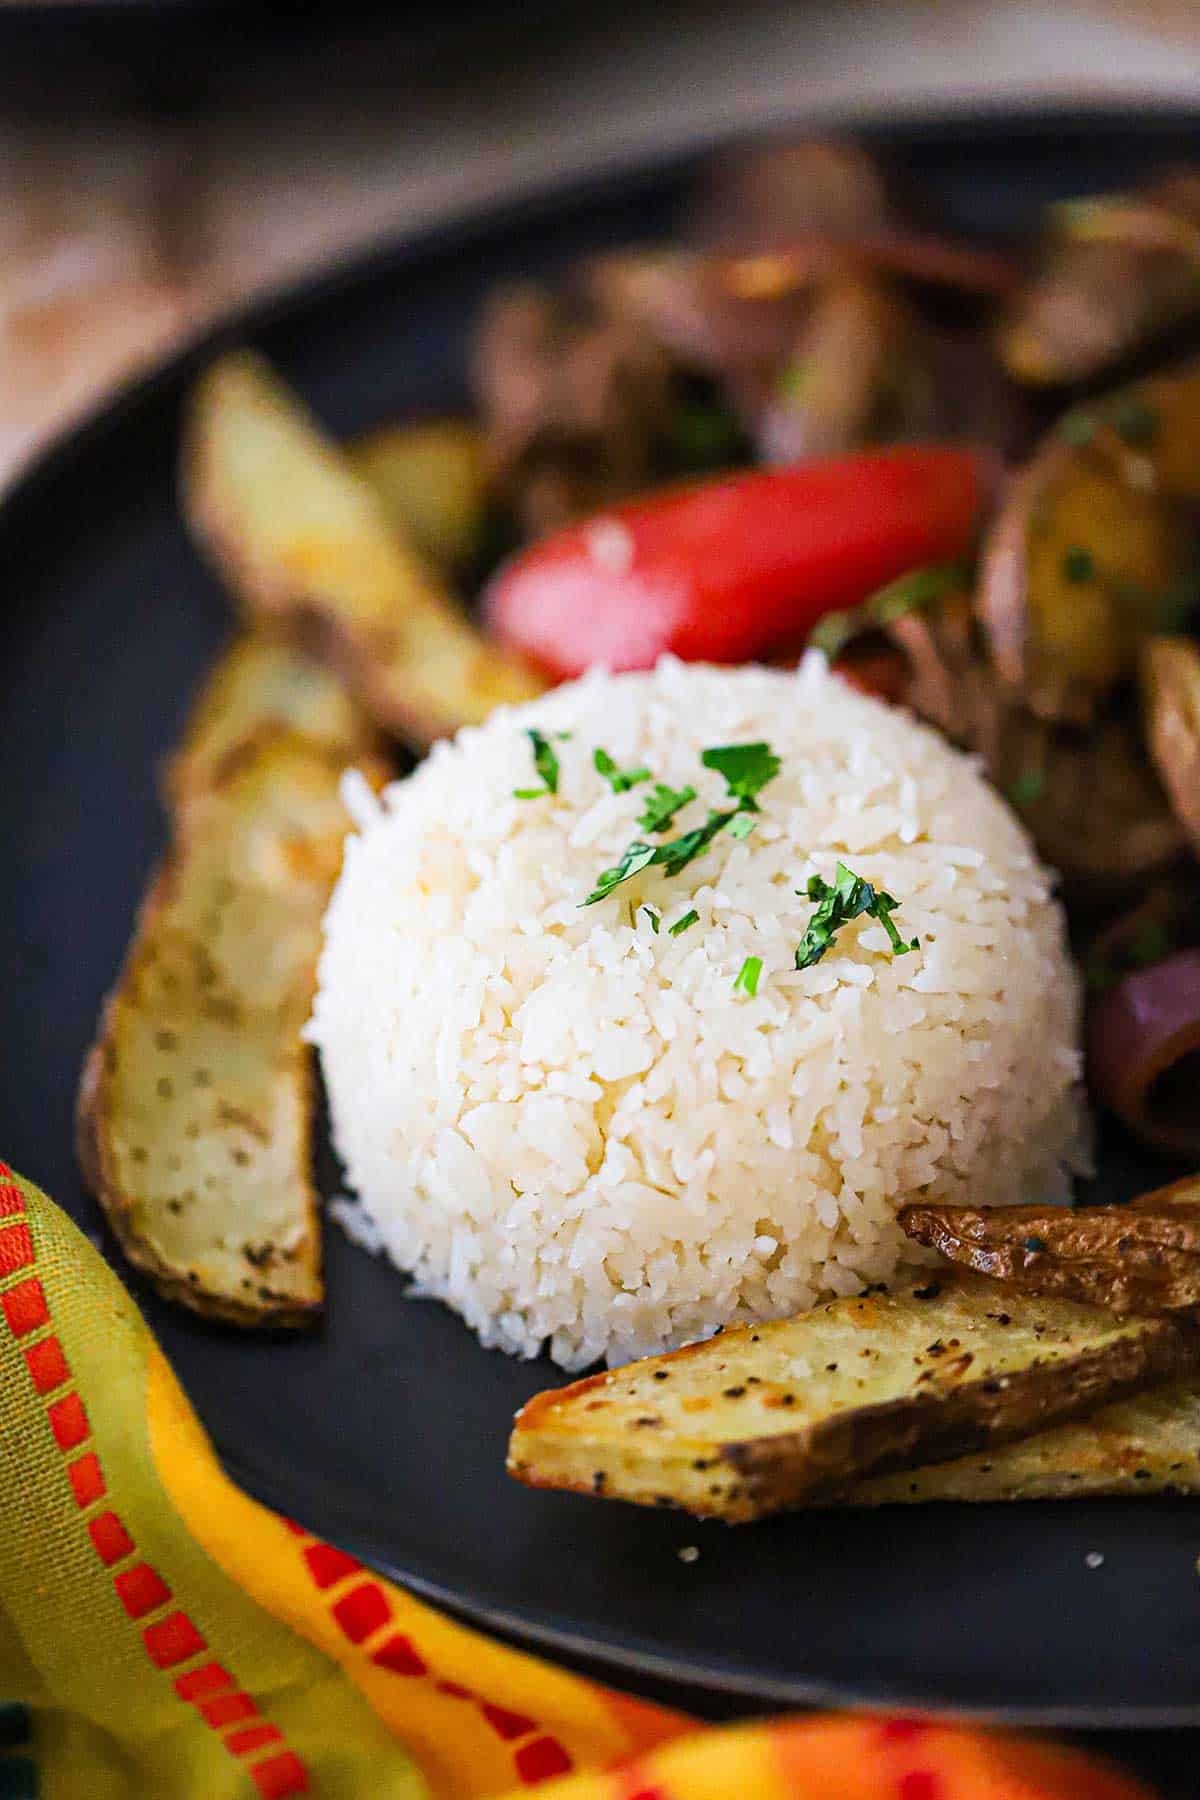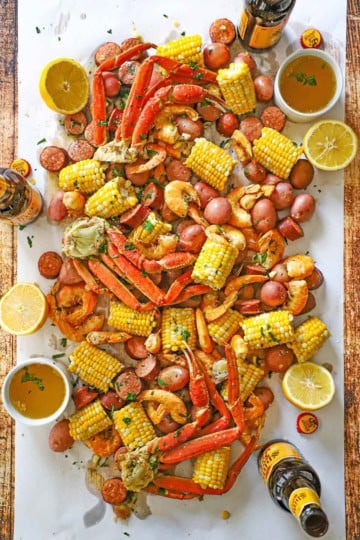
There is nothing quite like a steaming mountain of crab and shrimp to bring everyone together for an authentic Louisiana Seafood Boil. We’ve perfected the “Triple Threat” spice method to ensure every buttery bite is bursting with that classic, deep flavor you crave.

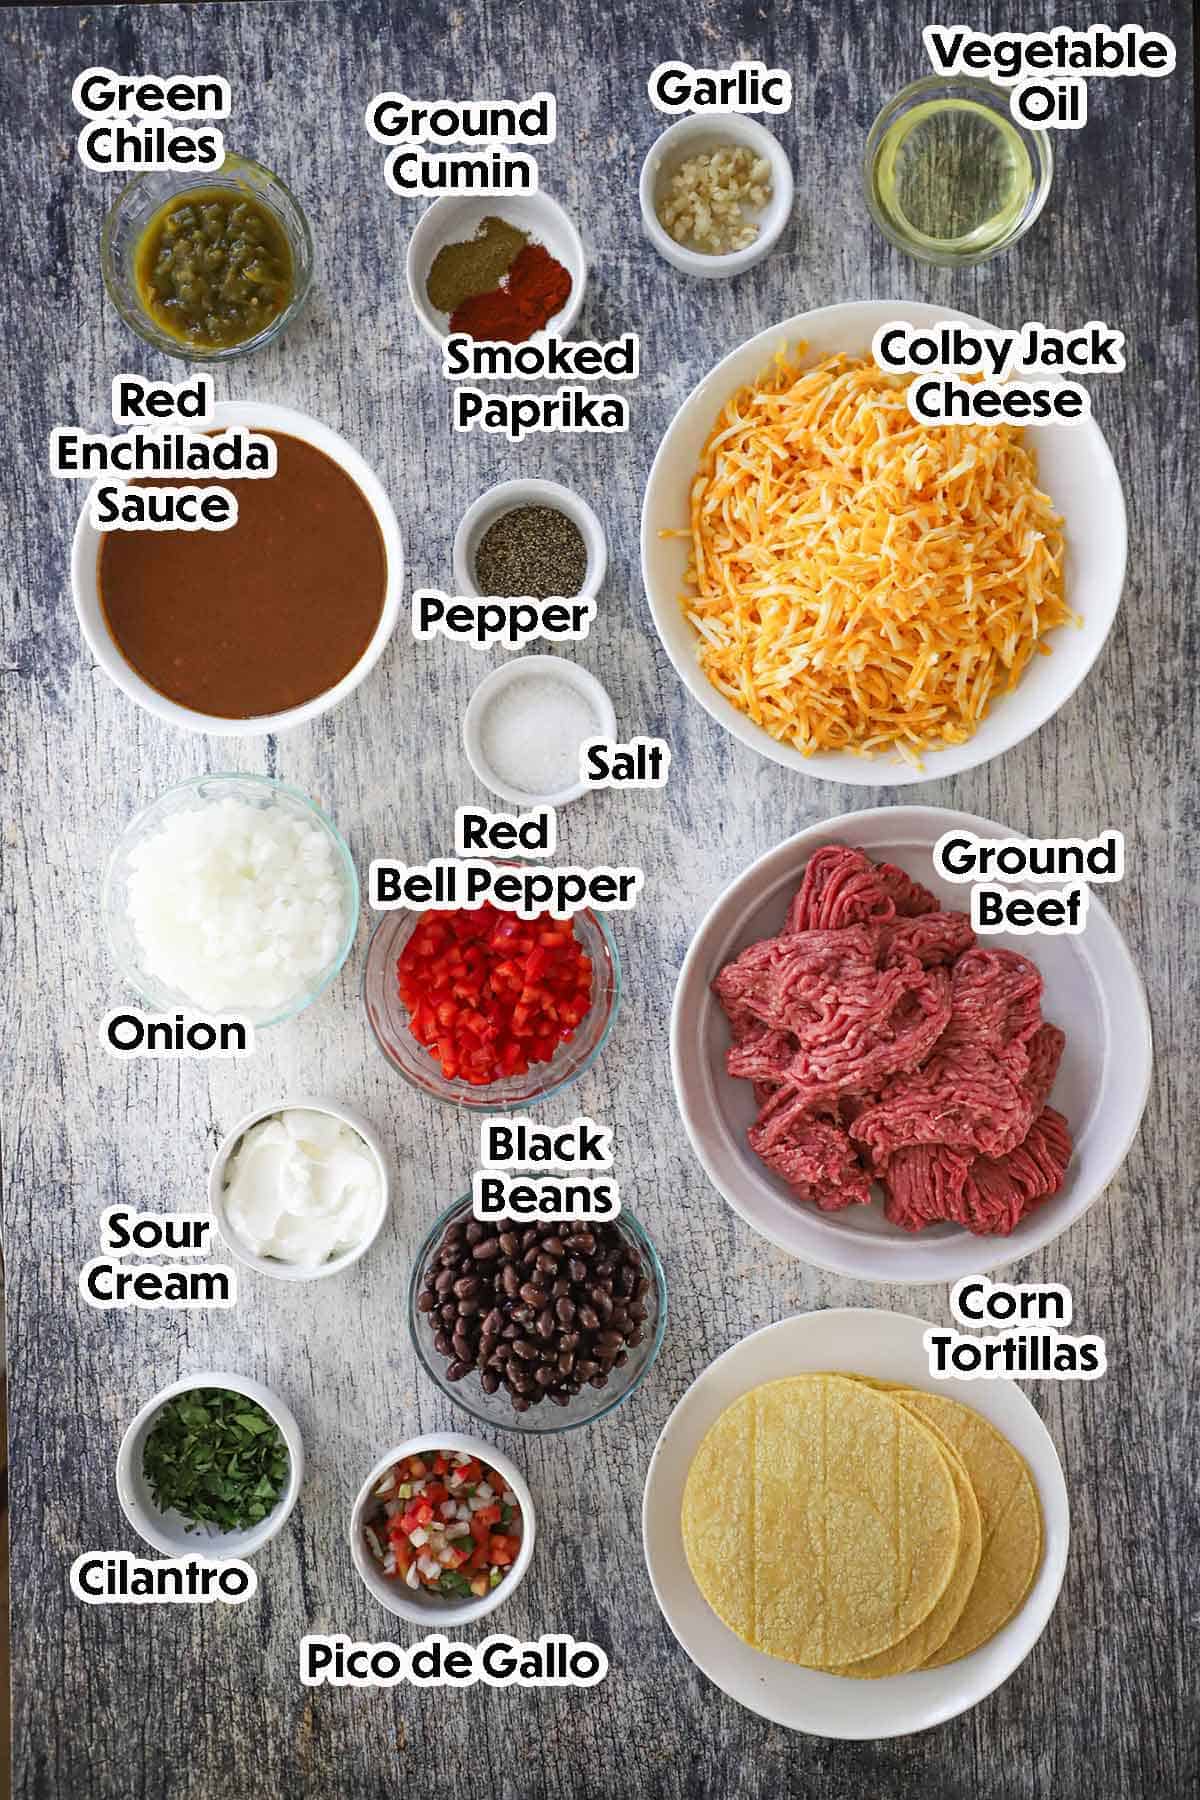
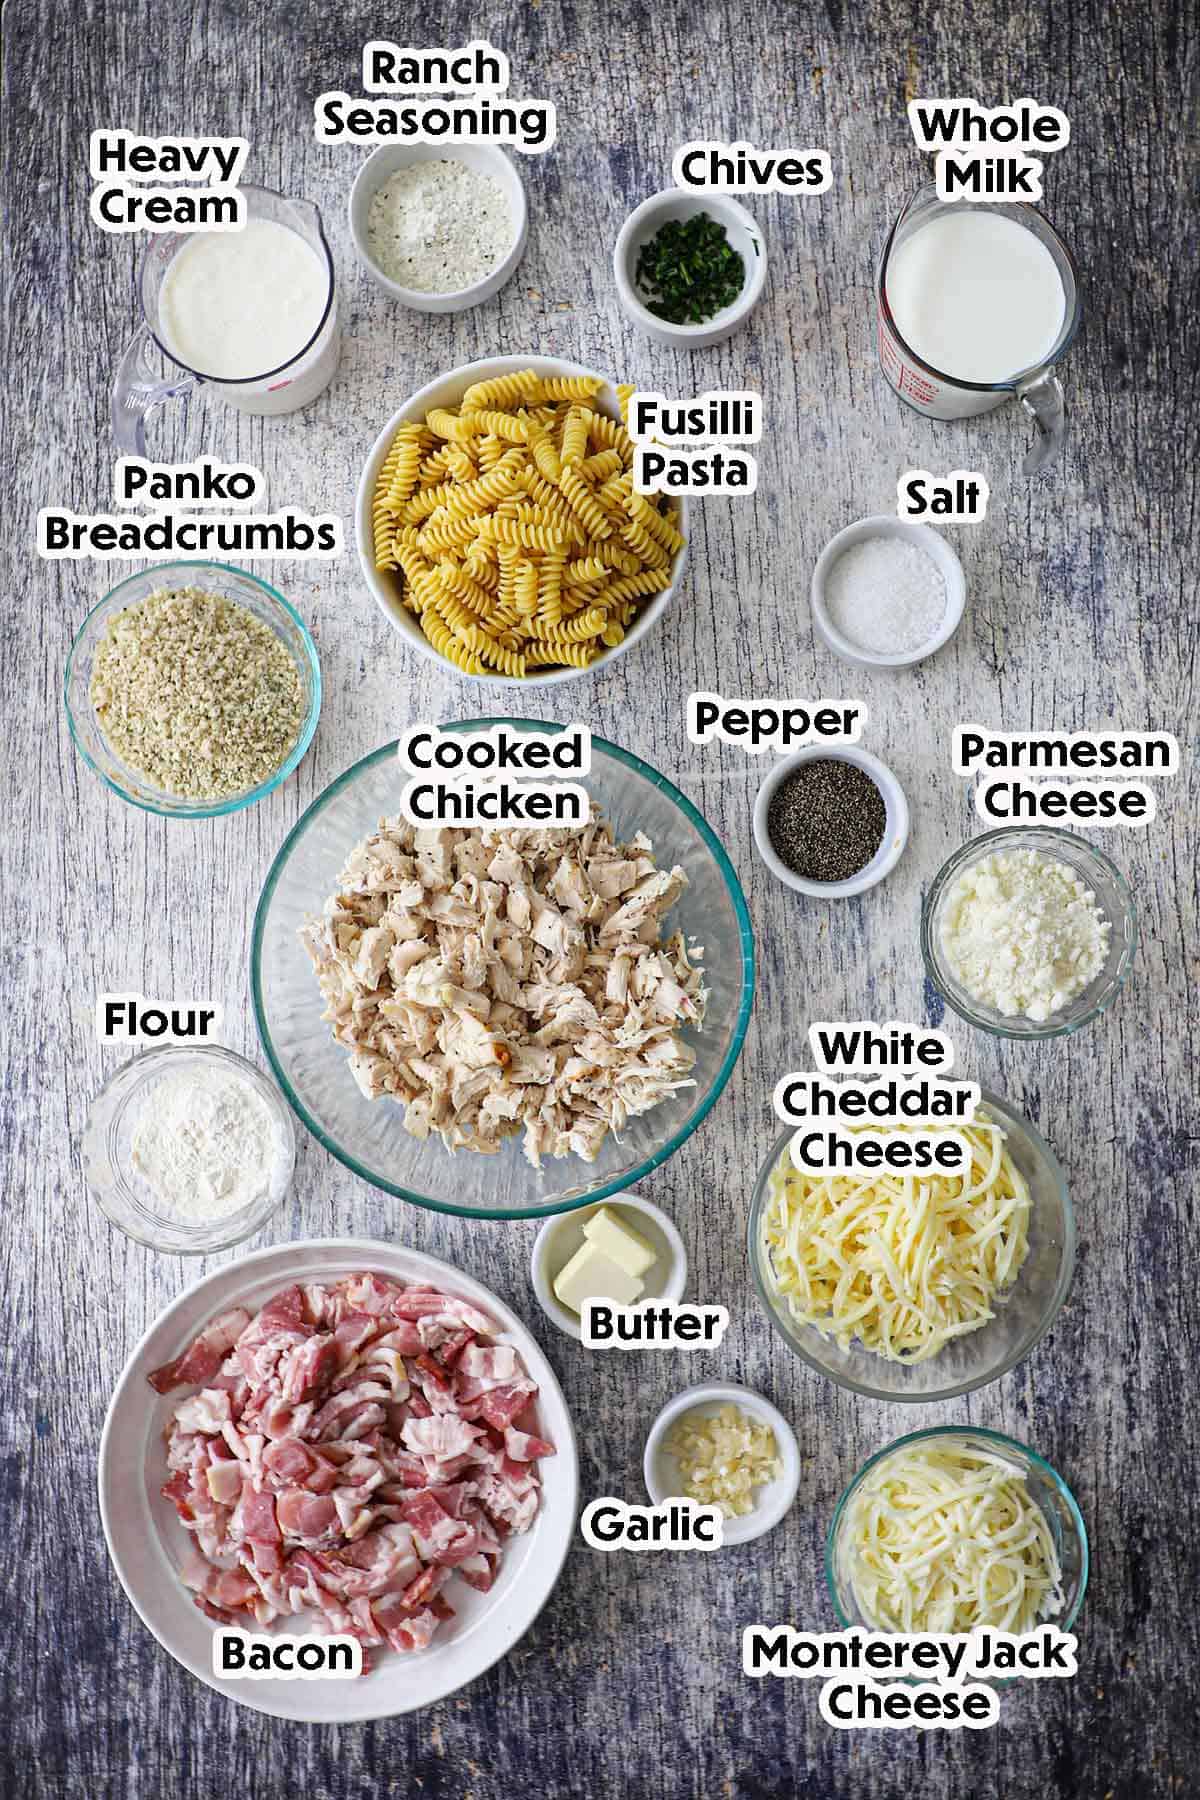
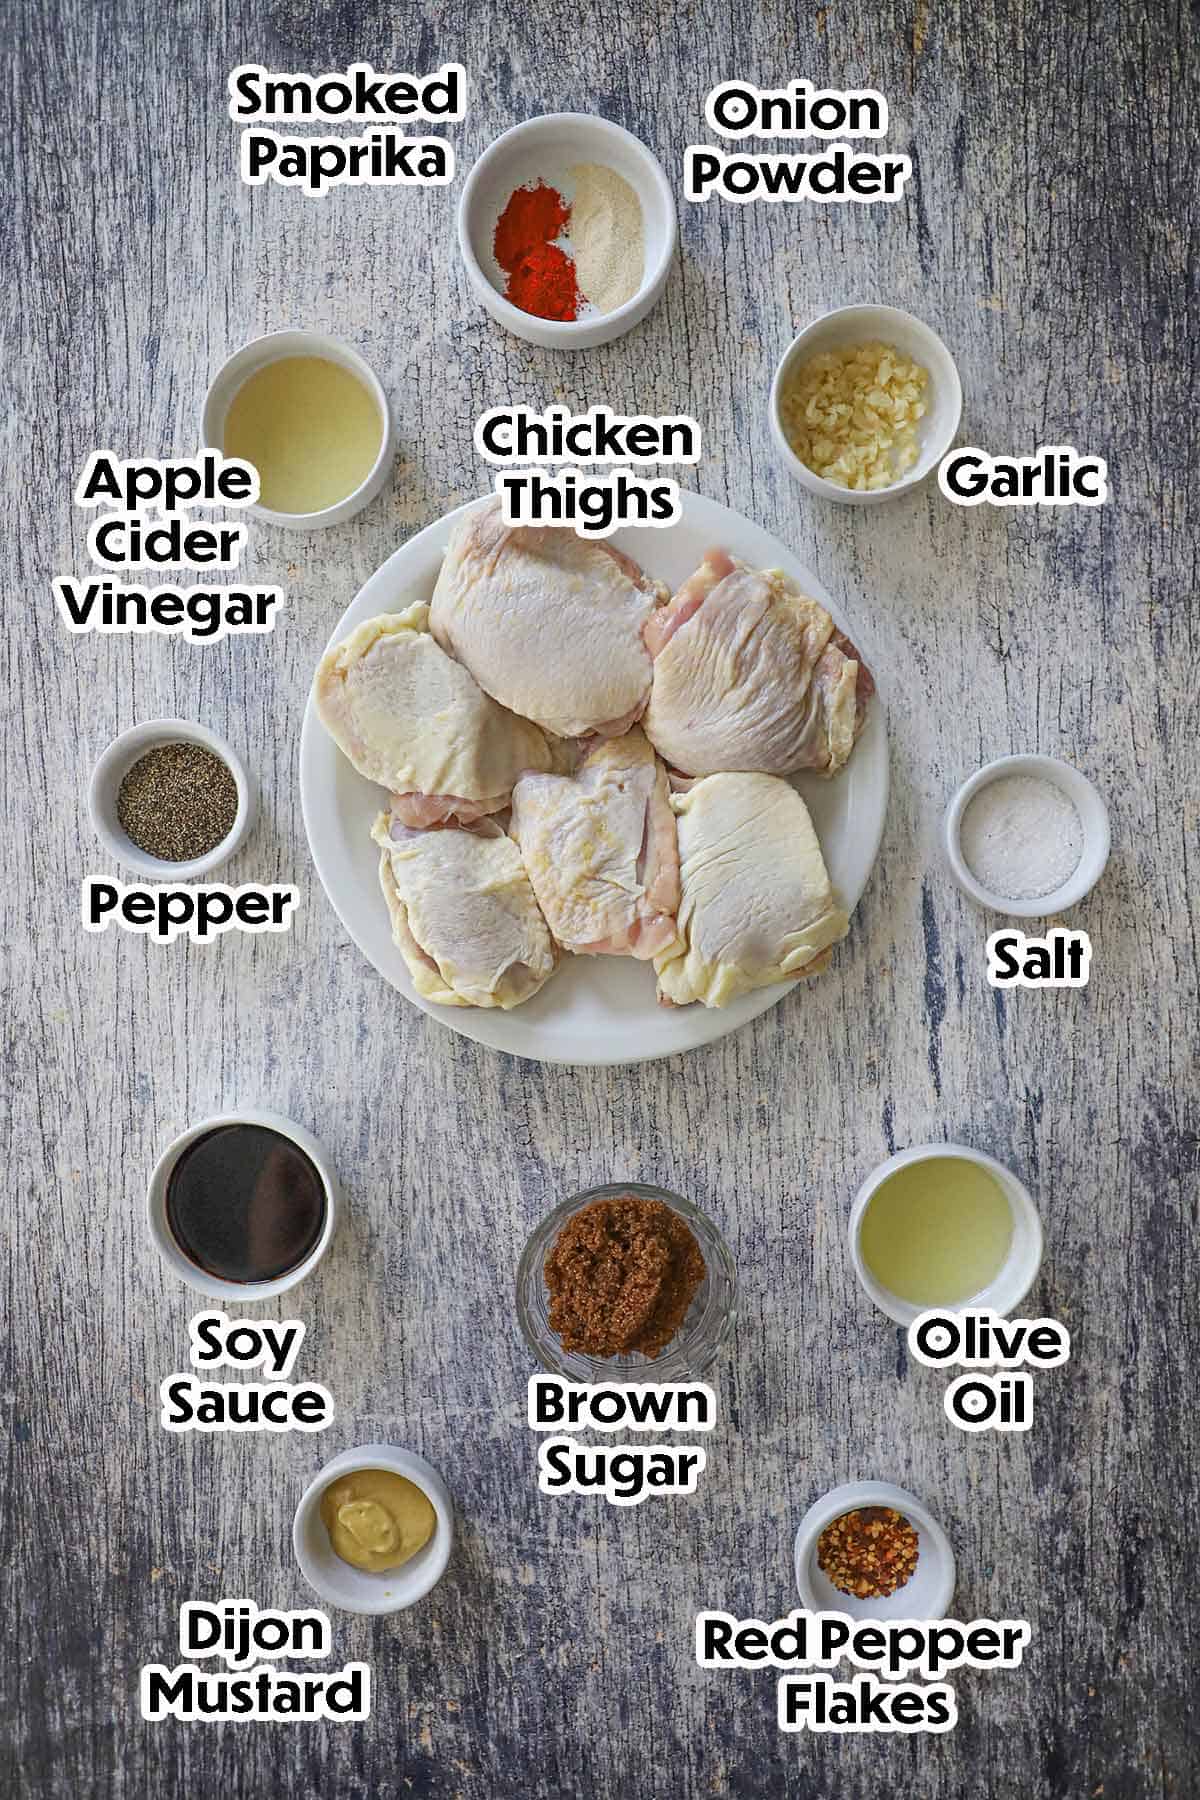
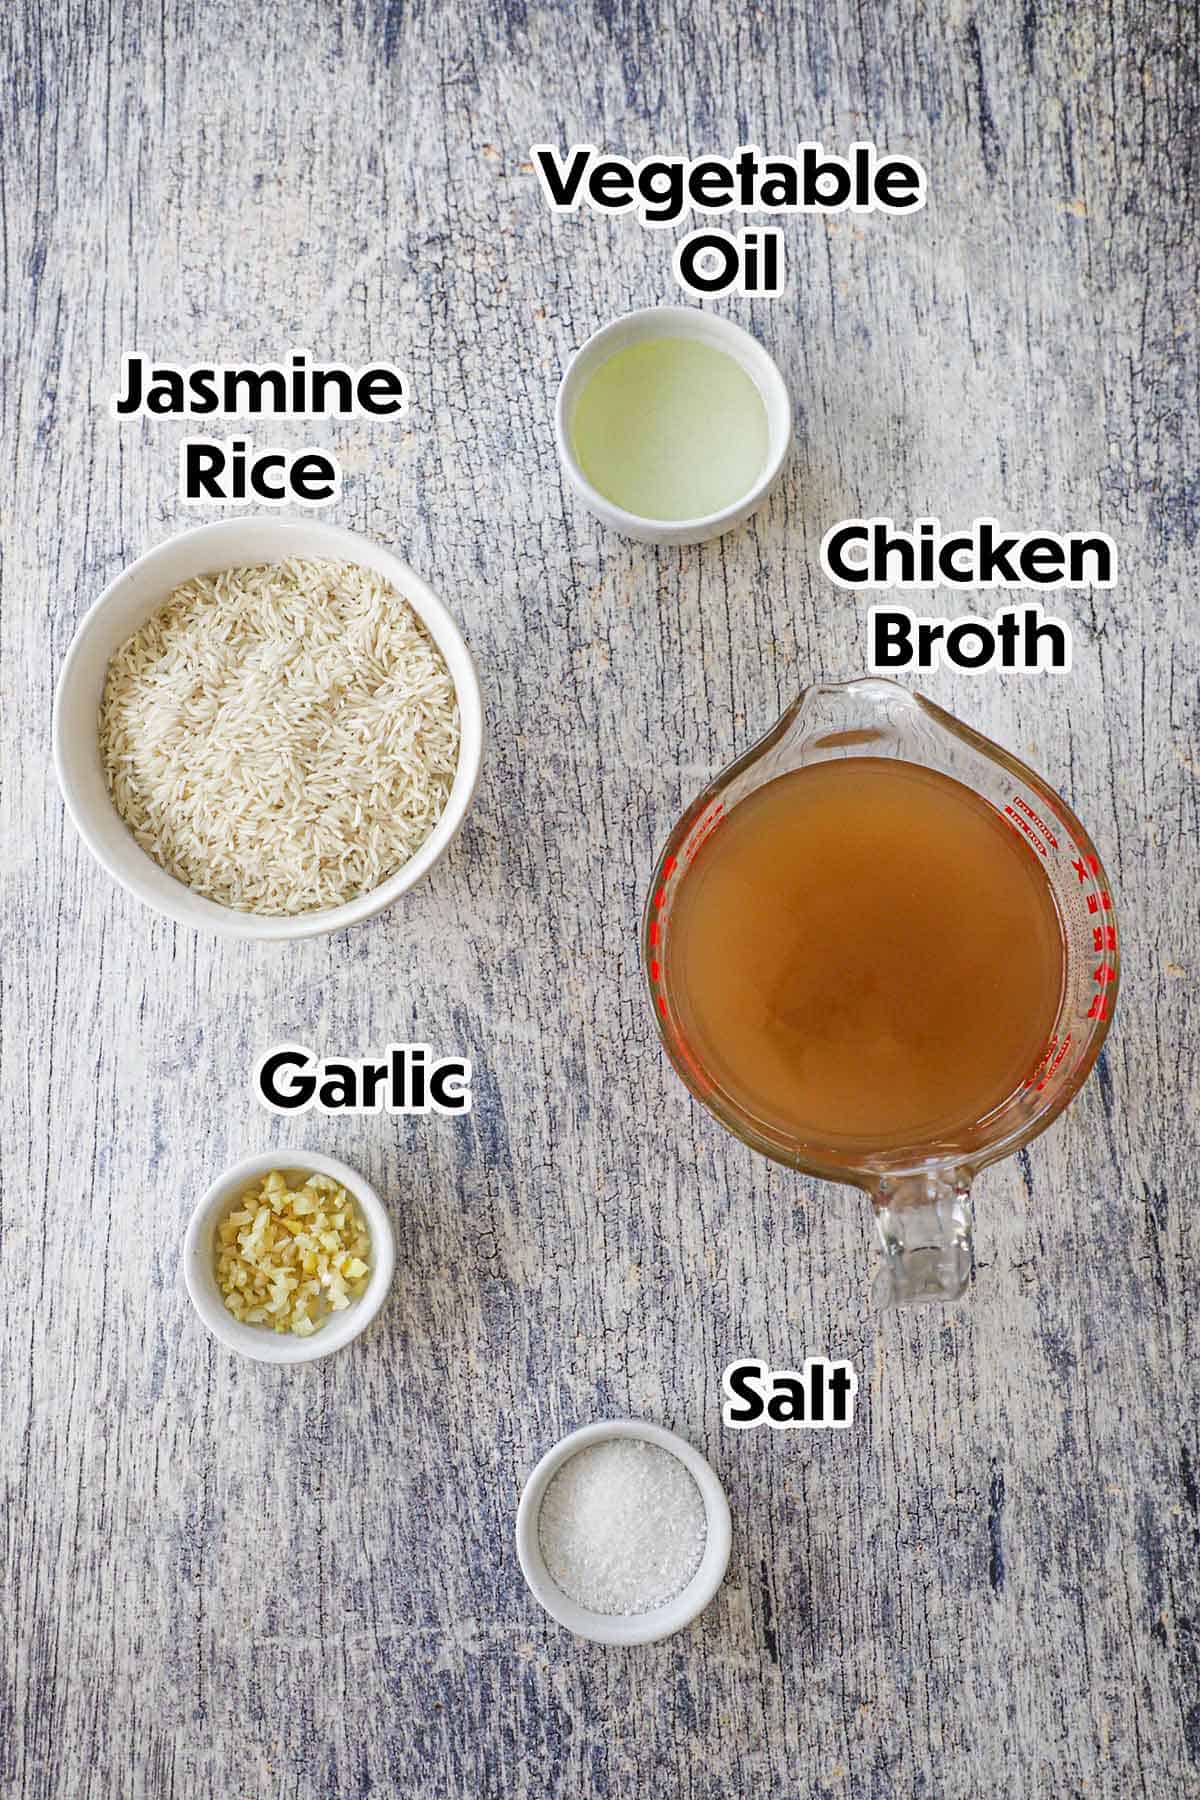
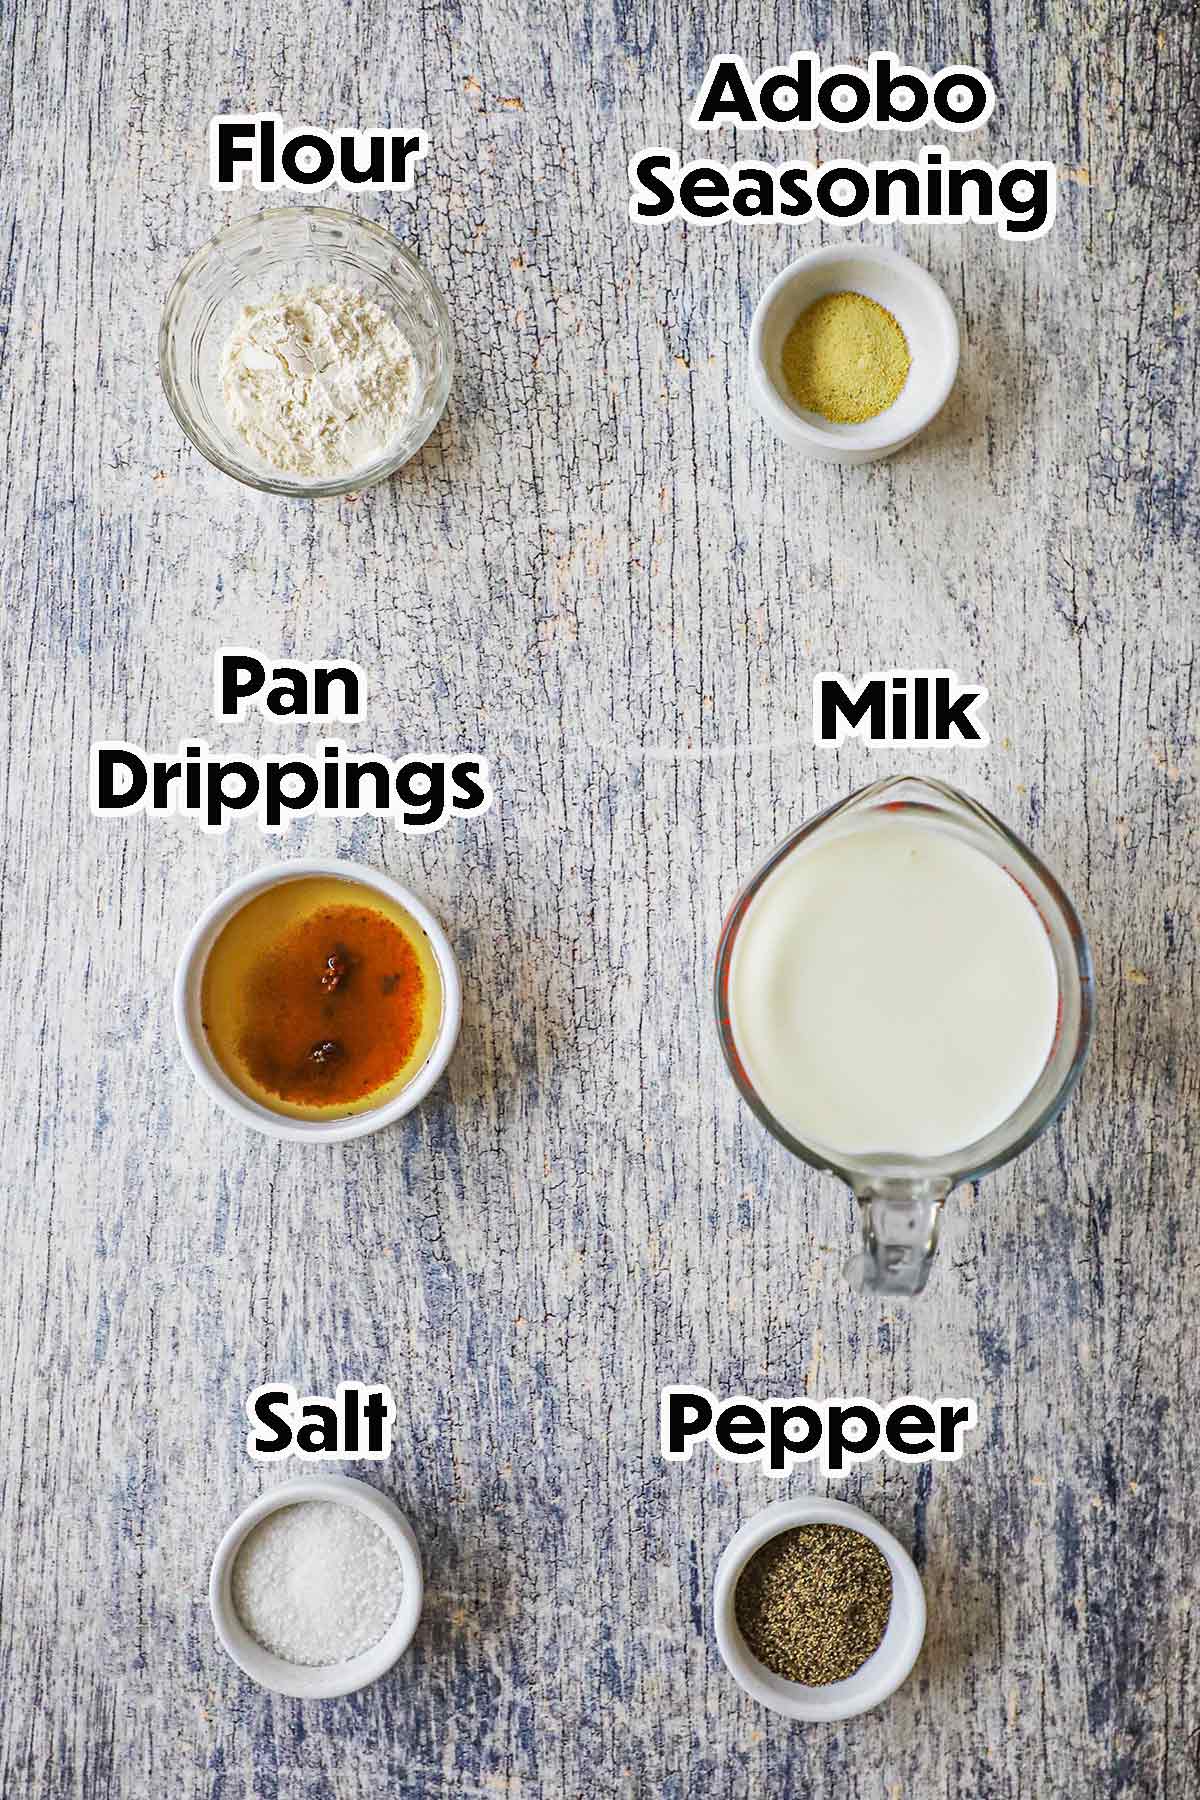
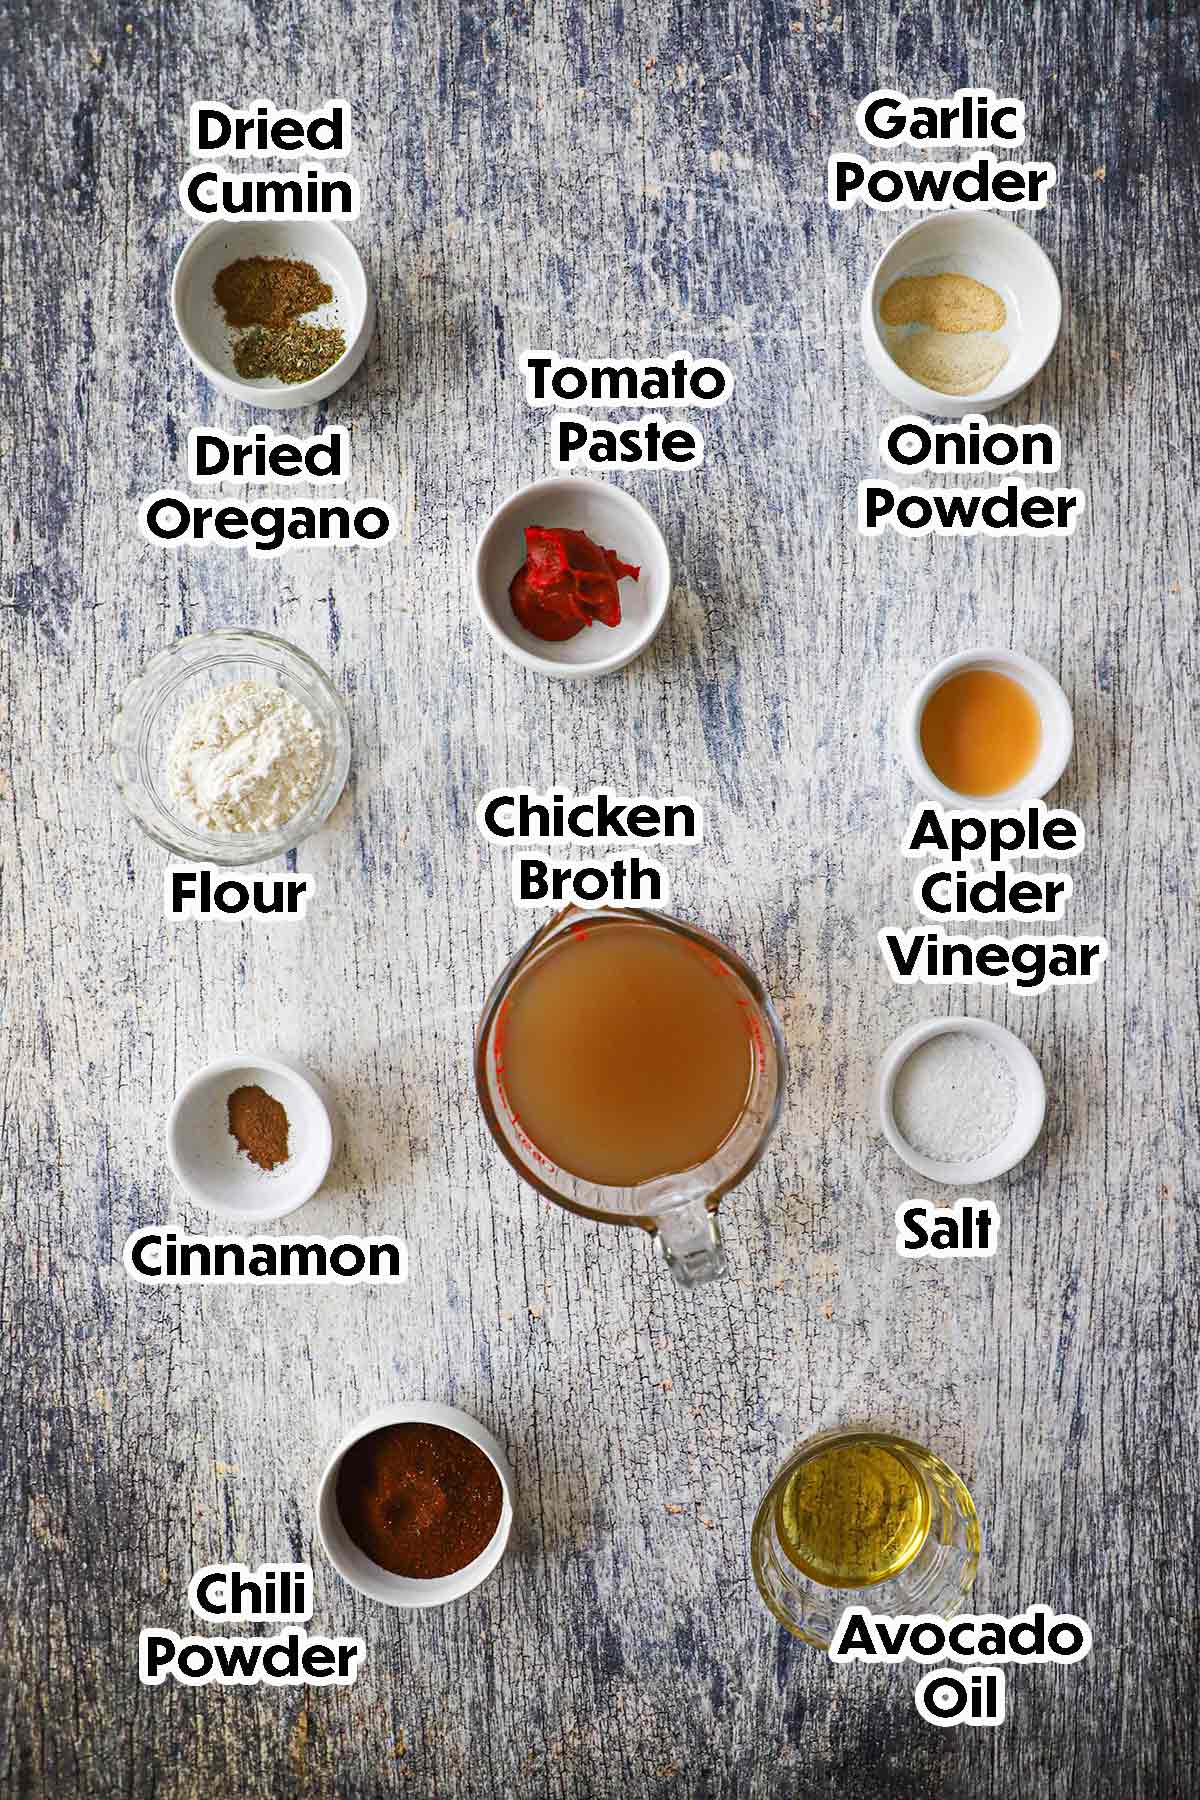
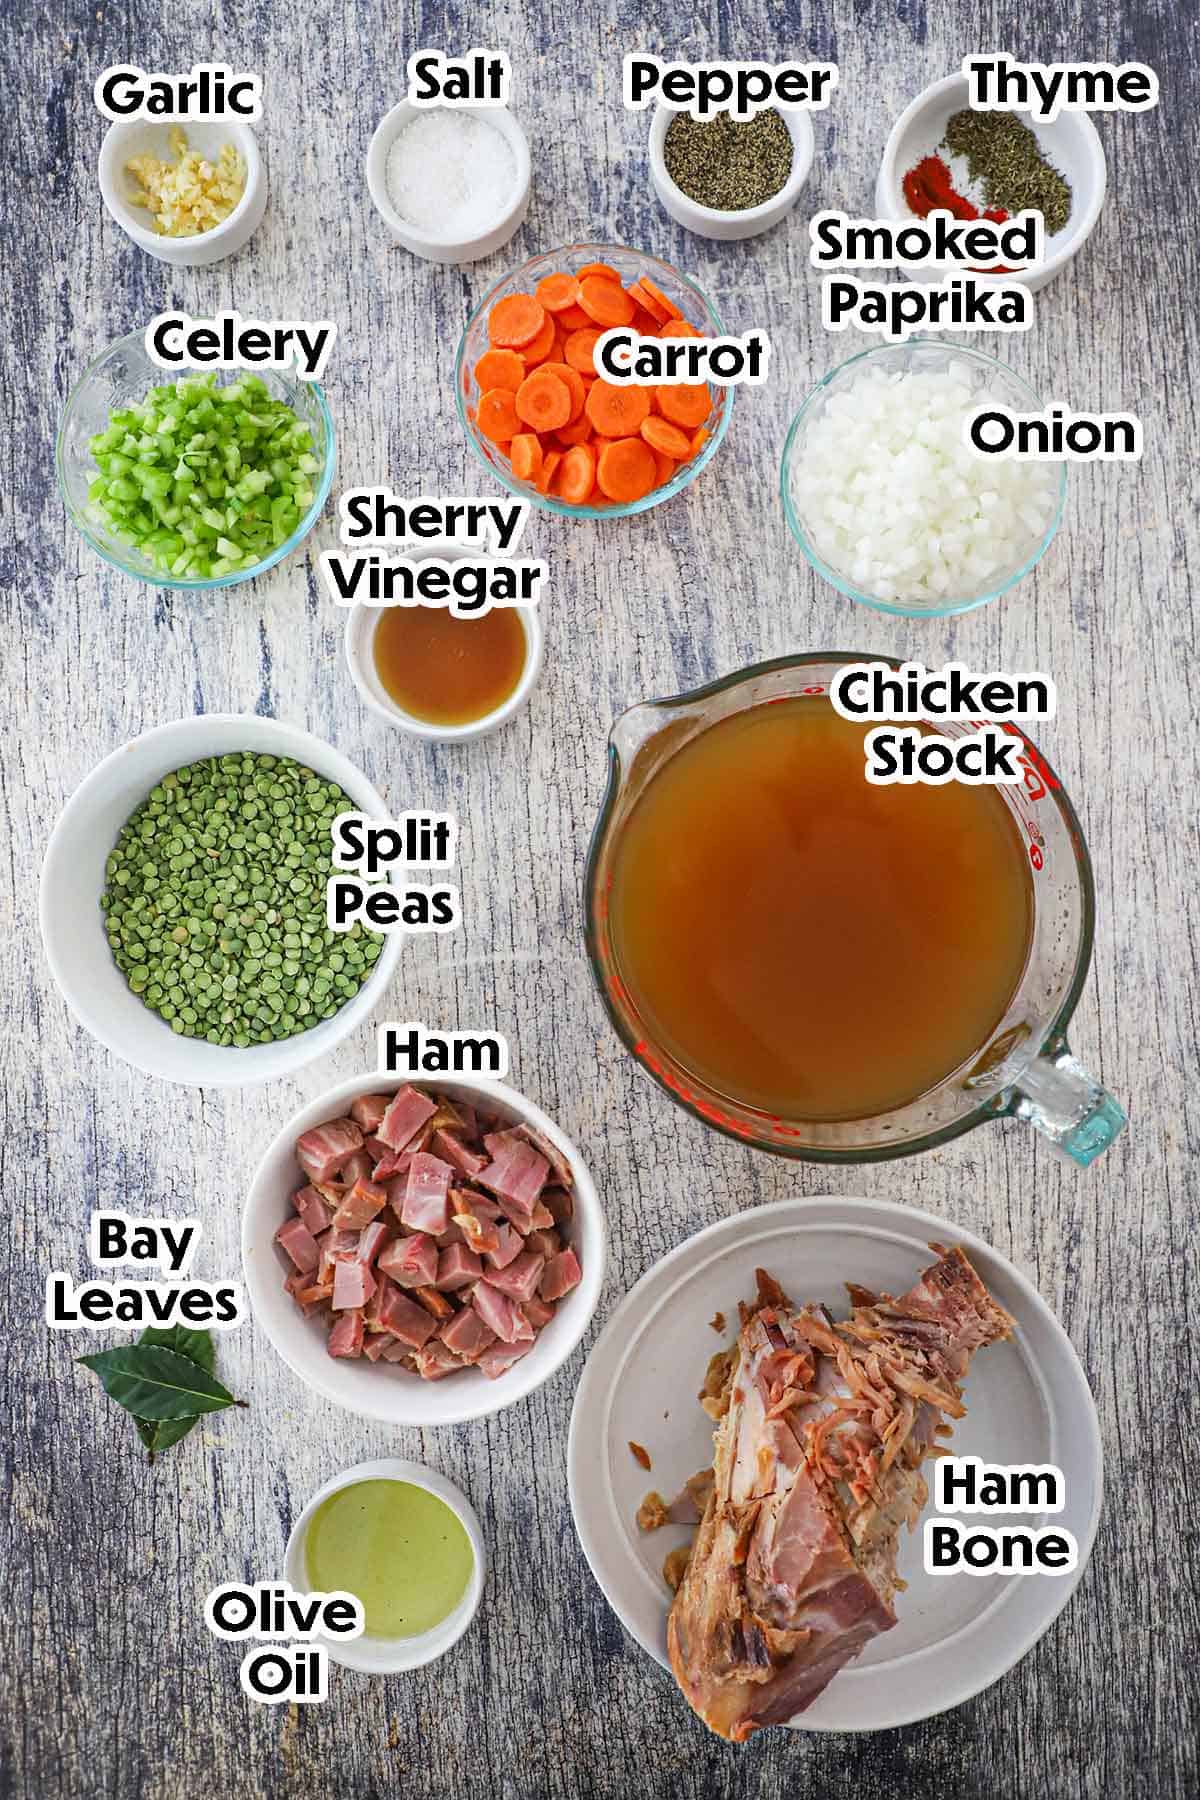
🍤 The Ingredients
This recipe brings together authentic Louisiana seasonings, fresh aromatics, and succulent seafood to create a perfectly balanced, flavor-packed feast that is finished with our signature garlic-infused dipping butter sauce. Find ingredient notes (including substitutions and variations) below.

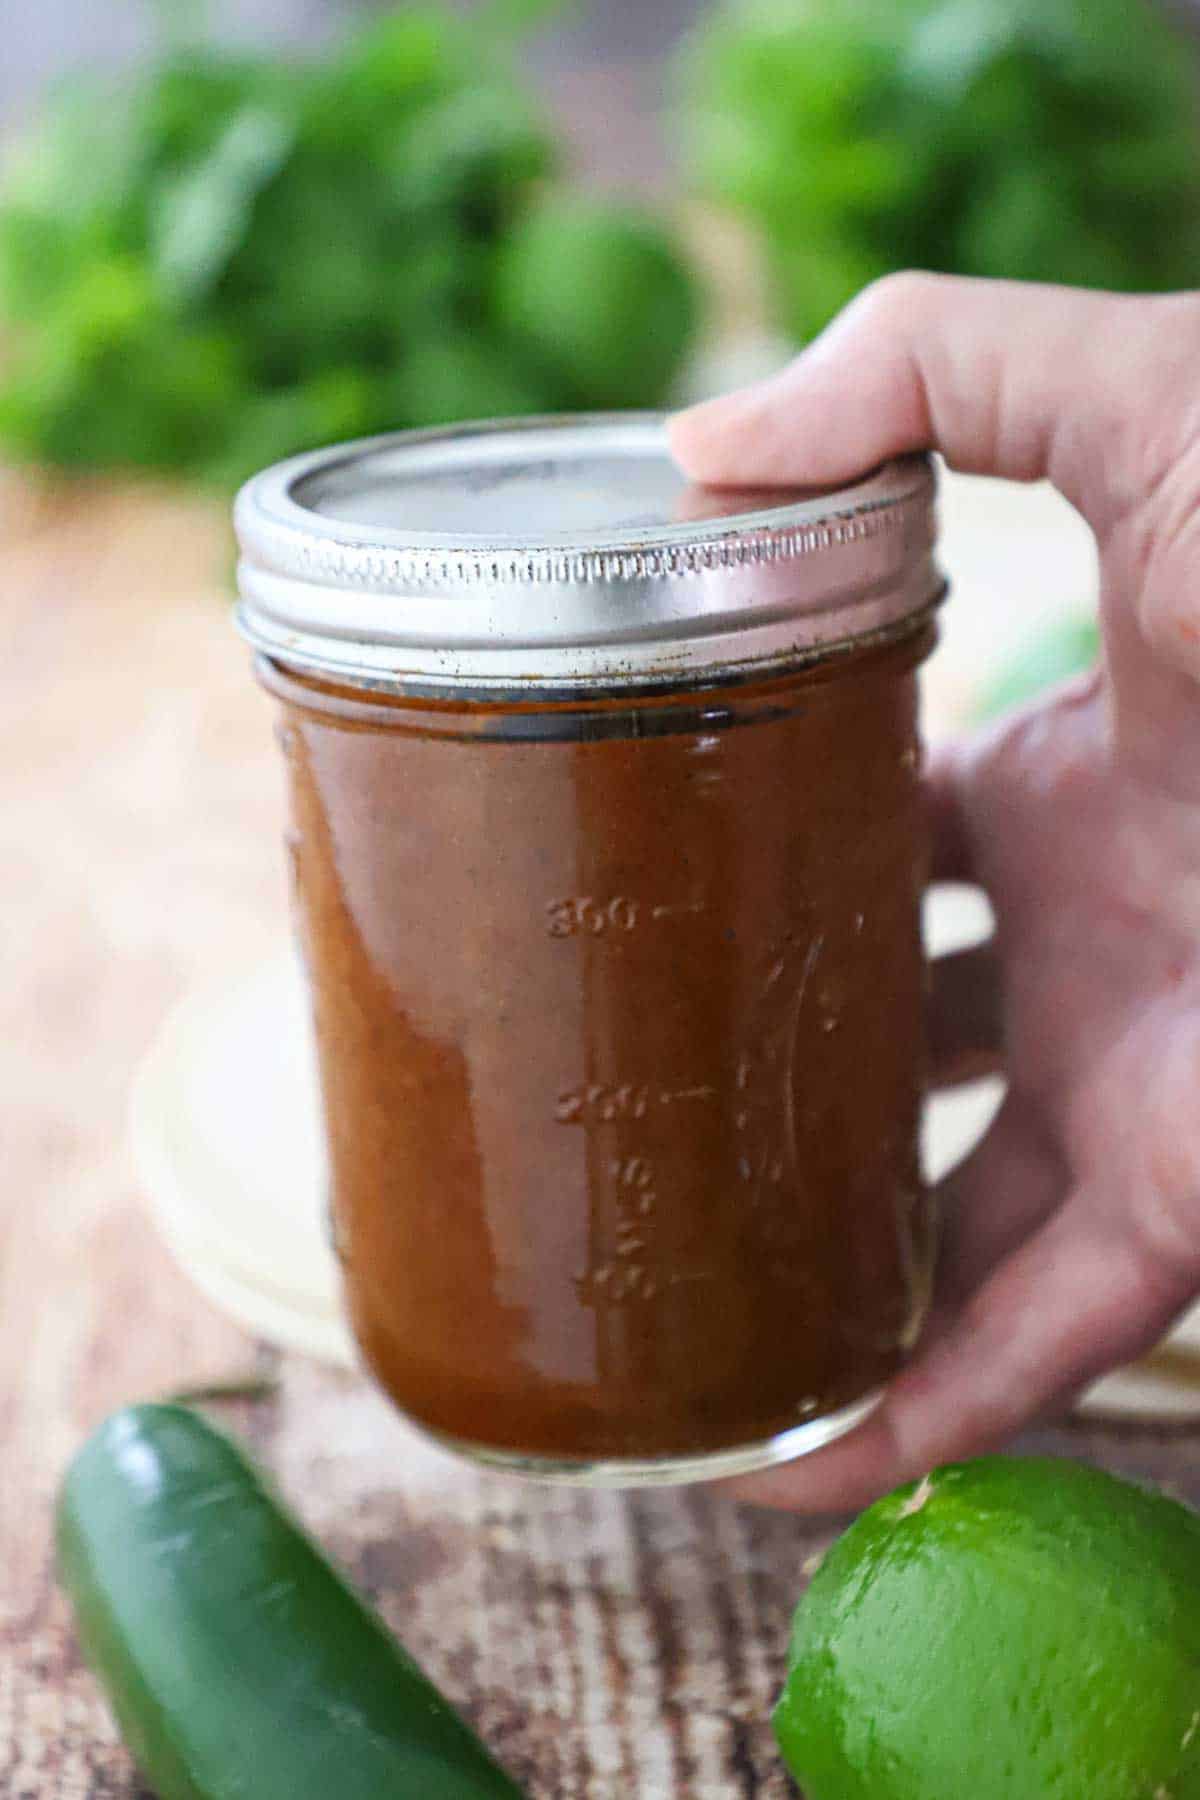
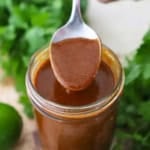
🧈 Ingredients for the Garlic Butter Sauce
This decadent dipping sauce features a velvety butter base infused with savory aromatics, bright citrus, and the perfect amount of New Orleans spice to tie the whole feast together.

📝 Ingredient Notes and Substitutions
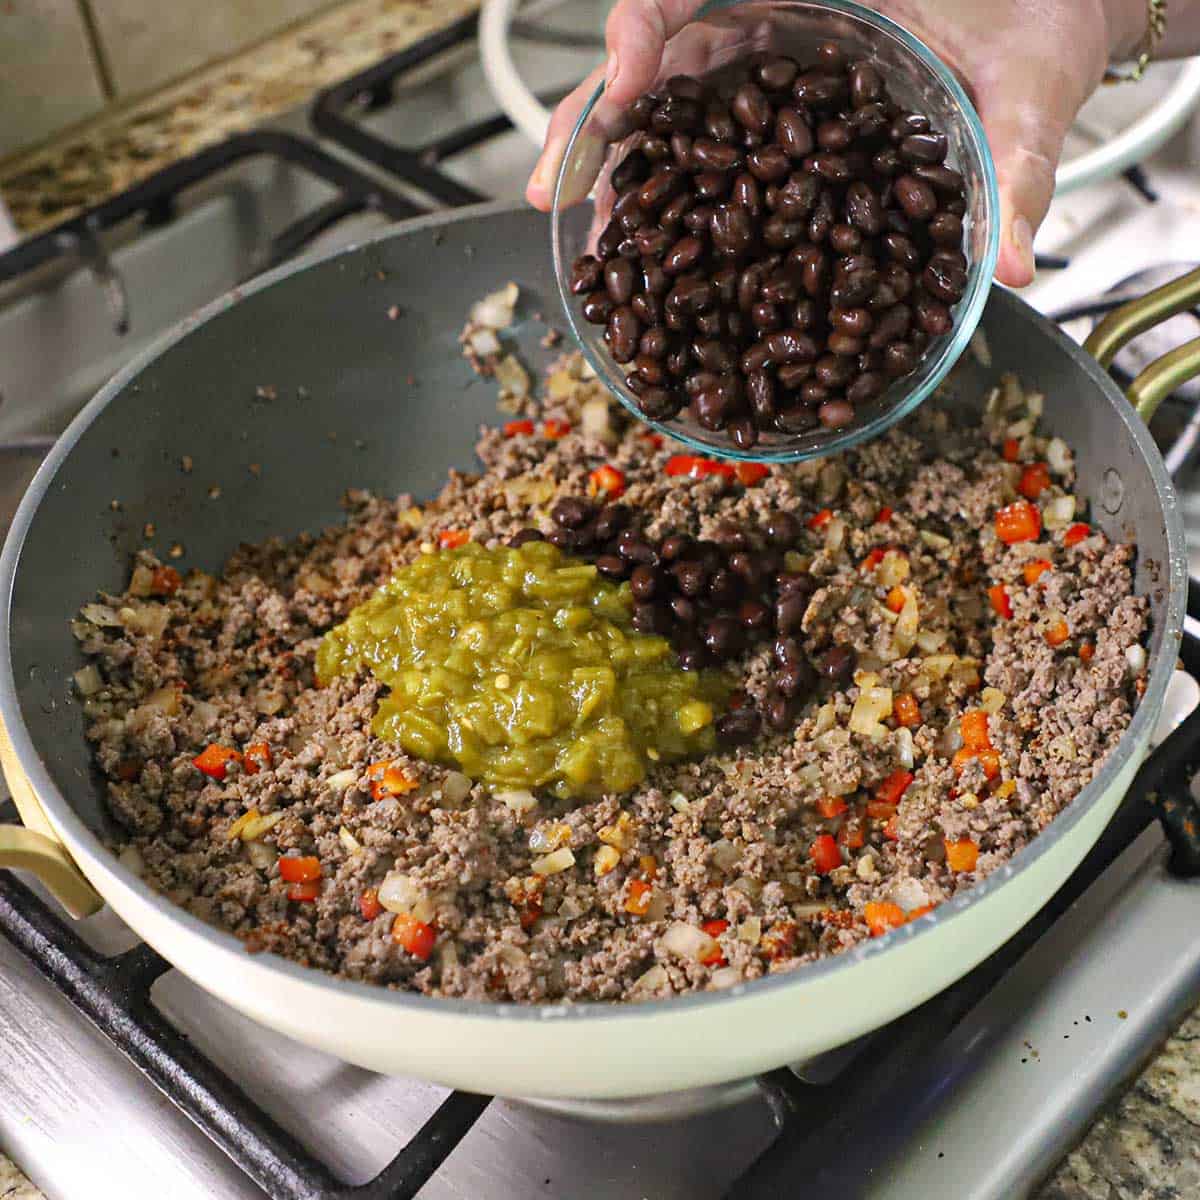
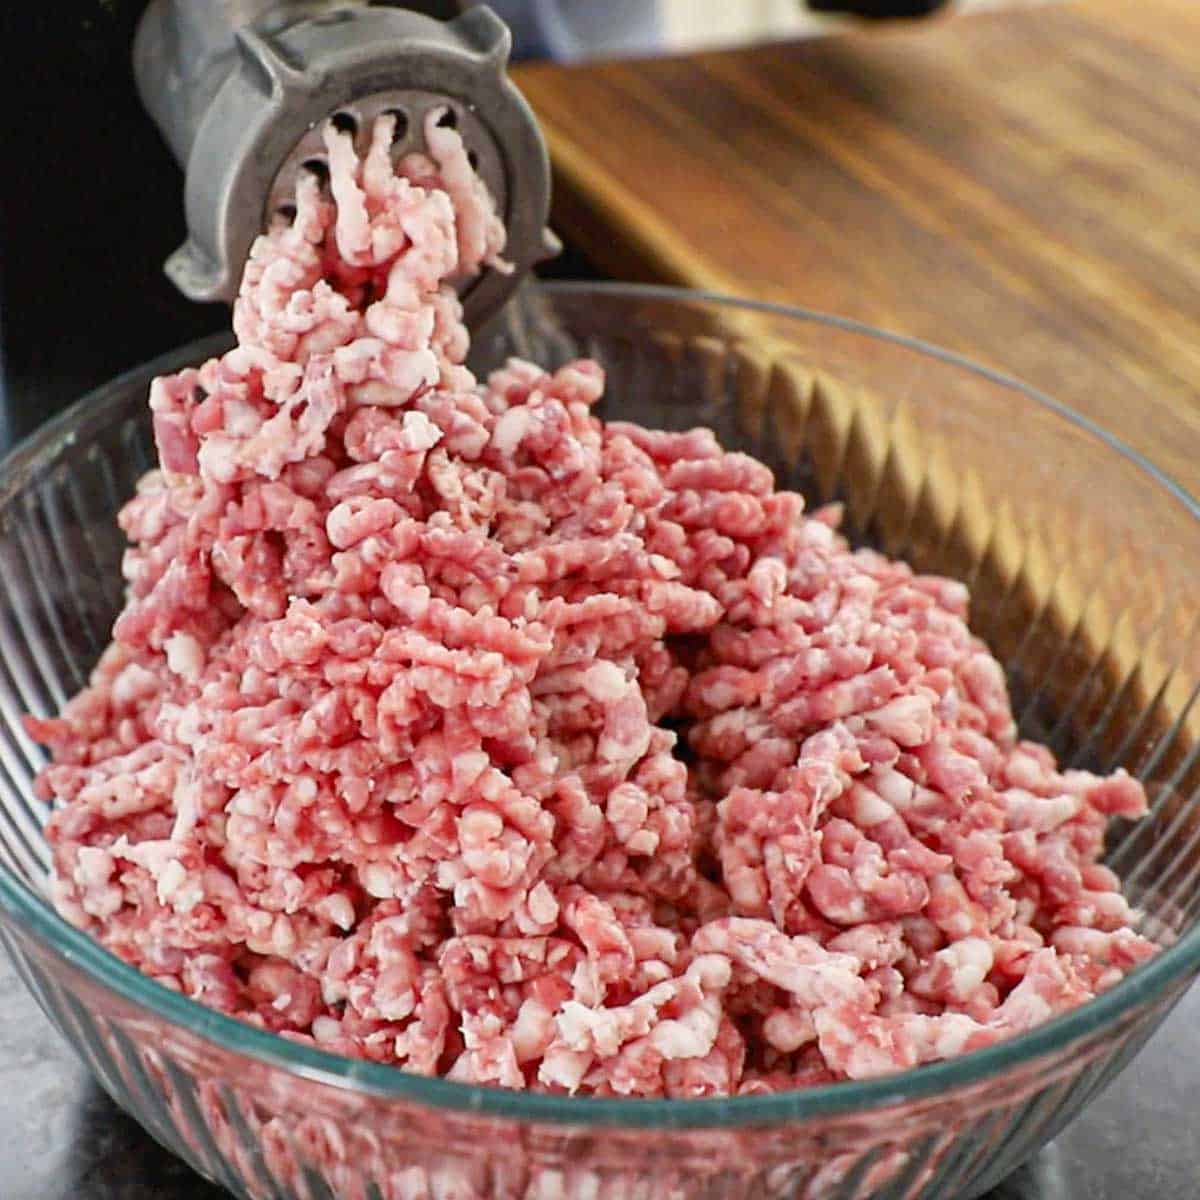
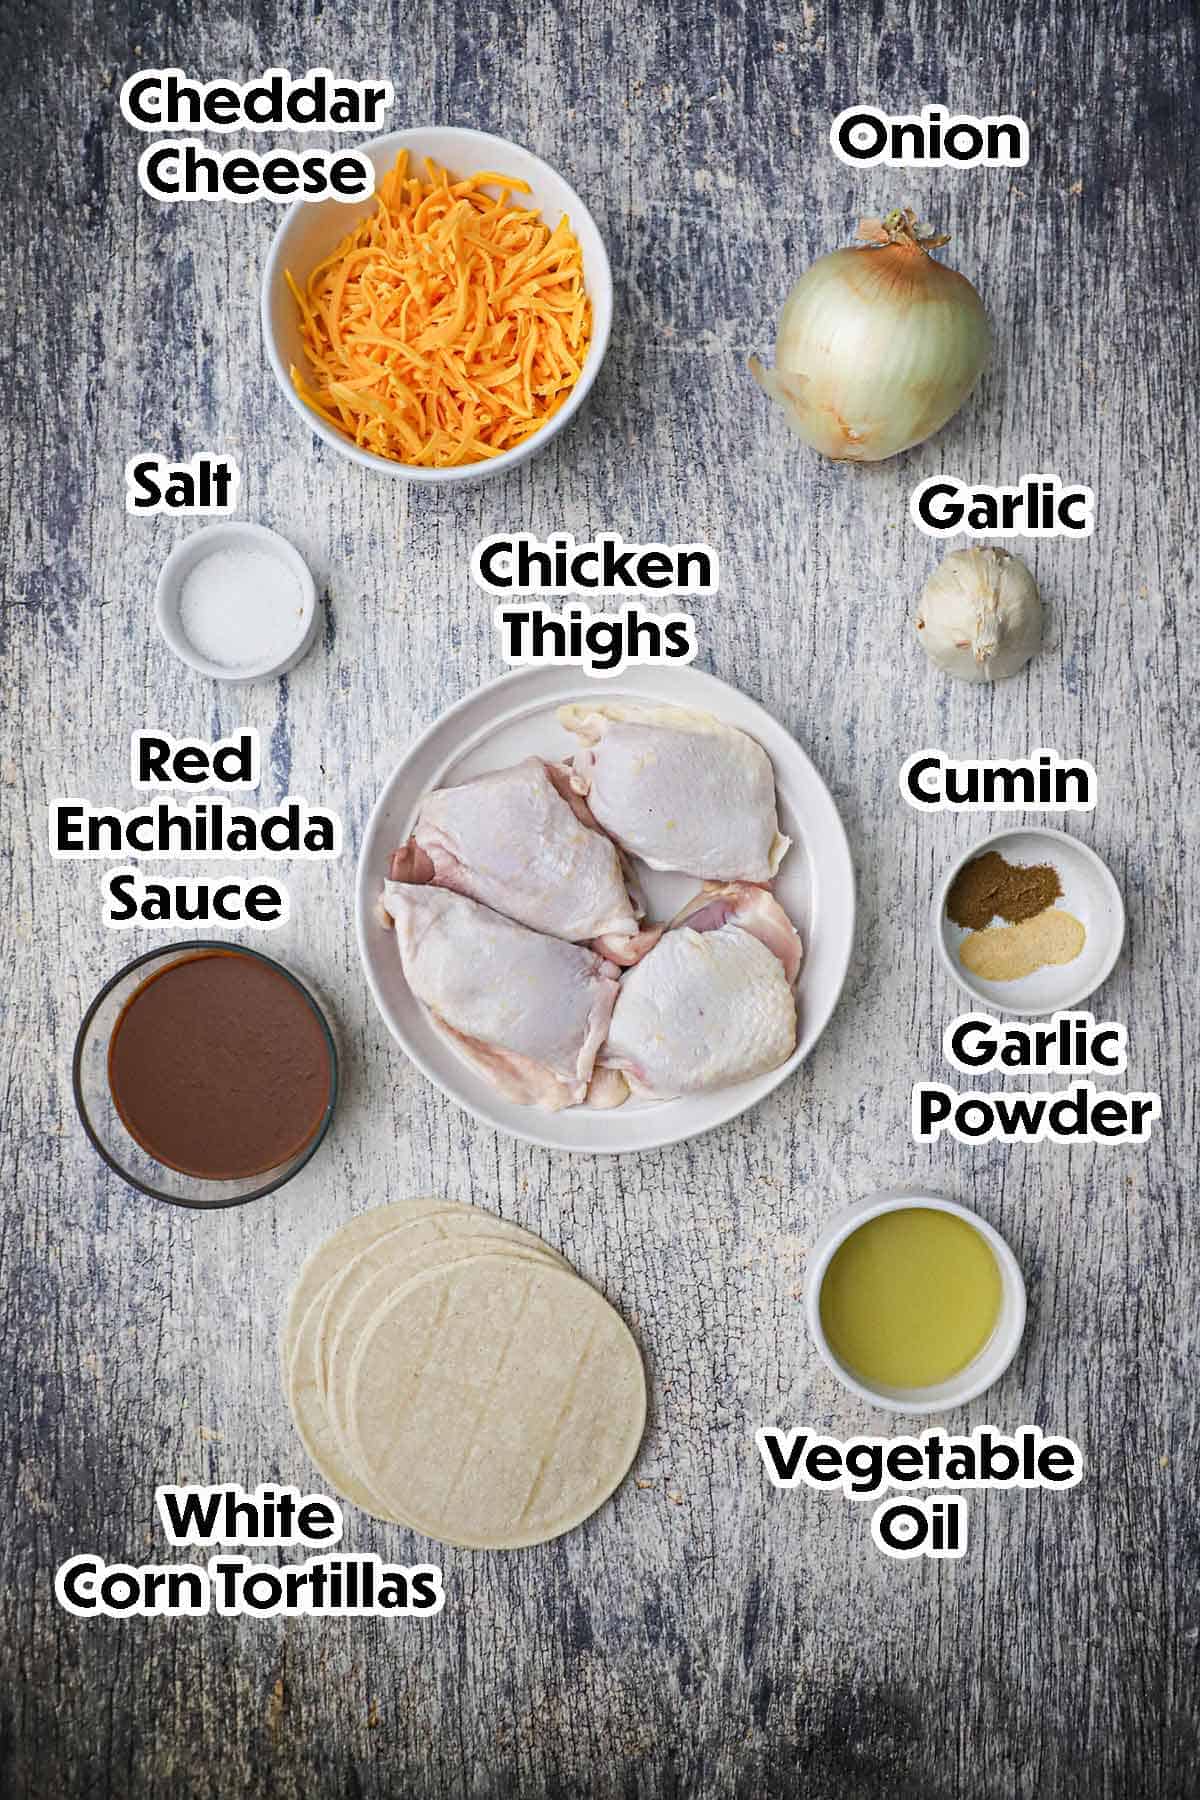
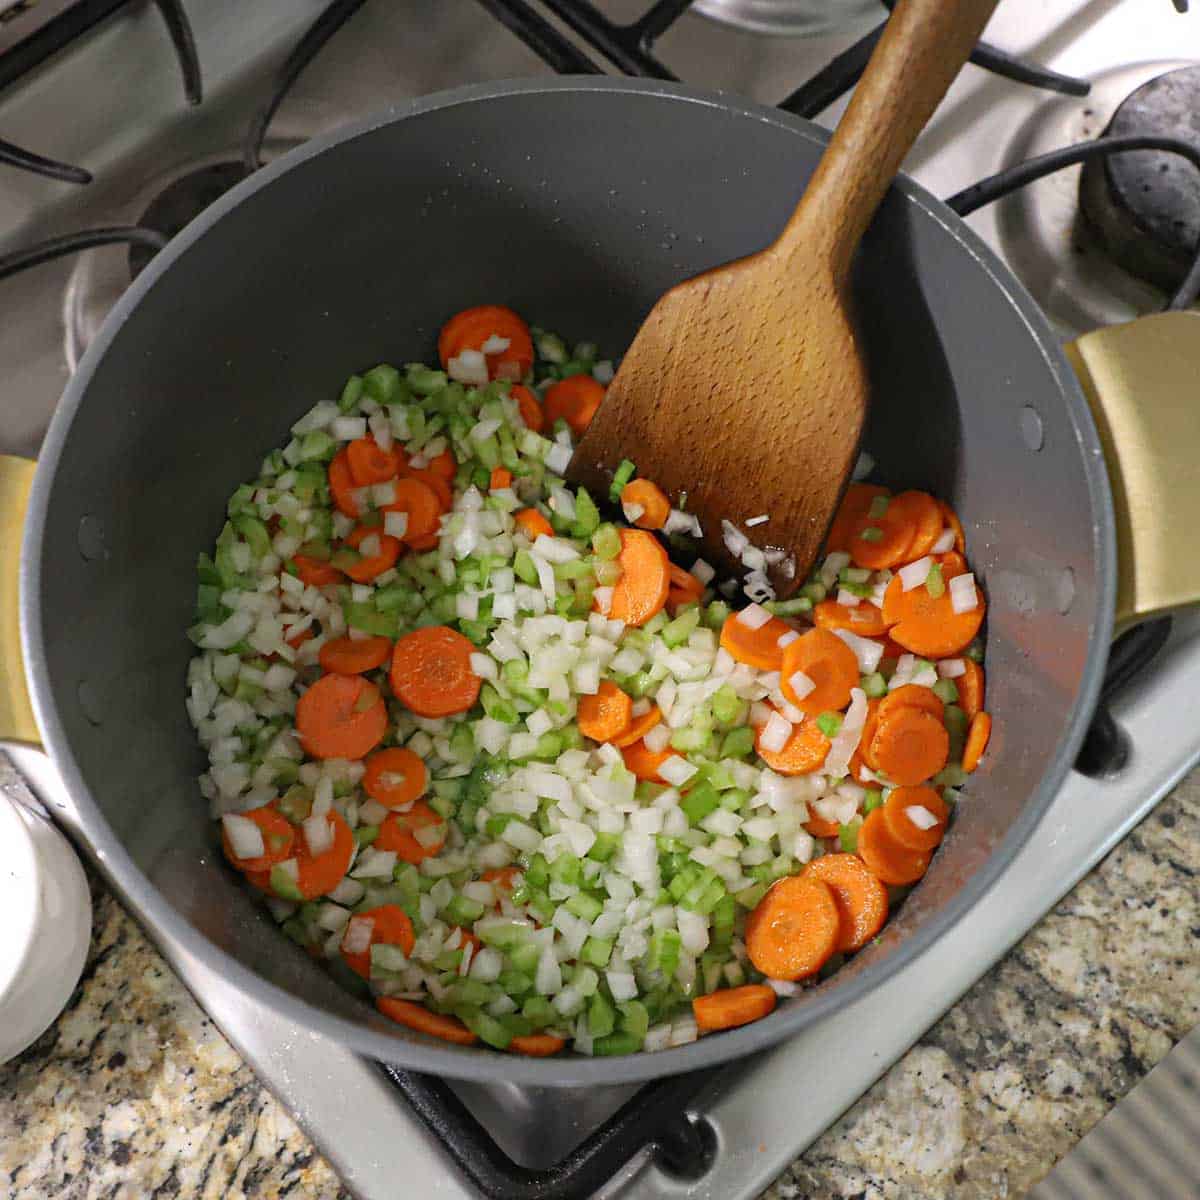
- The Seafood: We love the combination of Snow Crab clusters and Jumbo EZ-peel shrimp, but this recipe is very flexible. You can easily swap in Dungeness crab, King crab legs, or even live crawfish when they are in season.
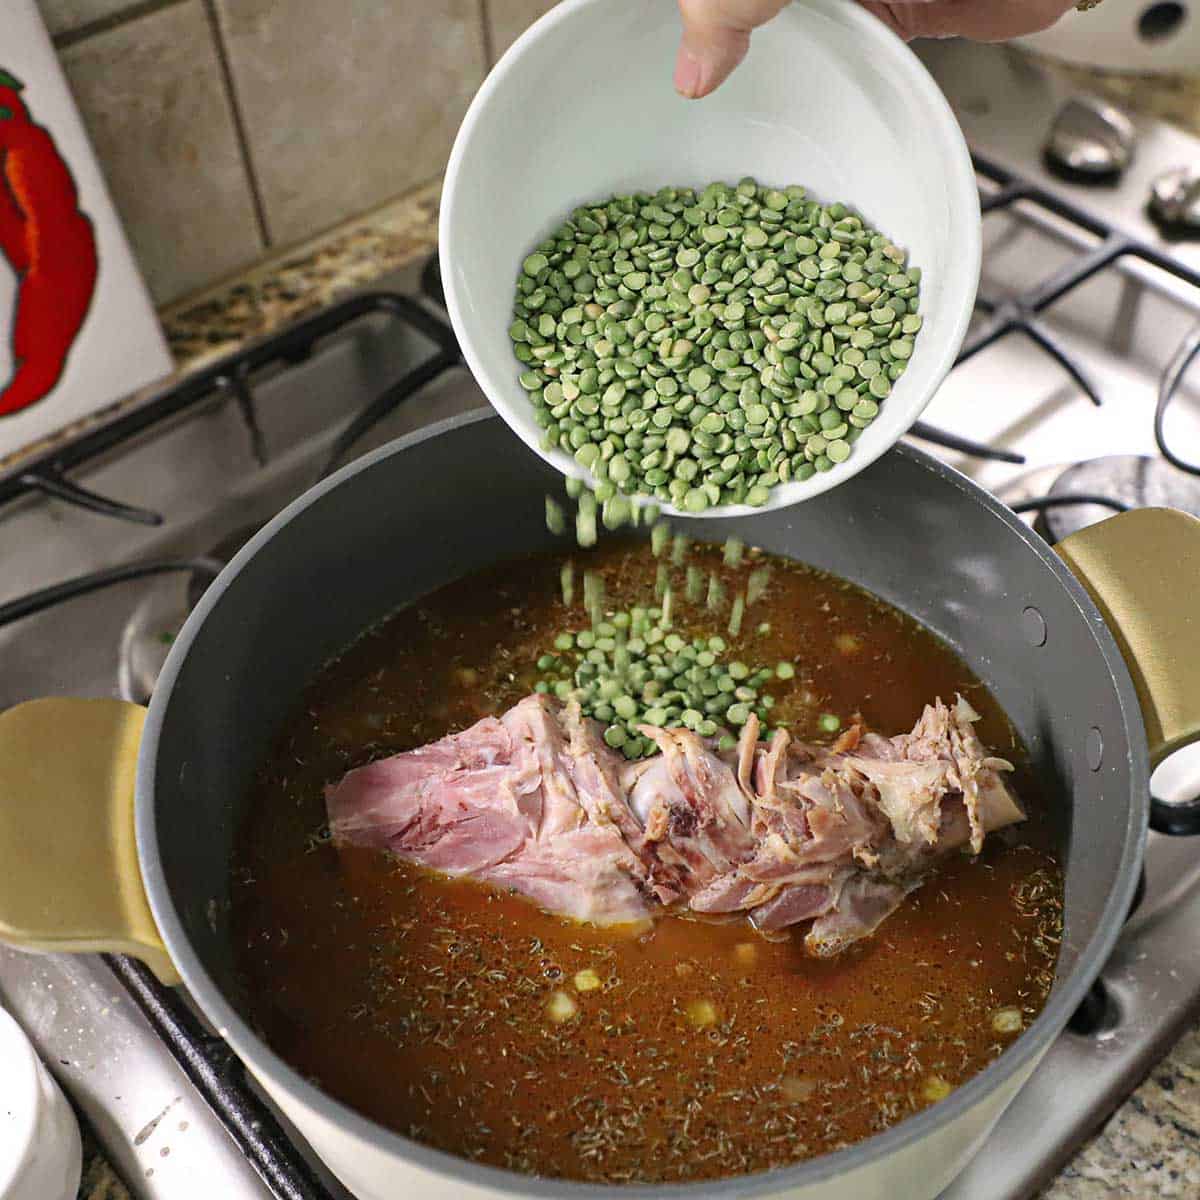
- The “Triple Threat” Spices: For that authentic Louisiana flavor, the combination of Zatarain’s mesh bags, powder, and liquid concentrate is key. If you can’t find the Pro Boil powder, a standard crab boil powder will work, though you may need to adjust the salt to taste.
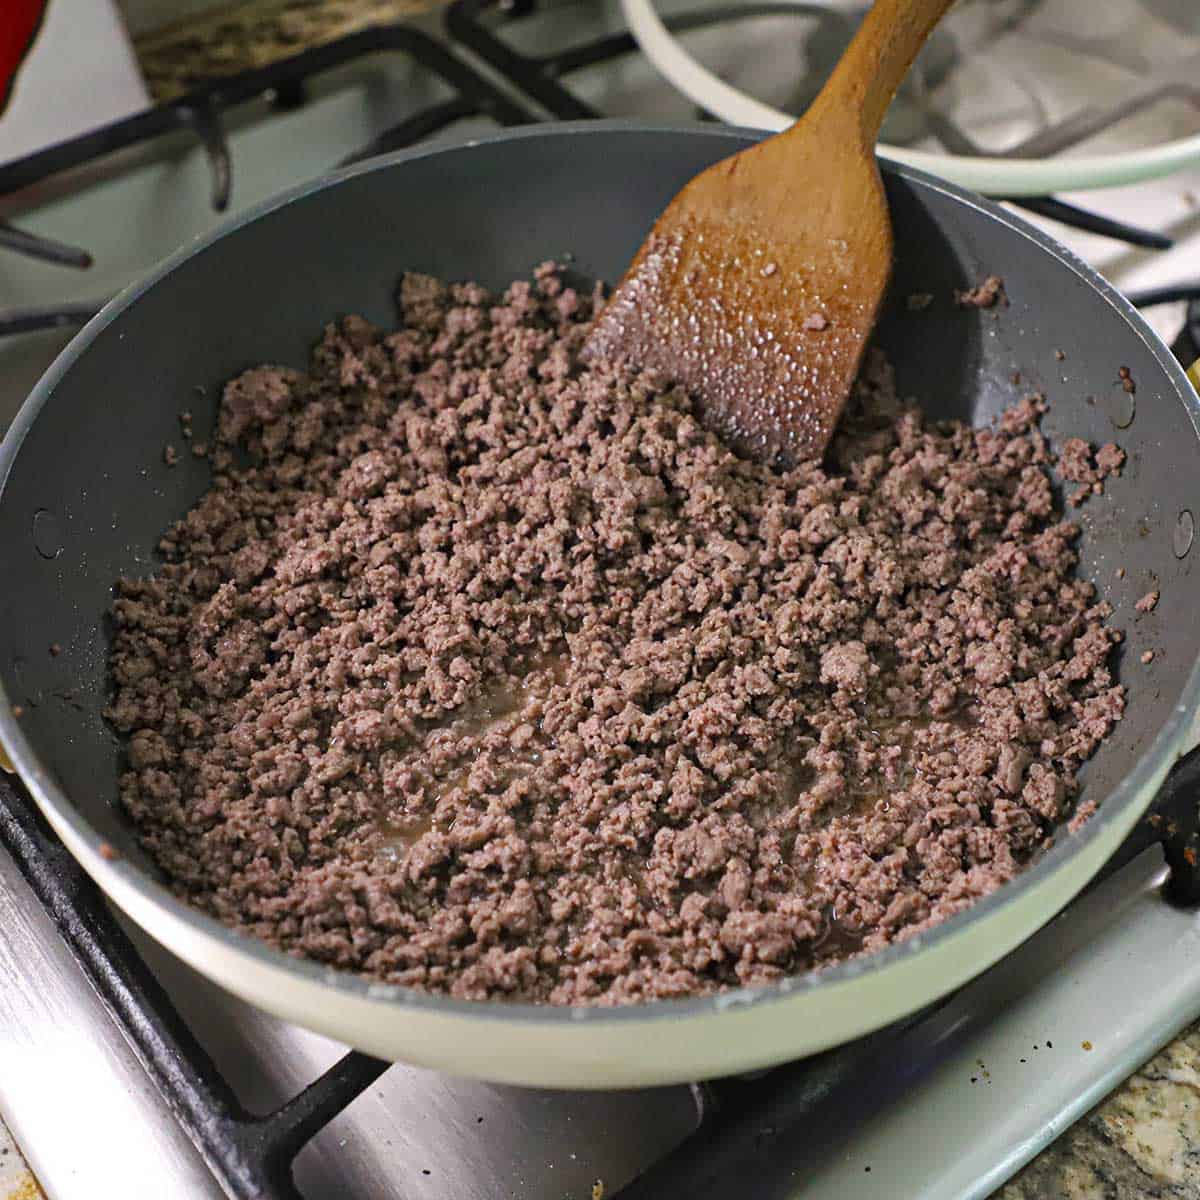
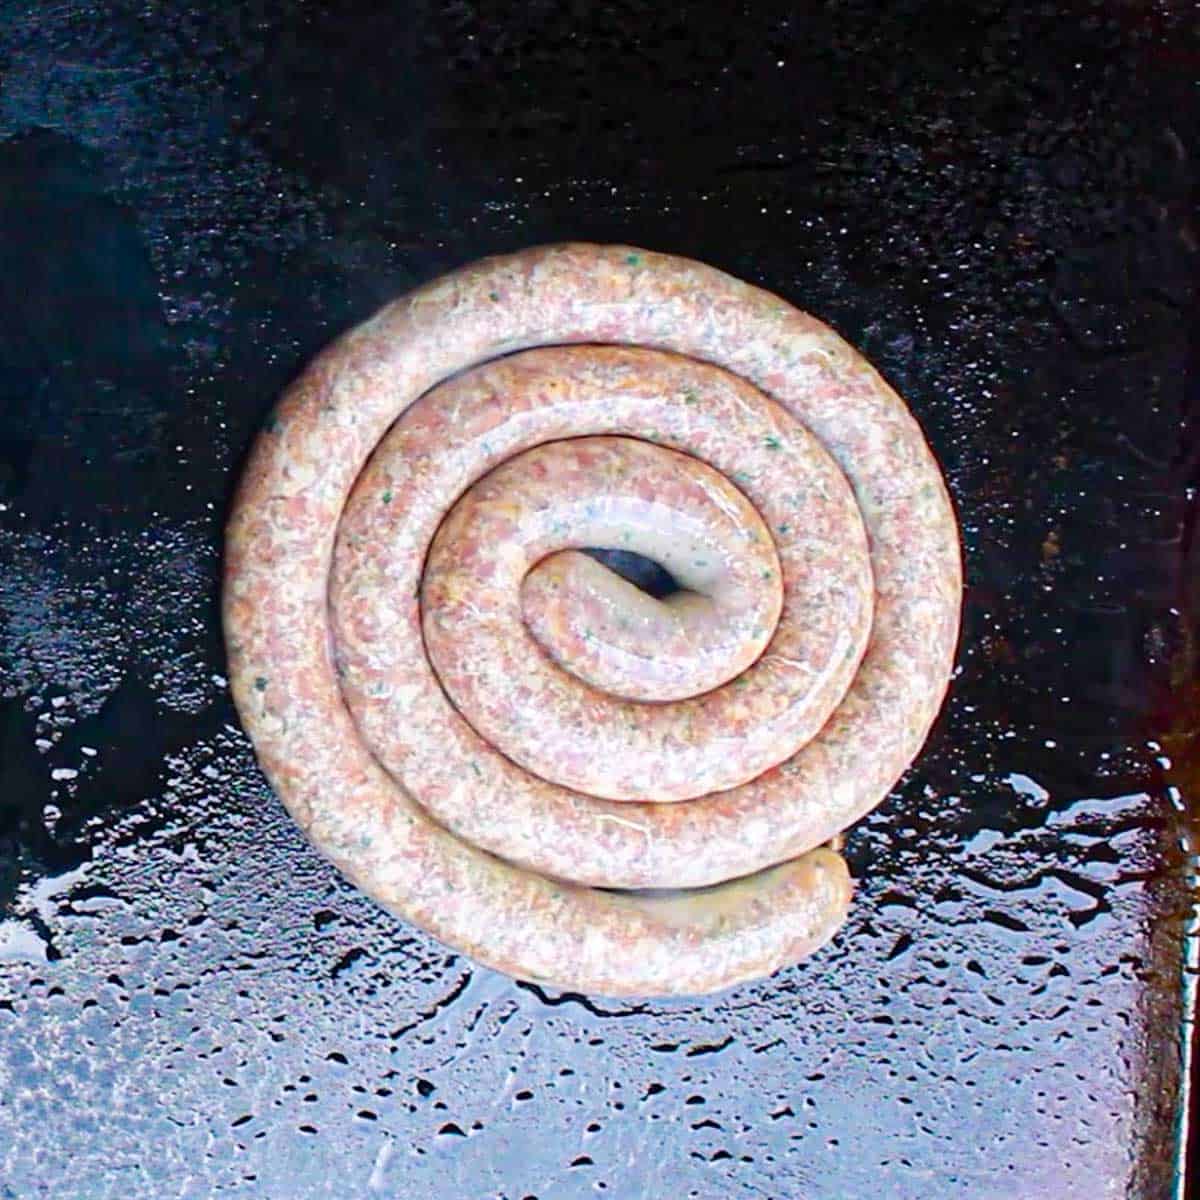
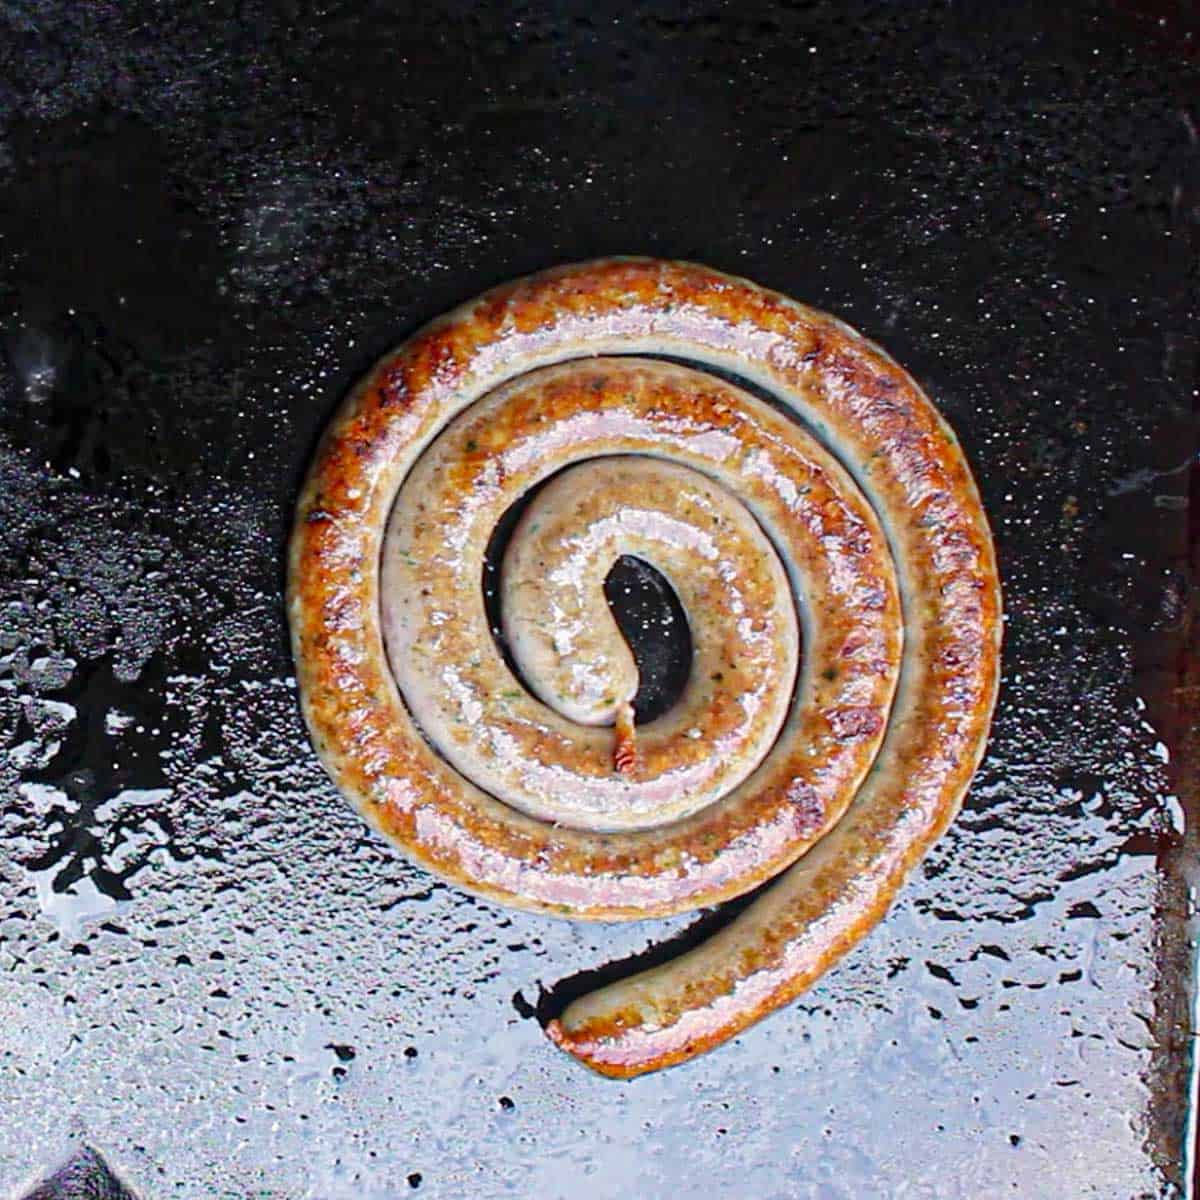
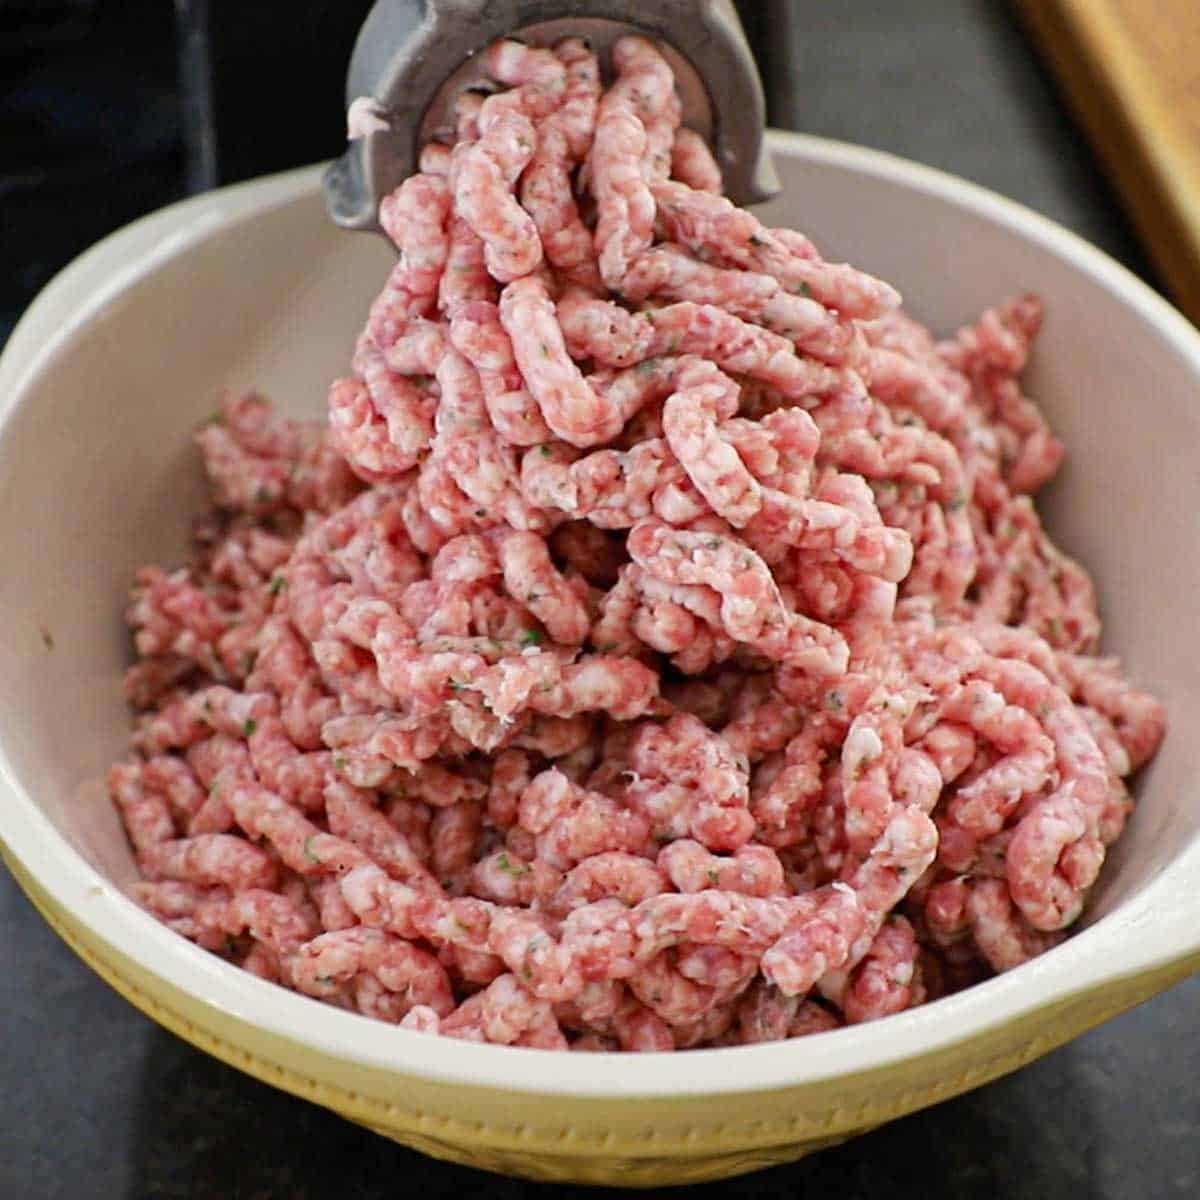
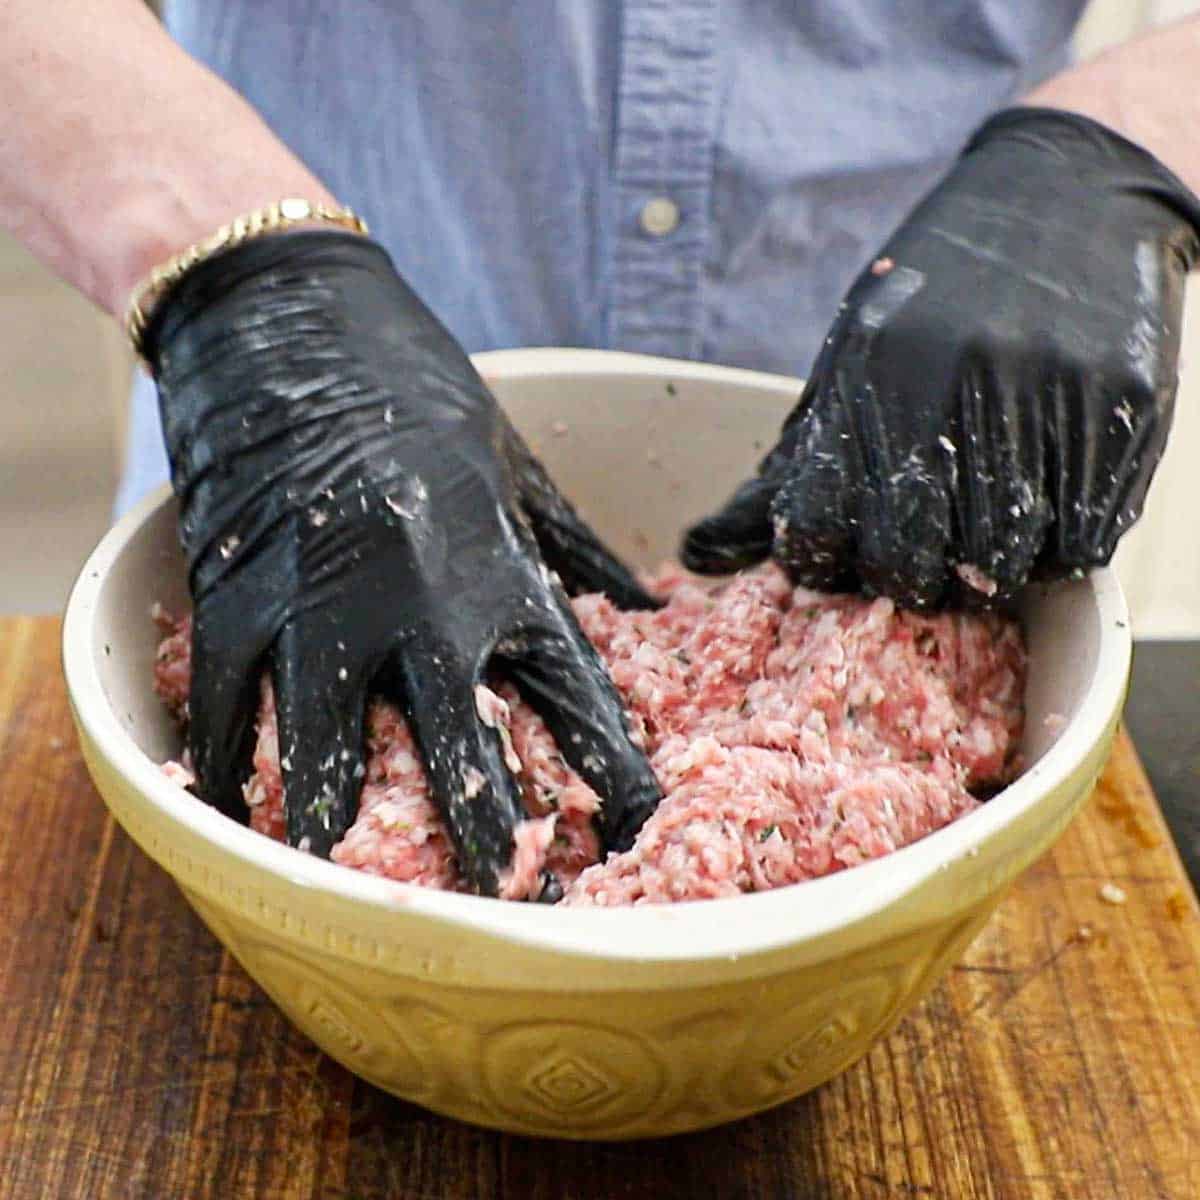
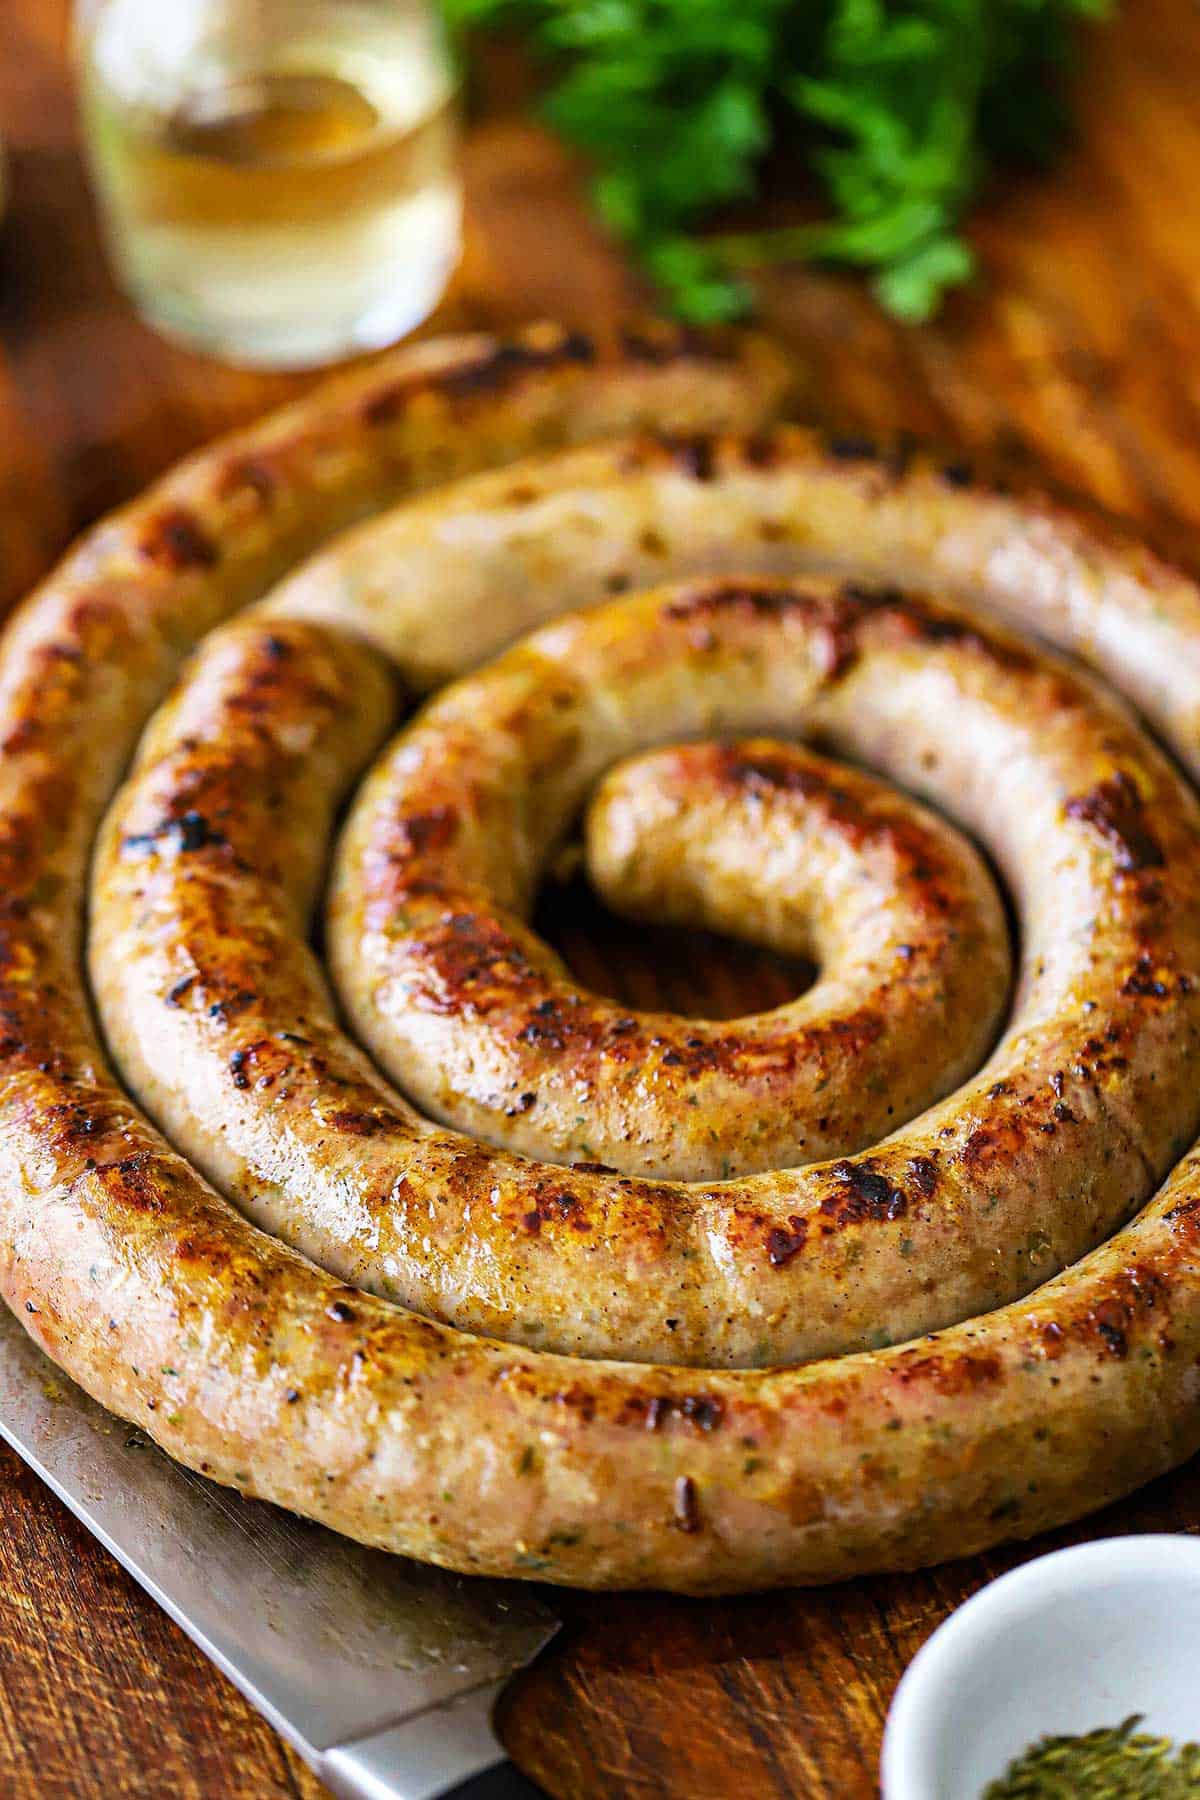
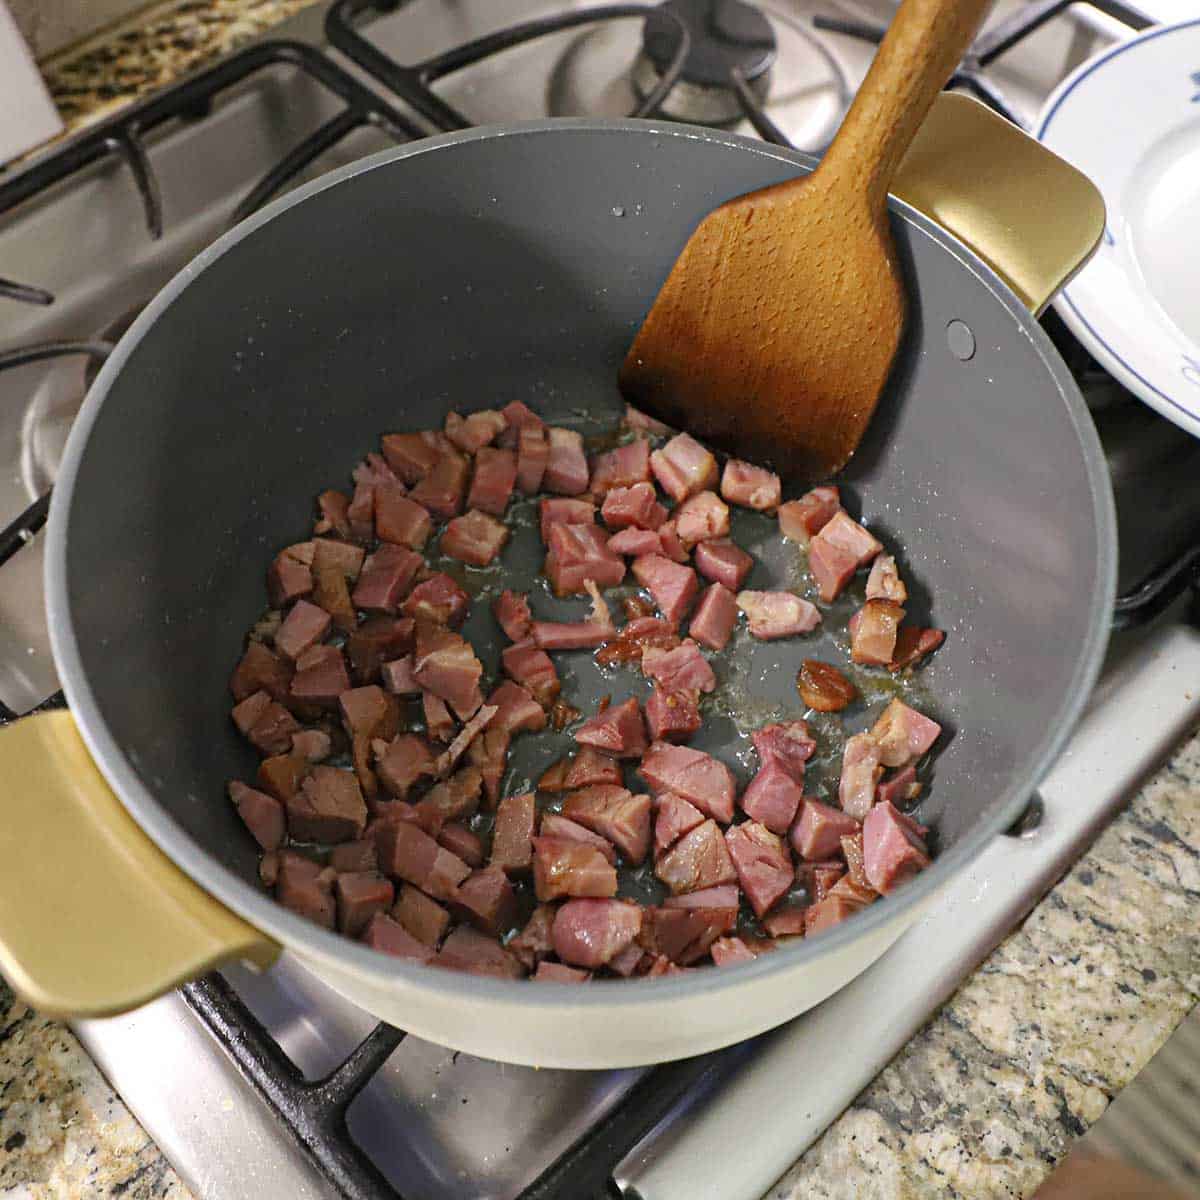
- Andouille Sausage: This provides a signature smoky heat to the boil. If you prefer a milder flavor, smoked Kielbasa is an excellent substitute that still holds up well in the pot.
- Lager: Two cans of light beer add a subtle malty depth to the aromatics. Any light lager like Abita, Miller Lite, or Budweiser works perfectly, but you can substitute with extra water if you prefer to cook without alcohol.
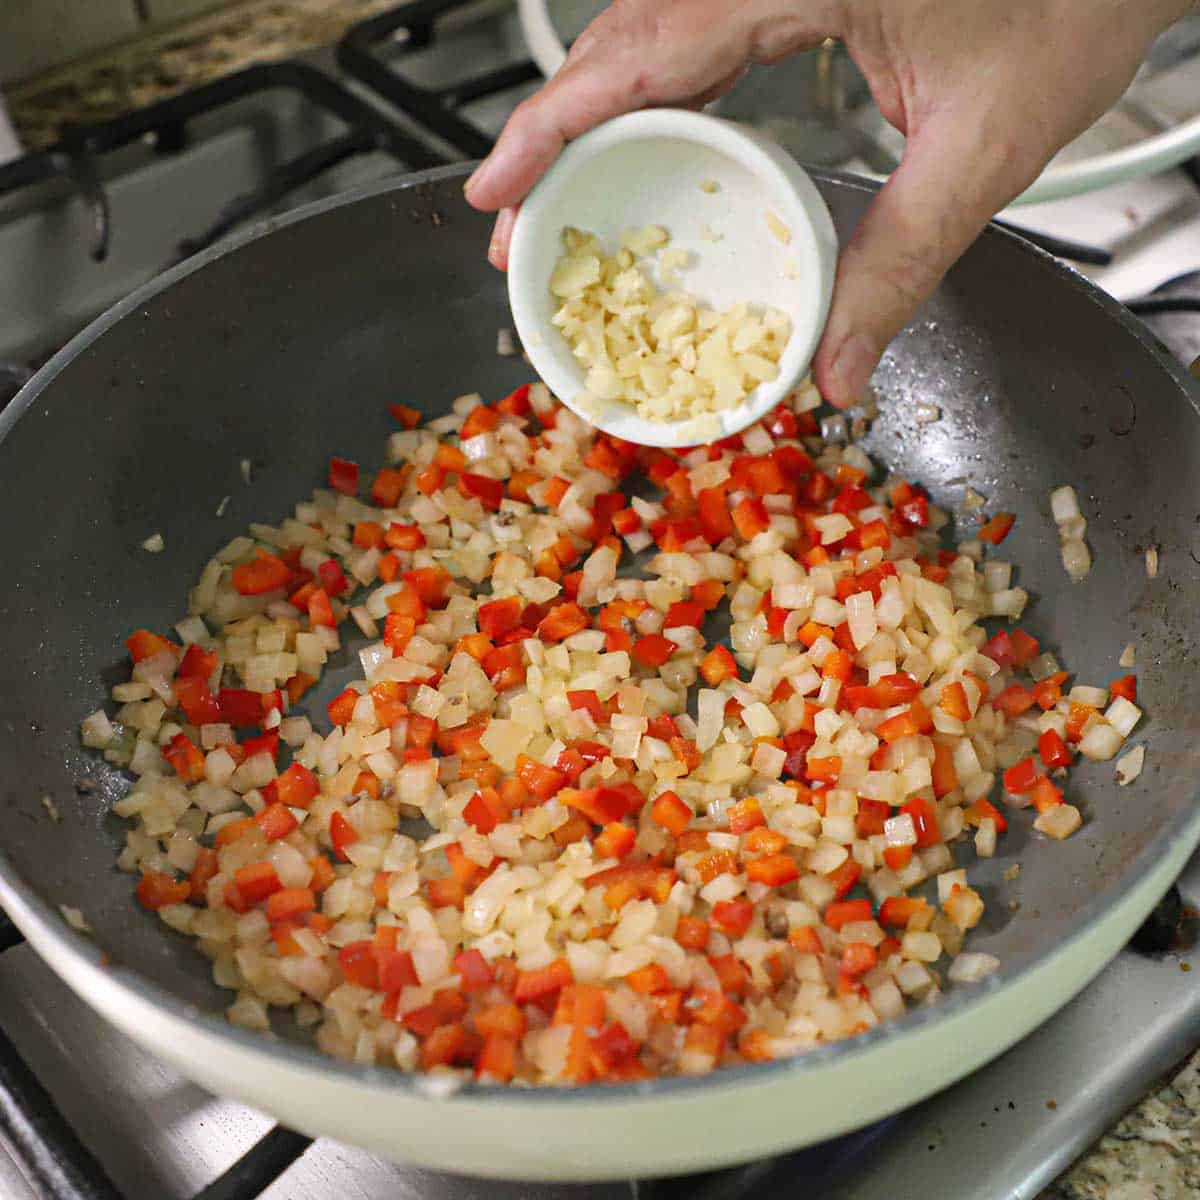
- The Citrus: While lemons are a must, the oranges are our “secret” ingredient. They provide a hint of sweetness that perfectly balances the intense heat of the spices.
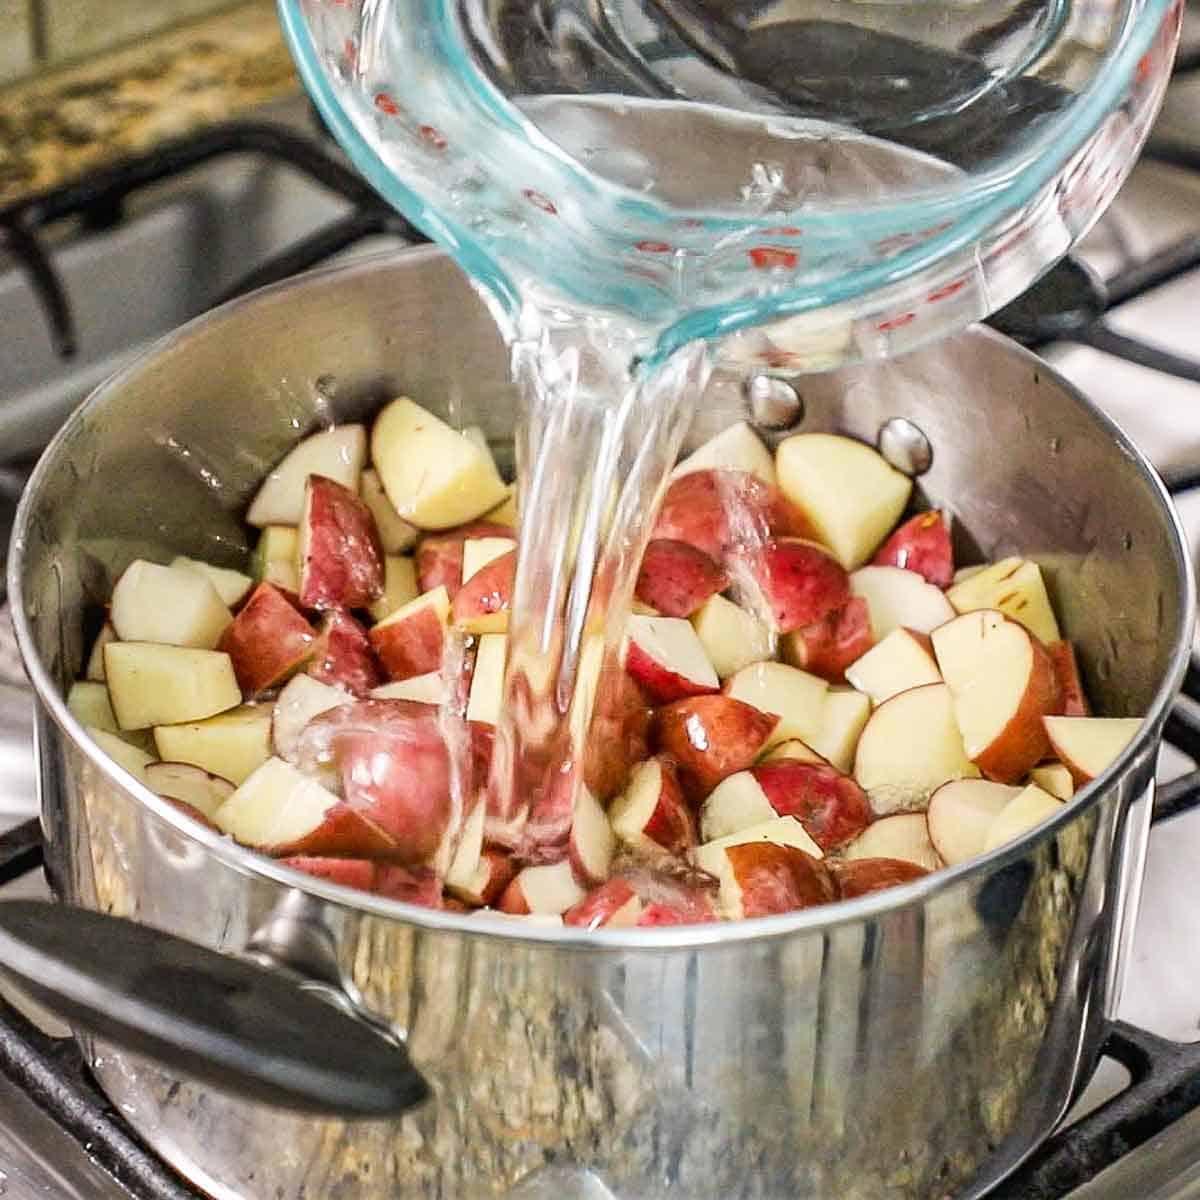
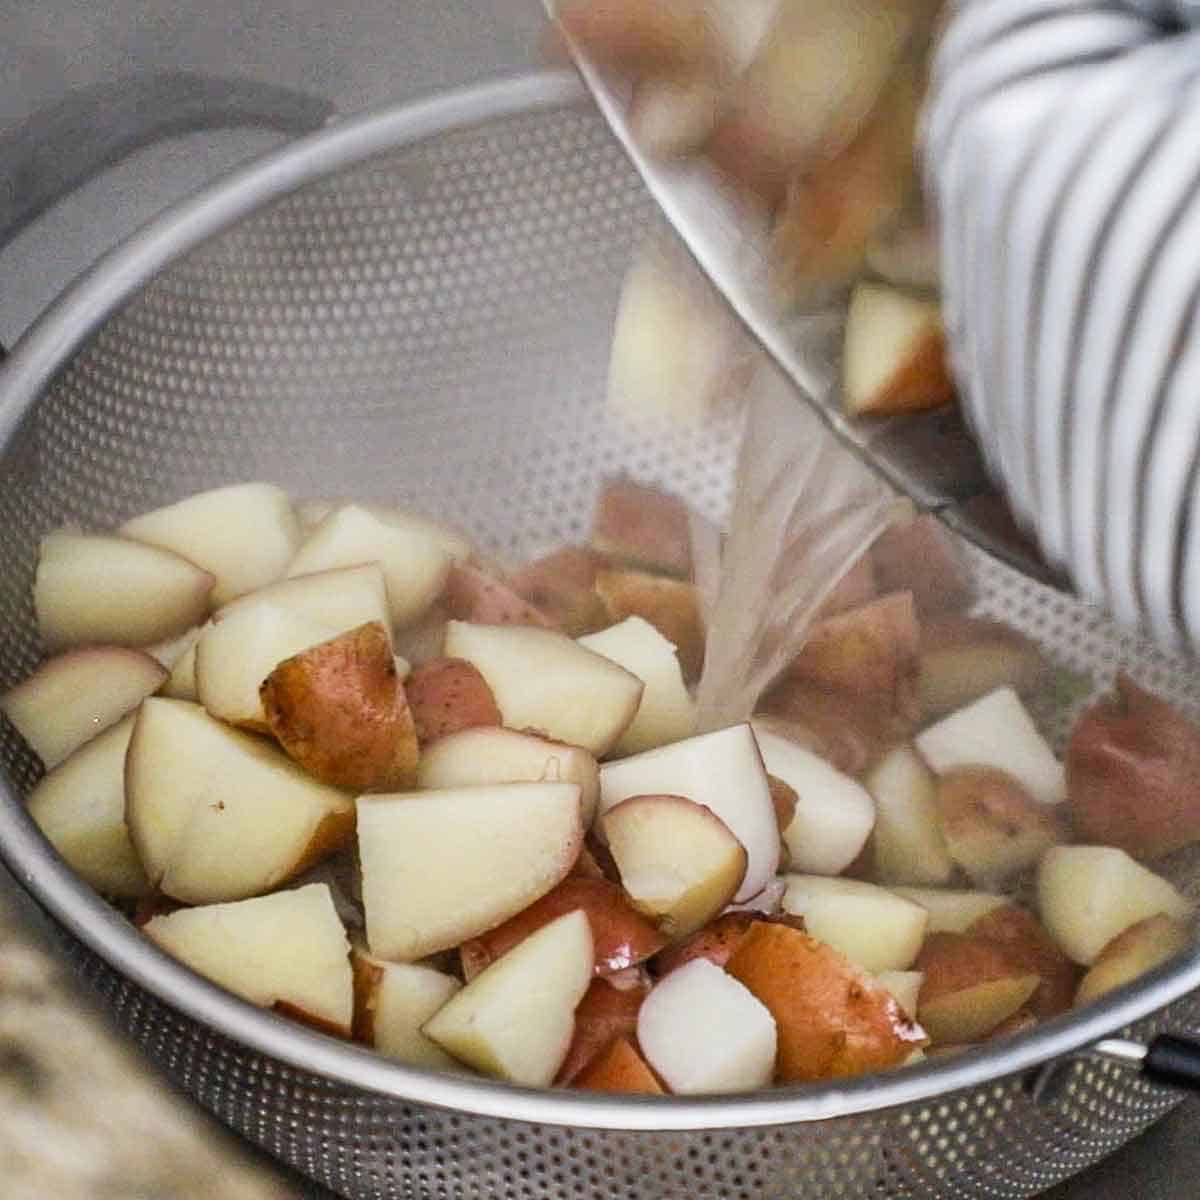
- Potatoes: Small Red Bliss or “B-size” potatoes are ideal because their waxy texture allows them to hold their shape and soak up flavor without becoming mushy during the long soak.
Refer to the recipe card (with video) below for a full list of ingredients and measurements.
🔥 Tips and Tricks for the Perfect Seafood Boil
- The Flavor is in the Soak: Don’t rush to pull the seafood out of the pot! The most important step is the 20-minute soak after you turn off the heat. This is when the crab and shrimp actually absorb the seasoned broth without becoming overcooked.
- Handle the Liquid with Care: Zatarain’s Liquid Concentrate is incredibly potent. Avoid the temptation to take a deep sniff of the open bottle (it will clear your sinuses in a hurry!) and be sure to wash your hands immediately if any gets on your skin.
- Thaw Your Crab: For the most even cooking, make sure your snow crab clusters are fully thawed before they hit the water.
- Use EZ-Peel Shrimp: We highly recommend jumbo “easy-peel” shrimp. The slit down the back allows that spicy “Triple Threat” water to get directly onto the meat, and it makes the “big dump” on the table much more enjoyable for your guests.
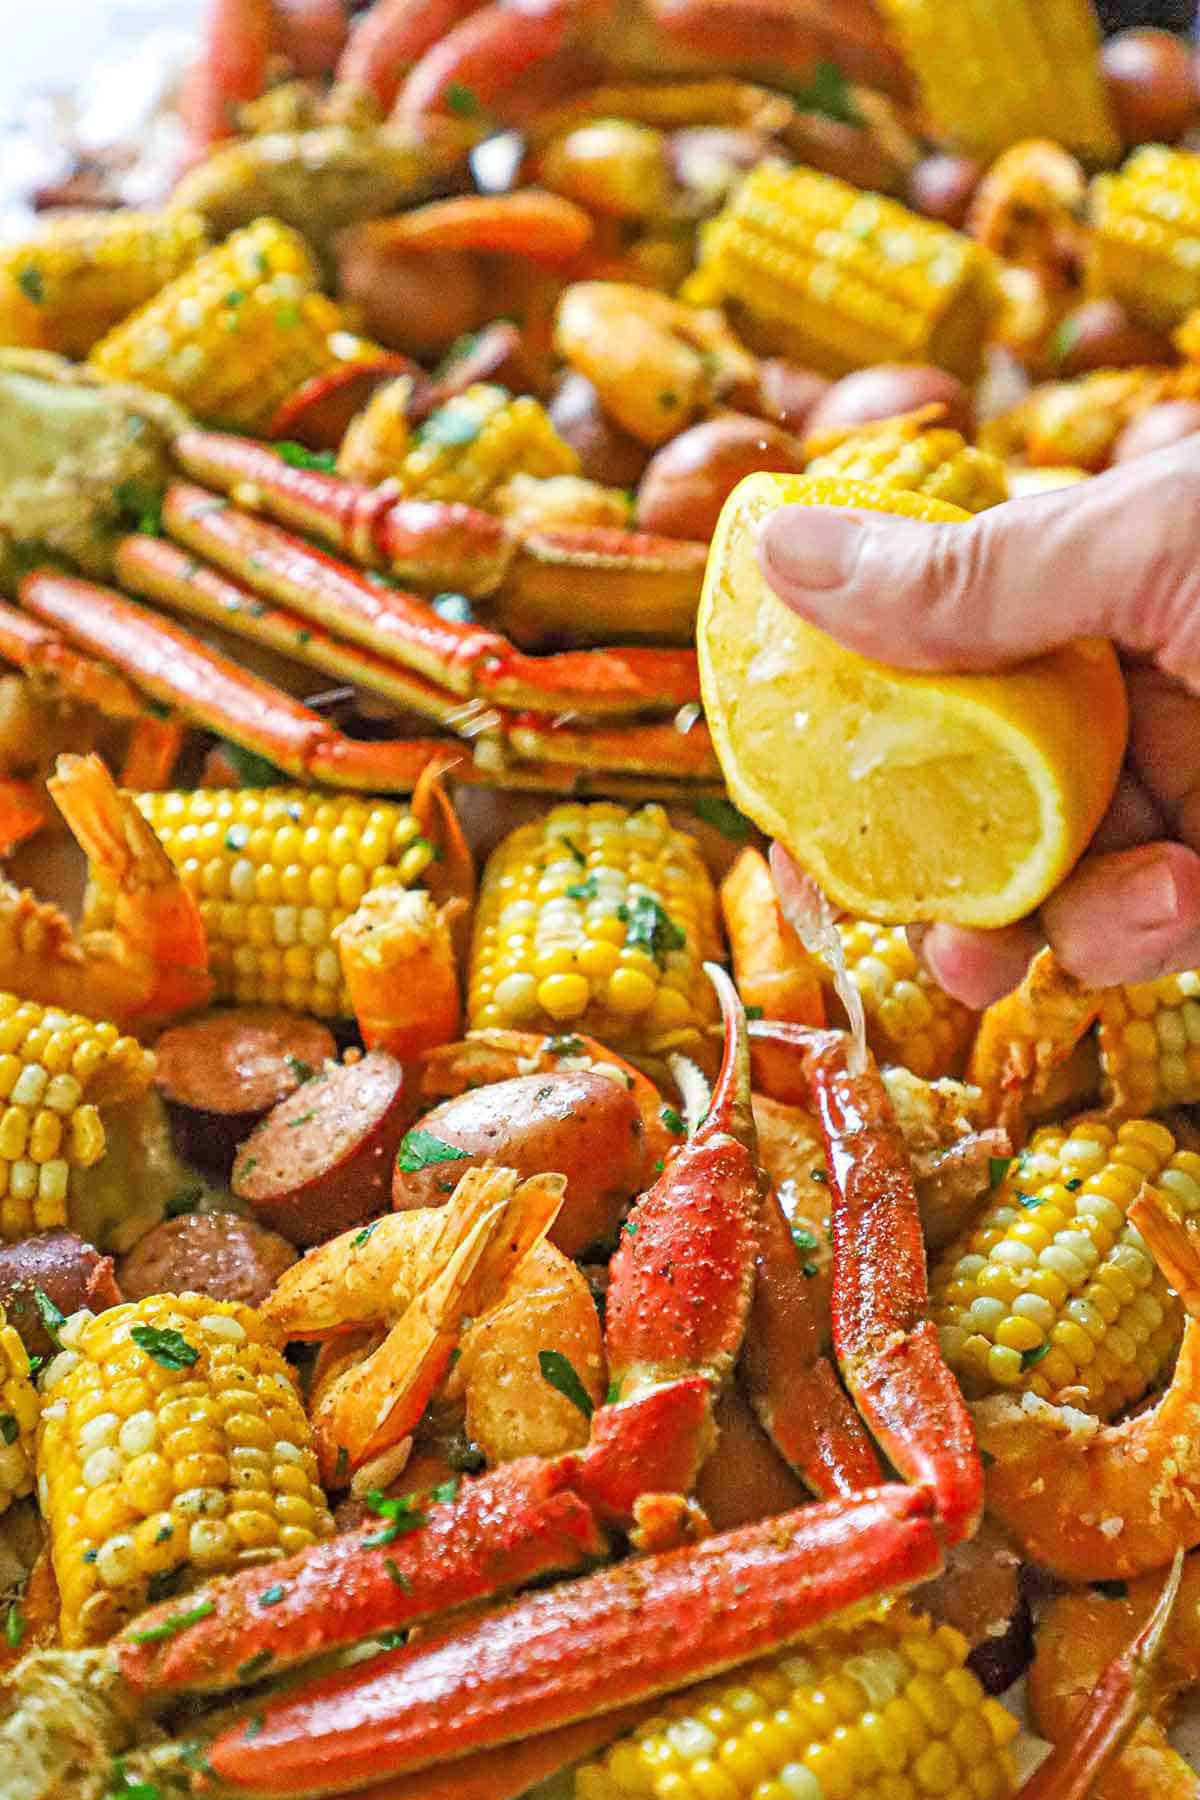
- The Final Dusting: For that true Louisiana shack experience, give the entire mountain of seafood a light dusting of extra Pro Boil powder or Old Bay immediately after dumping it onto the table. The steam will help the spices stick, giving you an instant hit of flavor with every bite.
- Prep Your Table: This is a messy (but fun!) meal. Line your table with several layers of newspaper or heavy-duty butcher paper for easy cleanup.
👩🏼🍳 How to Make a Louisiana Seafood Boil
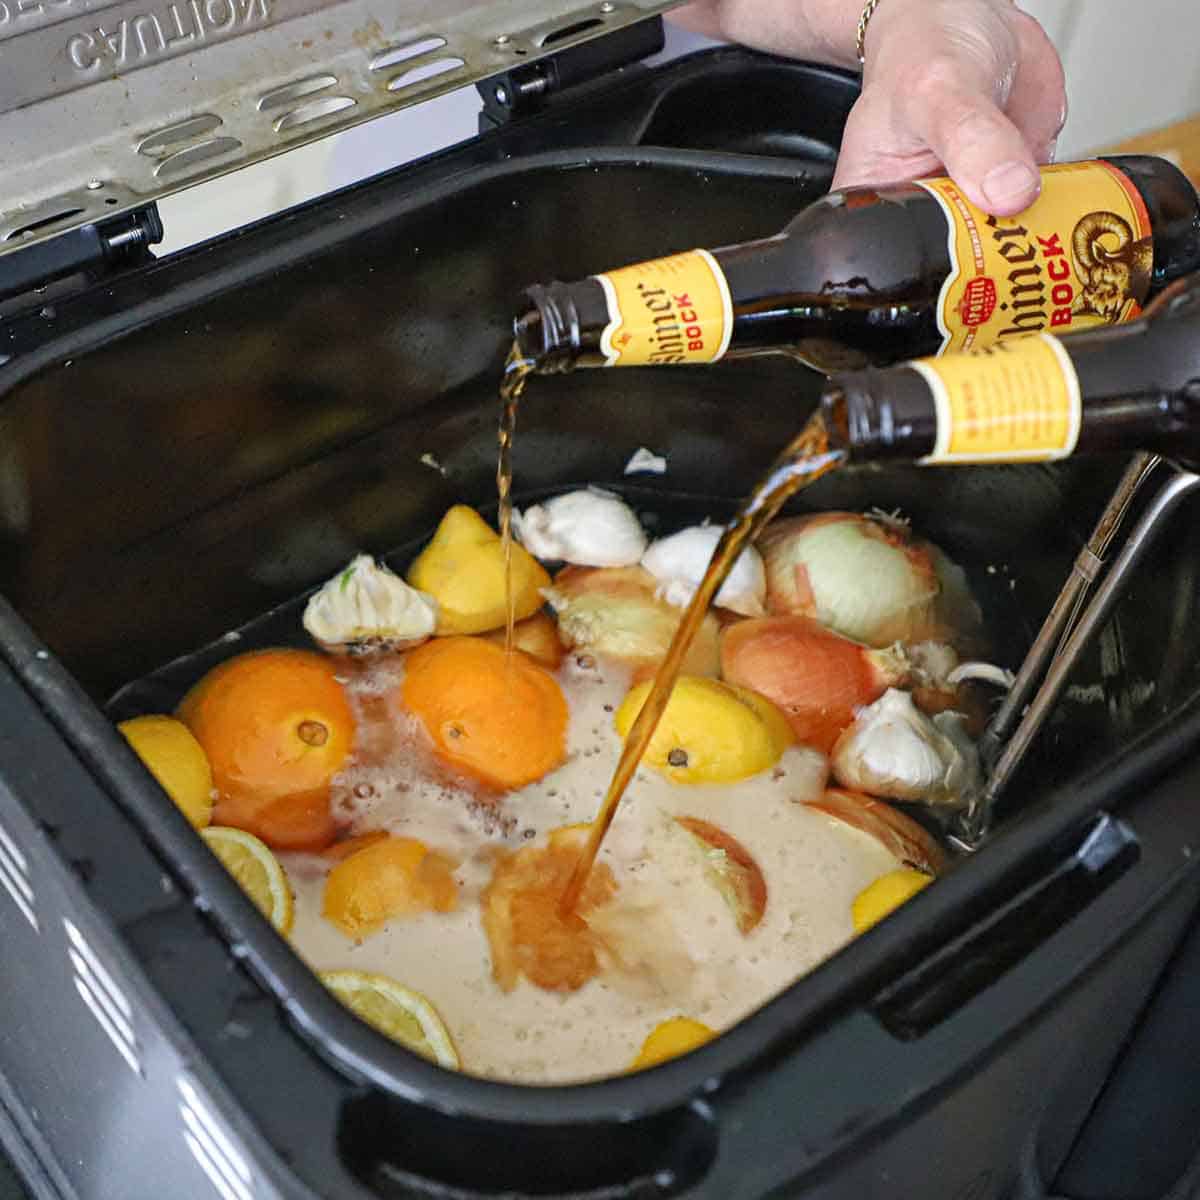
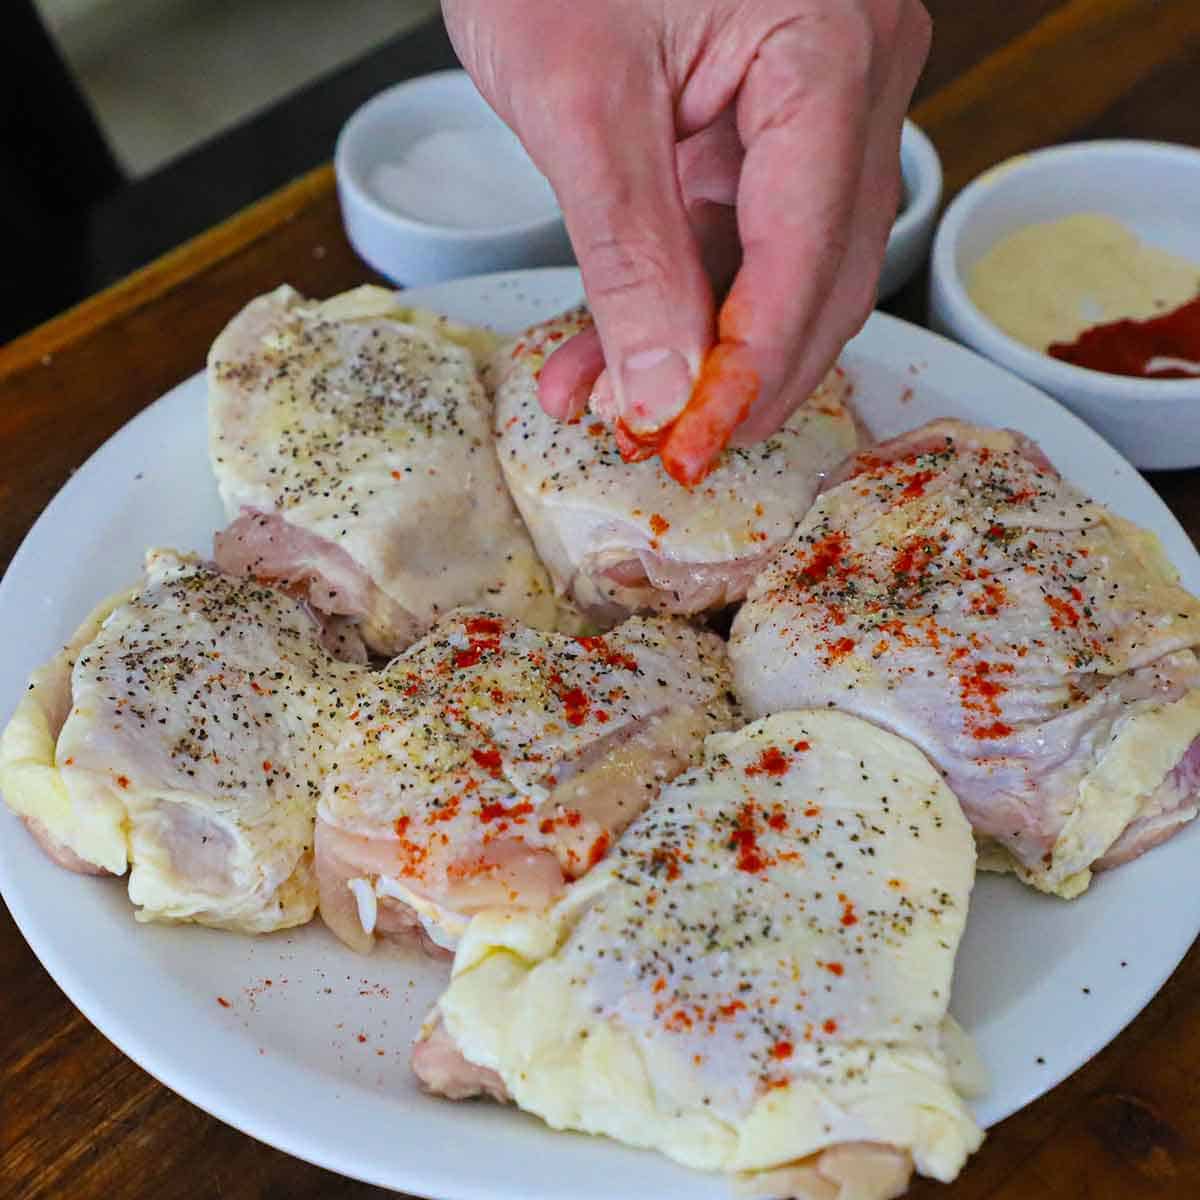
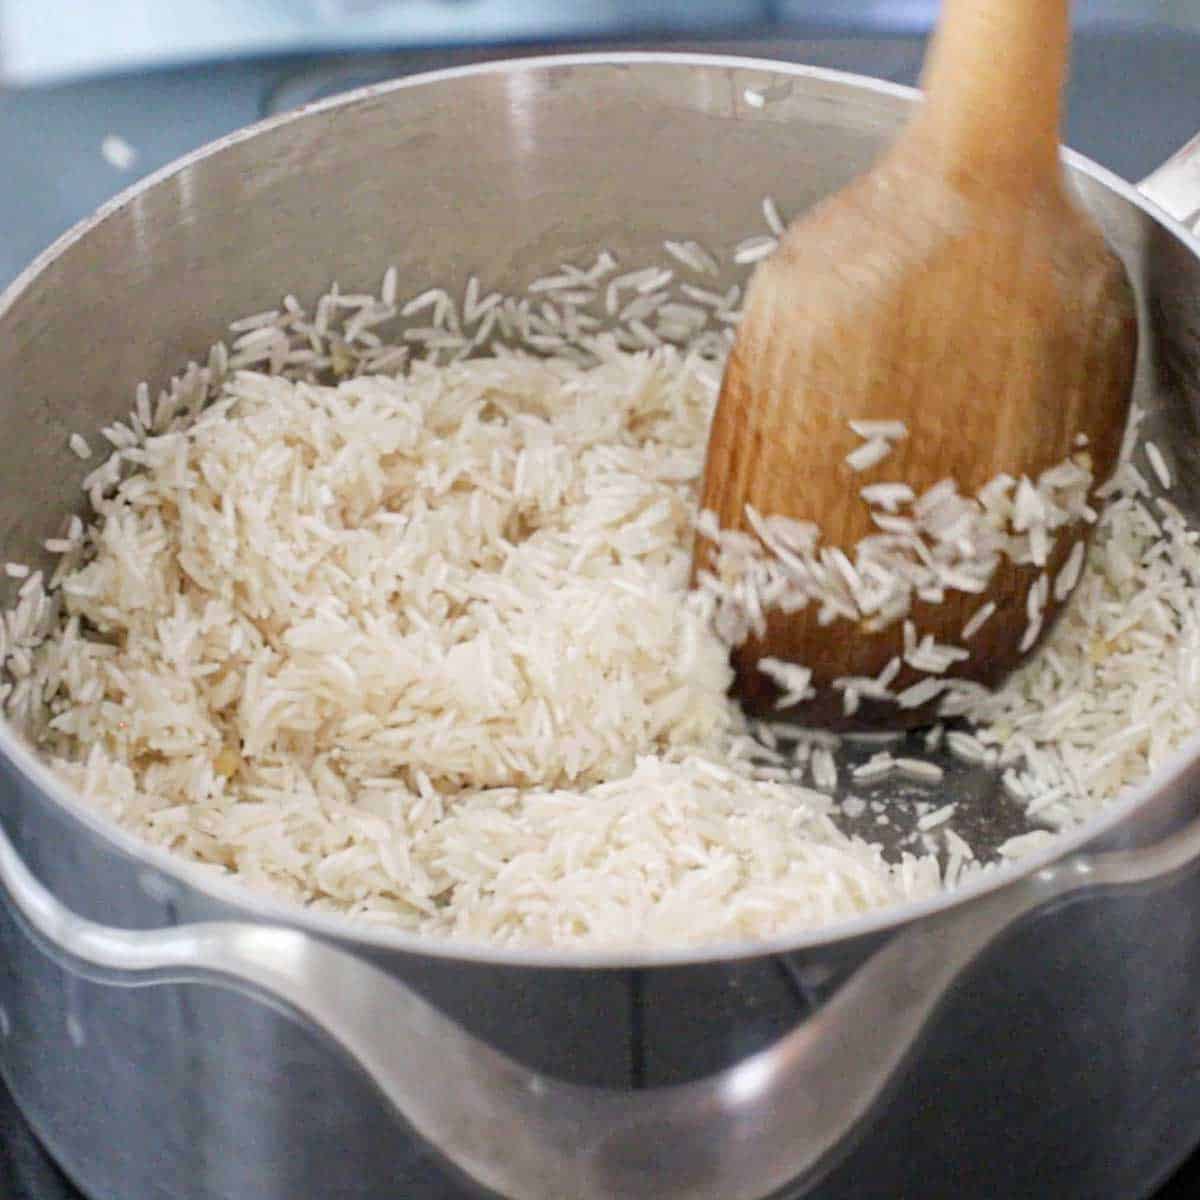
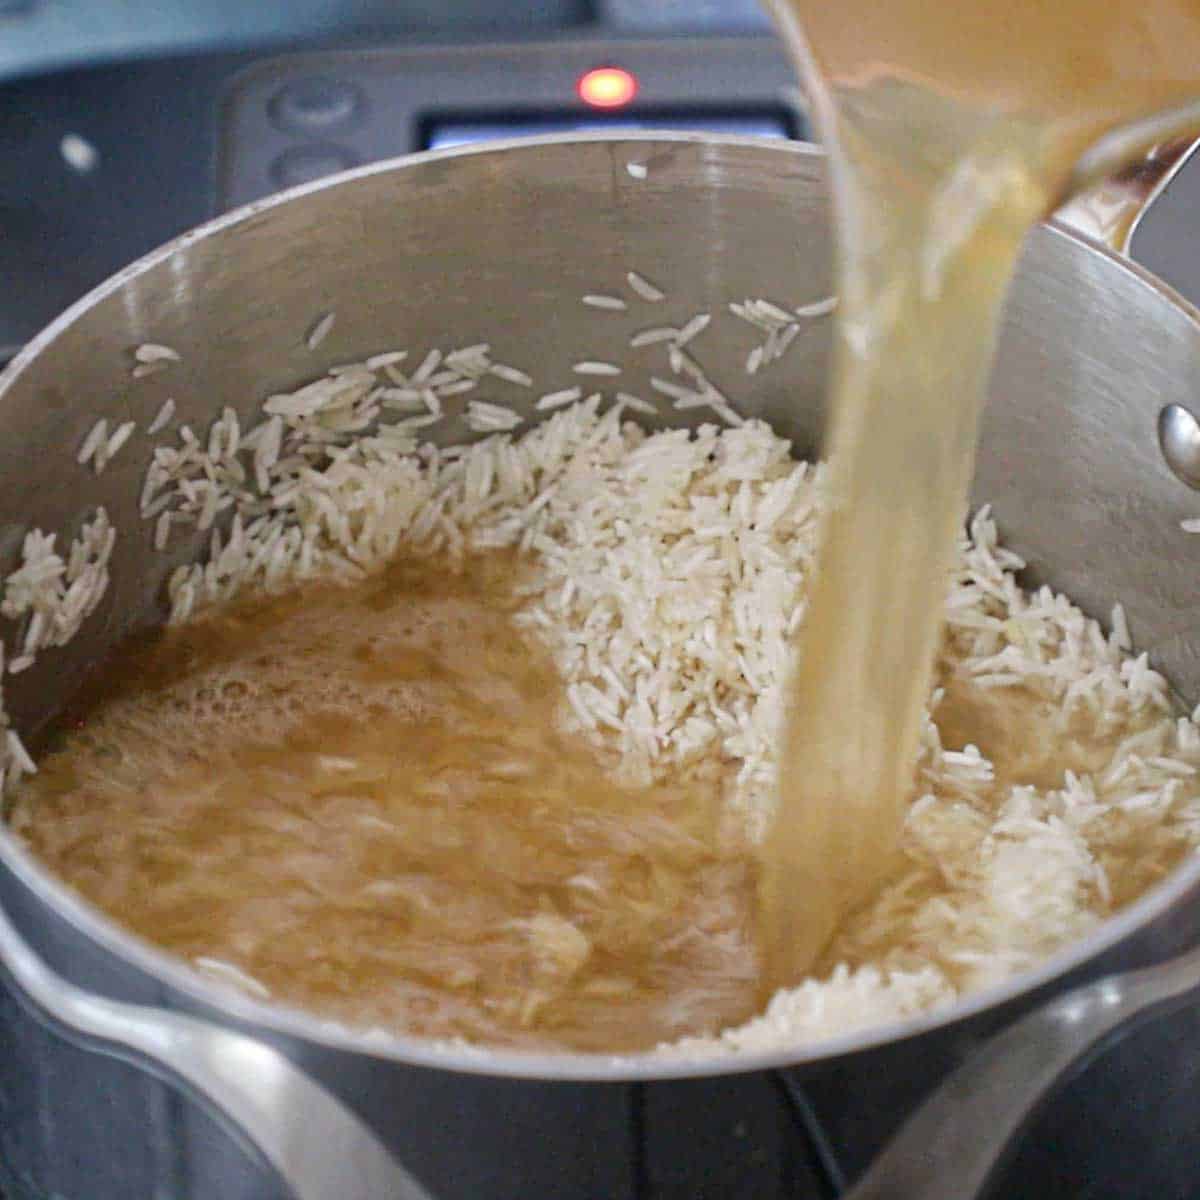
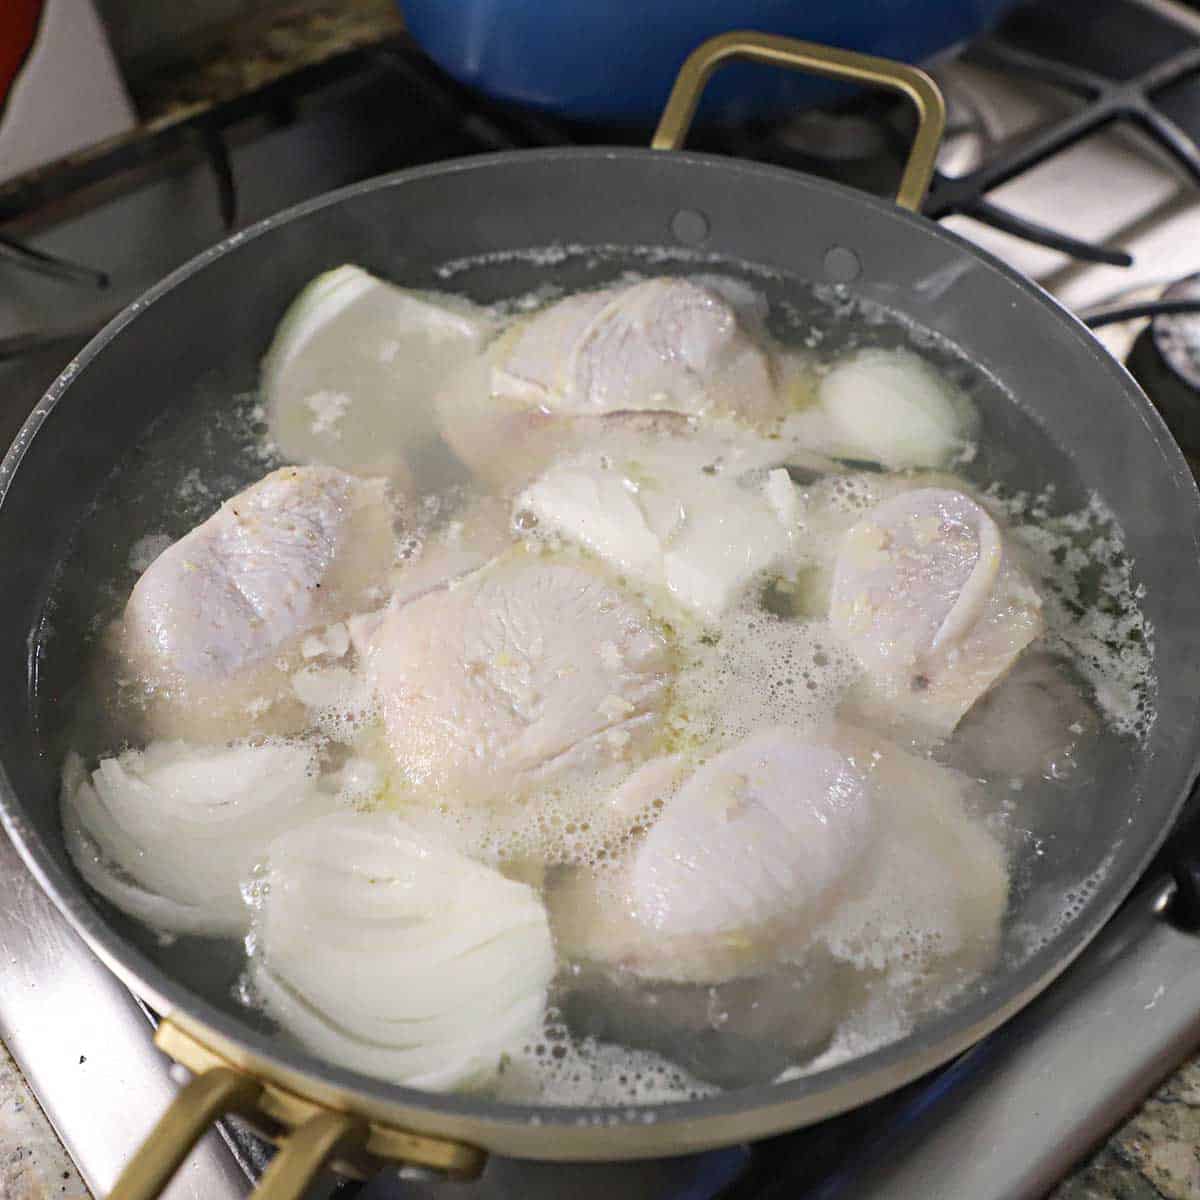
- Step 1: Fill your Turkey Fryer or large stock pot with 2 gallons water, 2 lager beers, lemons, oranges, onions, and garlic.
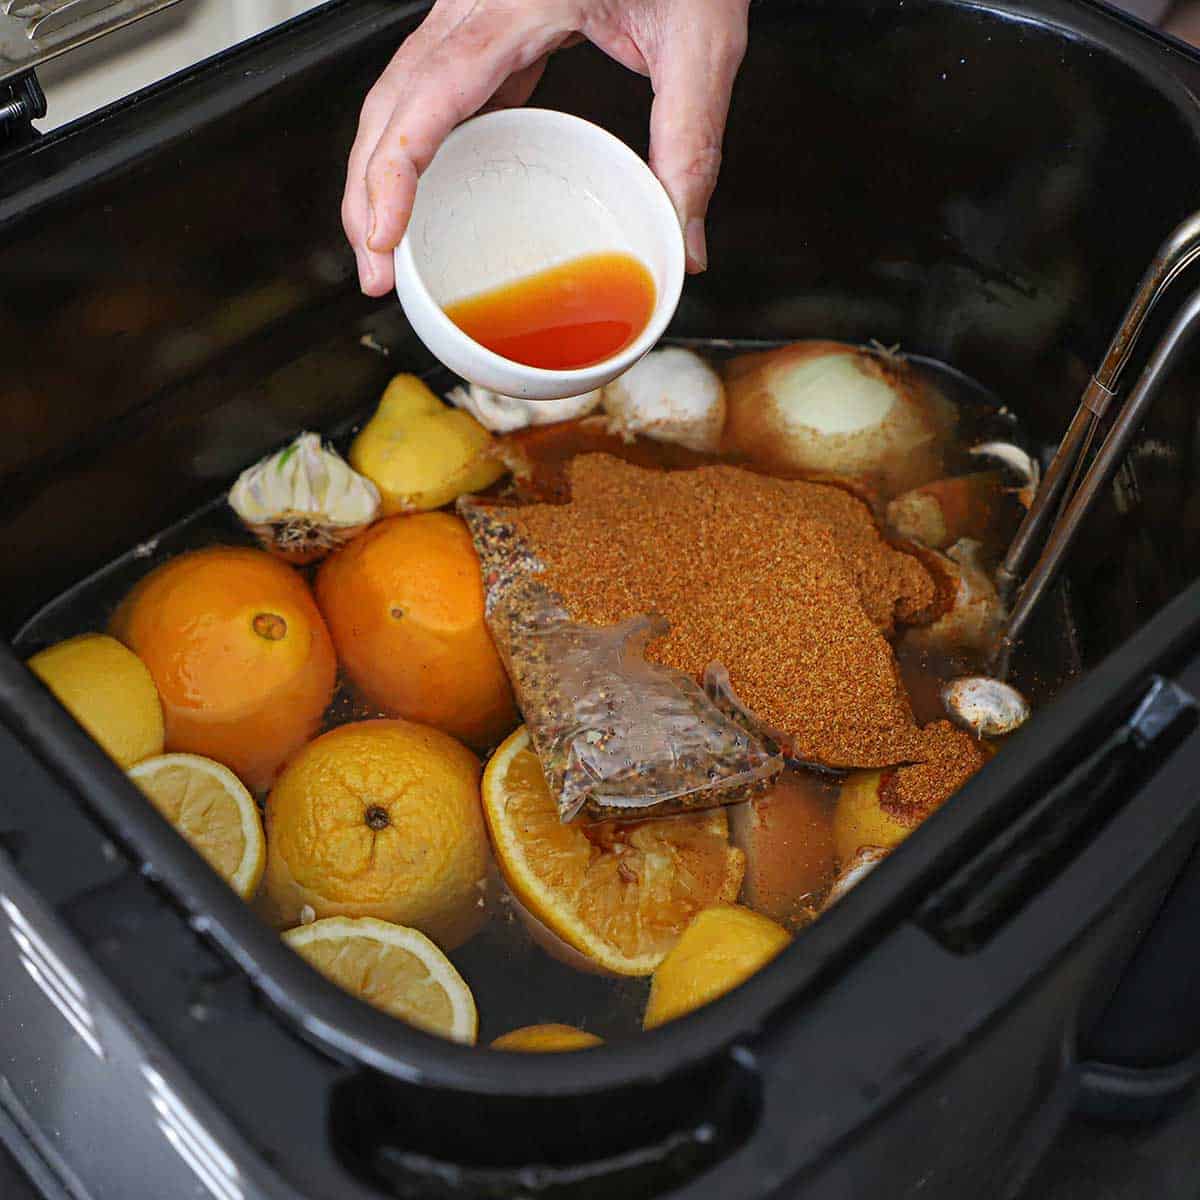
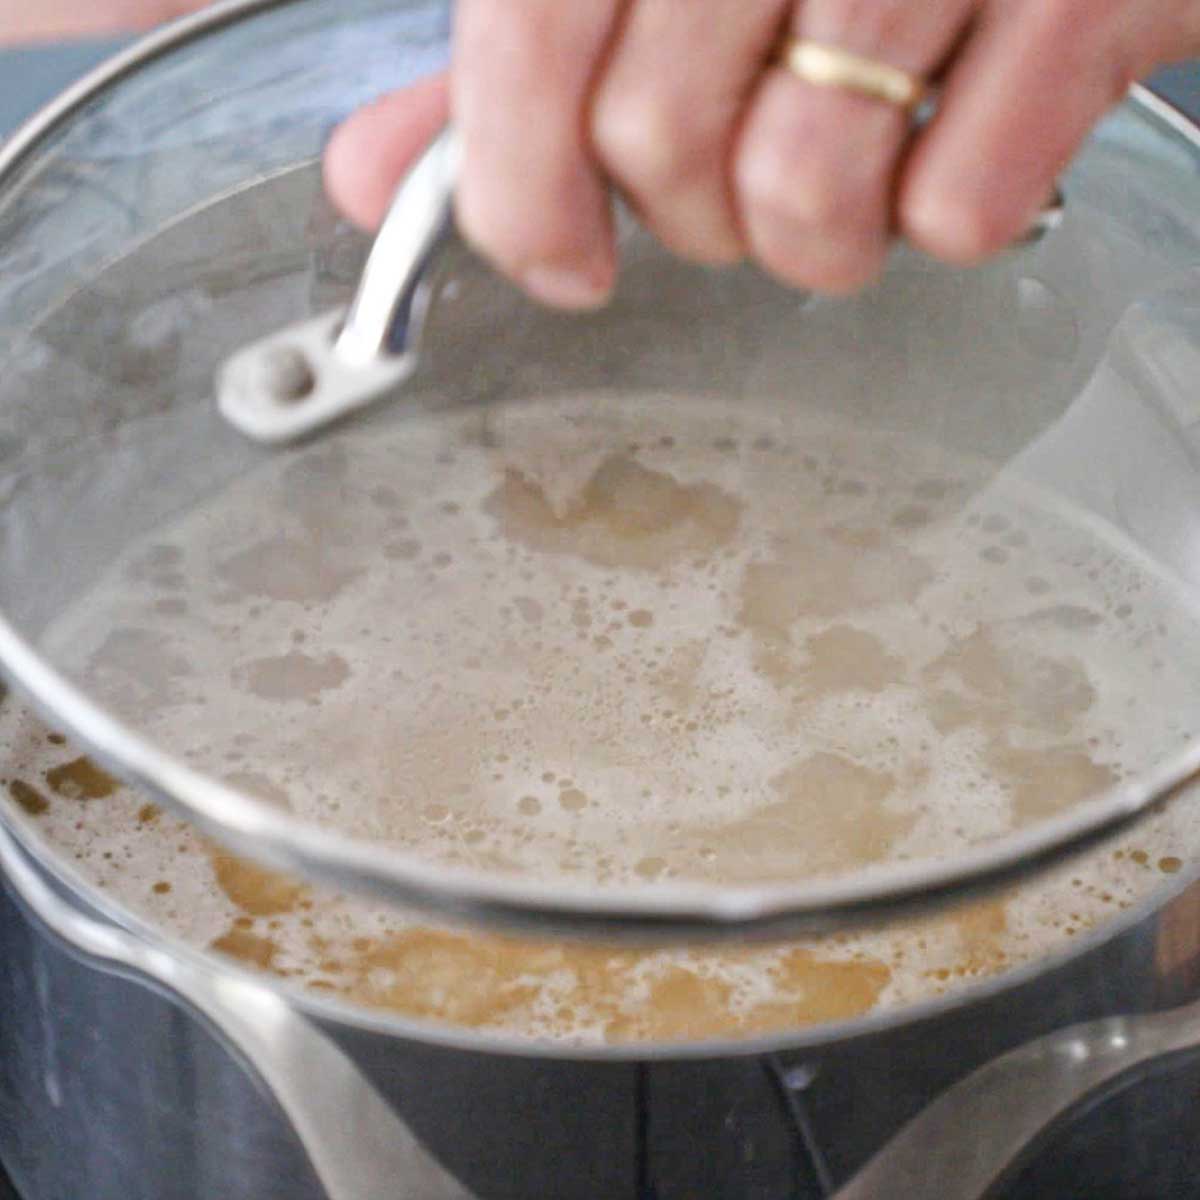
- Step 2: Add the mesh boil bags, seafood powder, and shrimp/crab concentrate to the liquid. Bring the water to a boil (set fryer to 375 to 400°F) and let boil for 5 minutes.
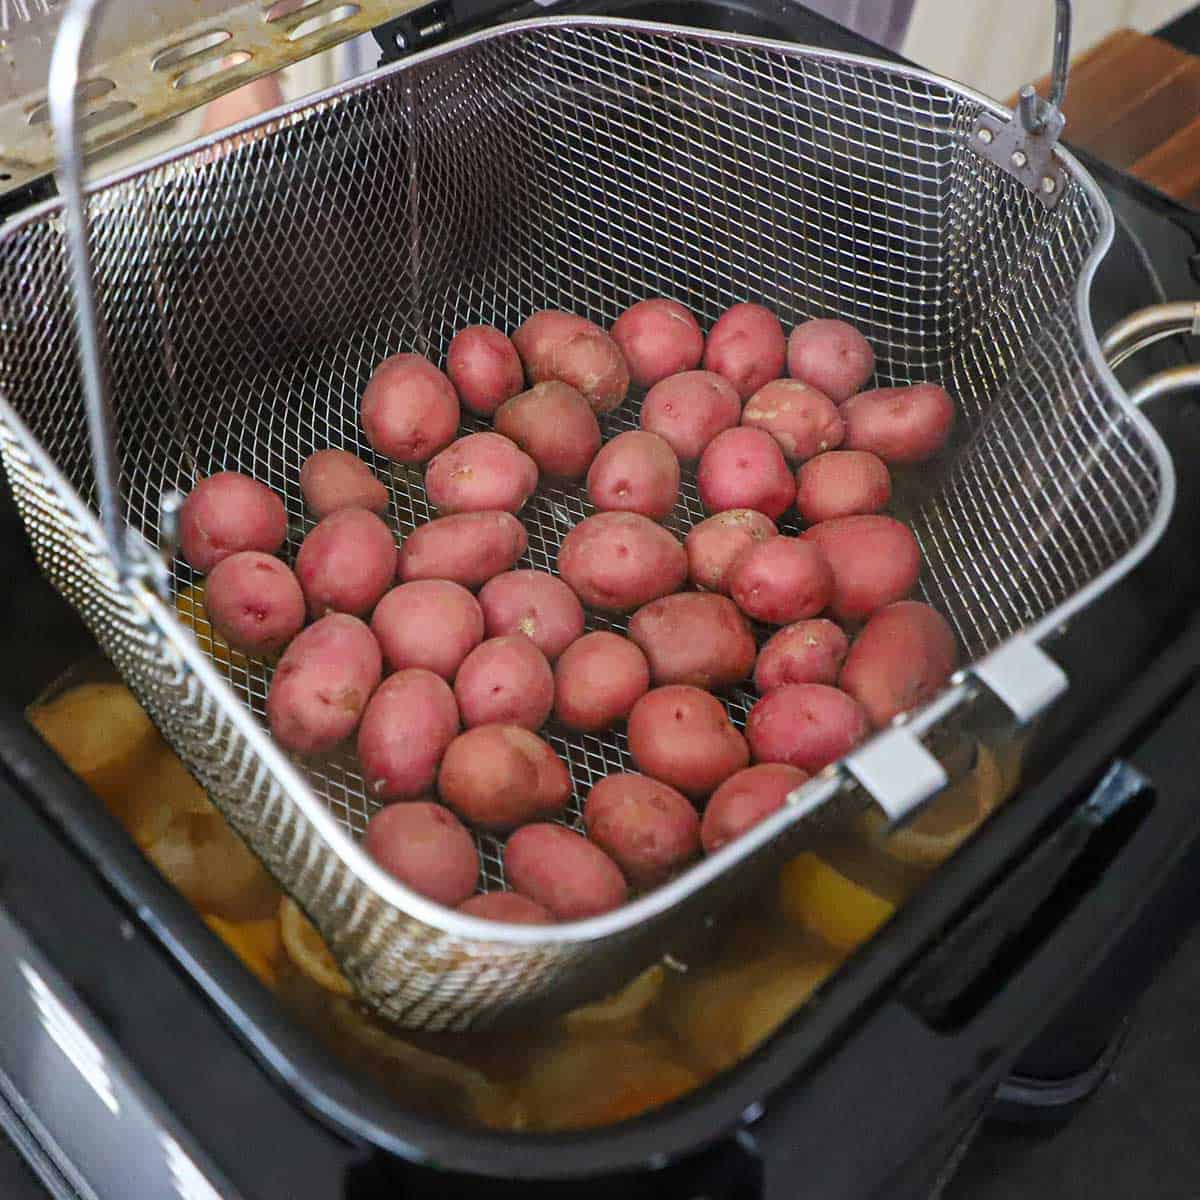
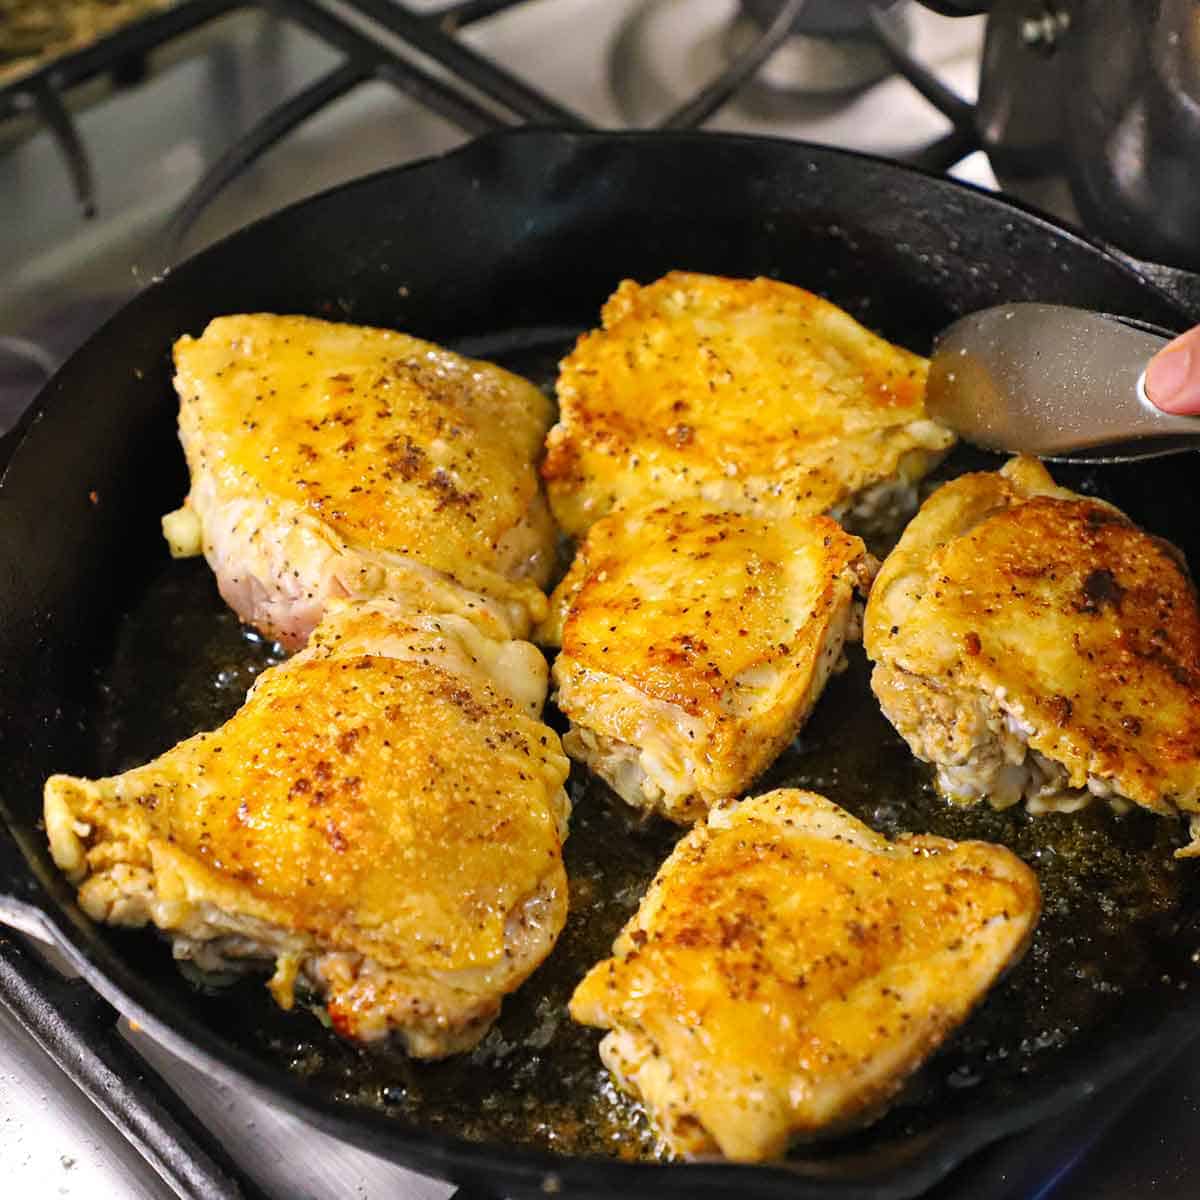
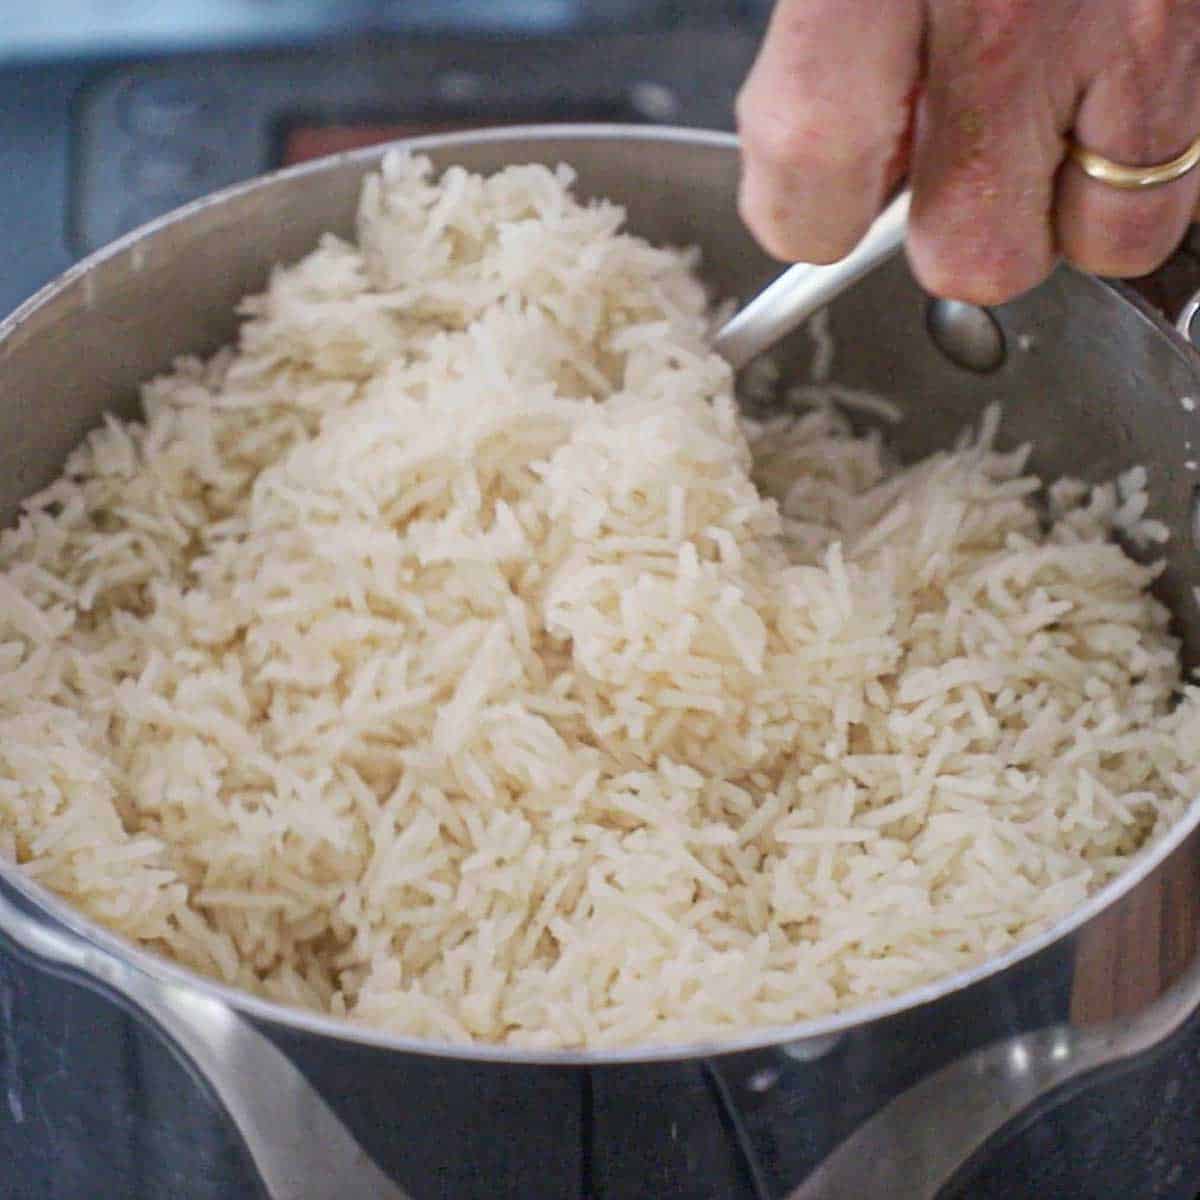
- Step 3: Lower the potatoes into the boiling water, cover with the lid, and cook for 15 minutes.

- Step 4: Add the sausage and corn to the top of the potatoes, lower, cover with the lid, and cook for 5 minutes.
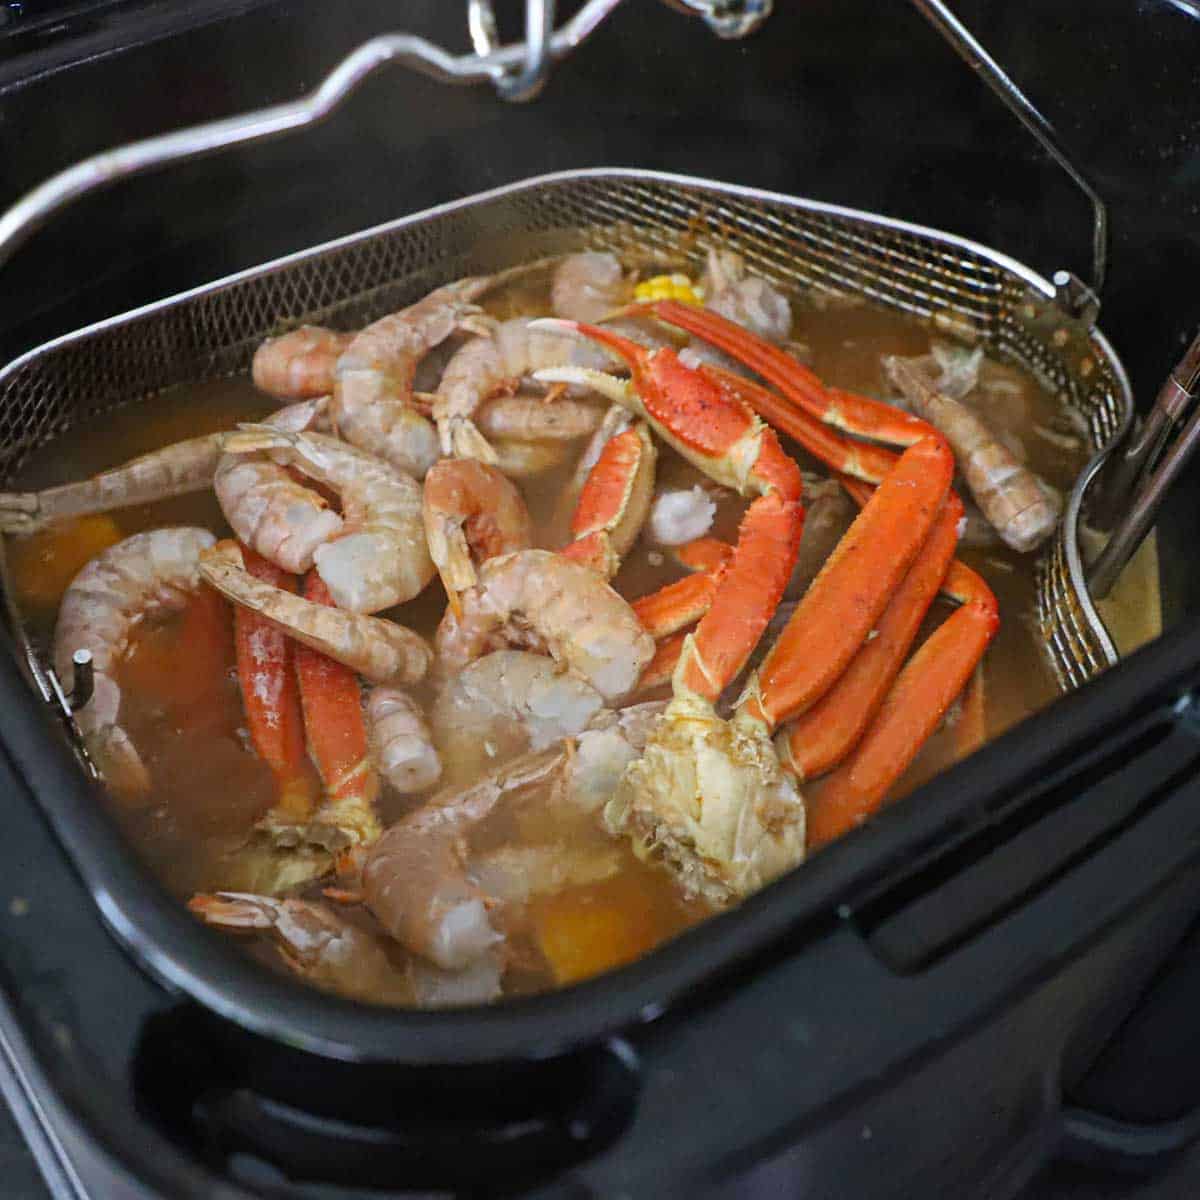
- Step 5: Add the shrimp and crab legs, lower into the water, close the lid, and cook for 5 minutes. Turn off the heat and let everything soak in the water for 15 to 20 minutes. This final step is very important!
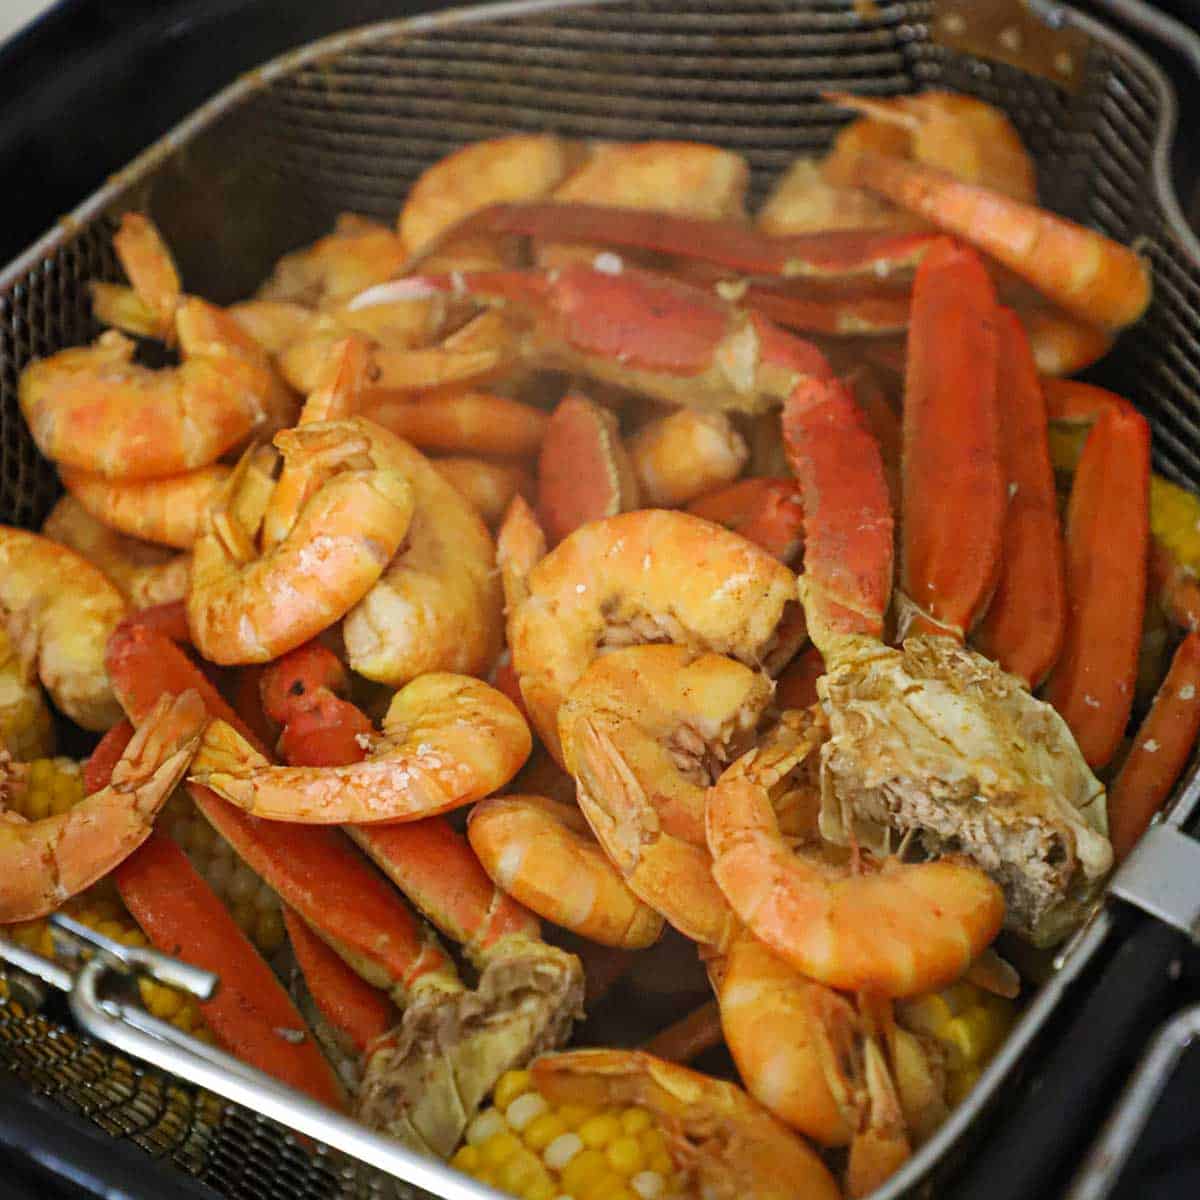
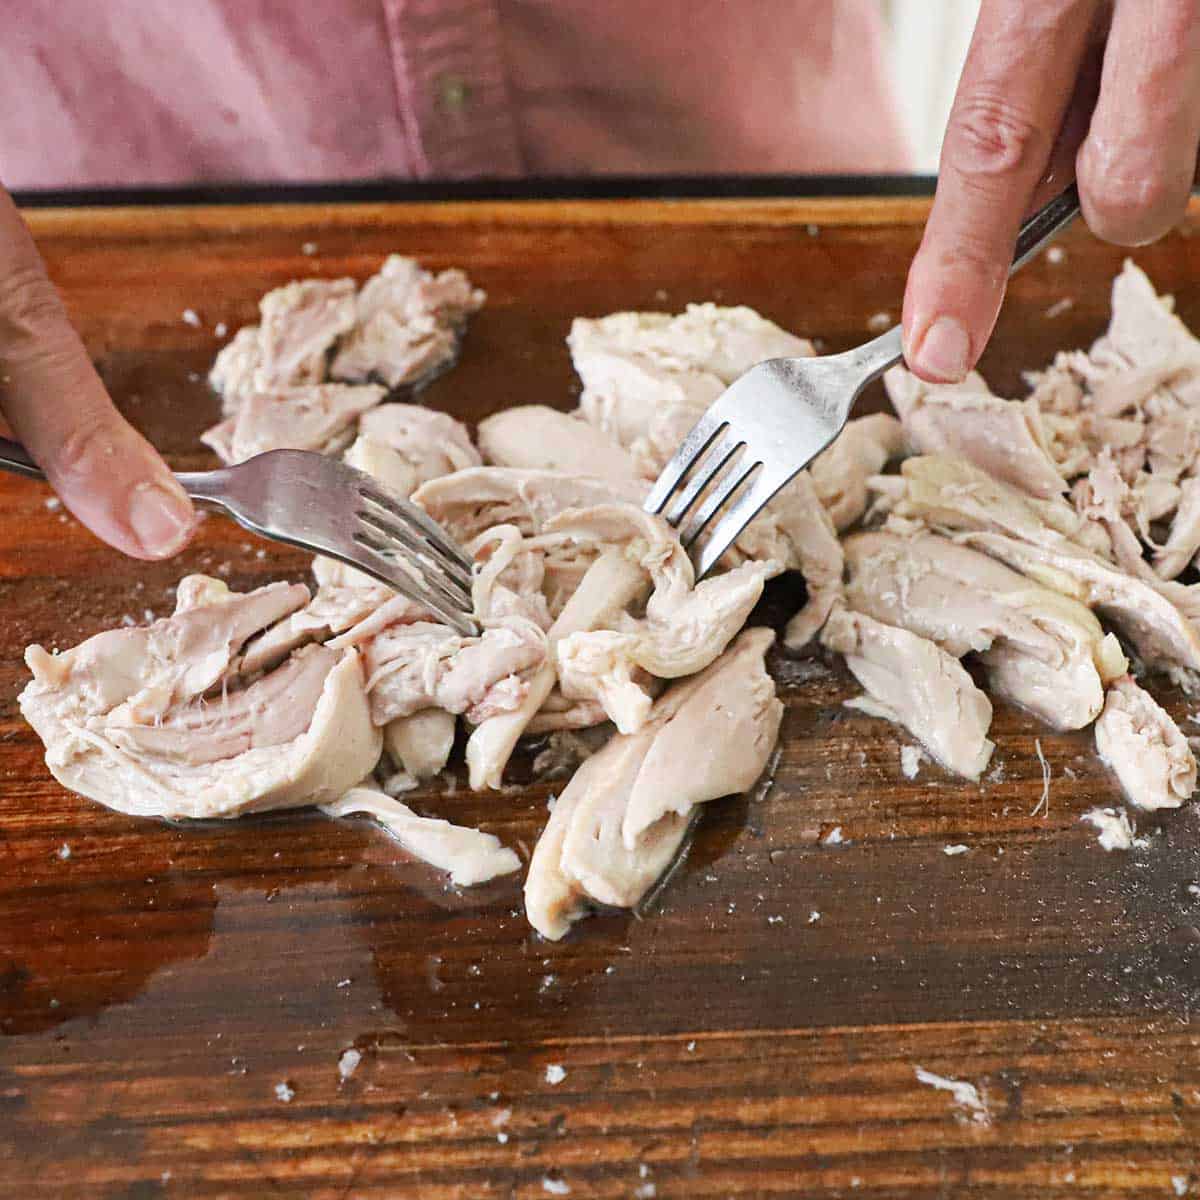
- Step 6: Lift the basket from the water and let it drain for a couple of minutes.

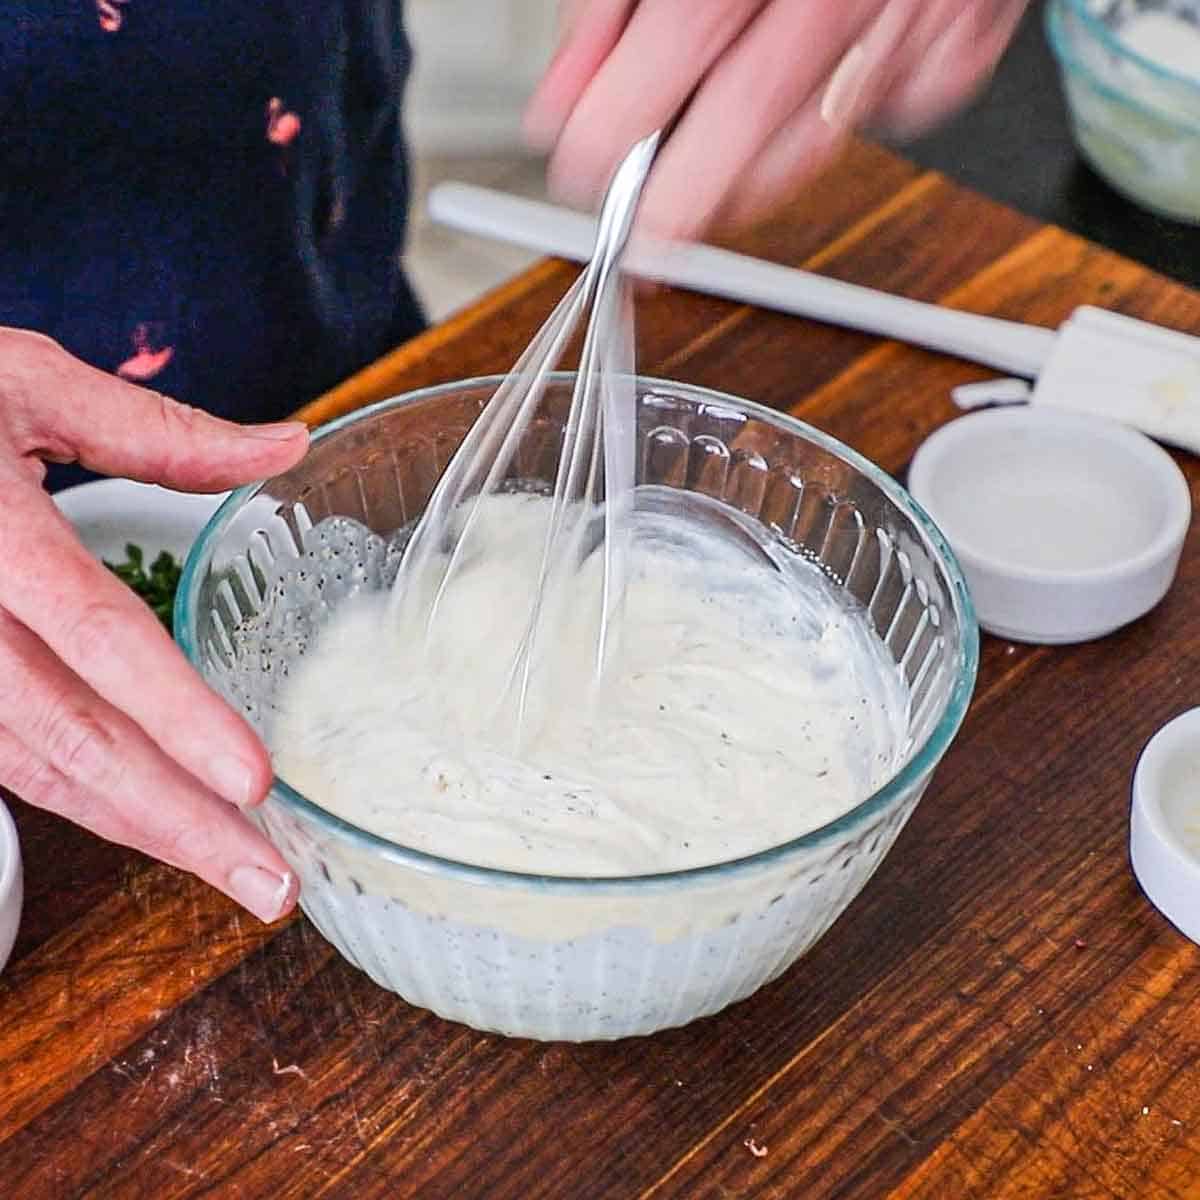
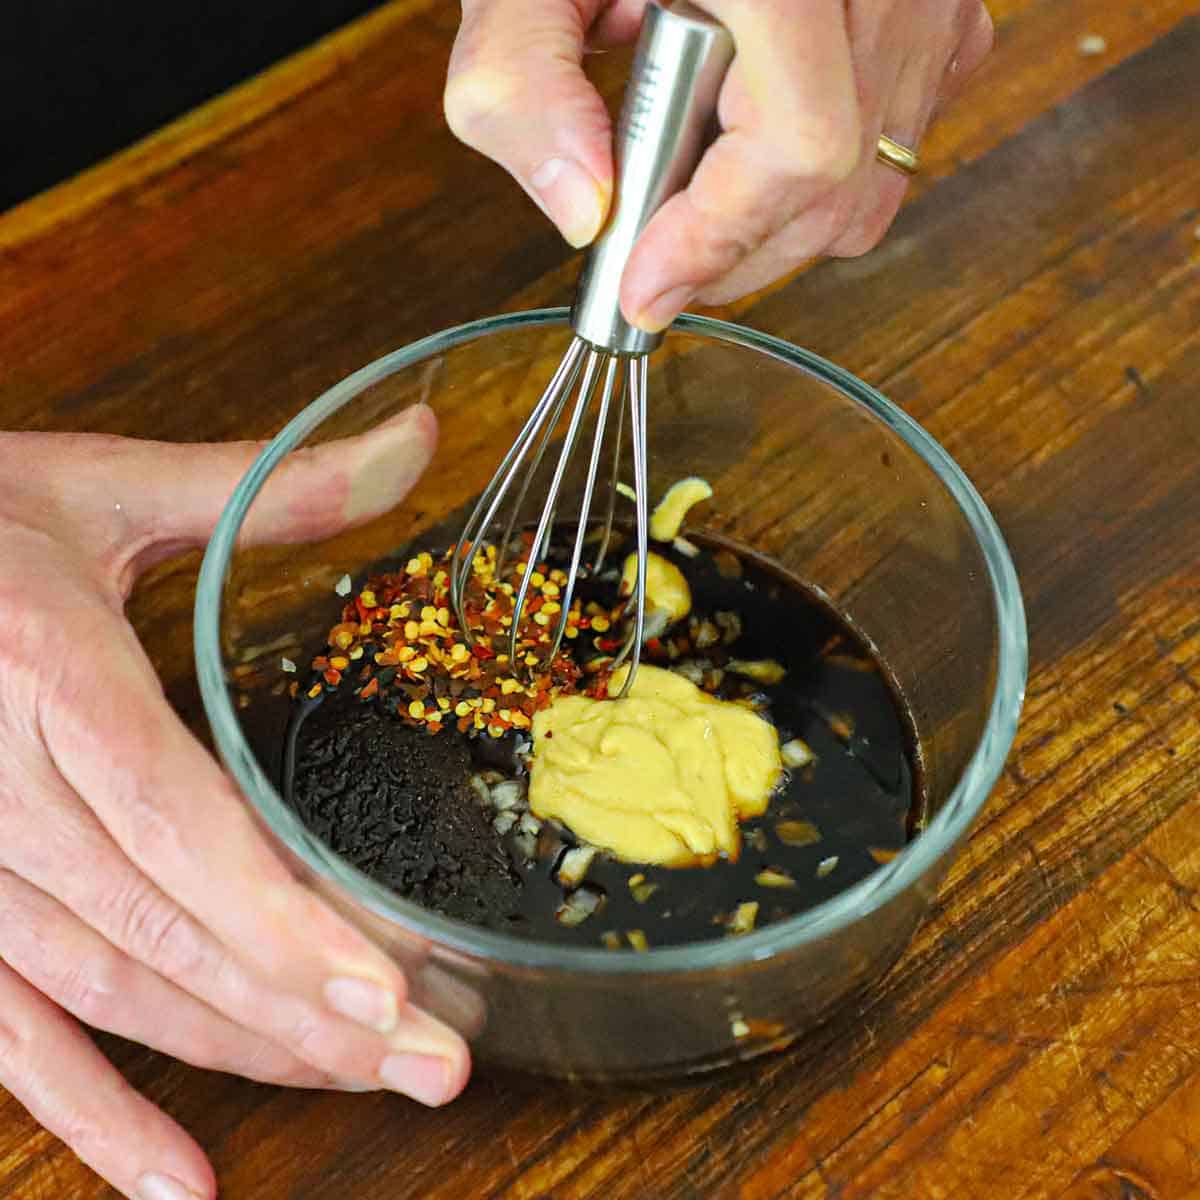
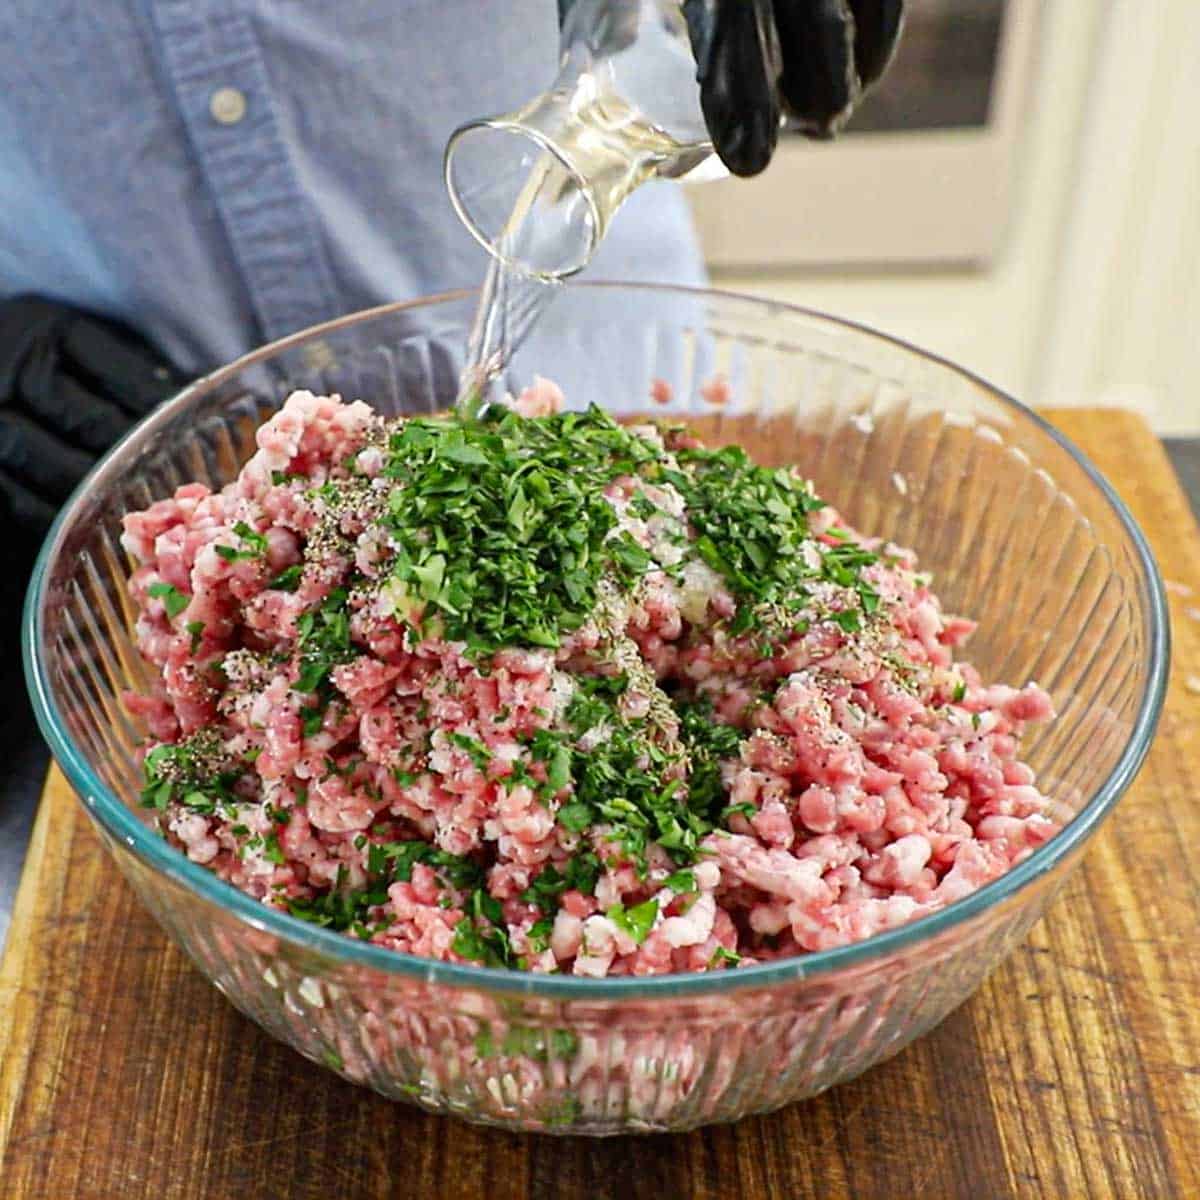
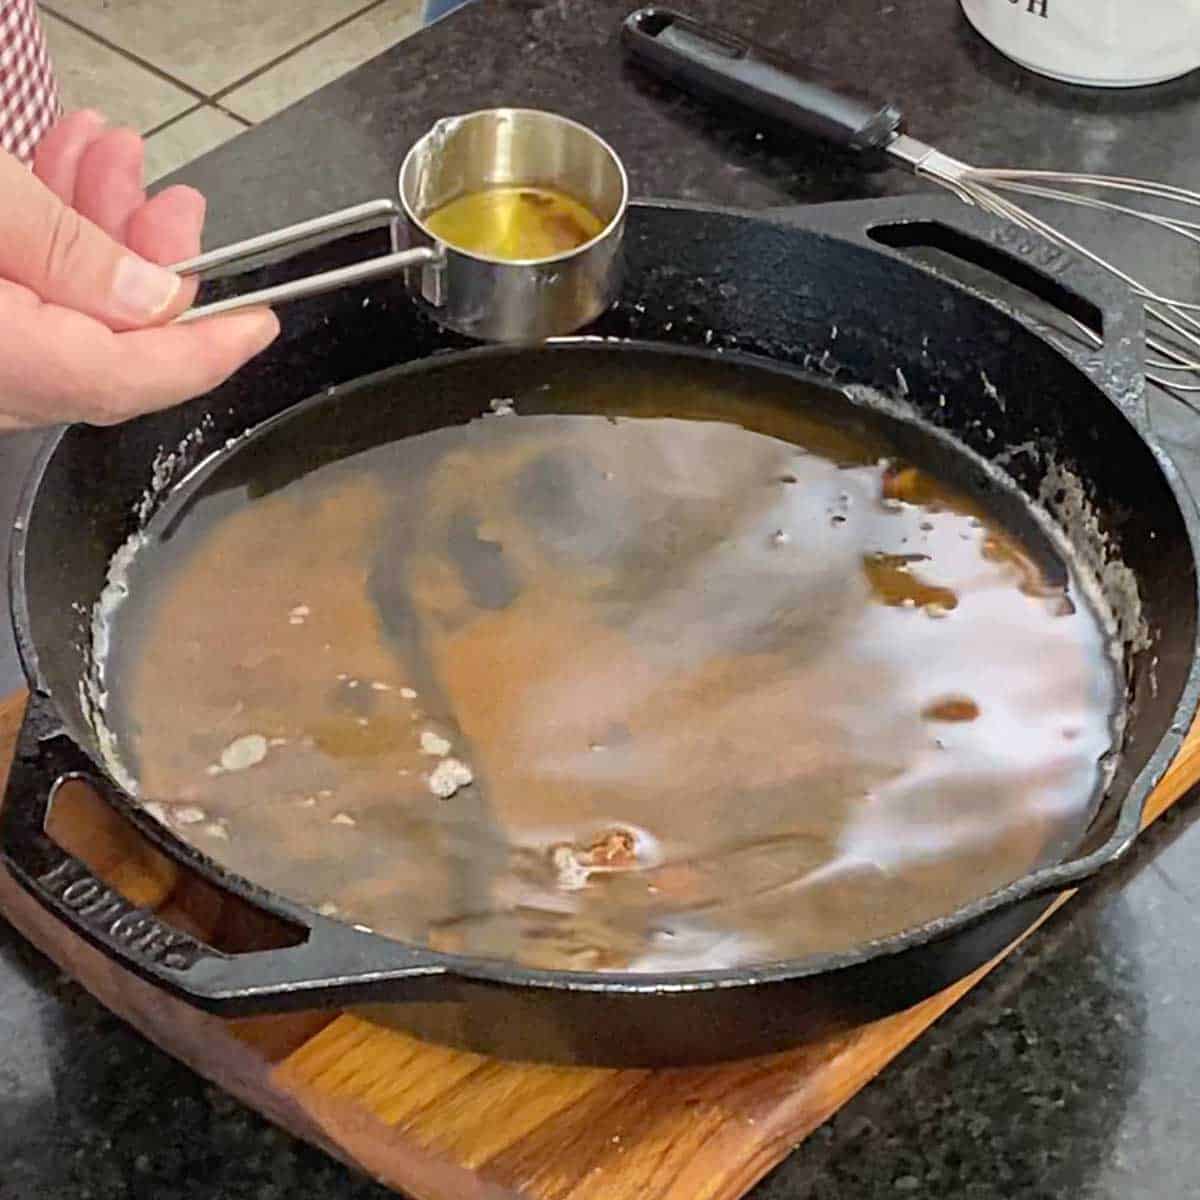
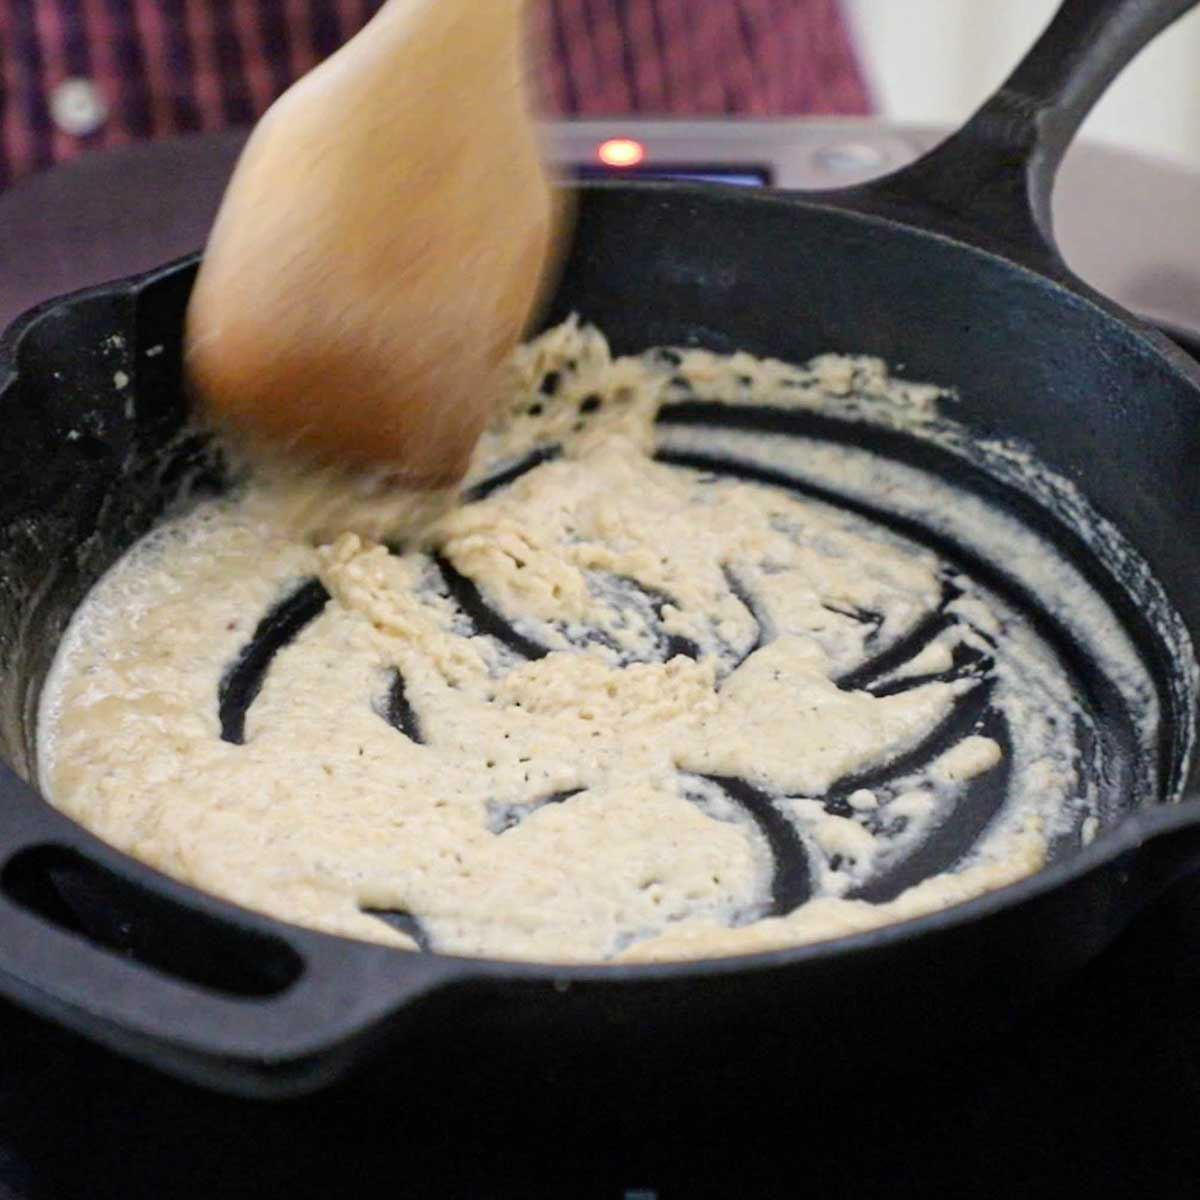
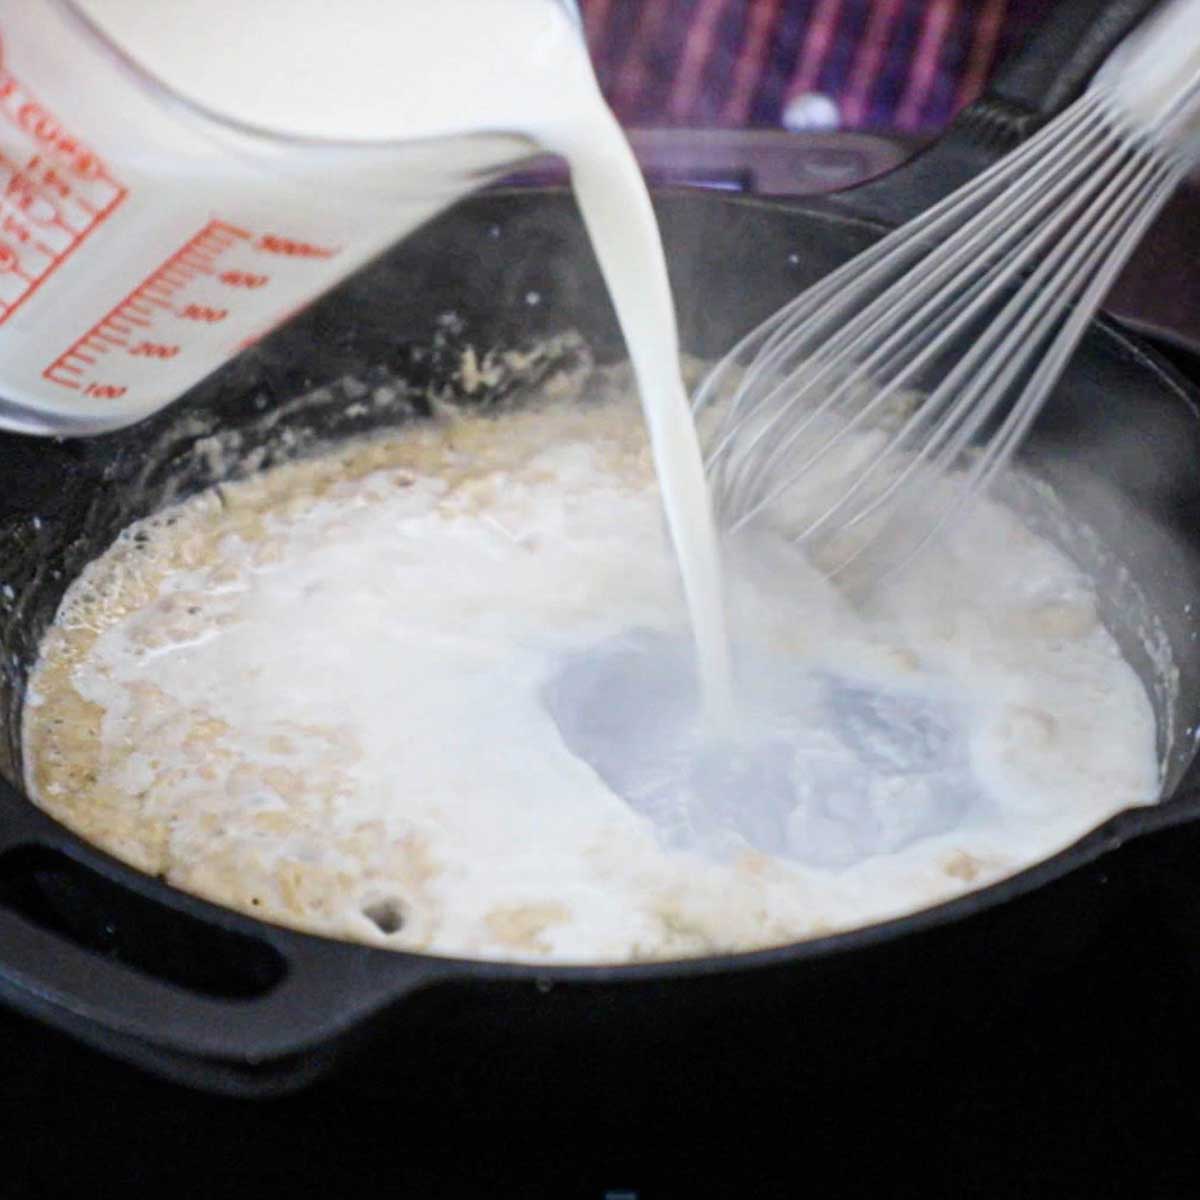
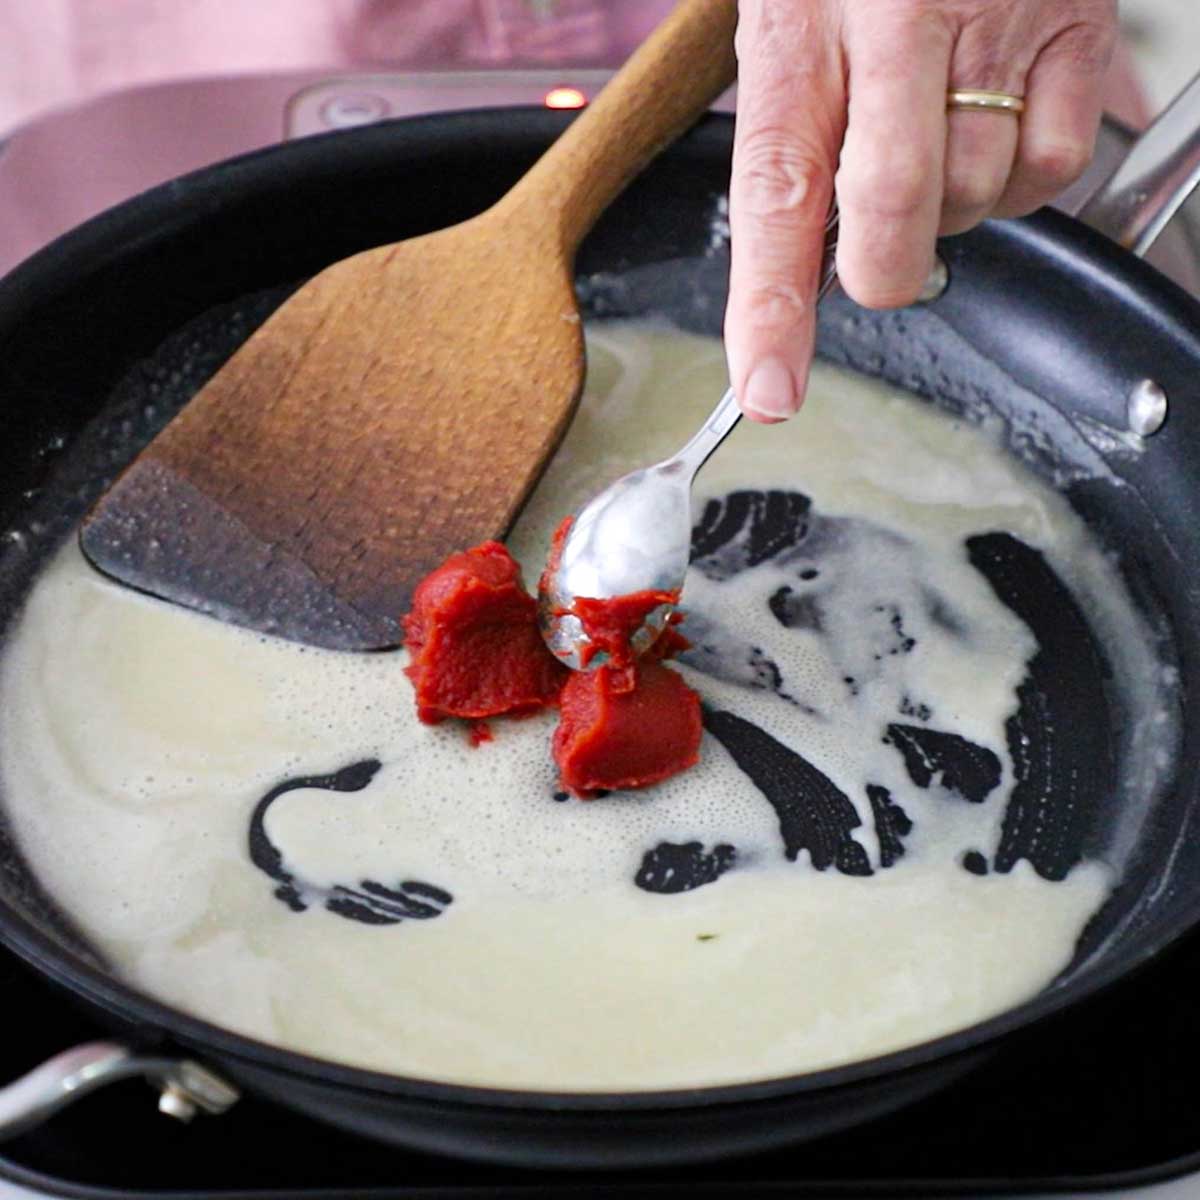
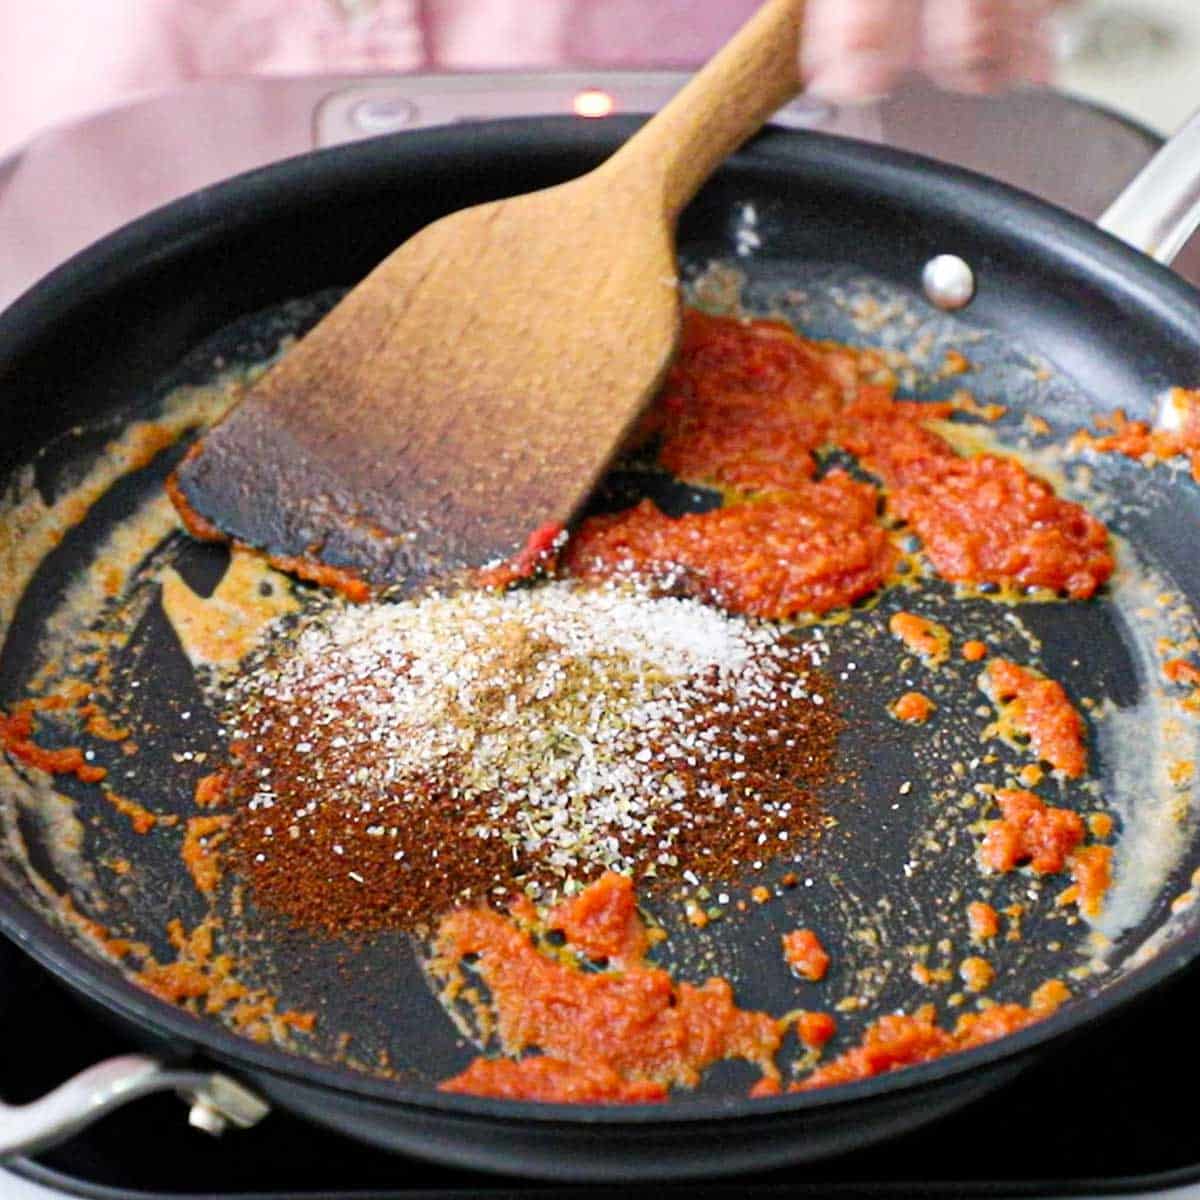
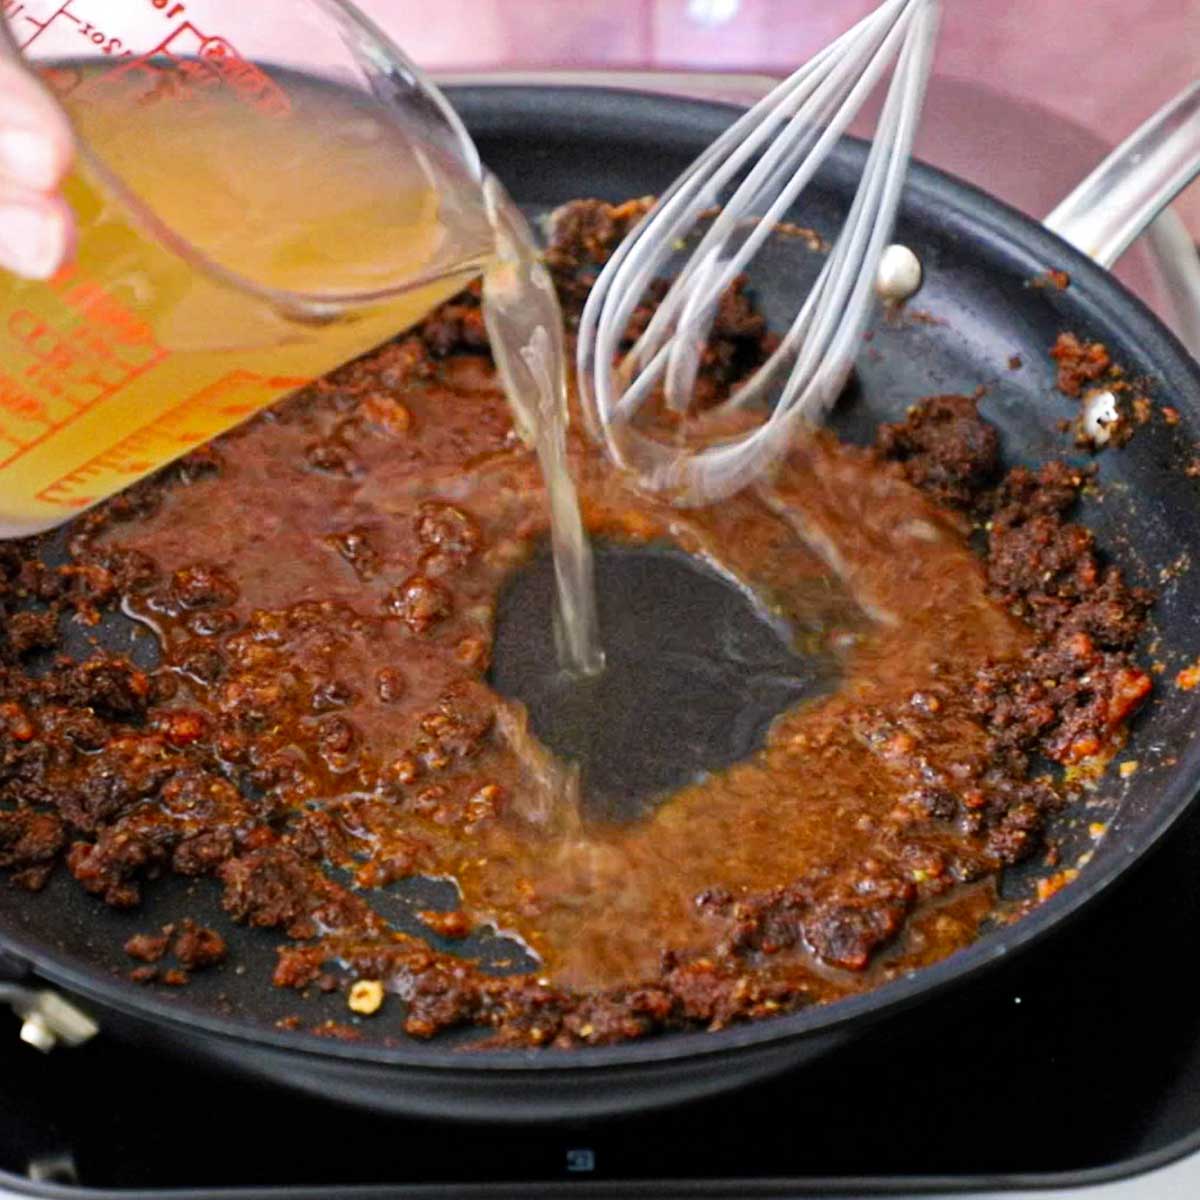
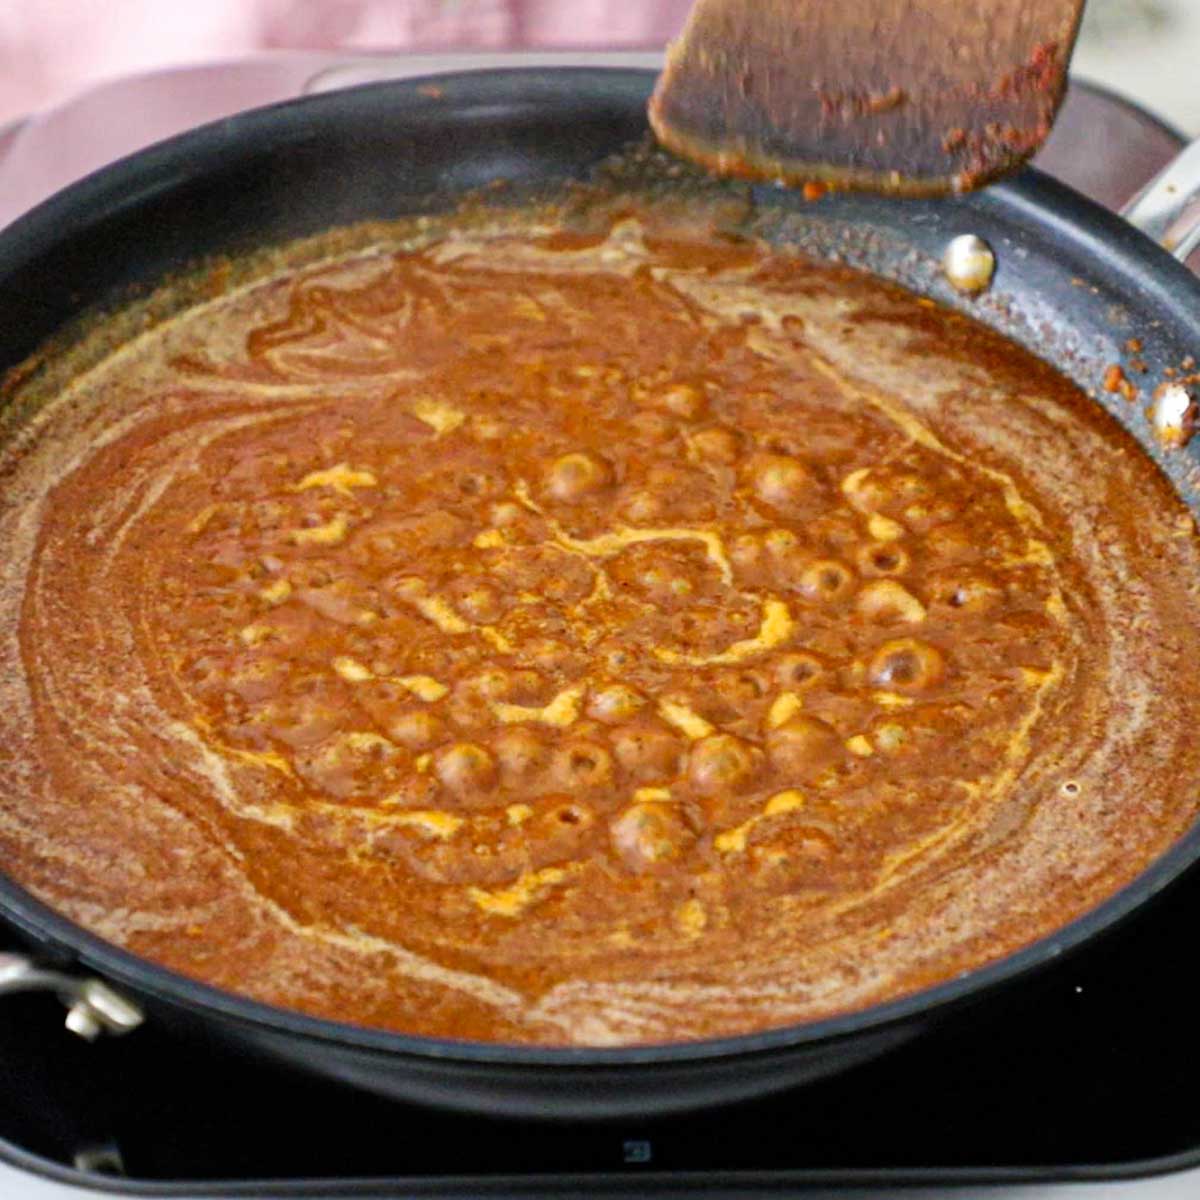
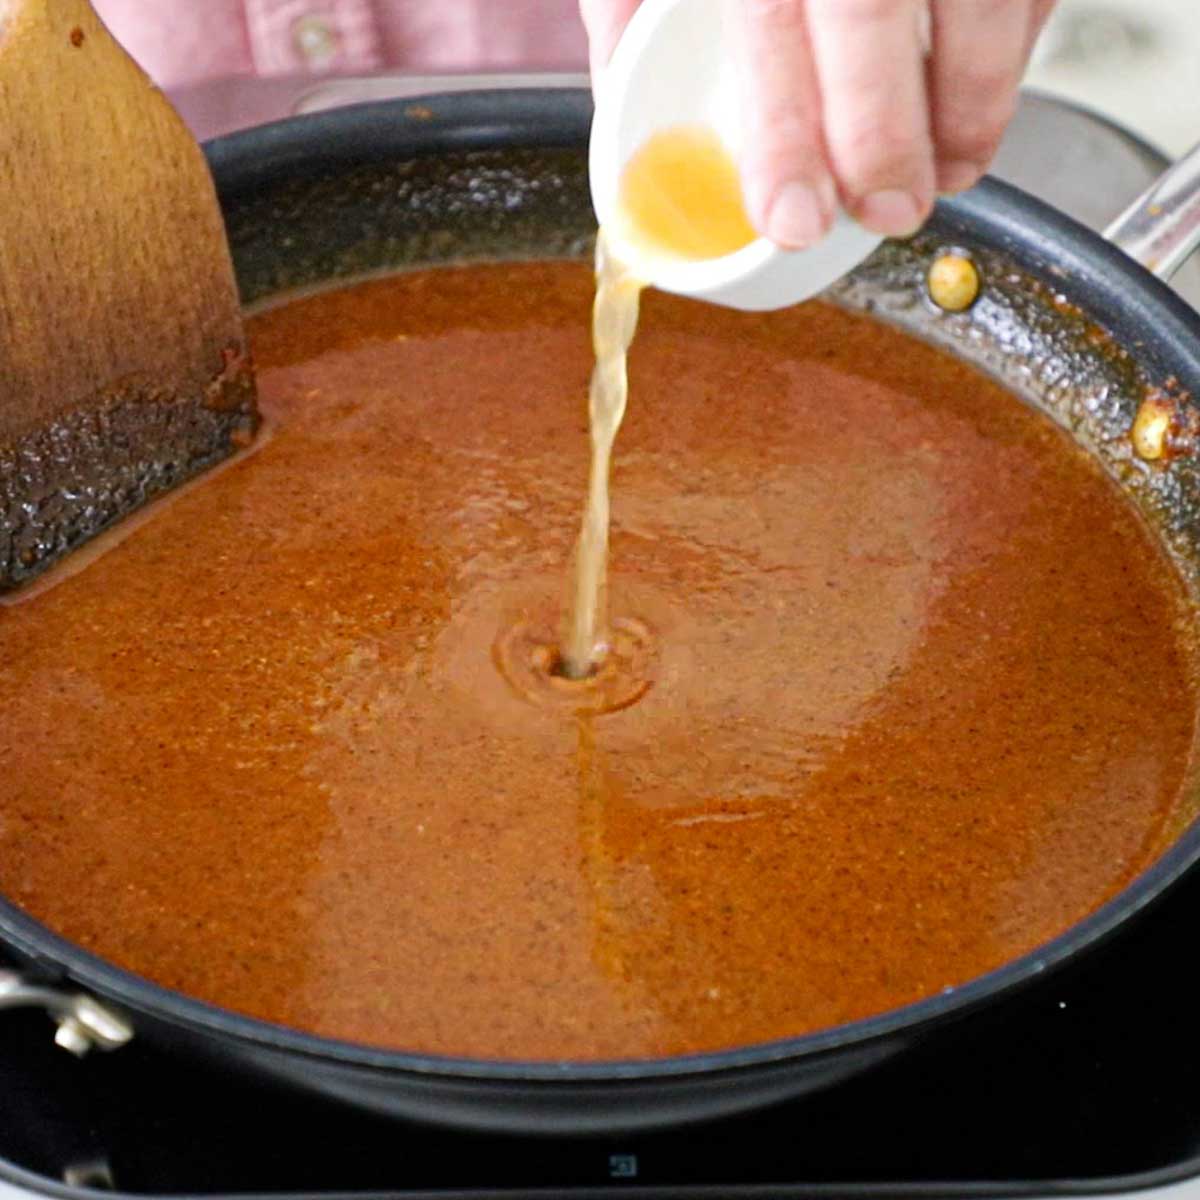
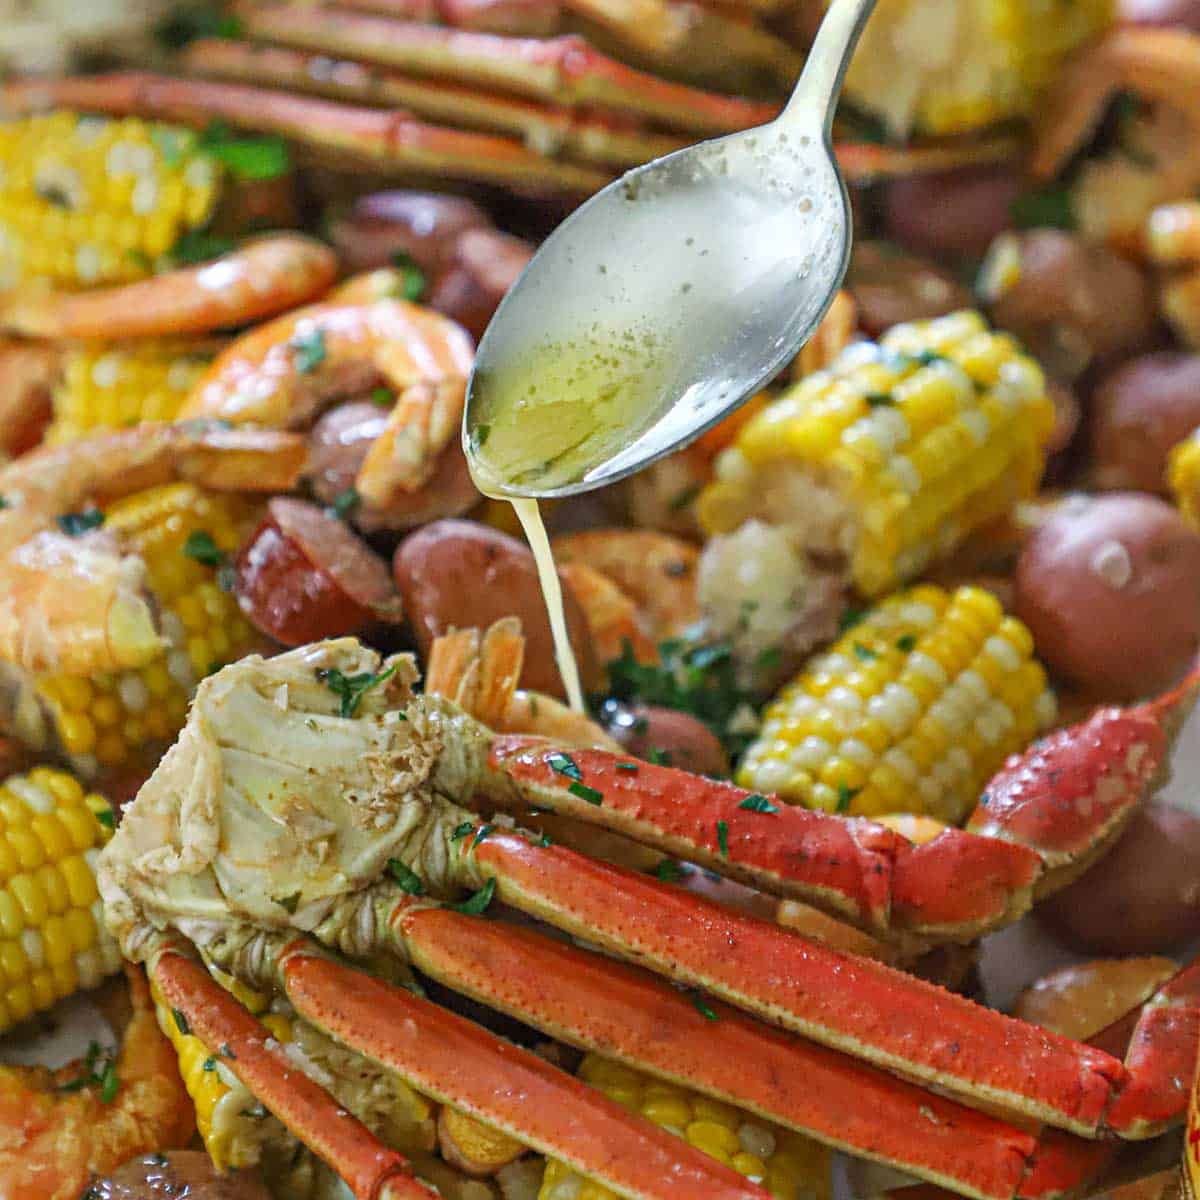
- Step 7: Melt the butter and add the garlic, lemon juice, seasoning, and parsley. Simmer for a couple of minutes.
- Step 8: Spread the seafood boil across a table lined with paper or on a huge platter. Serve at once with warmed butter.
Expert Tip: The “Seasoning Triple Threat” Substitute
If you can’t find Zatarain’s products in your local market, you can recreate the magic using common pantry staples! Use 1.5 cups of Old Bay as your base, but boost the Louisiana heat by adding 3 tablespoons of cayenne pepper and ¼ cup of kosher salt. To mimic the aromatics of the mesh bags, simply toss in 6 whole bay leaves, 1 tablespoon of whole cloves, and 2 tablespoons of mustard seeds directly into the water.
🍽️ How To Serve
- Go Backyard Style: Line a large table with several layers of newspaper or heavy-duty butcher paper. It’s authentic, makes for a beautiful presentation, and ensures cleanup is as simple as rolling up the paper and tossing it away.
- The Dramatic Dump: Lift the basket, let it drain for a few seconds, and dump the steaming mountain of seafood, corn, and potatoes right in the center of the table.
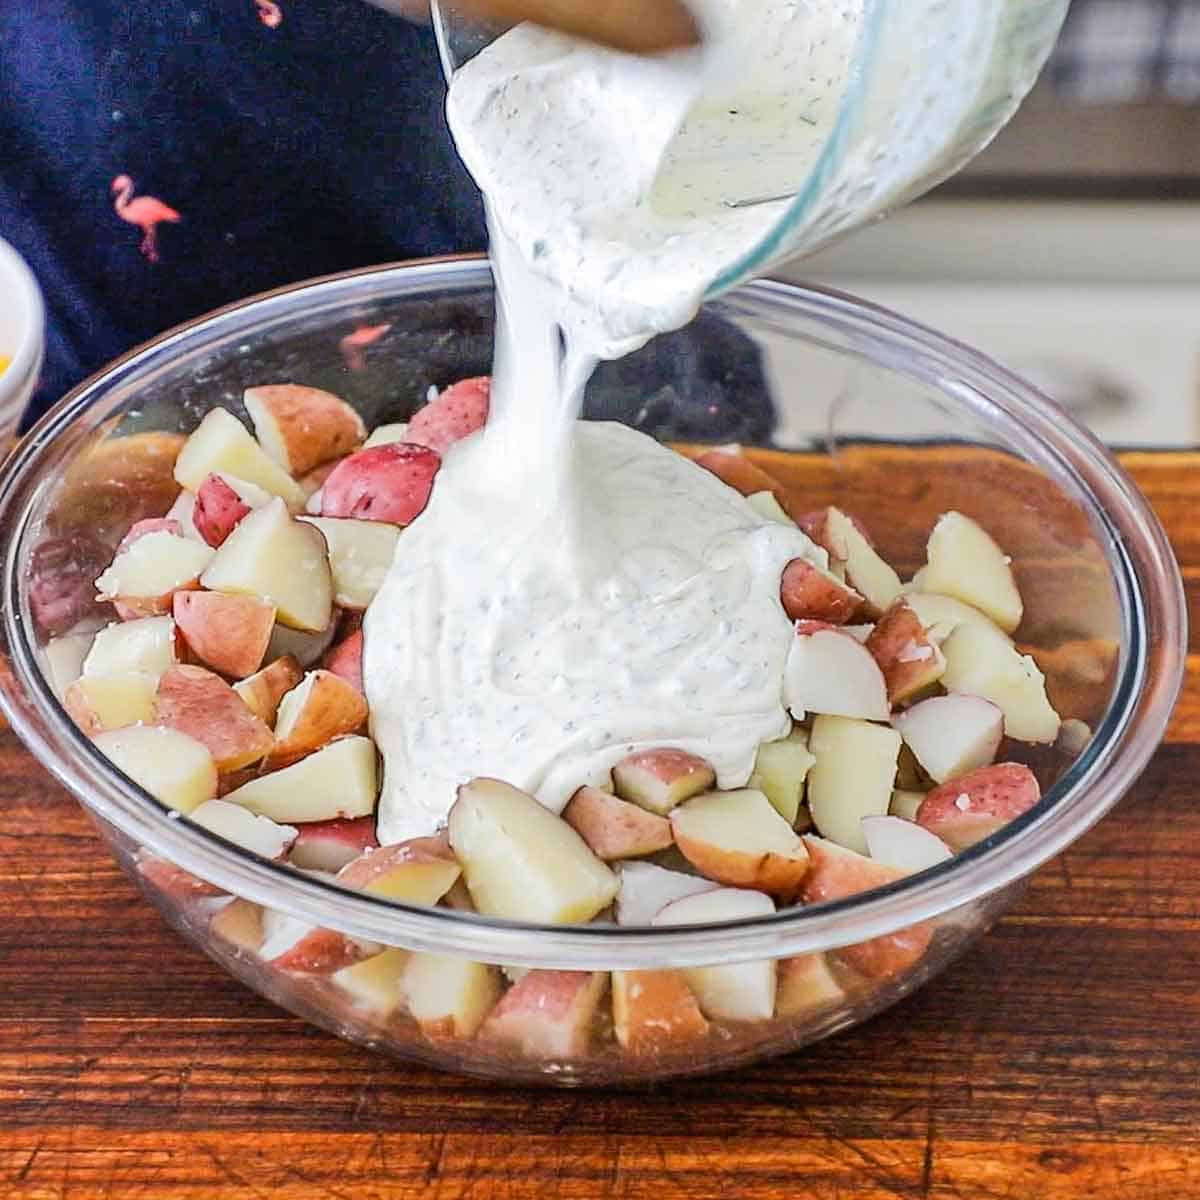
- Drizzle the Gold: While the seafood is still steaming, drizzle about a quarter of your garlic butter sauce over the entire pile. This adds a gorgeous glisten and ensures that first bite of corn is buttery perfection.
- Individual Dipping Bowls: Give every guest their own ramekin filled with the remaining garlic butter. This allows everyone to dunk their crab meat and shrimp to their heart’s content without having to reach across the table.
- The Essential Sides: Serve with plenty of extra lemon wedges and a loaf of warm, crusty French bread. The bread is the unsung hero of the meal, perfect for soaking up the spicy, buttery juices left on the table.
- The Mess Kit: Provide plenty of paper towels, wet wipes, and a few large buckets on the floor for discarded shells. This is a hands-on, “get messy” kind of meal, so embrace the chaos!
🙋🏽♂️Frequently Asked Questions
Aim for twenty minutes to ensure the flavors fully penetrate the shells and meat. To prevent overcooking, you can add ice or frozen corn to the water to drop the temperature slightly while the infusion continues.
Definitely. Simply reduce the amount of powder and liquid concentrate added to the pot. You can also skip the final dusting of spices on the table and serve the spicy butter on the side so everyone can control their own experience.
Steaming is the most effective method to keep the crab and shrimp tender. Avoid the microwave, as it tends to make the meat rubbery; instead, place everything in a steamer basket over simmering water for a few minutes until heated through.
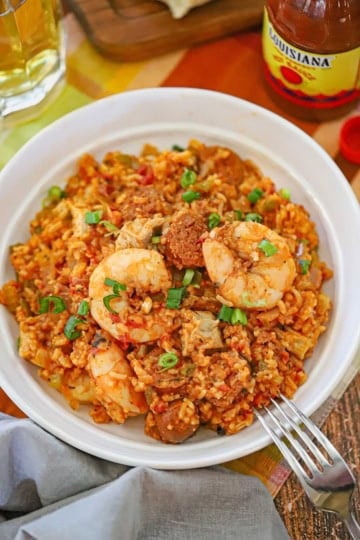
😋 More Classic Louisiana/Cajun Recipes


Ready to make the best seafood boil this side of Bourbon Street? Go for it!
And when you do, be sure to take a photo of it, post it on Instagram, and tag @HowToFeedaLoon and hashtag #HowToFeedaLoon!

The Ultimate Louisiana Seafood Boil
Equipment
- Turkey Fryer/Seafood Boil or a large stock pot
Ingredients
- 2½ gallons water
- 2 lager beers
- 4 large lemons halved
- 2 oranges halved
- 2 large onions peeled and quartered
- 2 heads garlic sliced in half
- 6 oz Zatarain's seafood boil-in-a-bag 2 mesh packets
- 1¾ cup Zatarain's Pro Boil powder
- ¼ cup Zatarain's Shrimp & Crab Boil Concentrate
- 1½ lbs baby red potatoes
- 1½ lbs andouille sausage cut into 2-inch slices
- 6 ears corn husked and cut into thirds
- 2 lbs shrimp Easy-peel, shell on
- 3 clusters snow crab legs
For the Garlic Butter
- 2 cups unsalted butter 4 sticks
- 6 cloves garlic minced
- 1 tablespoon Zatarain's Pro Boil powder or Old Bay seasoning
- 1 teaspoon lemon juice
- 1 tablespoon Italian parsley chopped
Instructions
- Fill your turkey fryer (or large stock pot) with the water (don't exceed the MAX line on the fryer). Pour in the beer, and then squeeze the juice from the lemons and oranges into the water, then add the squeezed fruit. Add the quartered onions and halved heads of garlic.2½ gallons water, 2 lager beers, 4 large lemons, 2 oranges, 2 large onions, 2 heads garlic
- Add the mesh packets, powder, and concentrated liquid. Turn the heat to the highest setting (375 – 400°F) and bring to a boil. Stir the mixture with a large wooden spoon, close the lid, and boil for 5 minutes.6 oz Zatarain's seafood boil-in-a-bag, 1¾ cup Zatarain's Pro Boil powder, ¼ cup Zatarain's Shrimp & Crab Boil Concentrate
- Place the potatoes in the basket and lower them into the boiling water (if the basket won't completely submerge, you may need to carefully remove the oranges from the water). Lower the lid and cook for 15 minutes.1½ lbs baby red potatoes
- Lift the basket from the water and add the sausage and corn. Lower the basket, cover with the lid, and cook for another 5 minutes.1½ lbs andouille sausage, 6 ears corn
- Lift the basket from the water and add the shrimp and then the crab legs. Lower the basket, cover with the lid, and cook for another 5 minutes. Turn the heat off and allow everything to soak in the flavored broth for 15 to 20 minutes.2 lbs shrimp, 3 clusters snow crab legs
- During the final soak, melt the butter in a medium saucepan over medium heat. Add the garlic, seasoning, lemon juice, and parsley. Simmer for a couple of minutes. Keep warm.2 cups unsalted butter, 6 cloves garlic, 1 tablespoon Zatarain's Pro Boil powder, 1 teaspoon lemon juice, 1 tablespoon Italian parsley
- Lift the basket from the fryer (or pot), and let it drain for a minute. Then, dump the feast onto a table lined with butcher paper or onto a huge platter.
- Drizzle about 1 cup of the garlic butter over the feast and sprinkle on a little more of the Pro Boil powder. Serve with additional butter in small bowls for each guest.
Video
Notes
- Order Online: If your local grocery store doesn’t carry the “Triple Threat” essentials, you can easily find the Zatarain’s Mesh Bags, Pro Boil Powder, and Liquid Concentrate on Amazon or through the Zatarain’s website.
- DIY Spice Substitute: If you can’t source the specific Louisiana brands, use 1.5 cups of Old Bay, 3 tablespoon cayenne, and ¼ cup kosher salt, then add whole bay leaves, cloves, and mustard seeds to the water to mimic the aromatics.
- No Turkey Fryer? No Problem: While we love the MasterBuilt for this, you can use any large 20-quart stockpot on your stovetop. If your pot is smaller, simply halve the recipe or cook the ingredients in two separate batches.
- Control the Heat: To dial back the spice, reduce the Pro Boil powder to 1 cup and the Liquid Concentrate to 2 tablespoons. For maximum “Loon-level” heat, stick to the recipe as written and increase the final soak time.
- The “Cooling” Secret: Adding ice or frozen corn during the final soak is crucial. It stops the shrimp and crab from overcooking while the drop in temperature actually helps the meat “drink in” the seasoned broth.
- Leftover Strategy: Store any leftovers in the fridge for up to two days. The seasoned shrimp and crab are delicious served cold the next day, or you can peel them to use in a spectacular seafood chowder or pasta.