Skip the restaurant prices and make the world’s most famous broccoli cheddar soup at home! This Panera copycat recipe delivers all the cheesy, creamy goodness you love in just 30 minutes. Using simple ingredients you likely already have in your fridge, this one-pot meal is a guaranteed crowd-pleaser that tastes exactly like the cafe classic.

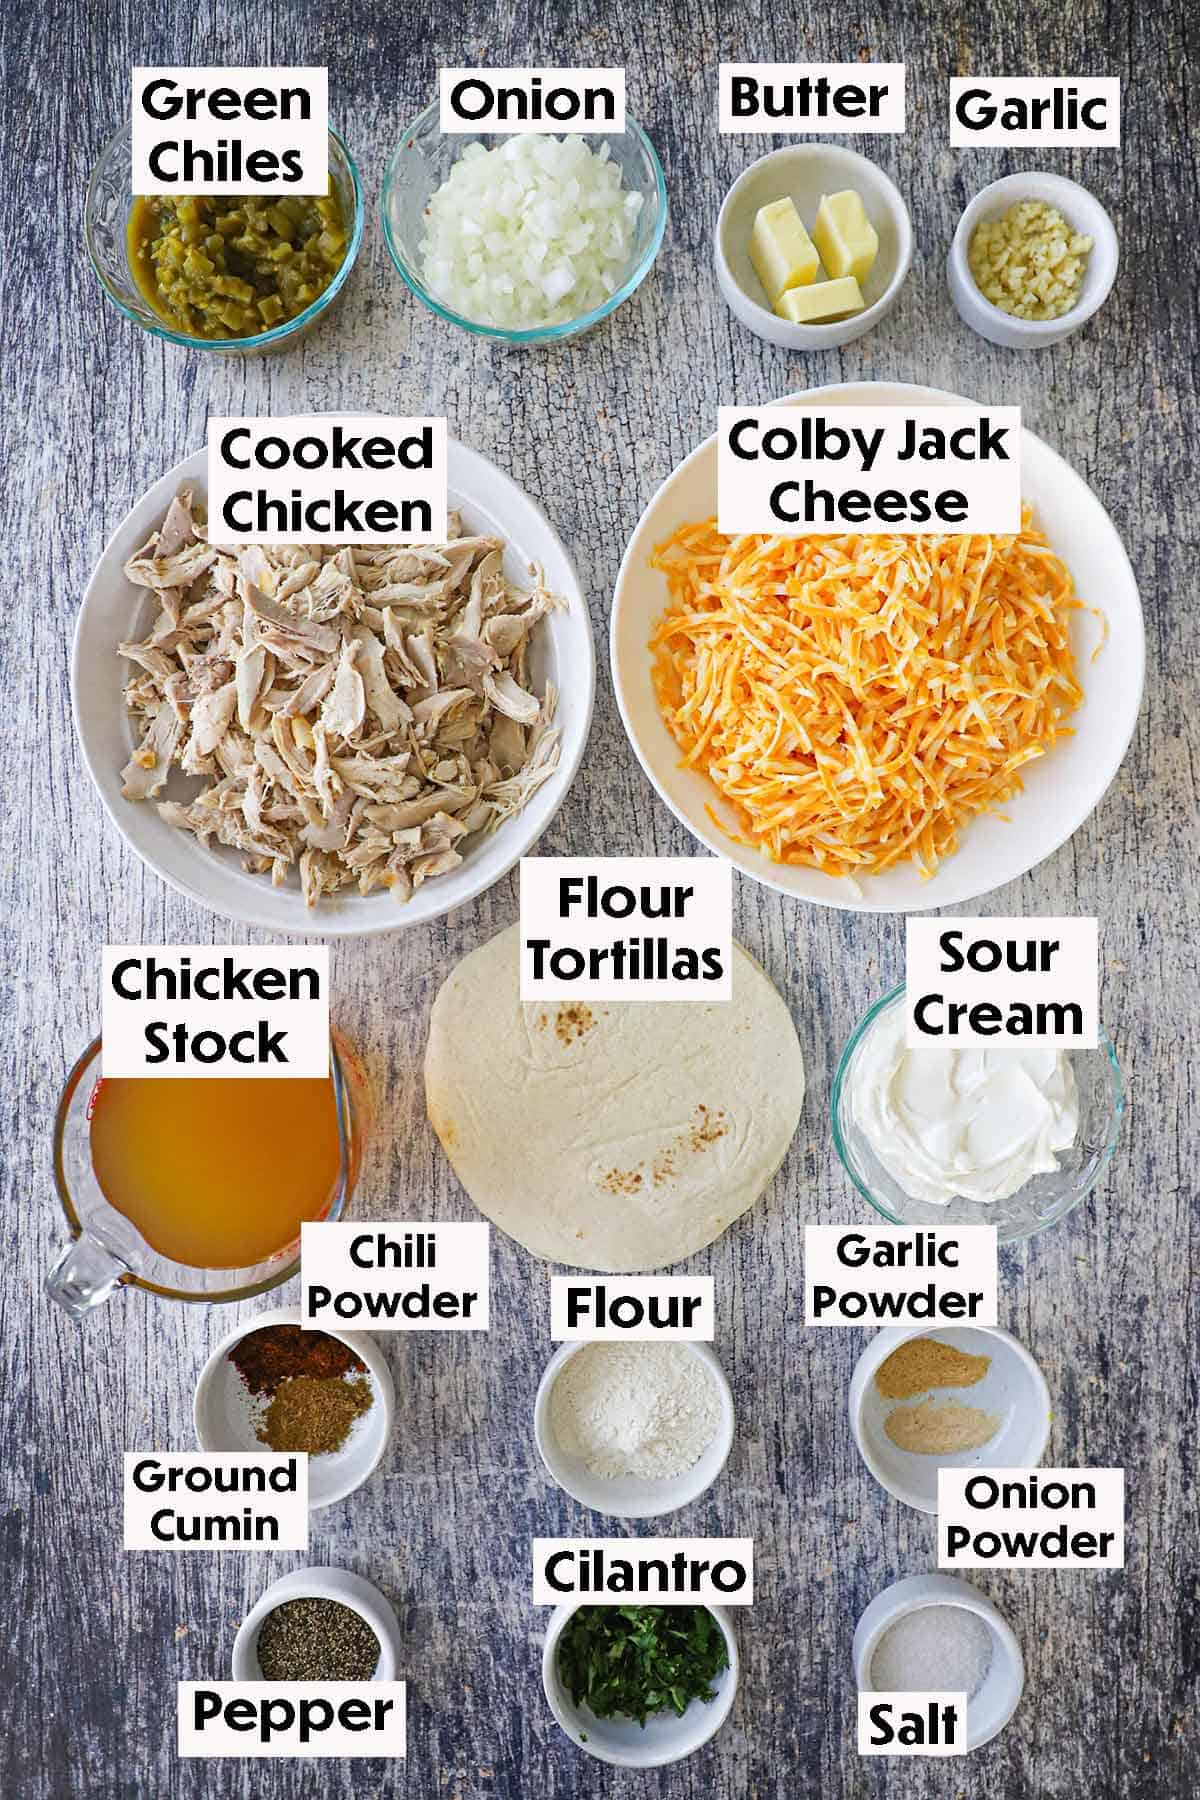
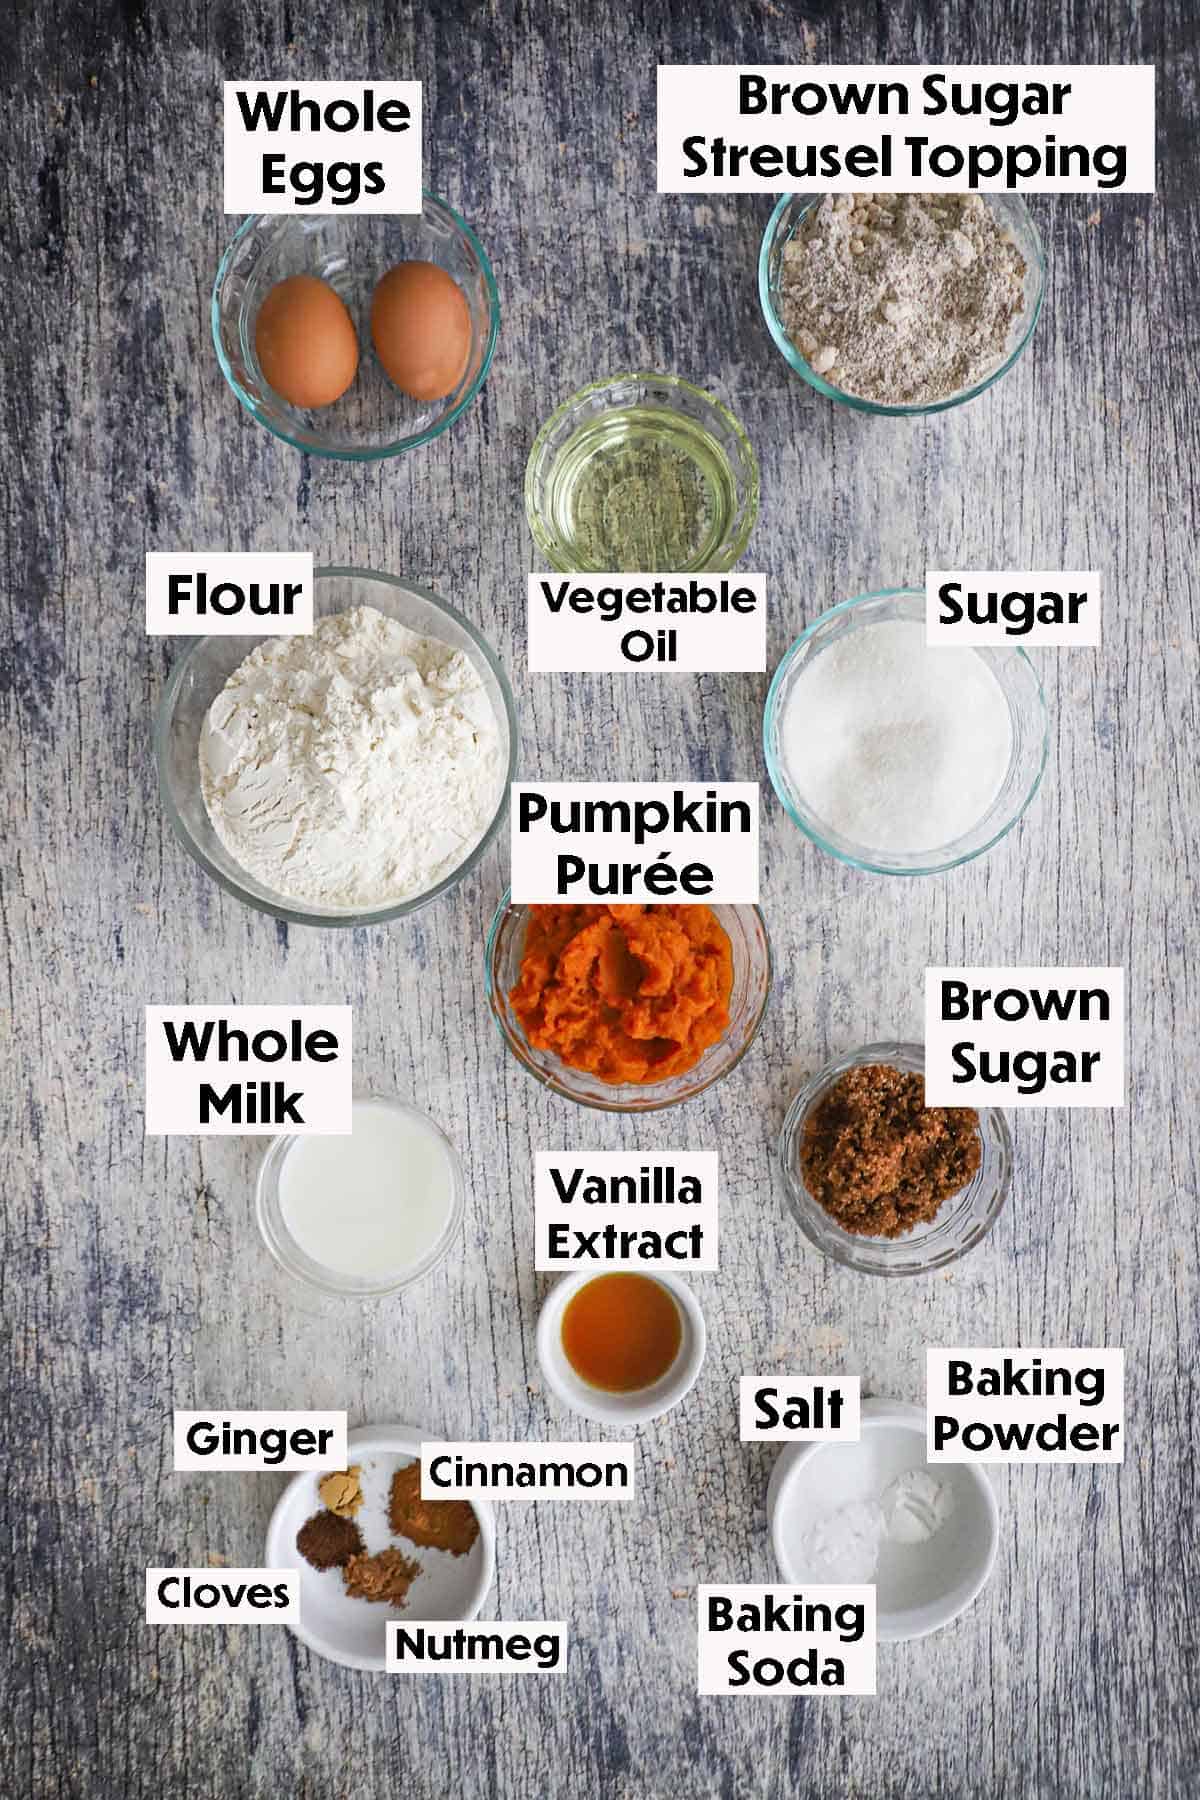
🥦 The Ingredients
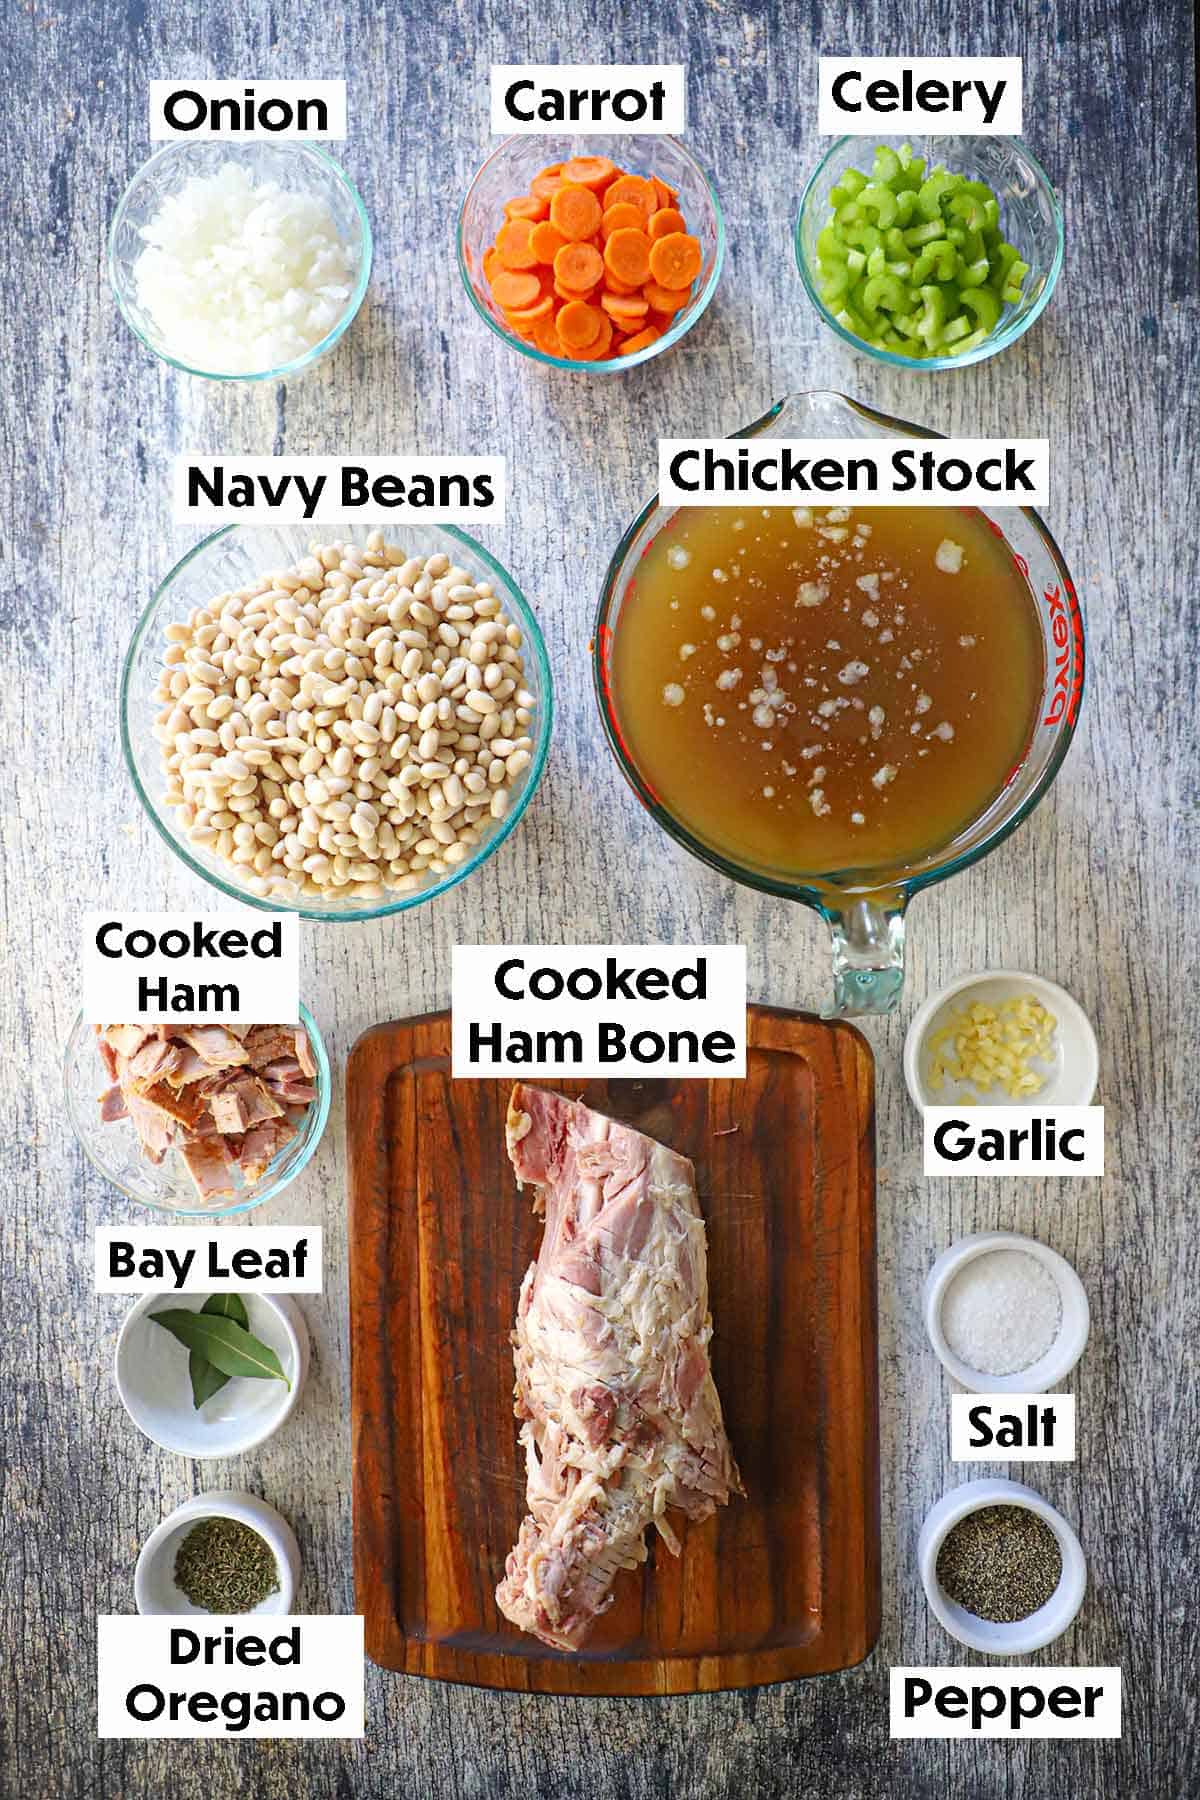
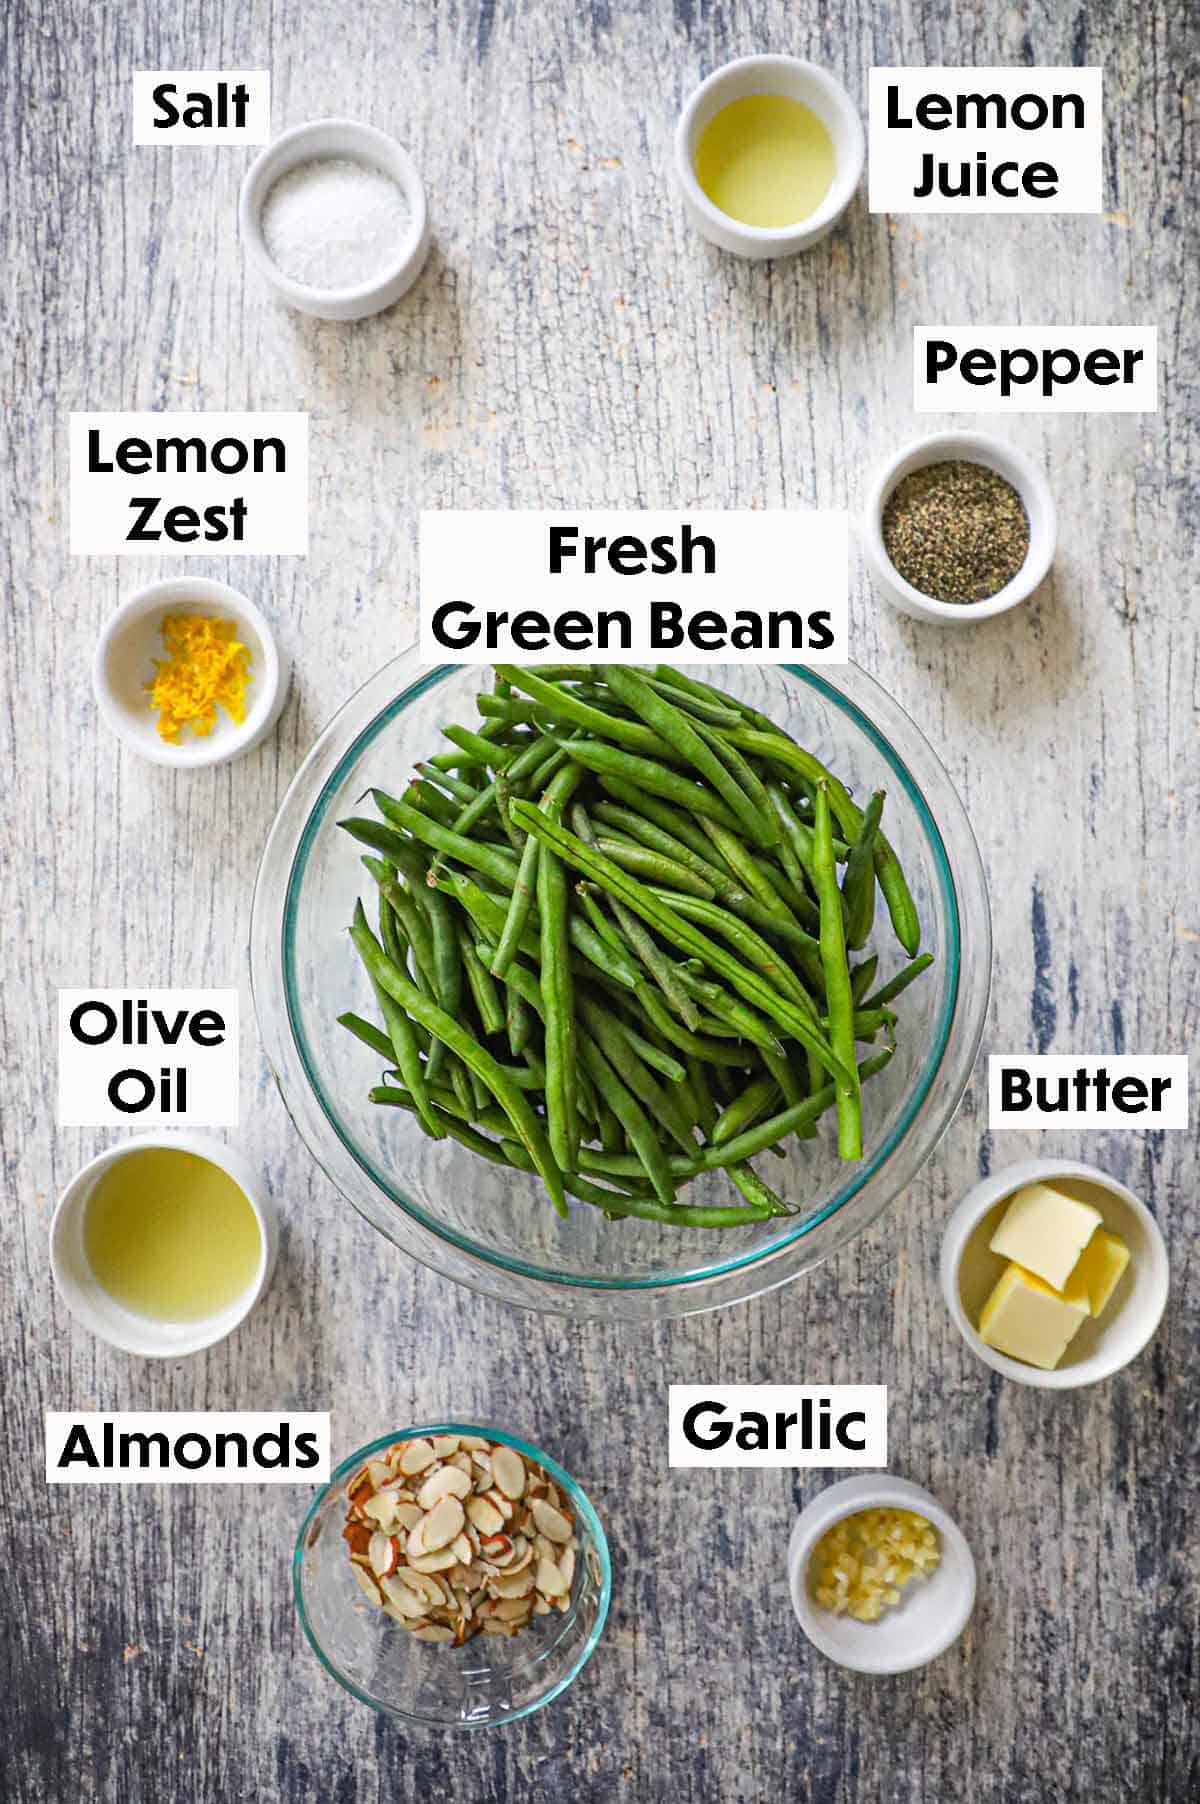
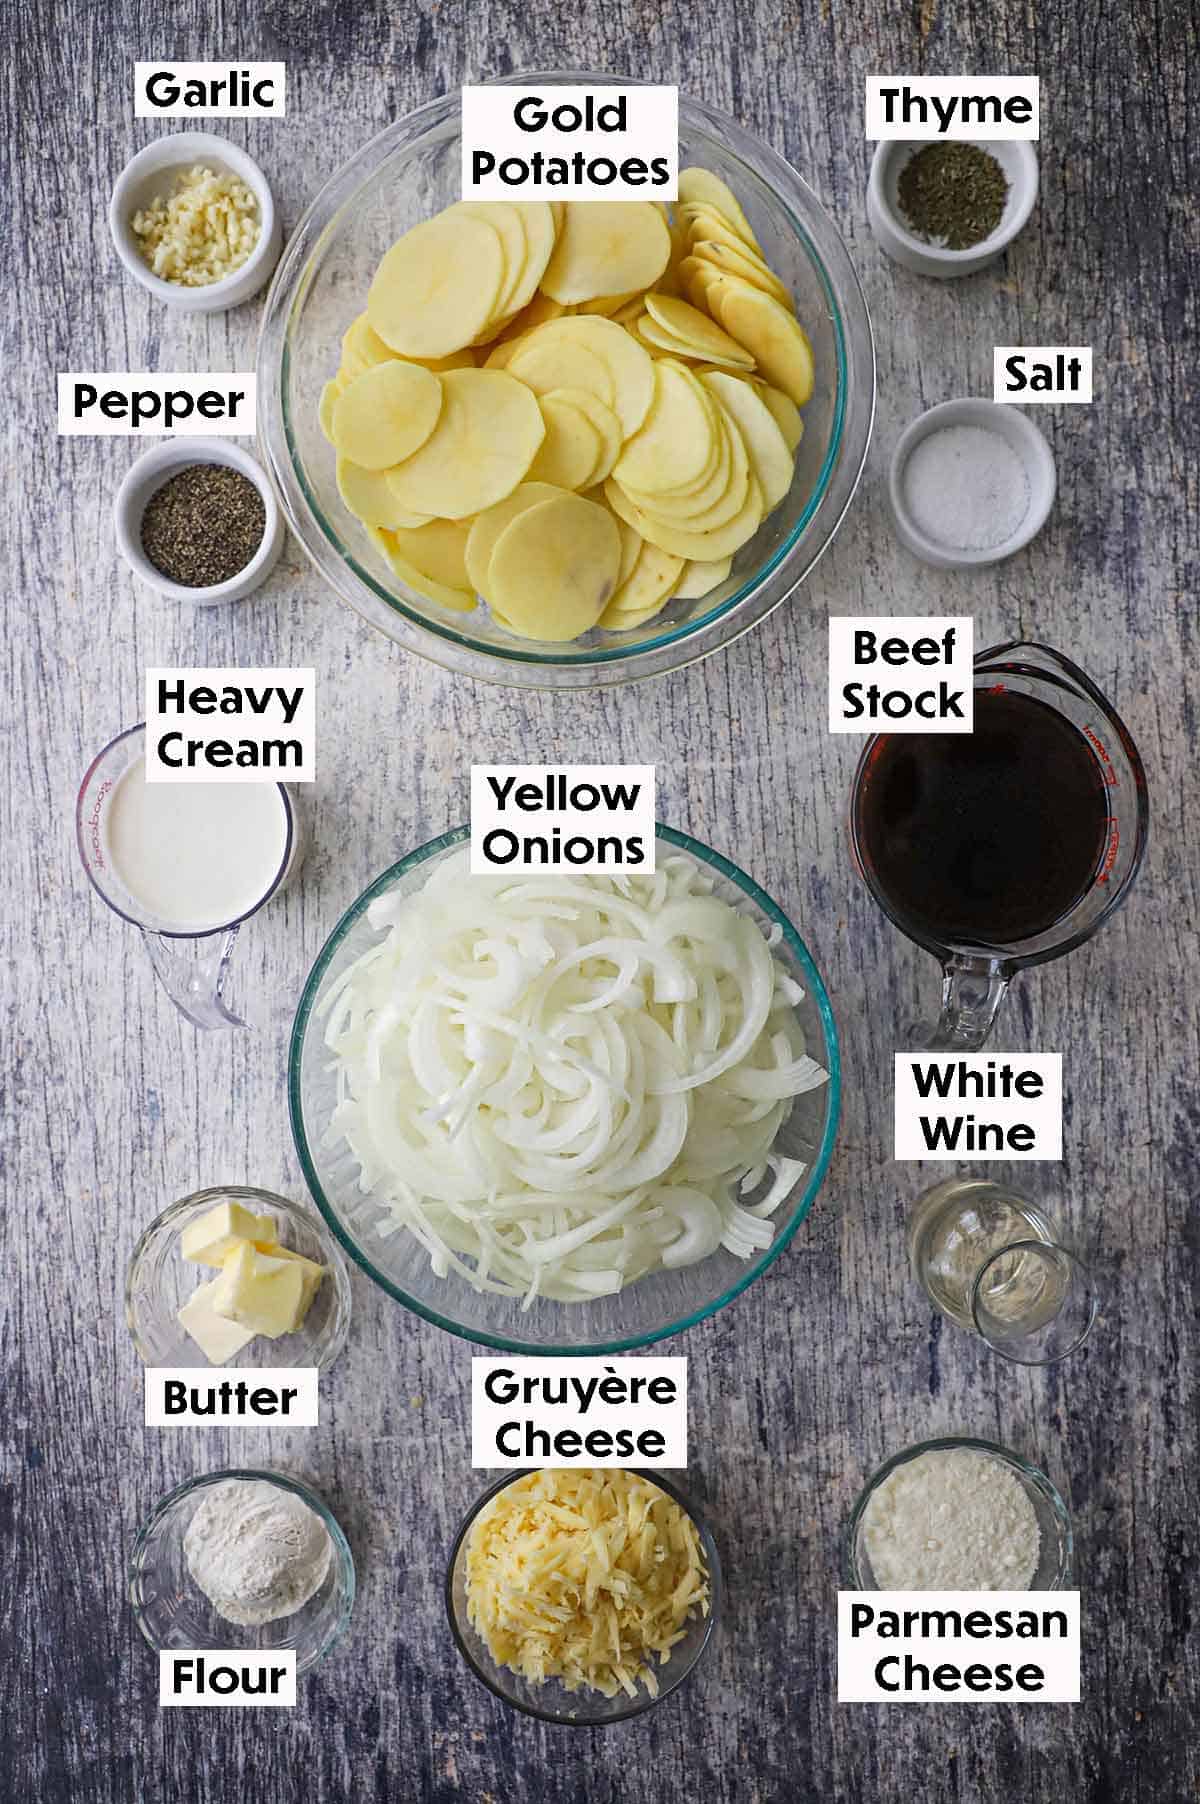
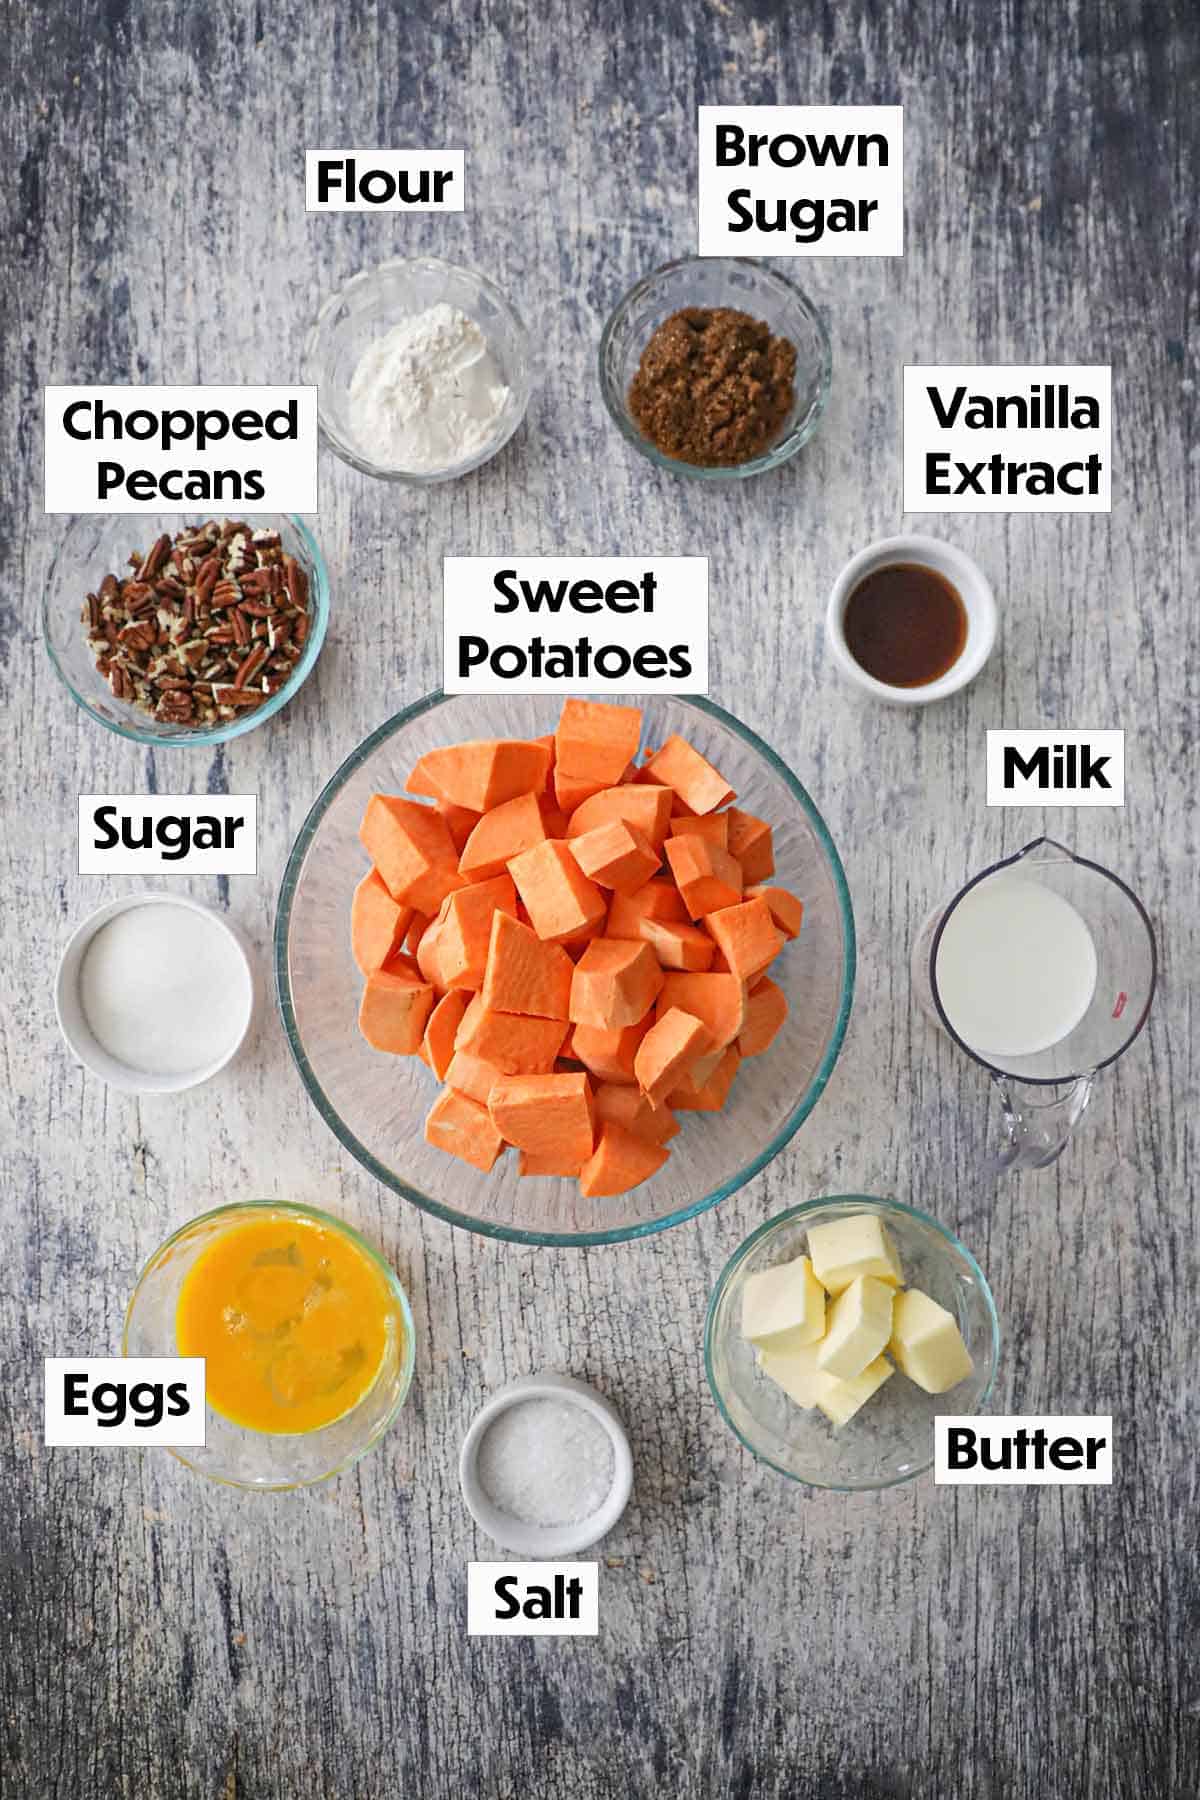
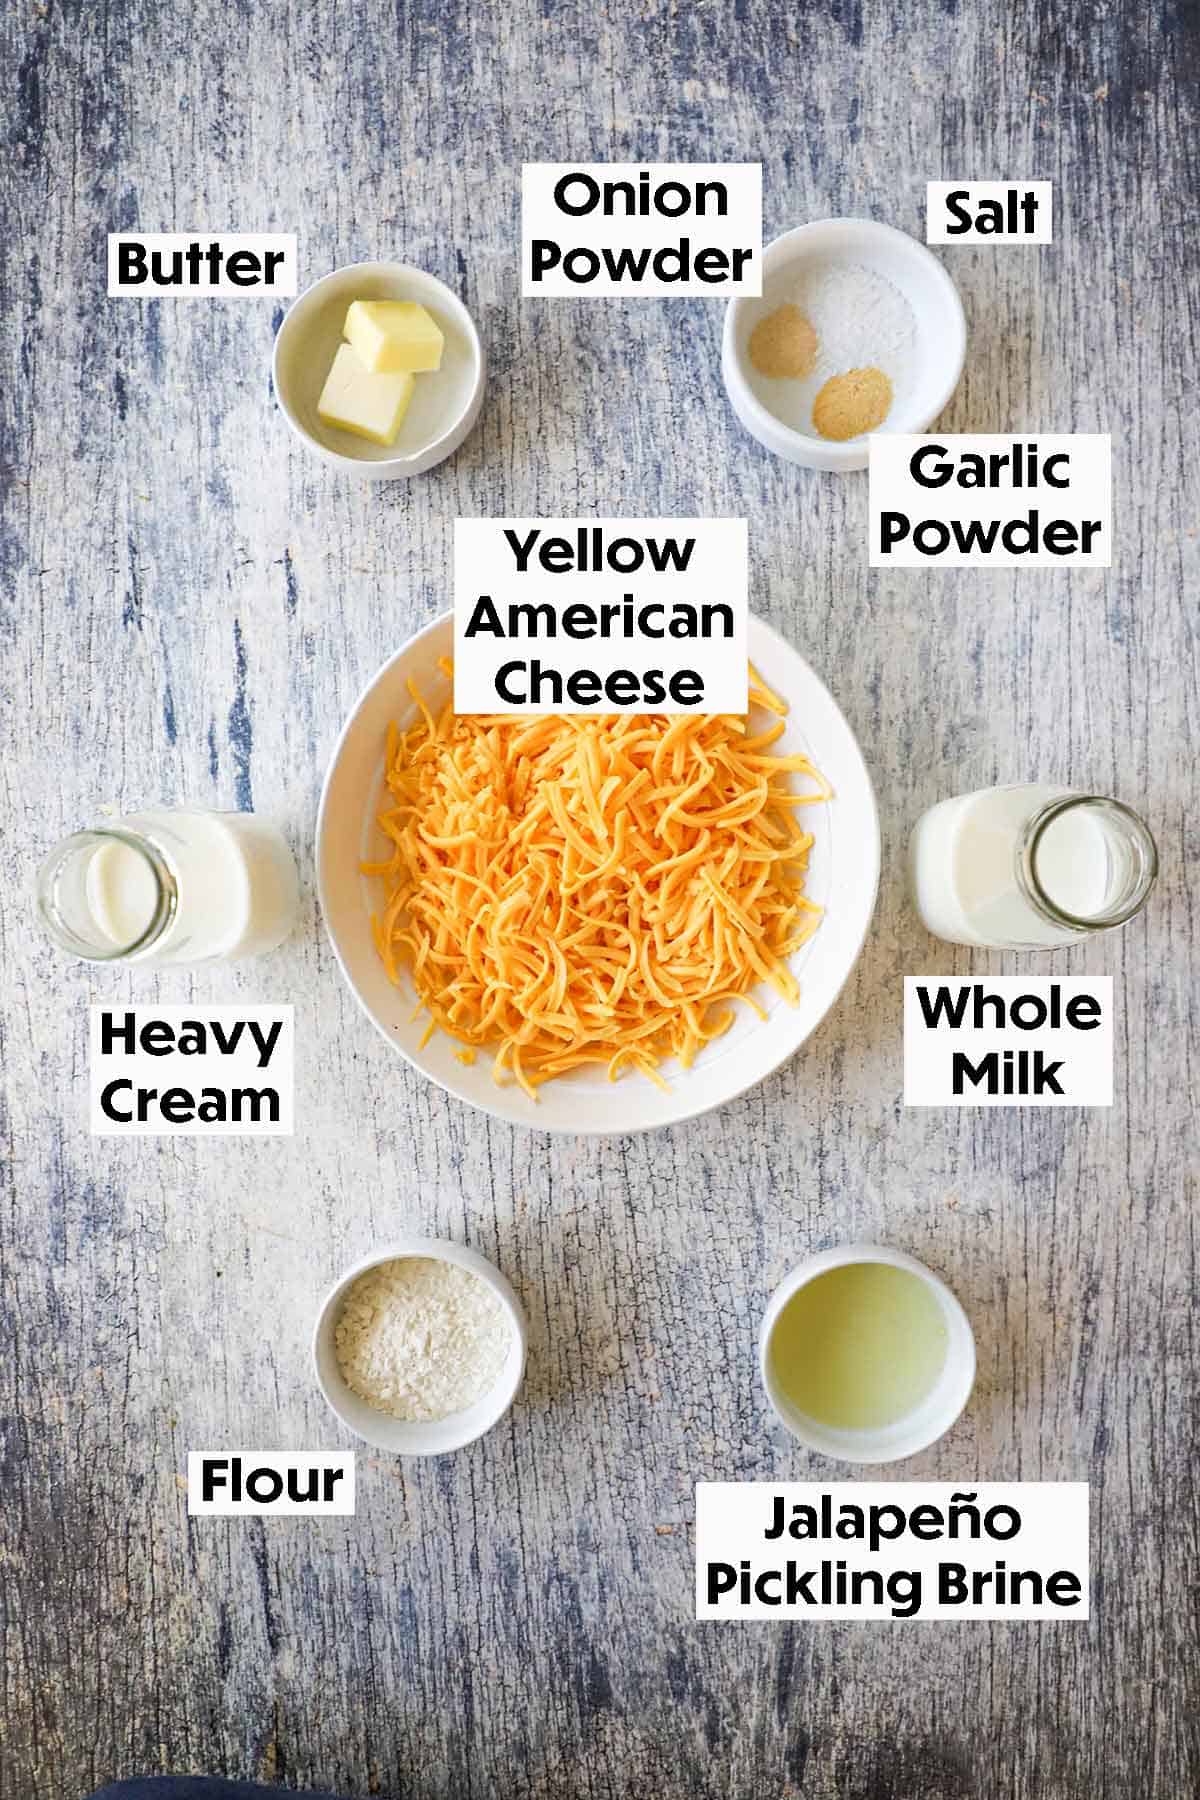
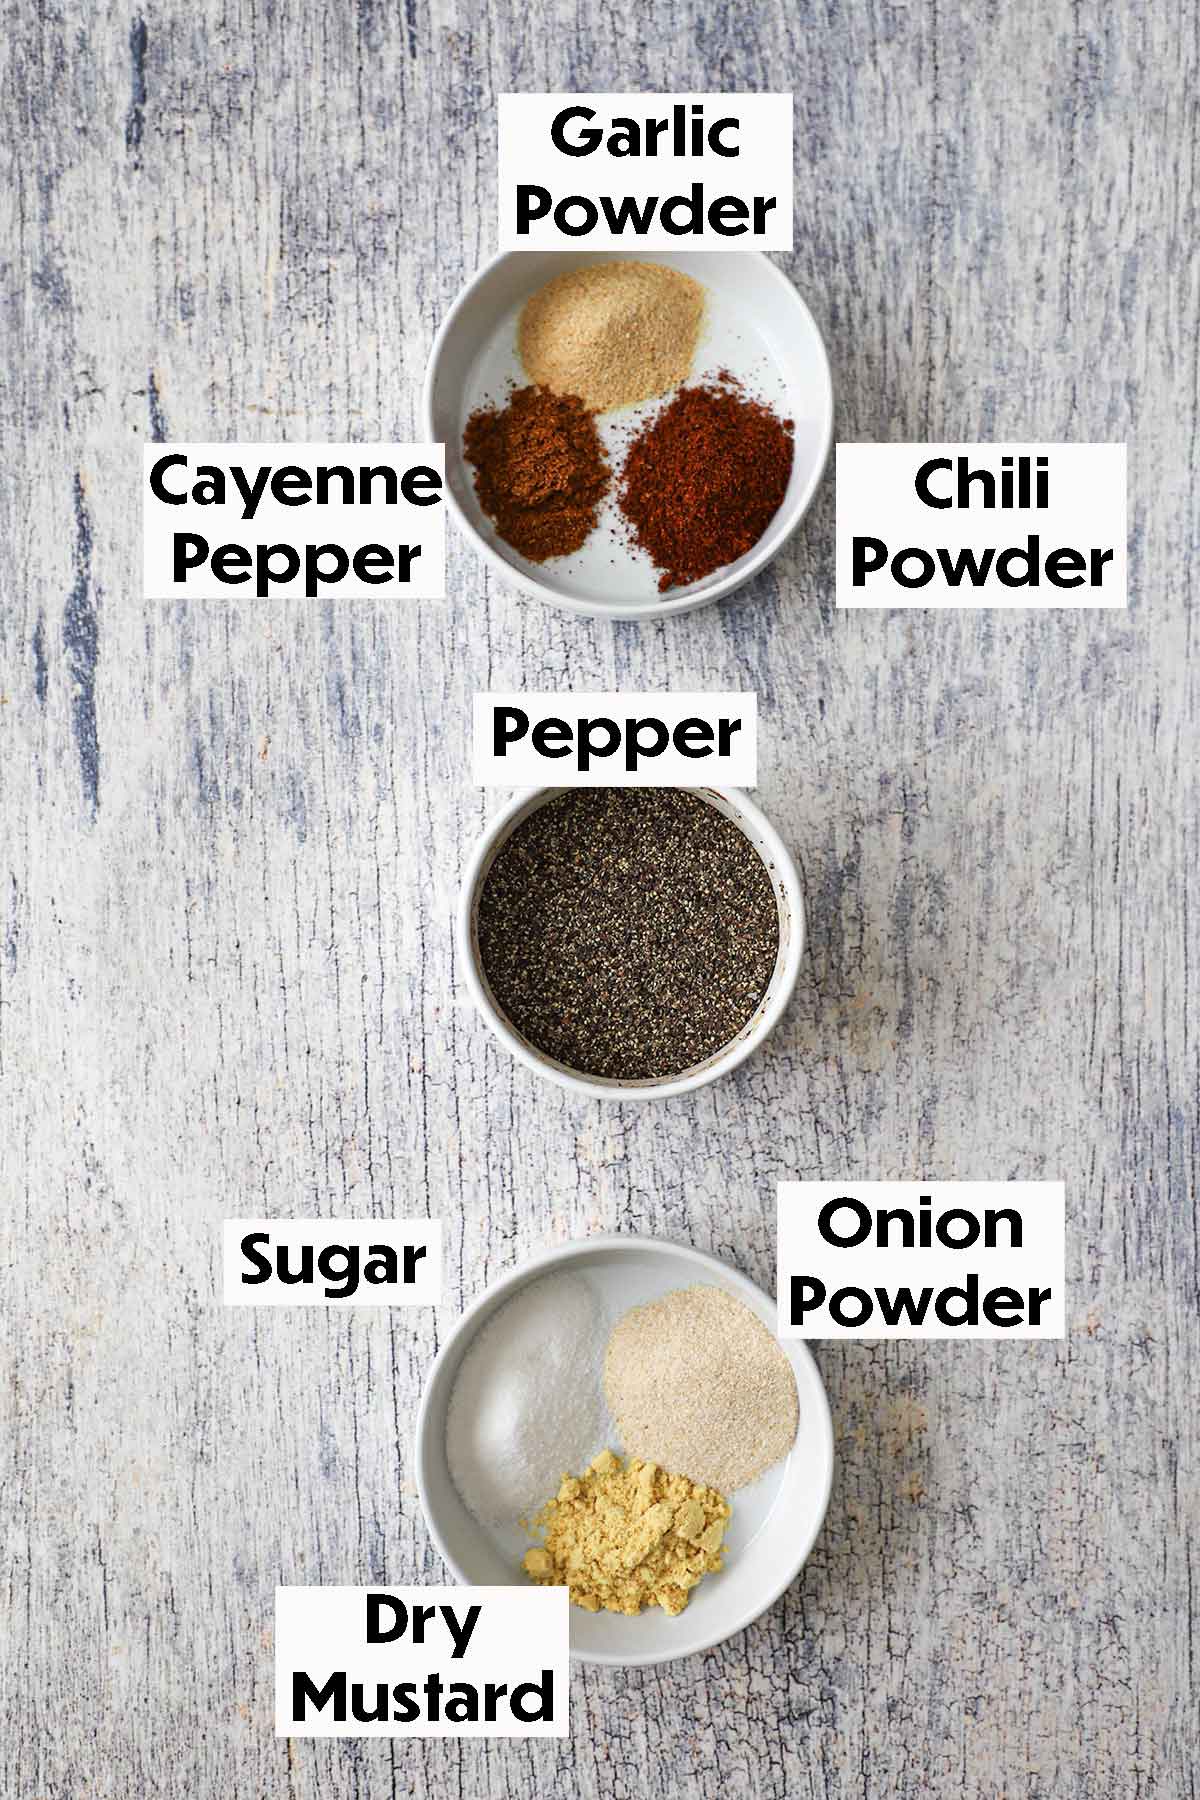
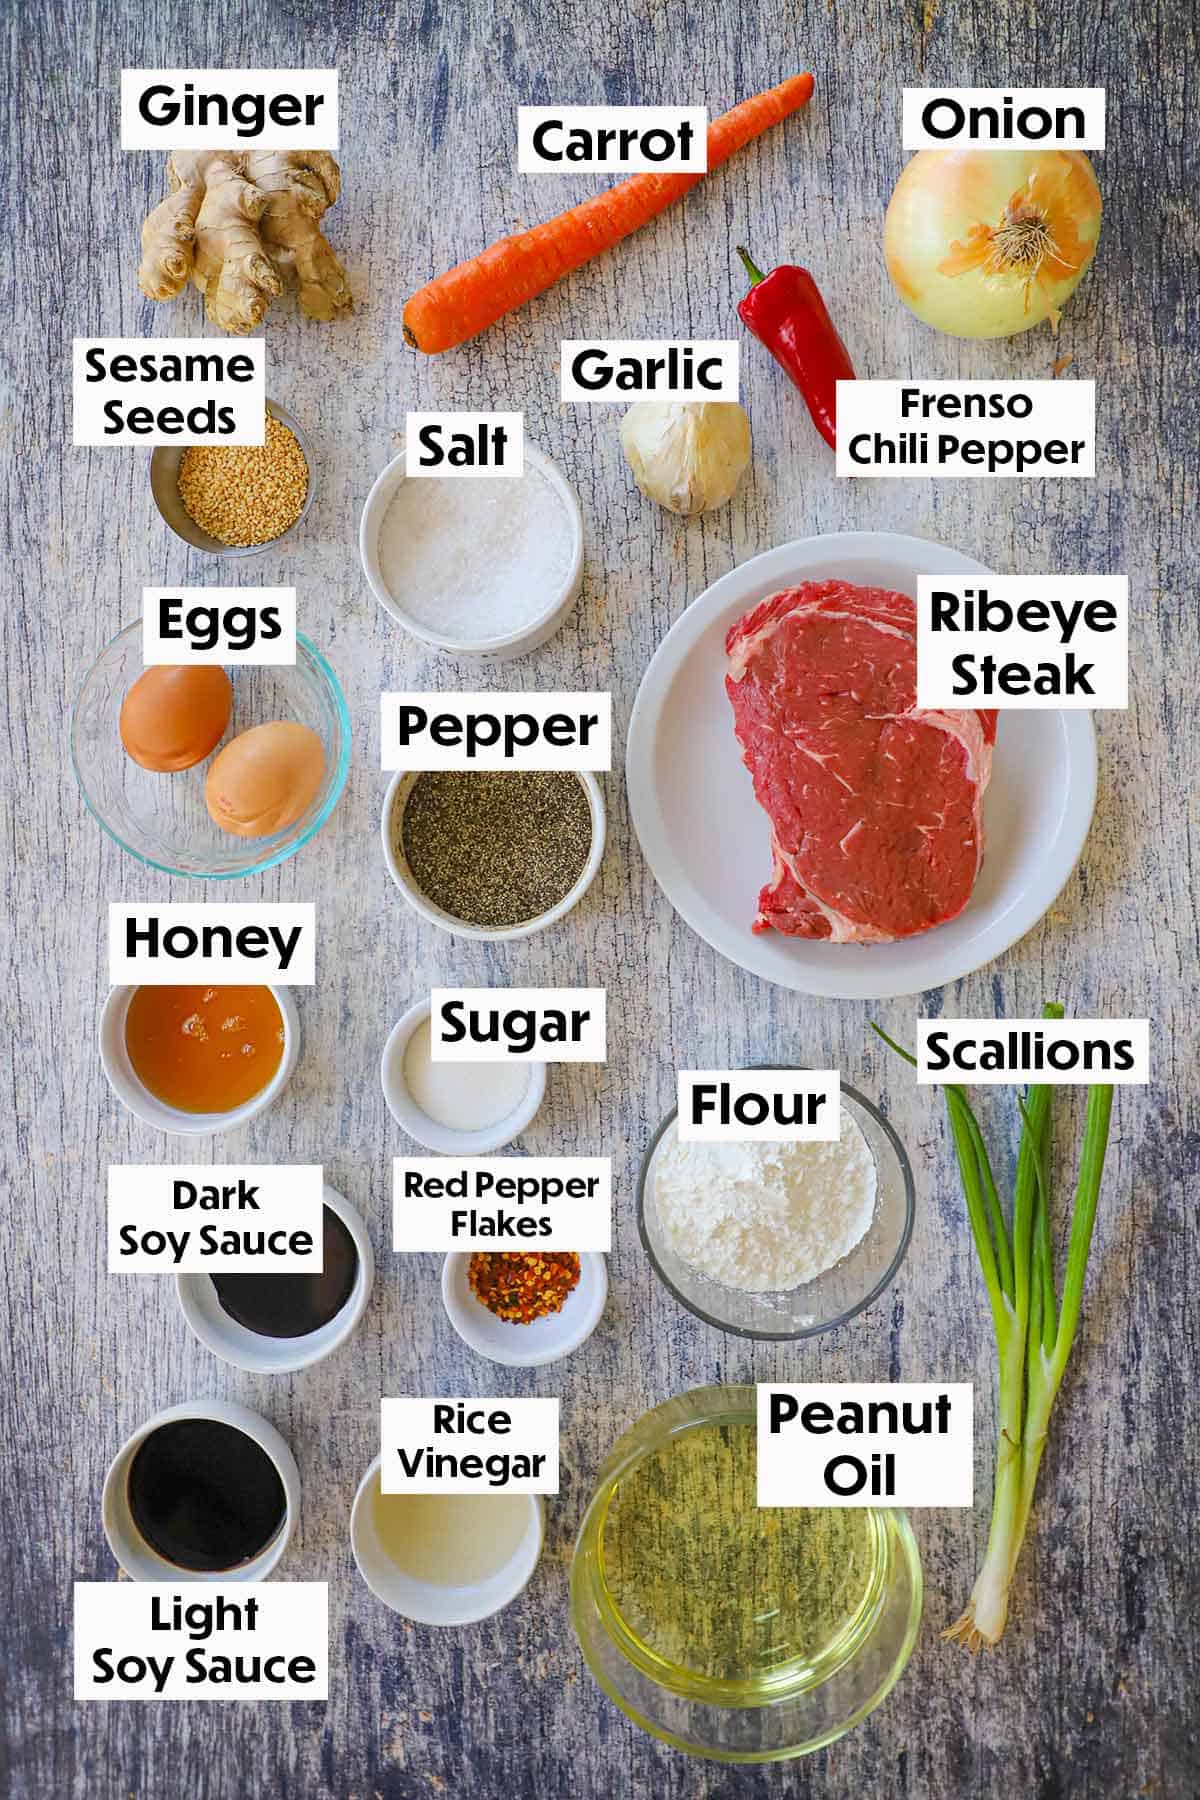
This recipe transforms a handful of simple pantry staples and fresh produce into a rich, velvety masterpiece that perfectly captures the signature warmth and creaminess of the original. Find ingredient notes (including substitutions and variations) below.
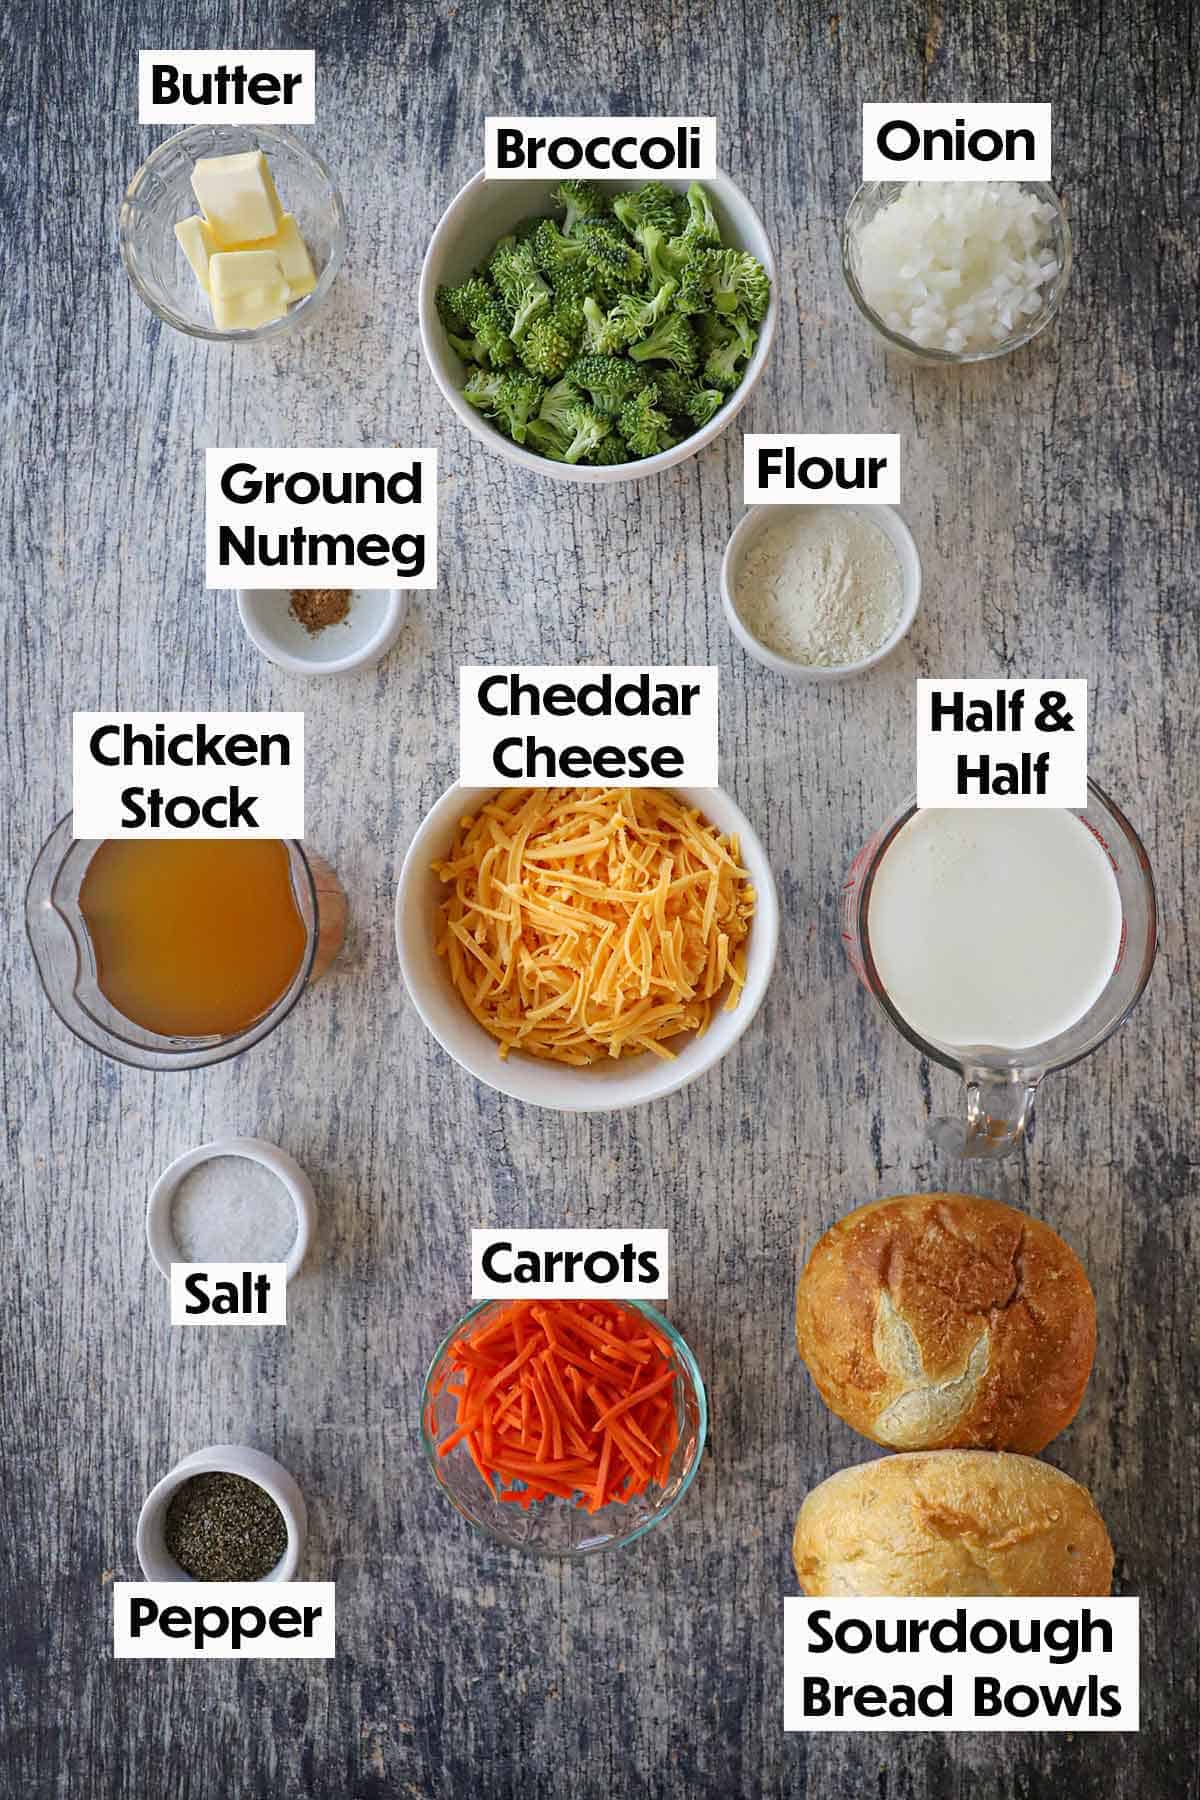
📝 Ingredients Notes with Substitutions and Variations
- Unsalted Butter: This is used to sauté the onions and create the roux. If you only have salted butter on hand, just reduce the amount of added salt later in the recipe. For a dairy-free version, you can use vegan butter or olive oil.
- Half and Half: This provides the signature creamy texture without being as heavy as heavy cream.
- Substitution: You can use a mix of equal parts whole milk and heavy cream. For a lighter version, use whole milk, though the soup will be slightly thinner.
- Chicken Stock: This adds a deep, savory base.
- Substitution: Use vegetable stock to make this recipe vegetarian-friendly.
- Chopped Broccoli: Fresh broccoli florets work best for texture, but frozen broccoli can be used in a pinch. If using frozen, thaw it first to avoid adding extra water to the soup.
- Julienned Carrots: These add a pop of color and a hint of sweetness. You can buy them pre-shredded (matchstick style) at the store to save on prep time.
- Ground Nutmeg: This is the “secret ingredient” in Panera’s recipe. It doesn’t make the soup taste like dessert; instead, it enhances the nuttiness of the cheese and the richness of the cream.
- Sharp Cheddar Cheese (Essential): While not in your list, this is the heart of the soup! Use sharp or extra-sharp cheddar for the best flavor.
Refer to the recipe card (with video) below for a full list of ingredients and measurements.
Expert Tip
Grate your own cheese from a block. Pre-shredded bagged cheese is coated in potato starch to prevent clumping, which can make your soup grainy rather than smooth.
🔥 Tips for the Best Broccoli Cheddar Soup
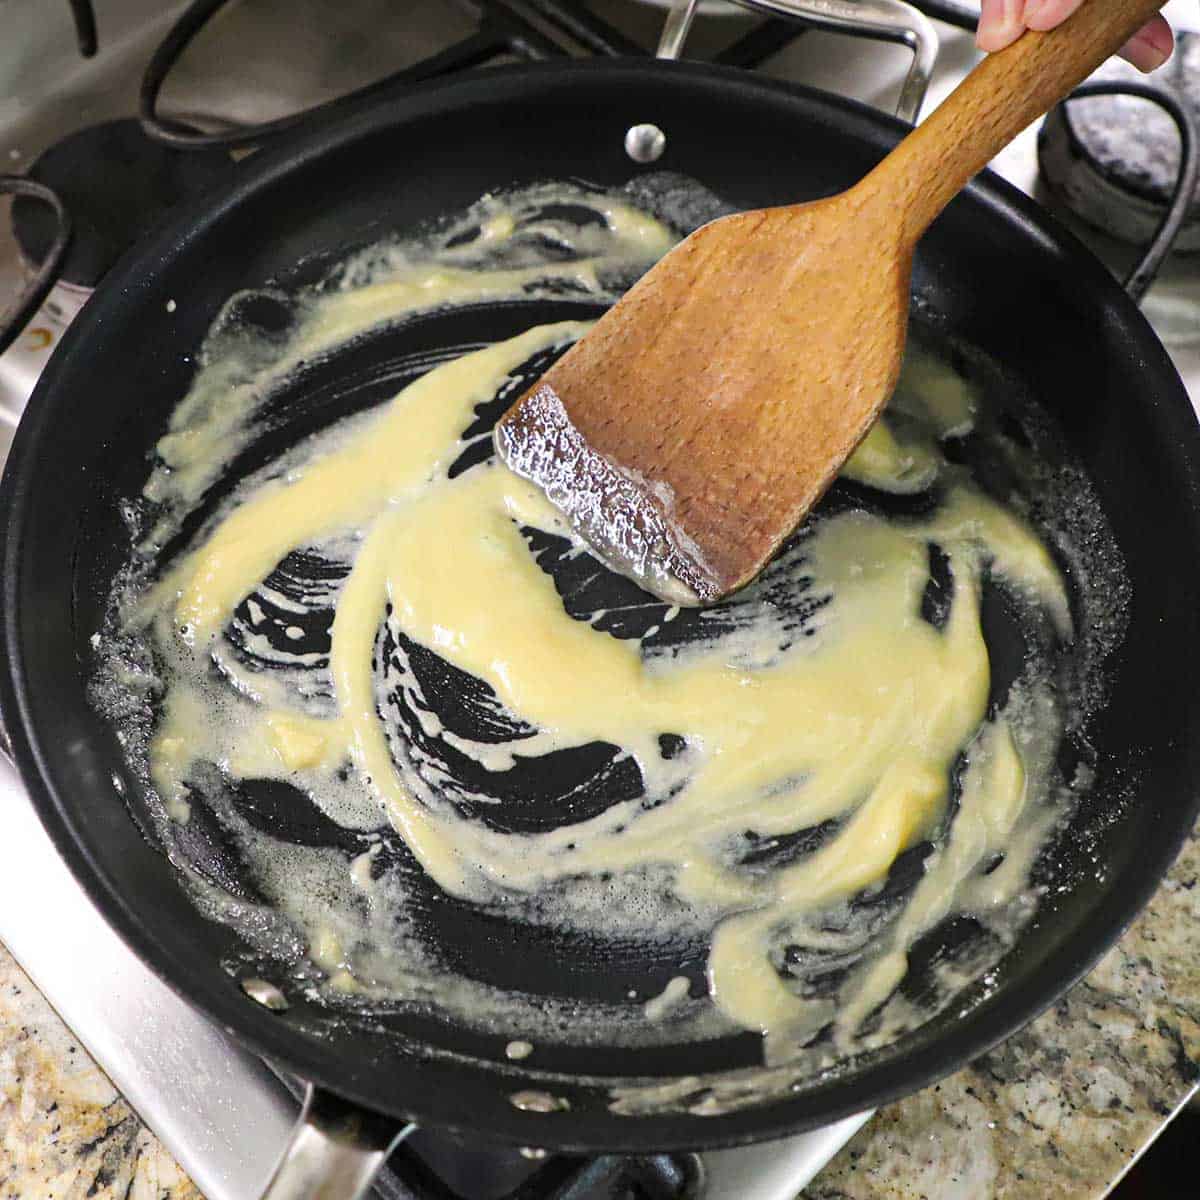
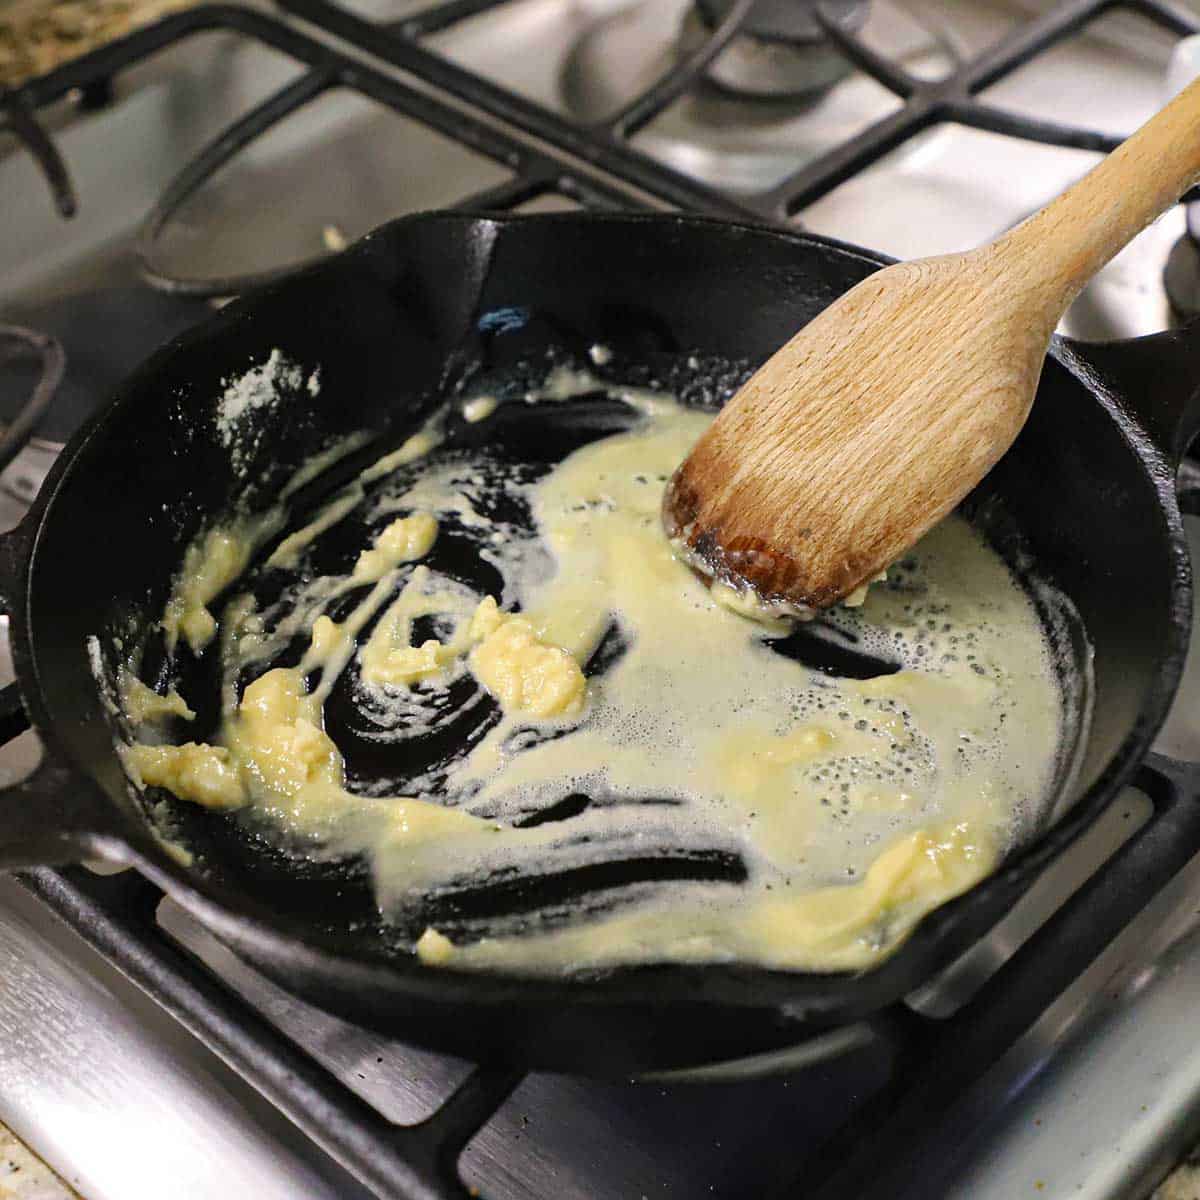
- Don’t Skip the “Roux” Step: When you stir the flour into the melted butter and onions, let it cook for at least 1–2 minutes before adding the liquid. This “cooks out” the raw flour taste and ensures your soup is thick and velvety.
- Size Matters for Broccoli: Chop your broccoli into very small, bite-sized florets. Large chunks of broccoli can be difficult to eat in a creamy soup; smaller pieces ensure you get a bit of everything in every single spoonful.
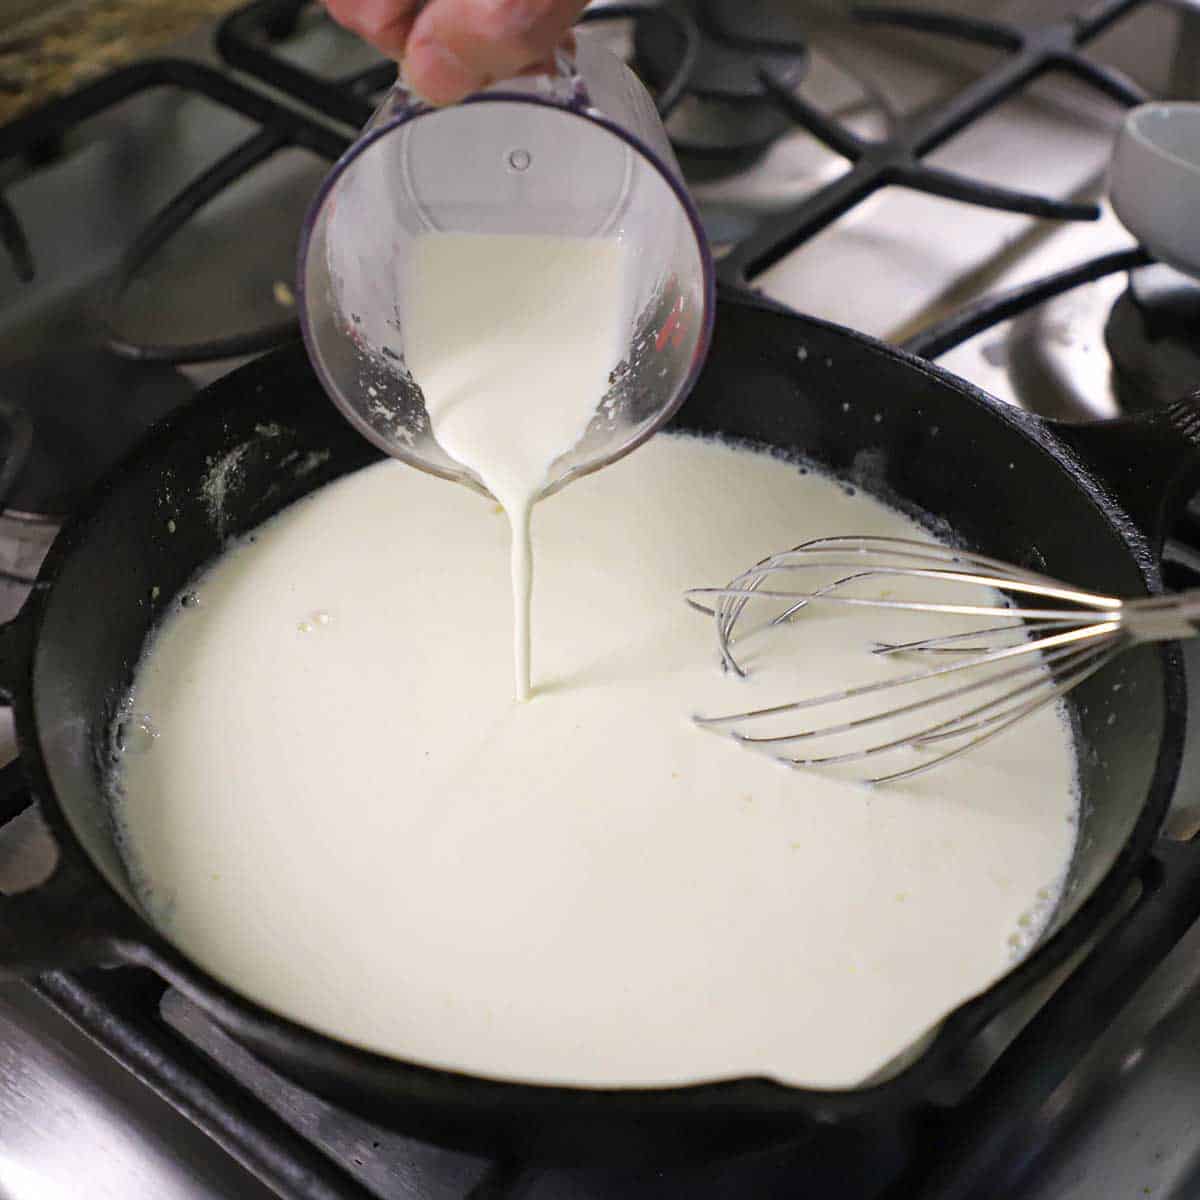
- Temper Your Dairy: To prevent the half and half from curdling, try to set it out on the counter for a few minutes before adding it to the pot so it isn’t ice-cold. Add it slowly while whisking constantly.
- The “No-Boil” Rule: Once you add the cheese, do not let the soup boil. High heat can cause the cheese to break and separate, leaving you with an oily soup. Turn the heat to low or off entirely, then stir in the cheese until just melted.
- The Secret is in the Nutmeg: It might seem like a strange addition, but that tiny pinch of ground nutmeg is what gives Panera’s soup its signature “something special” flavor. It adds a subtle warmth that rounds out the sharpness of the cheddar.
- Control the Salt: Since chicken stock and cheddar cheese both contain salt, wait until the very end to do your final taste test. You may find you need less added salt than you think!
- Serve in a Bread Bowl: To get the full cafe experience, serve this soup in a hollowed-out sourdough bread bowl. The way the bread soaks up the creamy base is the best part!
- Reheating Tip: If the soup thickens too much in the fridge, reheat it on the stove over low heat and add a splash of chicken stock or milk to loosen it back up to your desired consistency.
👩🏼🍳 How to Make Broccoli Cheddar Soup (Panera Copycat)
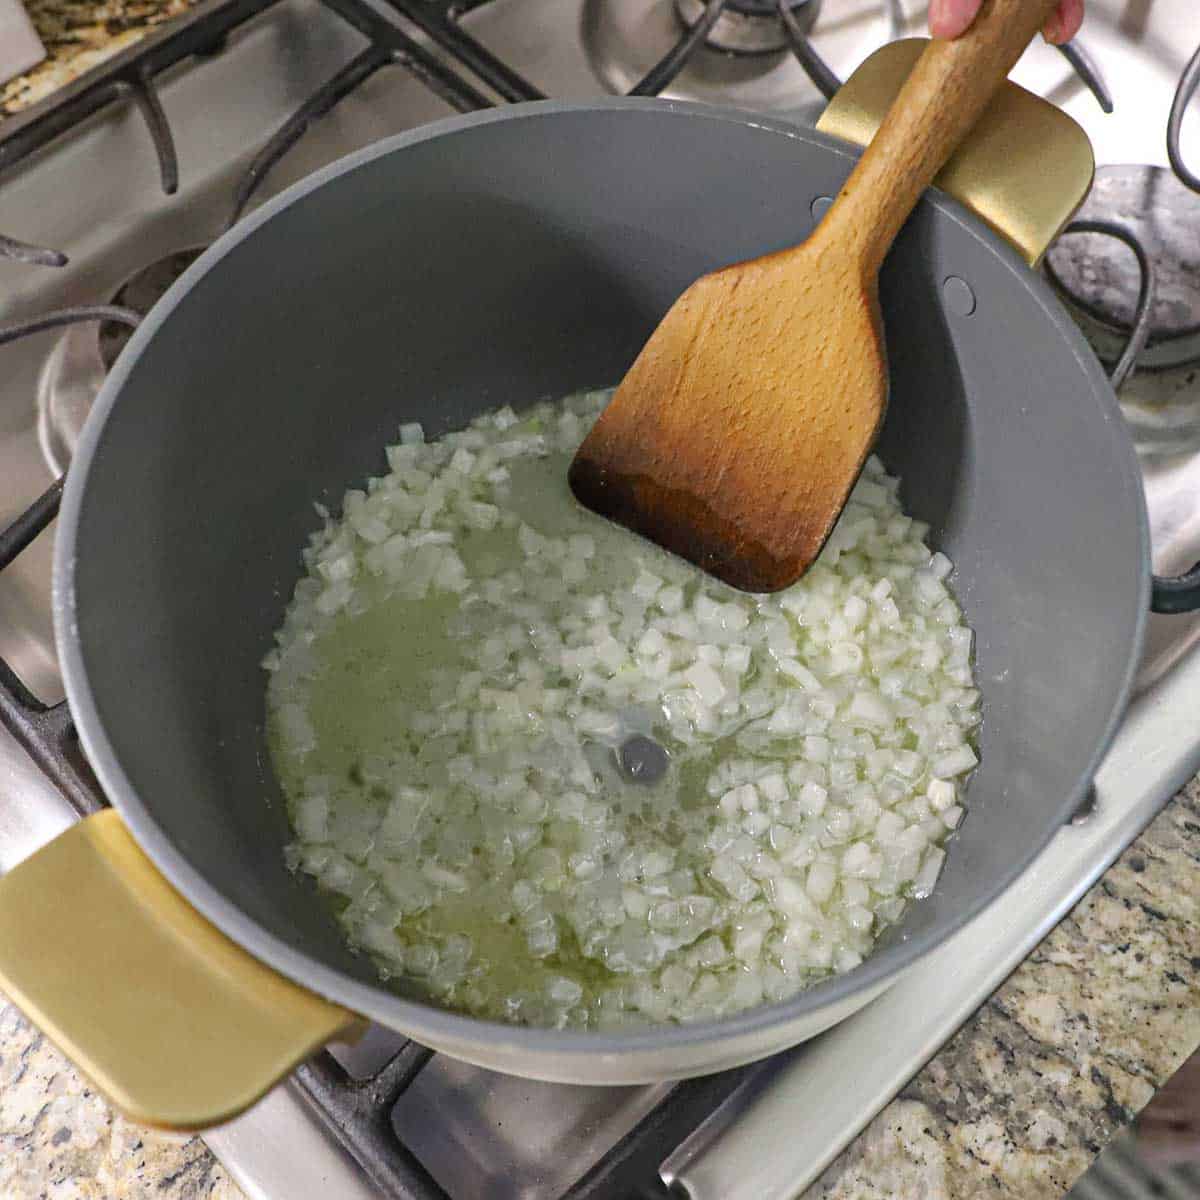
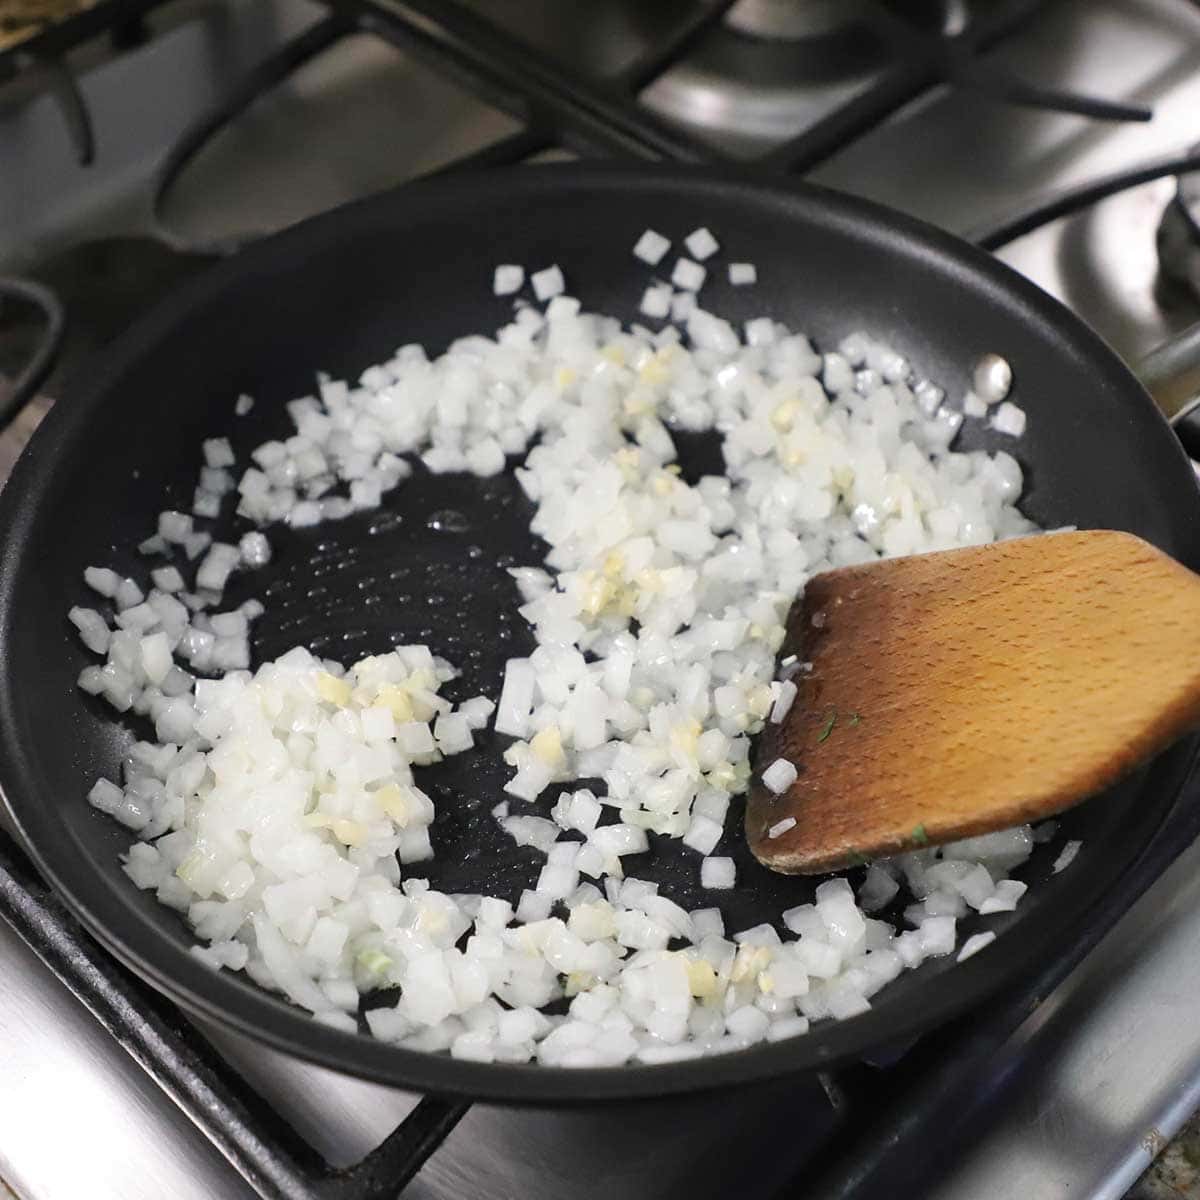
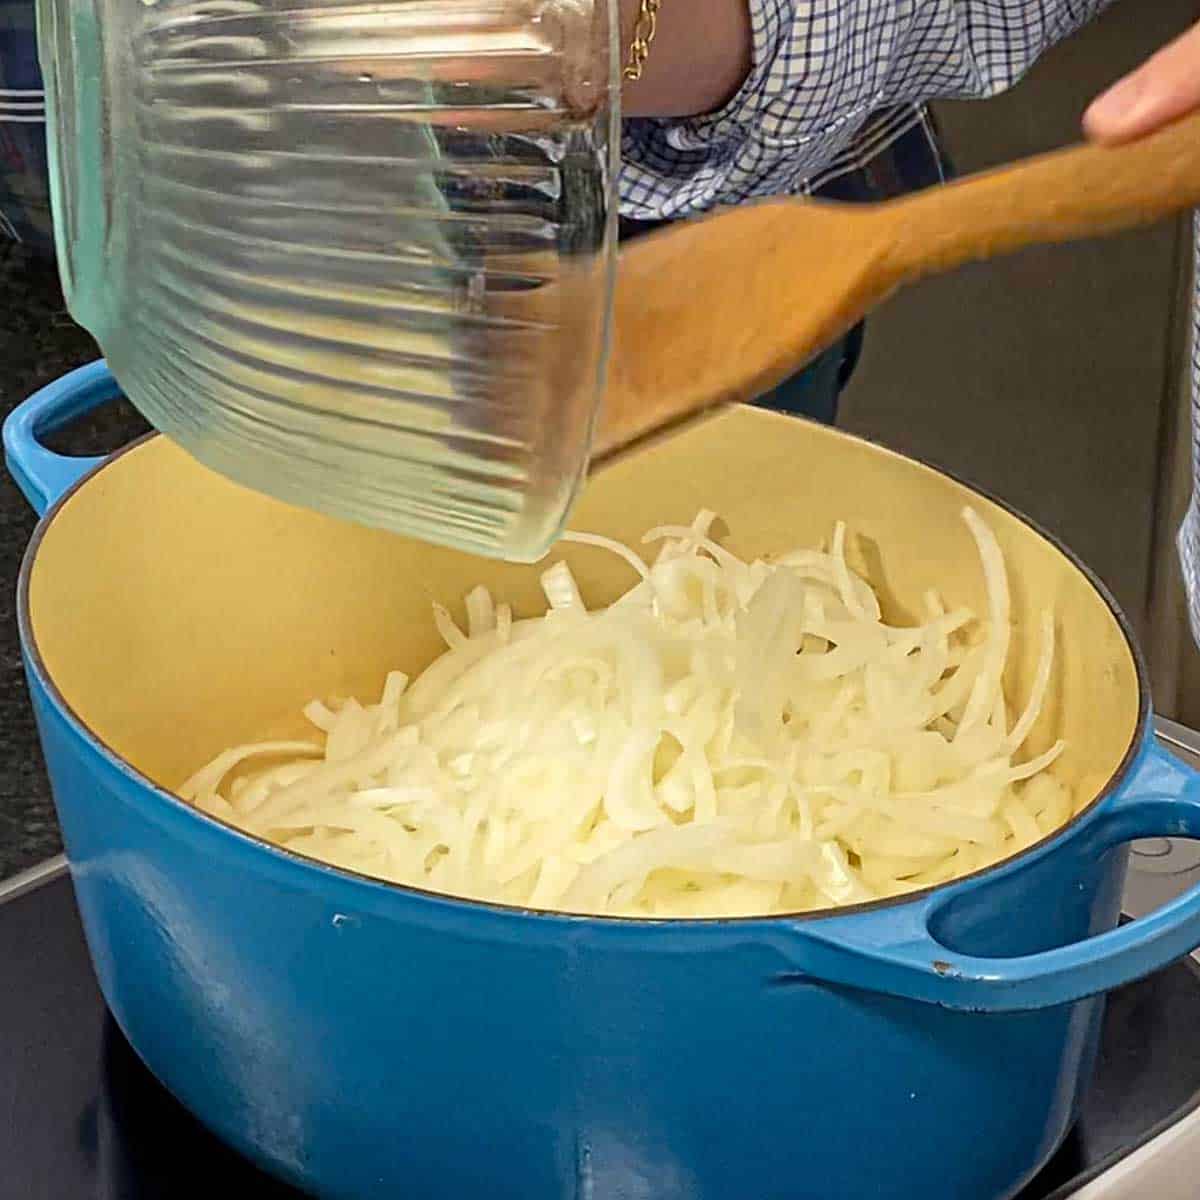
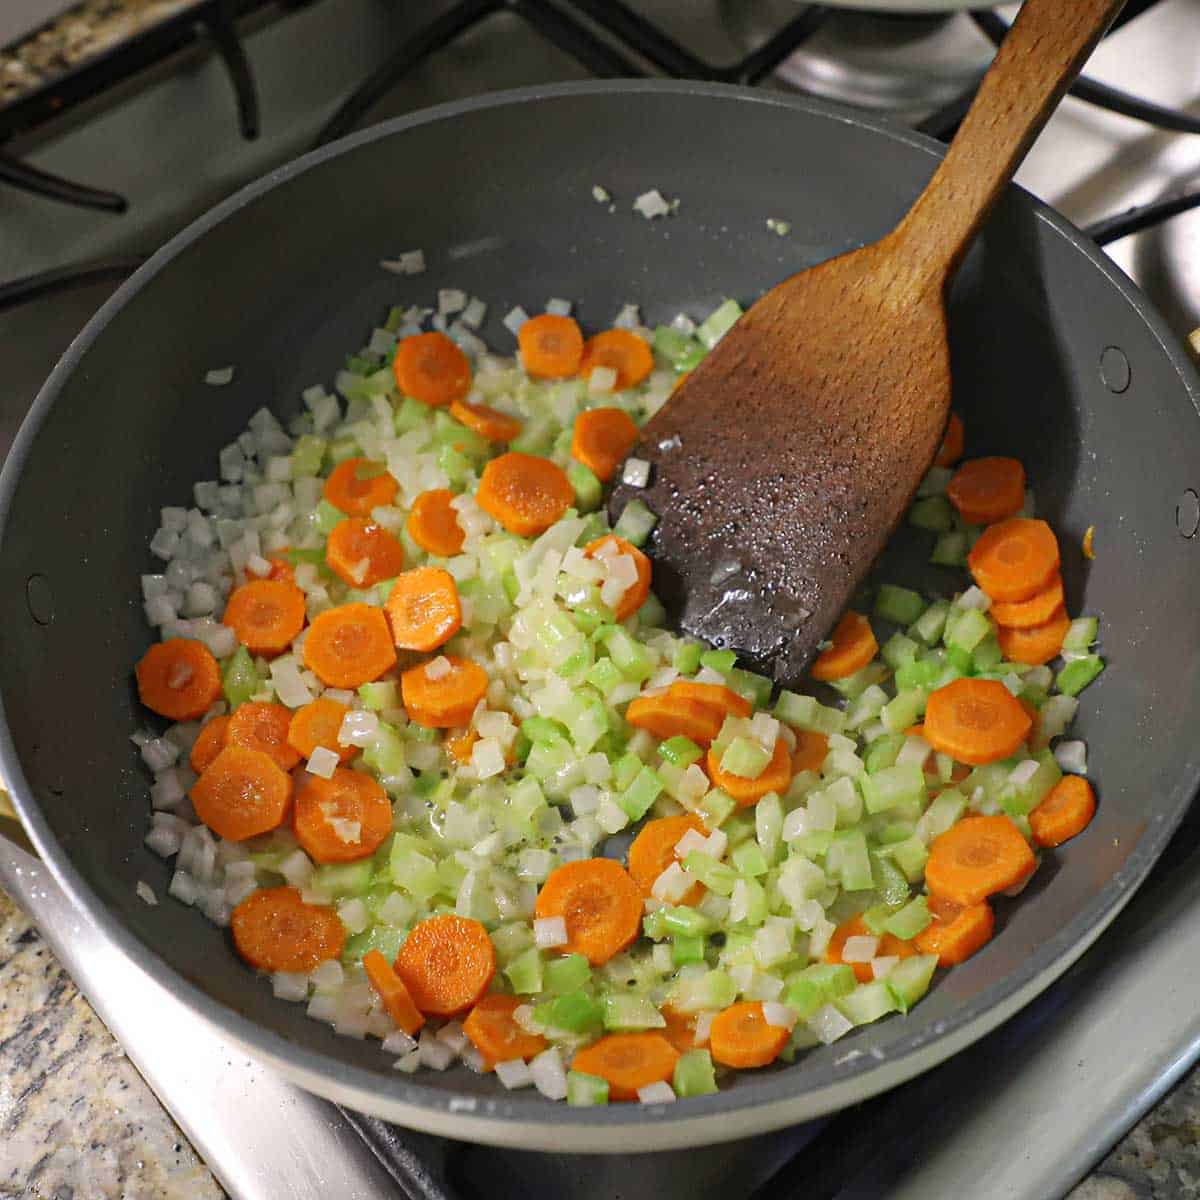
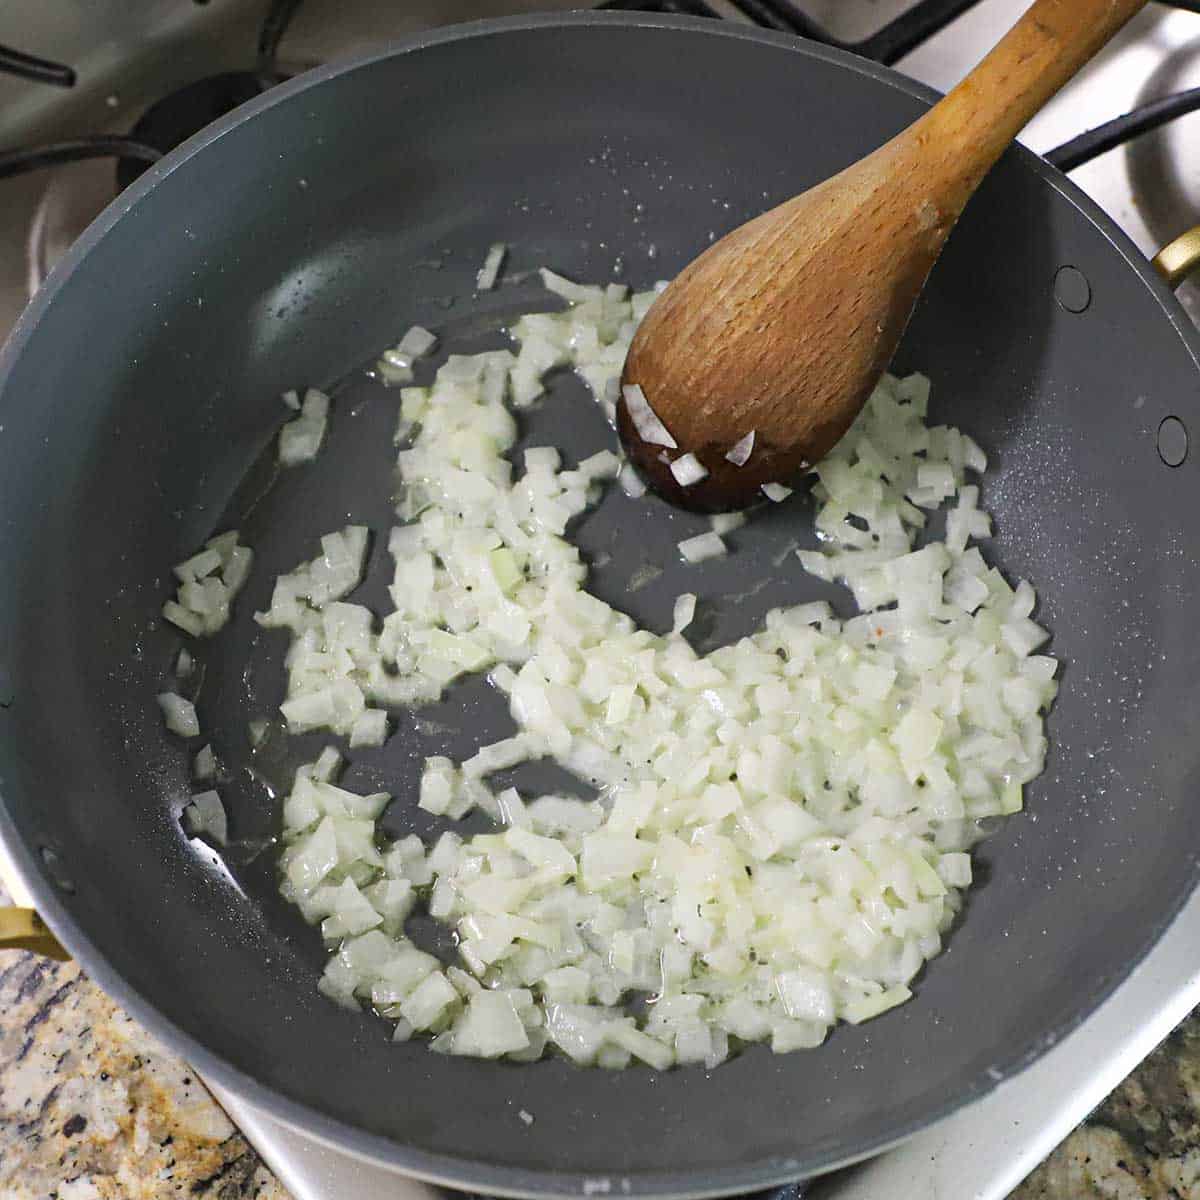
- Step 1: In a large pot, sauté the chopped onions in melted butter over medium heat until soft, about 4 minutes.
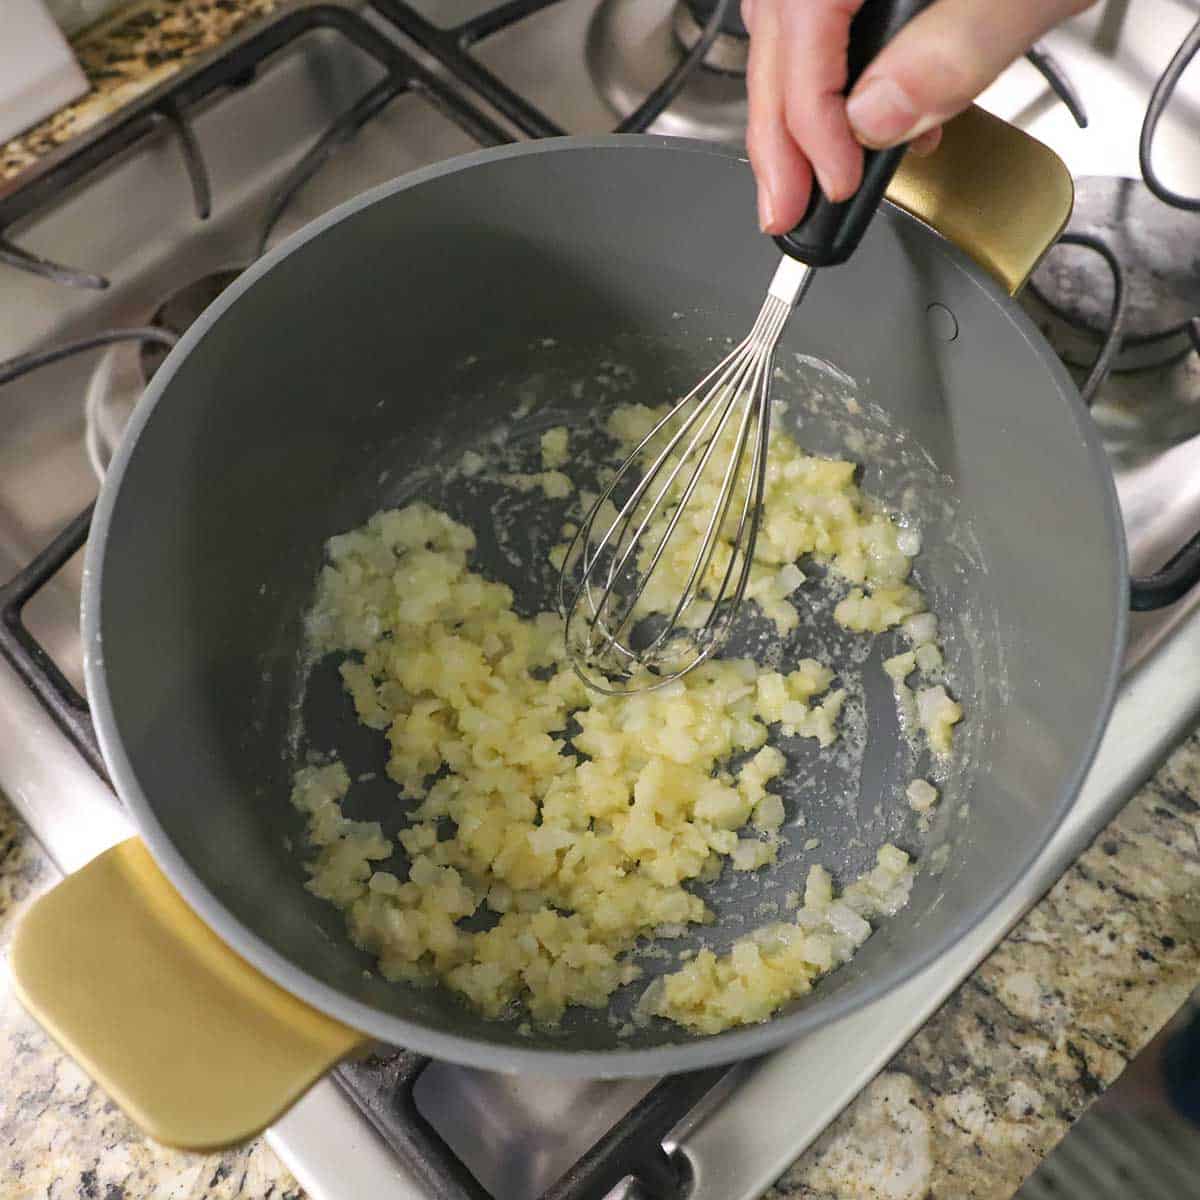
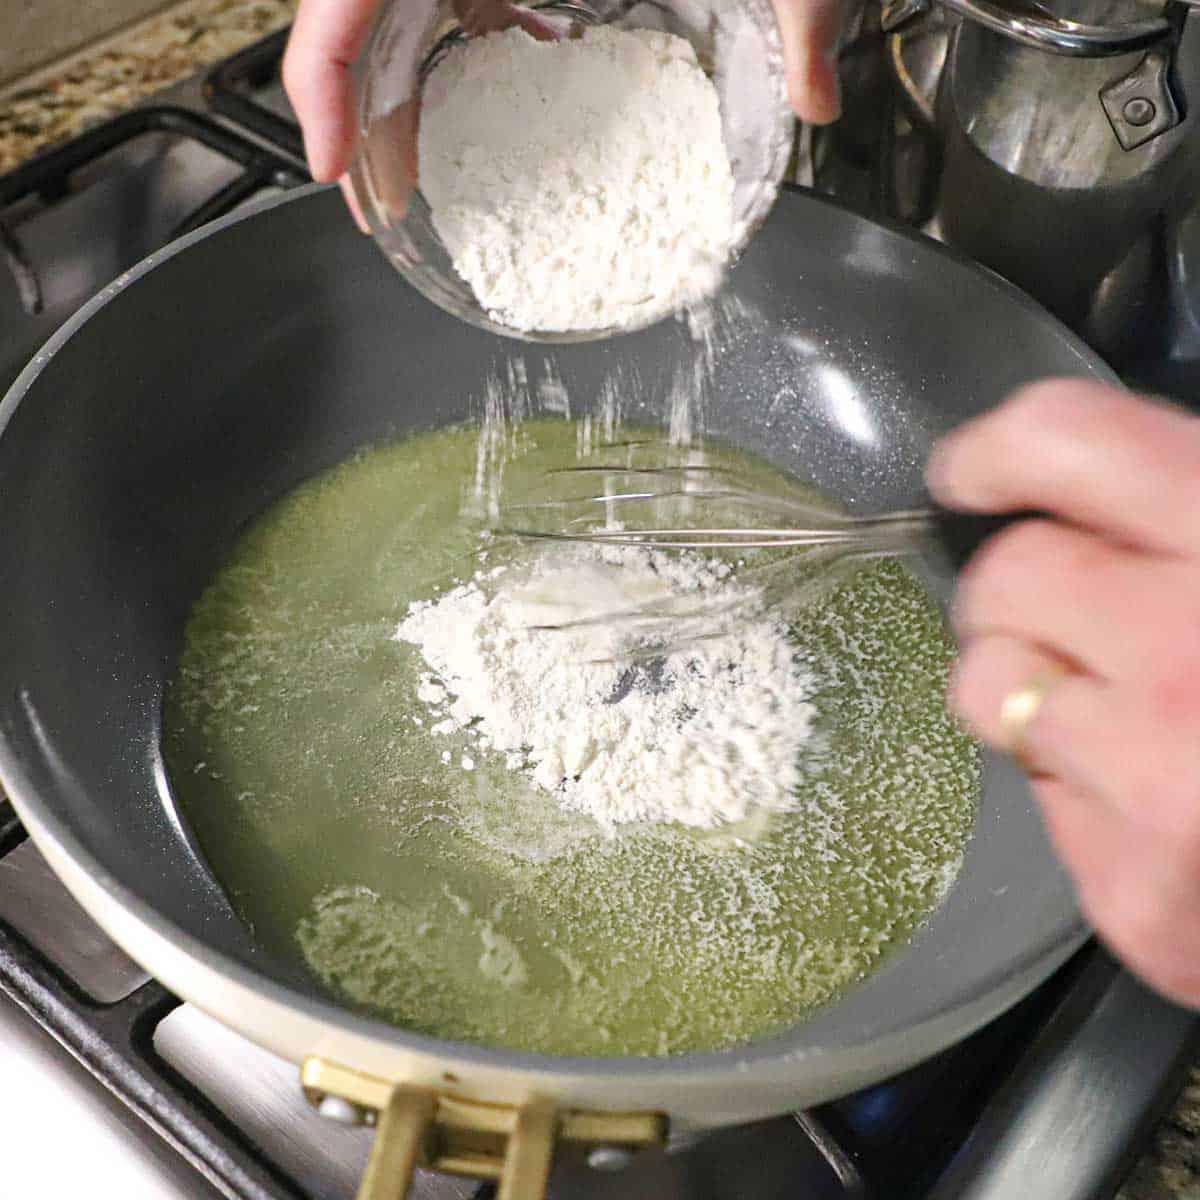
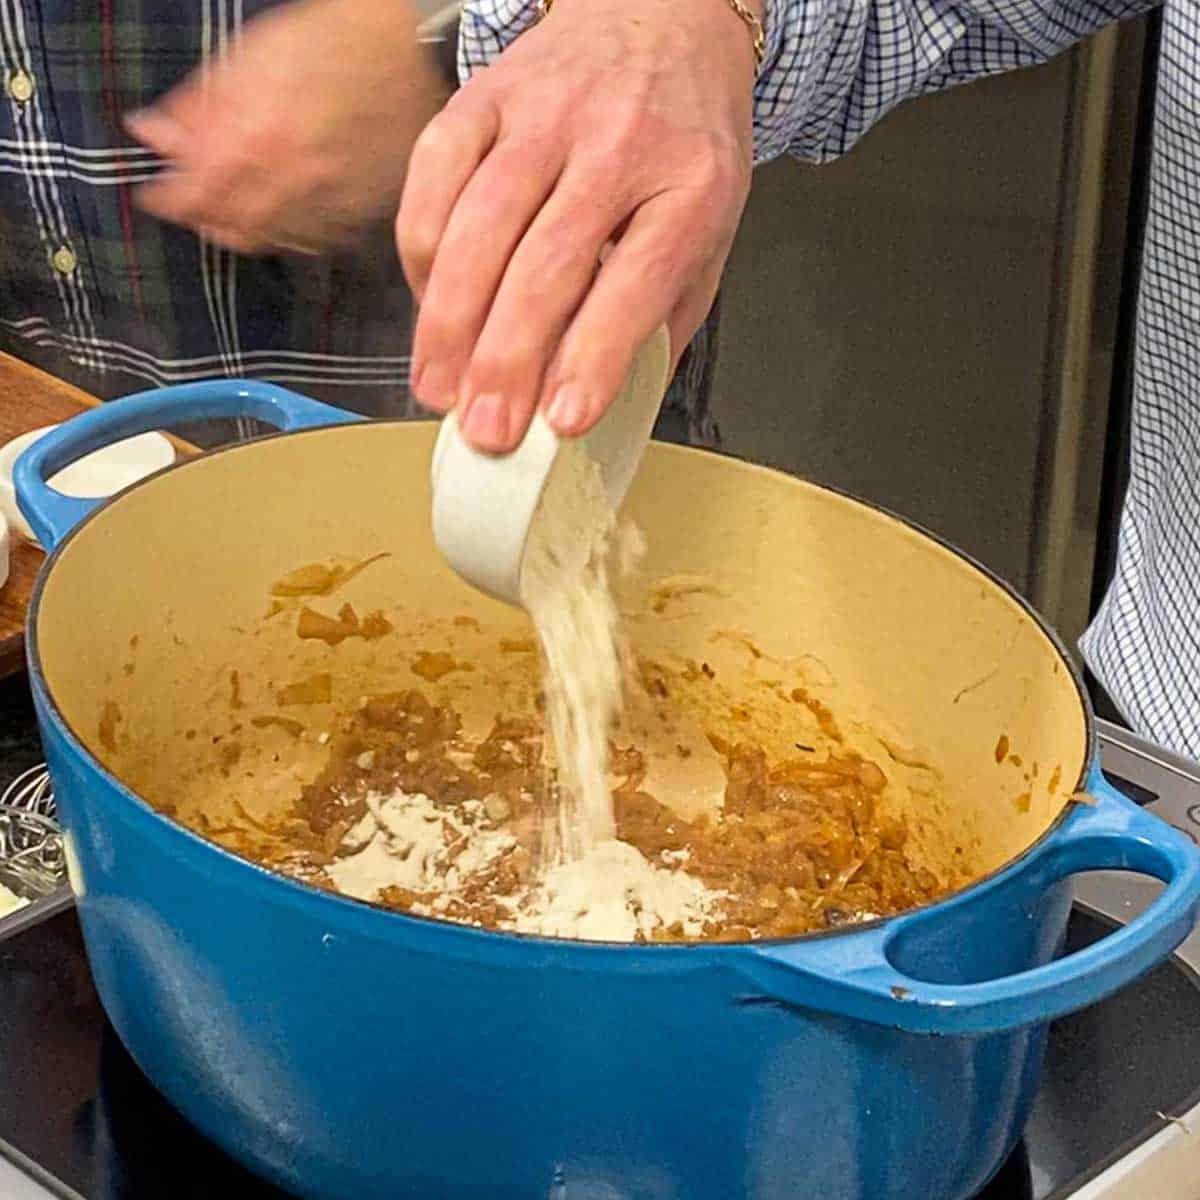
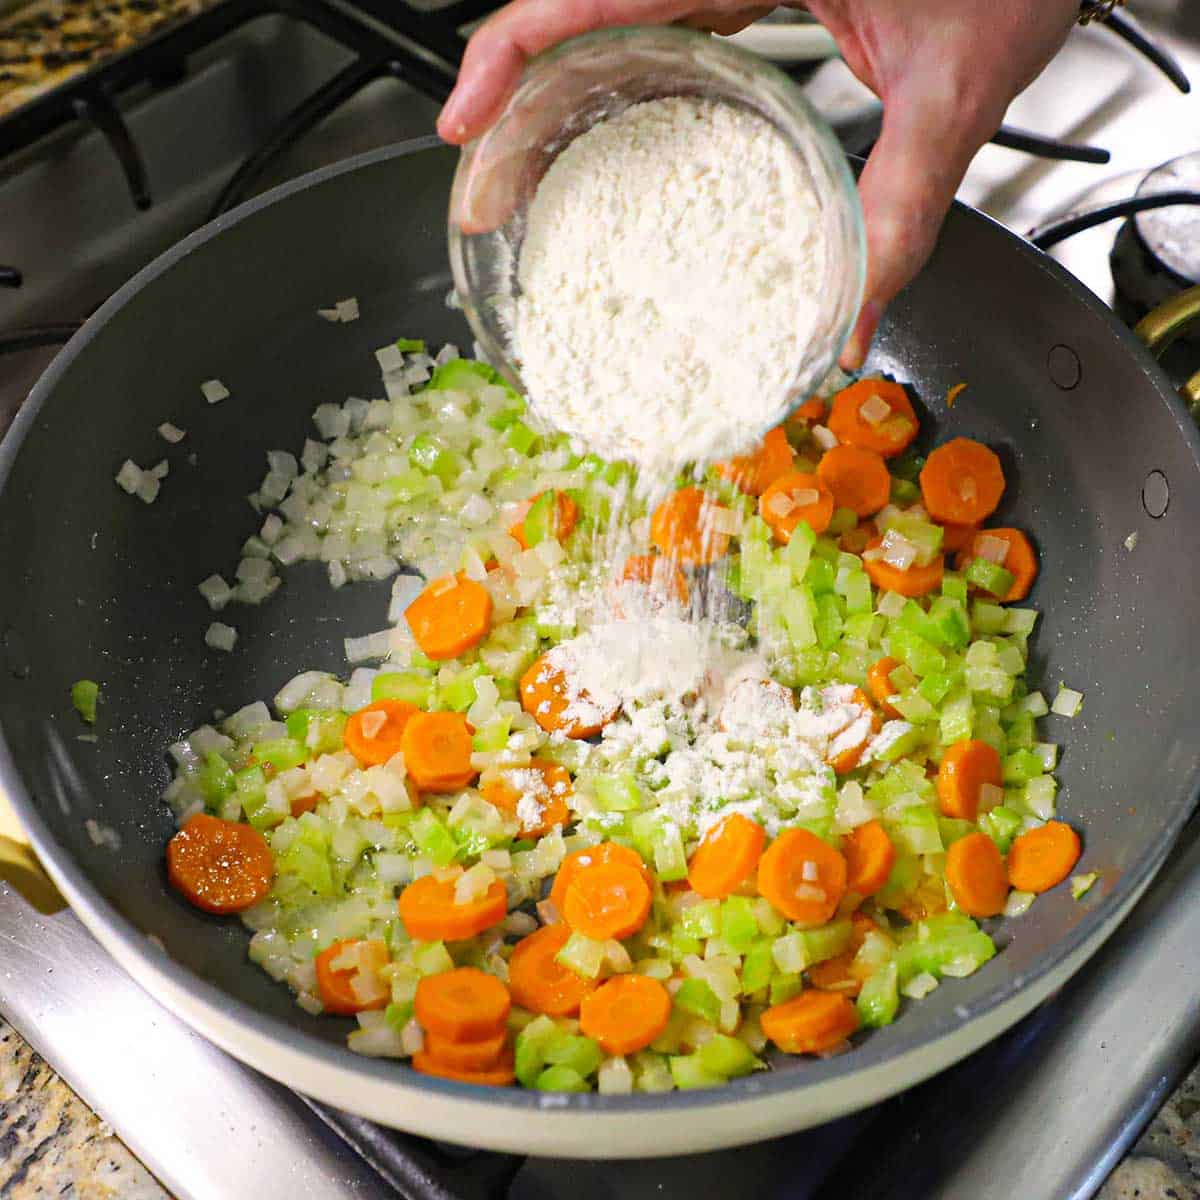
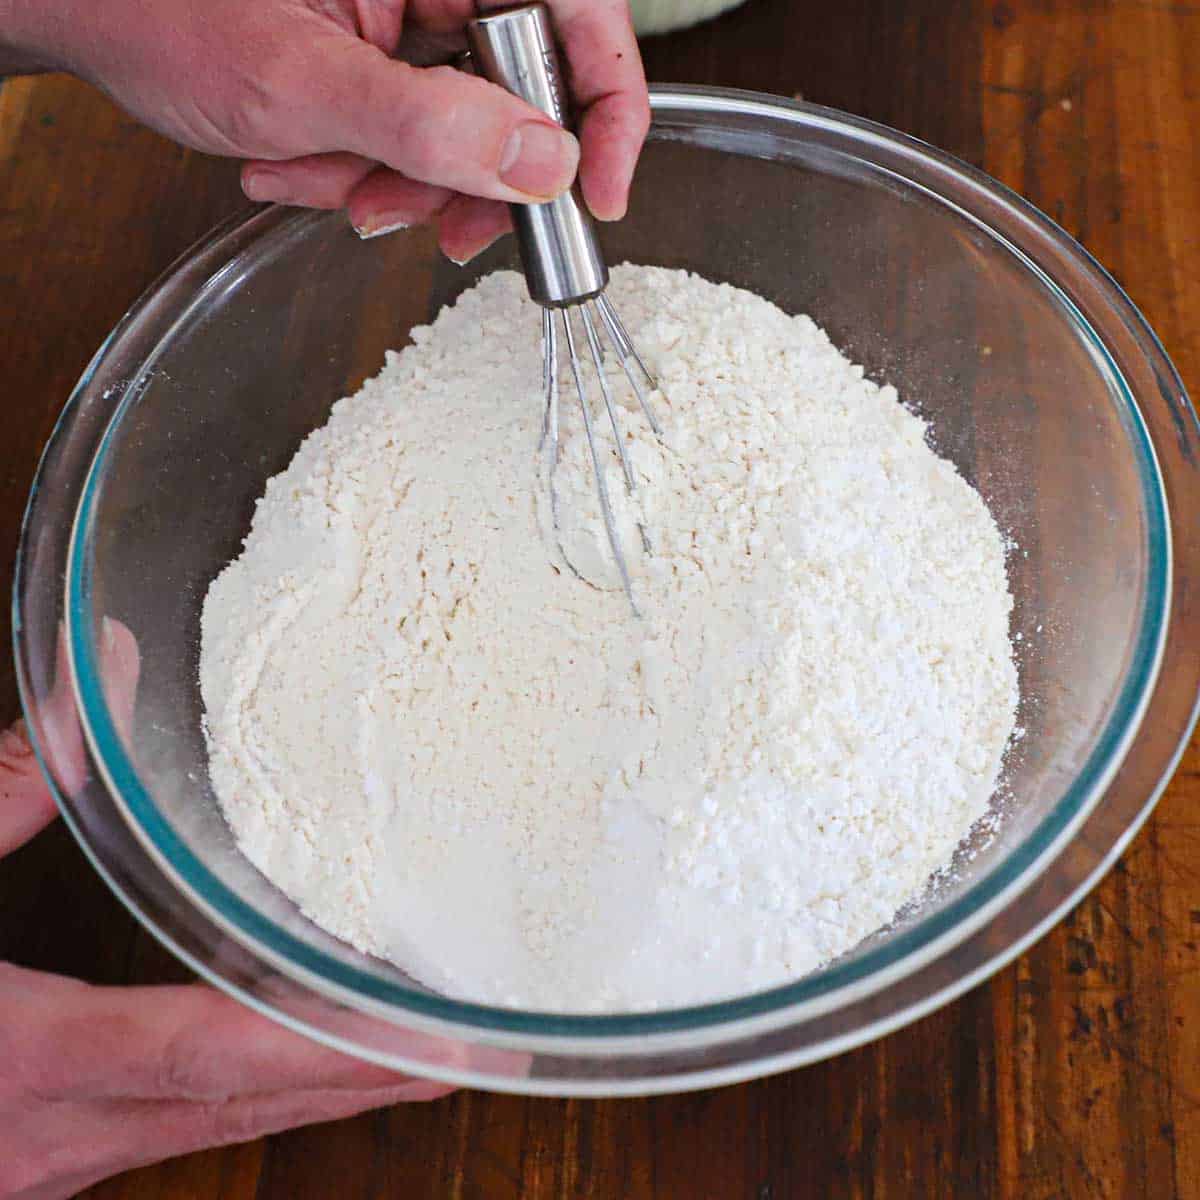
- Step 2: Stir in the flour and cook for another minute.
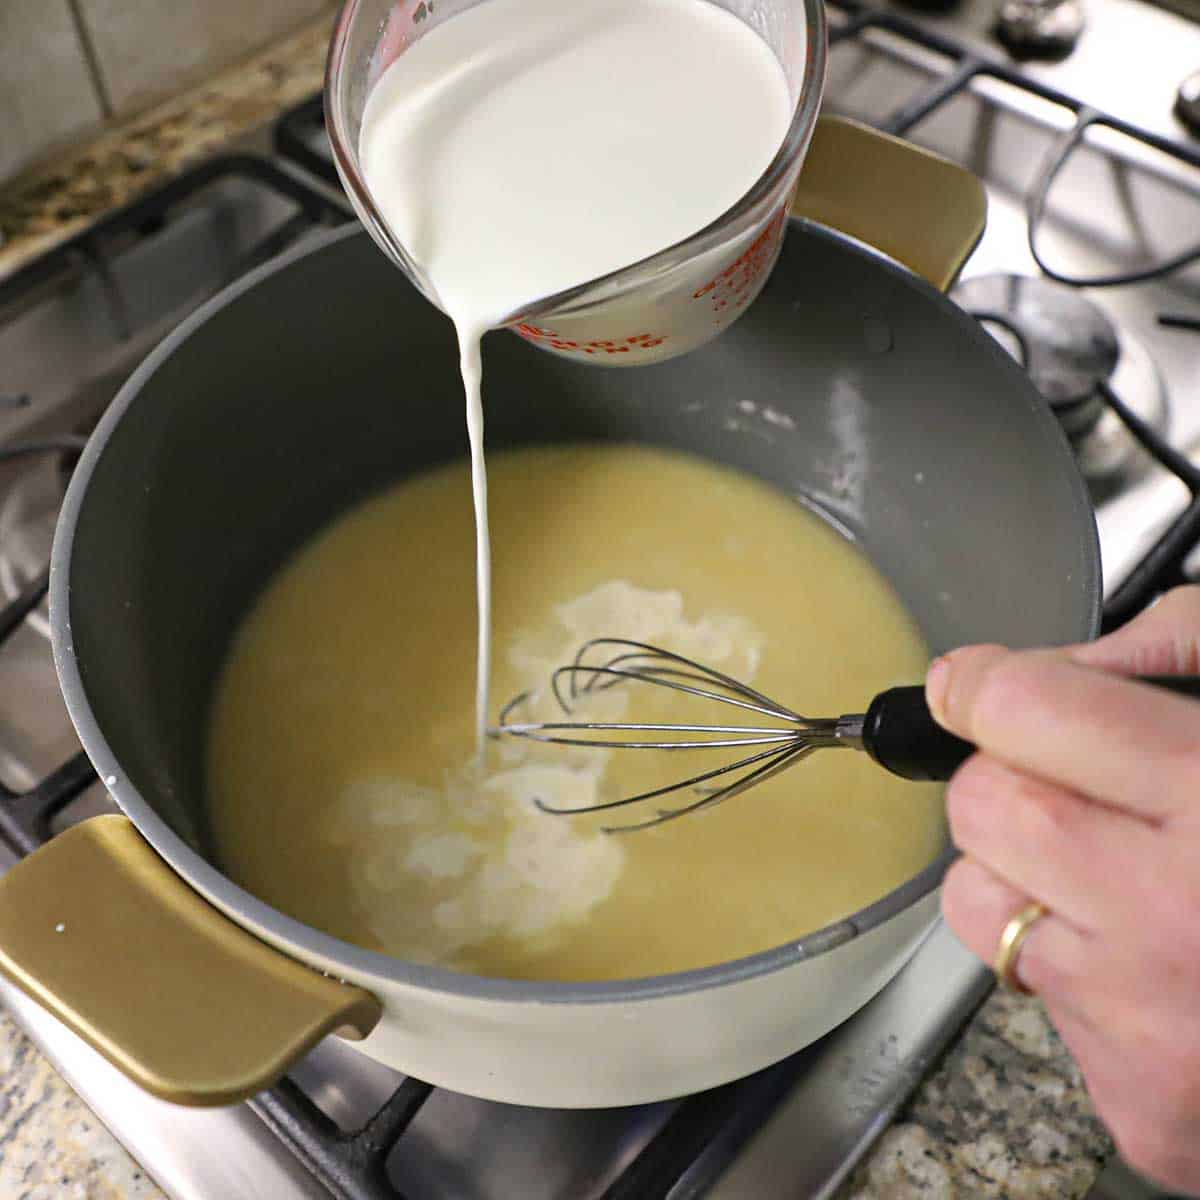
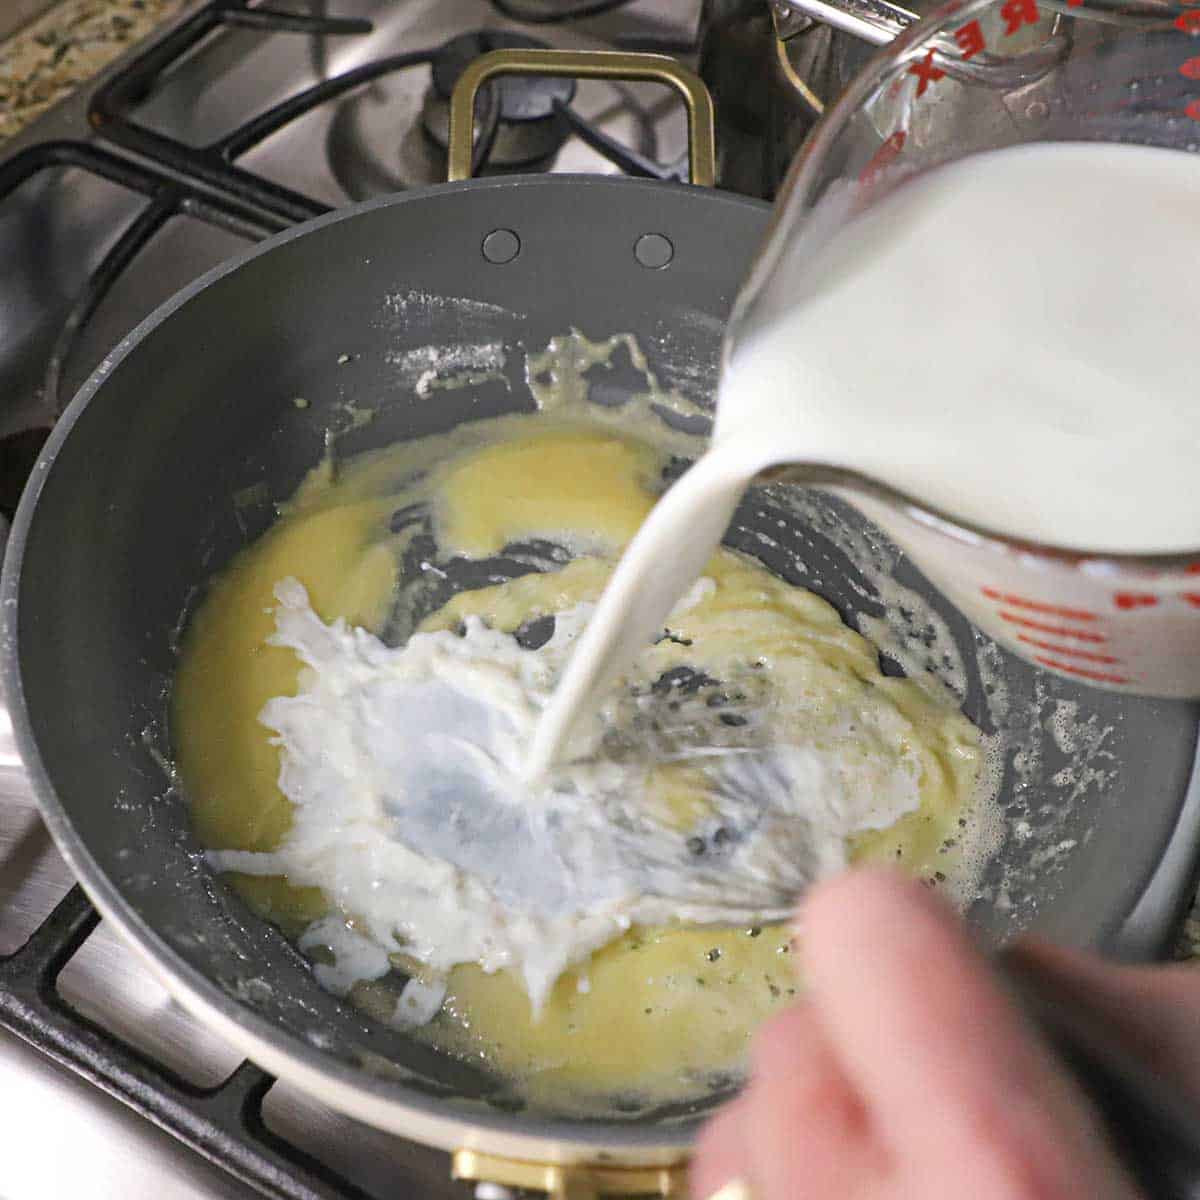
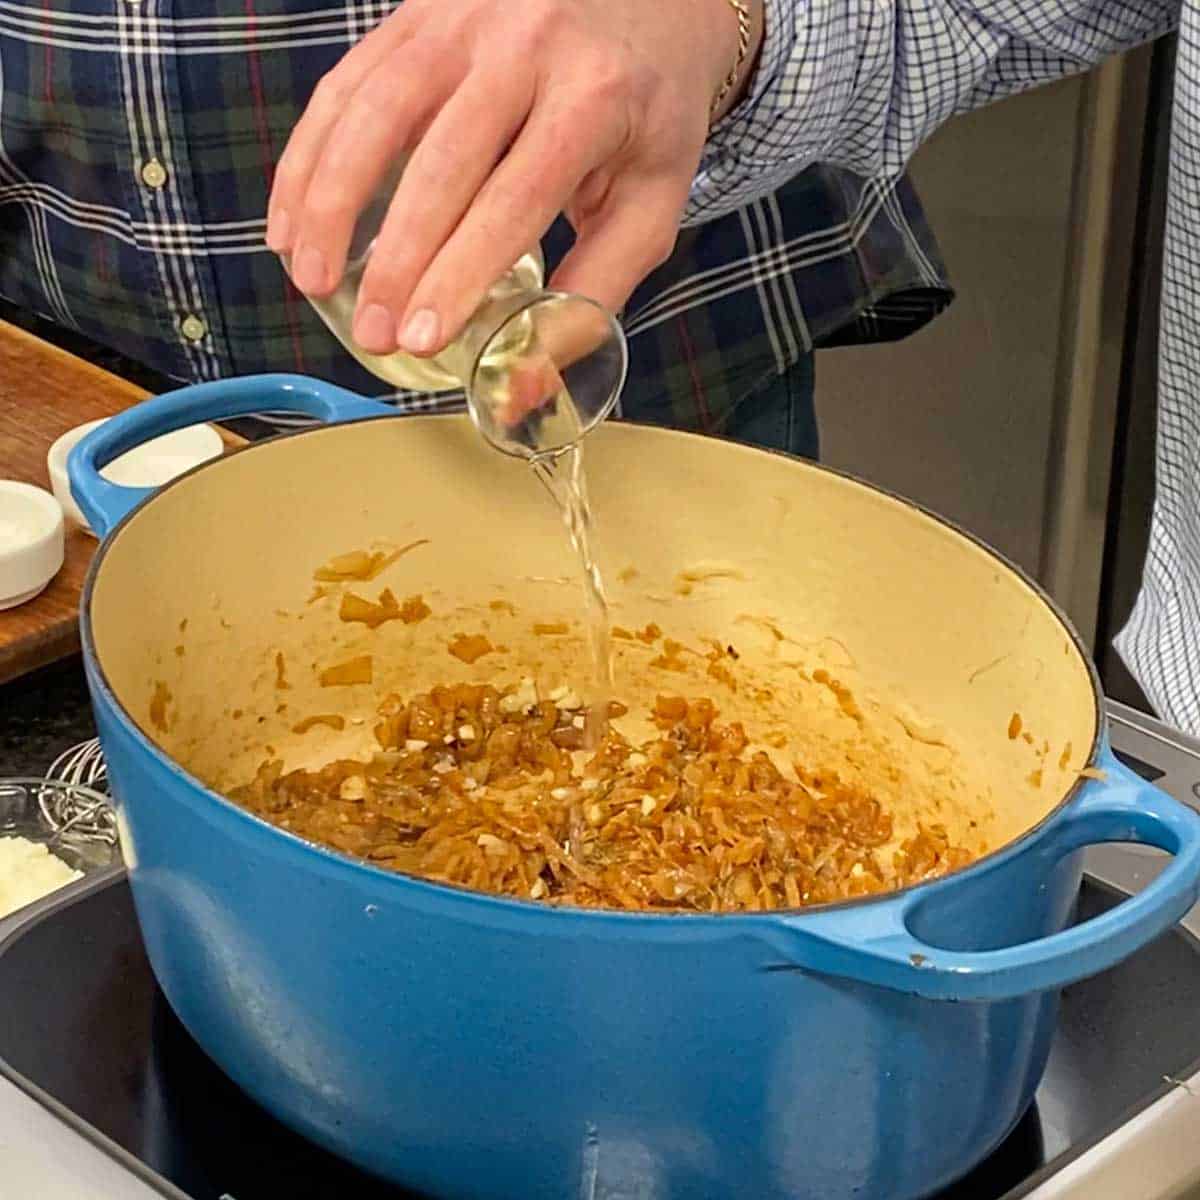
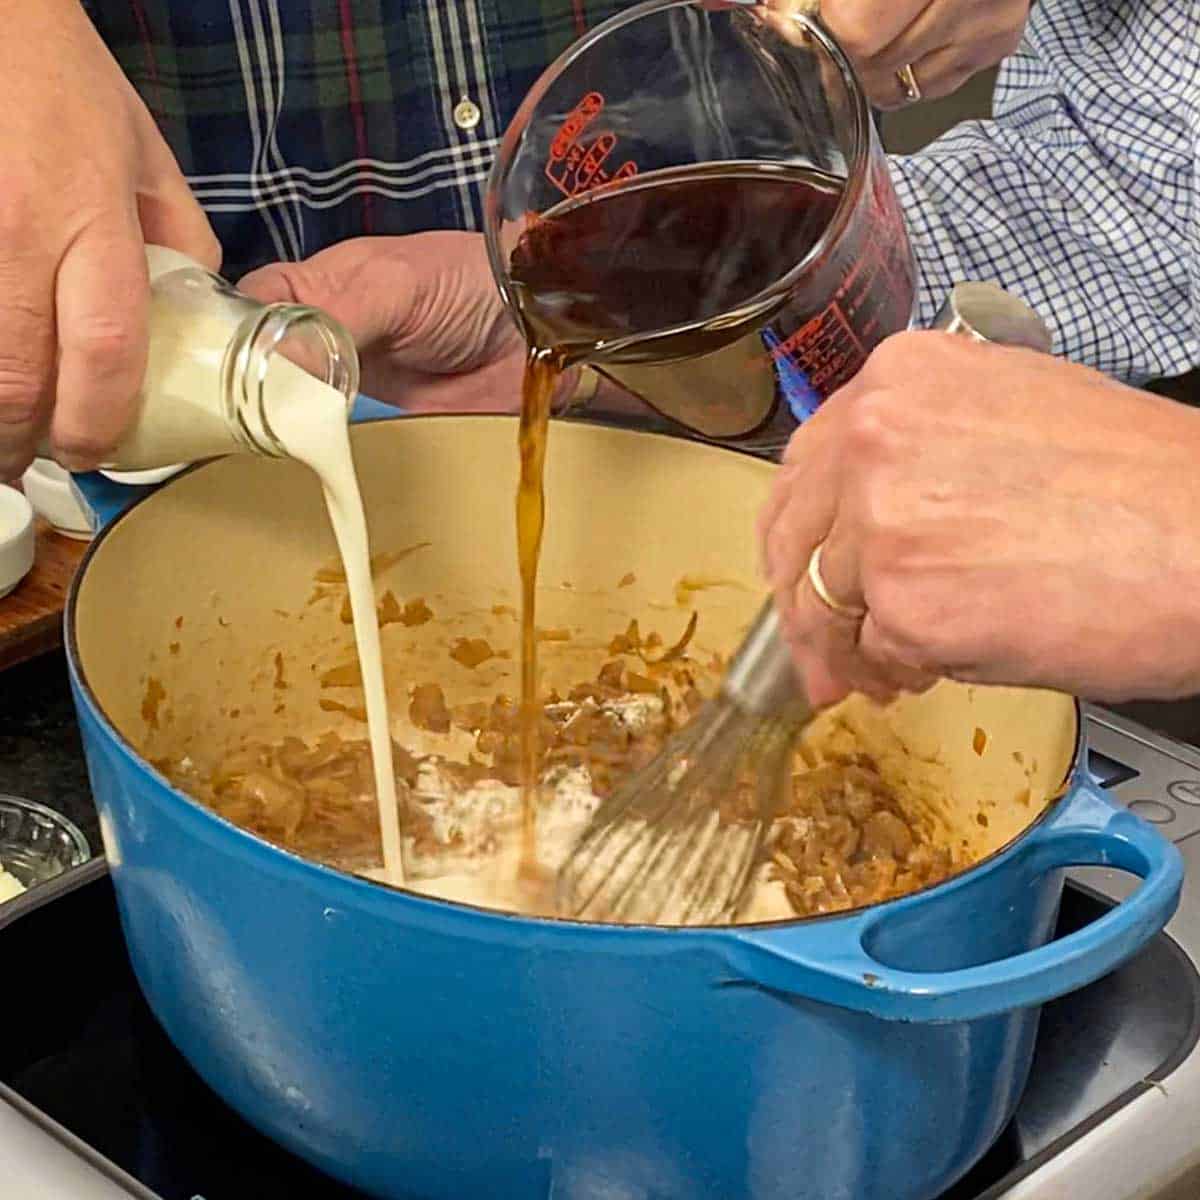
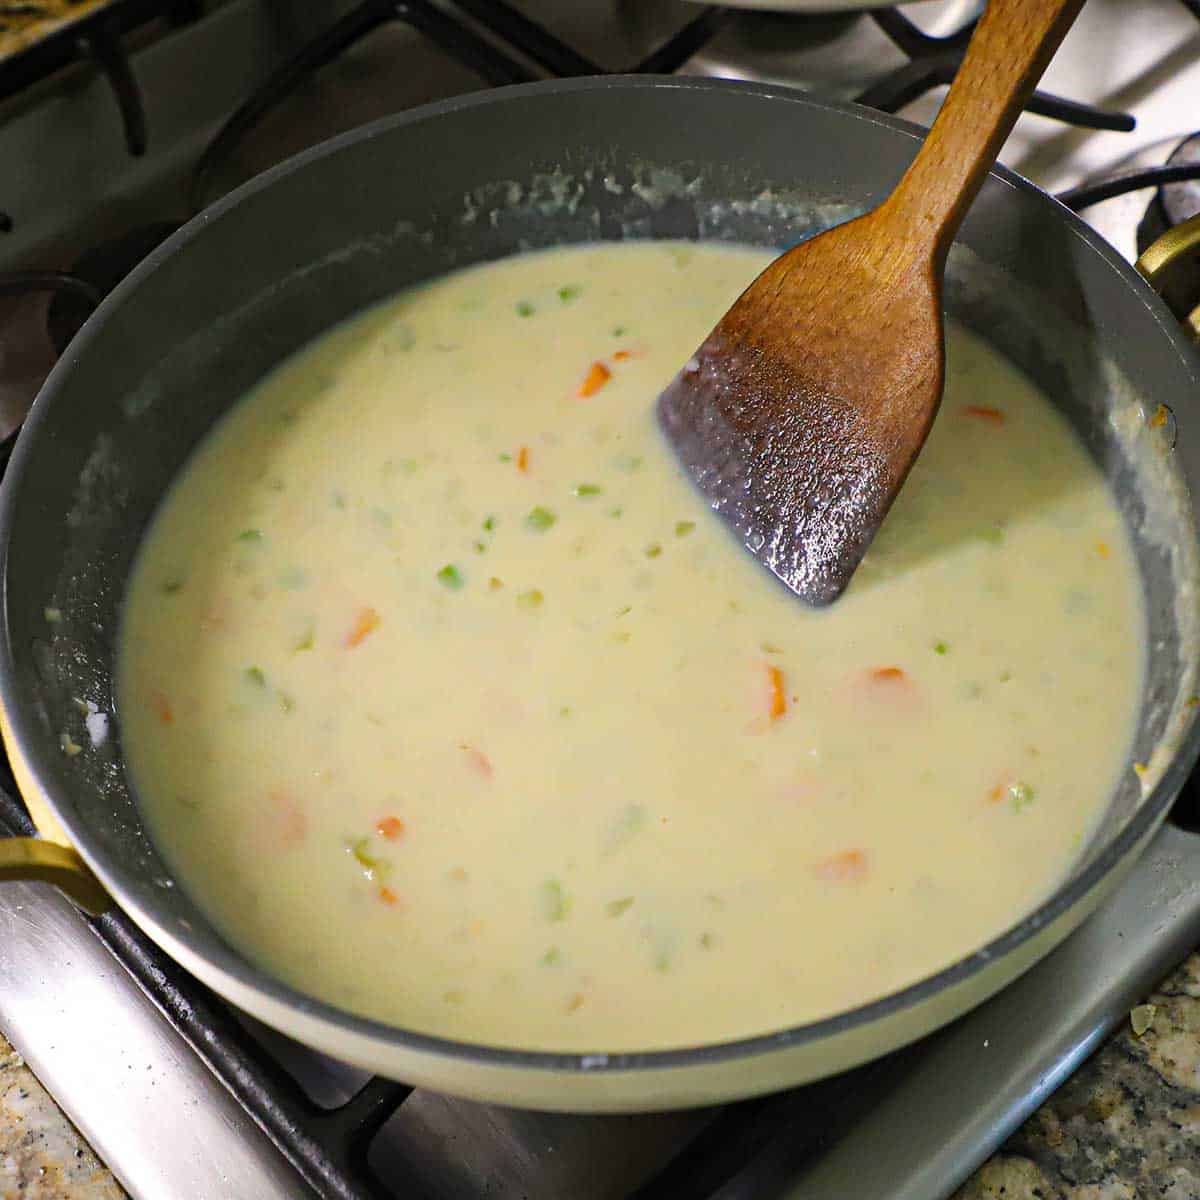
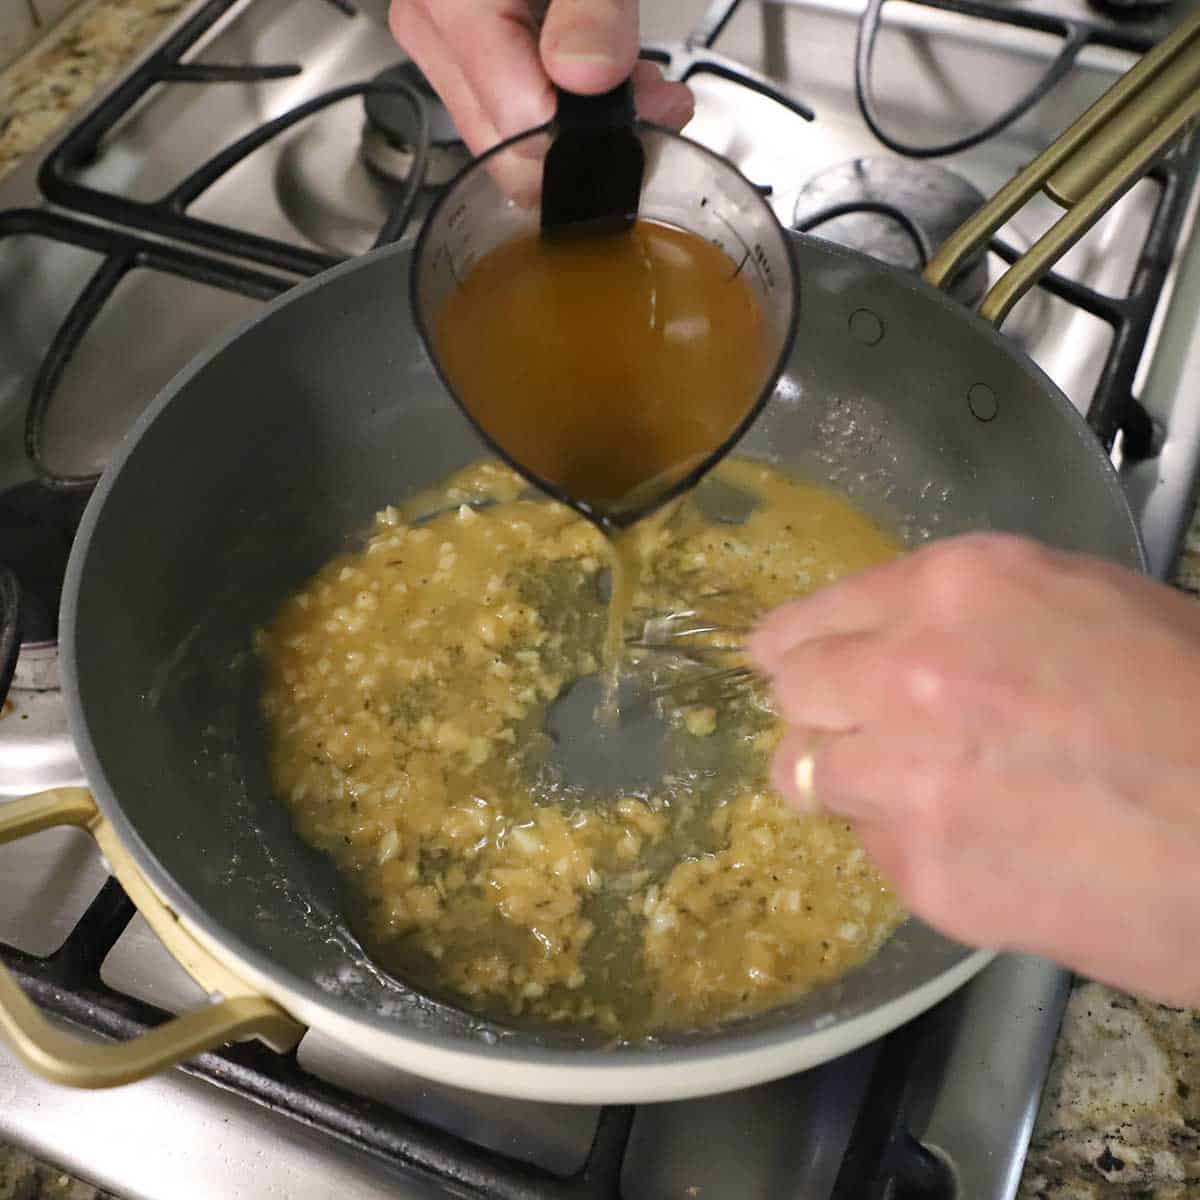
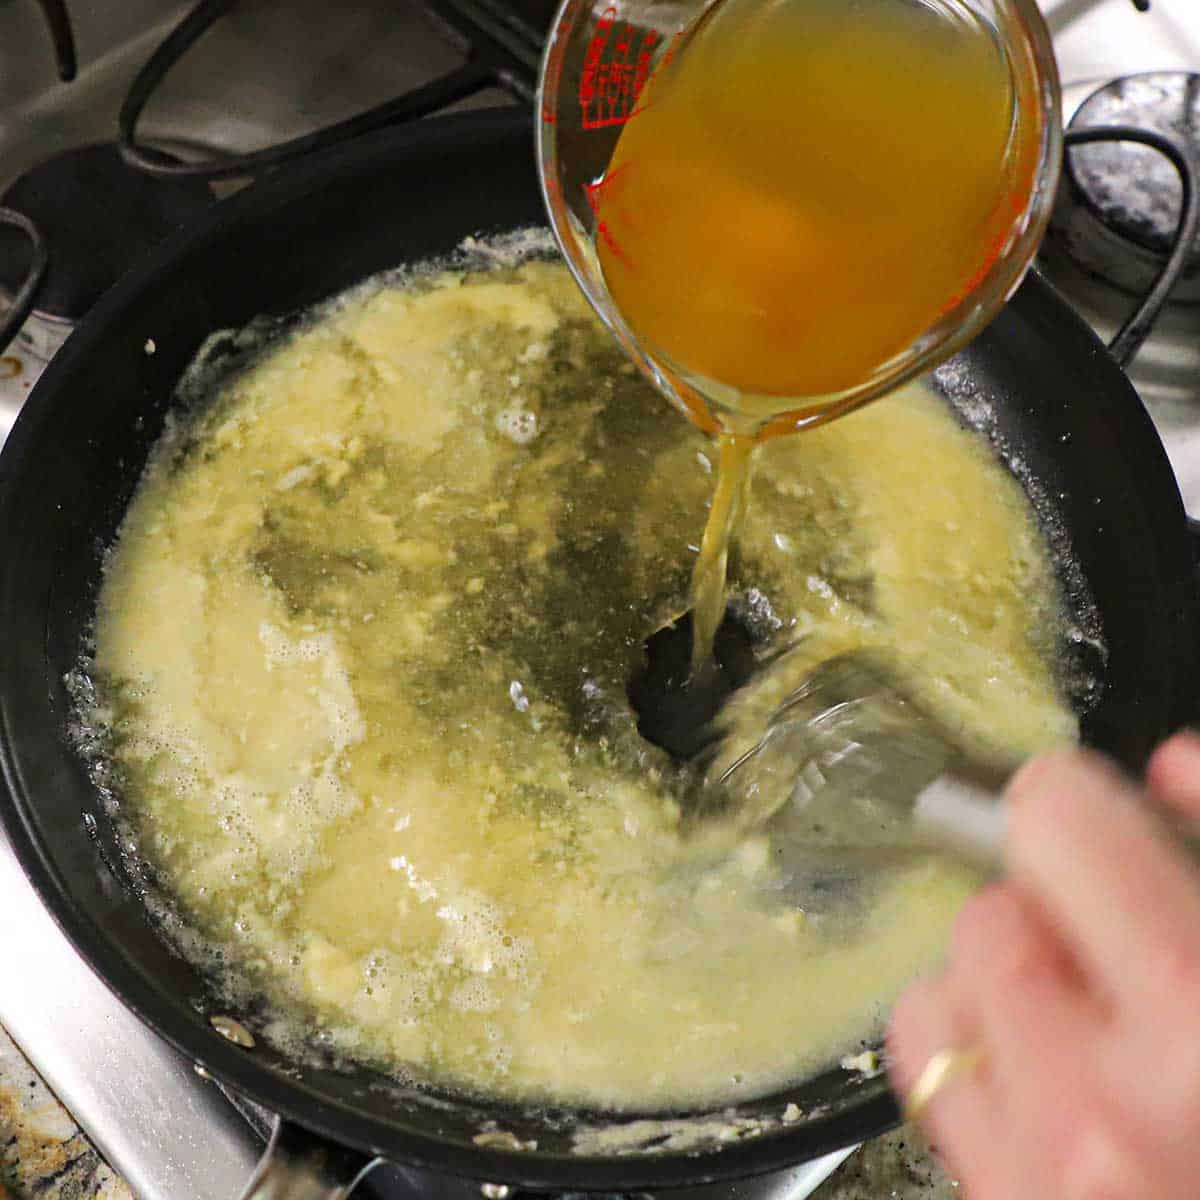
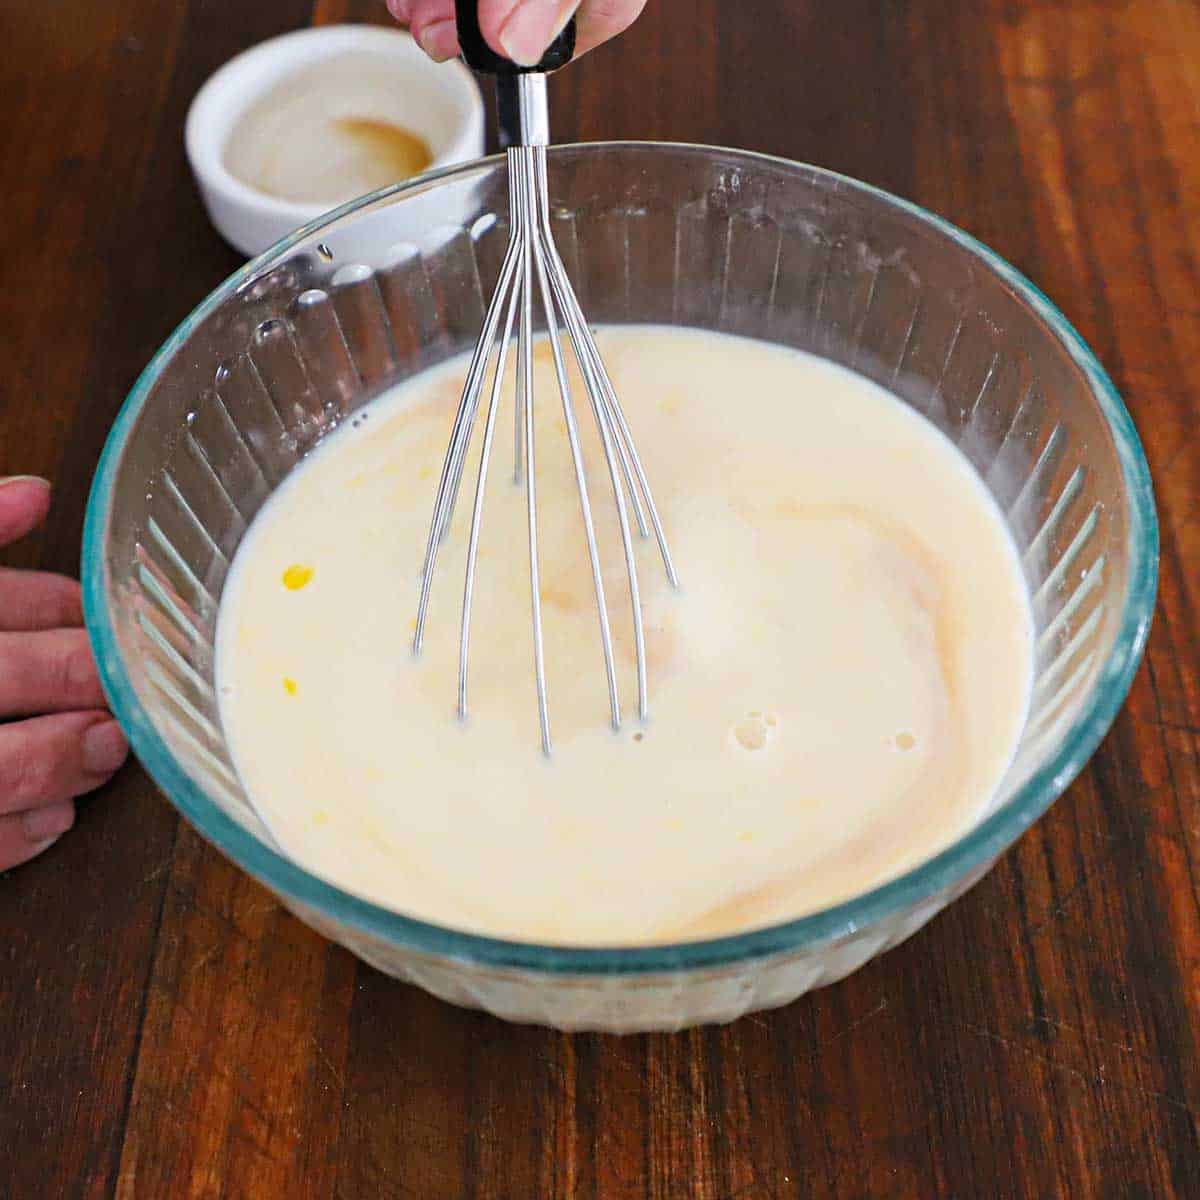
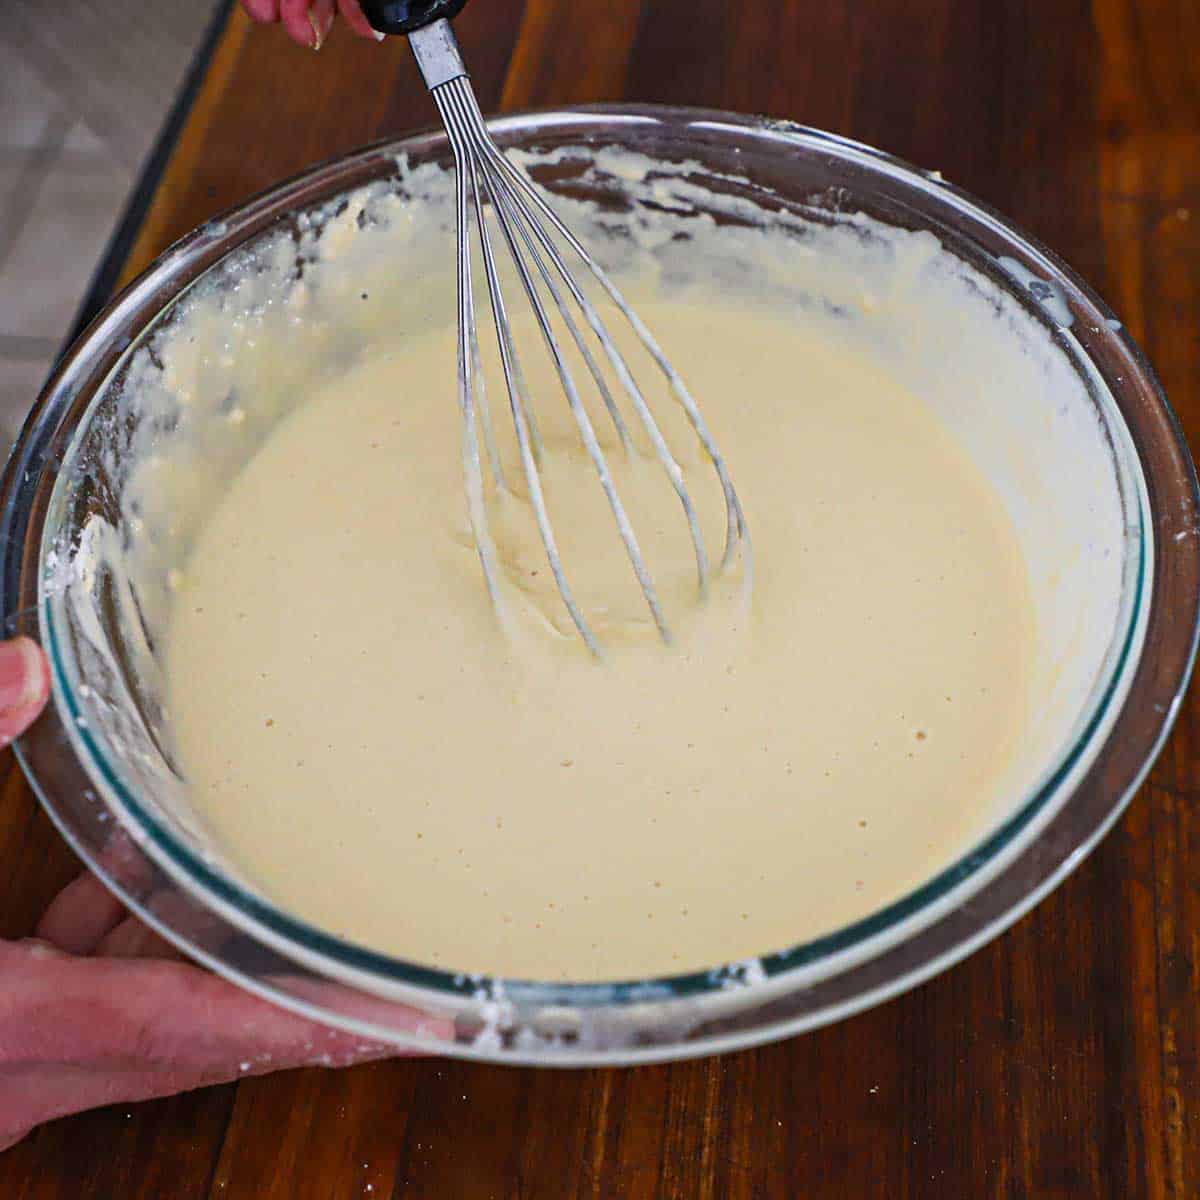
- Step 3: Slowly whisk in the stock, then half and half. Simmer for 15 minutes, or until slightly thickened.
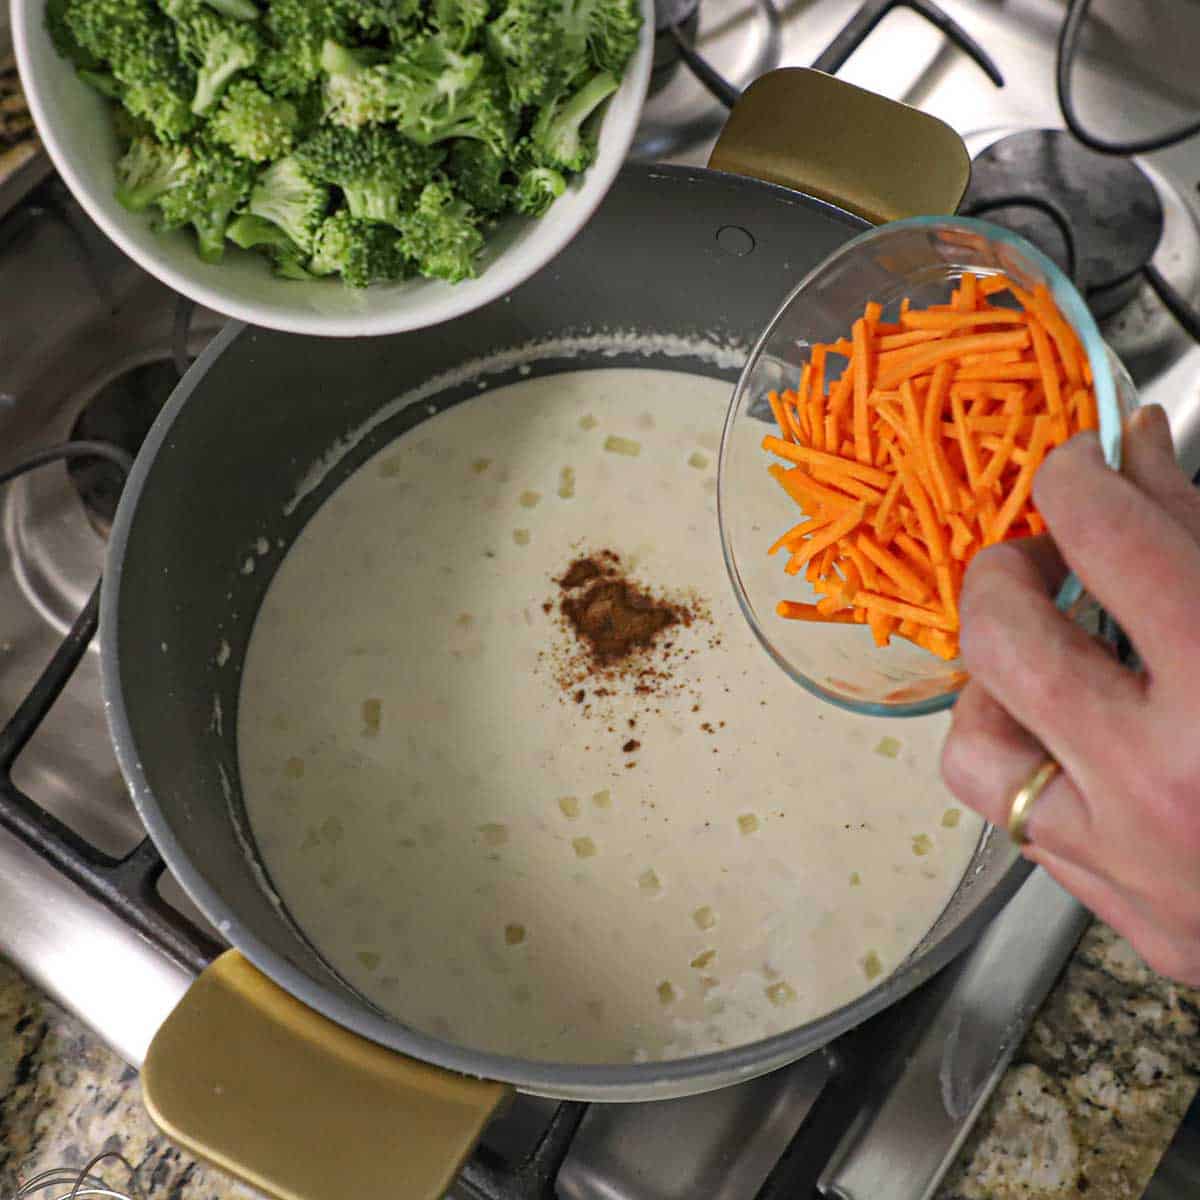
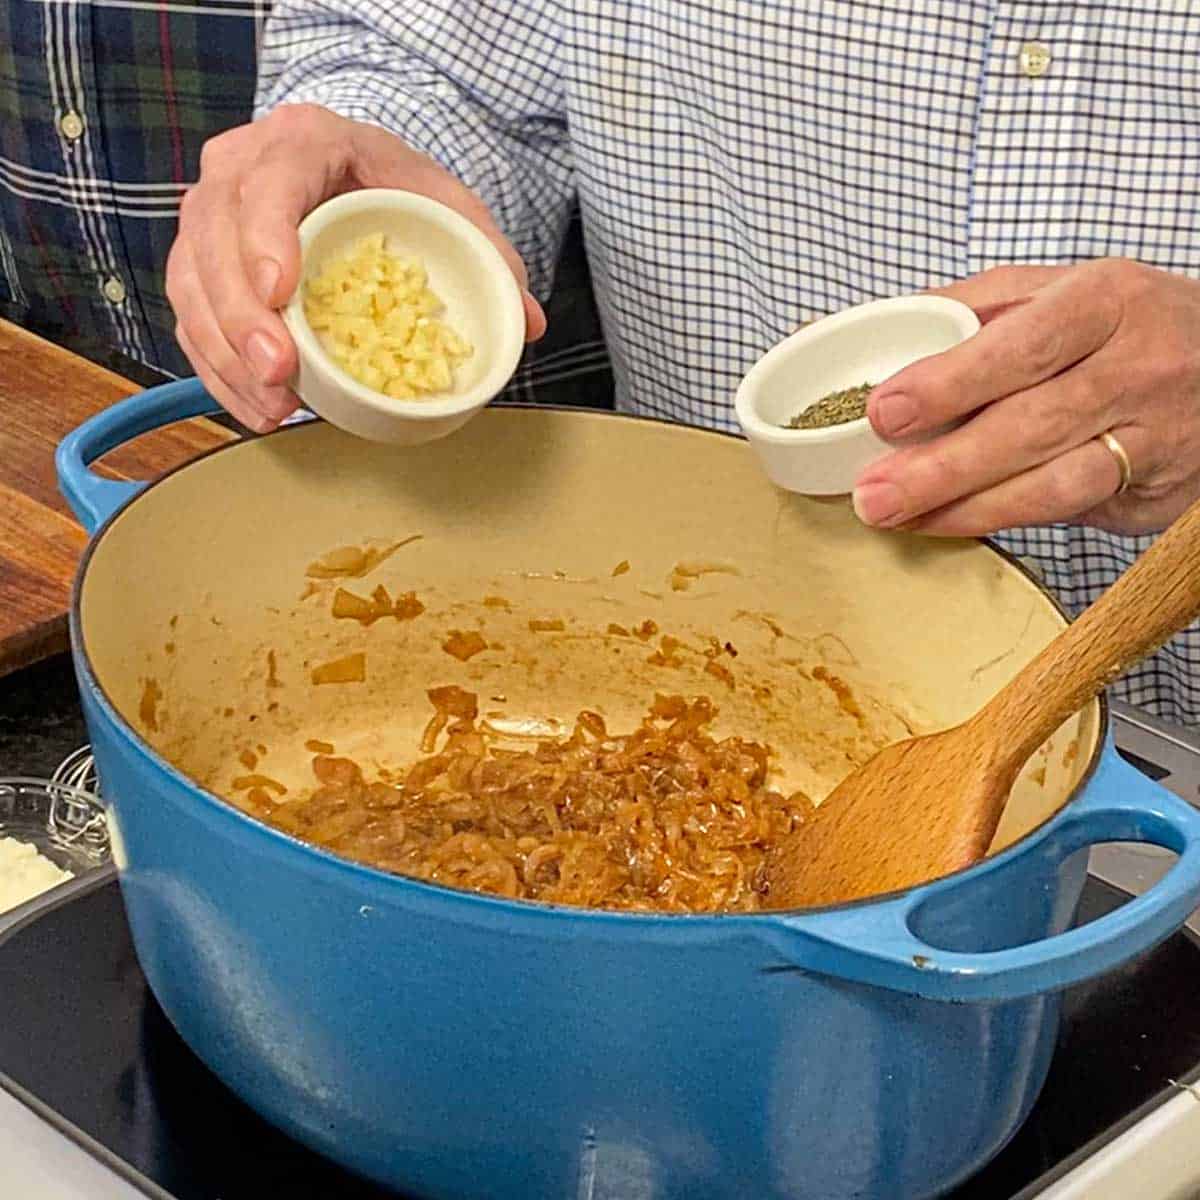
- Step 4: Stir in the nutmeg, broccoli, and carrots. Cover and simmer until the veggies are soft, about 15 minutes.
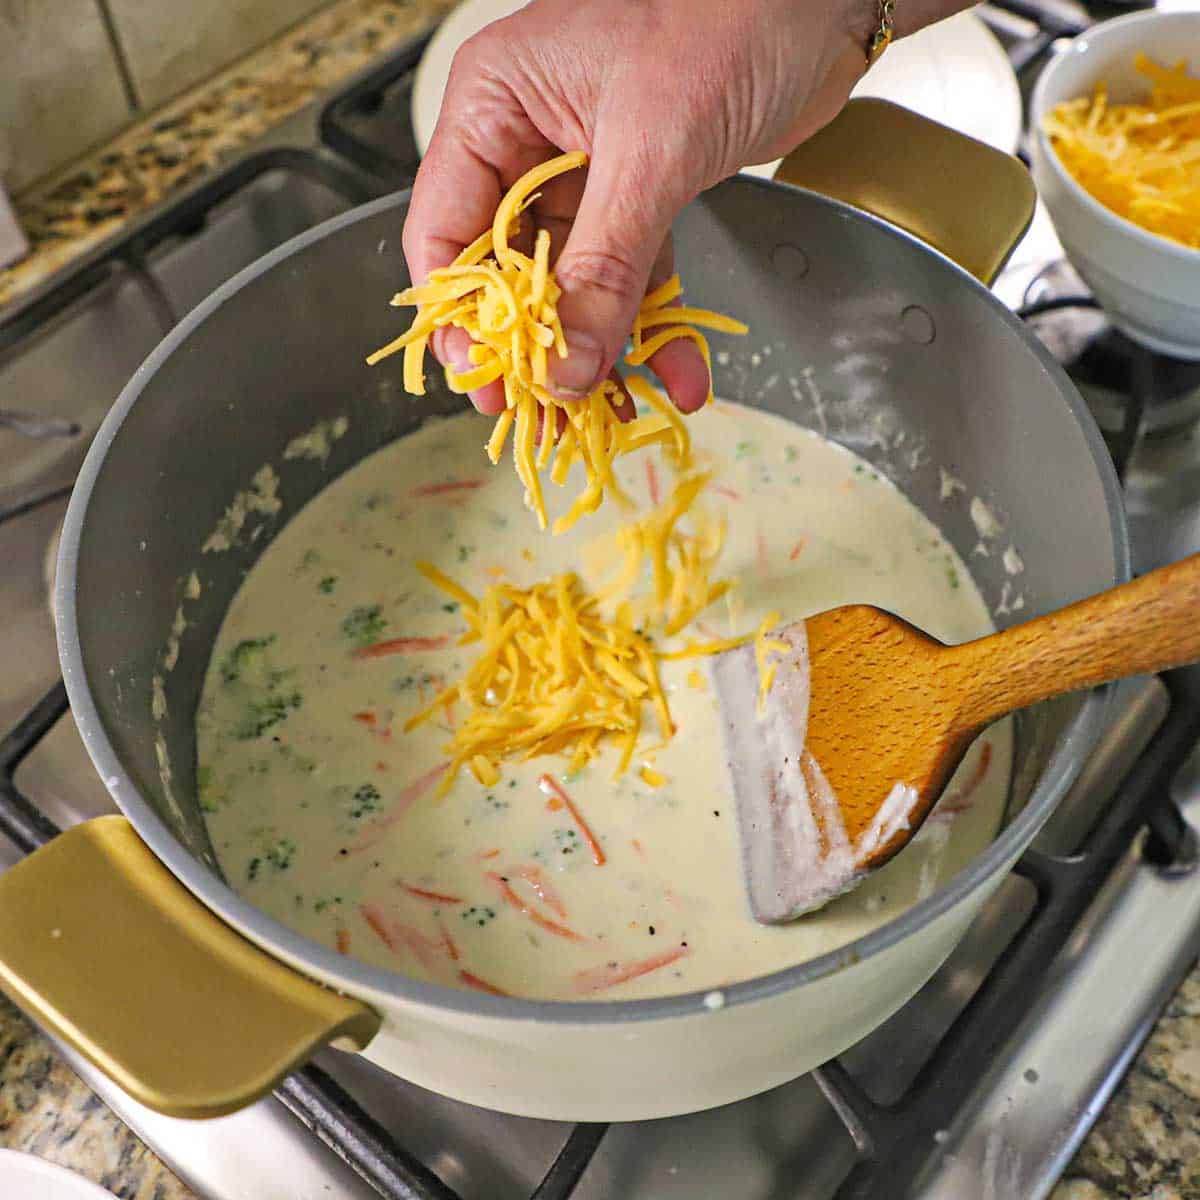
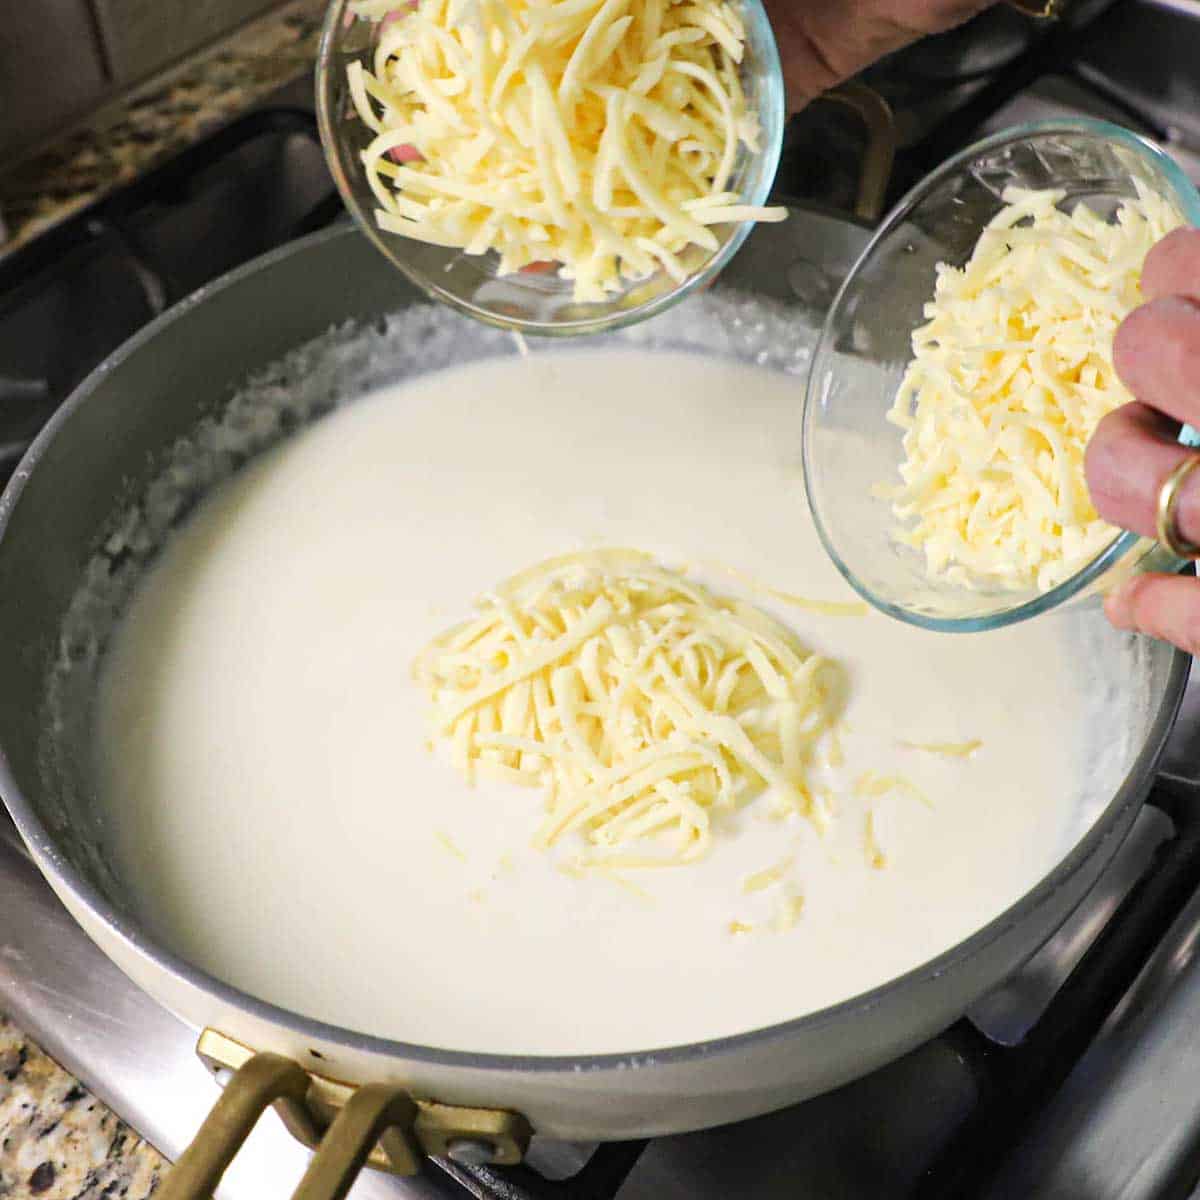
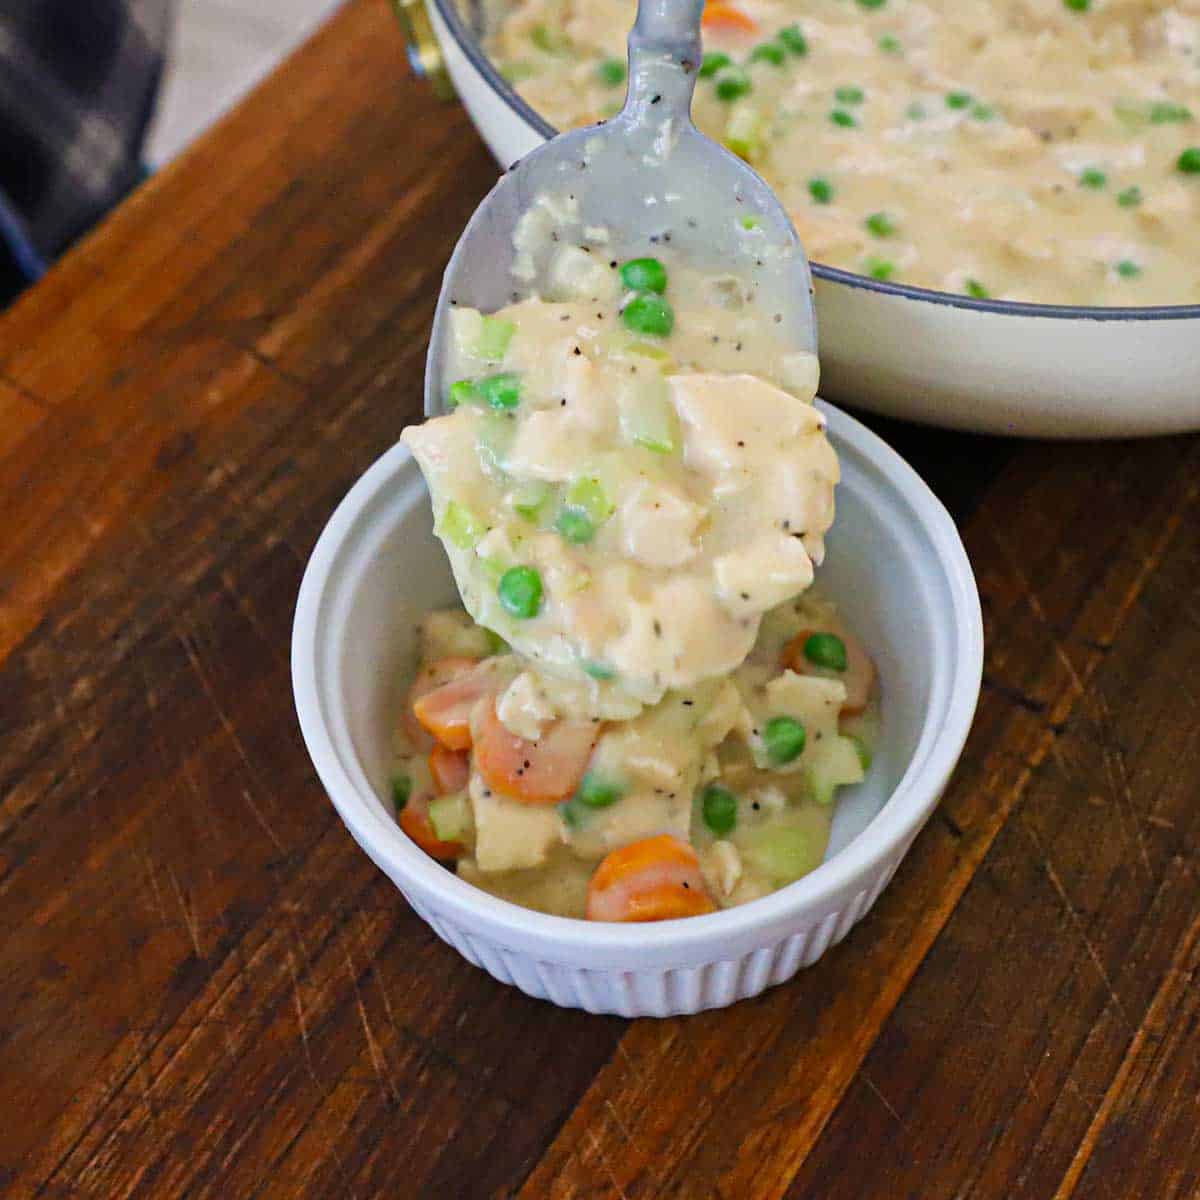
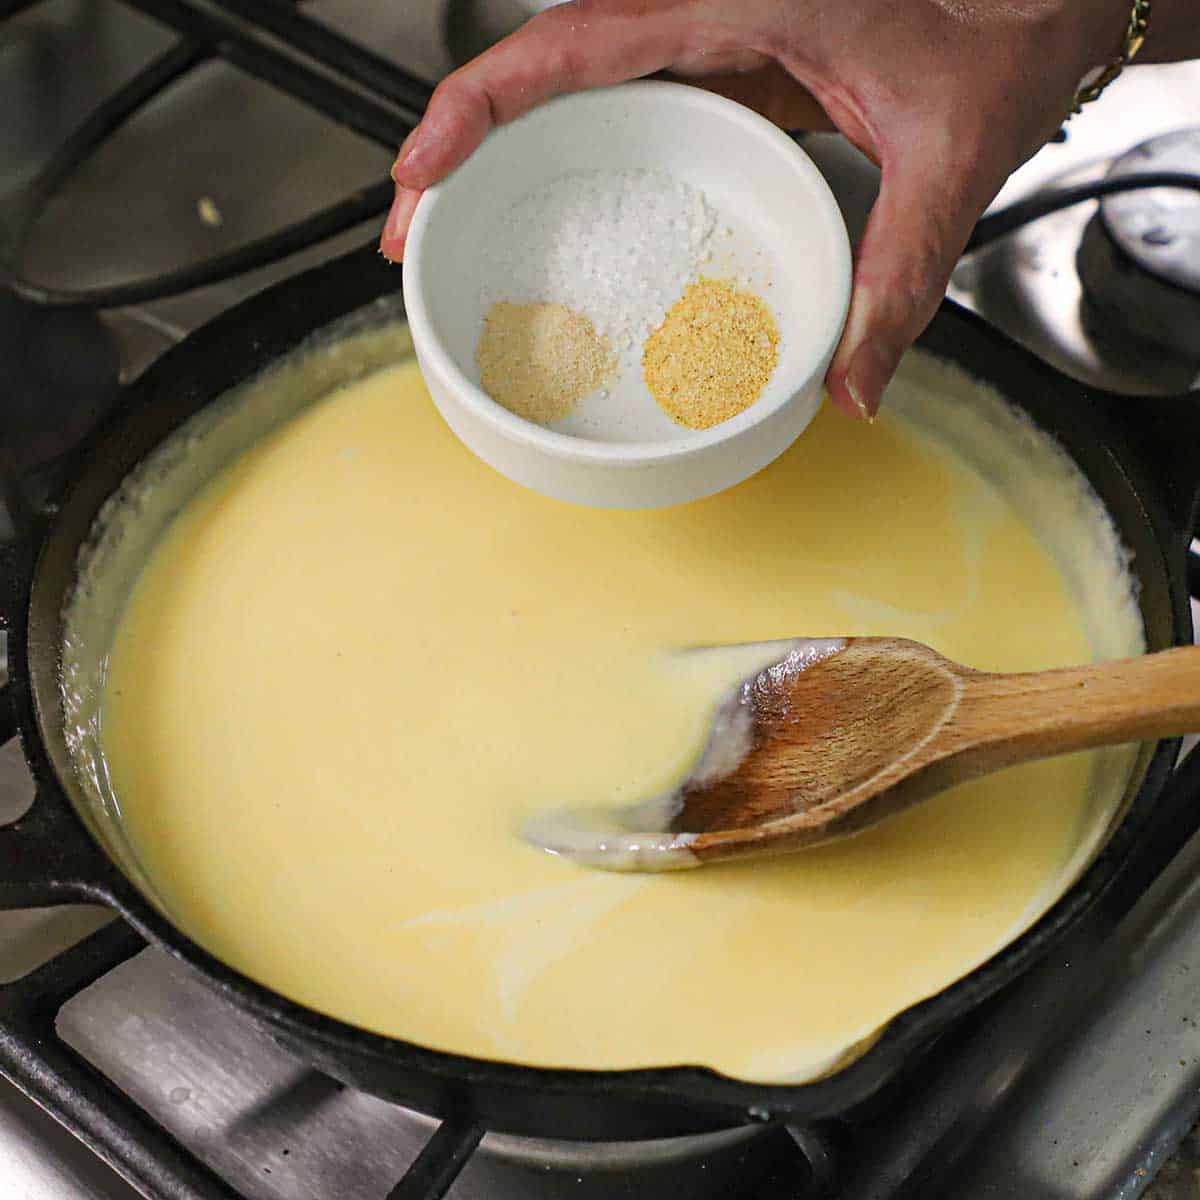
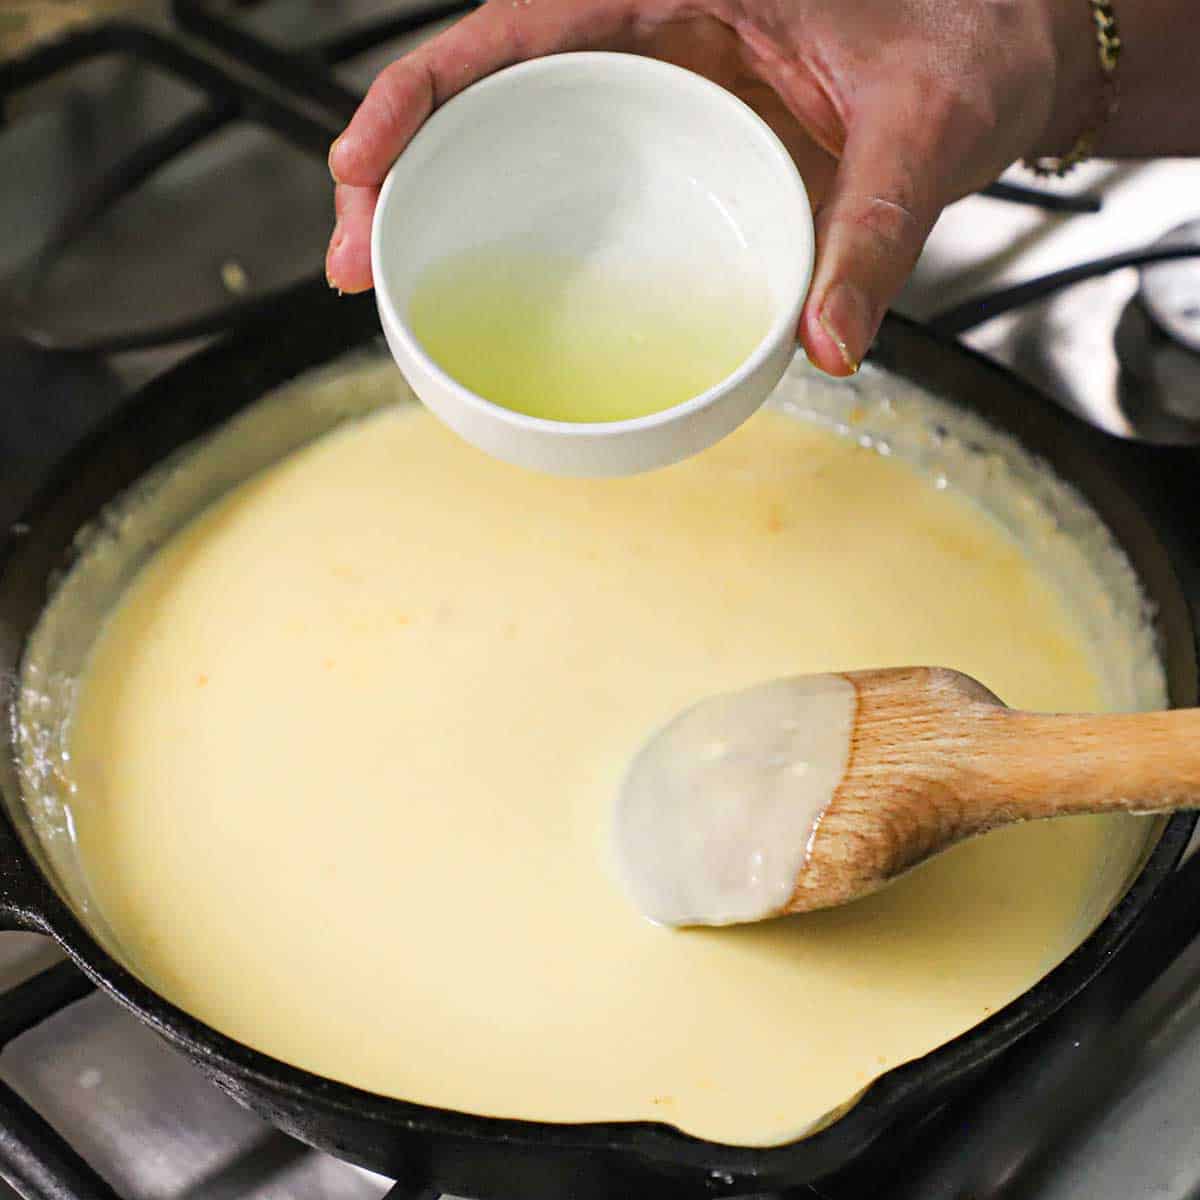
- Step 5: Turn off the heat and add salt and pepper, and stir in the cheese gradually until melted.

- Step 6: Taste and add more salt, if needed. Serve hot!
😋 How to Serve
- The Classic Sourdough Bread Bowl: For the ultimate Panera experience, hollow out a round loaf of sourdough bread and ladle the soup inside. Don’t forget to serve the “bread guts” on the side for dipping!
- Top with Extra Cheese: Save a small handful of shredded sharp cheddar to sprinkle on top of each bowl right before serving. It looks beautiful as it starts to melt into the hot soup.
- Add Some Crunch: Top your bowl with homemade garlic croutons or serve with a side of oyster crackers. The crunch provides a perfect textural contrast to the creamy base.
- The “You Pick Two” Pairing: Recreate the famous combo by serving a small bowl of soup alongside a fresh green salad or a half-sandwich, like the perfect tuna melt.
- Fresh Herb Garnish: A sprinkle of fresh chopped chives or parsley adds a pop of vibrant green color and a hint of freshness that cuts through the richness of the cheese.
- A Hint of Smoke: For a non-traditional but delicious twist, top the soup with crispy crumbled bacon bits. The smokiness pairs beautifully with the sharp cheddar.
- Crusty Bread for Dipping: If you aren’t using a bread bowl, serve the soup with a warm baguette or slices of toasted ciabatta to soak up every last drop.
🙋🏽♂️ Frequently Asked Questions
Because this dish contains a high amount of dairy, it doesn’t always freeze well. The texture can become grainy or separate once thawed. If you must freeze it, do so before adding the cheese, then stir the cheese in while reheating on the stove.
This usually happens if the heat was too high when the cheese was added or if you used pre-shredded bagged cheese. To keep it smooth, use a block of sharp cheddar and grate it yourself, then stir it in over low heat until just melted.
It will stay fresh in an airtight container in the refrigerator for up to 3 to 4 days. When reheating, do so slowly on the stovetop over low heat, adding a splash of milk or broth if it has thickened too much.
Yes, you can! Just make sure to thaw it and pat it dry first so you don’t introduce excess water. You may also want to chop the florets into smaller pieces to match the traditional cafe style.
Simply swap the chicken stock for a high-quality vegetable broth. All the other ingredients are already meat-free, making this an easy transition for a meatless meal.
To do this, replace the all-purpose flour with a 1:1 gluten-free flour blend. Alternatively, you can omit the flour entirely and use a cornstarch slurry at the end to reach your desired thickness.

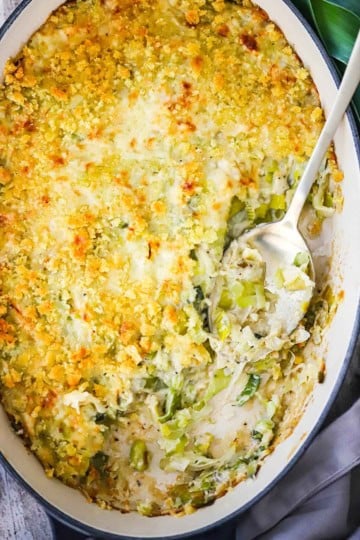
🥣 Other Classic Soup Recipes


Ready to make the best soup in town? Go for it!
And when you do, be sure to take a photo of it, post it on Instagram, and tag @HowToFeedaLoon and hashtag #HowToFeedaLoon!

Broccoli Cheddar Soup (Panera Copycat)
Equipment
- 1 Large pot
Ingredients
- ¼ cup unsalted butter
- 1 medium onion chopped
- ¼ cup all-purpose flour
- 2 cups chicken stock or broth, or vegetable stock
- 2 cups half and half
- ½ teaspoon ground nutmeg
- 3 cups broccoli fresh, chopped small
- 1 cup carrots matchstick (julienned), or thinly sliced
- 1½ teaspoon salt
- 1 teaspoon black pepper
- 8 oz cheddar cheese shredded
- sourdough rounds for serving, optional
Instructions
- In a large pot, melt the butter over medium heat. Add the onions and sauté, stirring frequently, until translucent and soft, about 4 to 5 minutes.¼ cup unsalted butter, 1 medium onion
- Stir in the flour and cook for 1 minute, stirring often.¼ cup all-purpose flour
- Slowly pour in the chicken stock while whisking. Once the stock is incorporated, slowly whisk in the half and half.2 cups chicken stock, 2 cups half and half
- Turn the heat to medium-low and simmer for 10 to 15 minutes, until it has thickened slightly.
- Stir in the nutmeg, broccoli, and carrots. Cover and let simmer for another 15 minutes, or until the veggies are tender.½ teaspoon ground nutmeg, 3 cups broccoli, 1 cup carrots
- Season with salt (see NOTES) and pepper. Turn off the heat and add the shredded cheddar one handful at a time, stirring each time until melted and smooth.1½ teaspoon salt, 1 teaspoon black pepper, 8 oz cheddar cheese
- Ladle into sourdough bread bowls or into soup bowls. Garnish with additional shredded cheese, if desired.sourdough rounds
Video
Notes
- Shred Your Own Cheese: For a silky-smooth texture, grate your cheddar from a block. Pre-shredded bagged cheese is coated in anti-caking agents that can prevent it from melting properly, often resulting in a grainy soup.
- Adjust Salt at the End: Both chicken stock and sharp cheddar are naturally salty. Wait until the cheese has fully melted to taste the soup before adding any additional salt to avoid over-seasoning.
- Avoid Boiling: Once you add the cheese, keep the heat on low. Boiling the soup after the dairy and cheese are incorporated can cause the mixture to separate or become oily.
- Veggie Prep: Chop the broccoli into very small, bite-sized florets to ensure you get a perfect balance of vegetables and creamy broth in every spoonful.
- Storing & Reheating: Store leftovers in an airtight container in the refrigerator for up to 4 days. Reheat gently on the stovetop over low heat, adding a splash of milk or broth if the soup has thickened too much in the fridge.