

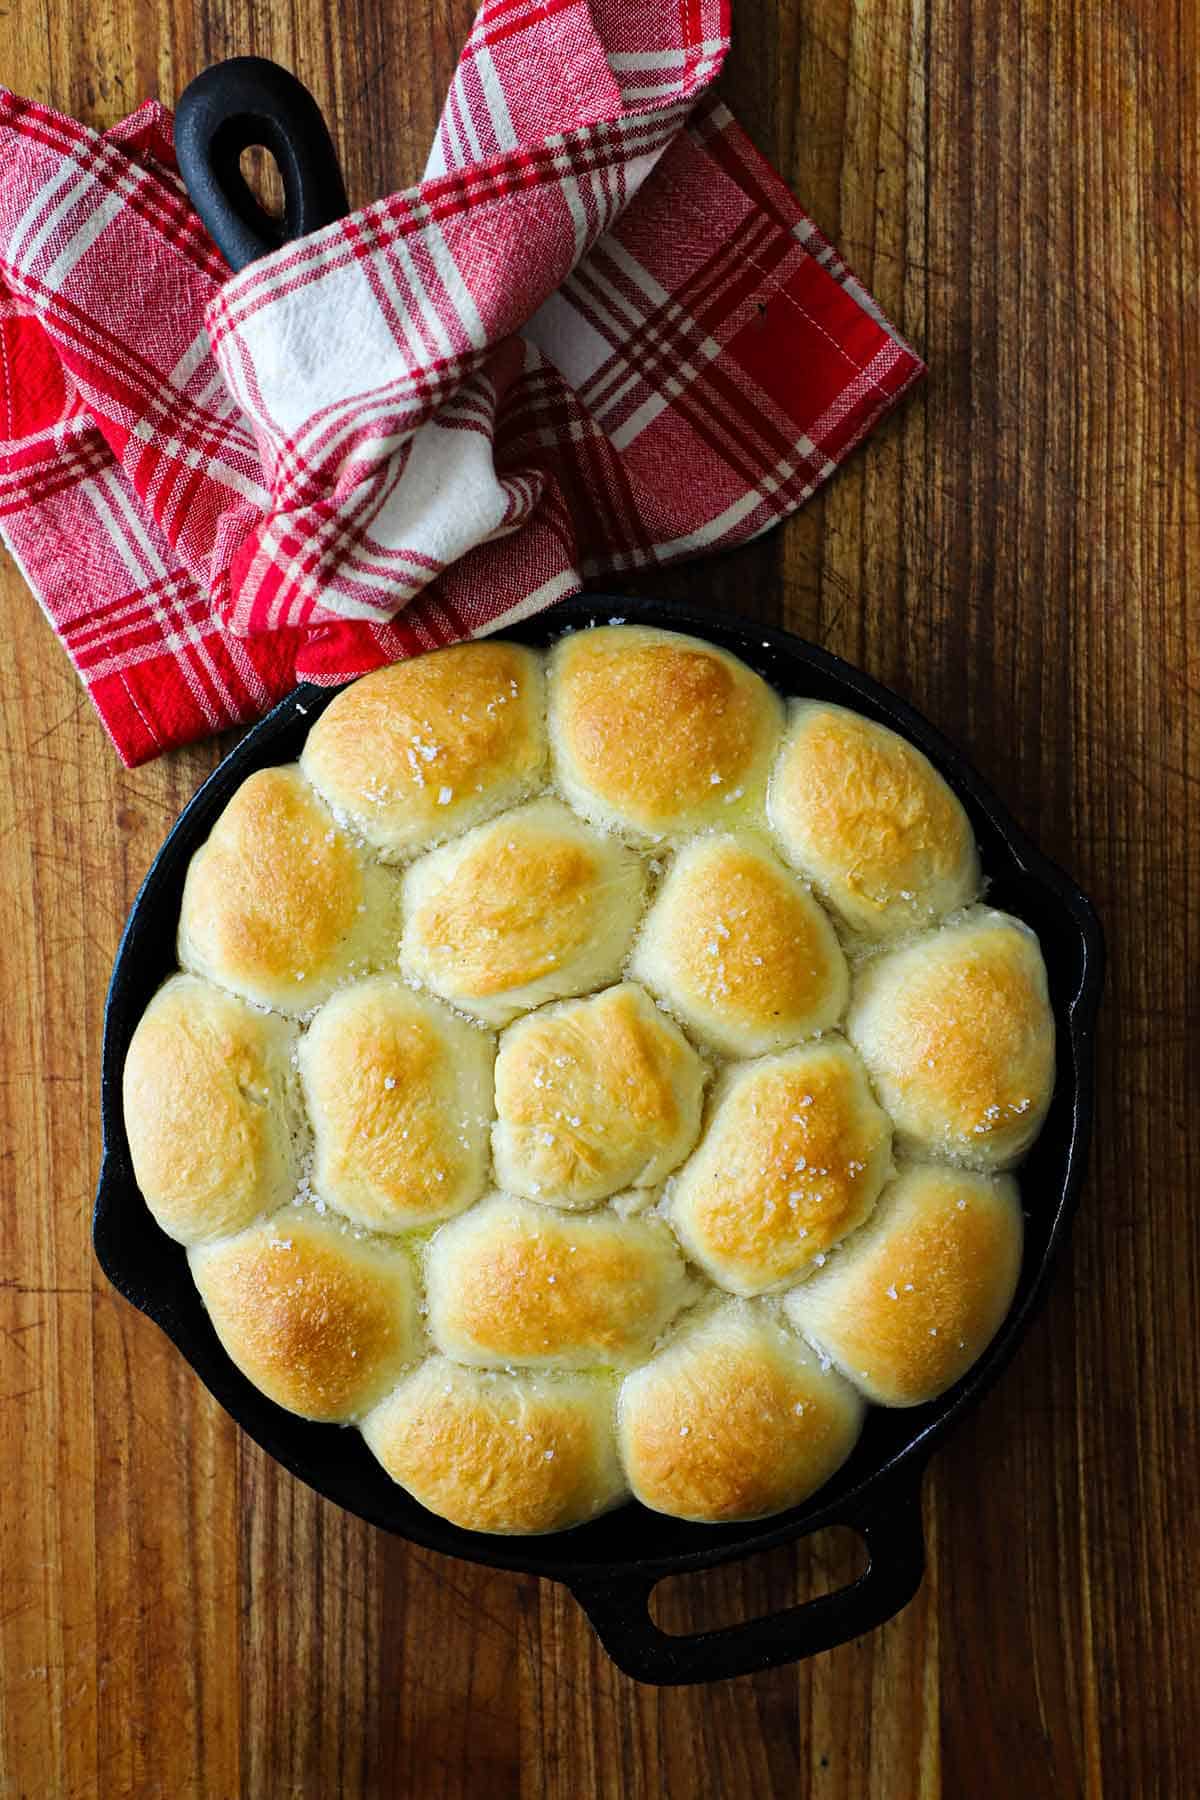
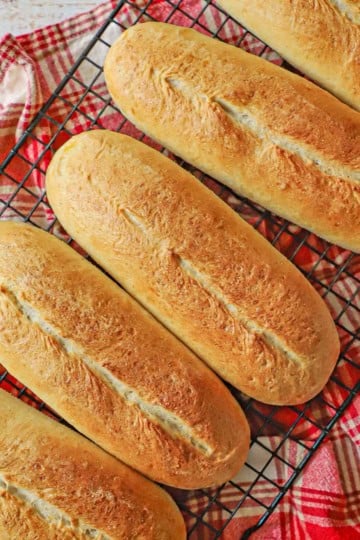
Delicious Easy Skillet Dinner Rolls are the perfect addition to almost every meal, offering a fluffy and billowy texture that complements a variety of dishes. With just a handful of ingredients, these warm rolls are ideal for serving alongside Classic Pot Roast, Slow-Cooker Spiral Ham, or Perfect Roast Turkey, making any meal feel special.
Jump to:
🧈 The Ingredients
Just a handful of ingredients come together to create these classic rolls, resulting in a delightful and comforting addition to any meal. Find ingredient notes (including substitutions and variations) below.

🌿 Substitutions and Variations
- Yeast – Go with either Active Dry Yeast or Instant Yeast (aka Rapid Rise). You will get the same results with both types. Instant Yeast expedites the proofing/rising time by about half.
- Flour – We use all-purpose flour. You can also use bread flour and will have excellent results.
- Flavor enhancers – We love to brush plenty of melted butter over the tops of the rolls and then sprinkle with coarse sea salt. You can also sprinkle on grated parmesan and /or dried herbs. For added depth of flavor, add 1 teaspoon of your favorite dried herb into the dough as it is mixing.
👩🏼🍳 How To Make Easy Skillet Dinner Rolls
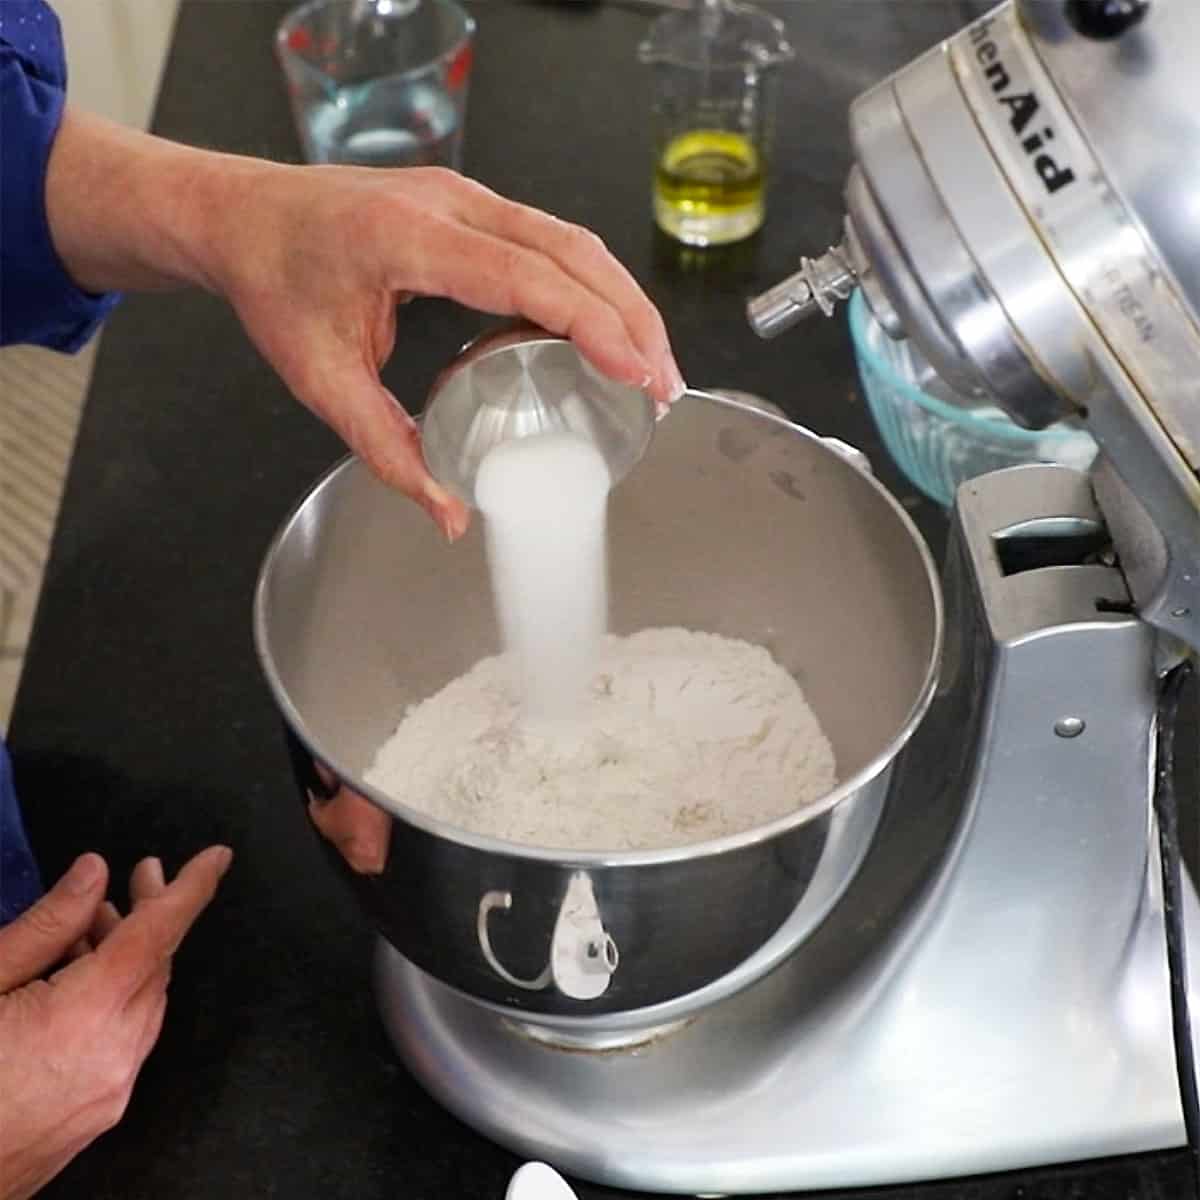
- Step 1: In a mixer, combine the flour, yeast, salt, and sugar.
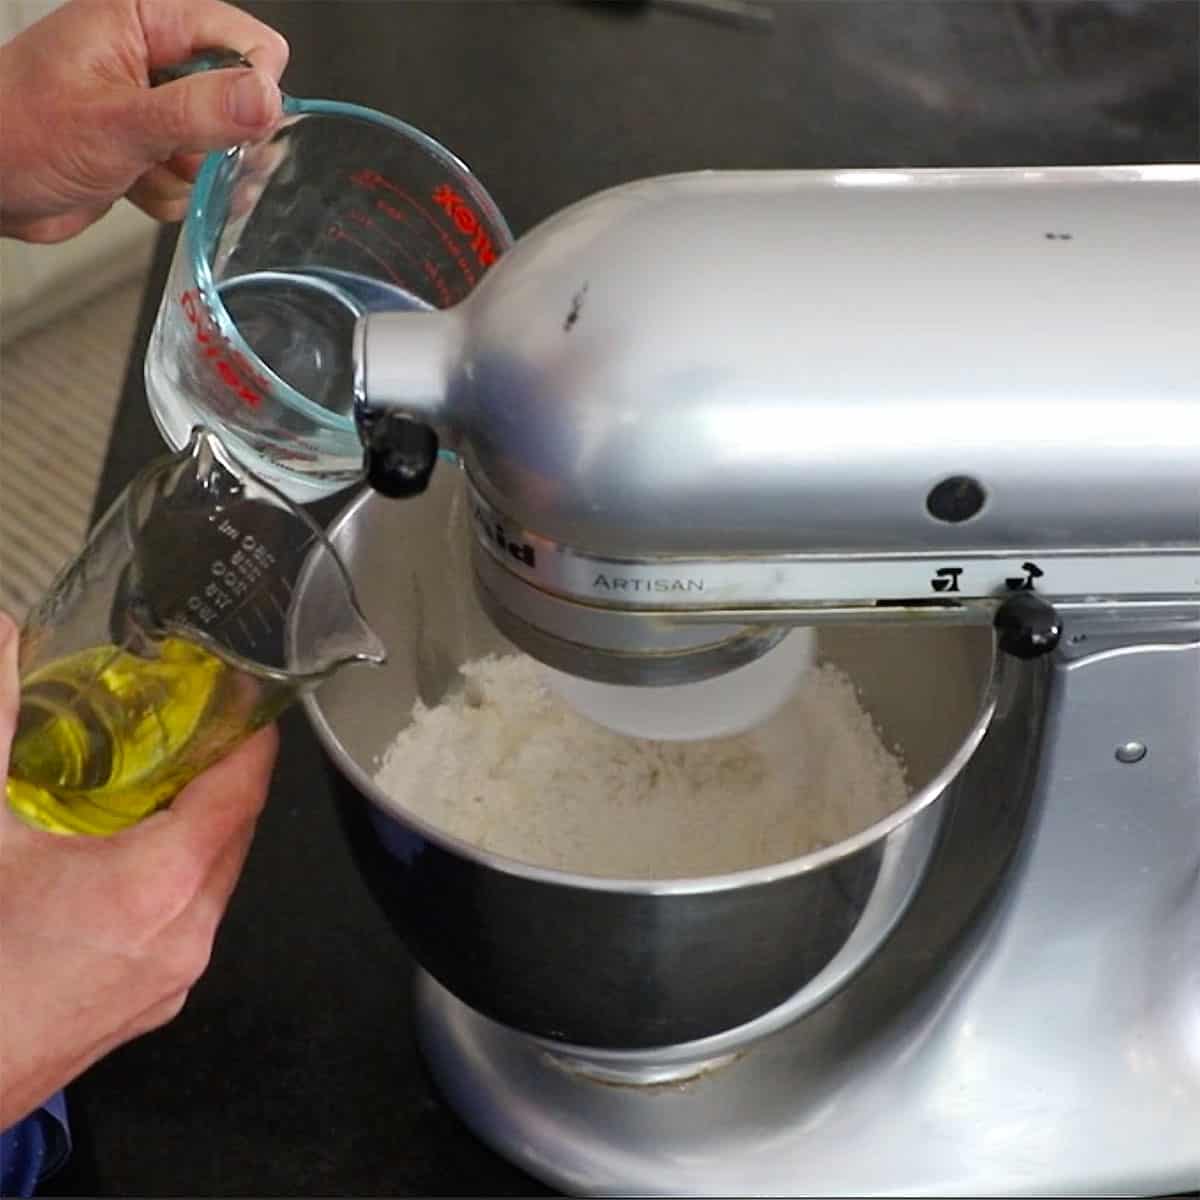
- Step 2: Mix in the warm water and the oil until combined.
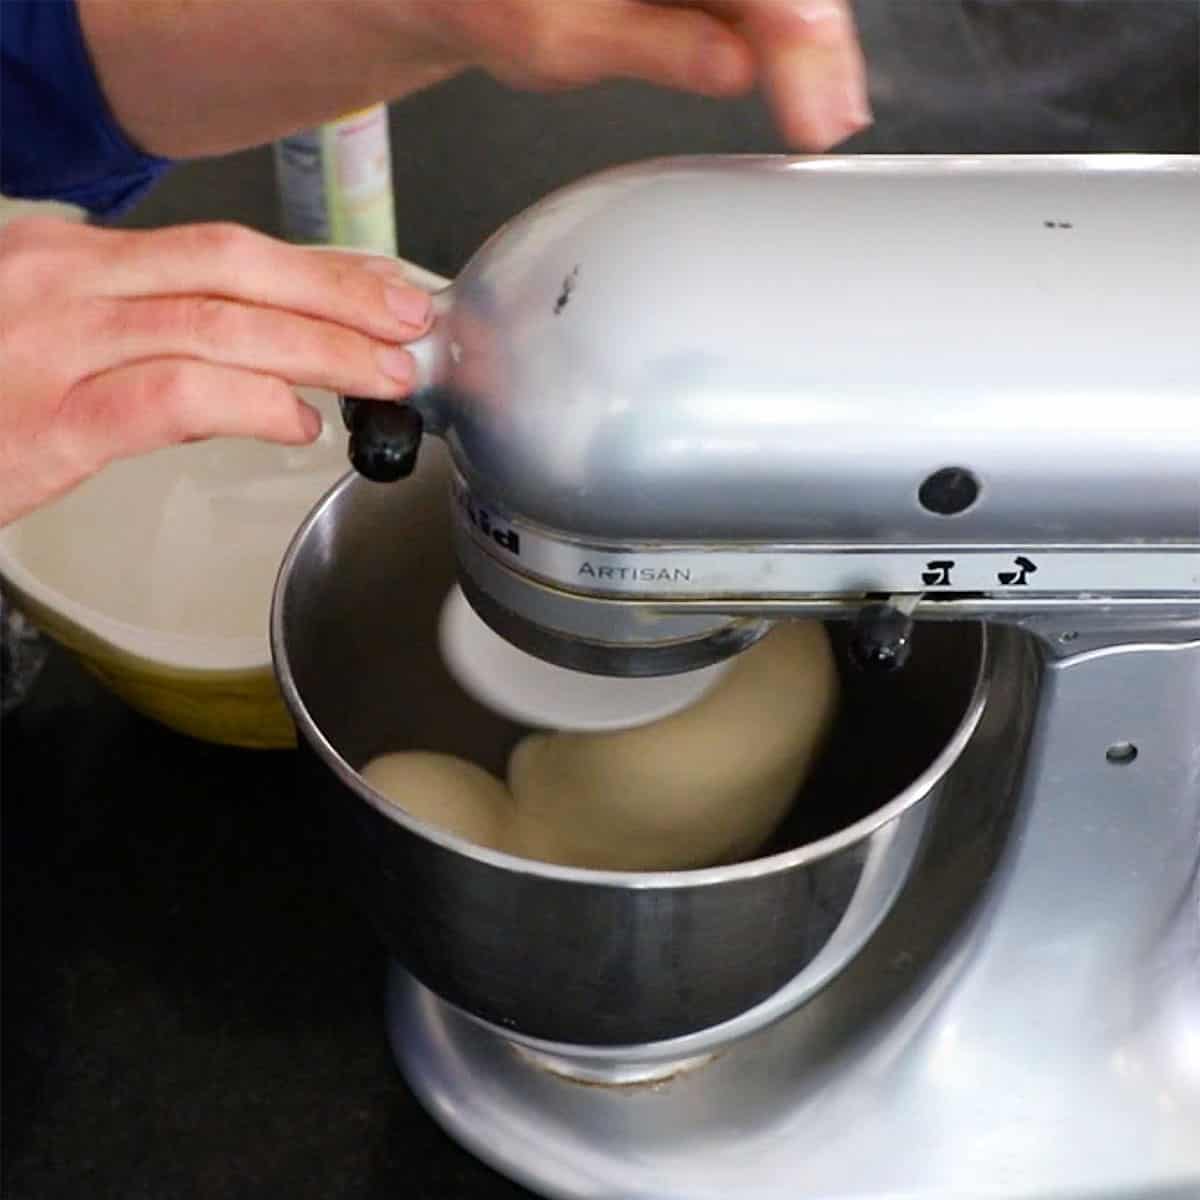
- Step 3: Increase speed and mix until smooth and elastic.
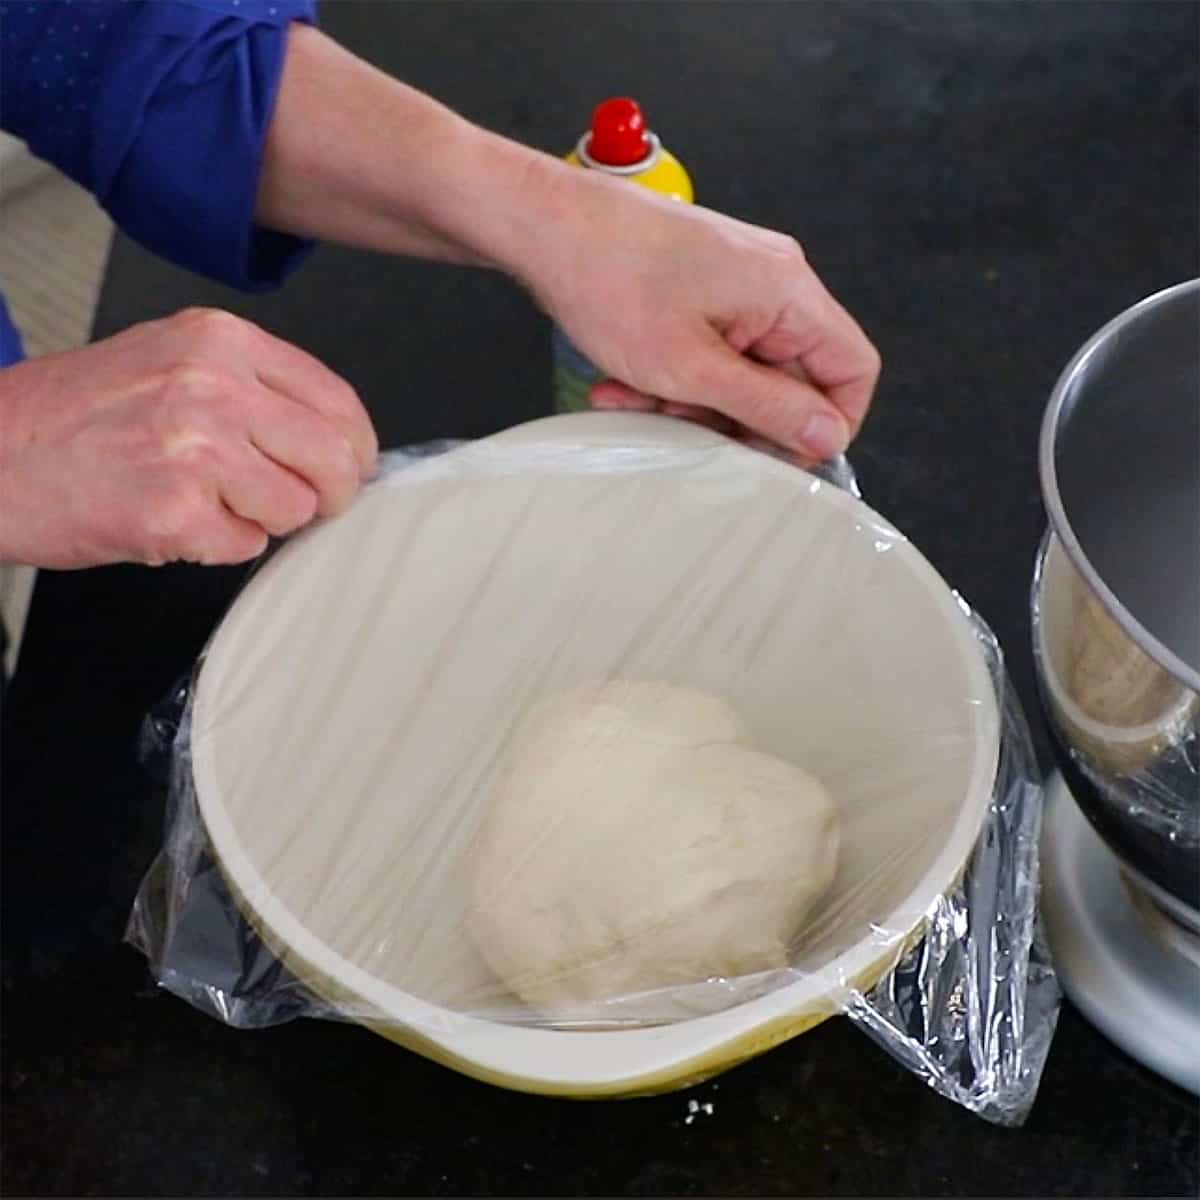
- Step 4: Place in a greased bowl, cover, and let rise until doubled.
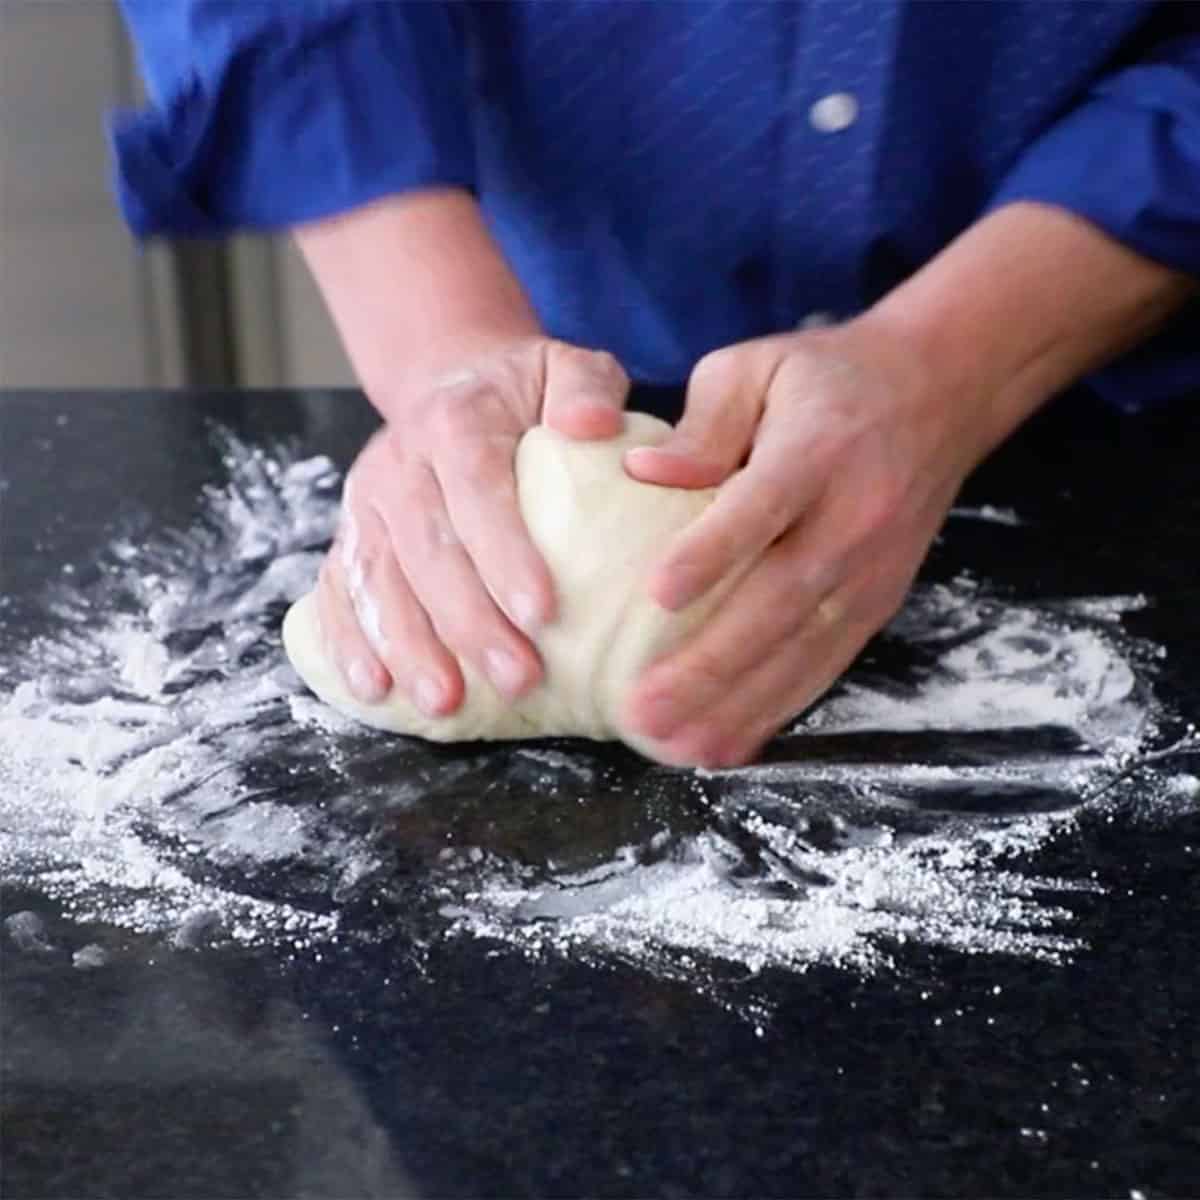
- Step 5: Knead dough and then form balls and place in prepared skillet.
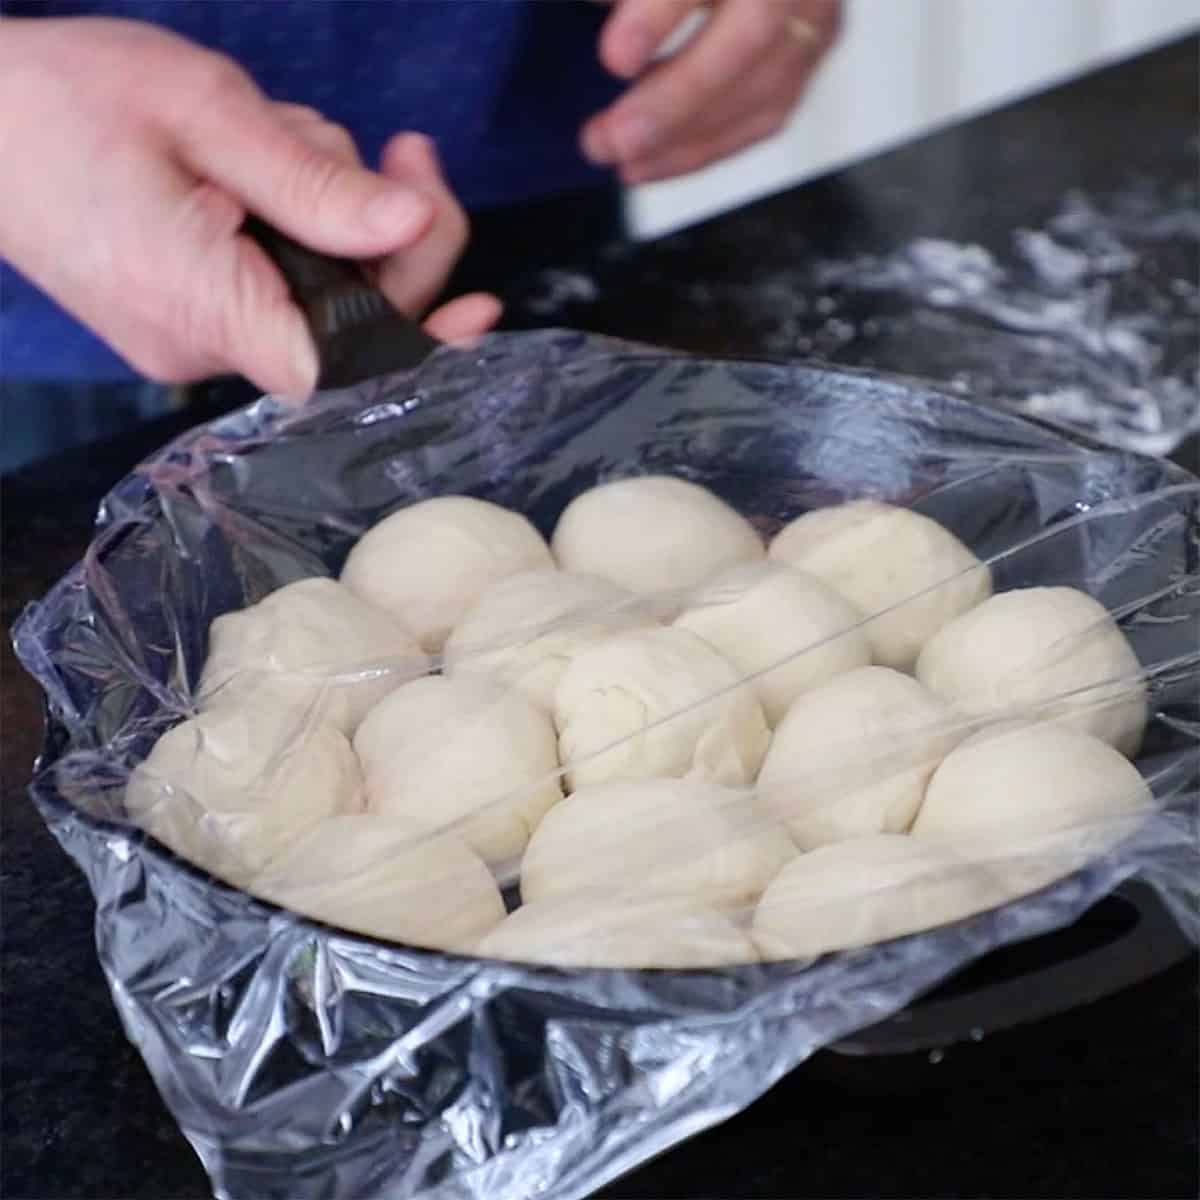
- Step 6: Cover and let proof for another hour
Expert Tips
Because the active yeast has begun the fermentation process, the dough will rise, even if you don’t have a warm, drafty area in your kitchen. Many ovens have a “Proof” setting. If not, place the bowl on top of your fridge (remember heat rises). No matter what, your dough will rise. It just may take longer for this to occur in a cooler location. Even your refrigerator (overnight!).
🔥 How To Bake Easy Skillet Dinner Rolls
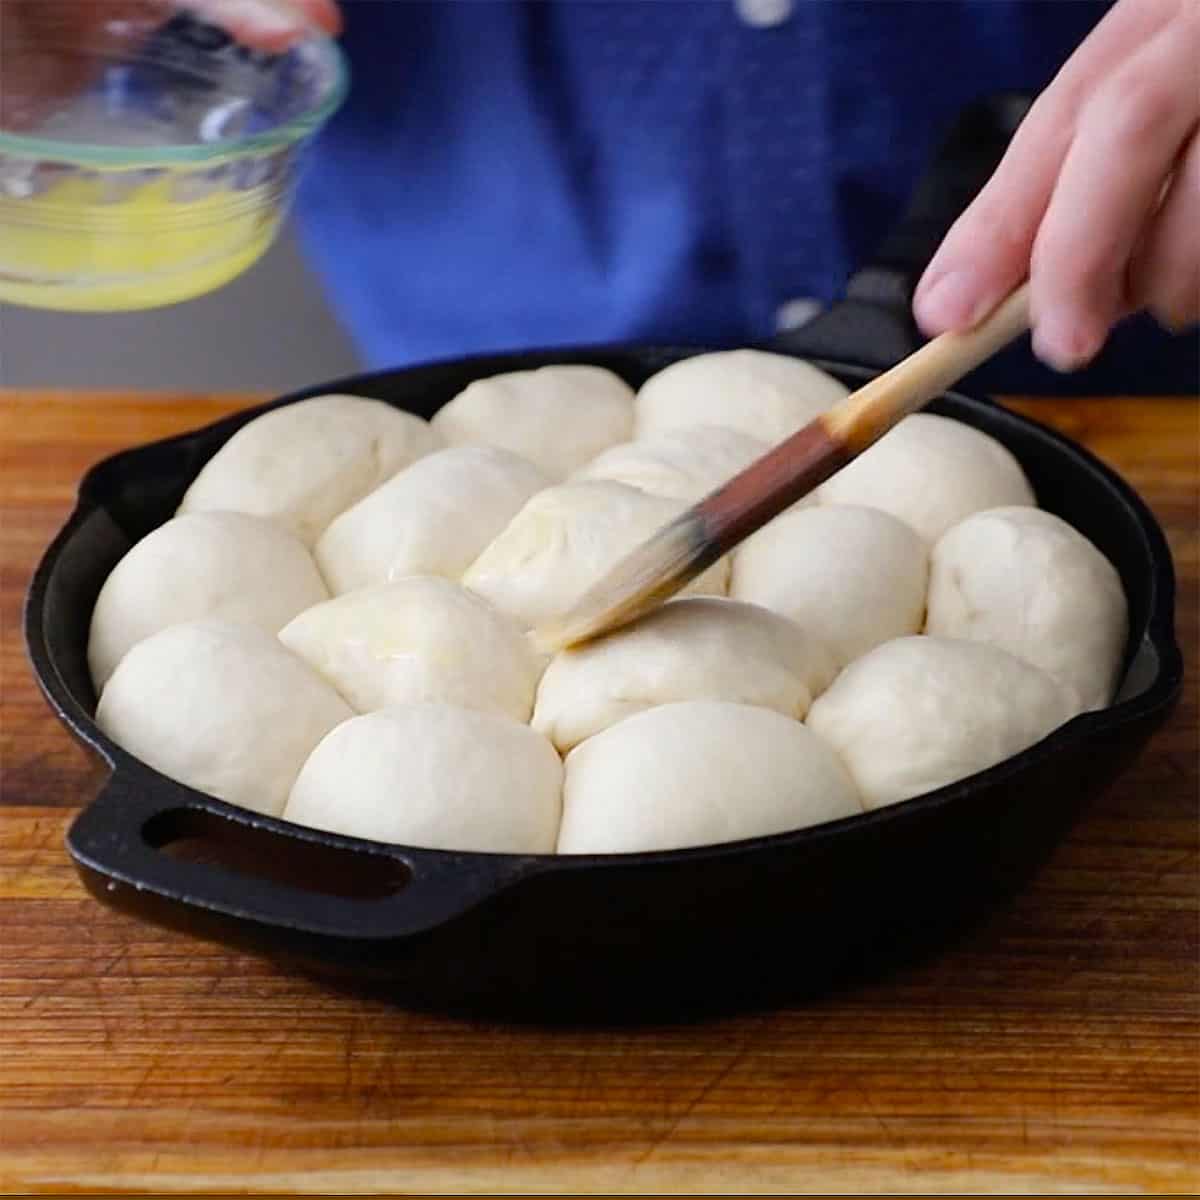
- Step 7: Brush rolls with melted butter
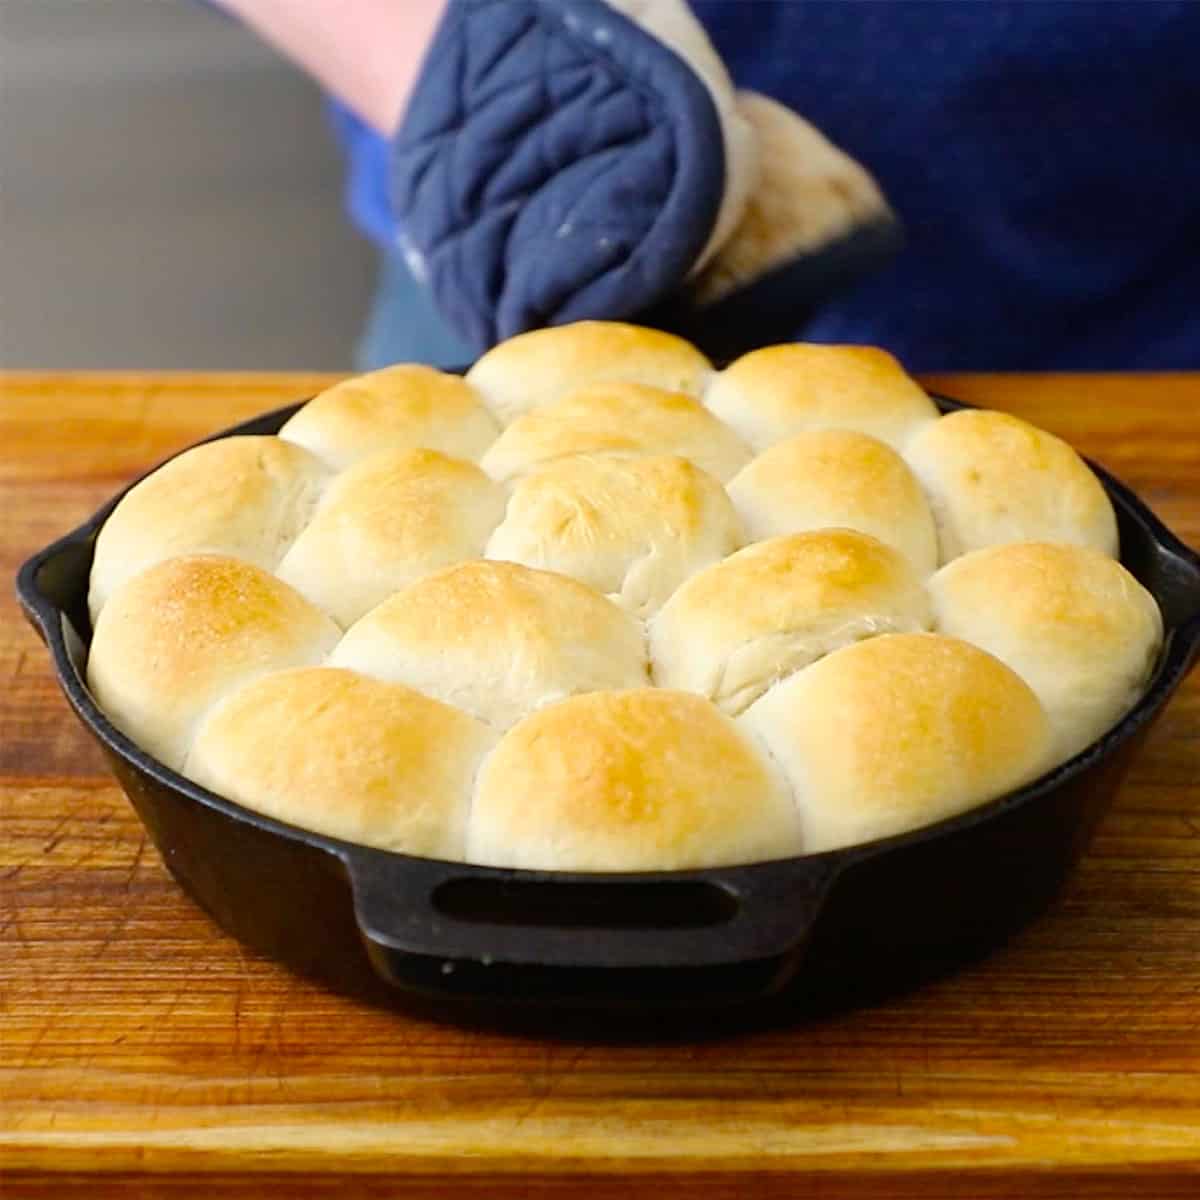
- Step 8: Bake until lightly browned.
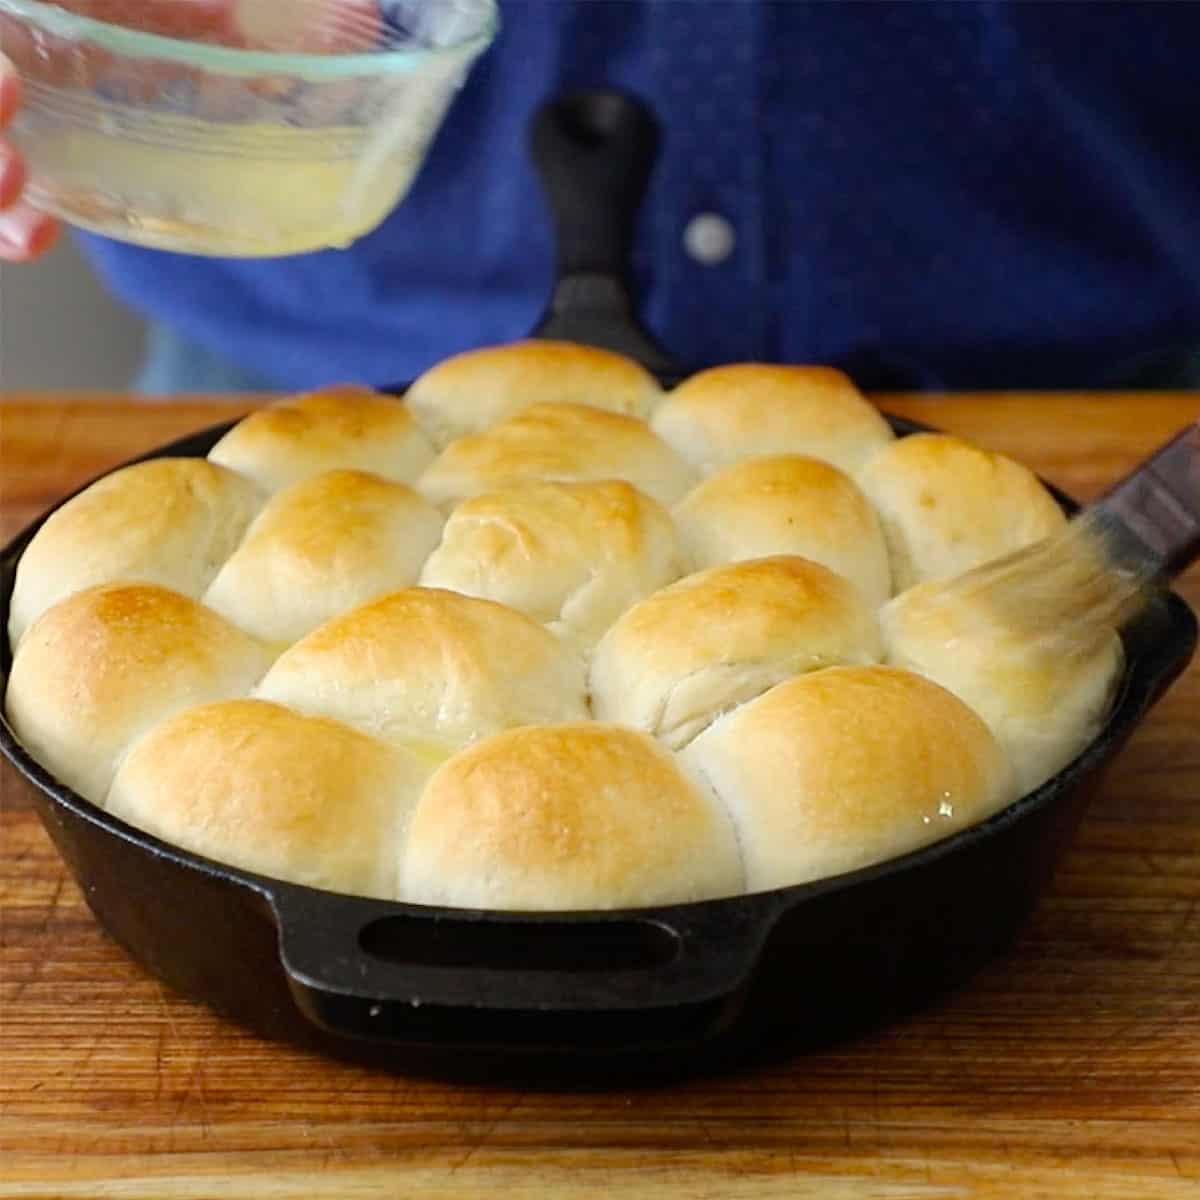
- Step 9: Top with more melted butter and finishing salt.

- Step 10: Top with Kosher salt and serve warm.
🍽️ How To Serve and What to Serve With
- These rolls are wonderful when served fresh out of the oven, however, they will stay warm for 20 to 30 minutes (cover loosely with a kitchen towel).
- If you serve them still in the skillet, make sure your guests know the skillet is hot.
- Serve these rolls as a complement to comfort mains such as Best-Ever Meatloaf, Italian Pot Roast, and Perfect Roast Chicken.
😋 How To Store and Reheat
- Store leftover rolls in a closed baggie or air-tight container for several days.
- Fully cooked (and cooled) rolls freeze wonderfully for up to a couple of months. Place in a freezer baggie and freeze, then let thaw completely.
- Reheat rolls in increments in the microwave, or wrap in foil and heat in a 250°F oven until heated through, usually about 15 to 20 minutes.
🙋🏽♂️ Frequently Asked Questions
All yeast packages (packets and bottles) come with a ‘purchase by’ date. The closer to the actual date, the fresher the yeast will be. Rule of thumb is that active and instant yeasts have a shelf life of 2 years
Yes! Simply place the covered bowl with the dough in the refrigerator. This will slow down the rising of the dough, but it will still rise. You can do this 12 hours in advance.
No. If you make smaller rolls, you’ll still have the same total amount of dough.

🍞 Other Easy Bread Recipes


Ready to make rolls that will rival even grandma’s homemade rolls? Go for it!
And when you do, be sure to take a picture, post on Instagram, and tag @HowToFeedaLoon and #HowToFeedaLoon!

Easy Skillet Dinner Rolls
Video
Equipment
- Stand mixer
- 9 or 10-inch cast-iron skillet
Ingredients
- 4 cups all-purpose flour
- 2¼ teaspoon instant yeast or active dry yeast
- 2½ teaspoon Kosher salt
- 1½ teaspoon sugar
- 1¼ cups warm water 120°F to 125°F
- ⅓ cup olive oil
- cooking spray
- 4 tablespoon unsalted butter divided, melted
- coarse sea salt for garnish (optional)
Instructions
- In the bowl of a stand mixer with the dough hook attached, mix the flour, yeast, salt, and sugar. With the mixer on low speed, gradually add warm water and the oil and continue beating until combined.4 cups all-purpose flour, 2¼ teaspoon instant yeast, 2½ teaspoon Kosher salt, 1½ teaspoon sugar, 1¼ cups warm water, ⅓ cup olive oil
- Increase mixer speed to medium and beat until smooth and elastic, about 7 minutes.
- Spray a large bowl with cooking spray.cooking spray
- Remove the dough from the bowl and use your hands to smooth it into a ball.
- Place the dough in the greased bowl and turn it over a couple of times to coat with oil. Spray the top of the dough with a little more oil, if dry. Cover with plastic wrap and let rise in a warm, draft-free place until doubled in size, anywhere from 1 to 2 hours.
- Spray a 9 or 10-inch cast-iron skillet (or an 11×17" pan) with cooking spray.
- On a lightly floured surface, turn out the dough and gently knead with the palms of your hands for about 30 seconds.
- Pinch off a piece of dough and form it into a smooth ball, about the size of a golf ball (2 ounces is ideal). Place in the prepared pan and continue with the remaining dough.
- Cover the skillet with plastic wrap and place in a dry, non-drafty area for another 30 minutes to 1 hour, or until the balls of dough have nearly doubled again.
- Preheat oven to 400°F.
- Melt 2 tablespoon of butter and brush over the tops of the rolls.4 tablespoon unsalted butter
- Bake for 20 minutes, rotating the skillet halfway through. If the rolls are getting too brown on top, tent with foil.
- Remove from the oven and brush another melted 2 tablespoon butter over the tops. Sprinkle with sea salt, if desired. Remove from skillet and serve warm.coarse sea salt
Notes
- Dissolve 1 teaspoon of sugar in a ½ cup of warm water in 1-cup measuring cup.
- Stir in 2 ¼ teaspoon of dry yeast (1 package) until there are no more dry yeast granules on top. The yeast should be at room temperature before using.
- Within a few minutes, the yeast will have absorbed enough liquid to activate and start to rise.
- After 10 minutes, the foamy yeast mixture should have risen to the 1-cup mark and have a rounded top.
- If this happens, your yeast is very active and can be used immediately.
- If the yeast did not rise to the 1-cup mark, the yeast is not good to use..
Nutrition
POST UPDATE: This recipe was originally published in November 2016, but the recipe was tweaked, with new photography and a fabulous new video added in December 2019
Mary L says
I am making this bread right now and it says add cold milk to the hot milk to make it tepid. But there is no where, that I can see in the recipe, that it says to heat the milk. Was this step left out. I did not heat the milk so I am hoping it comes out. I have it rising right now.
krislongwell says
Oh gosh, Mary!! I was left out in the ingredients to warm the milk to 105 to 115F. You should still be okay. You will probably let the dough rise longer than indicated in the directions. I always give it a little more time for proofing. If I make a mistake in baking, it’s usually they I don’t let the dough proof long enough. We really hope these work out. Please let us know. Sometimes when I make these, they aren’t as beautiful as other times, but they almost always have that fluffy delicious flavor. Thanks for the heads up on the recipe. Take care and do let us know how they turn out. Best, Kris & Wesley. P.S. I updated the recipe. 🙂
Mary L says
Hi, Thanks for the update. So after thinking about this I don’t think you really need to heat the milk especially if you are going to mix it with cold water just to make it tepid again. The rolls are just finishing…actually I am going to stop for a minute to pull them out of the oven. Ok out of the oven and I put a little butter on them and they are very good. So everything worked out. I had to make them earlier because I am putting a prime rib in the oven and so I will not be able to use the over until the guests arrive. This week I am going to try your chicken salad recipe….it looks delicious! Have a wonderful Saturday and thanks again!!! Mary
krislongwell says
Mary! Best news we’ve heard all week! My gosh, can we come over…sounds like you are having a feast!! Thanks so much for letting us know. You will enjoy the chicken salad recipe…it is one of the best recipes on our blog (it is hands down the most popular and liked). Thanks again, have a wonderful time with your guests!!! Stay in touch!! xoxo Kris & Wesley
Mary L says
Dinner was great and everyone loved the rolls. Anytime you are in NE Ohio you are welcome to come by!
I will let you know when I try the chicken salad!
krislongwell says
AWESOME!! I’m so glad it turned out great! We get around quite a bit…next time our schedules takes to near you, we’ll let you know. And please do let us know about the chicken salad. xoKris&Wesley
Mary L says
Awesome….Cleveland is a great town!!
And for sure I will let you know about the chicken salad!
Have a great Sunday!
Mary
krislongwell says
You too, Mary!