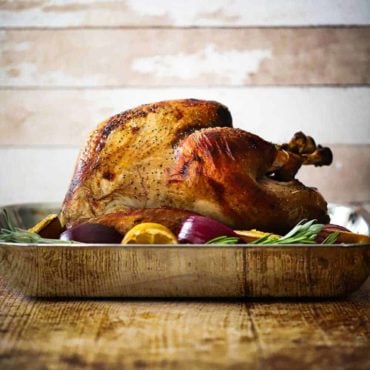
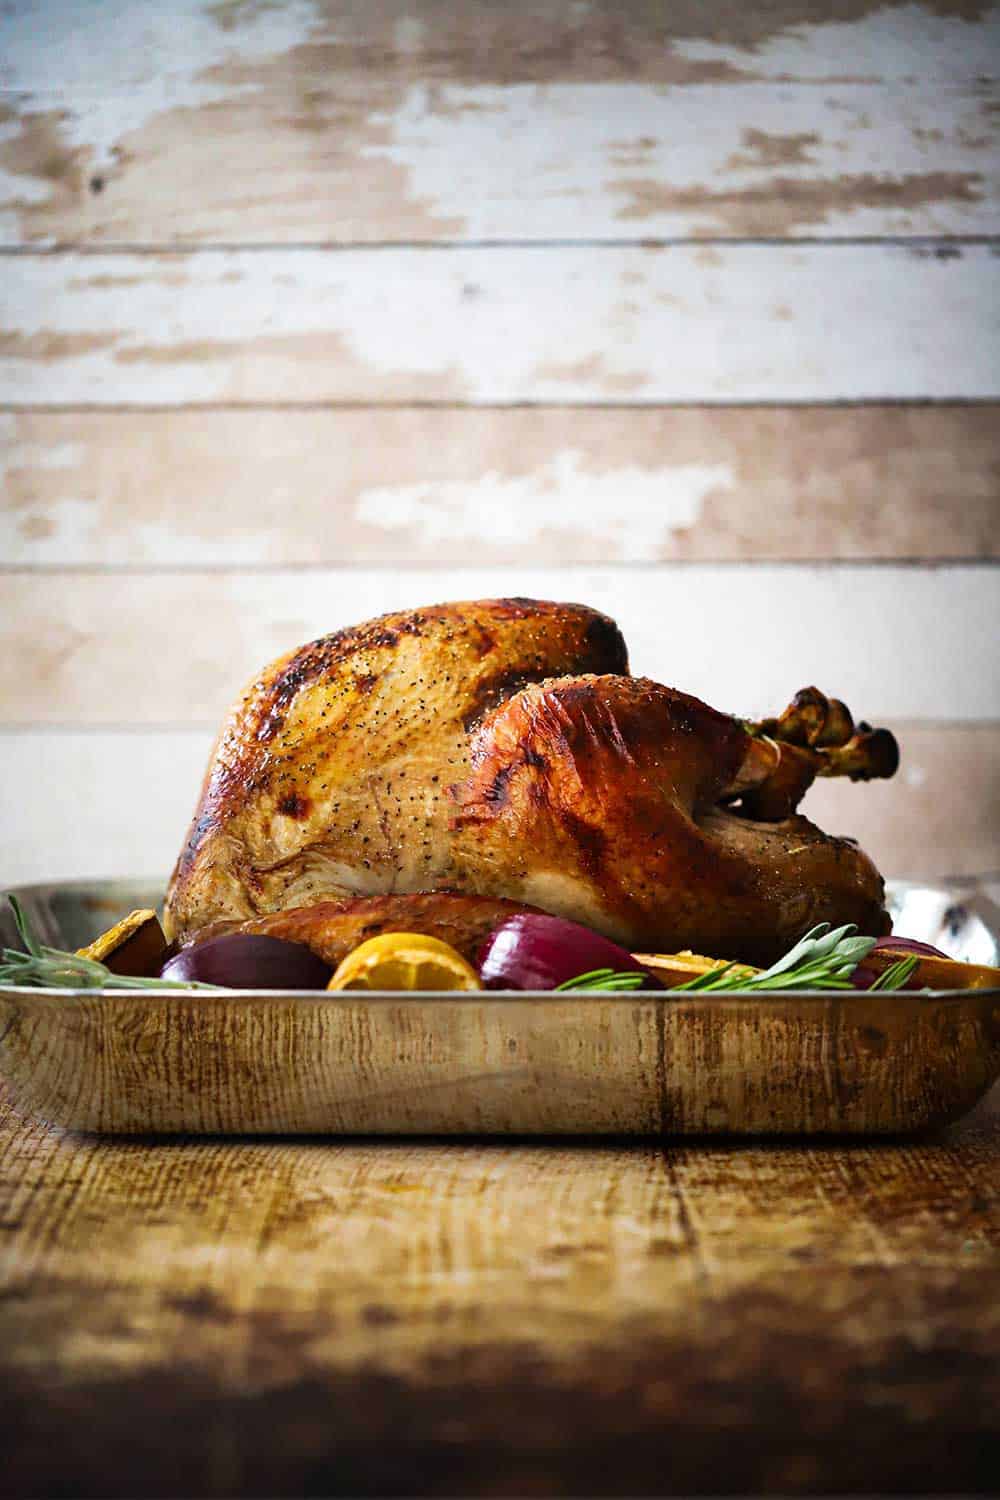
Nothing spells the holidays more than a beautifully roast turkey on the table.
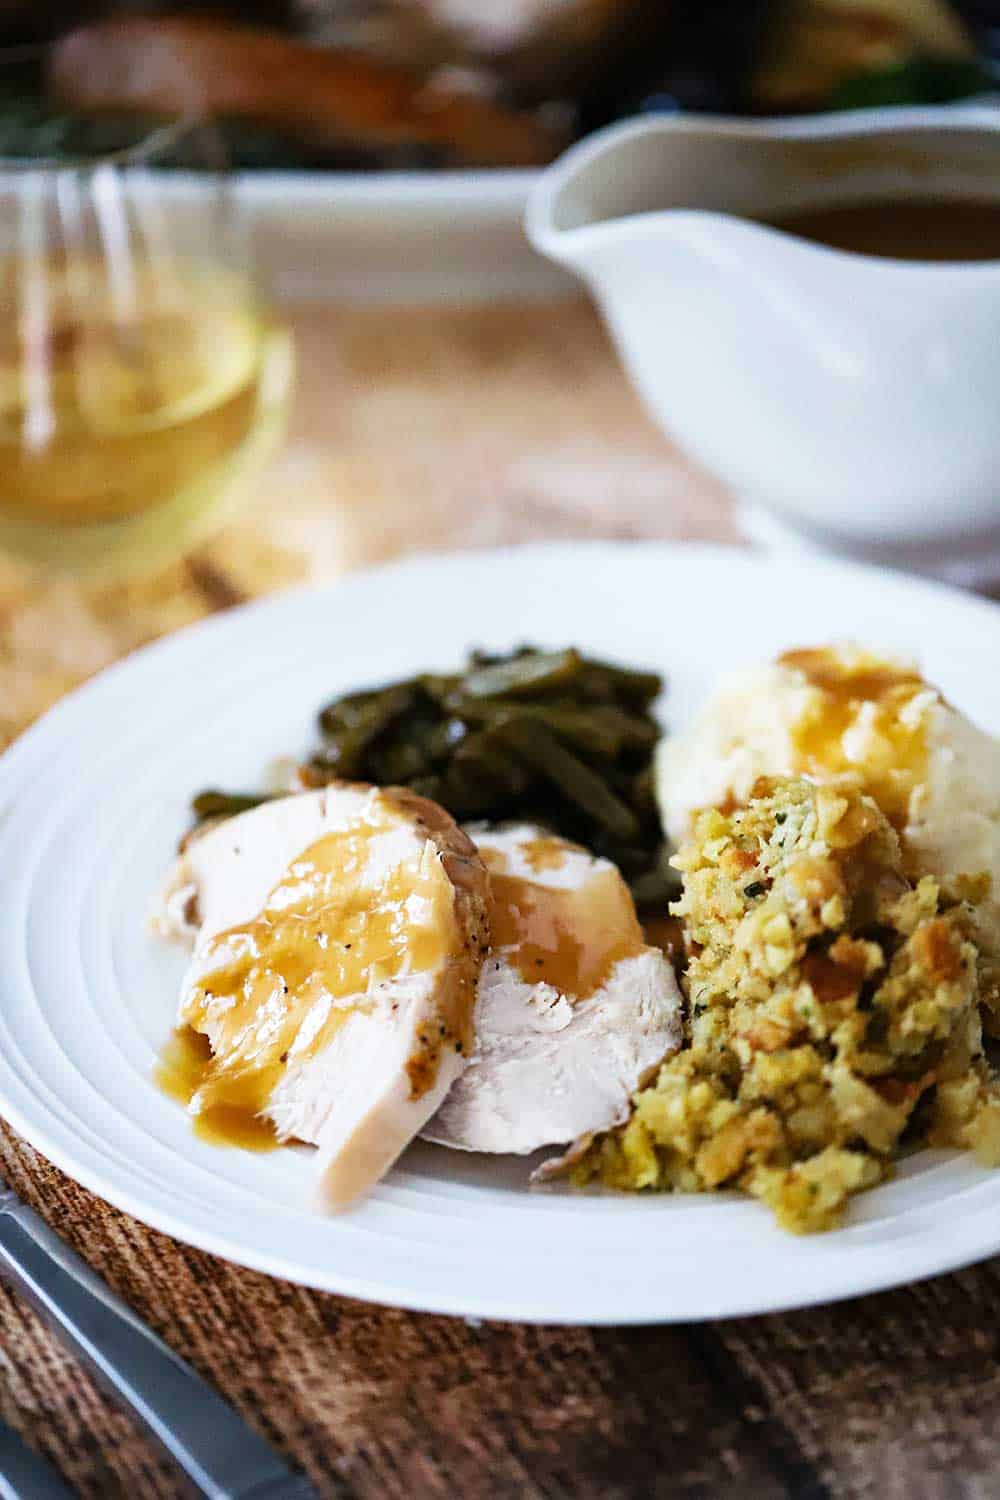
There are a few simple, but effective, tricks for making the most flavorful and juicy turkey. Get started a couple of days before serving and you and your loved ones will be thrilled with the results. Serve with turkey gravy, dressing, mashed potatoes, and gourmet green bean casserole. Talk about a feast to remember!
How To Make The Perfect Roast Turkey
We’ve tested all kinds of turkeys over the years, and we can honestly say this method yields the most delicious and succulent bird ever.
As mentioned, you’ll need to get started a couple of days in advance, but it’s well worth it.
Choosing the Right Turkey
We love going with a fresh young turkey, however, you can still have great success with a frozen turkey if you follow this recipe. Just be sure to safely thaw before proceeding. See tips for thawing in the NOTES section of the recipe. If course, if you’re looking for a smaller bird, consider our amazing Roast Turkey Breast with Herbs. It’s amazing!
Now…to brine, or not to brine? That is the question. There is a lot of discussion about this, and we’ve tried both ways. We always feel brining makes the meat even more moist and flavorful.
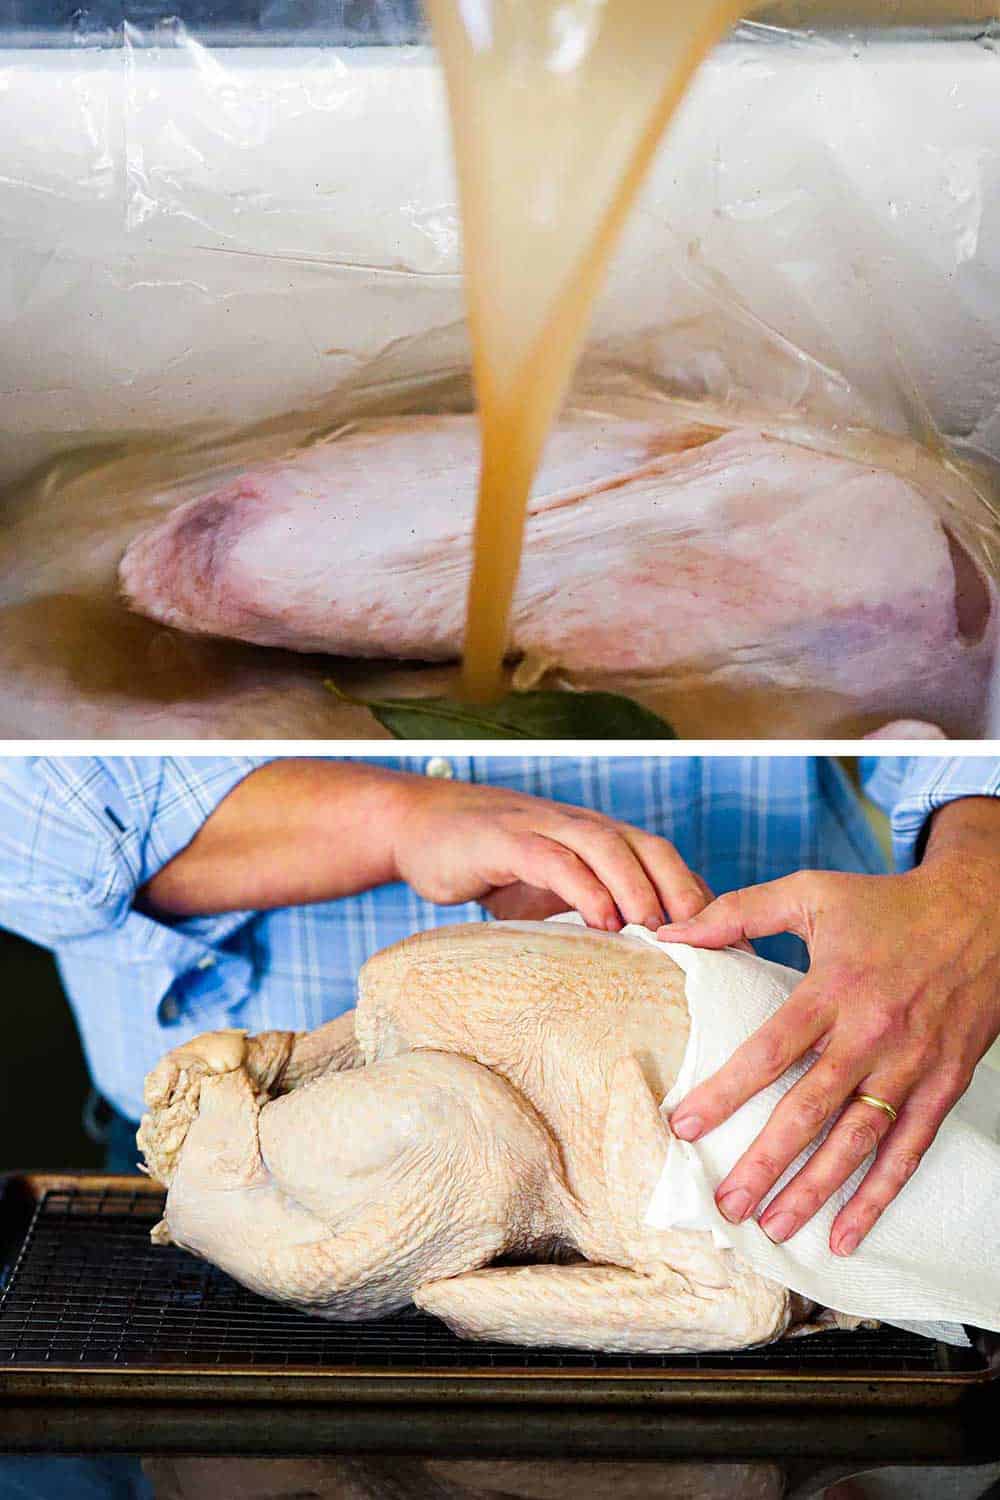
EXPERT TIP: In addition to brining, we highly recommend air-chilling the turkey. After allowing the bird to soak in the brine for no more than 18 hours, drain the brine, and then pat the bird dry with paper towels. Place in the fridge for another 24 hours. You honestly will not believe the results of this process.
Once the bird has enjoyed a nice long nap in the brine, and then a good air chill in the fridge, it’s time to prep the turkey for roasting.
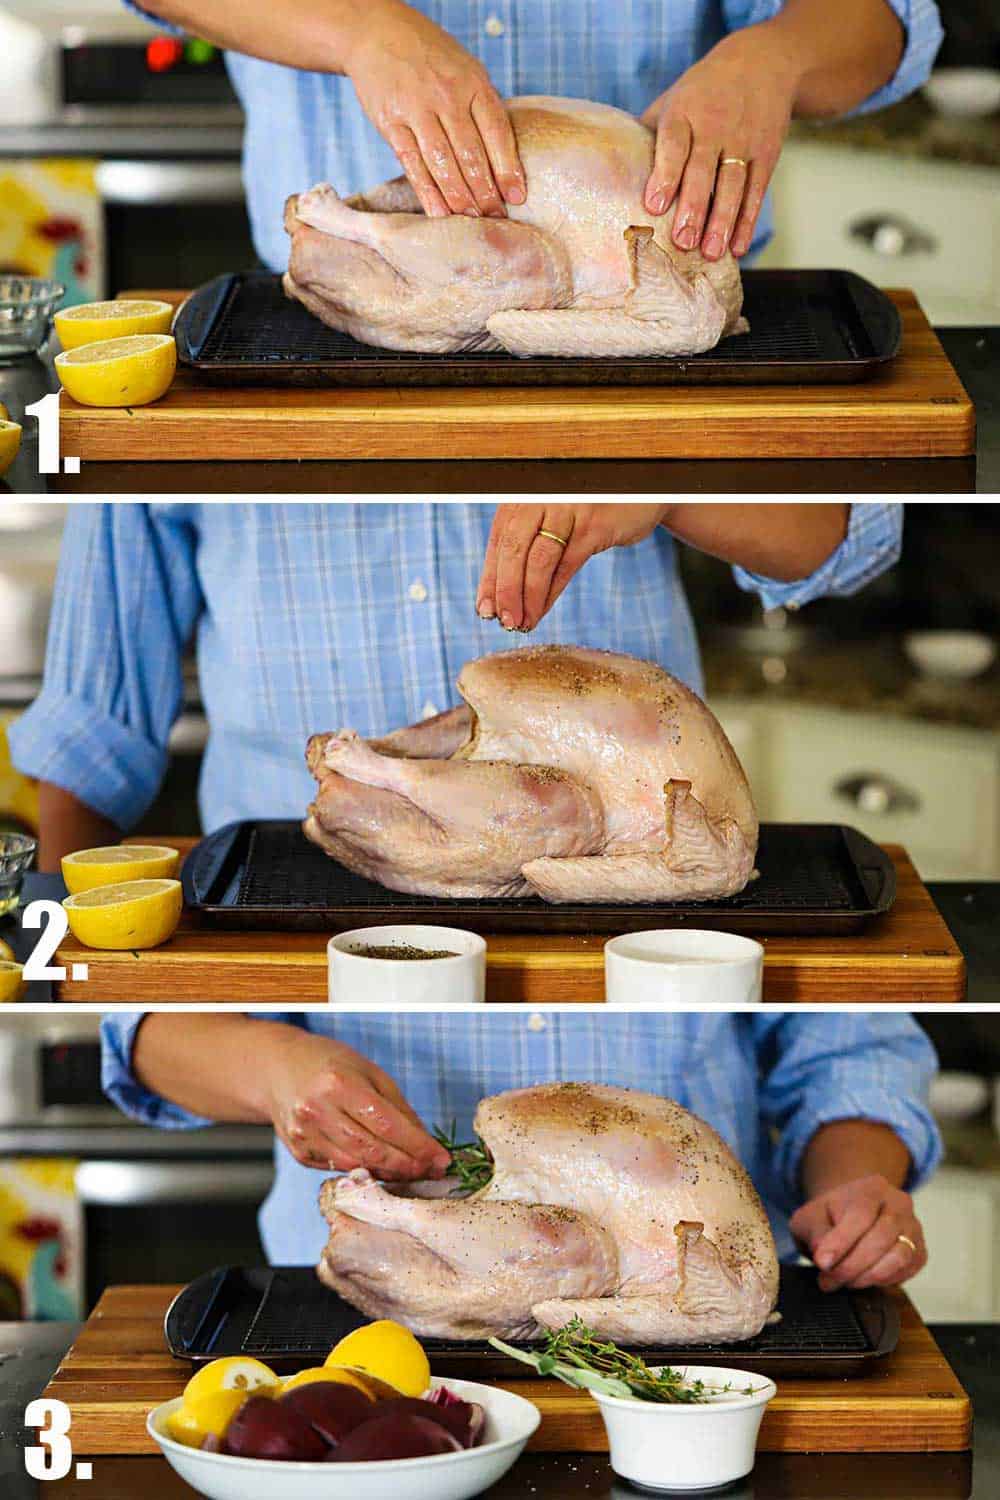
Simply rub canola oil all over the bird. Add a dash of salt and then a good dose of black pepper. NOTE: Don’t over salt, remember, there was a lot of salt in the brine.
Finally, fill the cavity with quartered lemons, onions, and herbs.
You’re going to want to serve an amazing turkey gravy with your perfect roast turkey.
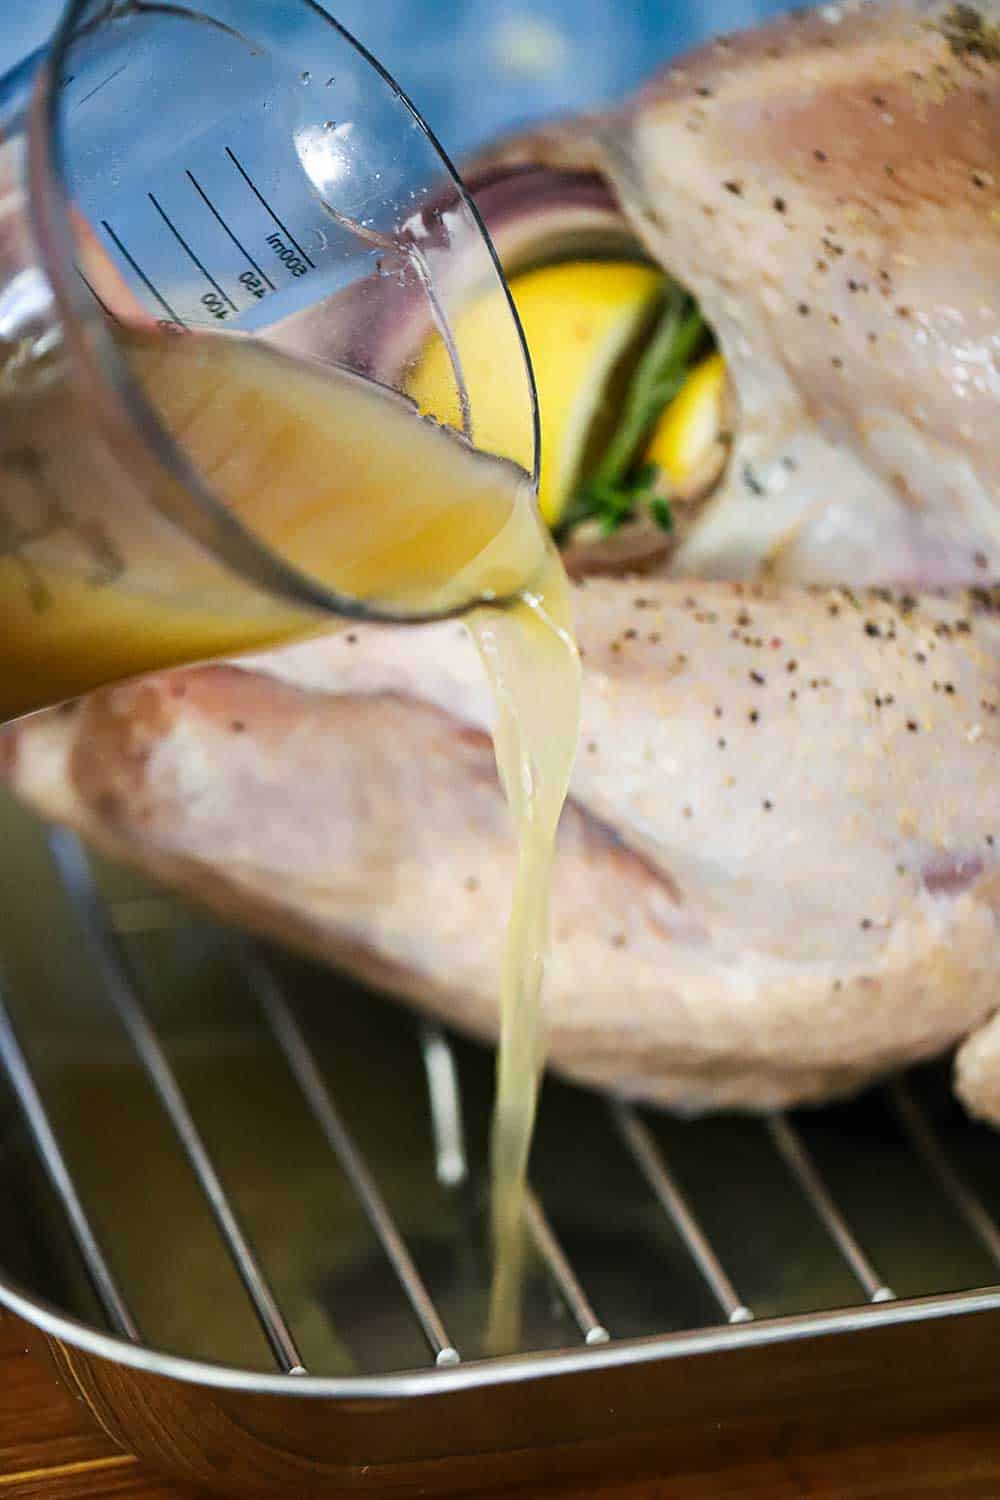
You’ll get wonderful pan drippings as the bird roasts, but the addition of a couple of cups of chicken broth makes sure you’ll have enough liquid to make the best gravy ever.
EXPERT TIP: Be sure to use a roasting pan that has a rack that you can place your turkey on. Then simply pour the chicken broth directly into the base of the pan.
Tips for Crispy Skin and Juicy Meat
First, let’s lock in the crispy, golden skin. Start off with a nice hot oven preheated to 450°F and roast the turkey for 30 minutes.
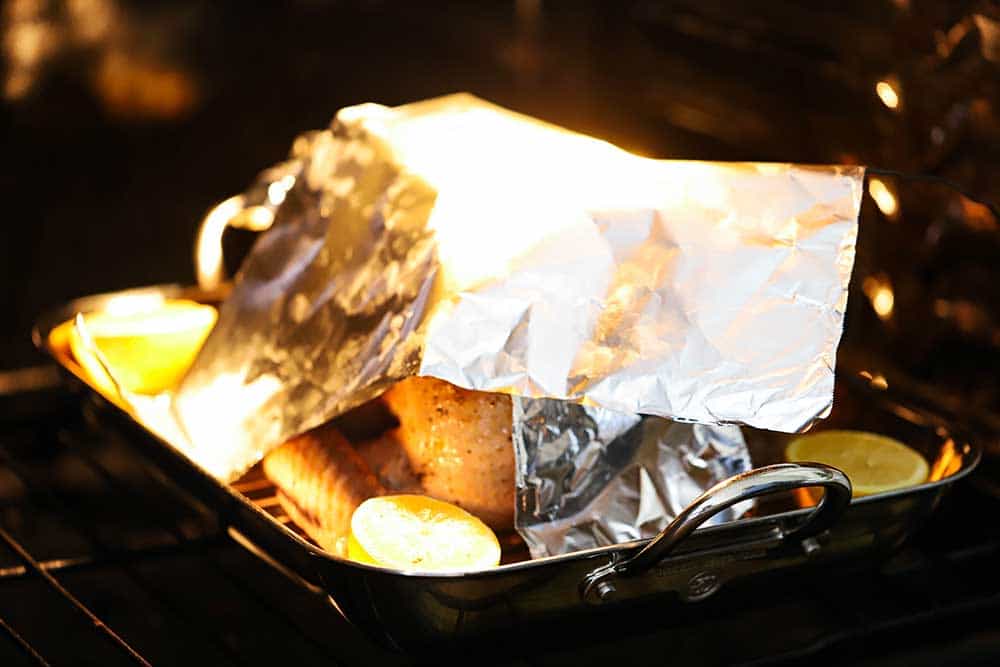
Meanwhile, cut a piece of aluminum foil to an approximate square that is 12″ x 12.” Fold in half to form a triangle.
EXPERT TIP: After the initial high-heat roasting, turn the oven down to 350°F, open the door, and carefully place the foil over the breast of the bird. If the legs are starting to turn a dark brown, you’ll need to add a piece of foil over them, too. Most importantly…get an instant-read thermometer that you can insert into the turkey and watch the temperature without having to open your oven. Stick the thermometer into the thickest part of the bird. Roast until 161° to 163° F is reached, usually about another 2¼ hours for a 14 lb. turkey.
How To Serve the Perfect Roast Turkey
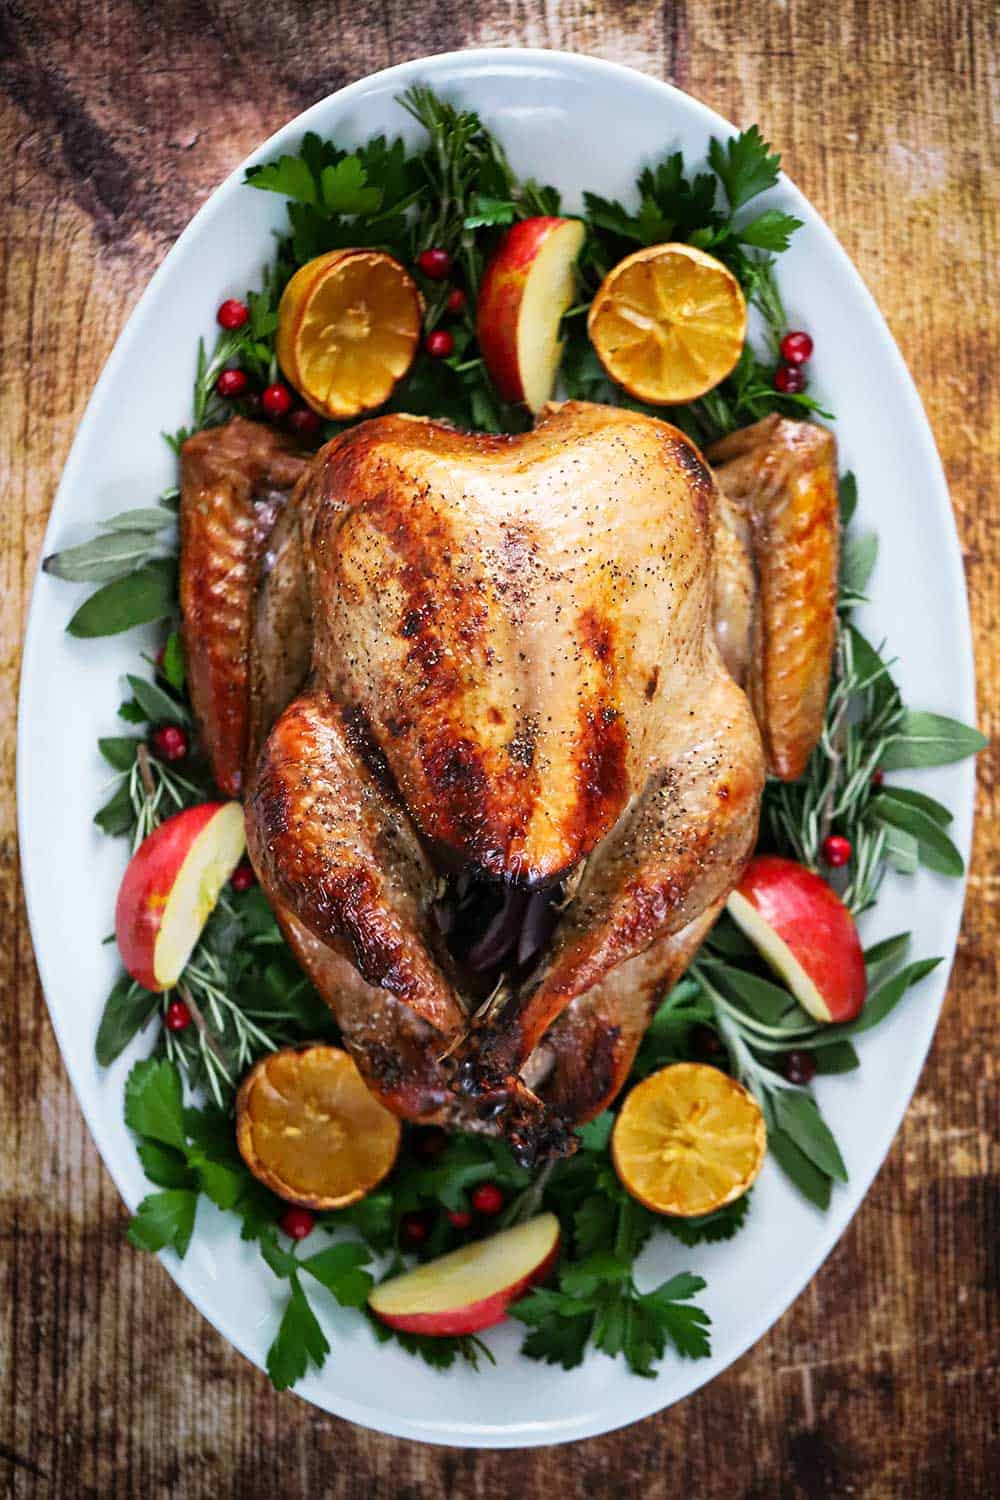
There is nothing much more stunning than bringing this gorgeous roast turkey to your Thanksgiving table.
We love placing the turkey on a large platter surround by fresh herbs, sliced apples, and cranberries.
EXPERT TIP: Be sure to allow the turkey to rest for at least 15 minutes before serving. Cover the bird in a large piece of foil and it will stay warm for quite some time. We often let the bird sit for an hour, while we finalize the fabulous side dishes.
The holidays are such a special time for so many families.
This turkey is a fitting centerpiece for such a time-honored tradition.
And the next day, our Day-After Thanksgiving Panini is to die for.
But for now…feast on this!
Ready to make the best turkey this side of Plymouth Rock? Go for it!
And when you do, be sure to take a photo of it, post it on Instagram, and tag @HowToFeedaLoon and hashtag @HowToFeedaLoon!
The Perfect Roast Turkey
Equipment
- Brine bag, roasting pan with rack
Ingredients
FOR THE BRINE
- 1 gallon apple cider divided
- 1½ cups Kosher salt
- ¼ cup allspice ground
- 8 bay leaves fresh
- 1 gallon water
FOR THE TURKEY
- 1 14 lb turkey fresh, or if frozen, see NOTES
- ¼ cup canola oil or unsalted butter
- 1 large onion cut into wedges
- 1 large lemon quartered
- 3 sprigs thyme fresh
- 3 sprigs rosemary fresh
- 3 sprigs sage fresh, or 12 leaves
- 2 cups chicken broth
- turkey gravy on the side
Instructions
Brining and Air Chilling the Turkey
- In a large stock pan, simmer 4 cups of the apple cider, Kosher salt, allspice, and bay leaves. Simmer for about 15 minutes, stirring often. Remove from heat and let cool.
- Add the remaining 3 quarts of cider and another gallon (4 quarts) of water. Stir making sure salt and allspice have mostly dissolved.
- Place a brining bag into a large roasting pan or an ice cooler. Place the turkey in it. Carefully pour the cooled brine into the bag. Seal the bag and then refrigerate for 8 to 18 hours.
- Place the turkey in the brining bag into your sink. Carefully remove the turkey from the brine and let it drain in the sink for a few minutes, holding it up so the excess liquid will fall from the cavity. Place on a baking sheet with a rack. Use paper towels to pat dry the turkey all over. Place back in the refrigerator for 12 to 24 hours.
- Either place in the fridge or cover the brine bag in the cooler with ice...and let rest for 24 hours.
Roast the Turkey
- Preheat the oven to 450°F.
- Tie the turkey legs together with kitchen twine. Rub canola oil (or butter) all over the turkey, about ¼ cup.
- Lightly salt and pepper the skin (not too much salt...it's already soaked in some salt from the brine). Stuff the cavity with onions, lemons, and fresh herbs. Place on a roasting rack in a large roasting pan, breast side up.
- Add the chicken stock to the pan (use the drippings for gravy, later).
- Place in the oven and bake for 30 minutes.
- After the 30 minutes, place a piece of aluminum foil that has been folded into a large triangle over the breast. Cover any other areas that are turning a dark brown. Insert the instant-read thermometer into the thickest part of the breast. Lower the oven temperature to 350°F.
- Roast until the internal temp reaches 162°F...about 2¼ hours for a 13 to 15 lb. bird.
- Remove from oven, cover with a large piece of foil, and let rest for at least 15 minutes. The turkey will stay warm for at least an hour. Place on a platter, carve, and serve with turkey gravy!
Video
Notes
Nutrition
POST UPDATE: This recipe was originally published in November 2018, but was updated with improved tweaks to the recipe, new tips and photography, and a fabulous new video in November 2020!

Well we had a fabulous Loon Thanksgiving. We started with chicken salad earlier in the day. Then we had this perfect turkey, gourmet green bean casserole, best mashed potatoes and finished with your classic pumpkin pie. Everything was delicious! I finally decided to brine a turkey. OUT OF THIS WORLD! I didn’t have time to air dry the bird but it still was so most moist and tender. I usually make a good turkey so I was reluctant to try it. I’m so glad that I did it! The only thing that I did different roasting it was roasting it breast side up at high temp and then flipped it and roasted breast side down until it was done. My grandmother always made turkey this was. I’m not sure if it makes much difference but just something that I’ve always done. I always stuff the turkey too. I figured if we had stuffed turkey all of our lives and never had food poisoning then why not! I really pulled off a great meal thanks to you guys once again making me look like a way better cook than I am. Hoping that you both had a fabulous Thanksgiving.
Yay!! Nothing makes us happier than to hear this, Diane! Thanks again so so much!! xoxo Kris & Wesley
Question for a 21# bird should I rest at room temp before cooking, like I would a roast?
Hi Thomas! So sorry for the delayed response! We hope everything turned out okay. It’s okay to bring the large bird to room temperature. But, if it was still chilled, you should be just fine. We hope you had a wonderful Thanksgiving!
For anyone who has made this turkey brine, does the apple cider and allspice give the turkey a very sweet flavor? I’m worried about it being too sweet and how that will go with the savory gravy and a stuffing inside while cooking. Any comments as to the level of sweetness will be appreciated!
Hi Theresa! We’ll let others chime in, too, but we use this brine every year and make savory gravy. It’s not overly sweet at all. In fact, we just did a whole turkey breast yesterday and the flavor was amazing. Hope this helps! But, maybe we’ll hear from others, too!!
Thank you for your quick response…. I found your recipe months ago and have been really excited to try it. But then I got cold feet once I smelled the allspice lol. My family insists that I stuff the bird with stuffing, although I really want to try it as the recipe is written. But I am unfortunately outnumbered. So I will try the brine this year!
It’s all good! Gotta please the family!! We completely understand! You’ll hit it out of the park, no doubt! Have a beautiful Thanksgiving, and let us know how it all turns out!! Kris & Wesley
This is the second time I’ve made this and both times were magnificent! Juicy, flavorful, and easy to follow. Thank you so much for this delicious recipe.
This is the best turkey we’ve ever eaten. The apple cider brine and air chilling are genius. Typically we rely heavily on the gravy for flavor, but the turkey was so juicy and flavorful on its own, we didn’t even really need gravy! I’ve shared this recipe with all my friends and family. Thank you Kris and Loon!
Hi Jess! You can’t even begin to imagine how thrilled this makes us to hear! This recipe is very special to us, and it fills our hearts with joy to hear that you had such great success with it. Thank you so so much for letting us know and for the wonderful review! That truly means the world to us!! Stay in touch!!! xoxo Kris & Wesley
I agree….. I made this and it was fabulous. My daughter in Seattle tried these recipes and she is NOT a cook but everything was perfect because of the easy to follow directions and just because you make everything look so good and easy to make….. THANK YOU!
Thank you, Judy!! That means the absolute world to us!! We’re so happy your daughter had such great success! Nothing makes us happier than to hear that! Thank you so much for letting us know!! xoxoxo Kris & Wesley