Nothing spells the holidays more than a beautifully roasted turkey on the table.
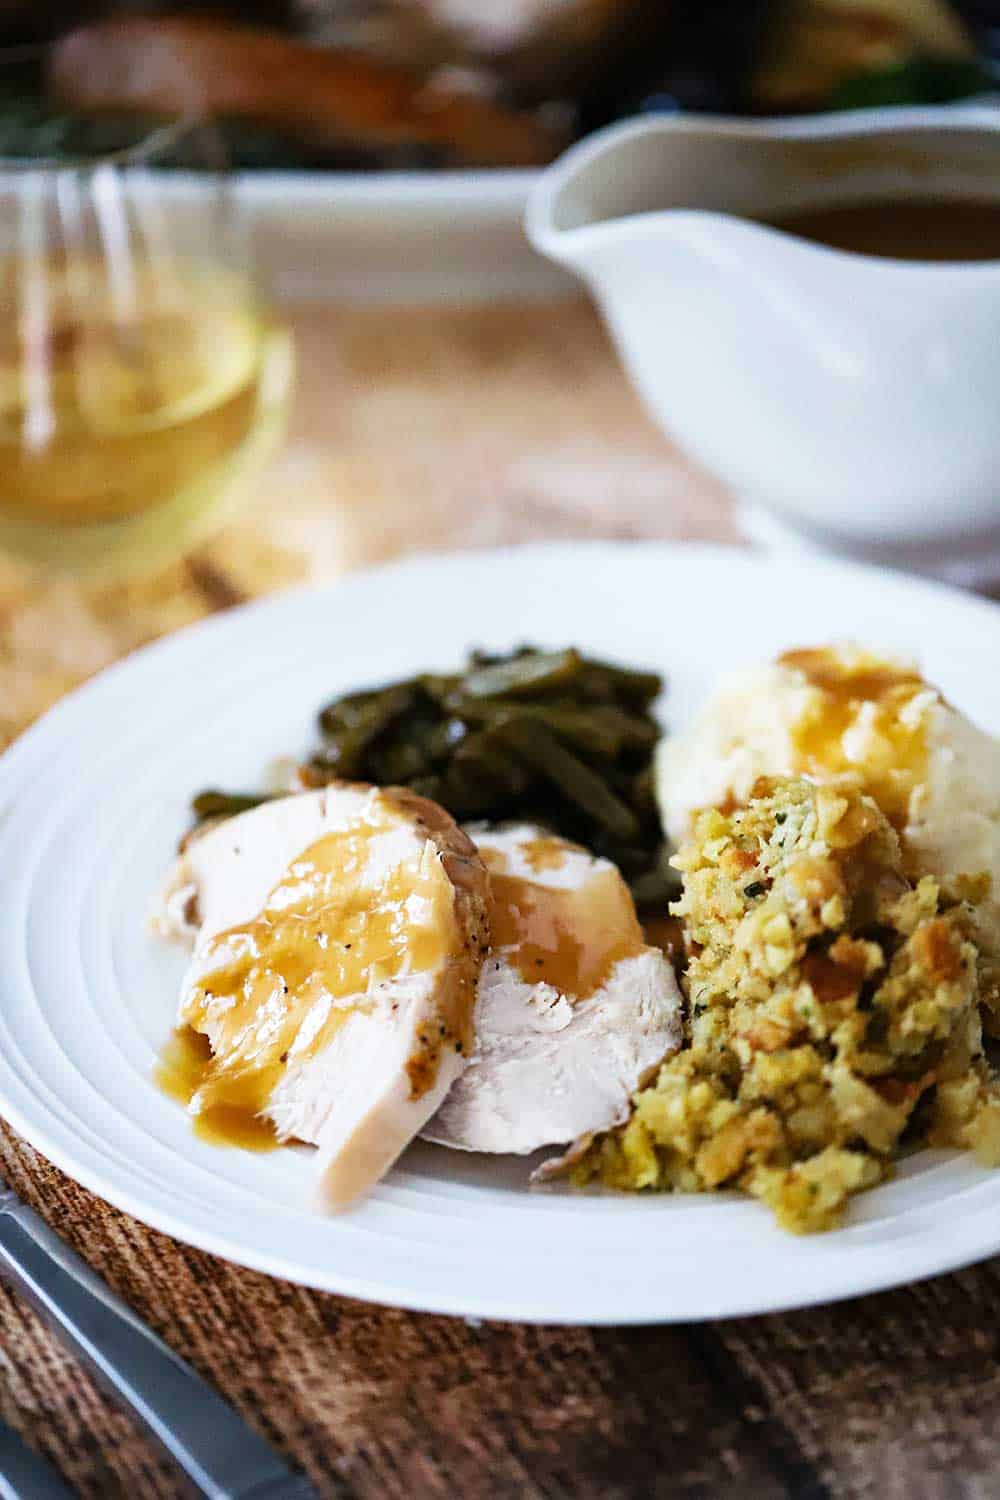
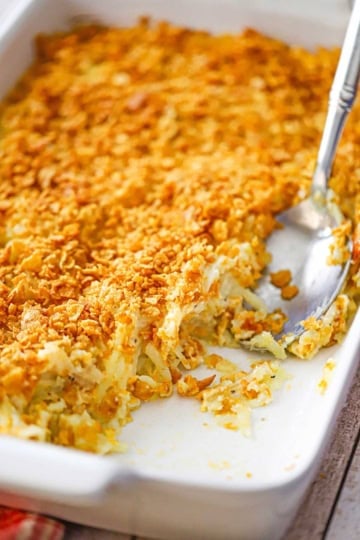
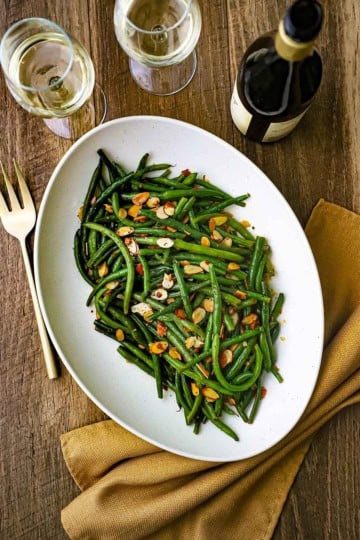
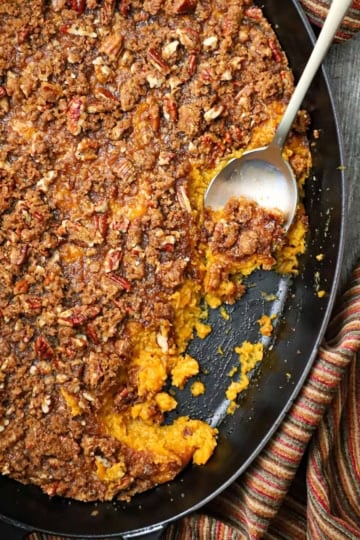
There are a few simple, but effective, tricks for making the most flavorful and juicy turkey. Get started a couple of days before serving, and you and your loved ones will be thrilled with the results. Serve with turkey gravy, dressing, mashed potatoes, and gourmet green bean casserole. Talk about a feast to remember!
How To Make The Perfect Roast Turkey
We’ve tested all kinds of turkeys over the years, and we can honestly say this method yields the most delicious and succulent bird ever.
As mentioned, you’ll need to get started a couple of days in advance, but it’s well worth it.
Choosing the Right Turkey
We love going with a fresh young turkey; however, you can still have great success with a frozen turkey if you follow this recipe. Just be sure to safely thaw before proceeding. See tips for thawing in the NOTES section of the recipe. Of course, if you’re looking for a smaller bird, consider our amazing Roast Turkey Breast with Herbs. It’s amazing!
Now…to brine, or not to brine? That is the question. There is a lot of discussion about this, and we’ve tried both ways. We always feel brining makes the meat even more moist and flavorful.
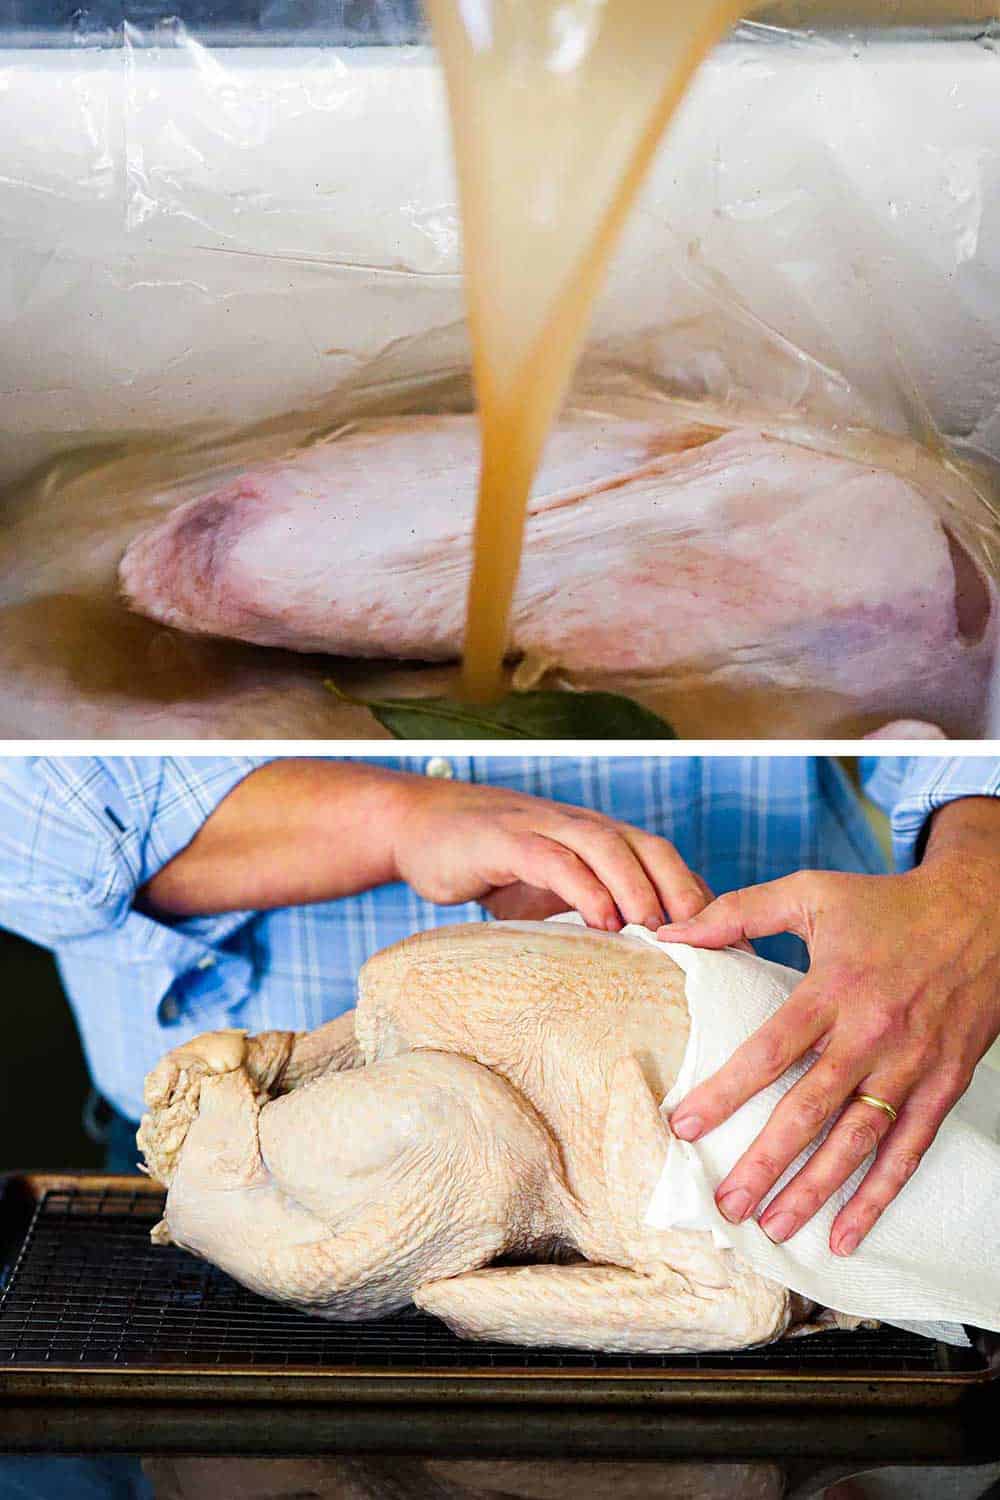
EXPERT TIP: In addition to brining, we highly recommend air-chilling the turkey. After allowing the bird to soak in the brine for no more than 18 hours, drain the brine, and then pat the bird dry with paper towels. Place in the fridge for another 24 hours. You honestly will not believe the results of this process.
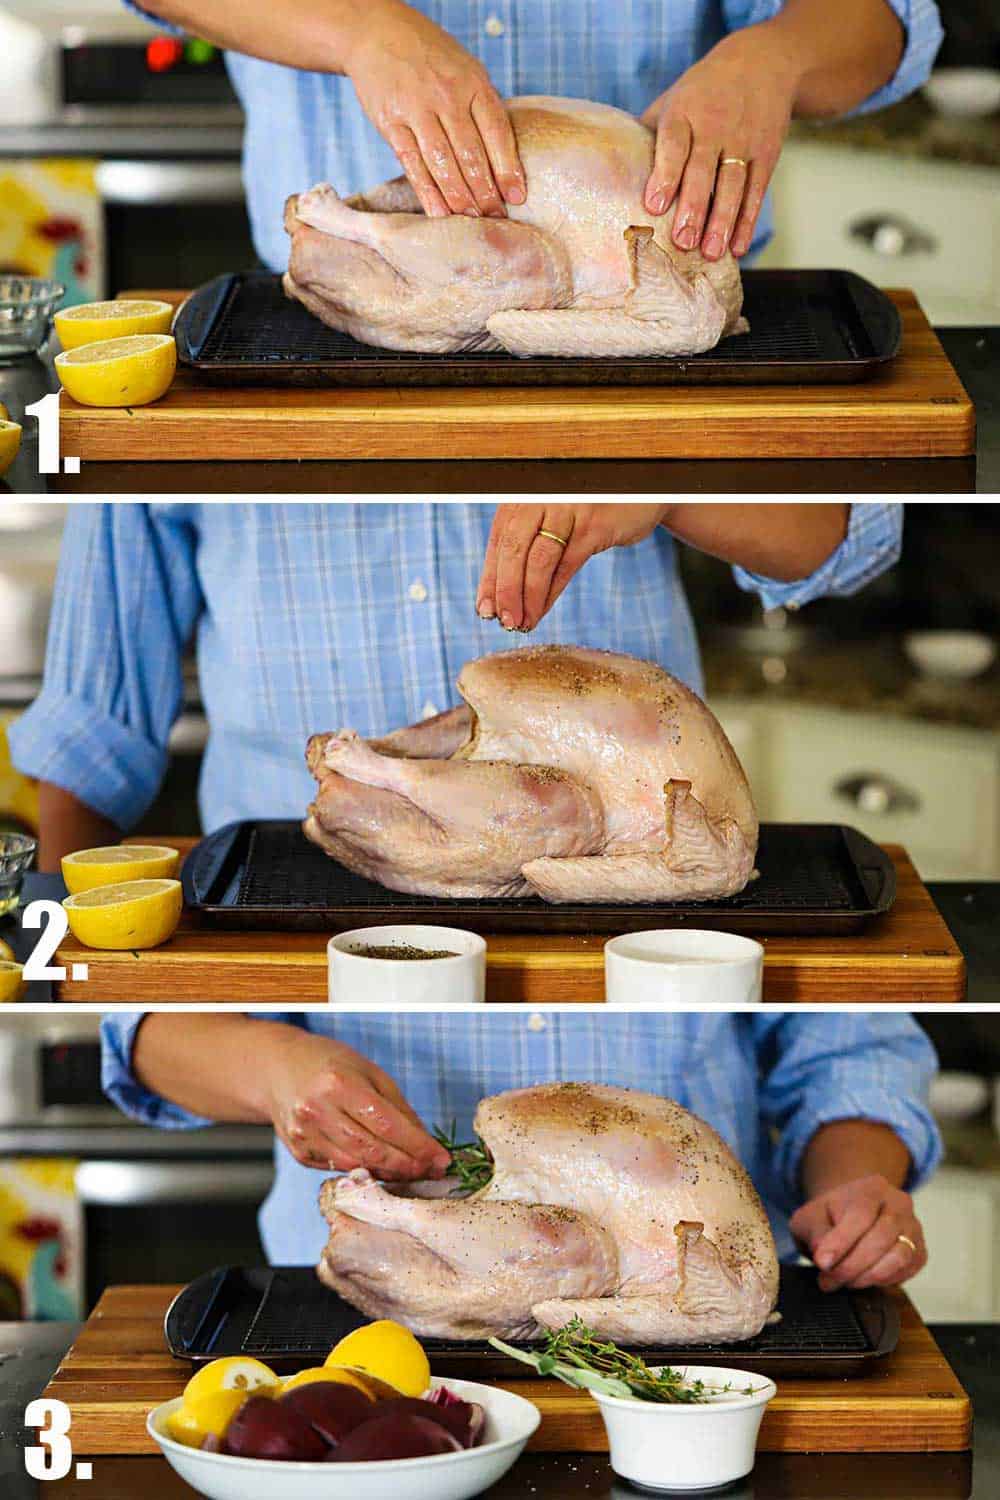
Once the bird has enjoyed a nice, long nap in the brine and then a good air chill in the fridge, it’s time to prep the turkey for roasting.
Simply rub canola oil all over the bird. Add a dash of salt and then a good dose of black pepper. NOTE: Don’t over-salt. Remember, there was a lot of salt in the brine.
Finally, fill the cavity with quartered lemons, onions, and herbs.
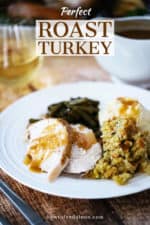
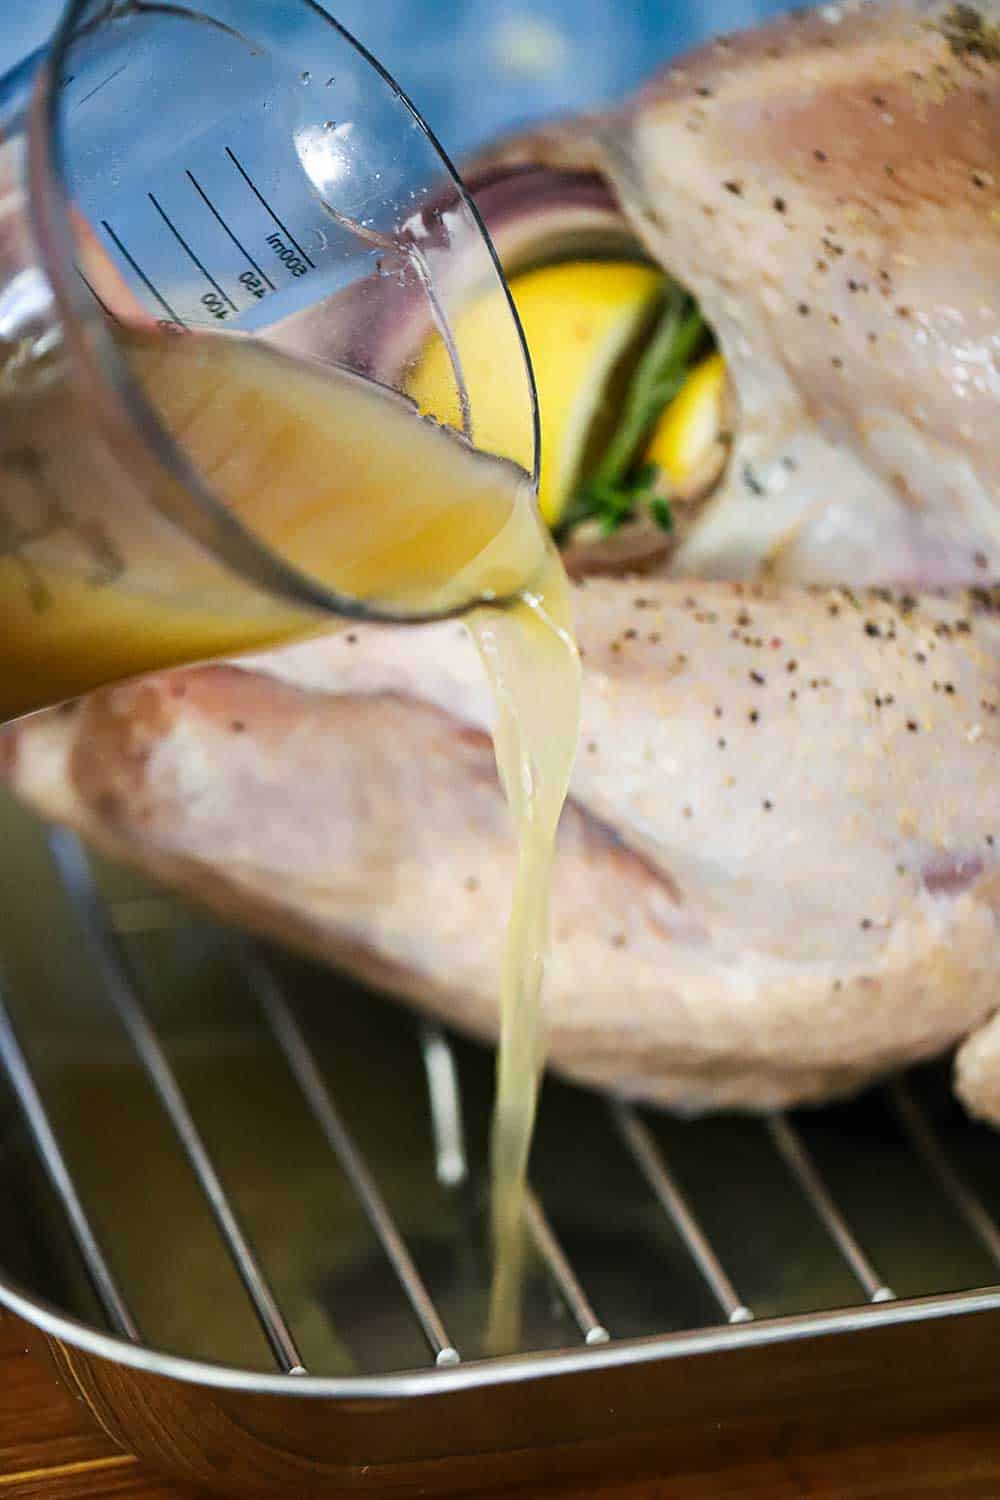
You’re going to want to serve an amazing turkey gravy with your perfect roast turkey.
You’ll get wonderful pan drippings as the bird roasts, but the addition of a couple of cups of chicken broth makes sure you’ll have enough liquid to make the best gravy ever.
EXPERT TIP: Be sure to use a roasting pan that has a rack which you can place your turkey on. Then simply pour the chicken broth directly into the base of the pan.
Tips for Crispy Skin and Juicy Meat
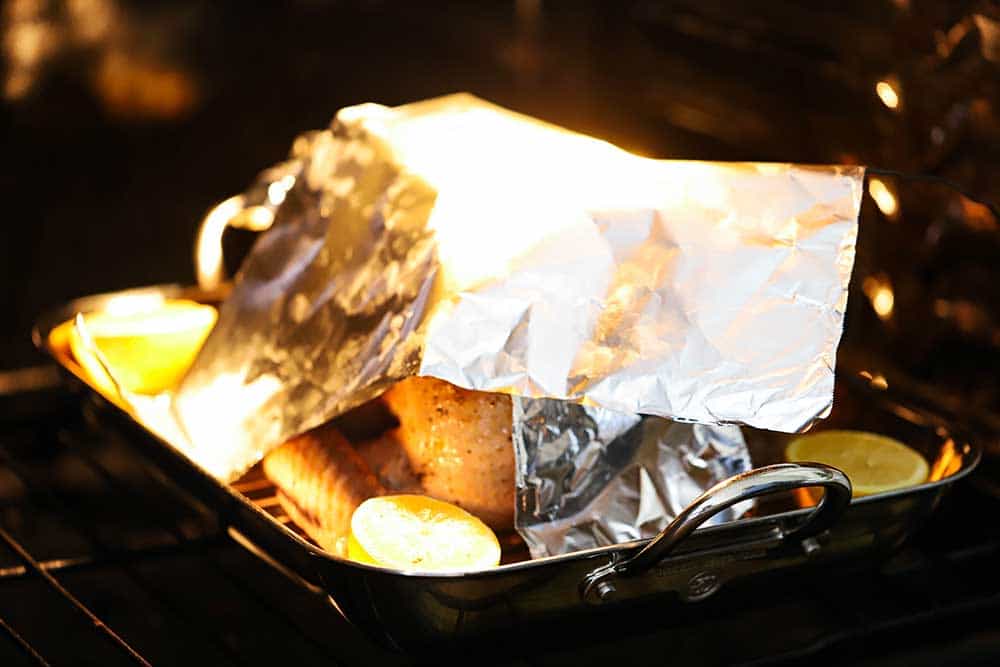
First, let’s lock in the crispy, golden skin. Start with a nice hot oven preheated to 450°F and roast the turkey for 30 minutes.
Meanwhile, cut a piece of aluminum foil to an approximate square that is 12″ x 12.” Fold in half to form a triangle.
EXPERT TIP: After the initial high-heat roasting, turn the oven down to 350°F, open the door, and carefully place the foil over the breast of the bird. If the legs are starting to turn a dark brown, you’ll need to add a piece of foil over them, too. Most importantly…get an instant-read thermometer that you can insert into the turkey and watch the temperature without having to open your oven. Stick the thermometer into the thickest part of the bird. Roast until 161° to 163° F is reached, usually about another 2¼ hours for a 14 lb. turkey.
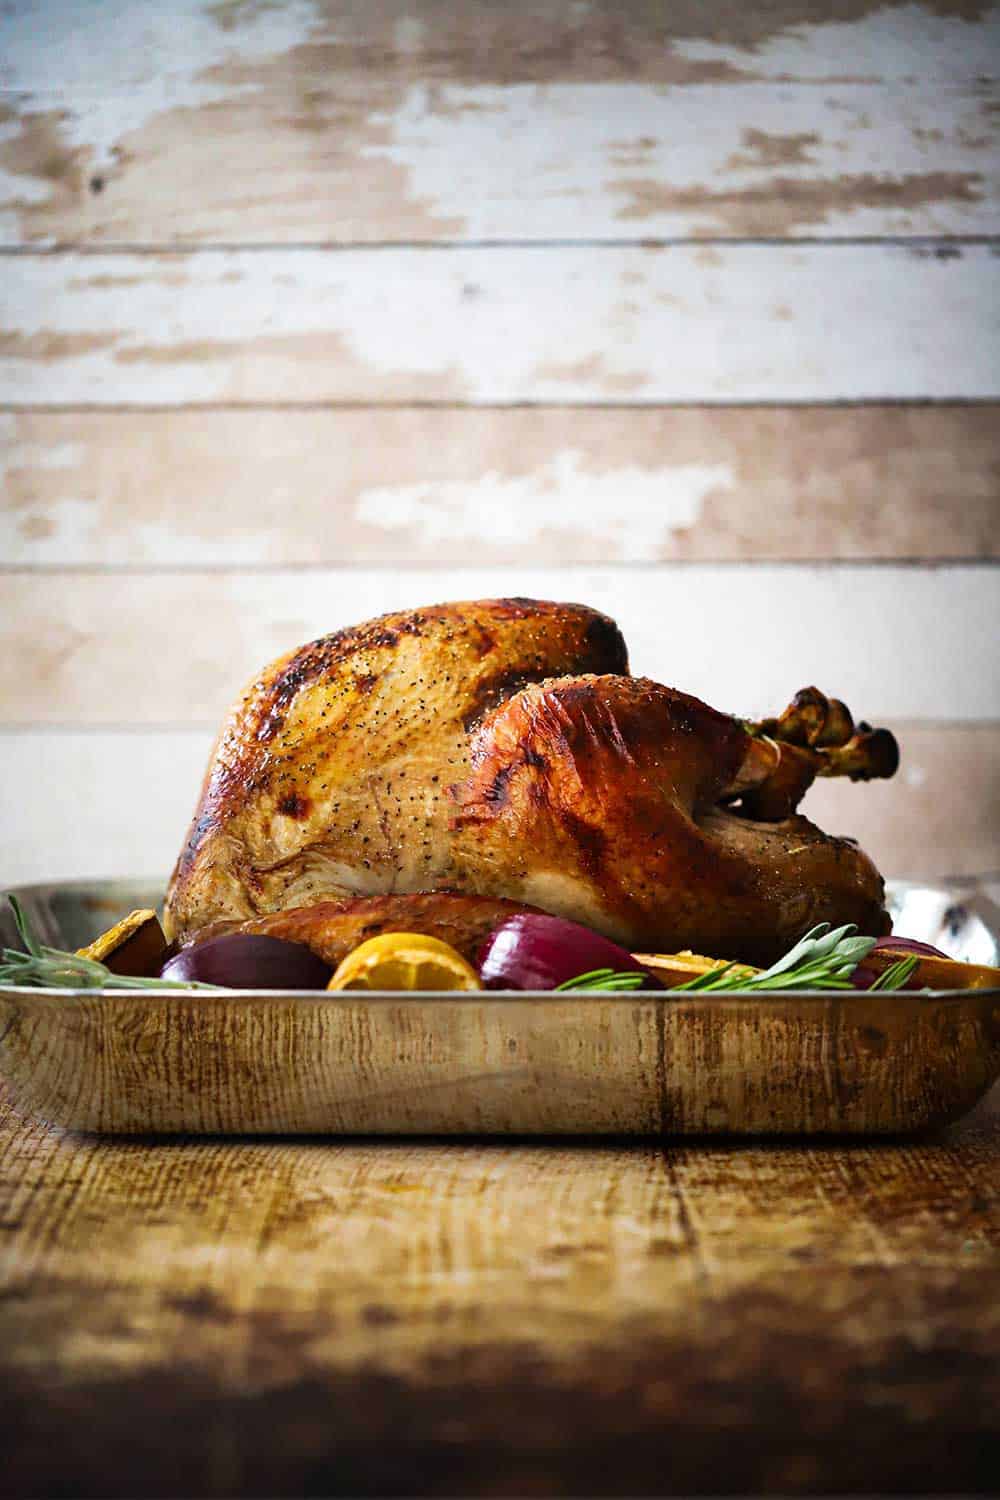
How To Serve the Perfect Roast Turkey
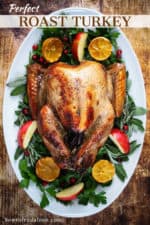
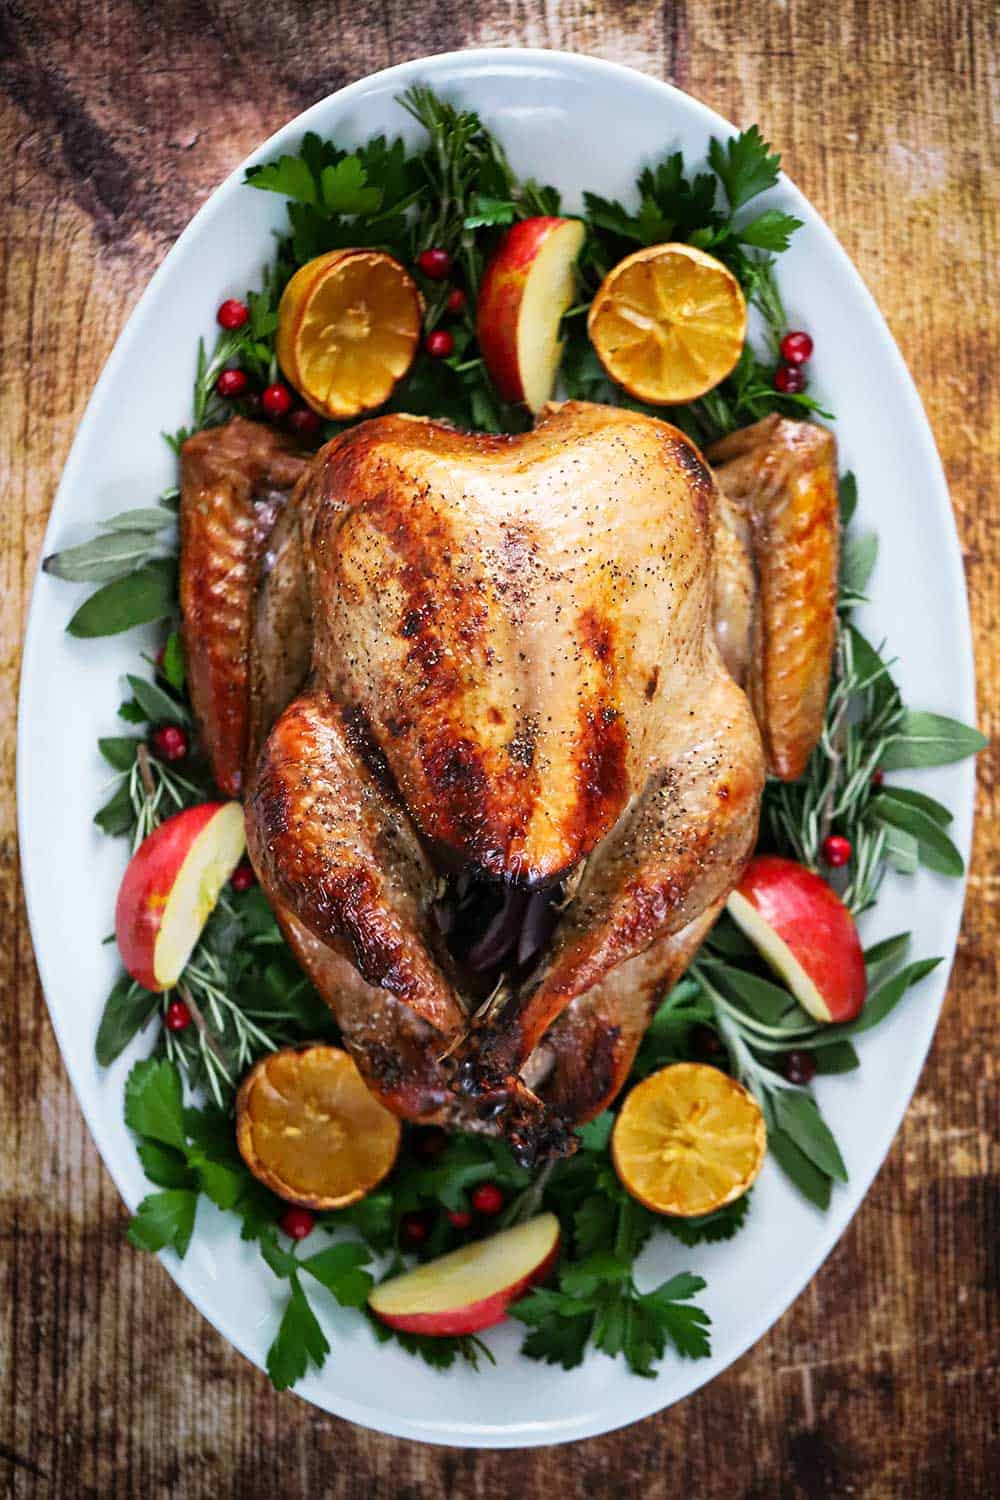
There is nothing much more stunning than bringing this gorgeous roast turkey to your Thanksgiving table.
We love placing the turkey on a large platter surrounded by fresh herbs, sliced apples, and cranberries.
EXPERT TIP: Be sure to allow the turkey to rest for at least 15 minutes before serving. Cover the bird in a large piece of foil, and it will stay warm for quite some time. We often let the bird sit for an hour while we finalize the fabulous side dishes.
The holidays are such a special time for so many families. For a smaller portion, check out our amazing Maple Glaze Turkey Breast!
This turkey is a fitting centerpiece for such a time-honored tradition.
And the next day, our Day-After Thanksgiving Panini is to die for.
But for now…feast on this!
Ready to make the best turkey this side of Plymouth Rock? Go for it!
And when you do, be sure to take a photo of it, post it on Instagram, and tag @HowToFeedaLoon and hashtag @HowToFeedaLoon!

The Perfect Roast Turkey
Video
Equipment
- Brine bag, roasting pan with rack
Ingredients
For the Brine
- 1 gallon apple cider divided
- 1½ cups Kosher salt
- ¼ cup allspice ground
- 8 bay leaves fresh
- 1 gallon water
For the Turkey
- 1 14 lb turkey fresh, or if frozen, see NOTES
- ¼ cup canola oil or unsalted butter
- salt and pepper
- 1 large onion cut into wedges
- 1 large lemon quartered
- 3 sprigs thyme fresh
- 3 sprigs rosemary fresh
- 3 sprigs sage fresh, or 12 leaves
- 2 cups chicken broth
- turkey gravy on the side
Instructions
Brining and Air Chilling the Turkey
- In a large stock pan, simmer 4 cups of the apple cider, Kosher salt, allspice, and bay leaves. Simmer for about 15 minutes, stirring often. Remove from heat and let cool.1 gallon apple cider, 1½ cups Kosher salt, ¼ cup allspice, 8 bay leaves
- Add the remaining 3 quarts of cider and another gallon (4 quarts) of water. Stir, making sure salt and allspice have mostly dissolved.1 gallon water
- Place a brining bag into a large roasting pan or an ice cooler. Place the turkey in it. Carefully pour the cooled brine into the bag. Seal the bag and then refrigerate for 8 to 18 hours.
- Place the turkey in the brining bag in your sink. Carefully remove the turkey from the brine and let it drain in the sink for a few minutes, holding it up so the excess liquid will fall from the cavity. Place on a baking sheet with a rack. Use paper towels to pat dry the turkey all over. Place back in the refrigerator for 12 to 24 hours.
- Either place in the fridge or cover the brine bag in the cooler with ice...and let rest for 24 hours.
Roast the Turkey
- Preheat the oven to 450°F.
- Tie the turkey legs together with kitchen twine. Rub canola oil (or butter) all over the turkey, about ¼ cup.1 14 lb turkey, ¼ cup canola oil
- Lightly salt and pepper the skin (not too much salt...it's already soaked in some salt from the brine). Stuff the cavity with onions, lemons, and fresh herbs. Place on a roasting rack in a large roasting pan, breast side up.salt and pepper, 1 large onion, 1 large lemon, 3 sprigs thyme, 3 sprigs rosemary, 3 sprigs sage
- Add the chicken stock to the pan (use the drippings for gravy, later).2 cups chicken broth
- Place in the oven and bake for 30 minutes.
- After 30 minutes, place a piece of aluminum foil that has been folded into a large triangle over the breast. Cover any other areas that are turning a dark brown. Insert the instant-read thermometer into the thickest part of the breast. Lower the oven temperature to 350°F.
- Roast until the internal temp reaches 162°F...about 2¼ hours for a 13 to 15 lb. bird.
- Remove from oven, cover with a large piece of foil, and let rest for at least 15 minutes. The turkey will stay warm for at least an hour. Place on a platter, carve, and serve with turkey gravy!turkey gravy
Notes
Nutrition
POST UPDATE: This recipe was originally published in November 2018, but was updated with improved tweaks to the recipe, new tips and photography, and a fabulous new video in November 2020!

Valerie Houston says
OMG…let me just say, this was the BEST turkey I have ever made! I’ve brimmed before, but I could never tell a difference. This turkey was so moist with little ingredients, I couldn’t believe how amazing it tasted!! I was totally blown away with all the different levels of layers of taste, from the apple cider and bay leaf, to the poultry herbs and citrus! Bottom line…you make everything so easy and simple, thank you!
Just a side note, I just received my sous vide cooker and can’t wait to make your filets recipe for Christmas!
Kris Longwell says
Hi Valerie!! You have no idea how happy this makes us to hear!! We are thrilled you had such great success with the turkey and we hope you had a wonderful Turkey Day!! And you are going to LOVE the filets with your new sous vide!! That’s AWESOME!! You’ll have to be sure to let us know how it turns out!! And thank you so much for the wonderful review! That means so so so much to us!!! All the very best, Kris & Wesley
Noelle says
I’ve got my turkey air chilling right now! I couldn’t find the link to the thermometer that you use. Would you let me know which one you use? Thanks and have a wonderful Thanksgiving!
Kris Longwell says
Hi Noelle! So sorry about that. Amazon is always changing the links to certain products. You can’t go wrong really with any brand. We several thermometers, but our favorite is our ThermPro. You can find instant-read thermometers anywhere that sells kitchen tools, such as Bed, Bath & Beyond, or Target. Hope this reaches you in time!! Happy Thanksgiving and let us know how everything turns out!! Kris & Wesley
Noelle says
Thank you Kris, I will have to get one for next time. I’m using the old stick kind, hopefully it’s accurate.
BTW, it’s a Loon thanksgiving here! I’ve made your classic cheese ball, perfect roast turkey, and mashed potatoes! Can’t wait to eat! Enjoy your day!
Kris Longwell says
AWESOME!!!! We truly hope you and your loved ones all had a special Thanksgiving!! xoxo
So-Young says
This is also a perfect one to make!
Cynthia says
Looks like an incredible recipe, and as always your video is both instructive and entertaining. But what I really want to say is that I so appreciate the warmth and caring you brought to this video. Our virtual Thanksgiving with our children will still be a blessing because we and they are currently healthy, but this is usually my favorite holiday, and I know it won’t feel nearly as joyous. Your heartfelt message of love and good wishes really touched my heart and made me cry!! Thanks for your culinary genius and for just being you, and I hope you both have a safe, happy holiday ❤️
Judy A Palmer says
I am so excited to try this recipe this year. I have never brined a turkey (been so afraid to try) but your recipe sounds so good that I am going to try! I love your site and shared it with my newly married daughter and she has tried and loves your recipes as well. Thank you for sharing your secrets with us!
Kris Longwell says
Hi Judy!! That is so wonderful to hear! We really think this brined (and air-chilled) turkey makes the best turkey we’ve ever made or served. Do let us know if you make it and what you think, or if you have any questions!! And tell your daughter we said “Hi!” and congratulations on the marriage!!! That’s fantastic!! All the best, Kris & Wesley
Jay says
Just found your site and I love it already. My question to you is do you use a store bought turkey, which I think is always pre-brined, for this method?
krislongwell says
Hi Jay! So glad you found us and we found you!! We usually go with a fresh (store bought) turkey and then brine it ourselves. But, if you do get a pre-brined bird, then you can skip the brining portion of the recipe. It’s so good!! Let us know if you make the turkey and how it turns out!! Best, Kris & Wesley
Paula Milano says
Thank you so much for this recipe. I had not cooked a turkey in about 20 years and was a bit rusty. This recipe was very easy to follow and so amazing! Everyone at Thanksgiving raved about how delicious and moist the turkey was. It was a hit!
Paula Milano says
Thank you so much for this recipe. I had not cooked a turkey in about 20 years and was a bit rusty. This recipe was very easy to follow and so amazing! Everyone at Thanksgiving raved about how delicious and moist the turkey was.
krislongwell says
Paula, that is so wonderful to hear. Congratulations! Sounds like you hit it out of the part. So glad the recipe was a success for you. Happy Thanksgiving, and please stay in touch. All the best, Kris & Wesley
Bree Knight says
Howdy,
I am first time turkey maker with a firefighter husband and I wanted to get this perfect. I love your other recipes and know this is going to come out perfect but I wanted to get any ideas about putting the bird in a roaster to ensure it’s cooked throughout after the 500 degree setting. What do you think? And how would that work?
krislongwell says
Hi Bree! I would definitely recommend using an Insta-read thermometer that you can insert to the thickest part of the bird, and keep the reader part of the thermometer on the outside. I’ve not cooked a turkey in a roaster, but my mother has to great success. The quick 500° setting just helps to create a quick crispness on the skin and lock in juices. Keep an eye on the skin to make sure it’s not browning too quickly.
You’ll be great and let us know if you have any other questions! Happy Thanksgiving!! xo Kris & Wesley
S McDowall says
Although I am a big believer of brining — I have now switched to “Dry Brining” ala J. Kenji-Lopez Alt (The Food Lab), “Meathead” Goldman (Amazing Ribs) and others. Have you guys tried that approach? I have and I will admit it’s just as juicy etc. as a wet brine and maybe 10% of the work.
I also spatchcock the bird too to make sure it roasts evenly (and fast!) — which is fairly critical for dry brining I guess come to think about it. 🙂
Anyway — love what you guys do — but give Spatchcocking and Dry Brining a try sometime — may change your life. LOL
krislongwell says
We LOVE spatchcocking, and in fact..that’s what we’re doing this Thanksgiving! Dry brining is wonderful, too. As is a deep-fried turkey! That’s what’s so great with Thanksgiving, there are multiple ways to make classic dishes, and almost always…they are absolutely divine!
Thank YOU so much for reaching out to us. Means the world to us. Please stay in touch and please have an absolutely wonderful Thanksgiving. All the best, Kris & Wesley
Lucy Beliveau says
You both are such a pleasure to watch and your videos are fantastic! Thank you for this gorgeous brined and roasted turkey recipe! It looks quite easy and certainly delicious!! I keep most all of your recipes I receive in my email and am always happy to get a new one from you!
Happy Thanksgiving to you both!
krislongwell says
Lucy! Thank you so very, very much. We are so happy to hear from you and we hope you and your loved ones have the most lovely Thanksgiving ever. Please stay in touch! Best, Kris & Wesley
Cheryl "Cheffie Cooks" Wiser says
Outstanding Brine! Happy Thanksgiving to you both! CLW
krislongwell says
Thank you so much Cheryl!!! Have an absolutely wonderful and delicious Thanksgiving!
Cheryl "Cheffie Cooks" Wiser says
Outstanding Brine! Happy Thanksgiving to you both!!! CLW
Robyn says
Fabulous looking turkey! Will have to give brining a try. Thanks for sharing! Cheers to you and your Loon!
krislongwell says
It is yummy…:)
Betsy says
Can you also stuff the turkey with your own traditional stuffing before baking instead of the onions, lemons and herbs/
krislongwell says
Hi Betsy! Absolutely, instead of stuffing with the lemon, onion and aromatics….just stuff it with your stuffing…but I would let it cook for another 15 – 20 minutes to ensure the inner most part to the bird if fully cooked. It’s delicious, we’ve done it both ways. Happy Turkey Day!!
Mitch B says
Looks great. Just for clarity, what type (brand) of Kosher salt for brining? When measuring by volume as you do, it makes a difference in the total sodium levels.
Mitch
krislongwell says
Hi Mitch, Thanks! I use Morton’s Coarse Kosher. Makes for a super moist turkey, but not too salty at all.