
Our Easy Pie Crust recipe is foolproof, consistently producing a buttery, flaky crust that elevates any pie to perfection. Whether making a sweet treat like the best lemon meringue or a comforting savory chicken pot pie (double crust), this crust ensures delicious results every time.
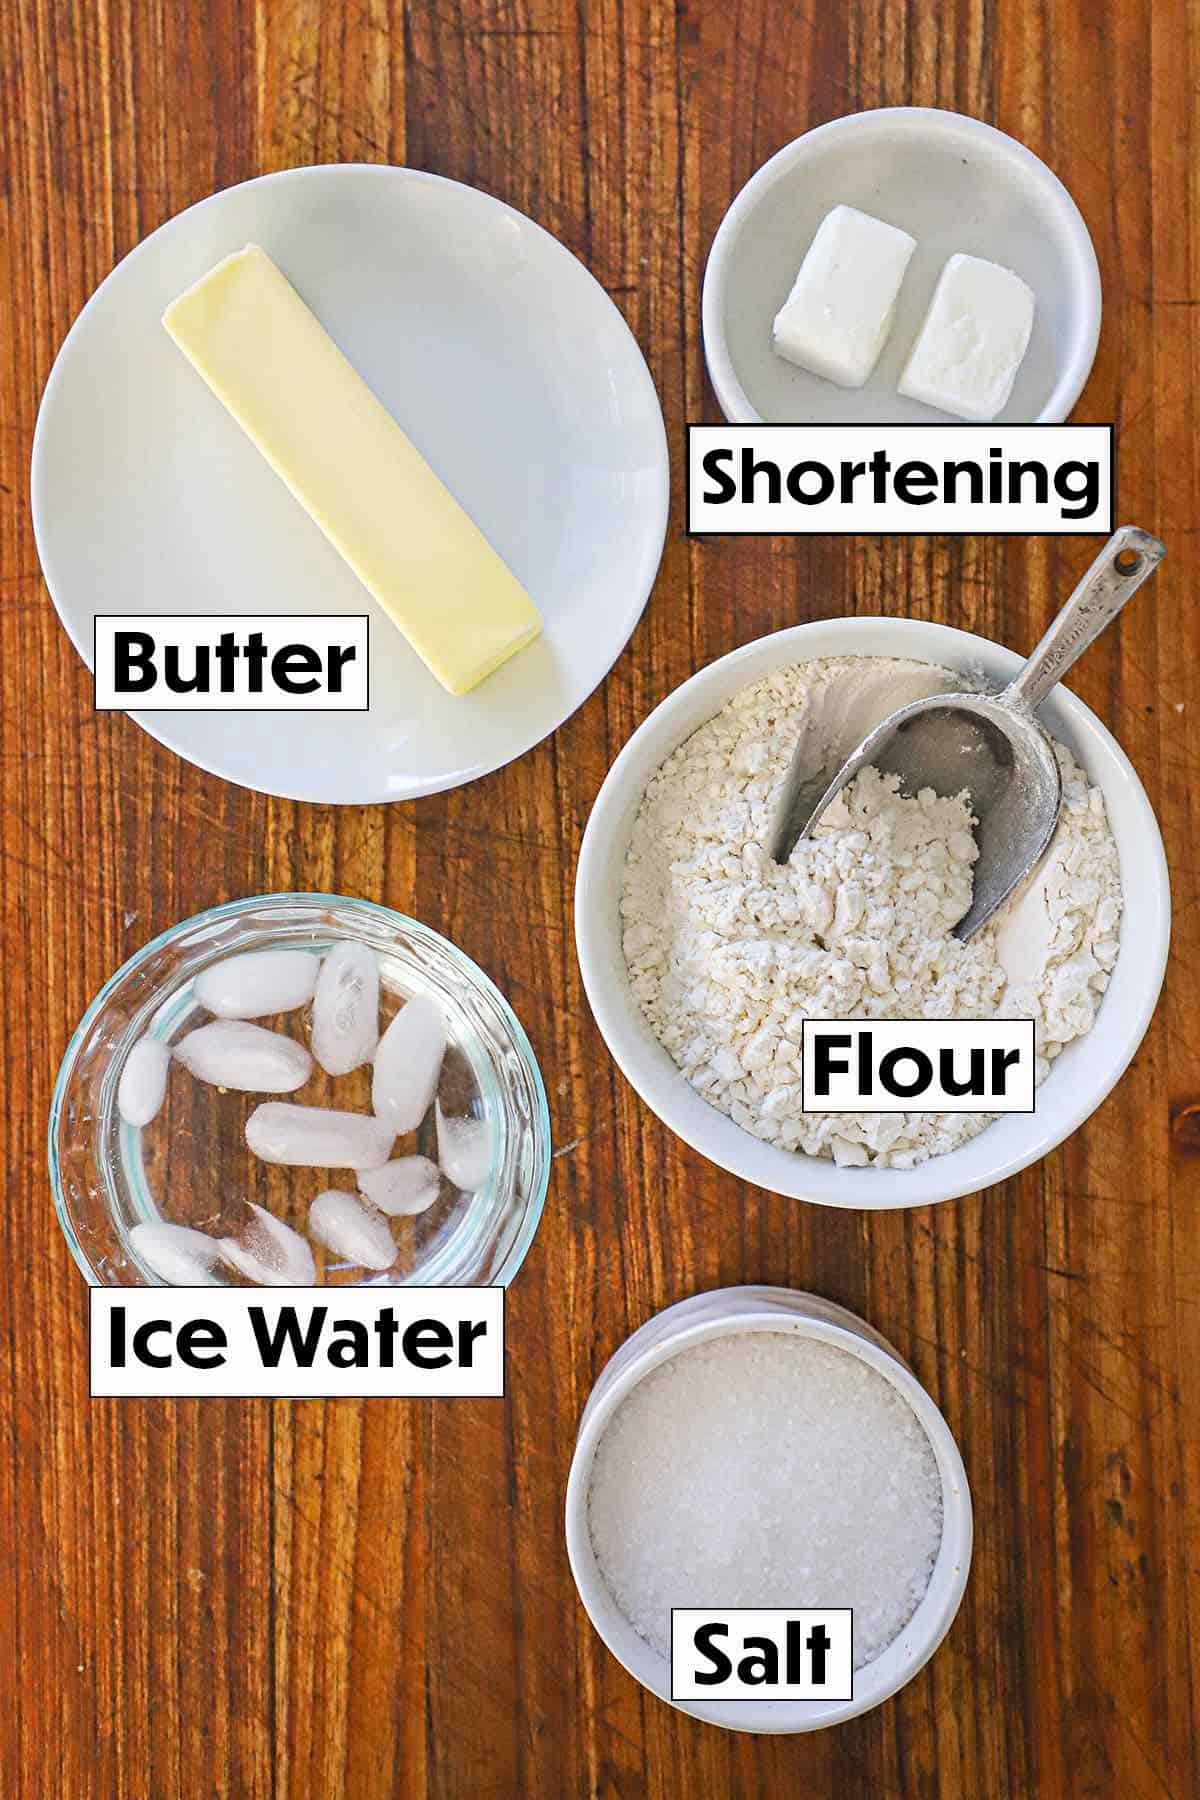
🧈 Recipe Ingredients
Making the perfect pie crust requires just a few simple ingredients. Utilizing a food processor streamlines the process, allowing you to quickly combine the ingredients and achieve a smooth, consistent dough with minimal effort, ensuring a delightful crust every time. Find ingredient notes (including substitutions and variations) below.
🍶 Substitutions and Variations
- Homemade vs. Store-Bought – We have used store-bought pie dough many times and still had great success. However, there is something special about making the crust from scratch. Extra buttery and so delicious!
- Flour – For a softer crust, substitute a combination (equal amounts) of cake flour and bread flour. For gluten-free, go with almond flour.
- Fats – We love a combination of chilled unsalted butter and shortening. You can use all butter, if desired, but we don’t recommend using all shortening. Baking lard can be substituted for the shortening.
See the recipe card (with video) below for a full list of ingredients and measurements.
Expert Tip
Make sure your butter and shortening are very cold before adding them to the food processor. After cubing them, place them in the freezer for 15 to 20 minutes. And, then, make sure the water is ice cold. Try not to handle the dough too much with your hands. You want the butter to stay cold so when it hits the hot oven, it will create steam, which will make your crust flaky and buttery.
👩🏼🍳 How To Make Easy Pie Crust
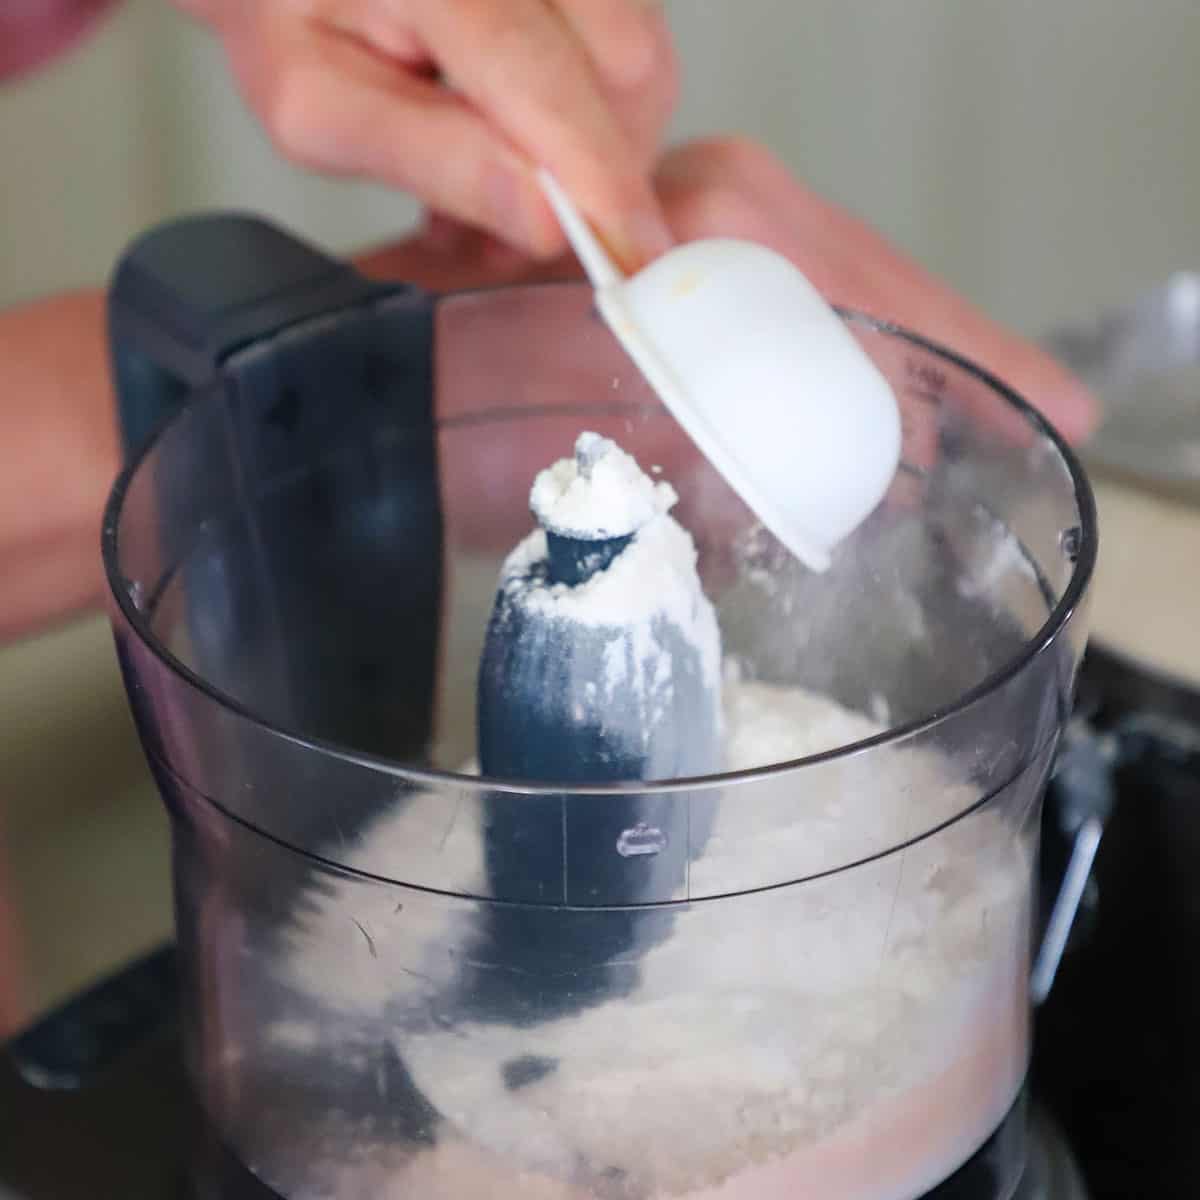
- Step 1: Add the flour and salt to your food processor. Pulse to combine.

- Step 2: Add the cubed chilled butter and shortening to the flour in the food processor.
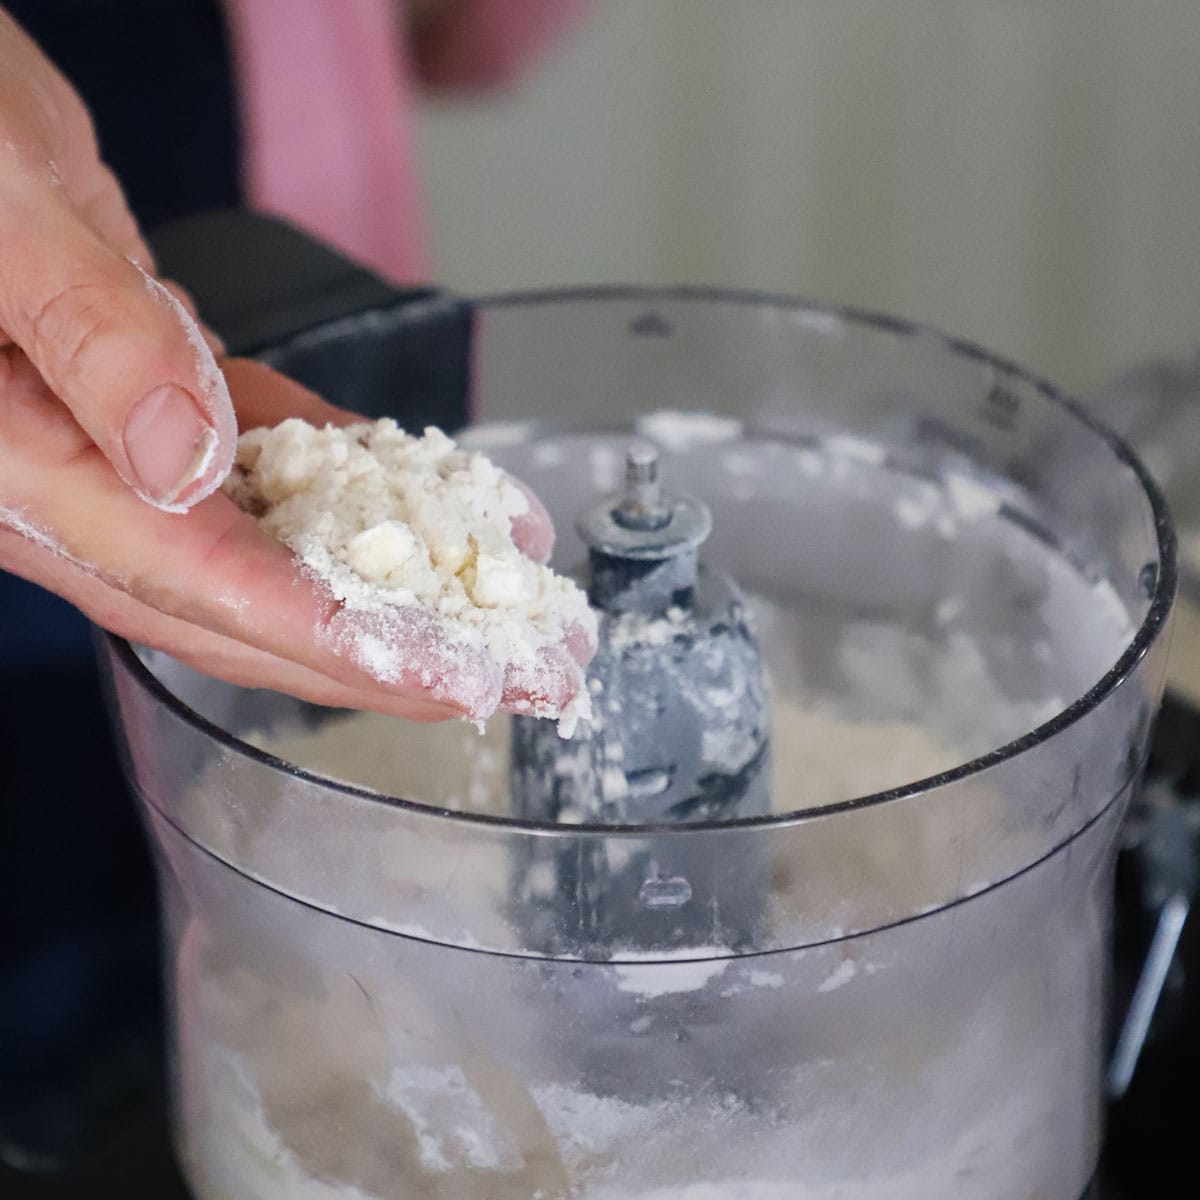
- Step 3: Pulse the processor a few times until the butter resembles small peas.
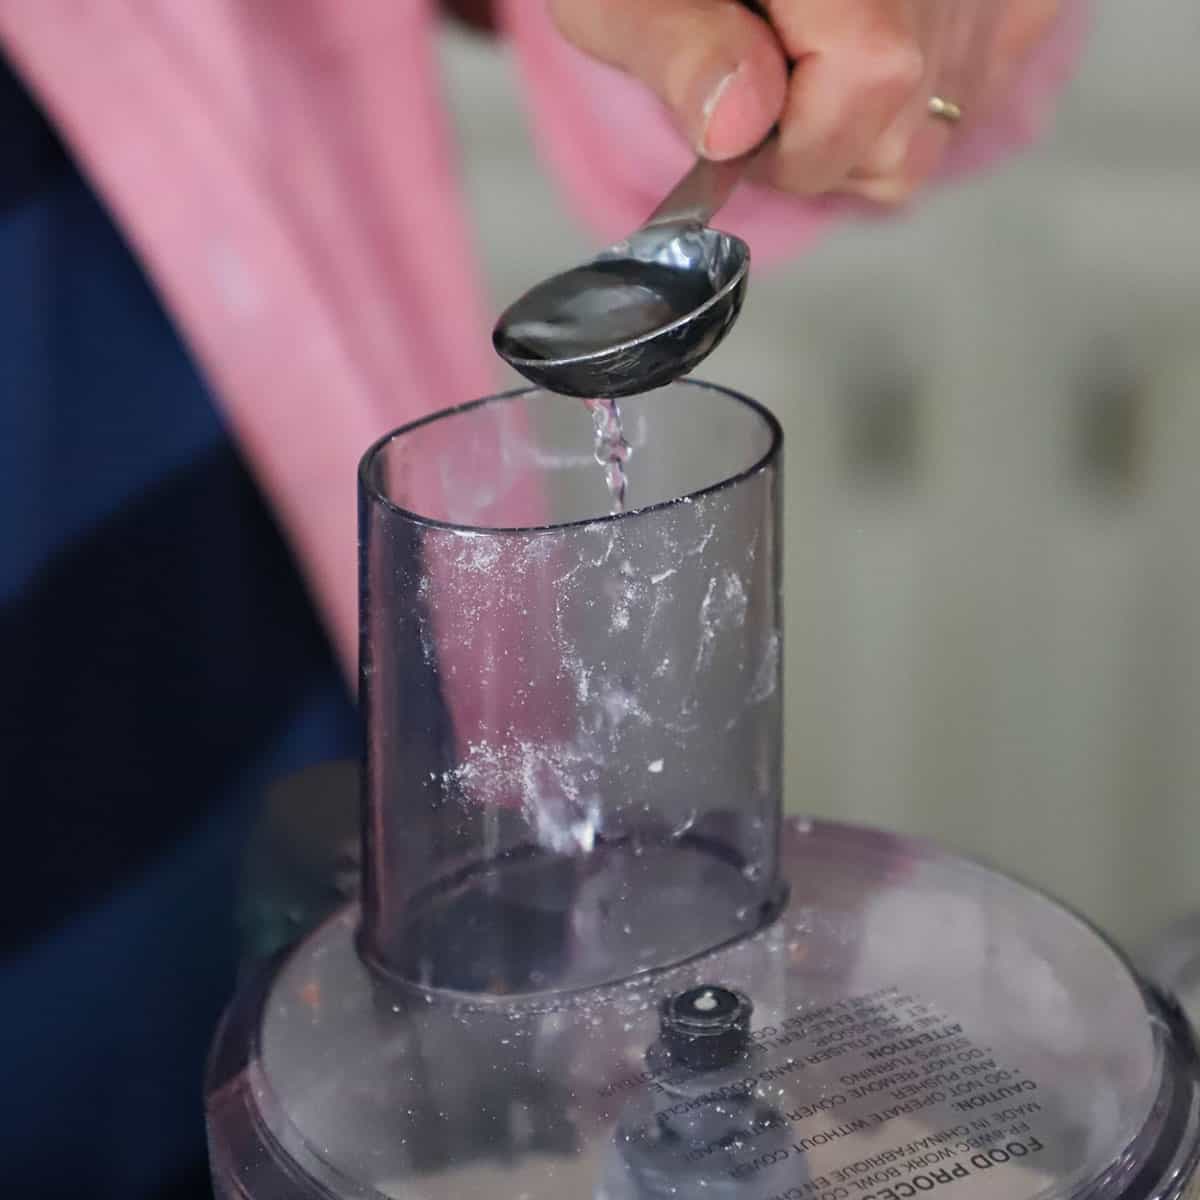
- Step 4: Add water, 1 tablespoon at a time, pulsing the food processor as you add 4 to 5 tbsps.
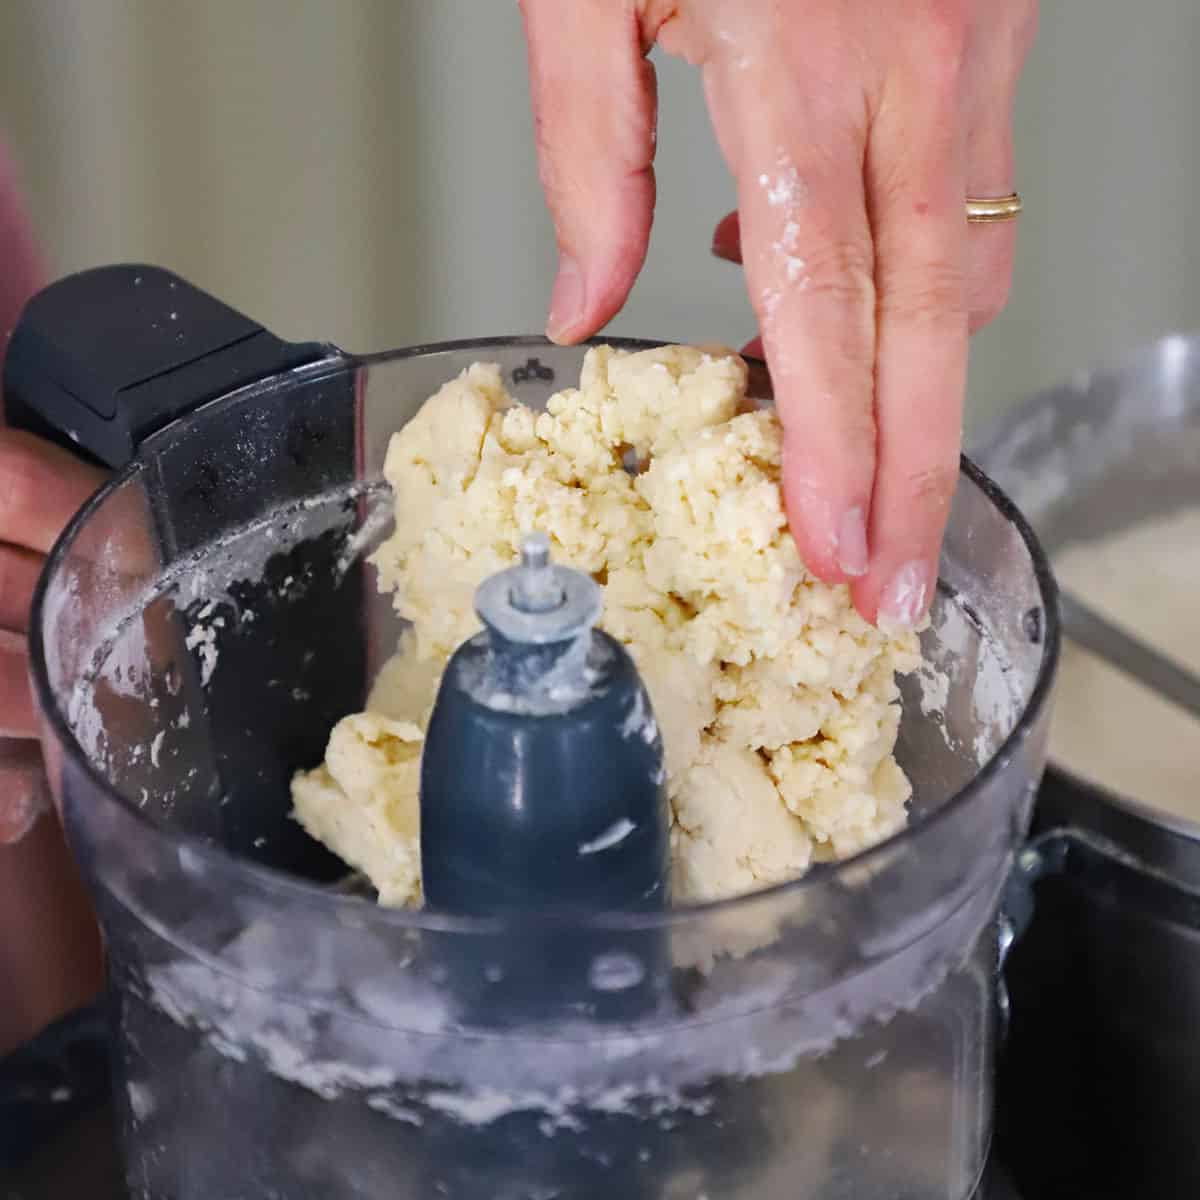
- Step 5: Continue pulsing until a rough ball of dough has formed.

- Step 6: Form the dough into a disc and wrap it with plastic wrap.
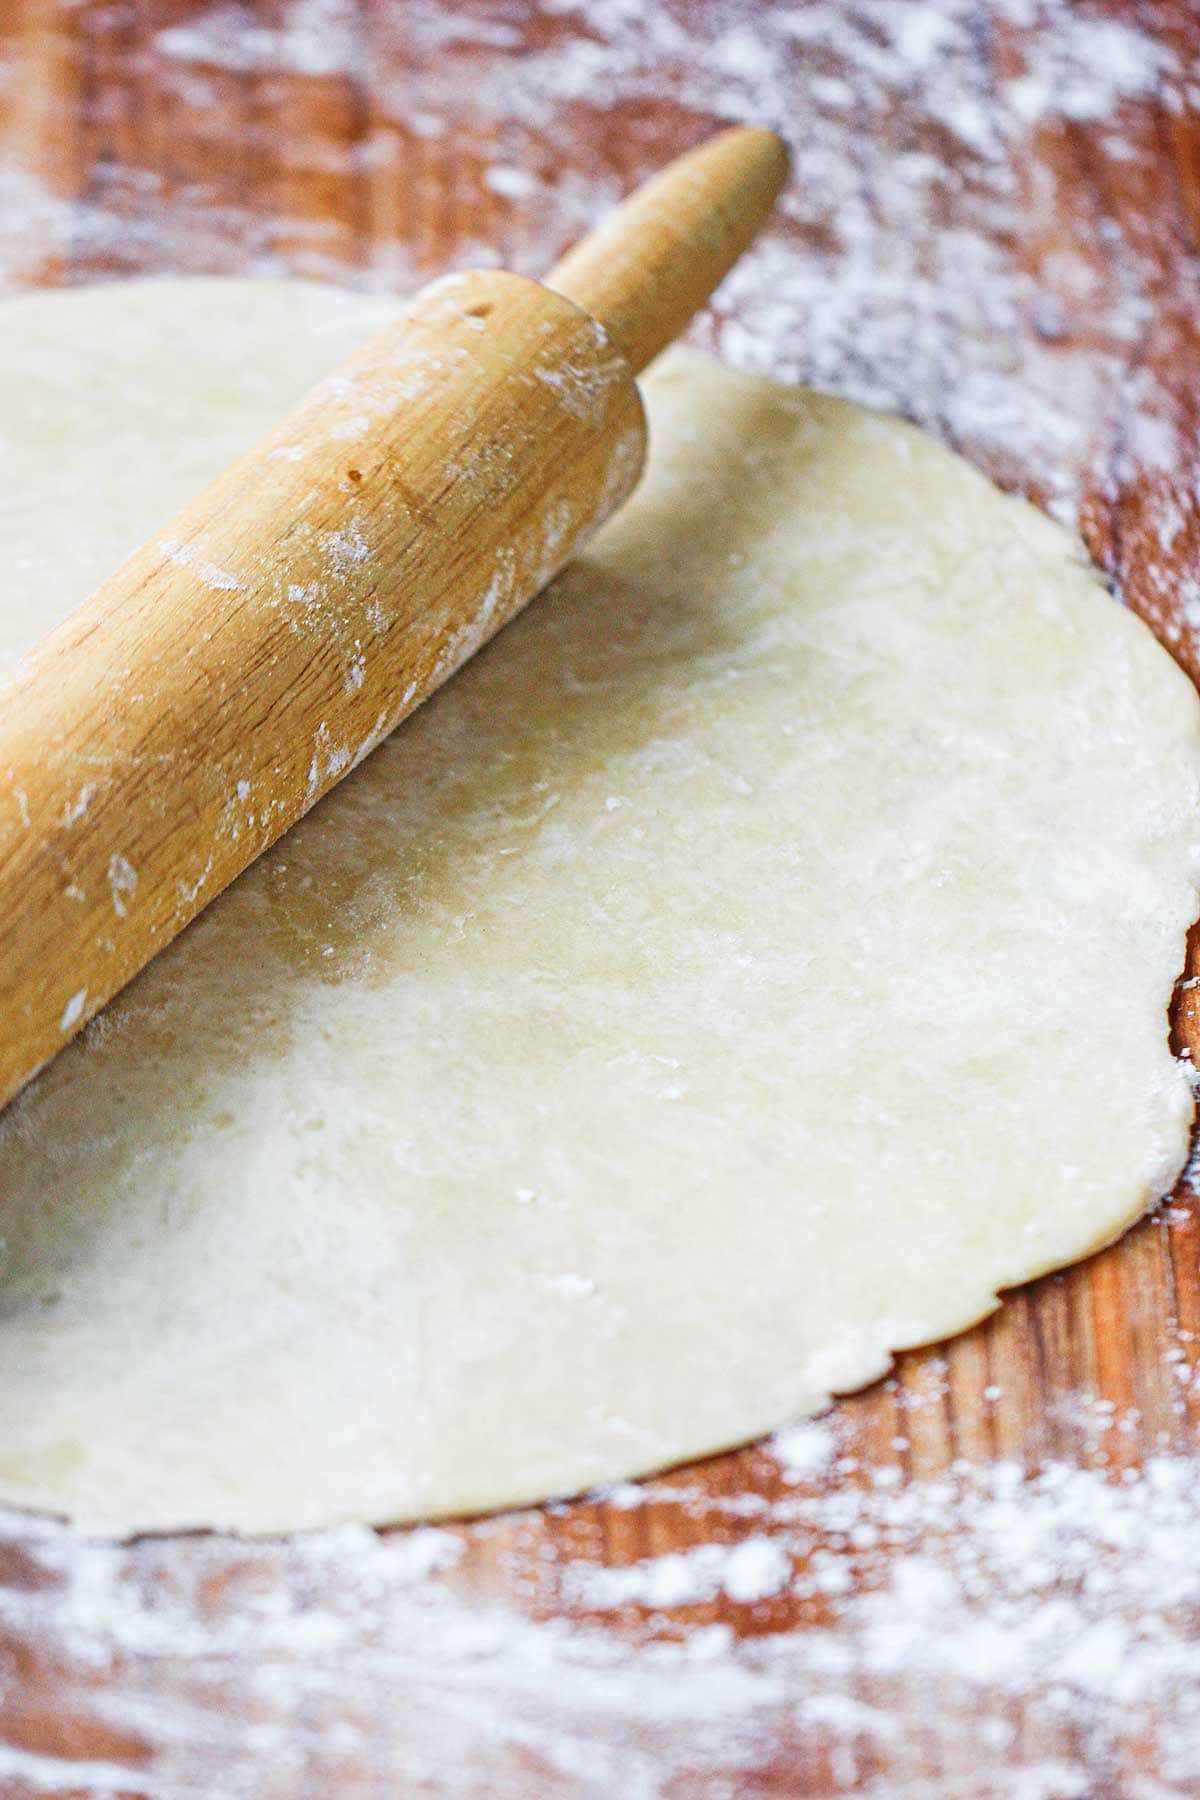
🥧 How To Transfer and Shape Pie Dough
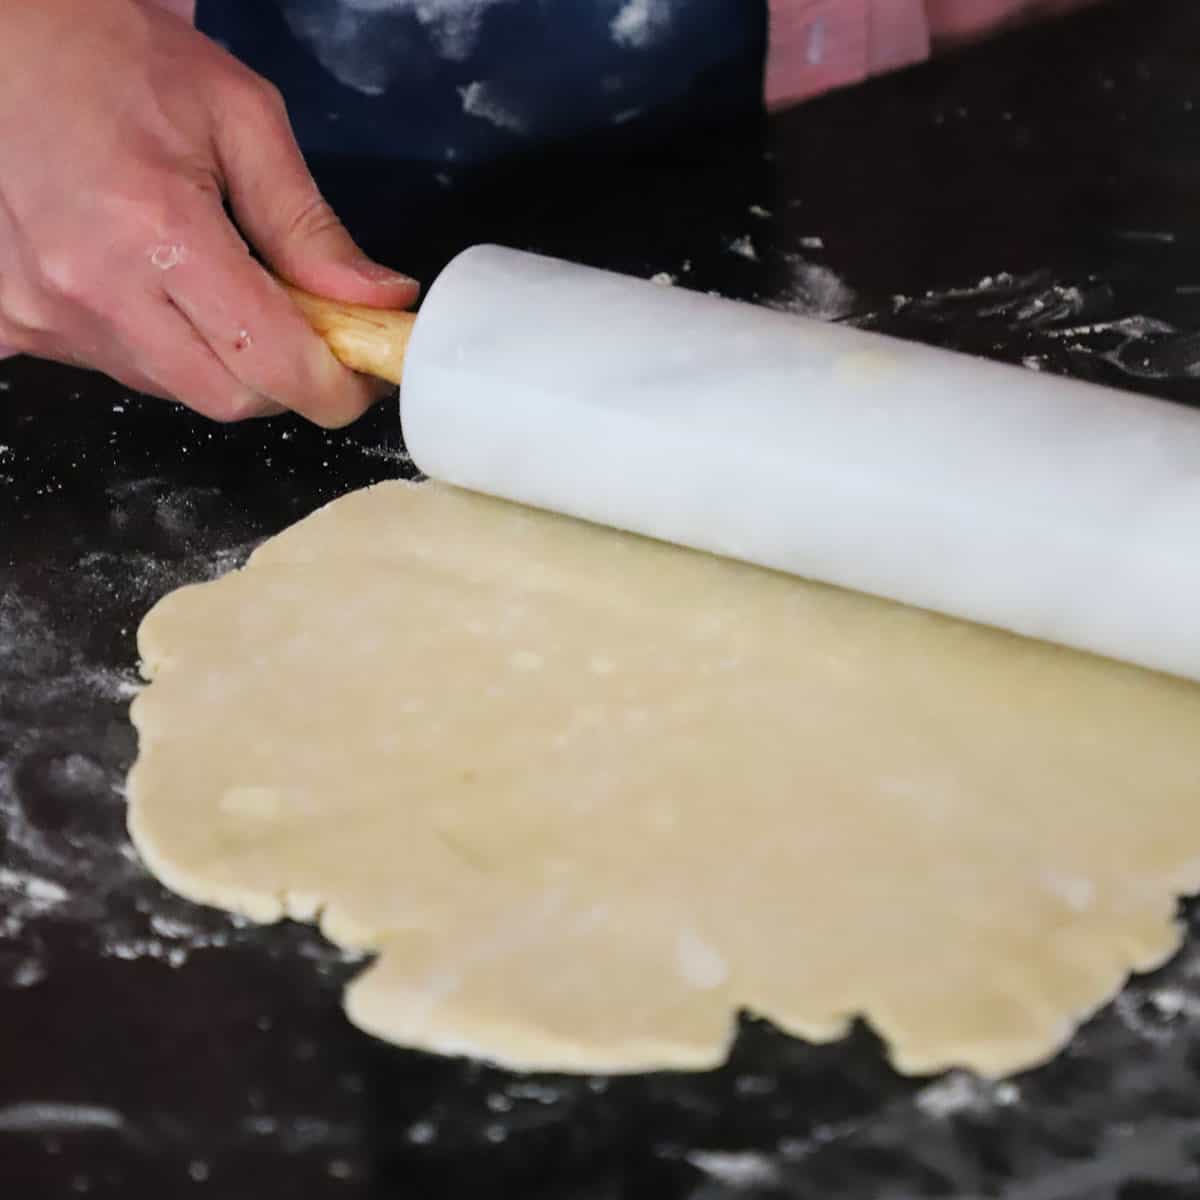
- Step 1: Use a rolling pin to roll the dough out to a 12-inch diameter
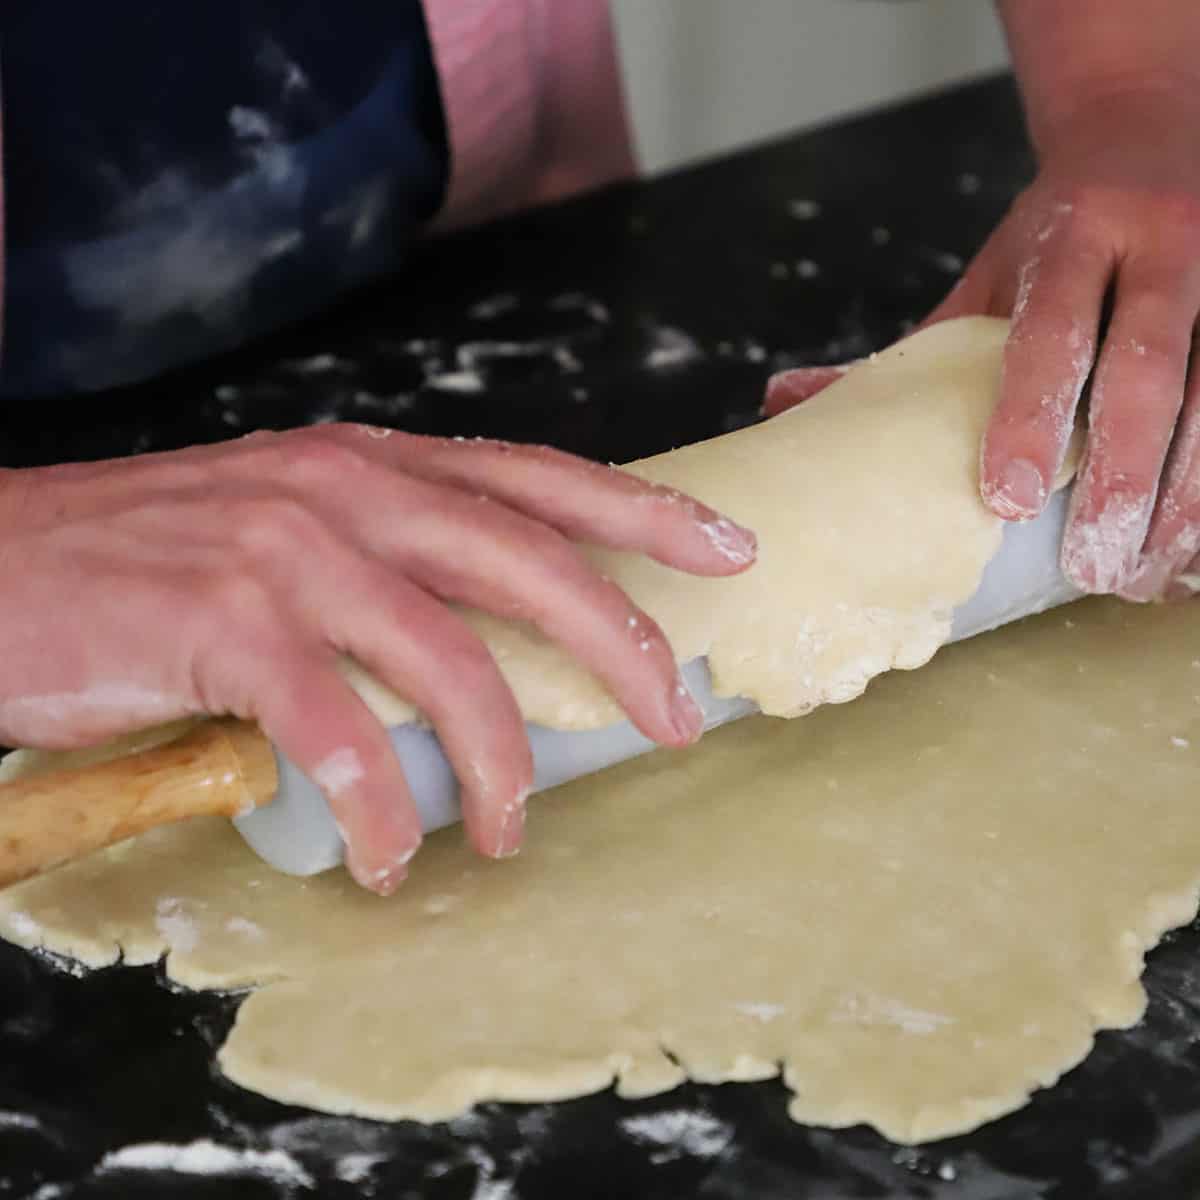
- Step 2: Gently roll up the dough around the rolling pin.

- Step 3: Carefully fit the dough into the pie dish and trim away excess along the upper edge.
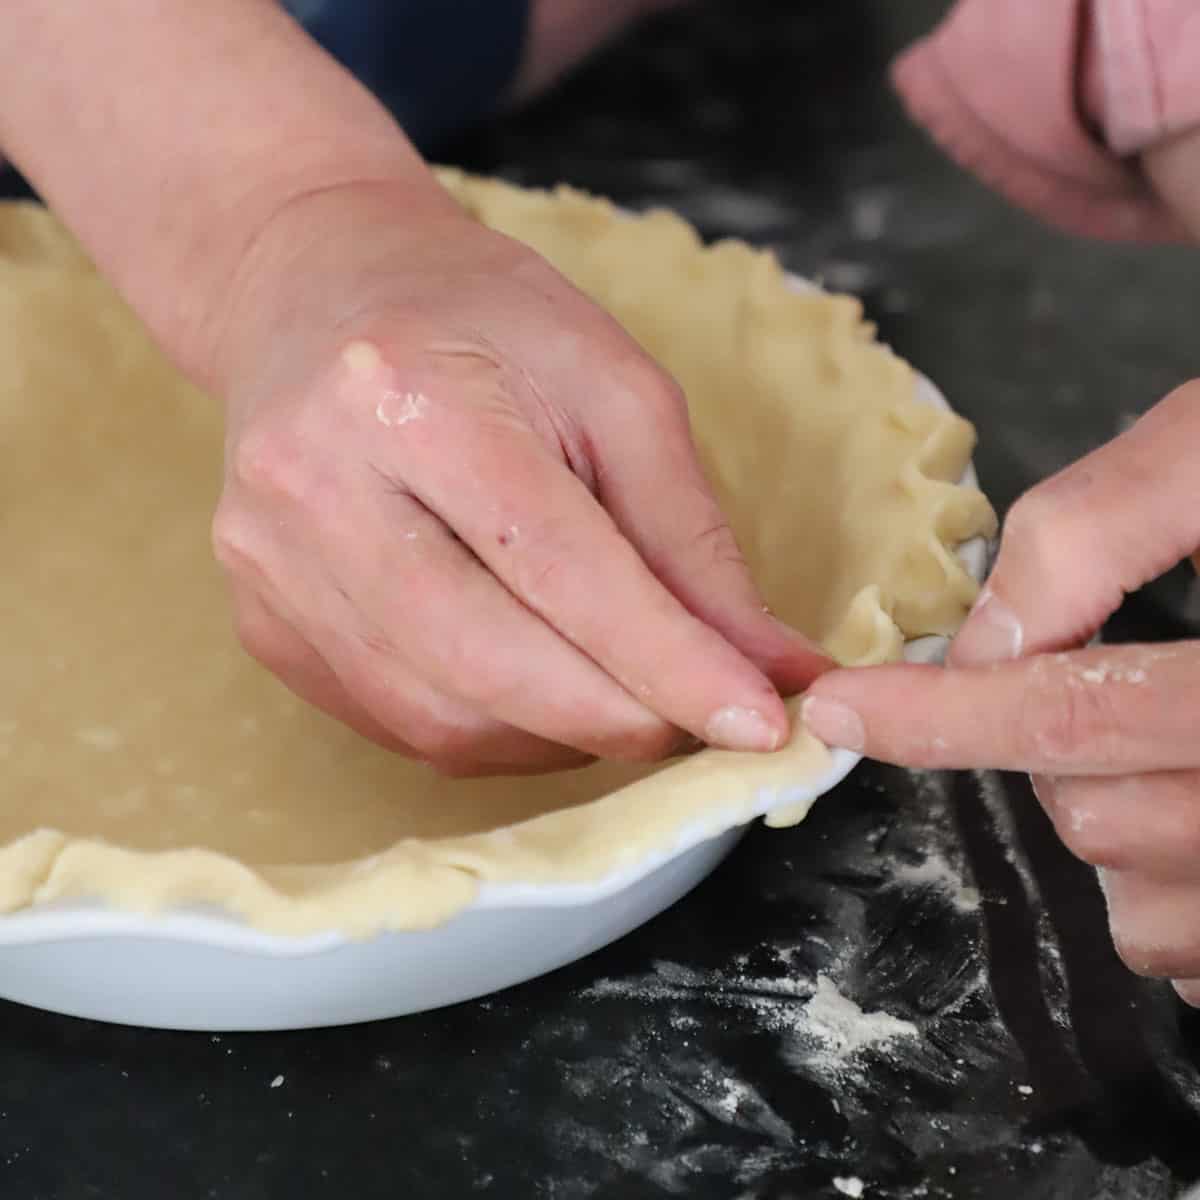
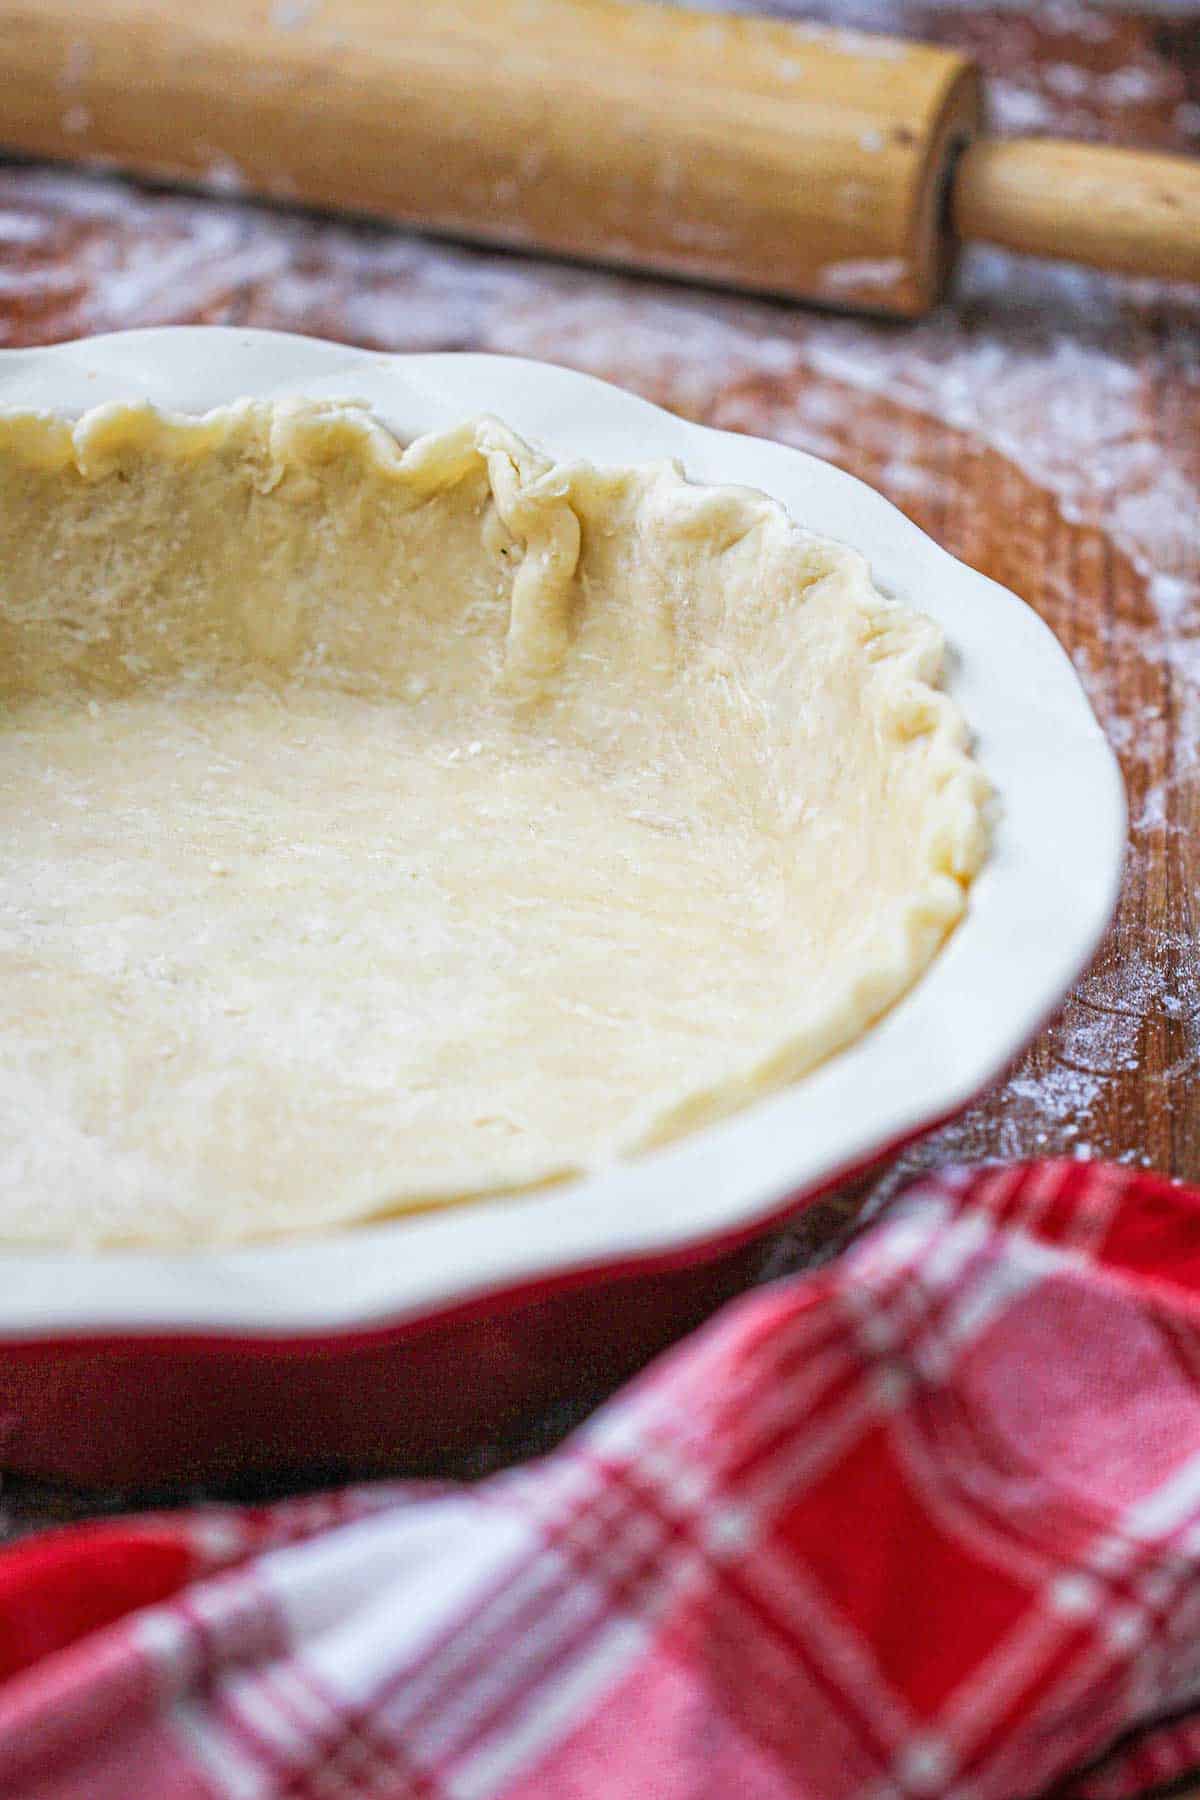
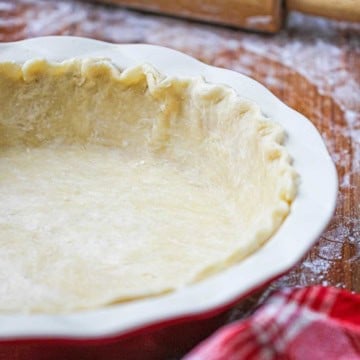
- Step 4: Use your fingers to flute the edge of the pie dough.
🔥 When To Par-Bake a Pie Crust
Par-baking, or blind baking, a pie crust involves pre-baking the crust partially without the filling, typically using weights to prevent it from puffing up, to ensure a crisp and well-cooked base for the final pie. Here are the benefits of par-baking your crust:
- Prevents Sogginess: Par-baking helps to set the crust before adding moist fillings, reducing the risk of a soggy bottom and ensuring a crisp texture. Perfect for fruit pies such as homemade cherry pie, classic apple pie, or Southern peach pie.
- Even Cooking: By partially baking the crust, you ensure that it cooks evenly, allowing for a more consistent texture and flavor throughout the pie.
- Improved Flavor: Par-baking enhances the crust’s flavor by allowing it to develop a golden color and toasty aroma, which adds depth to the overall taste of the finished pie. This is a must for pies that don’t require the filling to be baked, such as classic key lime pie or chess pie.
🙋🏽♂️ Frequently Asked Questions
Yes! This dough freezes beautifully. Wrap the disc of dough tightly with plastic wrap and freeze for up to 3 months.
You can par-bake (aka blind bake) up to 24 hours in advance. Cover with plastic wrap until ready to use.
Substitute the all-purpose flour with almond flour.
😋 Recipes Using Easy Pie Crust


Ready to take your pie dough to the next level? Go for it!
And when you do, be sure to take a photo of it, post it on Instagram, and tag @HowToFeedaLoon and hashtag #HowToFeedaLoon!
Perfect Pie Crust
Video
Equipment
- food processor with fitted blade
- plastic wrap
Ingredients
- 1¼ cups all-purpose flour plus more for dusting your work surface
- ¼ teaspoon salt
- 6 tablespoon unsalted butter chilled and cut into ½″ cubes
- 2 tablespoon shortening chilled and cut into ½″ cubes
- 5 – 6 tablespoon ice water
Instructions
- Using a dry ingredient measuring cup, add the flour to a food processor fitted with a metal blade1¼ cups all-purpose flour plus more for dusting your work surface, ¼ teaspoon salt
- Add the salt and then the chilled butter and shortening. Secure the lid onto the food processor.6 tablespoon unsalted butter, 2 tablespoon shortening
- Cut the fat into the flour by pulsing 7 or 8 times. The butter should resemble small frozen peas.
- Through the tube of the food processor, add the ice water, 1 tablespoon at a time, just until a ball forms. Immediately stop processing.5 – 6 tablespoon ice water
- Remove the dough from the processor and using your thumbs, for a disc.
- Enclose the dough in plastic wrap and place in the refrigerator for 1 hour.
- On a lightly floured counter/surface, place the dough. Try not to handle the dough too much, to prevent the butter pieces from melting.
- You’ll need to roll out the dough to about 3 to 4 inches greater than the inside diameter of the pan. (i.e., if you have 9-inch pie pan, roll the crust to a 12 – 13-inch diameter.)
- Try and roll the dough out in as few ‘rolls’ as possible. Repeated rolling will overwork the dough, and will yield less flakey crust.
- To transfer the dough to the pan, fold one half over, then fold over again into a quarter. Gently place into pie pan and then unfold the dough. Trim the edges with scissors.
- Use your fingers to flute the edges. Your pie dough is now ready for baking!

Elaine R. says
How can one improve on “perfection”? One might not… but two have hit it out of the park…. Great recipes and helpful hints…
Kris Longwell says
Elaine!!! We can’t even begin to tell you how happy this makes us! Keep on cookin’!!! And keep us posted, we LOVE that!!! Thank you for the amazing review!! xo Kris & Wesley
Wanda Winder says
If I could give more stars I would. This is by far the best and easiest pie crust I have ever made. And trust me I have attempted a lot. The roll out of the crust is unbelievably easy and the flavor is wonderful. Thank you so much for sharing.w
Kris Longwell says
Wanda! We can’t tell you how happy this makes us! We use this pie dough for so many recipes! We are thrilled you tried it and had such great success!! And thank you SO MUCH for sharing and for the amazing review! Stay in touch! xo Kris & Wesley
Julia Gallagher says
You guys are right! This is the easiest crust. I’ve tried several recipes and always failed. Your recipe is my go to now. I love all your recipes though. I make your pumpkin pie, Guinness pie whatever I need I look in your kitchen first for a recipe….. thank you guys!!!!♥️
Kris Longwell says
Julia! You just made our day! We are THRILLED you are enjoying our recipes and isn’t this just the best pie dough?! We LOVE that you are having such great success with it!! Thank you for your support, that means the world to us! Stay in touch and stay tuned…so much more fun and food still to come! xo Kris & Wesley
Maggie Yoder says
I love this recipe – I needed to make 4 pies (one gluten free) for Thanksgiving, and was able to have all the crusts done ahead of time in a matter of minutes. It’s the first time I’ve been able to make a gluten free crust successfully – Thank you! Thank you!
Kris Longwell says
Hi Maggie! Woo hoo!! So so thrilled you have had such great success with our recipe to make GF crust successfully! You ROCK!!! Thank you so much for sharing and for the wonderful review! That means the world to us! xoxo Kris & Wesley
Karyn says
Looking forward to trying this! Will it work with gluten free flour?
Kris Longwell says
Hi Karyn! So sorry for the delayed response. We have not tried it personally with GF flour, but we know others have with success. Just substitute GF flour for the All-Purpose, and you should be good! Let us know if you make it and how it turns out! Best, Kris & Wesley
Kris says
Would it matter if I left out the 2 tbs of shortening? Looking for a less buttery/oily pie crust for my mini pie maker when I make meat pies. Butter was all over the place, ha ha!! Or do you hv a crust recipe w less butter/oil?
Thanks!!!!
Kris Longwell says
Hi Kris, you could just omit the shortening and you’ll still get a nice crust. Let us know how it turns out!