

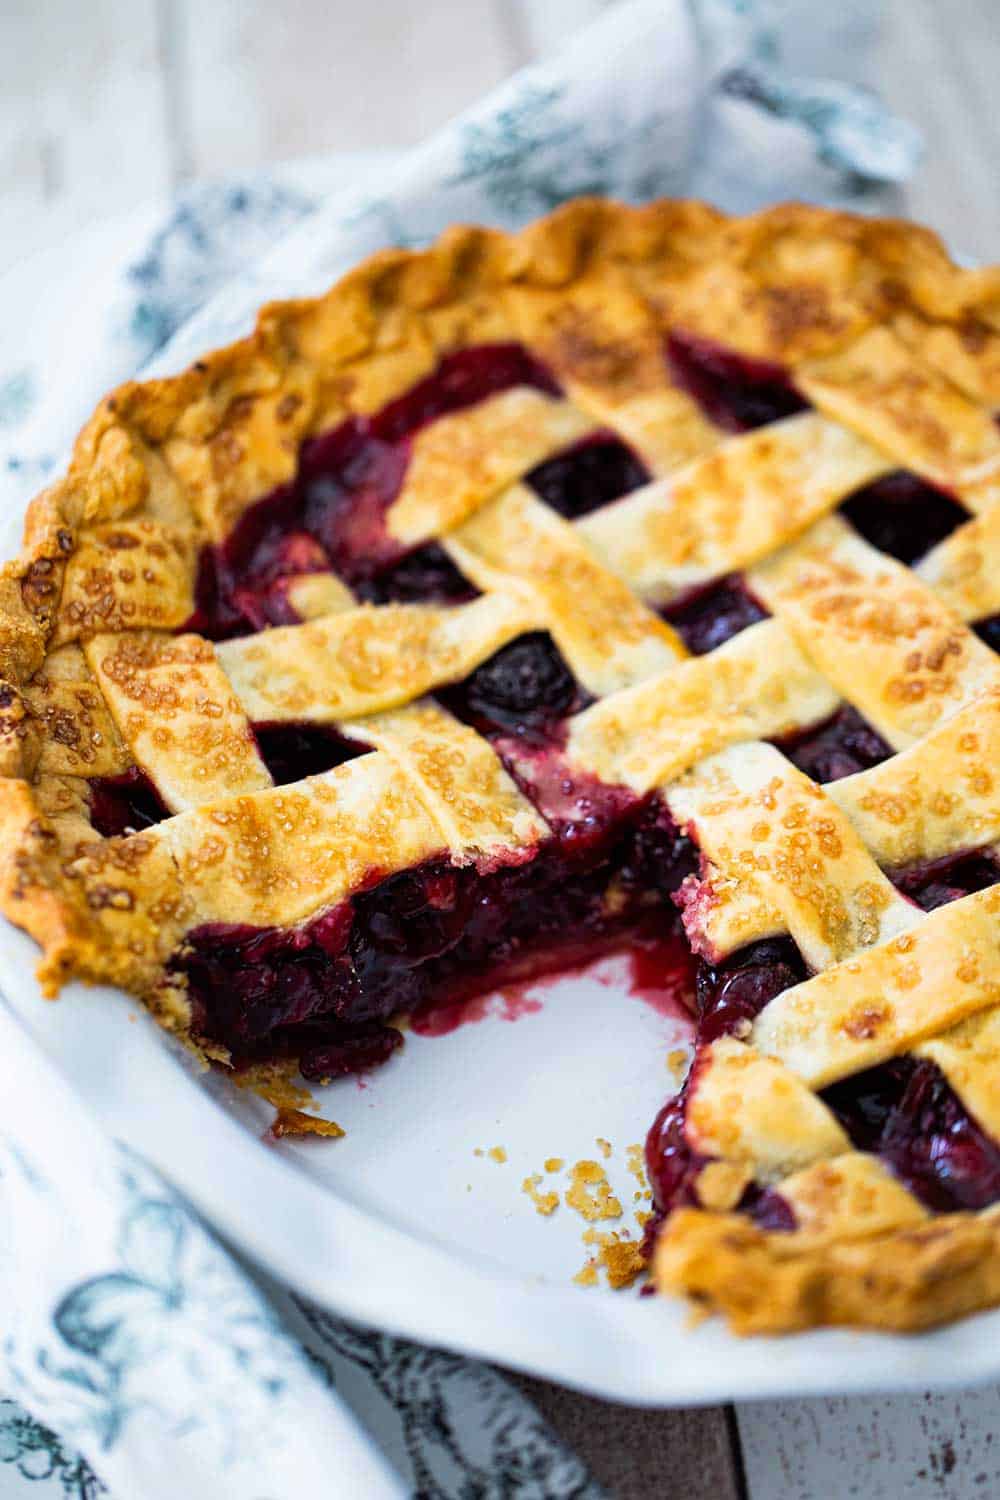
You just can’t get much more classic than this pie. Well, maybe All-American Apple Pie, but this one gives that one a run for the money every single time.
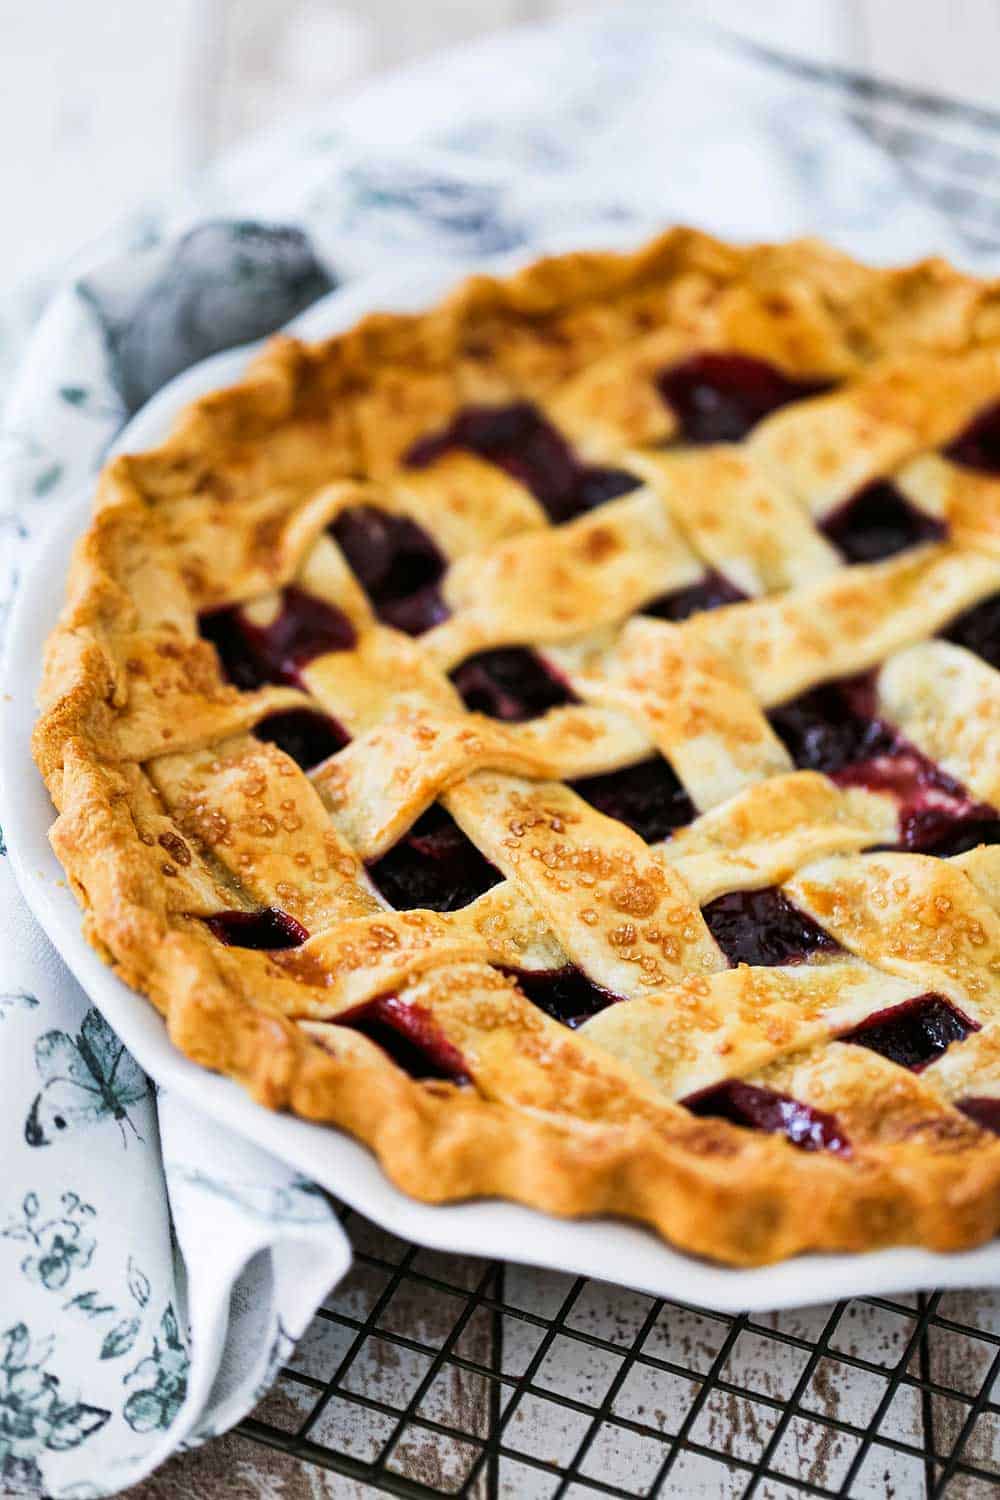
When sweet cherries are in season, it’s time to make this pie. Pick up a cherry pitter, and the rest is a snap. Use the easy pie crust for the bottom layer, and then make a nice lattice design on the top with a second batch of dough, and you’ll have a cherry pie fit for the best county fair in the country!
VIDEO ALERT: Be sure to check out the video for this recipe in the recipe card. If you like the video, subscribe to our YouTube Channel!
How To Make Cheery Pie From Scratch
Making a cherry pie from scratch may seem daunting, but trust us, it’s really not hard at all.
Just give yourself a little time to make the dough and pit the cherries, and then it all comes together with ease.
And the results? Well, the best pie…ever
How To Pit Fresh Cherries
As mentioned, when they are in season, fresh sweet cherries are absolutely the way to go for this pie.
Pick yourself up a cherry pitter from your local kitchen gadget store, or order one online here.
EXPERT TIP: Simply position the cherry in the small ‘holder’ so the rod is pointing at the place where the stem was. Press down and hopefully, the pit will shoot out the bottom of the cherry. If it doesn’t, no worries! Sometimes the pit will get stuck in the cherry ‘holder’, or sometimes it stays inside the cherry. Just use your fingers to push the pit out.

We love going with sweet cherries, but Rainier cherries are delicious, too, though they have more of a golden color.
Sour cherries are fantastic as well, however, you’ll need to increase the amount of sugar from ⅔ cup to 1 cup.
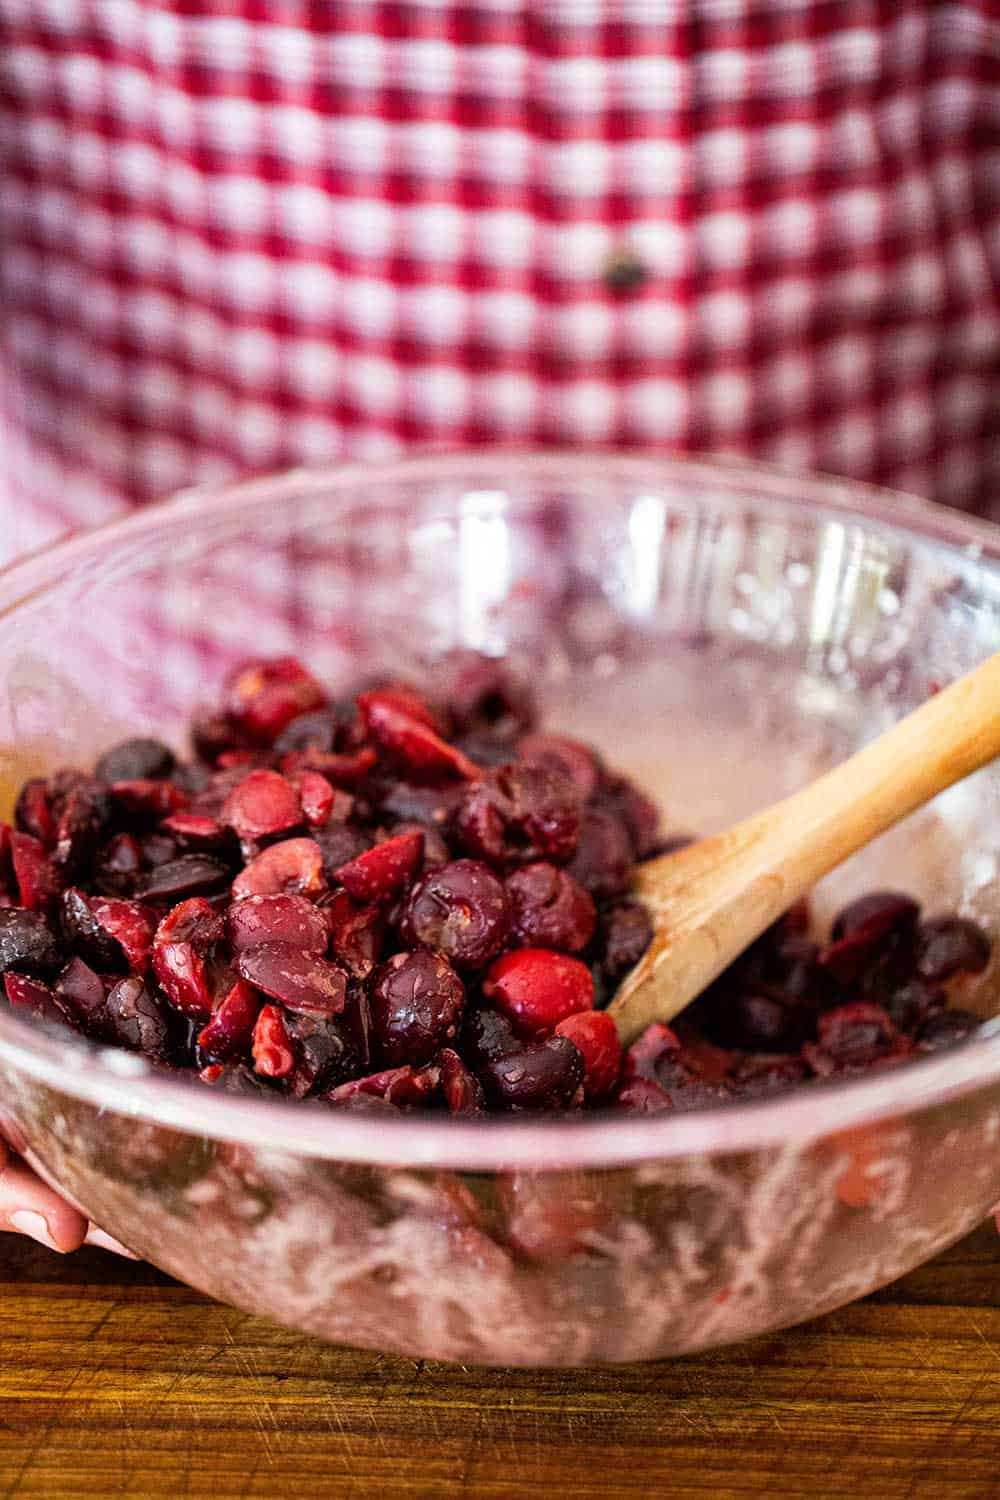
EXPERT TIP: You’ll need about 2 lbs of pitted cherries, this usually is about 5 to 6 cups. To help the pie filling hold together more firmly once baked, we halve about ⅓ of the cherries, quarter another ⅓ of them, and then leave the remaining ⅓ whole.
Mix the prepared cherries in a large bowl with lemon juice, sugar, corn starch, and vanilla and almond extracts.
Tips on Making the Perfect Cherry Pie
Fresh is best – We can’t stress this enough: When in season, seek out fresh sweet, Rainier, or sour cherries (see NOTE about using sour). You can still achieve a delicious pie when cherries are not in season by using quality frozen cherries. No need to halve or quarter them.
Make the crust – Making the pie dough from scratch really is easy and can be done several days in advance. Remember, you’ll need two discs of dough. In a pinch, store-bought will work, but why not go all the way and make homemade pie dough!
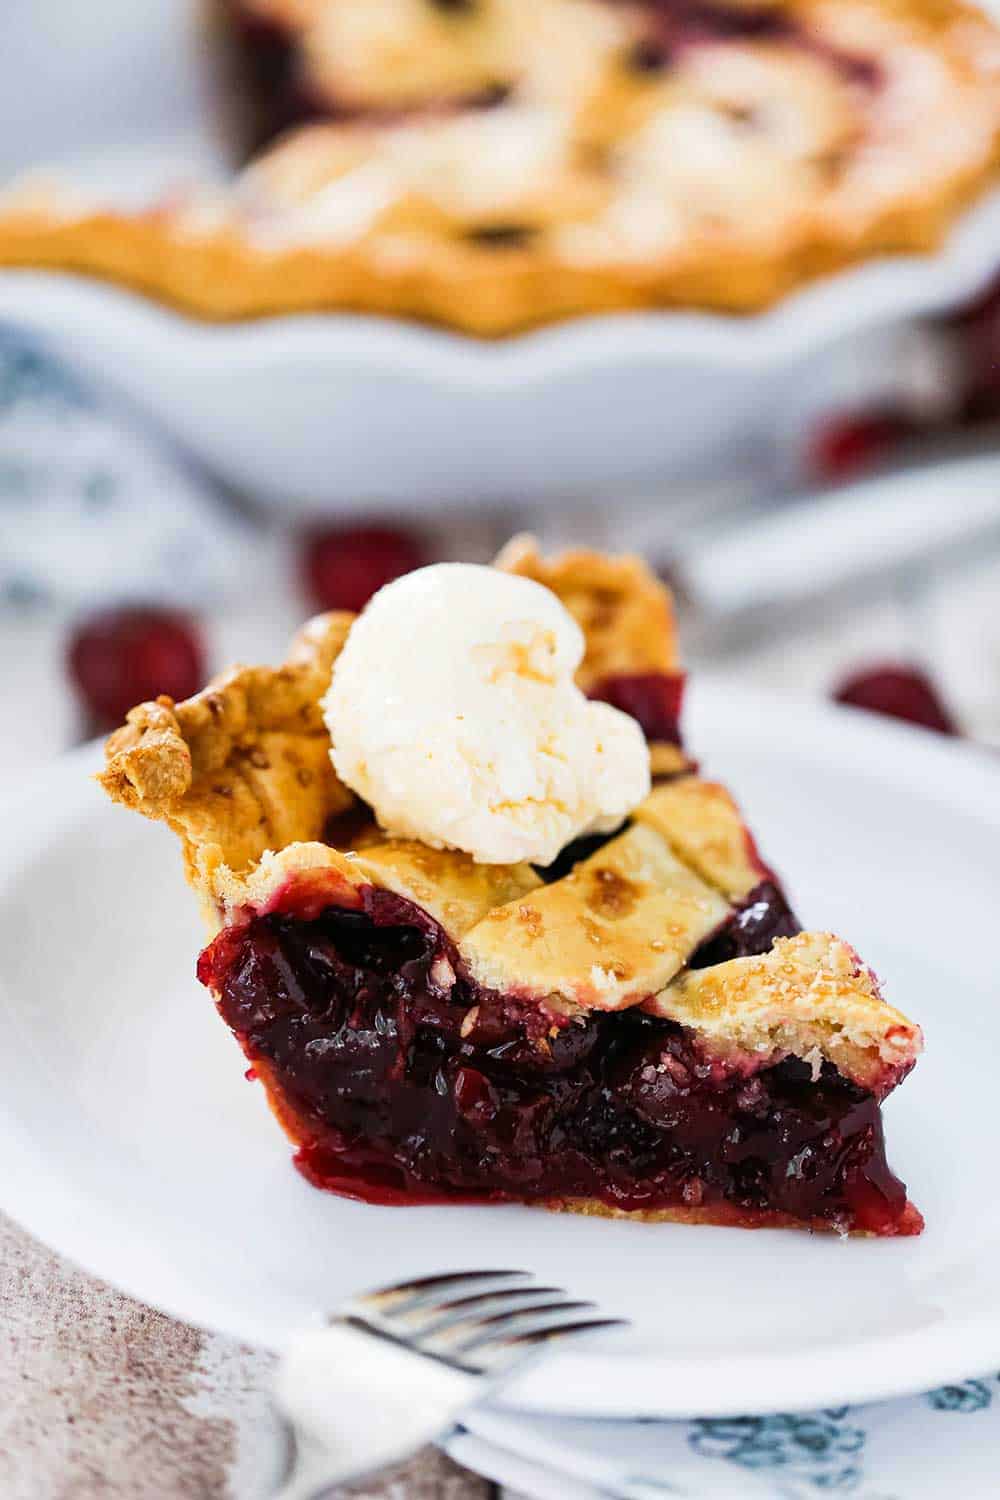
Cooling the Pie – Of course, warm pie is heavenly. Just remember, however, that if you don’t allow the pie to cool completely before slicing, the filling will ooze quite a bit when you do cut into it. See our video for reference! We recommend placing the baked pie on a rack and letting it cool for at least 3 to 4 hours, or overnight.
Pour the filling directly into your pie dish that you have lined with our Perfect Pie Dough recipe.

How To Make a Lattice Pie Topping
As mentioned, when you make the pie dough, be sure to make two batches so you can have a topping for the pie as well.
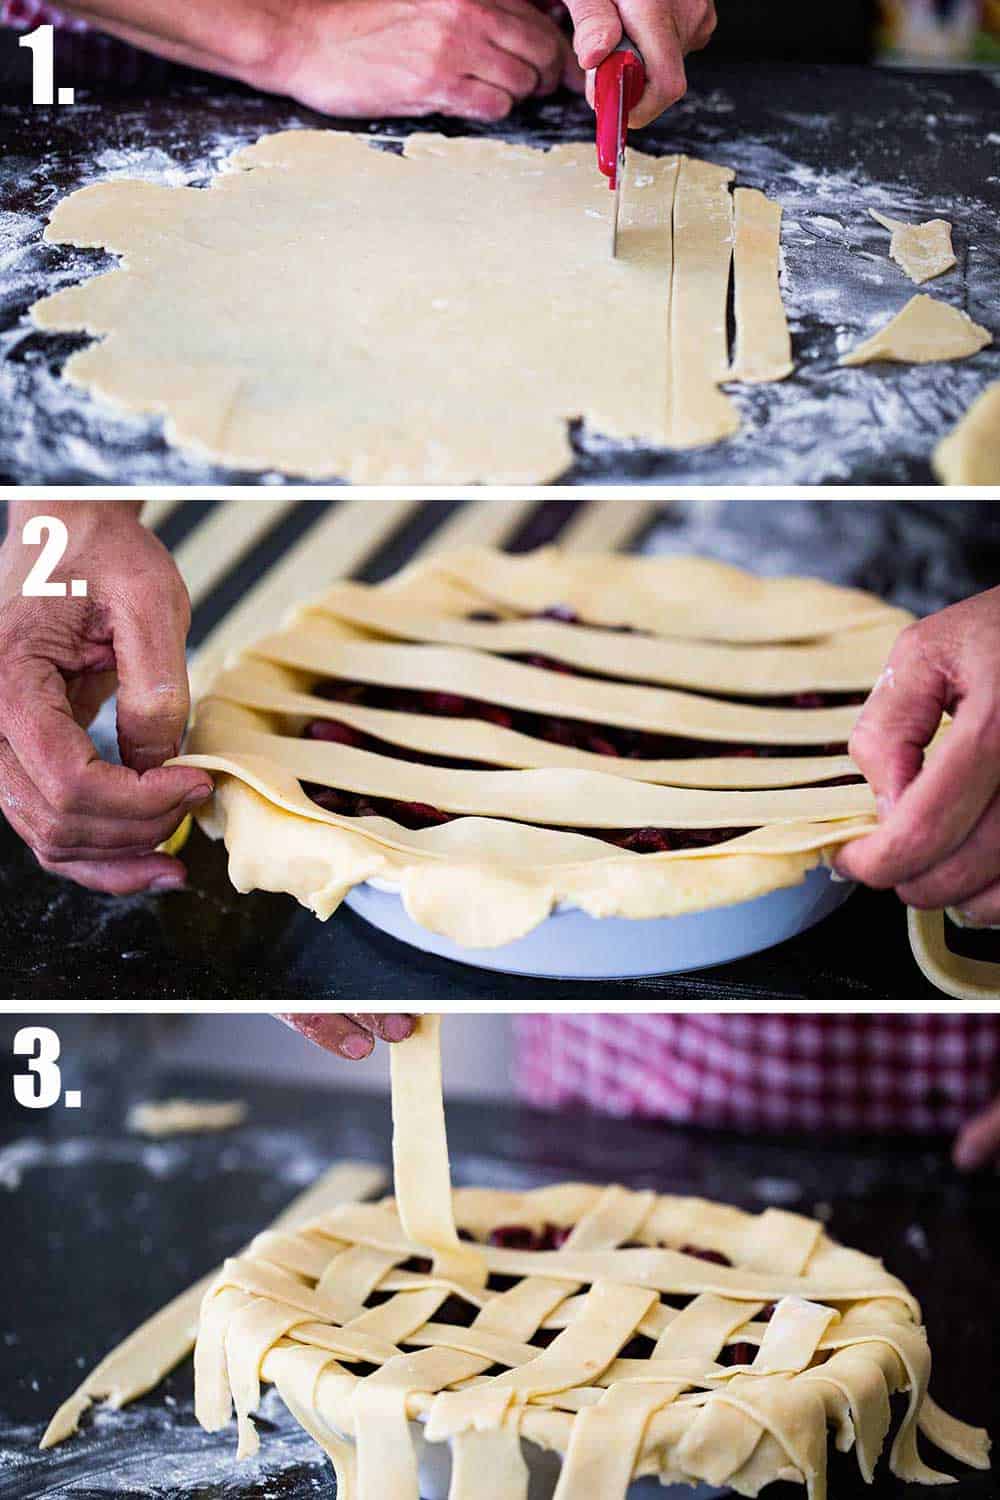
To create a lattice topping, simply use a pizza cutter to cut the dough into 10 to 12 1-inch strips.
Place 5 of the strips across the pie, spacing them slightly. Fold every other strip all the back to the edge of the pie. Place a strip, perpendicular to the previously placed strips, right next to the strips that have been folded back.
Carefully return the folded strips back to their normal position. Now, repeat this process with the other strips. You are braiding, or, overlapping the strips. See photo and video for reference.
Now, it’s time to bake the pie!
Preheat your oven to 410°F.
EXPERT TIP: We are going to bake the pie in two stages. First, at high heat (410°F) for 20 minutes, rotating the pie once during this time period. Then, lower the oven temperature to 350°F and bake for another 35 to 40 minutes, or until the crust is golden. If the edges are browning too much, add a strip of foil around them, or use a pie crust shield.
How To Serve and Store Cherry Pie
As we mentioned previously, we do recommend resisting the temptation to cut into the pie while it’s still hot. Otherwise, the filling will run and it will be difficult to serve.
Be sure to factor this timing into your schedule if serving to guests.
EXPERT TIP: Once the pie has cooled, you can store it in an air-tight pie holder, or, simply cover it with foil. It can stay, covered, on the counter for a couple of days. After 48 hours, we recommend placing it in the fridge. It’s perfectly fine (and recommended) to heat a slice for a short bit in the microwave. Ice cream is a wonderful addition.
This cherry pie is classic in every way.
It’s wonderful to serve at a 4th of July BBQ or anytime you’re looking for a reason to eat pie!
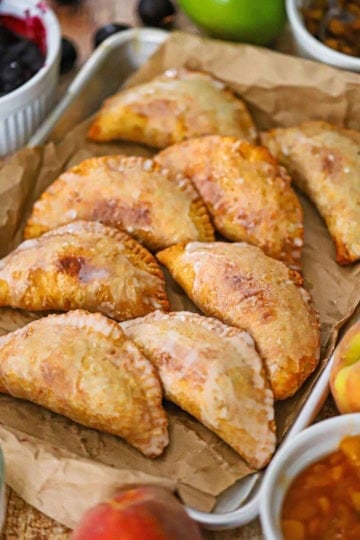
Other amazing pie recipes include our: Key Lime Pie, Lemon Meringue Pie, Blueberry Buttermilk Pie, and our Homemade Peach Pie!
But in the meantime…just take a look at this? Hungry for pie?
Ready to make the best pie this side of the County Fair? Go for it!
And when you do, be sure to take a photo of it, post it on Instagram, and tag @HowToFeedaLoon and hashtag #HowToFeedaLoon!

Cherry Pie
Video
Equipment
- 9 or 10-inch pie dish
Ingredients
- 2 pie dough
- 2 lbs sweet cherries pitted, about 5 to 6 cups
- 1 tablespoon lemon juice
- ⅔ cup sugar
- ¼ cup corn starch
- 1 teaspoon vanilla extract
- ½ teaspoon almond extract
- 1 tablespoon unsalted butter cubed
- 1 large egg beaten
- 1 tablespoon water or milk
- 1 tablespoon turbinado sugar
Instructions
- Pre-heat the oven to 410°F.
- After removing the pits from the cherries, divide them into thirds. Halve one-third of them, quarter another third, and leave the remaining third whole.
- In a large bowl, gently mix together the cherries, lemon juice, sugar, corn starch, and both extracts. Set aside.
- Roll the first disc of dough out on a floured surface to a 13-inch diameter. Gently roll the dough over your rolling pin and then unroll over the pie dish. The dough should overhang the sides of the dish.
- Transfer the cherry mixture into the pie dish with the dough.
- Roll the 2nd dough disc out on a floured surface to a 12 to 13-inch diameter. Use a pizza cutter or sharp knife to cut the dough into 10 to 11 1-inch strips.
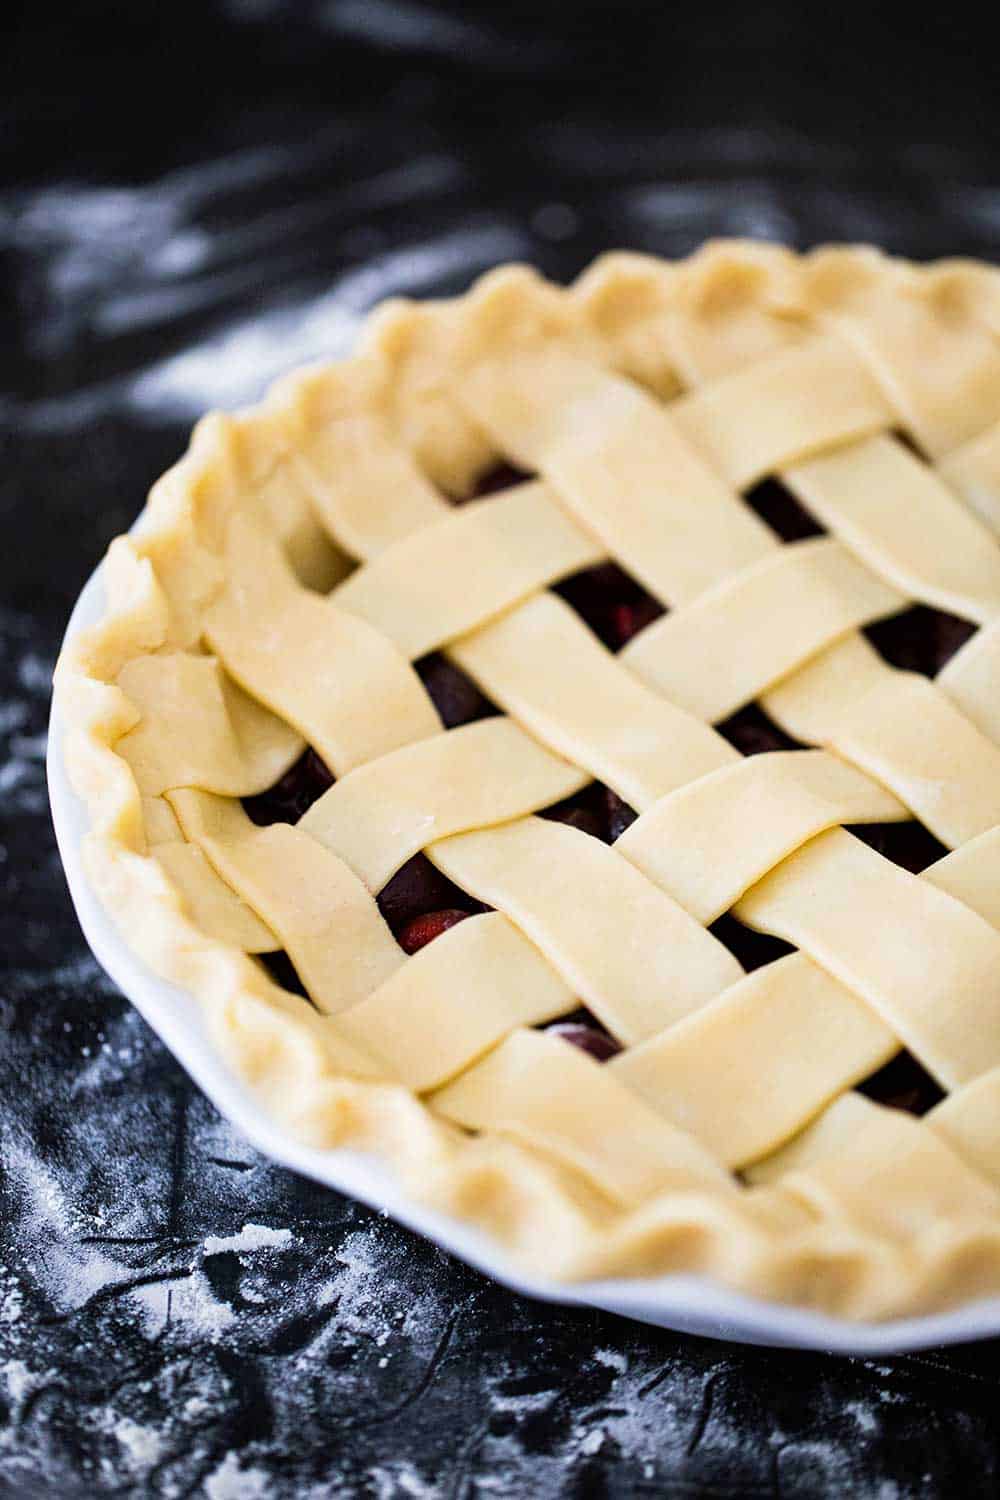
- Place 5 to 6 strips over the top of the pie, spacing them slightly. Fold every other strip all the back to the edge of the dish. Place one of the remaining strips perpendicular to the strips on the pie, right next to where the folded strips are folded back. Return the folded strips back to their normal position. Fold back the other strips and continue until the pie is covered with the dough in a lattice formation. (See photo and/or video for reference).
- Use a small sharp knife or kitchen shears to cut away the excess dough hanging over the edges. Be sure to leave enough dough that you can use to crimp the edges (see video for reference).
- Make an egg wash by mixing together the beaten egg with the water or milk in a small bowl. Brush the egg wash all over the top layer of dough. Sprinkle the turbinado sugar over the top of the pie.
- Bake for 20 minutes, rotating the pie once. Lower the oven temperature to 350°F and bake for another 35 to 40 minutes, or until the crust is golden on top. Cover the edges of the pie with foil or a pie crust shield if getting to brown.
- Remove from oven and allow to cool before serving, usually 3 to 4 hours, or overnight.
Notes
Nutrition
POST UPDATE: This post was originally published in August 2014, but was updated with improved tweaks to the recipe with new tips and photography, and a fabulous new video in June 2021!
Sandy says
Delicious! Now here’s a tip! Re-Roll the left over pastry scraps, sprinkle with granulated sugar and cinnamon. Roll up like a jelly roll. slice into 1/2 inch pieces. Place seam side down and bake for about 10 minutes when the oven is at 410 degrees or about 20 min. at 350. Mini cinnamon rolls! We love them. Eat them while you are waiting for the pie to cool!~
Kris Longwell says
Fabulous!! LOVE IT!! We’ll do that next time for sure! Thanks so much for the fun tip!! xoxo