Everyone loves a great dip to serve at gatherings, right? Well, here’s one that only takes about 5 minutes to make!
This dip is not only delicious and a snap to make, but is also healthy, too! We love to serve it as part of a charcuterie board alongside our homemade grissini (Italian breadsticks) and marinated olives! And did we mention, this dip only takes about 5 minutes to prepare! You’ll never buy the packaged variety again!
VIDEO ALERT: Be sure to check out the video for this recipe in the recipe card. If you like the video, subscribe to our YouTube Channel!
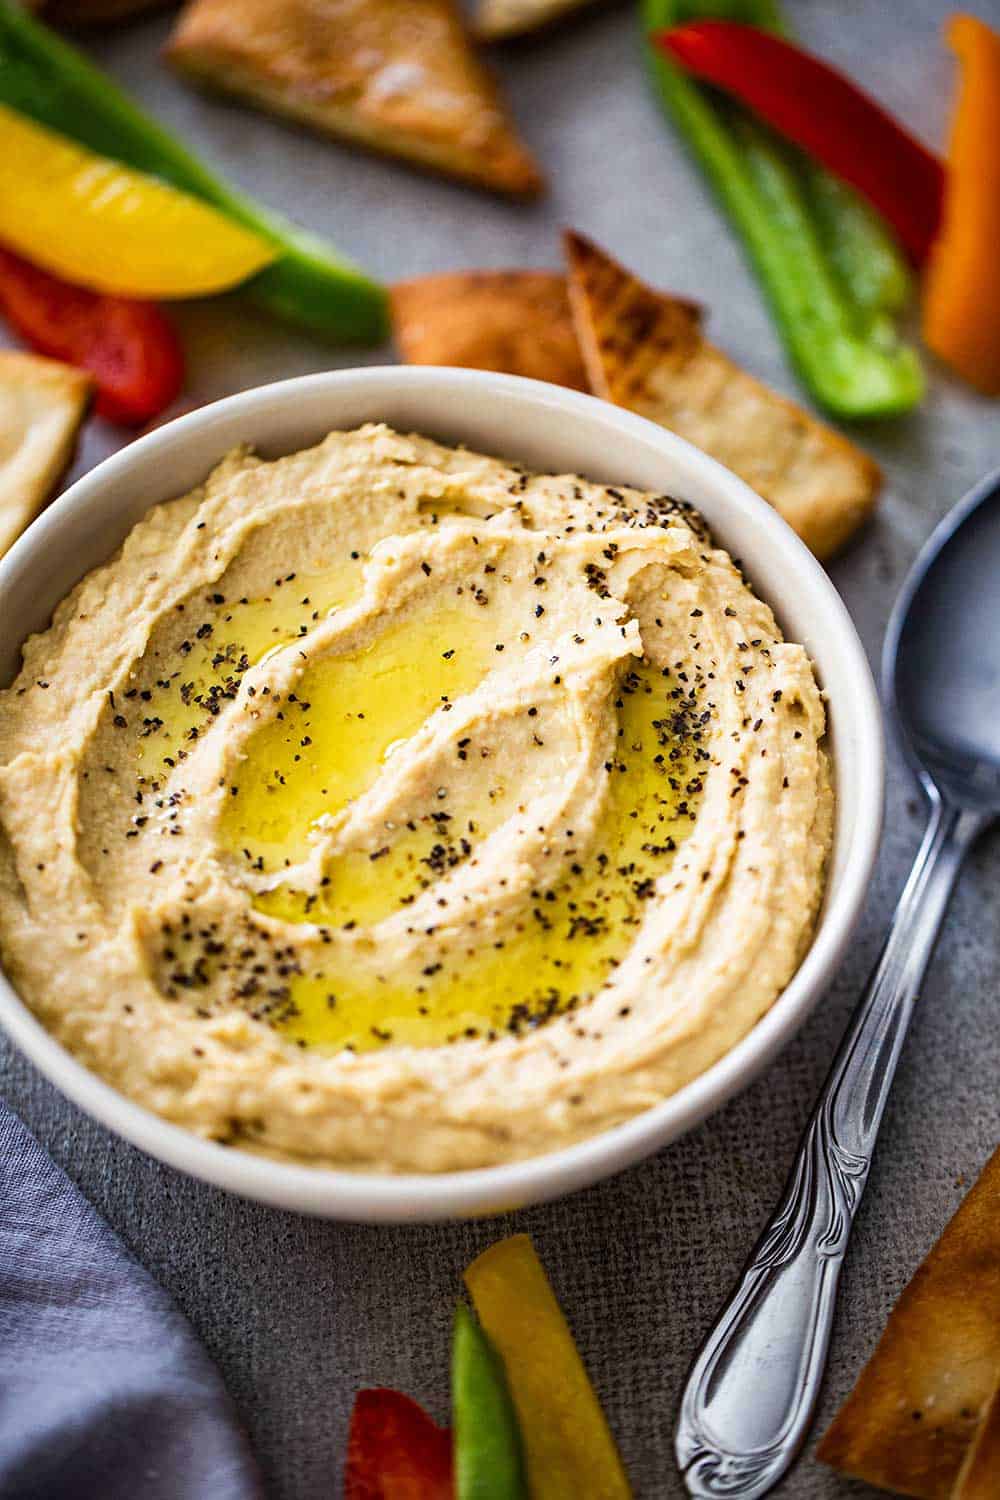
How To Make Hummus
Here at “How To Feed a Loon” we love to show you all kinds of recipes, some are simpler to prepare than others.
Of all the recipes we’ve shared, this has to be the easiest.
But don’t worry, it’s still amazingly delicious and 100% Loon Approved!
Preparing the Chickpeas
The main ingredient in this hummus recipe is chickpea, also called a garbanzo bean.
It’s part of the legume family and is loaded with all kinds of nutritional benefits. Learn more about this glorious bean here.
EXPERT TIP: The choice is to go with dried chickpeas or canned. Normally, we would always advise staying away from the canned type, but we’ve tried both ways, and we find the taste to be almost identical. Opening a 16 oz. can of chickpeas is a lot easier than soaking overnight. But, if you prefer to go with dried, simply follow the instructions for soaking and cooking on the packaging. You’ll also need to increase the salt for the hummus to 1 tsp, as the canned chickpeas have a little salt already added.
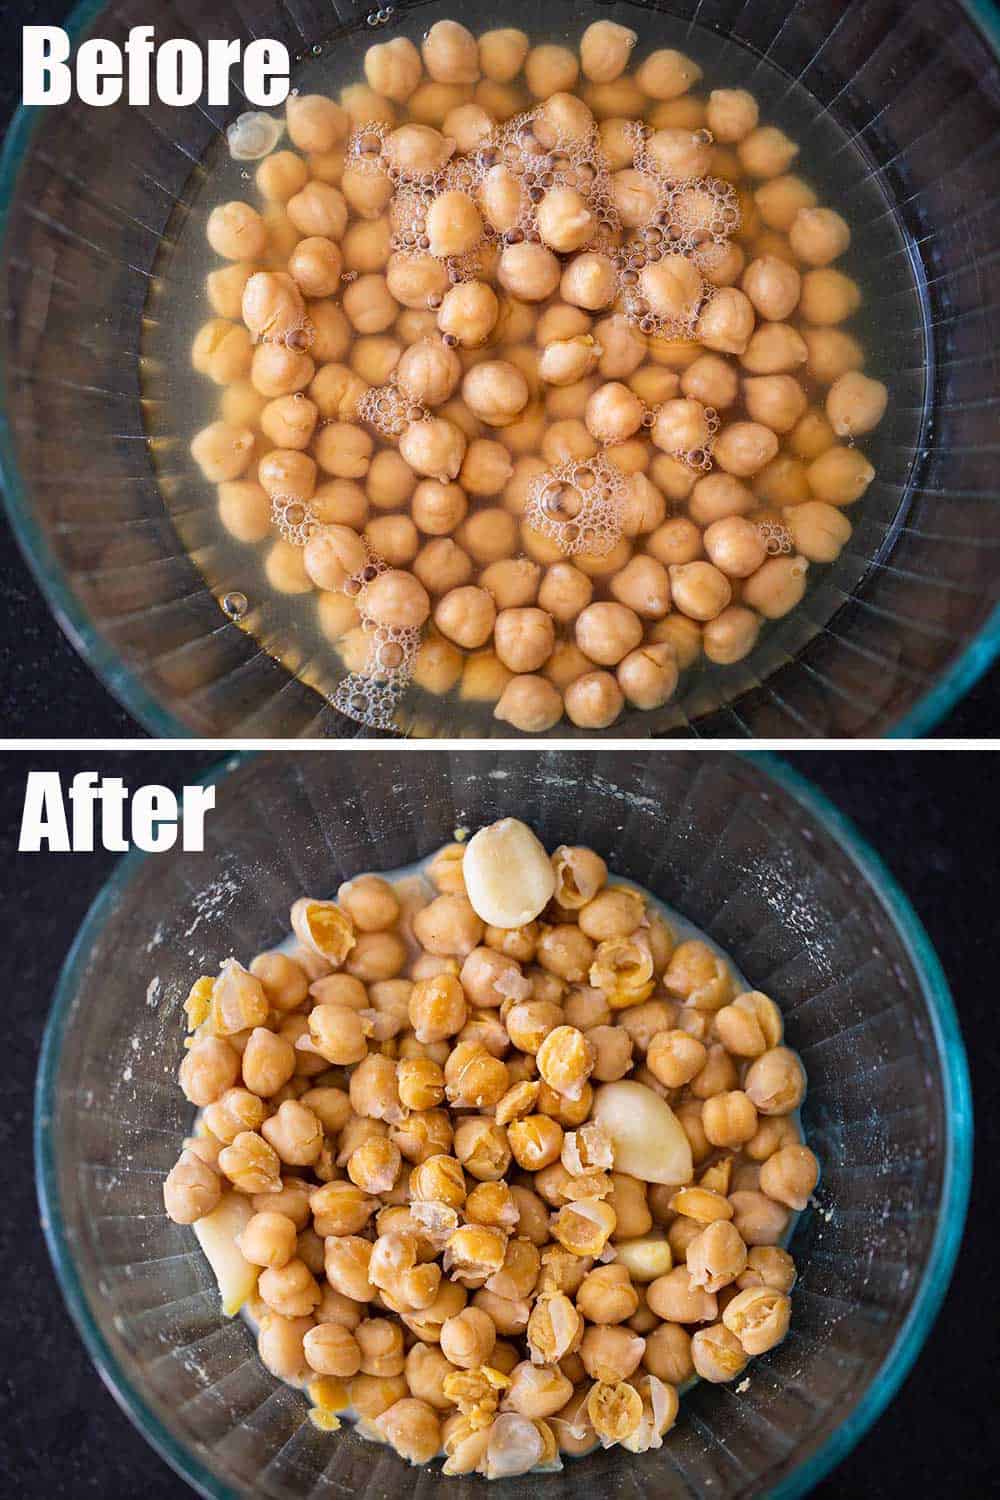
Place the chickpeas with just half the juice from the can into a microwave-safe bowl. Toss in 4 whole garlic cloves. Reserve the rest of the liquid in case you need to thin the hummus out later. Cover the bowl and heat it on HIGH in your microwave for 4½ minutes.
When someone asks you “What is Hummus?” You can say it’s puréed chickpeas with a few simple ingredients such as lemon juice, tahini, salt, and extra virgin olive oil.
Tahini is pure ground sesame that is a key component to the wonderful taste of this dip.
EXPERT TIP: Good quality tahini can be found in many supermarkets nowadays. Whole Foods carries a couple of good brands. We order ours online and love the brand. Hummus can be made without tahini, and it will still be delicious, but we feel it really delivers a depth of flavor that is just amazing.
Add the cooked chickpeas and garlic into your blender or food processor and then pour in the tahini sauce.
Building the Classic Hummus Taste
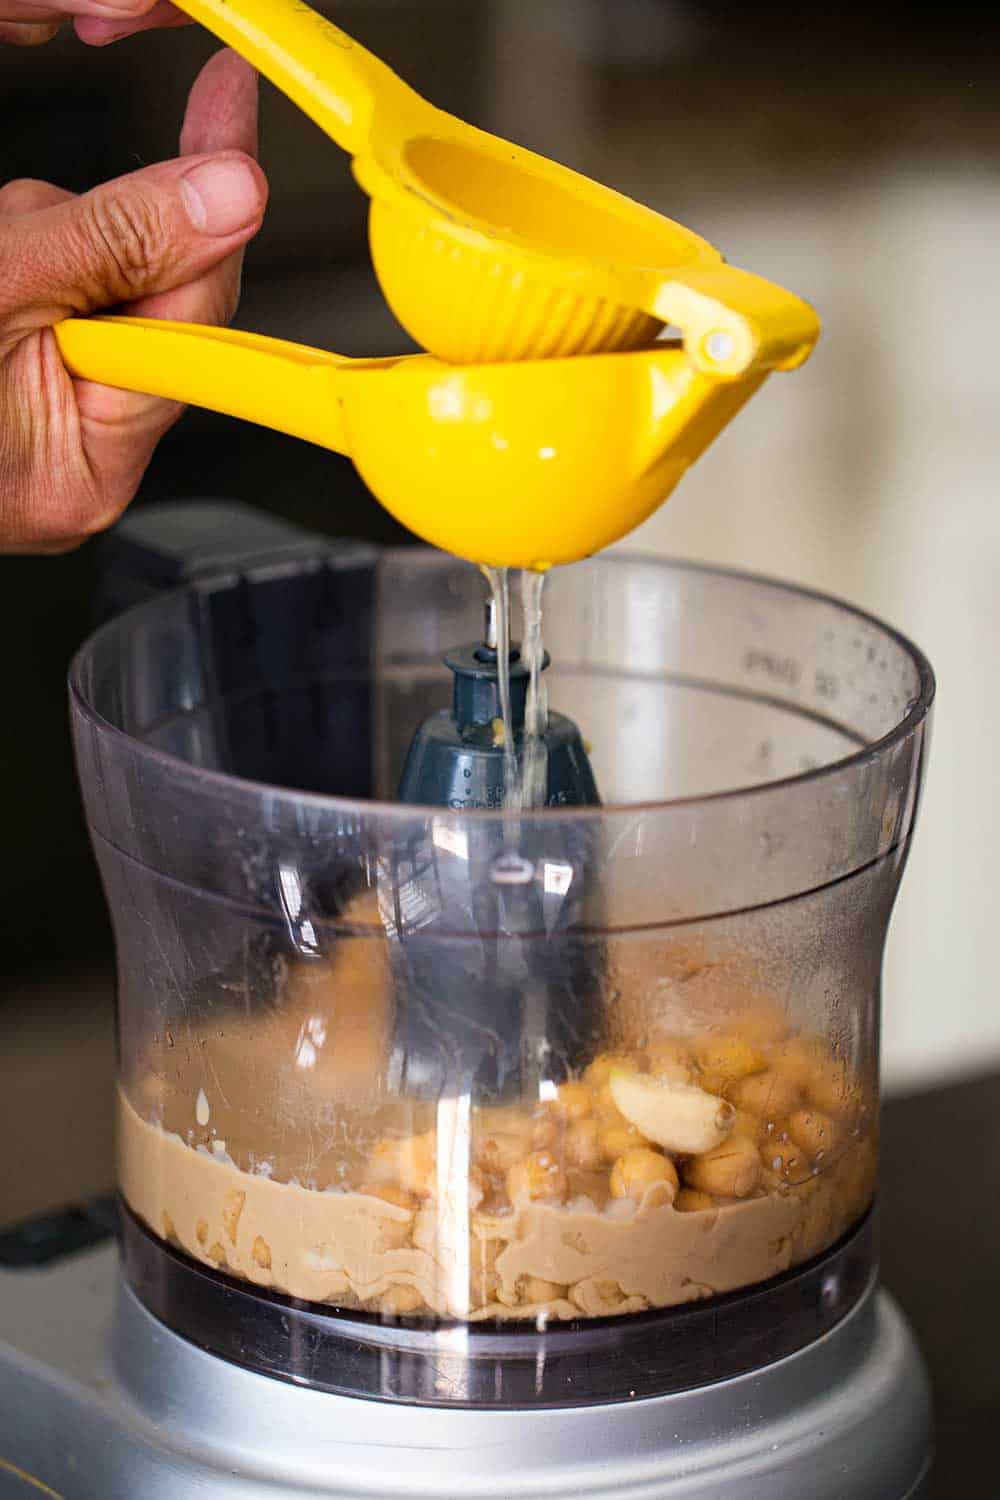
Fresh lemon juice adds a little acidity to the final dish and brightens the flavor profile in a subtle manner.
Pour the juice directly into the food processor or blender.
EXPERT TIP: You need about 2 tablespoons of fresh lemon juice, this is typically from one large, juicy lemon. Bottled lemon juice will work, too.
After adding salt, it’s time to purée the mixture.
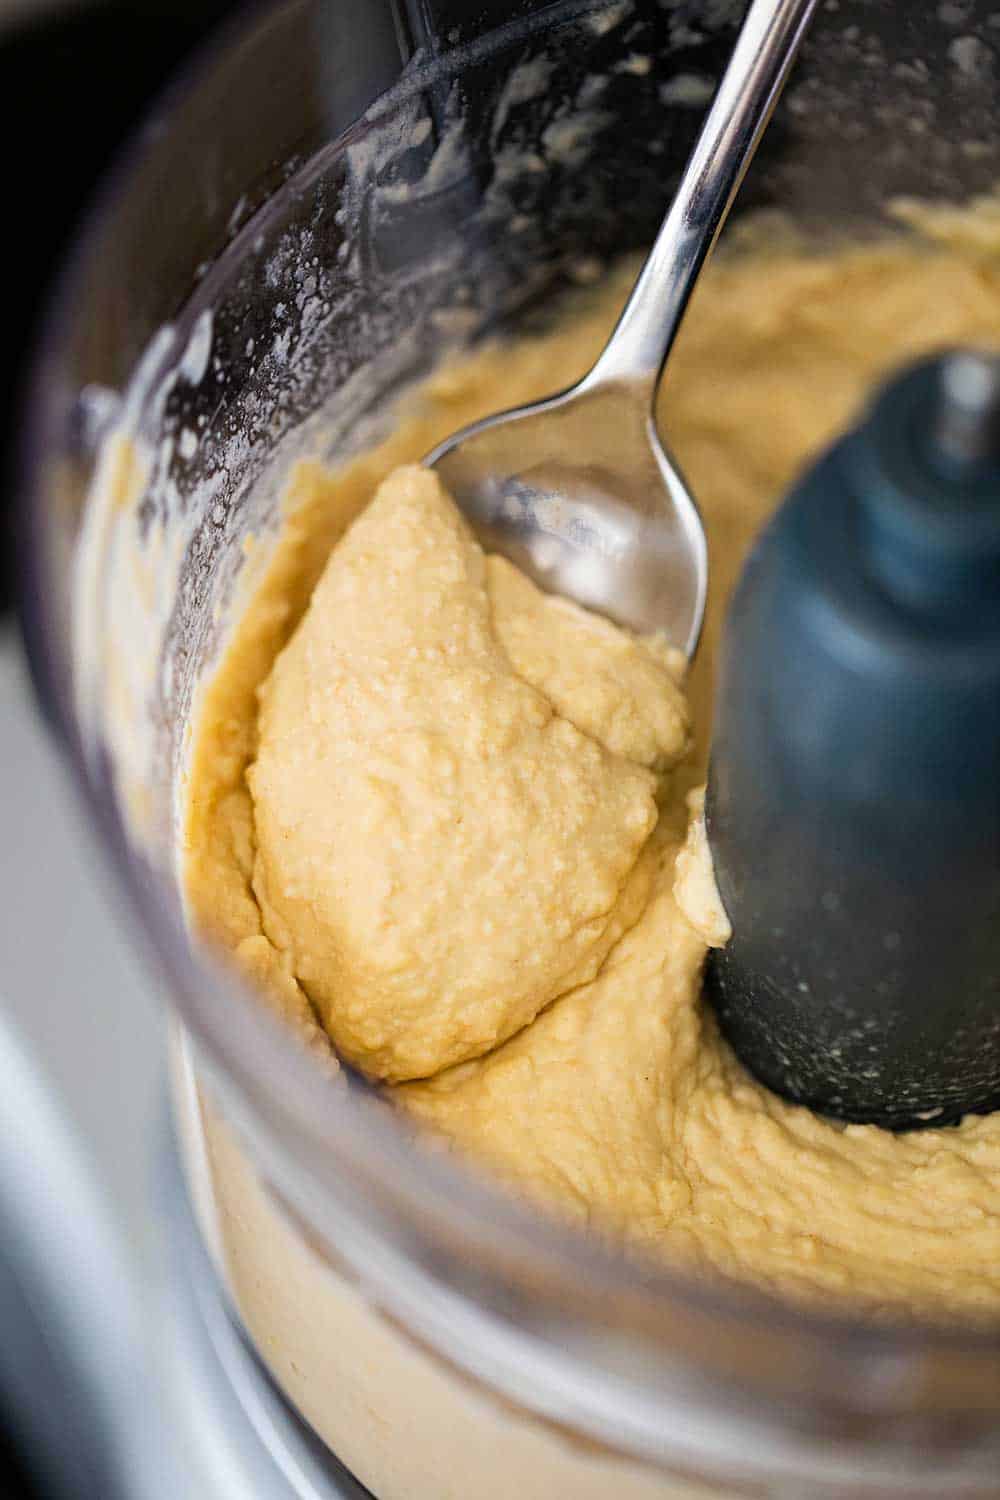
Process (or blend) on HIGH for a minute or two. If the mixture is too thick, pour in a little of the reserved liquid.
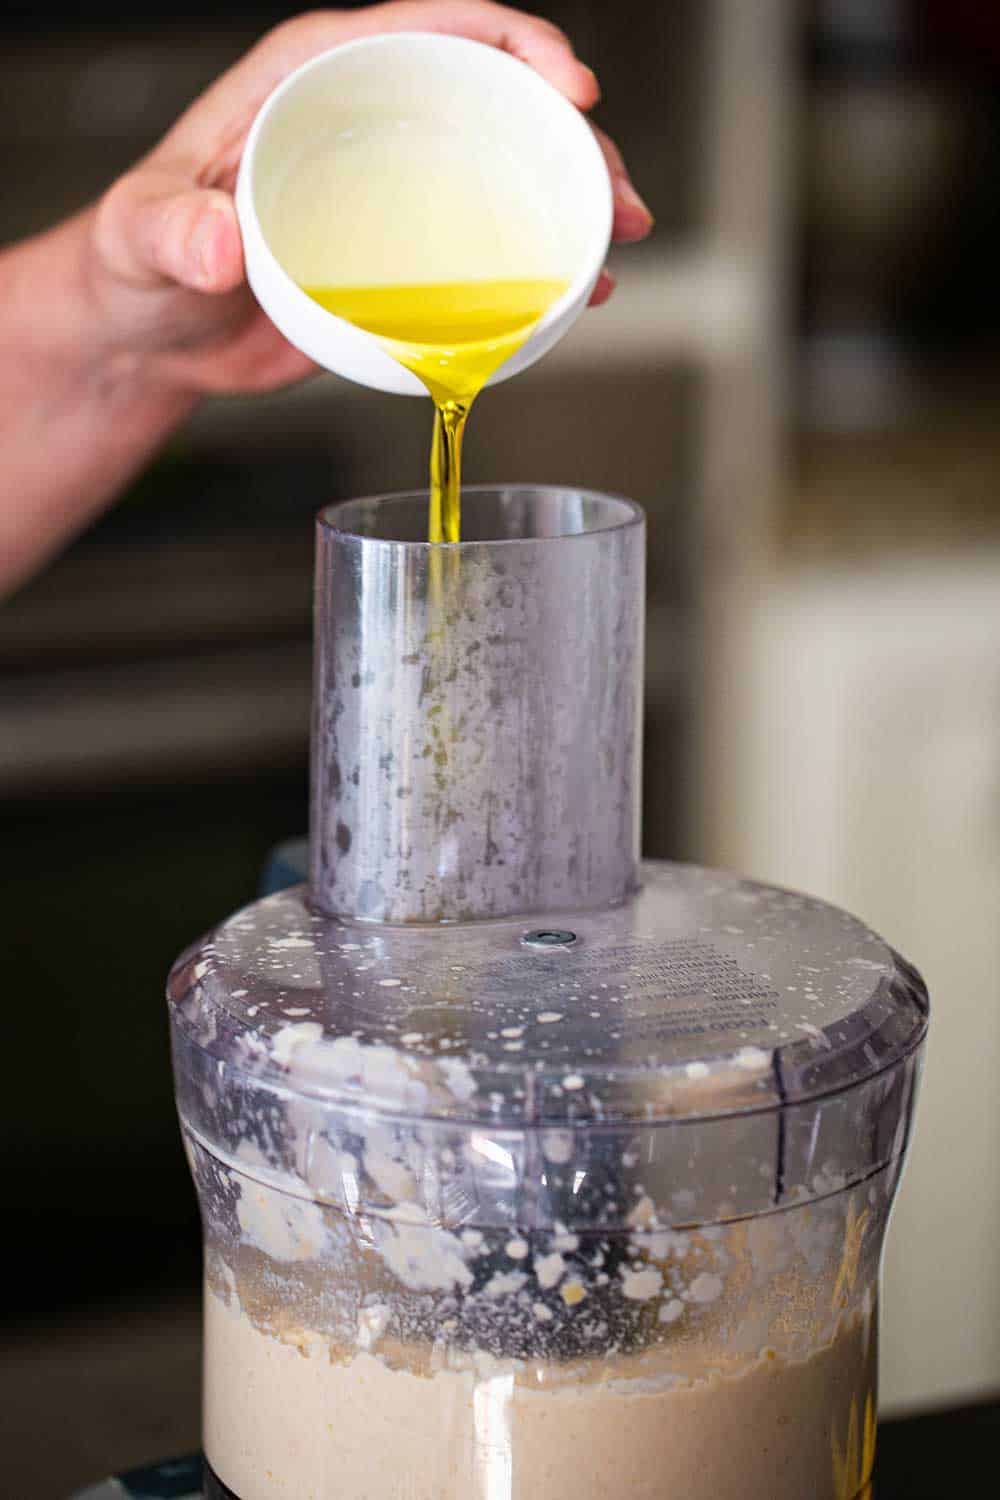
Now, with the motor running, carefully pour in the extra-virgin olive oil.
EXPERT TIP: Most canned chickpeas will include a little salt. We find that when using canned chickpeas, ¾ teaspoon of salt is the perfect amount. If you are starting with dried hummus, you’ll want to increase the salt amount to 1 tsp.
Tips for Making Homemade Hummus
- Quality Counts – If using canned chickpeas, check the label. It should be chickpeas, water, salt, and very few preservatives. Most major brands are perfectly fine to use.
- Don’t Add Too Much Liquid – A common mistake is to add too much liquid to the food processor and get very thin, or runny, hummus. We drain our chickpeas into a bowl, then pour the liquid into a measuring cup. You should have about 6 oz. of liquid. Add half of that (3 oz) to a bowl with the drained chickpeas.
- Storing – Once the hummus has been prepared, it’s okay to serve immediately. It will keep in an air-tight container in the fridge for up to 1 week.
- Can You Freeze Hummus? Yes! You can freeze hummus for up to 4 months. It takes about 2 hours for it to fully thaw.
At this point, check the consistency. If you want the mixture a little thinner, continue processing/blending, and add more of the reserved liquid in small portions until the desired consistency is reached.
When To Serve
This really is the perfect dip for serving at parties.
But it’s also so simple to prepare, we love whipping up a batch to snack on a lazy afternoon, or by the pool, or at the beach.
It travels perfectly, so it’s a snap to bring on a picnic or to a party across town!
When you make this, you will honestly never want to buy the store-bought variety again!
It’s also wonderful with chopped roasted peppers or sun-dried tomatoes stirred in.
EXPERT TIP: We love serving it with sliced vegetables and baked pita chips. To make your own pita chips (which are super easy), simply cut a pita into triangles, brush with olive oil, sprinkle on a little salt and pepper, and bake in a 375°F oven for 5 to 7 minutes. Keep an on them, don’t let them burn. Keep in an air-tight container until ready to serve!
Ready to make one of the tastiest and easiest dips in the world? Go for it!
And when you do, be sure to take a photo, post it on Instagram, and tag @HowToFeedaLoon and hashtag #HowToFeedaLoon!
Easy Homemade Hummus
Video
Equipment
- Food processor, or blender
Ingredients
- 1 16 oz can chickpeas garbanzos, in water
- 4 cloves garlic whole
- ½ cup tahini
- 2 tablespoon lemon juice fresh, usually from 1 large lemon
- ¾ teaspoon Kosher salt
- 2 tablespoon extra-virgin olive oil plus extra, for garnish
- black pepper for garnish
- vegetables cut, such a red, green, and yellow bell peppers
- baked pita chips see NOTES for preparing them
Instructions
- Drain the chickpeas into a microwave-safe bowl. Pour the liquid into a measuring cup (you should have close to 6 oz). Place the chickpeas into the bowl. Pour half of the liquid in with the chickpeas, reserving the remaining liquid.
- Add the garlic to the bowl. Cover with paper towels and microwave on HIGH for 4½ minutes. Use hot pads or a kitchen towel to carefully remove the bowl from the microwave.
- Transfer the chickpeas, garlic, and any liquid from the bowl to a food processor or blender. Add the tahini, lemon juice, and sea salt. Process or blend until puréed, usually 1 to 2 minutes. You may need to scrape the sides down with a spatula during this process.
- With the motor running, slowly pour the olive oil through the tube (or top of your blender). Once fully incorporated, check the consistency. If too thick, turn the processor/blender back on, and more of the reserved liquid in small increments until the desired consistency is reached.
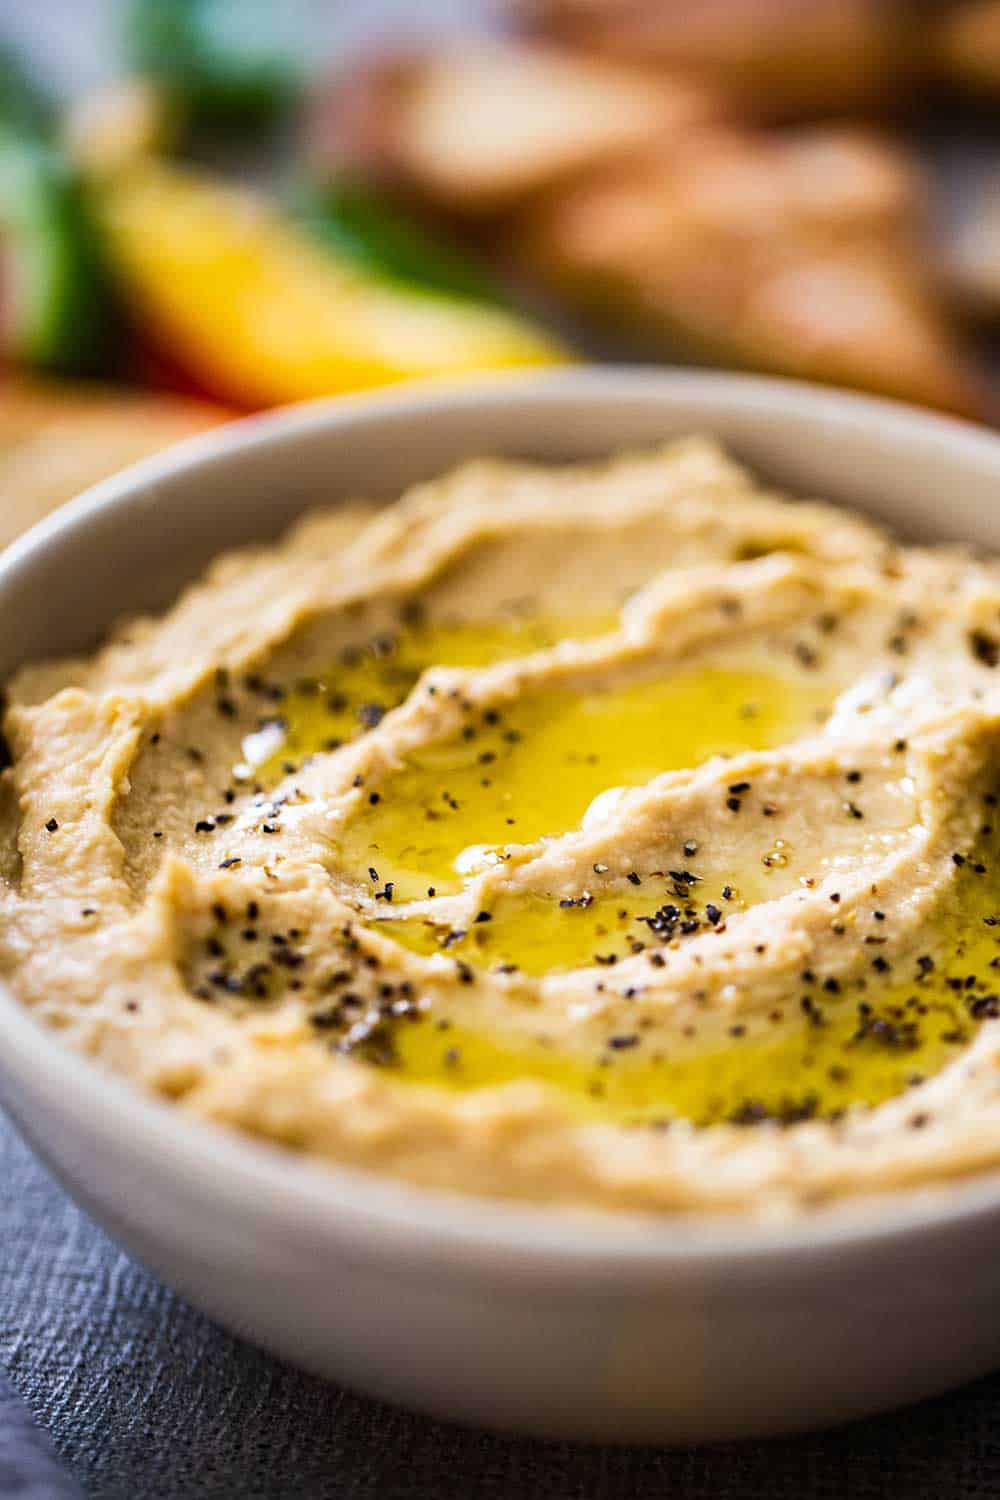
- If serving immediately, transfer to a bowl. Use the back of a spoon to create little valleys on the surface of the hummus. If desired, drizzle extra-virgin olive into the valleys and sprinkle on freshly ground black pepper. If not serving immediately, store in an air-tight container in the refrigerator for up to 1 week.






Cari says
This is one of our favorite snacks! I’m definitely going to try this!
Kris Longwell says
Hi Cari!!! Y’all are going to love it…we think!!! It’s so dang easy to make, too!!! Let us know if you make it!! xoxoxo
Anita says
Hi – the link for the tahini would not open. Can you send me the brand name of what you use please?
Thank you!
Kris Longwell says
So very sorry about that, Anita! We fixed the link, but here it is again. https://amzn.to/2UzJXz0 Hope you get a chance to make the hummus! And if you do, please let us know what you think! All the best, Kris & Wesley
Risa Serin says
Eat Hummus all the time but I usually buy it already made. After watching your video, I’m definitely going to make it myself. Thanks Kris & Wesley! Love this recipe and you guys are the greatest!
Kris Longwell says
Hi Risa!! This hummus is so easy to make and better than store bought! Let us know if you make it! And thank you SO MUCH!!!! xoxox