

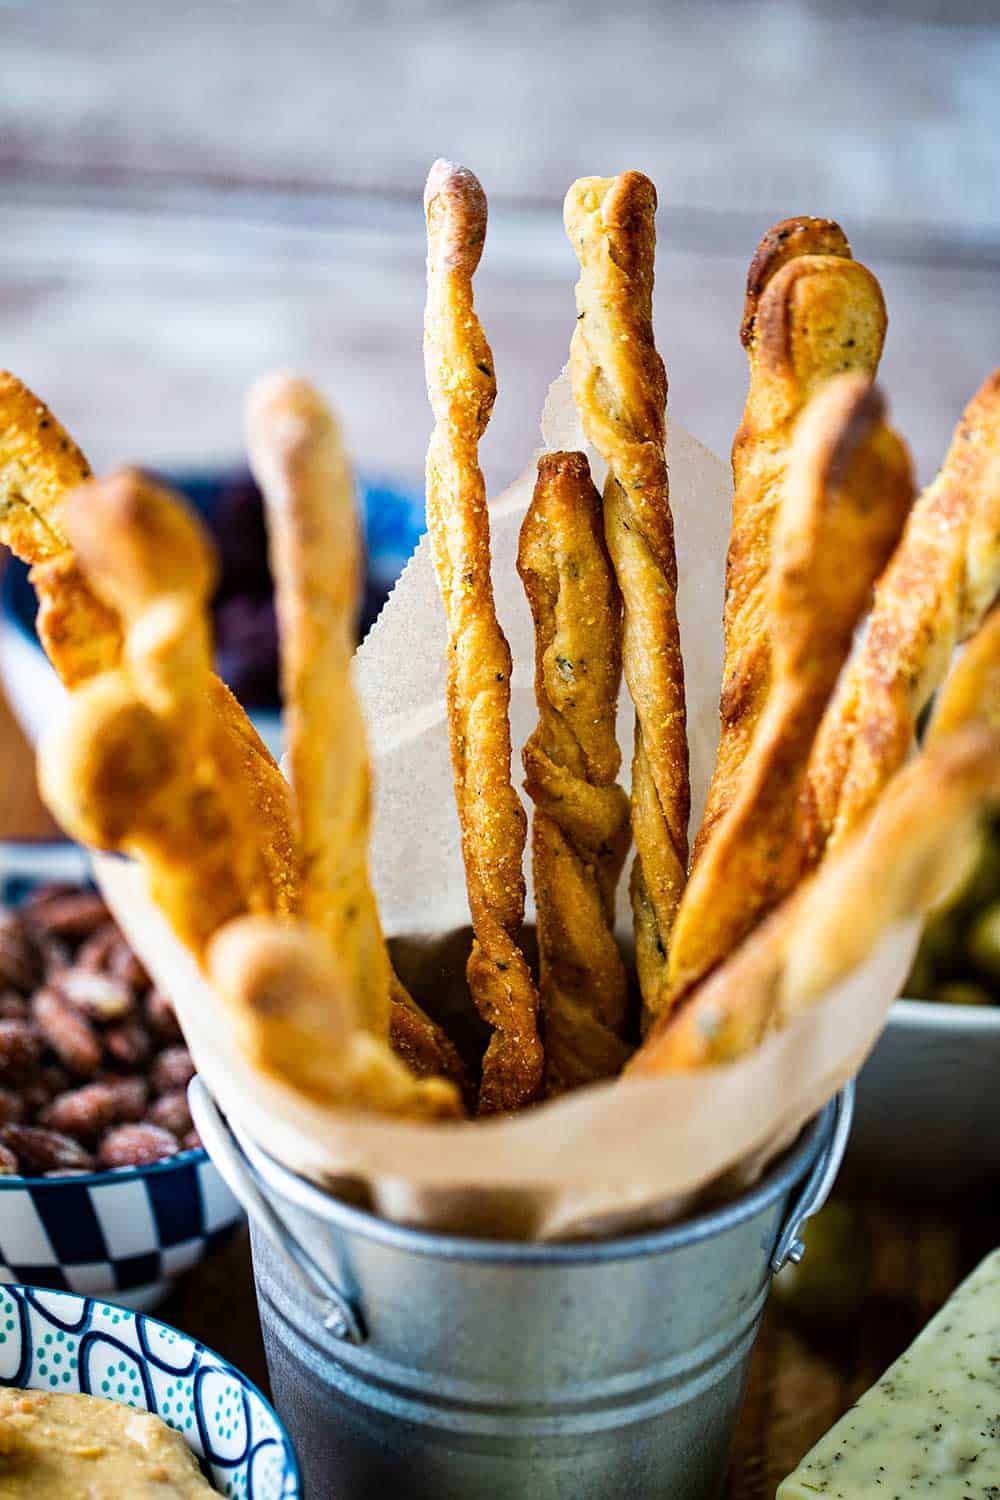
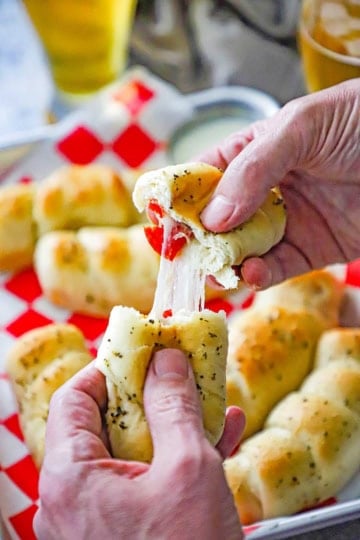
If you want to serve a fun and festive appetizer that’s not too filling but super delicious, then you need to check these babies out.
Super crunchy but also amazingly delicious, these breadsticks are perfect for munching on a weekend afternoon, or for serving at a party. They make a wonderful component to a fabulous charcuterie board right next to our marinated olives and homemade hummus.
How To Make Grissini
First of all, you may be asking, what are grissini? They originated in Italy several centuries ago. Learn more here. You can find them served as an appetizer in many Italian restaurants all over the world.
Making homemade breadsticks is really not difficult; you just need to give yourself enough time to allow the dough to rise slowly.
You can also adapt them to your own tastes by including your own favorite herbs and spices.
Making the Dough
We use a stand mixer for making the dough; however, a hand-mixer, or even your hands, with a lot of elbow grease, will yield excellent results.
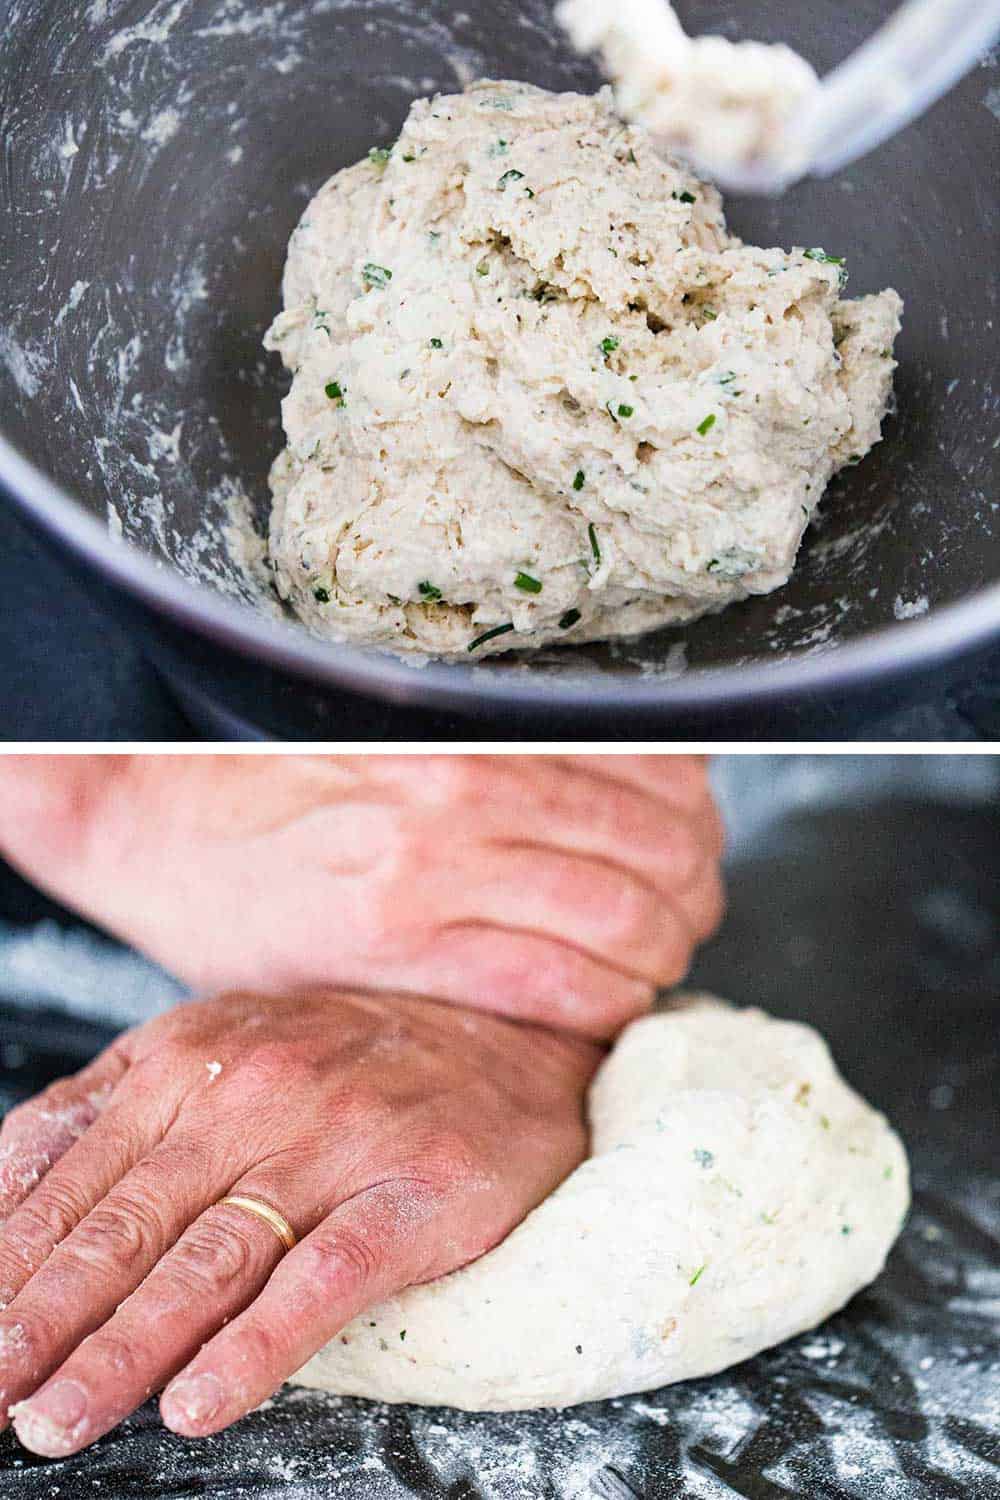
After you’ve whisked together all of the dry ingredients with the herbs and spices, you’ll need to slowly add in the room-temperature water.
EXPERT TIP: Don’t mix the dough for too long; otherwise, the dough will not be elastic enough to roll out. As soon as the mixture pulls away from the sides of the bowl, remove it. Add a decent amount of flour to your surface and then use the palms of your hands to knead the bread for a couple of minutes. The dough should be smooth, elastic, and not sticky.
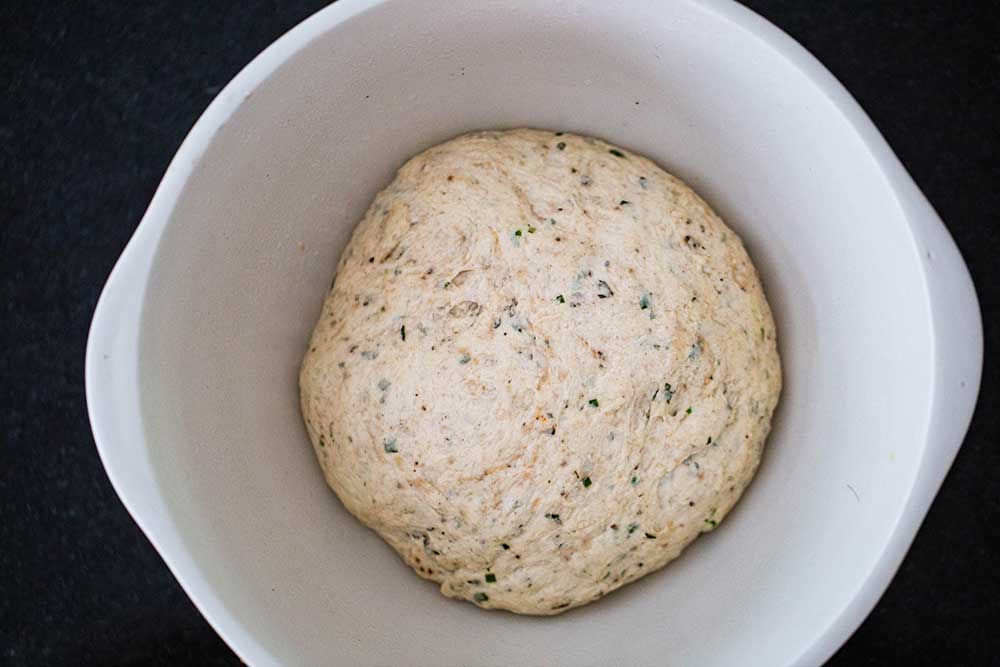
The dough for grissini does well when it has time to rise slowly in the fridge for at least 6 hours, and as long as 24 hours.
Form the dough into a smooth ball and then place it in a lightly oiled bowl and cover with plastic wrap.
EXPERT TIP: The dough most likely will not double in bulk, which is okay. The yeast is doing its work – nice and slow – in the fridge, and when it’s time to bake the grissini, they will puff slightly, and then dry out. Which is exactly what we want.
How To Form a Grissini Breadstick
First of all, you need to remember that grissini sticks don’t have to be completely identical. That’s part of their charm.
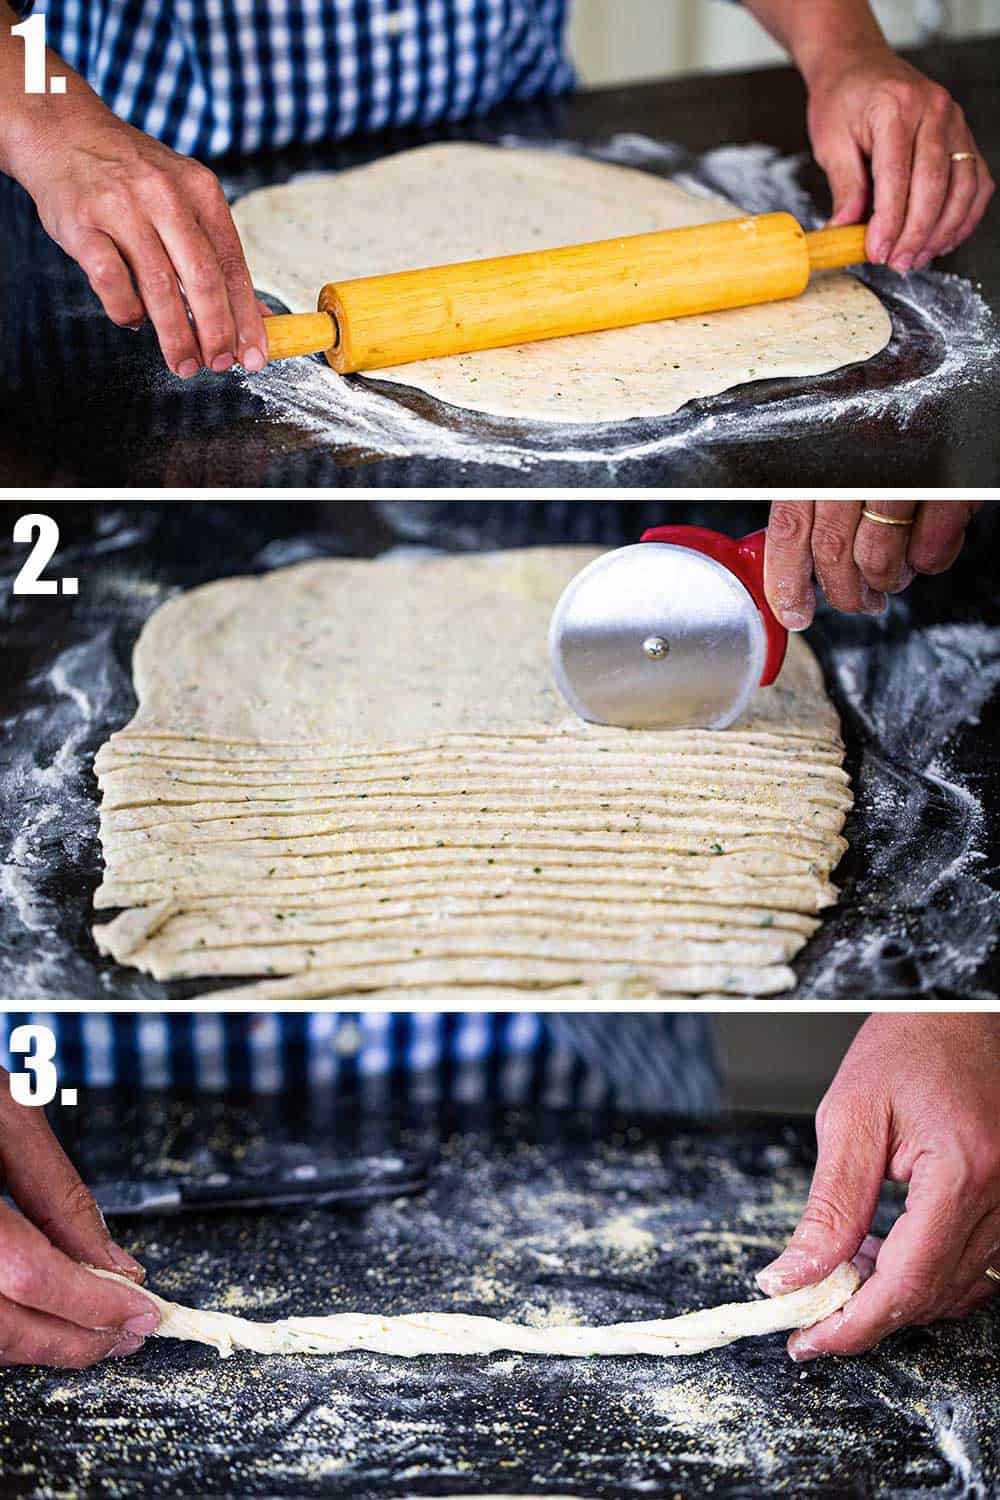
We use our rolling pin to roll the dough out on a floured surface to a rectangle roughly about 10″x15″. Try to keep the dough uniform in thickness, about ⅛” thick.
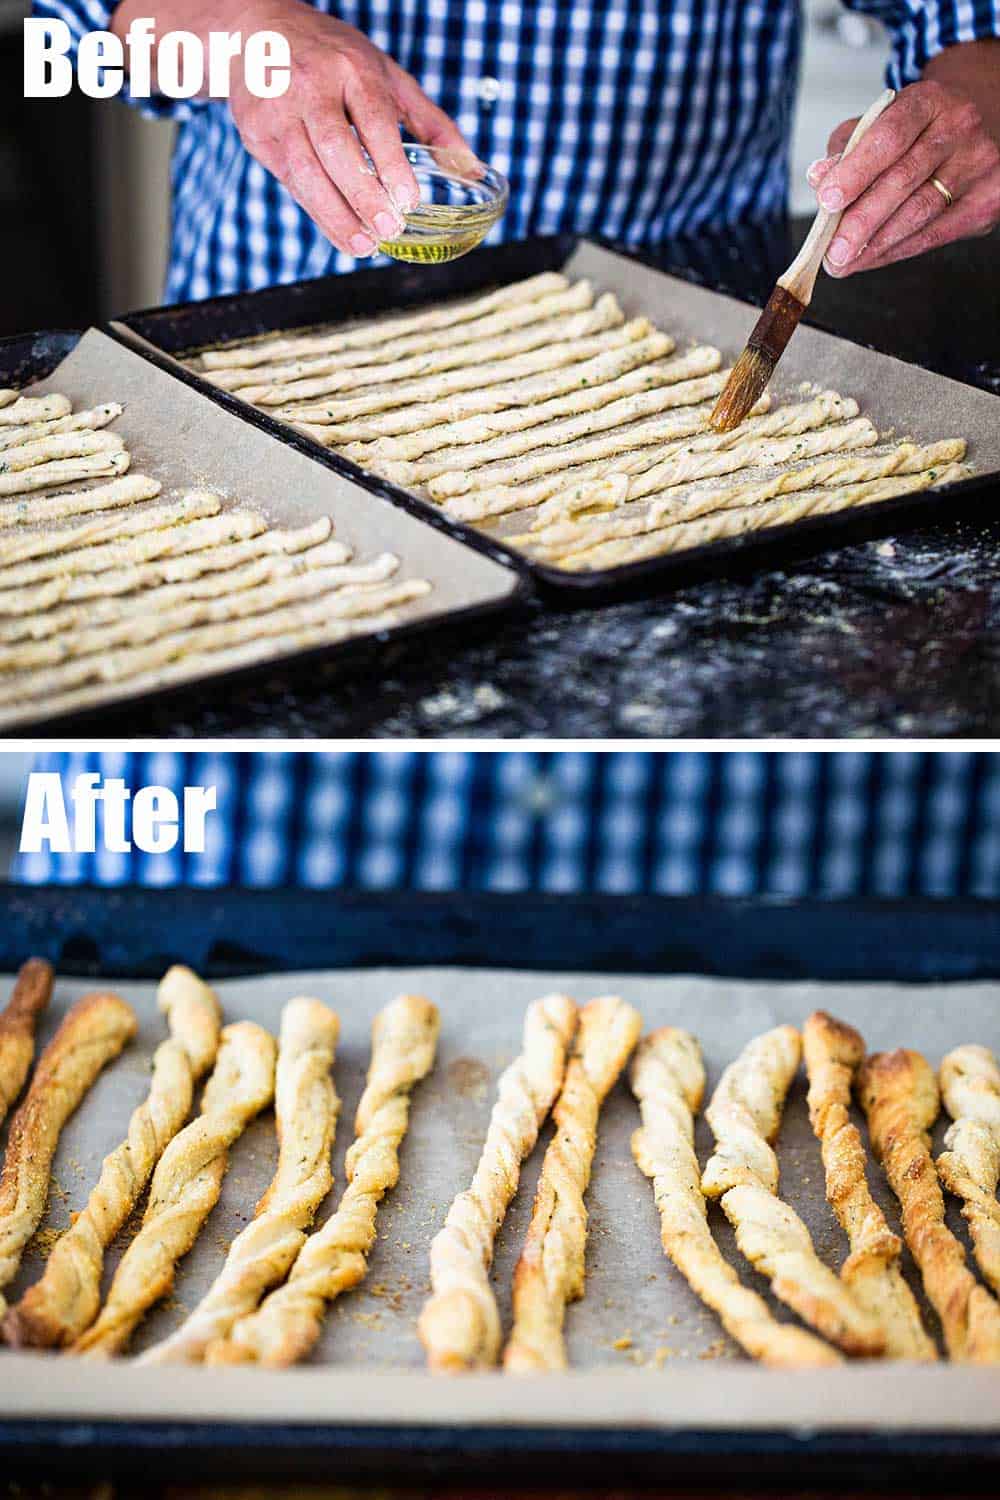
EXPERT TIP: A pizza cutter makes cutting the strips a snap. We pull each small rope up with two hands and spin it a little (like a tiny jump rope), which will elongate it. Fold them back, end to end, and then gently twist them. Place on baking pans that have been lined with parchment paper and sprinkled with cornmeal.
A brush of olive oil over the uncooked grissini will help to allow the sticks to become nice and golden as they bake.
If desired, you can sprinkle sesame seeds, poppy seeds, or everything bagel spice on them at this point.
EXPERT TIP: It’s extremely important to keep an eye on the breadsticks as they bake. Some thinner, smaller sticks may cook (and brown) more quickly than larger ones. After 17 minutes, switch the two baking sheets, turn them 180°F, and then use tongs and/or a spatula to gently turn each stick over. All of this will help the sticks to brown evenly. Once golden, remove them from the oven and allow them to cool on racks.
When To Serve Grissini
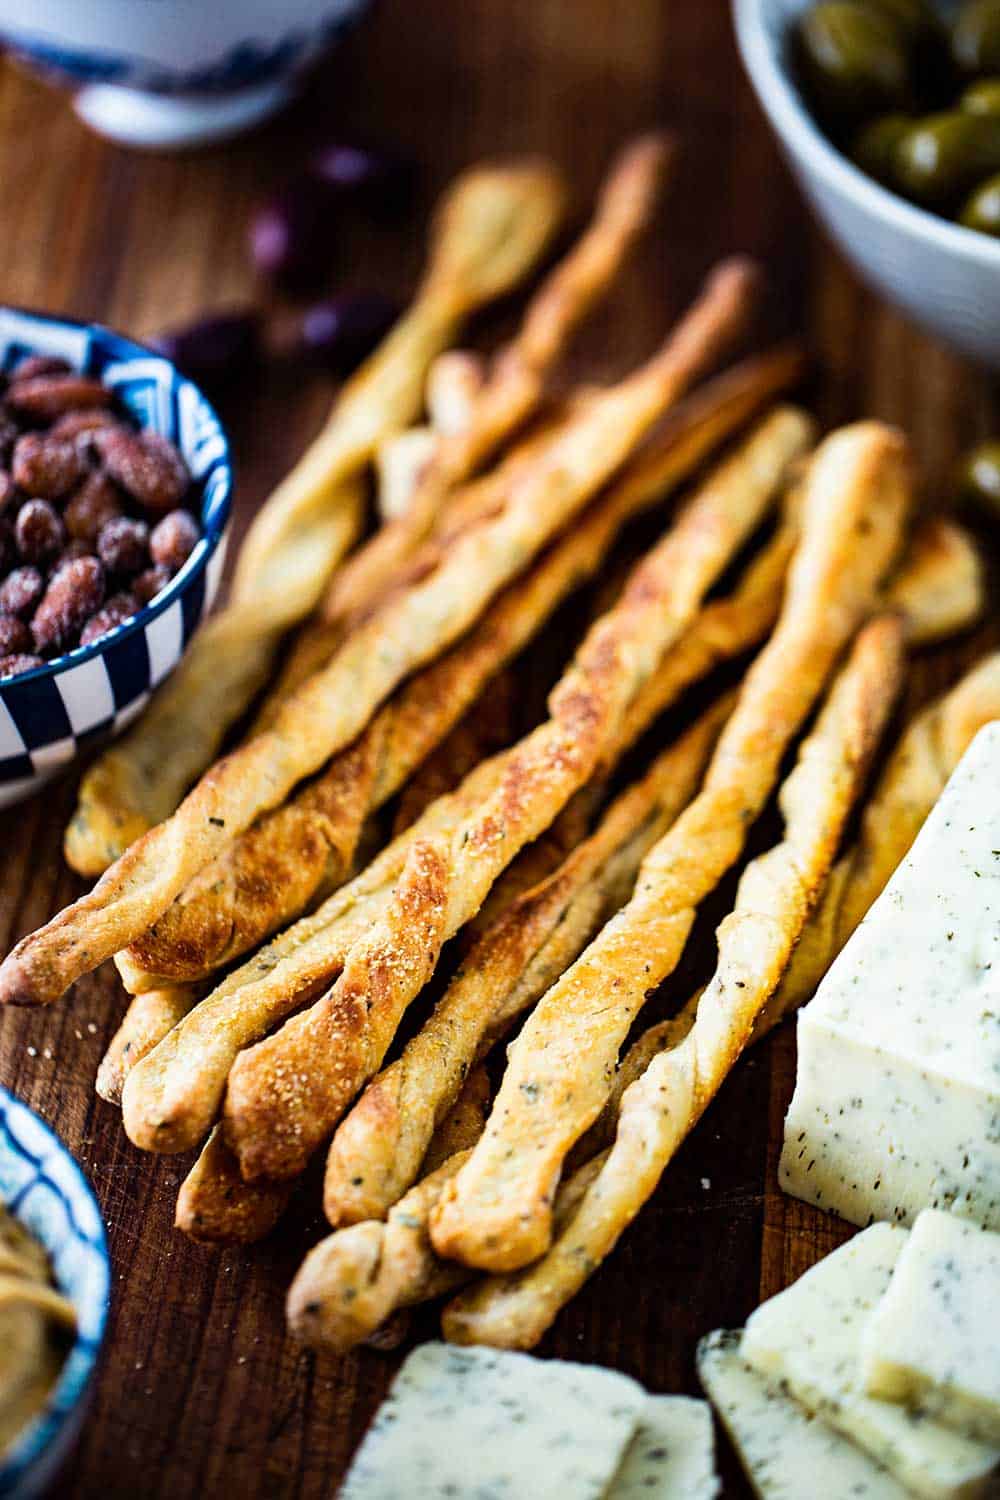
We love to serve these as an appetizer before a wonderful dinner party. They are delicious, yet not filling.
They make a wonderful addition to a charcuterie board of Italian cheeses, meats, as well as marinated olives and hummus (recipe to come).
EXPERT TIP: These can be made several days in advance of serving. Keep them in an air-tight container. Check them several hours before serving. If they feel a little soft, then turn your oven on to the lowest setting, usually 170°F. Place the grissini on baking pans lined with racks and place them in the oven for 1 hour. It will crisp them up beautifully without browning them any further.
We have never served these to guests when they didn’t get rave reviews.
There is just something so festive about them. And they are addictively delicious!
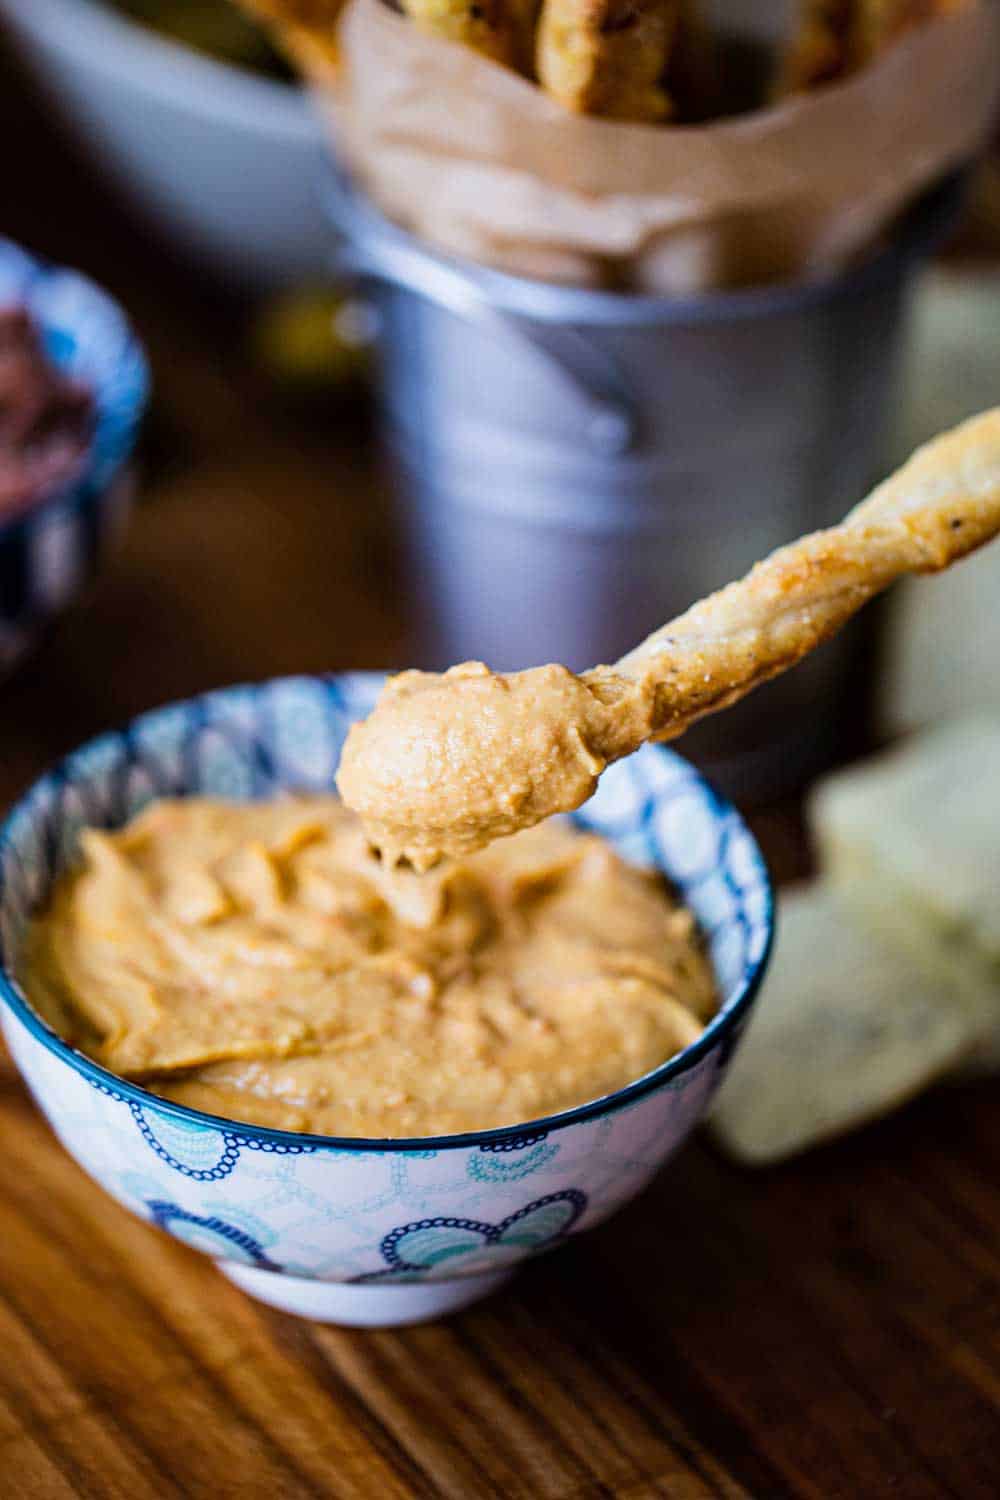
And they are so great for plunging into your favorite dip! Amazing!
Ready to make the most delicious and festive appetizer that will rival your favorite Italian joint? Go for it!
And when you do, be sure to take a photo, post it on Instagram, and tag @HowToFeedaLoon and hashtag #HowToFeedaLoon!
Grissini (Italian Breadsticks)
Video
Equipment
- Stand mixer with dough attachment
- 2 baking pans lined with parchment paper
Ingredients
- 2¼ cups bread flour
- 1 teaspoon instant yeast or active dry yeast
- 1 teaspoon salt plus extra for dusting sticks
- ½ teaspoon black pepper freshly ground
- 1 teaspoon garlic powder
- ⅓ cup Parmigiano-Reggiano grated, or Parmesan
- 1 tablespoon chives fresh, minced
- 1 tablespoon rosemary fresh, chopped, or any other fresh herb
- 1 cup water room temperature, 70° to 80°F
- cornmeal for dusting parchment paper
- 2 tablespoon olive oil for brushing
Instructions
- In the bowl of a stand mixer, whisk together the flour, yeast, salt, pepper, garlic powder, cheese, and herbs.2¼ cups bread flour, 1 teaspoon instant yeast, 1 teaspoon salt, ½ teaspoon black pepper, 1 teaspoon garlic powder, ⅓ cup Parmigiano-Reggiano, 1 tablespoon chives, 1 tablespoon rosemary
- Add the dough attachment and turn the mixer on medium-low. Slowly add the water and mix until the dough is just starting to come together and is pulling away from the sides of the bowl.1 cup water
- Remove the dough and place it on a lightly floured surface. Use the palms of your hands to knead the dough until soft and elastic, about 1 to 2 minutes. If the dough feels wet or sticky, then sprinkle a little more flour on it as you are kneading.
- Spray a large bowl with cooking spray. Form the dough into a ball and smooth it with your fingers. Place the dough in the prepared bowl and turn to coat with oil. Cover with plastic wrap and place in the refrigerator for at least 6 hours, preferably overnight for 12 hours, or up to 24.
- Preheat your oven to 375°F.
- Turn the dough out onto a floured surface and use a rolling pin to roll the dough out to a rectangle roughly 10"x15", about ⅛" to ¼" in thickness.
- Use a pizza cutter or a sharp knife to cut the dough from the long side to the long side of the rectangle. You'll want each strip to be about ¼-inch wide.
- Carefully take each strip and spin it a bit with your two hands, similar to a jump rope. This will cause the strip to elongate. Don't overdo it, or the strips will get too thin. Fold the strip in half and use your fingers to twist the dough.
- Place the ropes of dough onto baking sheets lined with parchment paper and liberally sprinkled with cornmeal. You'll need two baking sheets (if you only have one, see NOTES).cornmeal
- Brush the ropes with olive oil and sprinkle with salt.2 tablespoon olive oil
- Place the baking pans on the racks and bake for 17 minutes, checking periodically for overbrowning (the bottoms will brown first). Switch the pans and rotate them 180°. Use a pair of tongs, or a couple of forks, to gently turn each stick over. This allows the breadsticks to brown evenly all over. Bake for another 5 to 10 minutes, until golden and crisp. Allow them to cool on racks. Serve at once, or store in an air-tight container for up to 4 days.


Kate says
I intended to comment on this back when you guys first posted it. It was amazing, and I’m going to have them with your lovely Charcuterie board you just posted. Thanks so much for the great recipes and just generally being awesome! I love you guys!
Kris Longwell says
Kate!! You have no idea how happy this makes us! Lots of folks are kind of nervous making these, and we’re glad you did and had such great success. They’re fun to make and so yummy, right? We appreciate you letting us know and for your extremely kind words. It honestly touches our hearts! Let us know how that charcuterie board turns out!!! xoxo Kris & Wesley
Jane says
Thank You for the recipe!!! Did I miss the oven temp♀️ Looks like a great recipe, is 425 degrees good? Thx:)))
Kris Longwell says
Hi Jane!! I don’t think our response went through…375°F. So sorry about that and thanks for letting us know! And let us know if you make them and how they turn out! All the best, Kris & Wesley