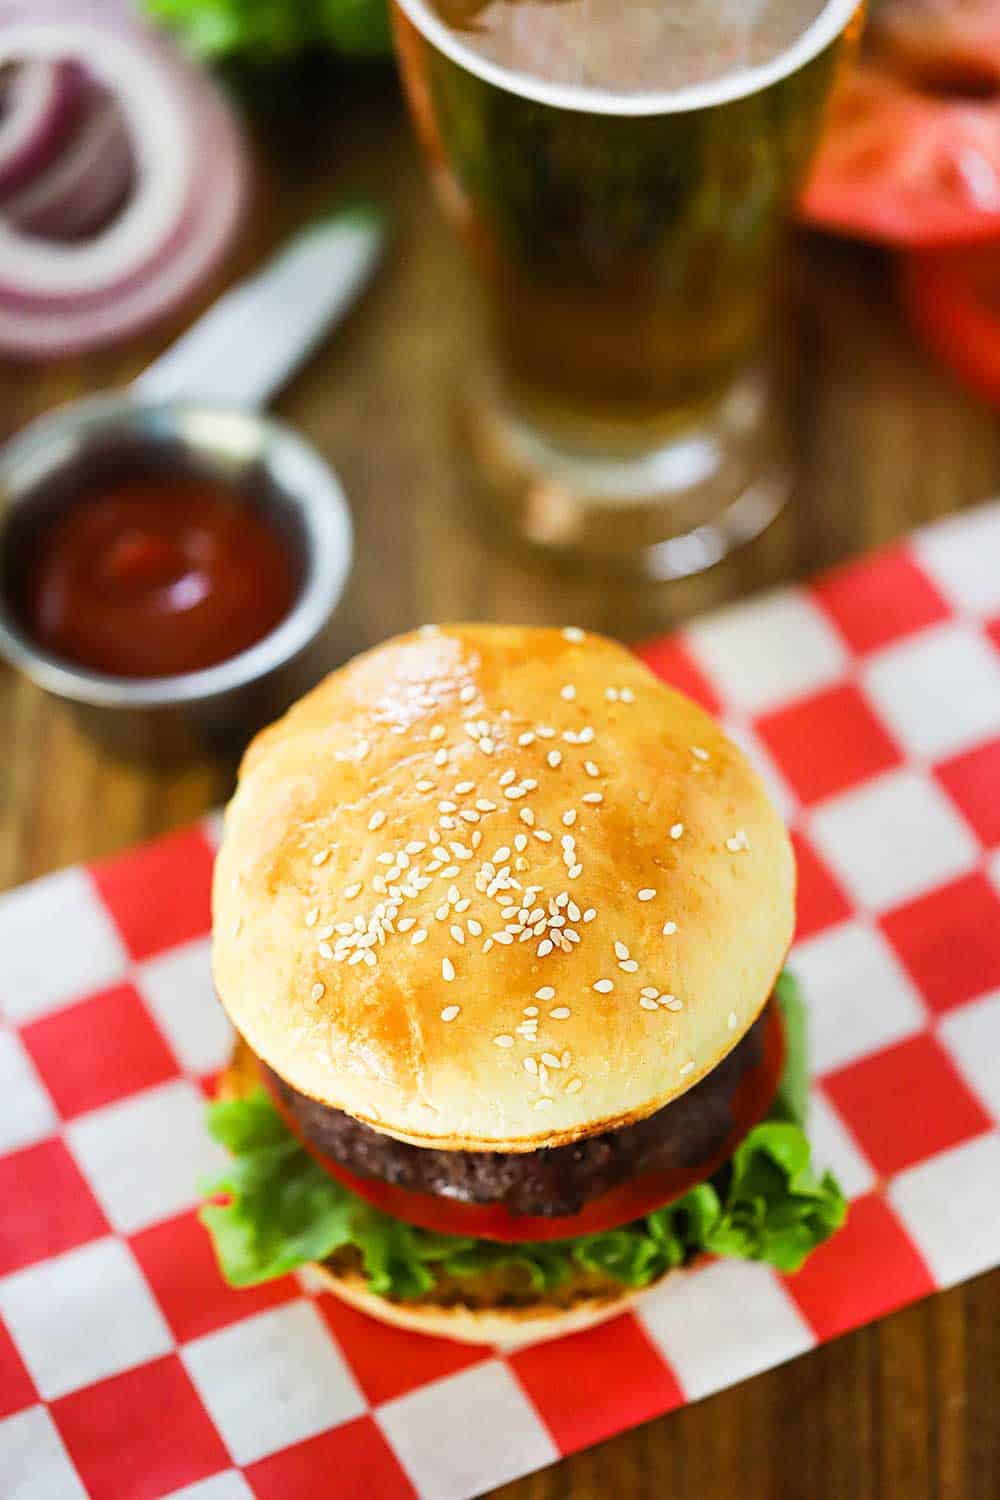
There’s nothing much more all-American than a delicious hamburger! Now, you can take your outdoor BBQ to the next level!
Everybody loves a delicious juicy burger right off the grill. We love our Black and Bleu Burger, Mushroom Swiss Burger, Curry Turkey Burger, and even our Honey Mustard Chicken Sandwich. Now, they’re even better with homemade buns! And you honestly won’t believe how easy they are to make!
How To Make Homemade Hamburger Buns
This hamburger bun recipe honestly is fool-proof.
Follow these basic steps and use simple, fresh ingredients, and you’ll have amazing results!
And besides delicious, they are so much fun to make!
The Secret to Fluffy Hamburger Buns
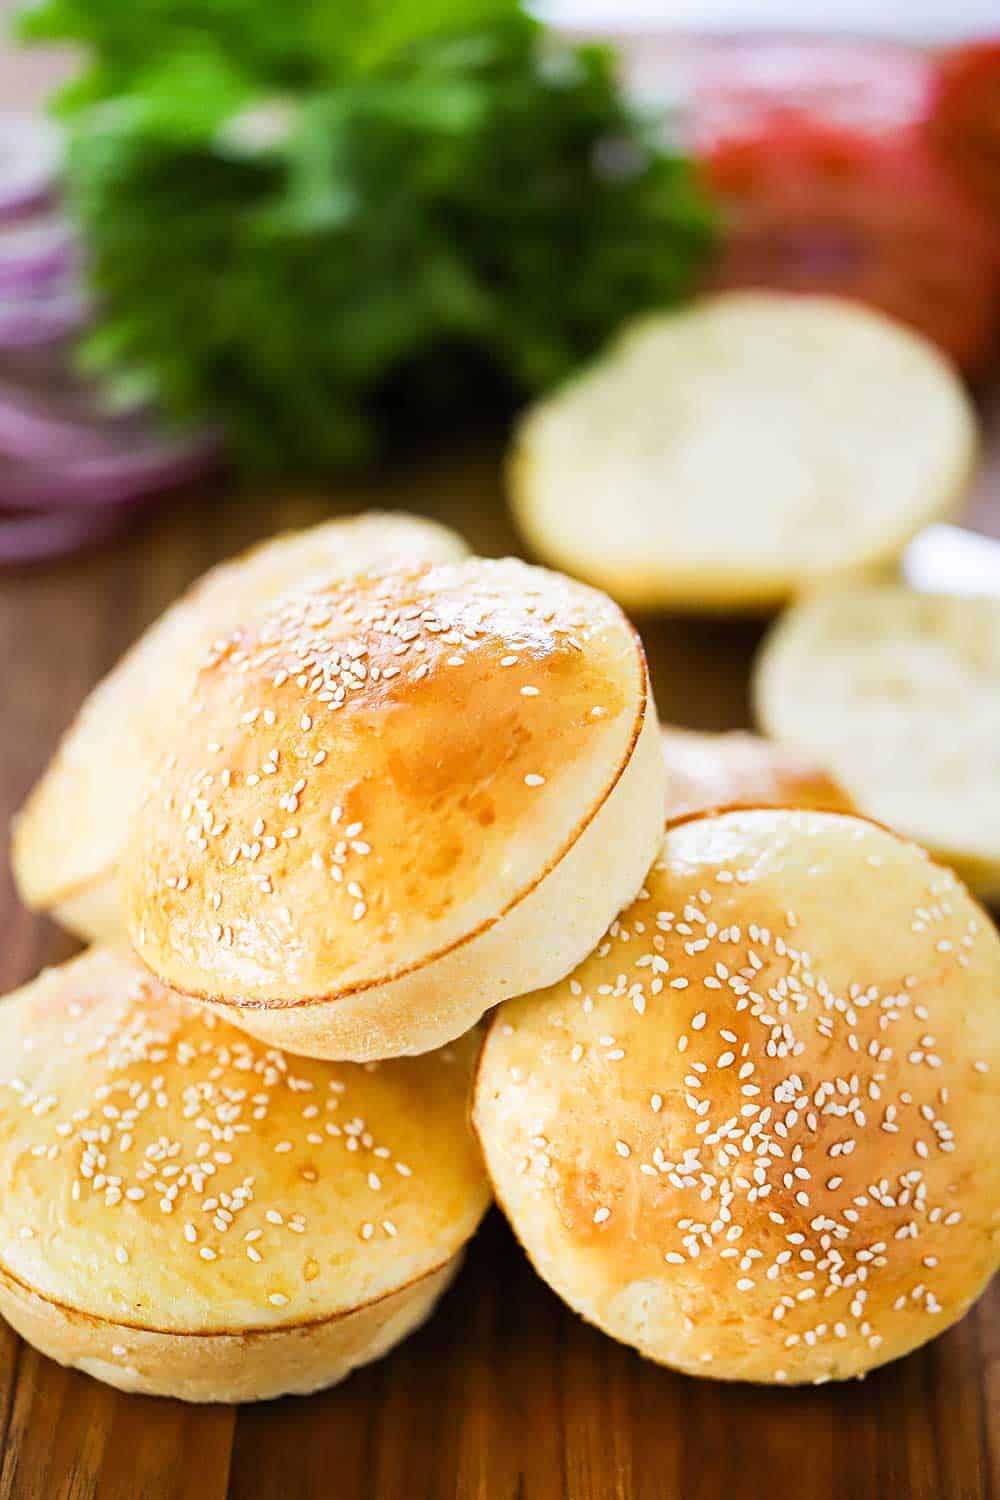
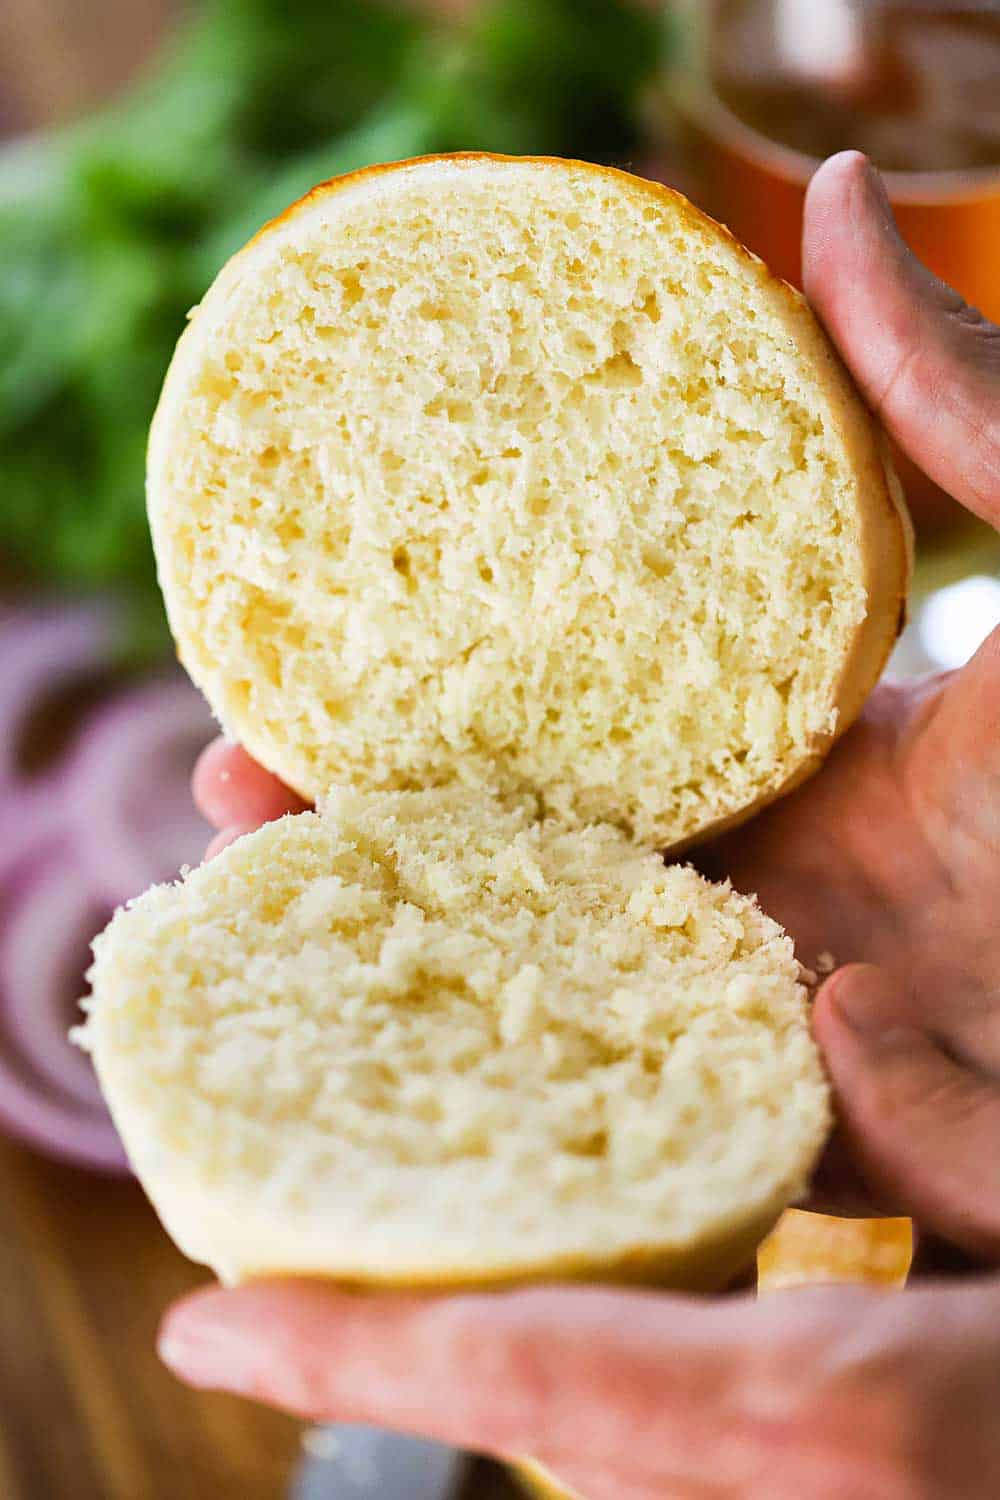
There are several tricks to make sure you get buns that have a soft, pillowy inside, yet just-sturdy enough exterior to hold a juicy hamburger.
It all starts off with yeast.
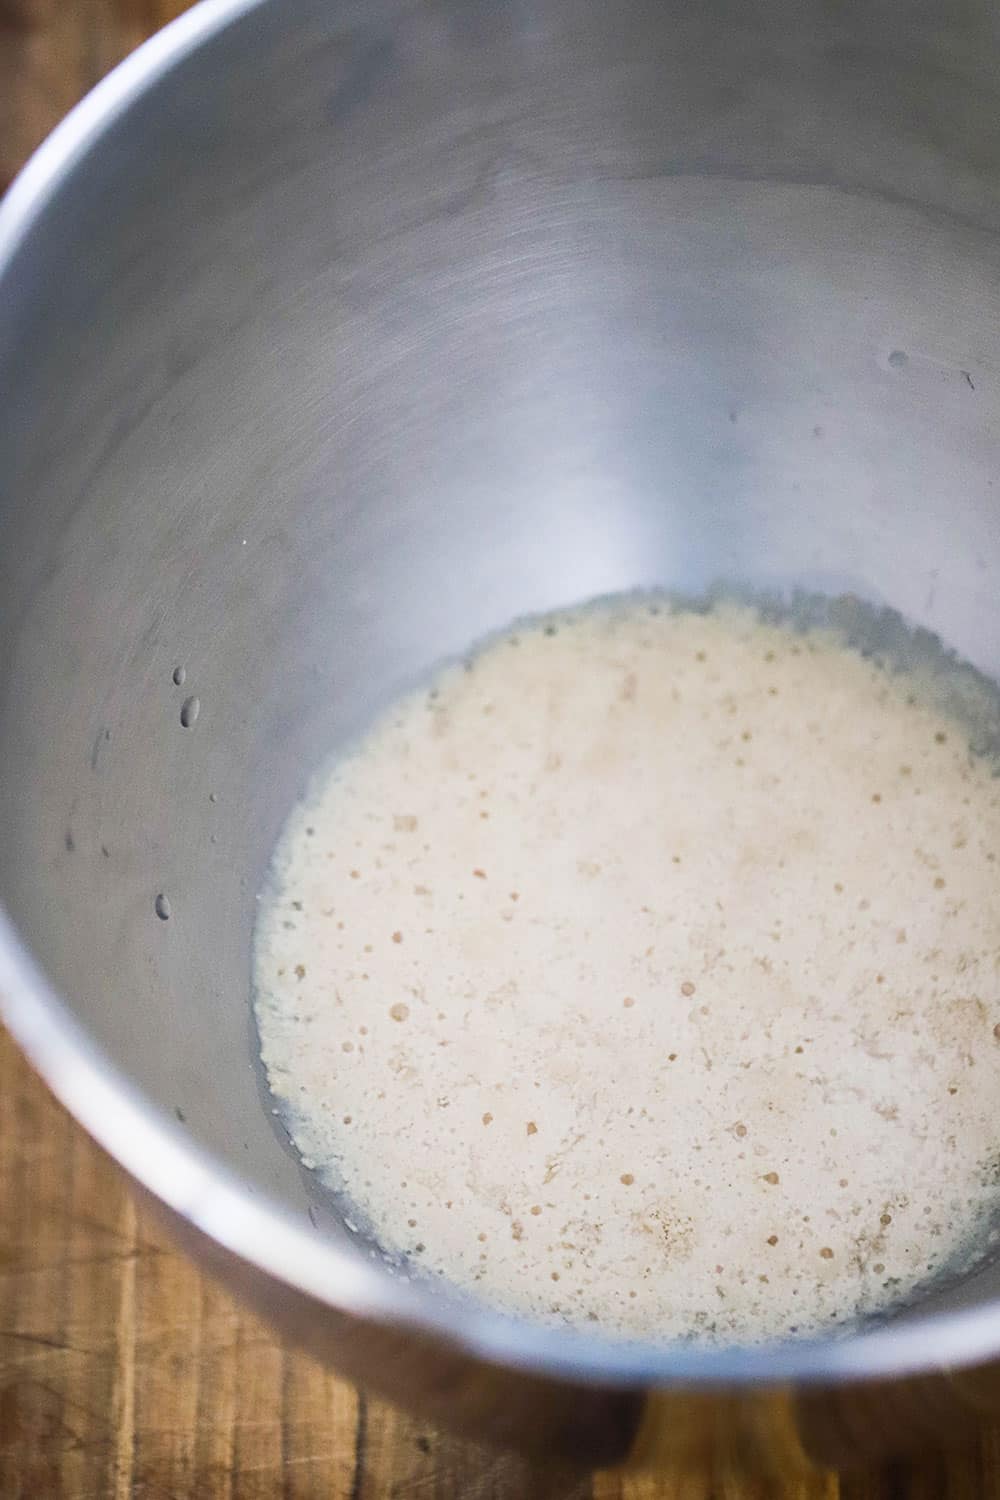
EXPERT TIP: Before you use your yeast, check the ‘best used’ date. Make sure it’s still fresh by at least several months. You can use Active Dry Yeast or Instant Yeast (aka Rapid Rise), both will work just fine. We typically use Active Dry Yeast. Heat the water in the microwave in short increments until you reach 105°F to 115°F. Dissolve the sugar and then stir in the yeast in the warm water in the bowl of your stand mixer.
The next step is to add the remaining wet ingredients of warmed milk (105°F – 115°F), 1 egg, and 1 tbsp butter (egg and butter at room temperature).
Mix together with the dough attachment, and then add 1½ cups of all-purpose flour and 2 tsp salt.
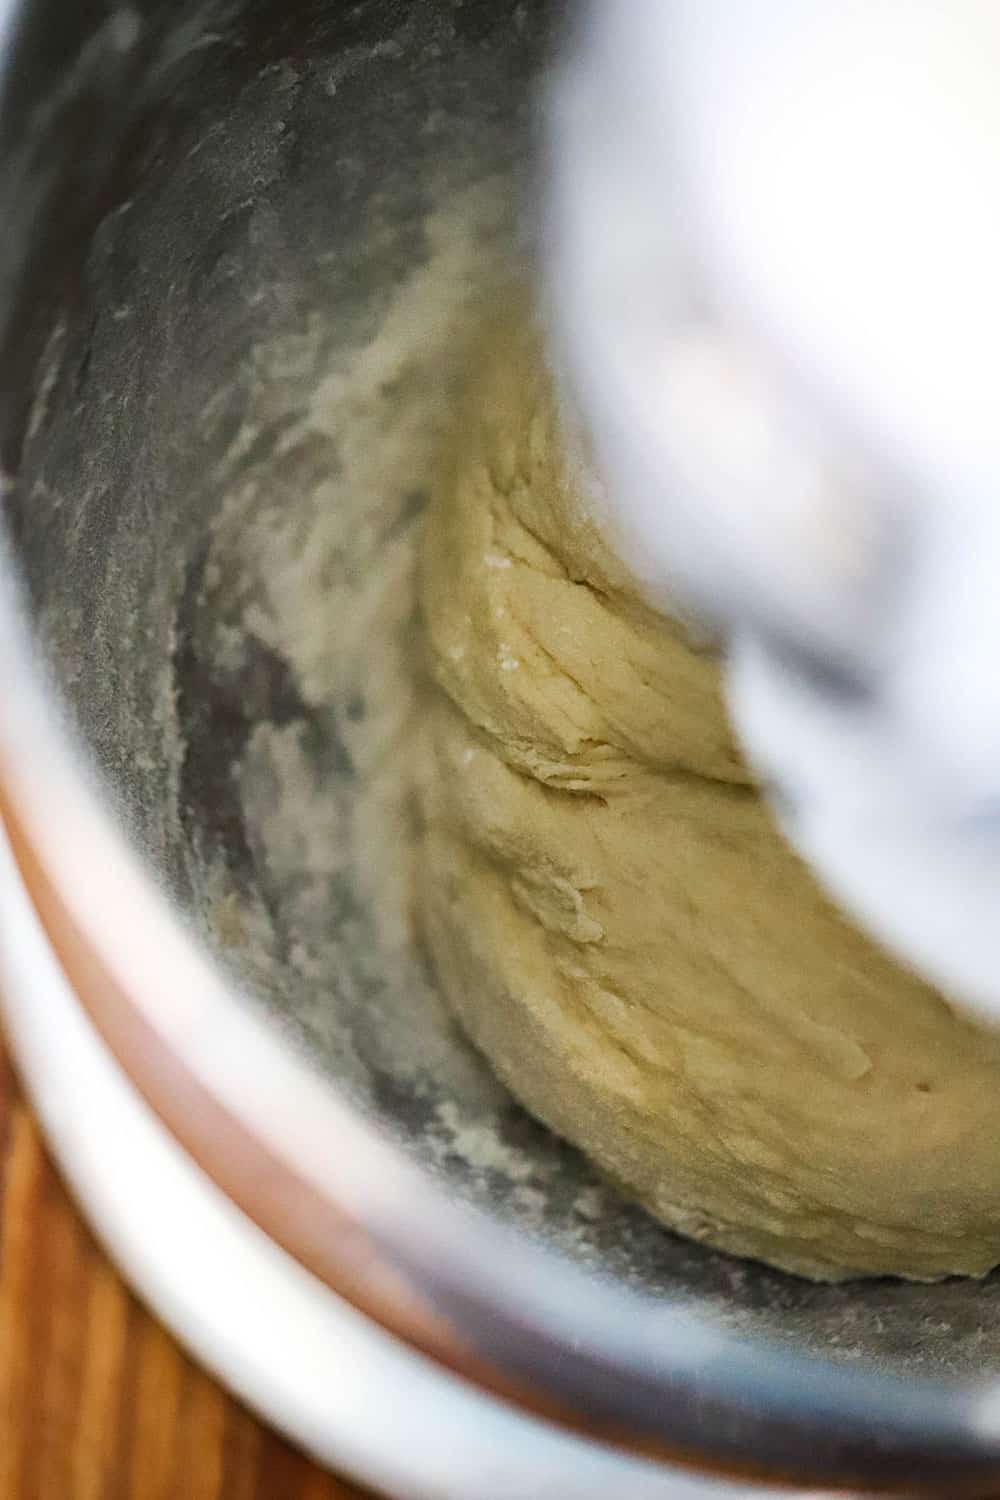
EXPERT TIP: At this point, the dough will still be very wet. With the mixer on medium to medium-low, start adding in the additional flour in about ½-cup increments. Mix until fully incorporated. You may need to stop occasionally to scrape down the edges with a spatula. You’ll most likely use 3¼ cups of flour. Keep slowly adding flour until the sides pull away from the sides. The dough will still very tacky and sticky to the touch.
After the dough has been kneaded (from the dough attachment) in the mixer on medium-high for 3 minutes, it’s time to let the dough proof.
Spray a large bowl with cooking spray. With lightly floured hands, pull the dough from the mixing bowl (and dough attachment), smooth it into a ball, and place in the oiled bowl.
Turn the dough over a couple of times to coat with the oil. Cover with a kitchen towel, and place in a warm, non-drafty area for 1 hour.
The dough will nearly double in size during this first proof.
Forming the Dough
Now, it’s time to form the dough into discs that will become perfect hamburger buns.
We use our hamburger bun pan and it gives us perfectly shaped buns every single time. However, you can also place the discs of dough on a lightly greased baking pan and still get good results.
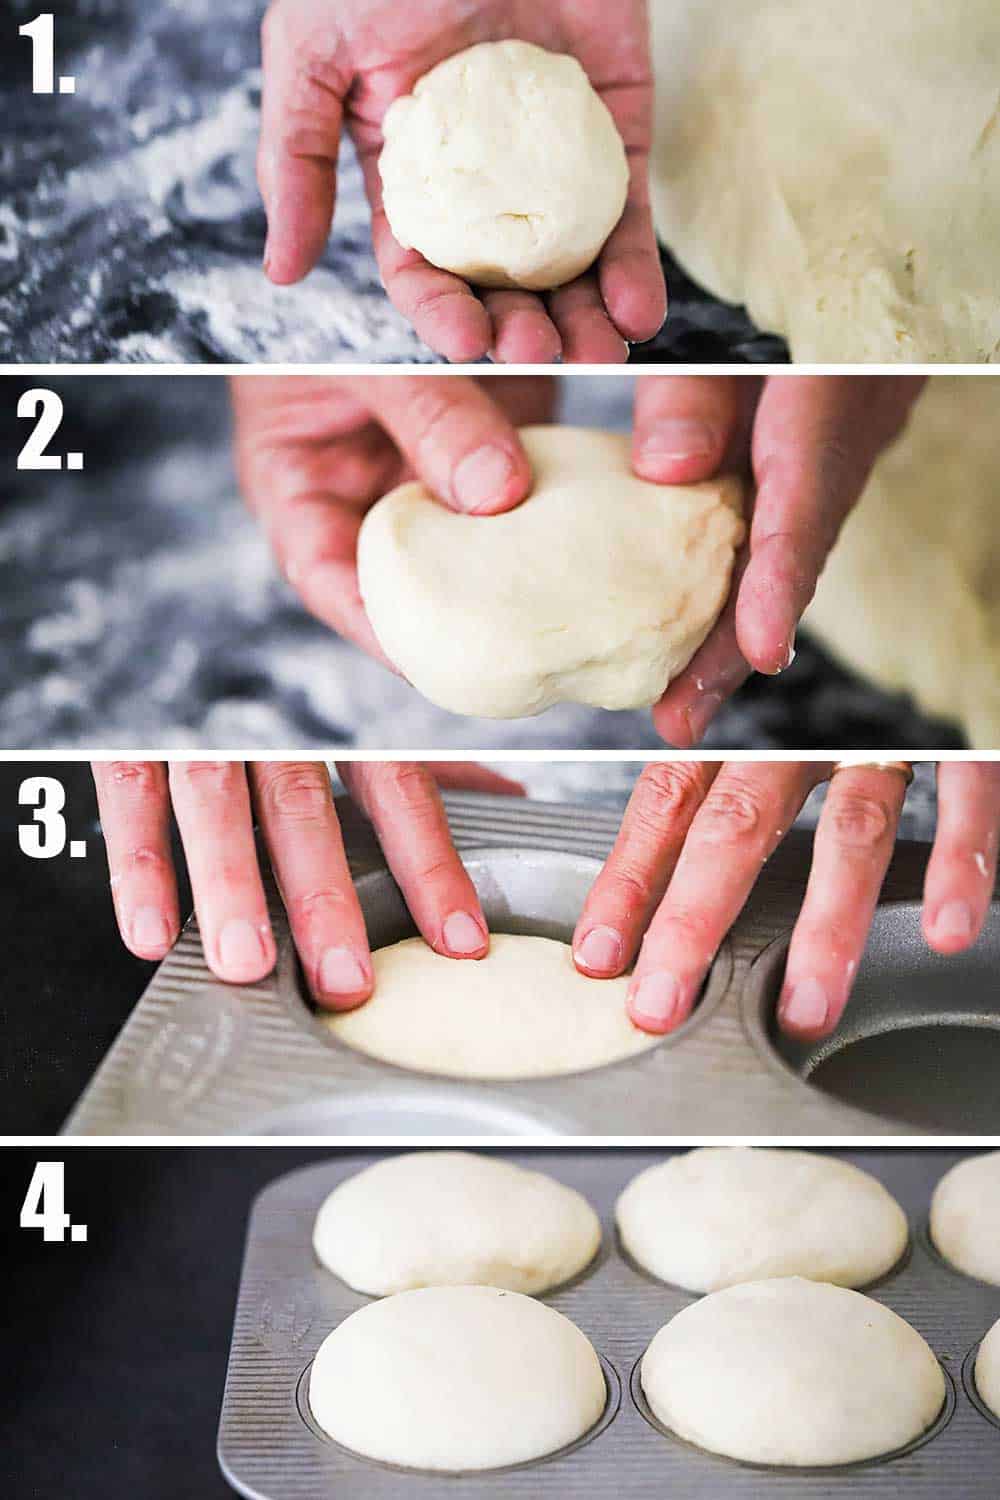
EXPERT TIP: After the first round of proofing, the dough will still be a bit tacky (or sticky). Add a little flour to your fingers and pinch off a piece of dough that’s big enough to form a ball slightly larger than a golf ball. If you have a bakers scale, the weight of each ball should be around 100 grams. Flatten the ball with your palm, then pinch a little with your fingers and place in the pan, or on the baking pan. Continue this process with the remaining dough. Allow to proof for another hour (loosely covered with a kitchen towel).
Tips for Making Hamburger Buns
Amount of Flour – Resist the temptation to add too much flour, even if the dough feels tacky. Add flour in very small increments. Even as the dough is being kneaded for 3 minutes in the mixer, it may stick a little to the bottom of the bowl. This is normal. Floured hands will make handling the dough much easier.
Proof Time – Allowing the dough to rise is important for soft hamburger buns. 1 hour for each proof period, but you may require more time. The dough should nearly double in bulk after the first proof, and then the unbaked buns should nearly double in size again during the second proof.
Baking – Keep an eye on the buns as they are baking. It’s recommended to turn the pan around about halfway through the baking. The total time should be about 15 minutes, but if the tops are getting too dark brown, remove from the oven. We do find that the buns in the hamburger bun pan cook more quickly than those on baking sheets.
Cooling – Once done baking, don’t let the buns sit too long in the pans, otherwise, the bottoms may get soggy. Allow the buns to cool on a baking rack.
Keeping Them Fresh and How to Store
To keep the buns fresh, do NOT place them in the fridge. This actually causes the bread to crystalize and go stale faster.
We recommend wrapping them in plastic wrap, or even foil, and keep them on the counter. The fresh buns actually do freeze just fine and though not just like fresh once thawed, they’re still very tasty.
EXPERT TIP: Lot’s of folks are interested in hamburger bun calories. One of the buns from this recipe is 244 calories.
These buns are perfect for all of these burgers and sandwiches:
Black and Bleu Burger
Mushroom Swiss Burger
Gourmet Sliders (just make the buns smaller!)
World’s Best Veggie Burger
Fantastic Fish Sandwich
Ultimate Honey Mustard Sandwich
Talk about the perfect bun for the perfect burger!
Ready to take your outdoor BBQ to the next level? Seriously…your guests will be so impressed! Go for it!
And when you do, be sure to take a photo, post it on Instagram, and tag @HowToFeedaLoon and hashtag #HowToFeedaLoon!
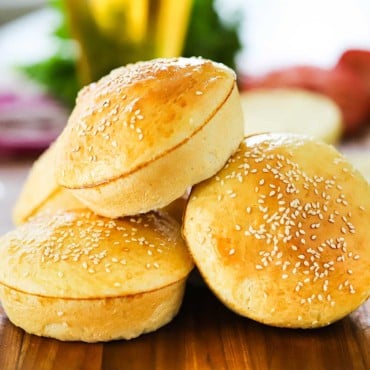
Homemade Hamburger Buns
Equipment
- Hamburger bun pan (see blog post for link to order one online), or baking pan
- Stand-mixer, or electric mixer, preferably with dough attachment
Ingredients
- ½ cup warm water 105°F to 115°F
- 2 tbsp sugar plus 1 tsp
- 2¼ tsp active dry yeast 1 package
- ¾ cup warm milk 105°F to 115°F
- 2 large eggs divided, room temperature
- 1 tbsp unsalted butter
- 2 tsp salt
- 3¼ cups all-purpose flour divided
- 1 tbsp milk
- ¼ cup sesame seeds for topping
Instructions
- Add the warm water to the bowl of a stand mixer. Add the sugar and stir until dissolved, about 1 minute. Add the yeast and stir again. Let sit for 3 to 5 minutes.
- To the bowl, add the warm milk, 1 egg, butter, salt, and 1½ cups of flour. With the dough attachment in place, turn the mixer on medium and mix until ingredients are combined, about 1 to 2 minutes.
- Begin adding the remaining flour, ½ cup at a time, until the dough starts to pull away from the bowl. It will still be somewhat sticky, this is okay.
- Turn to medium-high and knead the dough for 3 minutes, sprinkling in more flour during this process if dough does not form a ball.
- Grease a large bowl with cooking spray or vegetable oil. Using lightly floured hands, remove the dough from the bowl and dough attachment and form a smooth ball in your hands. Place the dough in the greased bowl and turn to coat. Cover with a kitchen towel and place the bowl in a warm, non-drafty area for 1 hour, or until the dough has nearly doubled in size.
- Lightly spray your hamburger bun pan (or baking sheet) with cooking spray. Transfer the risen dough to a lightly floured surface. Pinch off enough dough to form a ball a little larger than a golf ball (100 grams, if weighing). Use your hand to gently flatten the ball, and then pinch the edges with your fingers to form a disc. Use your fingers to smooth the top of the disc as much as you can.
- Place the disc into the hamburger bun pan, or onto the prepared baking sheet. Continue with this process with the remaining dough. You should yield 8 to 9 dough discs.
- Cover with another kitchen towel and return the pan(s) to the warm, non-drafty location for about 45 minutes to 1 hour. The buns should nearly double in size again.
- About 15 minutes before the second round of proofing is complete, preheat your oven to 375°F. (If proofing in your oven, just wait until fully proofed, remove from oven, and then pre-heat the oven).
- Add the remaining egg to a small bowl and mix in the milk with a fork.
- Remove the kitchen towels from over the buns, and gently brush the egg wash over the tops. Sprinkle sesame seeds all over the tops.
- Bake the buns until golden on top and cooked through, about 15 minutes (free-standing buns on a baking pan will need a little more time). Turn the pan around halfway through the baking.
- Place the pans on a baking rack and let cool for only about 1 minute. Use a fork, knife, or spatula, to remove the buns from the pan. Allow the buns to cool on the racks for at least 20 minutes. Don't slice until ready to use.




I only have one bun pan. What do you do with the remaining dough while the pan is occupied?
Hi Kimberlee..you can wrap the dough in plastic wrap and keep it in the fridge. If you leave it unused for more than a few hours, it may still continue to rise. Just keep an eye on it. It can also be frozen for up to 2 months. Hope this helps!