Farm Fresh Corn Chowder pretty much says it all.
In a word: Comfort. In two words: Comfortingly delicious.
This chowder is wonderful anytime of the year, but when corn is at its peak, this is about the best soup you’ll ever try (and make!).

FARM FRESH CORN CHOWDER IS EASY TO MAKE
For many soups, we love using homemade stock, but that’s not always possible. A good quality store-bought stock will work just fine in this recipe.
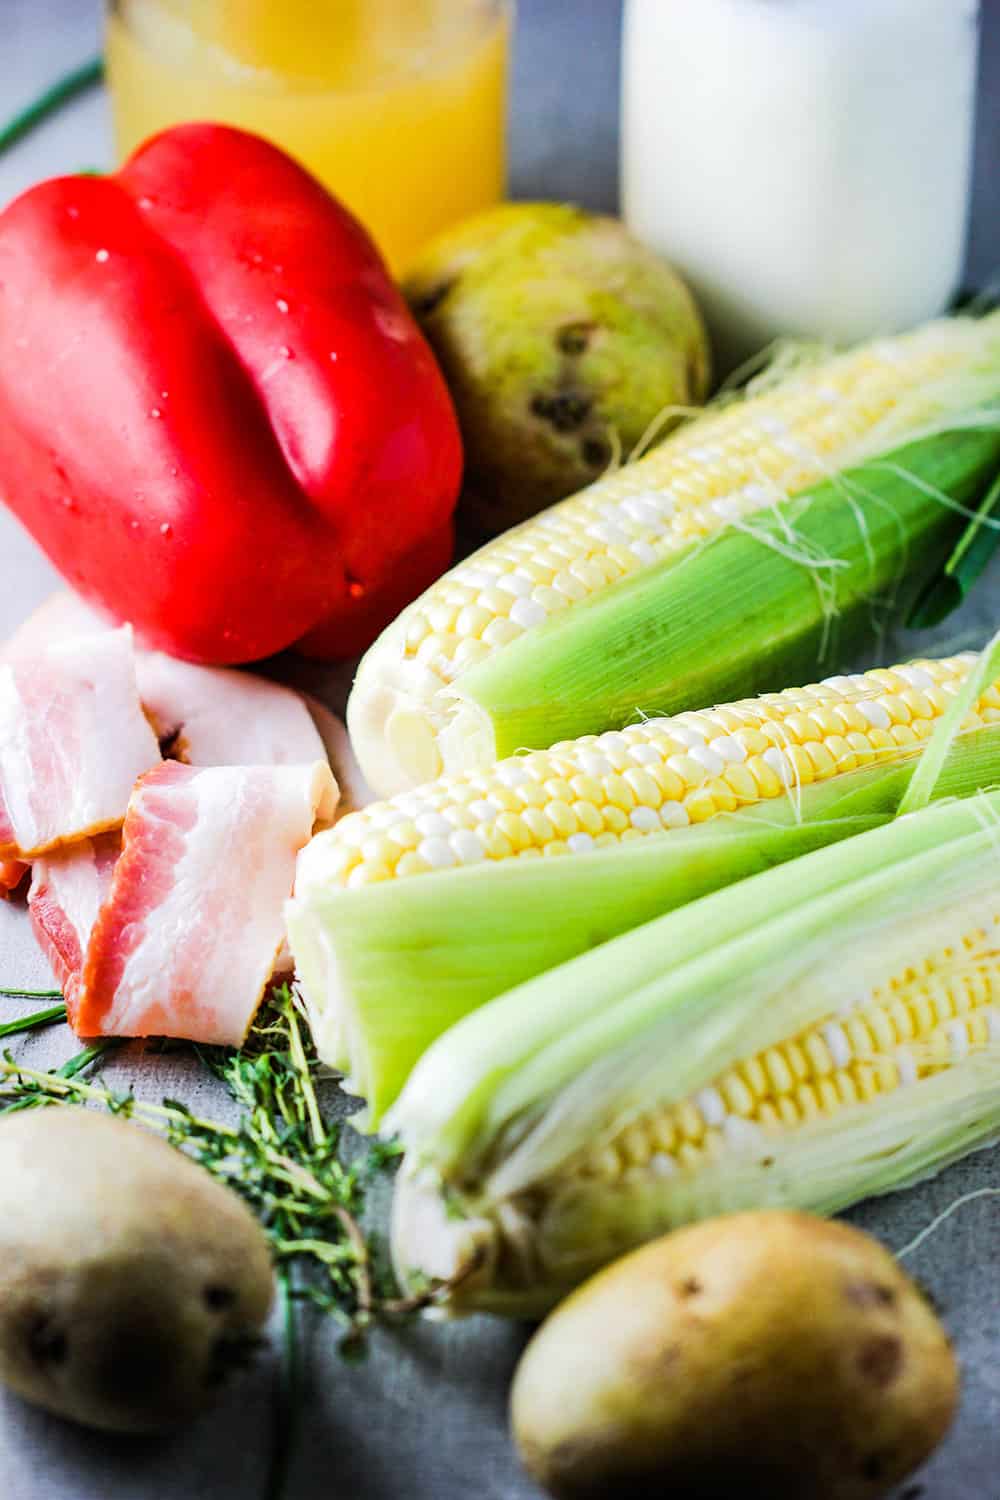
Be sure to get the freshest ingredients available for this amazing corn chowder.
Watch us show you how easy it is to make Farm Fresh Corn Chowder!
You may wonder what the difference is between “soup” and “chowder.” Well, they are quite similar, however, chowder is usually thick and is often cream-based, but not always. All we know, this corn chowder is off-the-charts good.
We think the smoked bacon adds such a depth of flavor to this chowder, that we strongly encourage you to visit the butcher in your market and get 6 thick slices of his or her best smoked bacon.
Yukon gold potatoes, a red bell pepper, and fresh thyme add such amazing flavor! And of course: ground cumin. YES!
USE FRESH CORN WHENEVER POSSIBLE
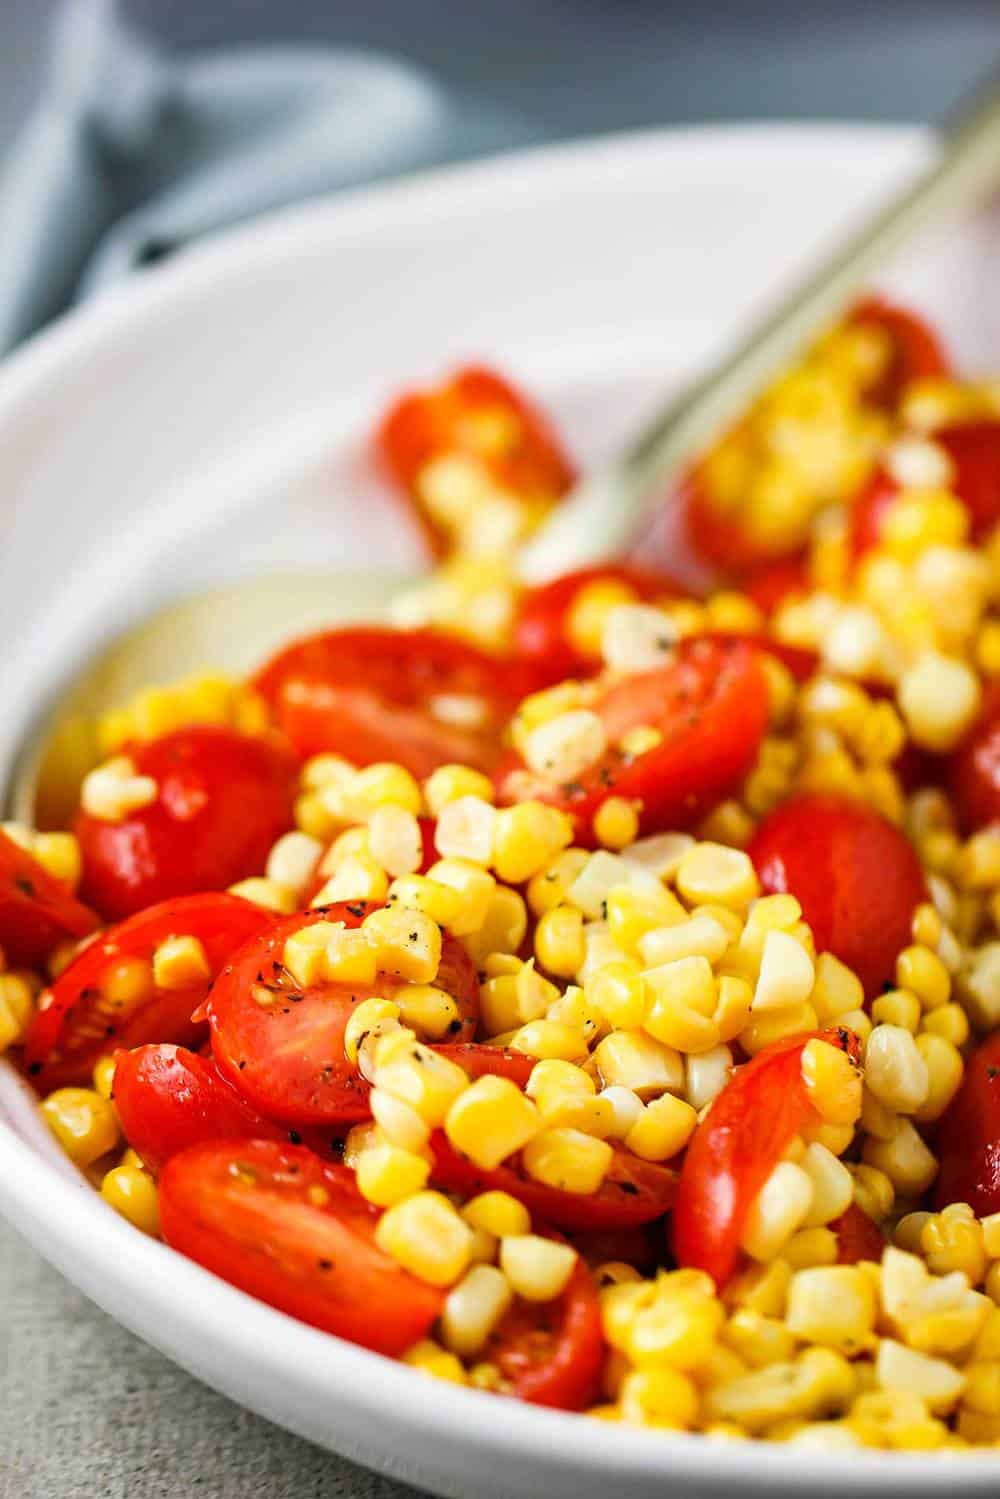
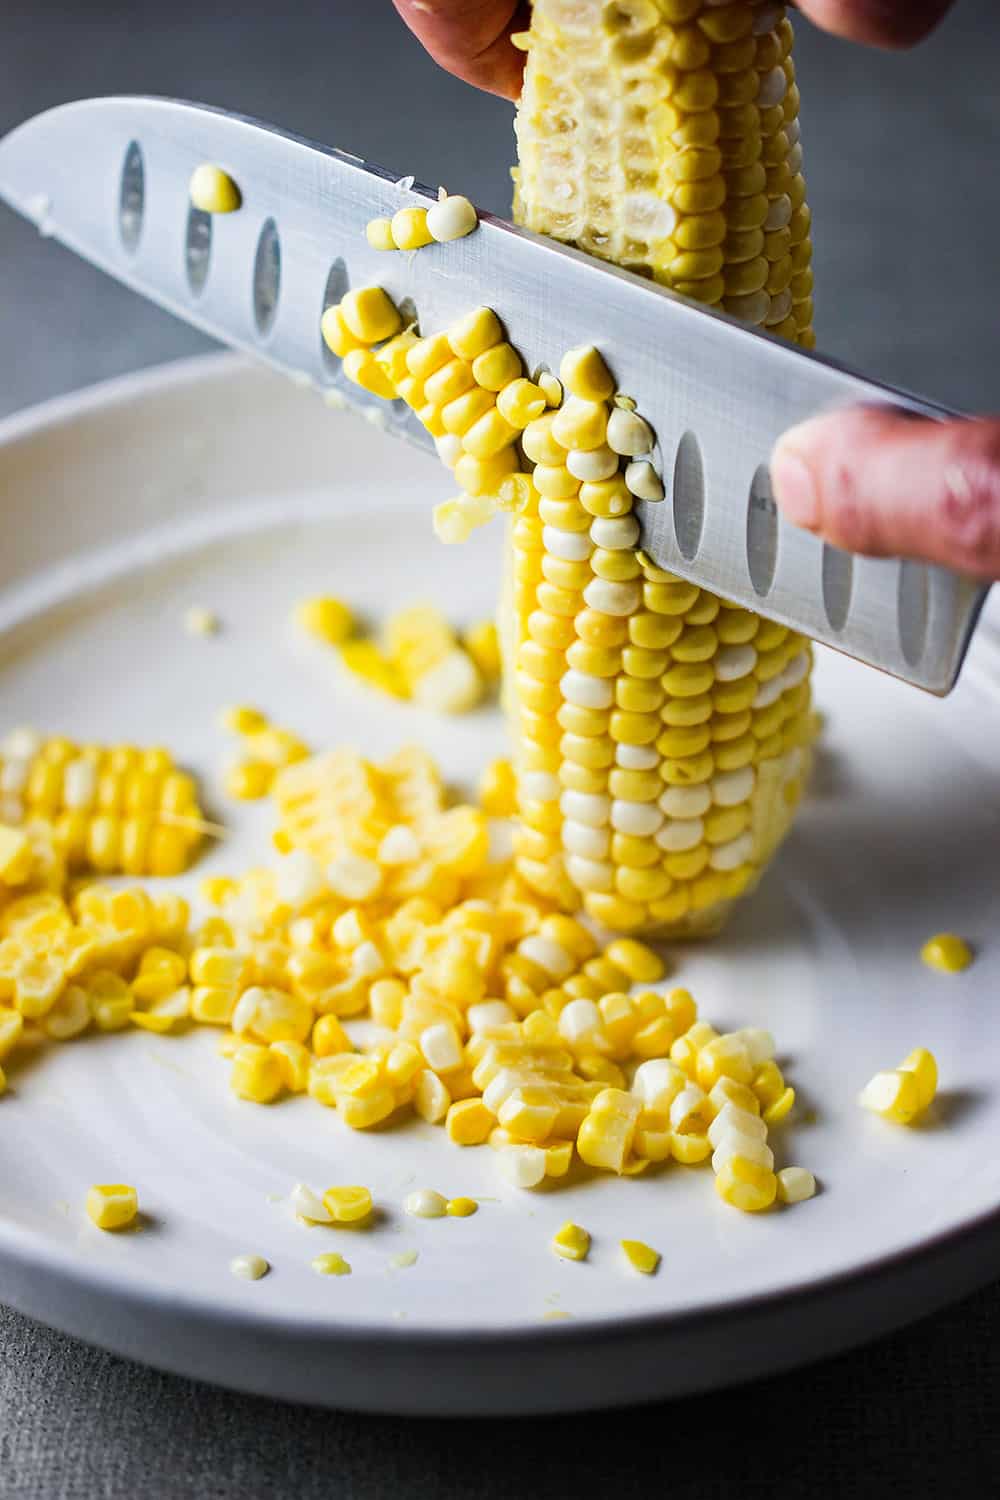
Fresh corn right off the cob is absolutely the best for this corn chowder.
The corn is sweet and the milky liquid from the cob is so flavorful.
Carefully use a large, sharp knife to remove the kernels from the cob. Four ears of corn should get you about 2 cups of corn. It’s always safe to have an extra ear of corn on hand, just for a little extra, if needed. Plus, we love to sprinkle some freshly cut kernels as a garnish to the soup just before serving. It adds a wonderful texture and taste to the chowder.
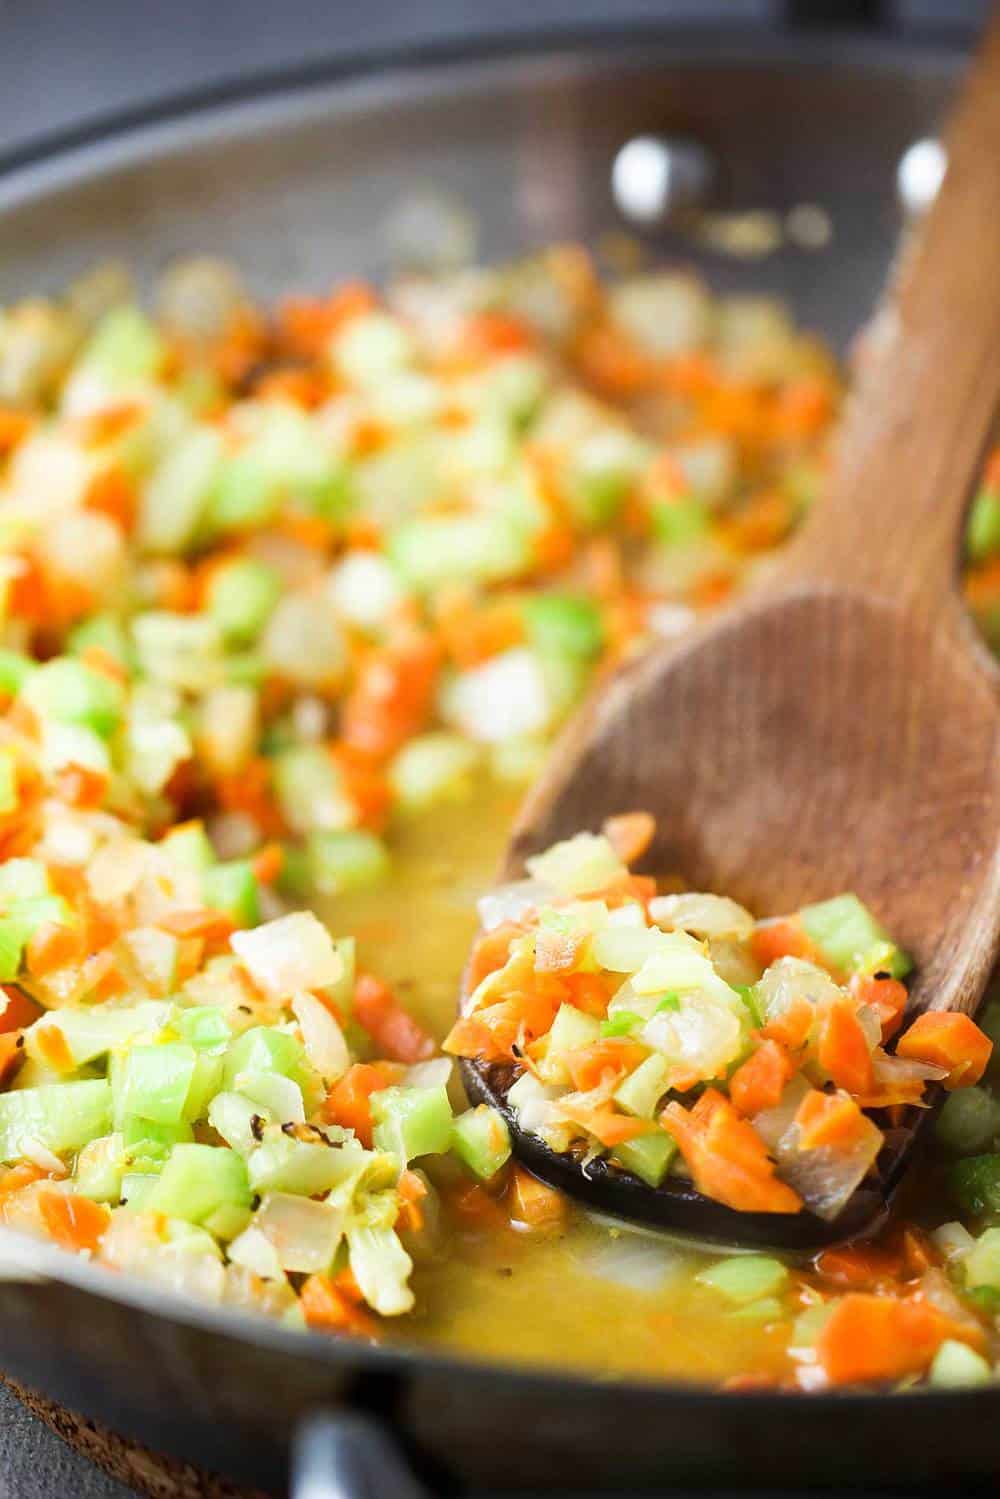
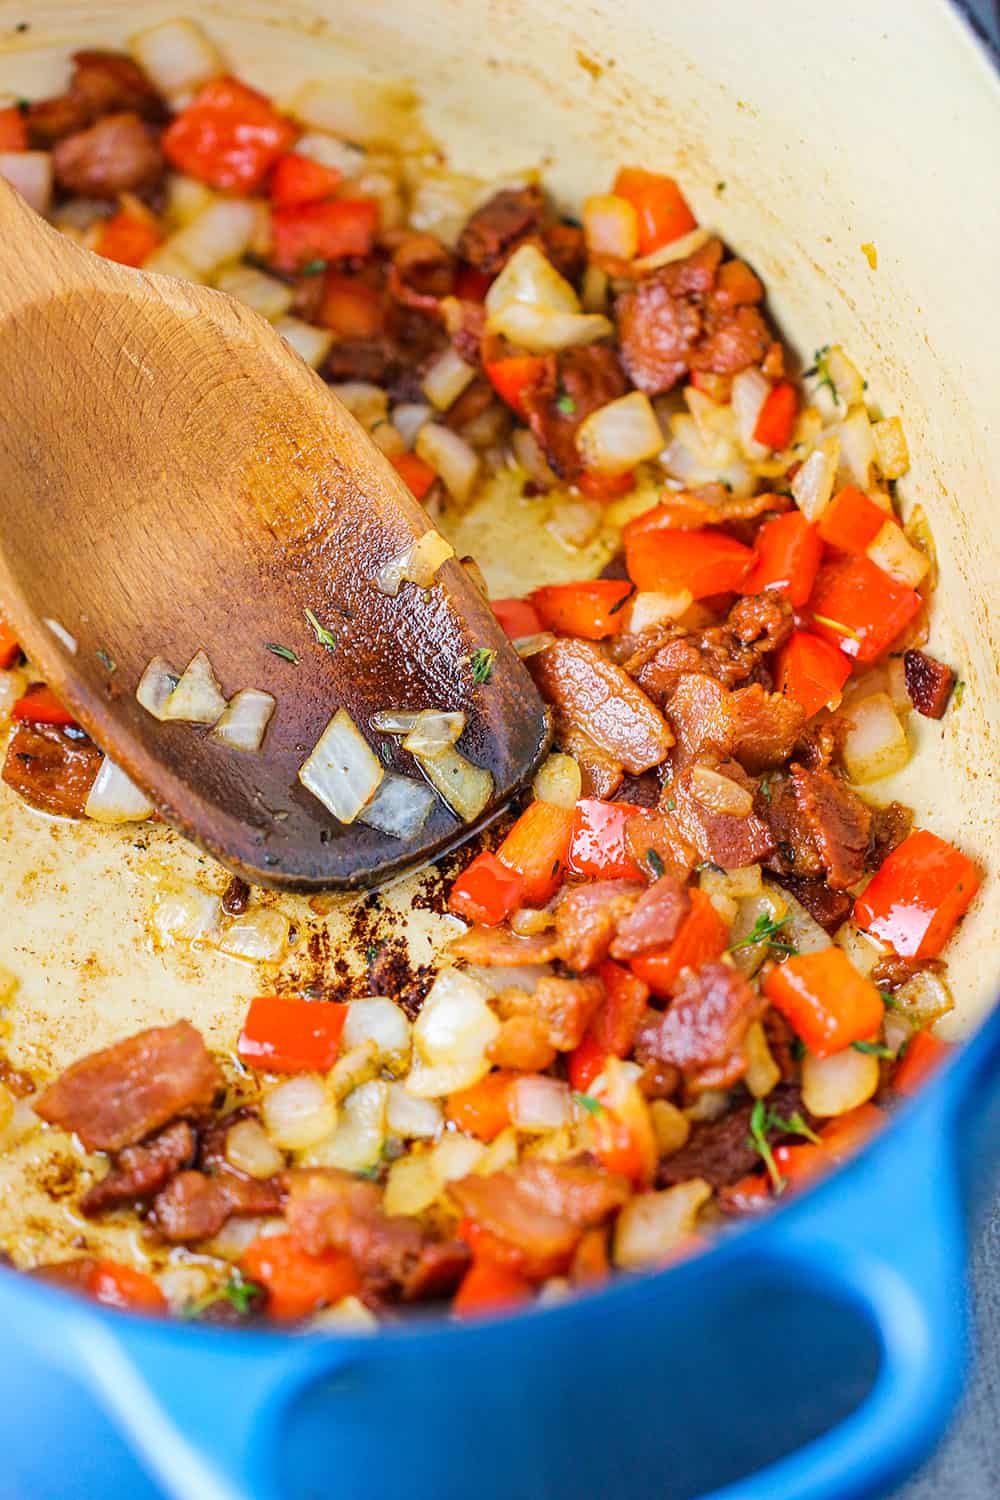
SAUTÉING THE VEGGIES IN BACON GREASE ADDS FLAVOR
After cooking the cut bacon in a large pot (such as a Dutch oven), you’ll need to remove all but about 1 to 2 tablespoons of the bacon grease.
We always save our unused bacon grease for another use (such as Restaurant-Quality Hash Browns!).
Add a couple pats of butter to the hot pot, then toss in the onions, red bell peppers, thyme, and cumin, and cook until soft and translucent, about 8 minutes. This makes a beautiful foundation for this Farm Fresh Corn Chowder!
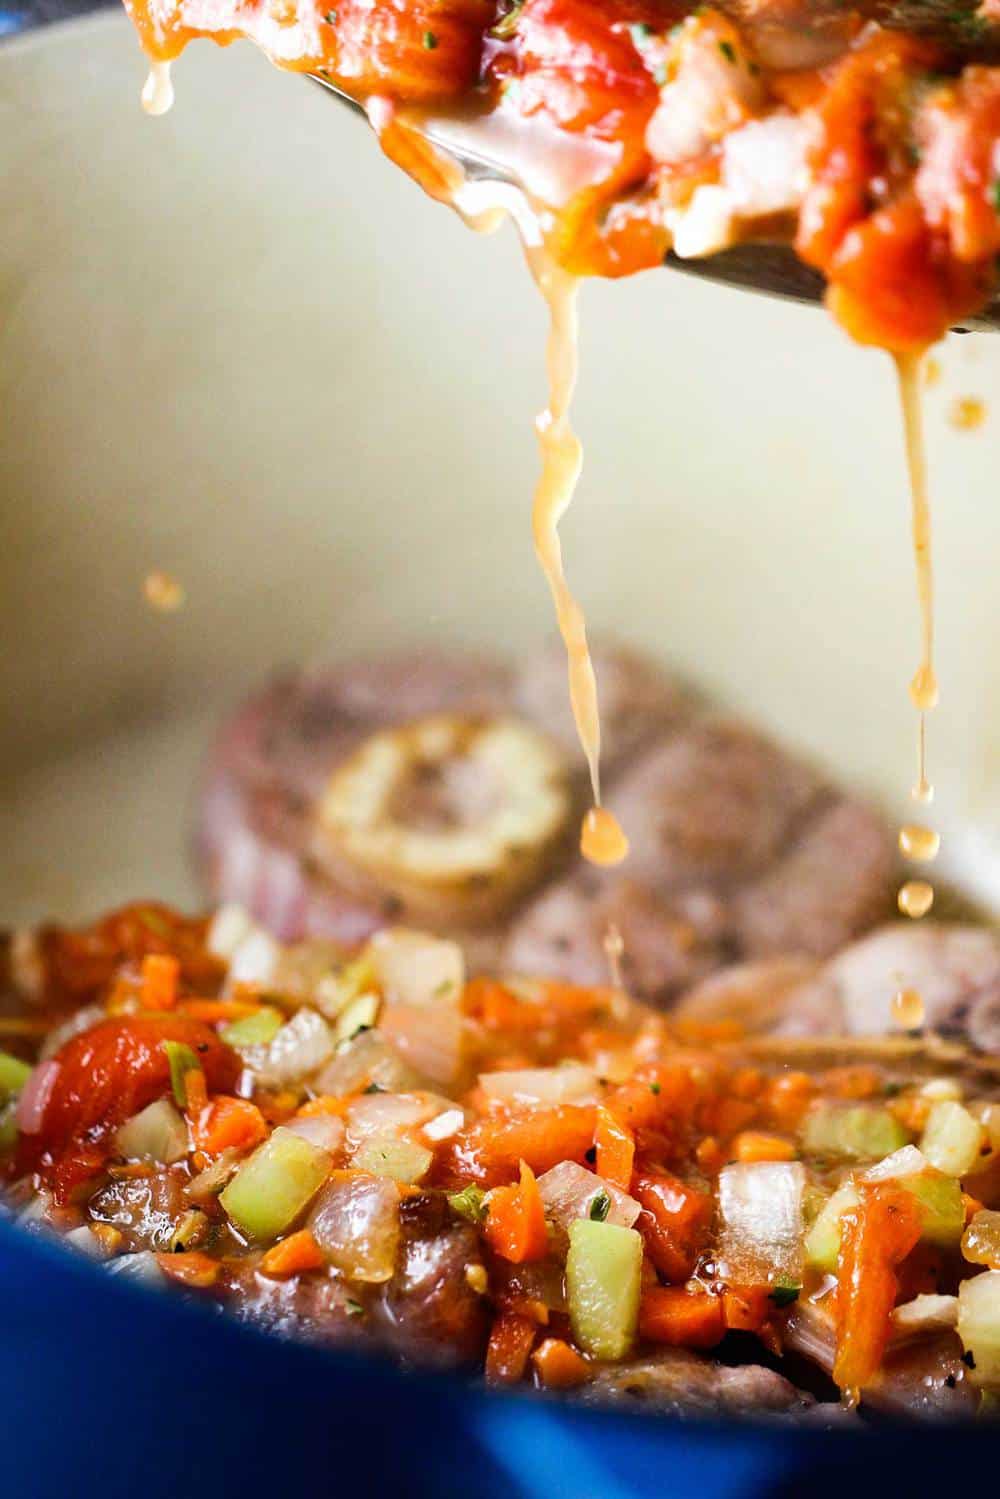
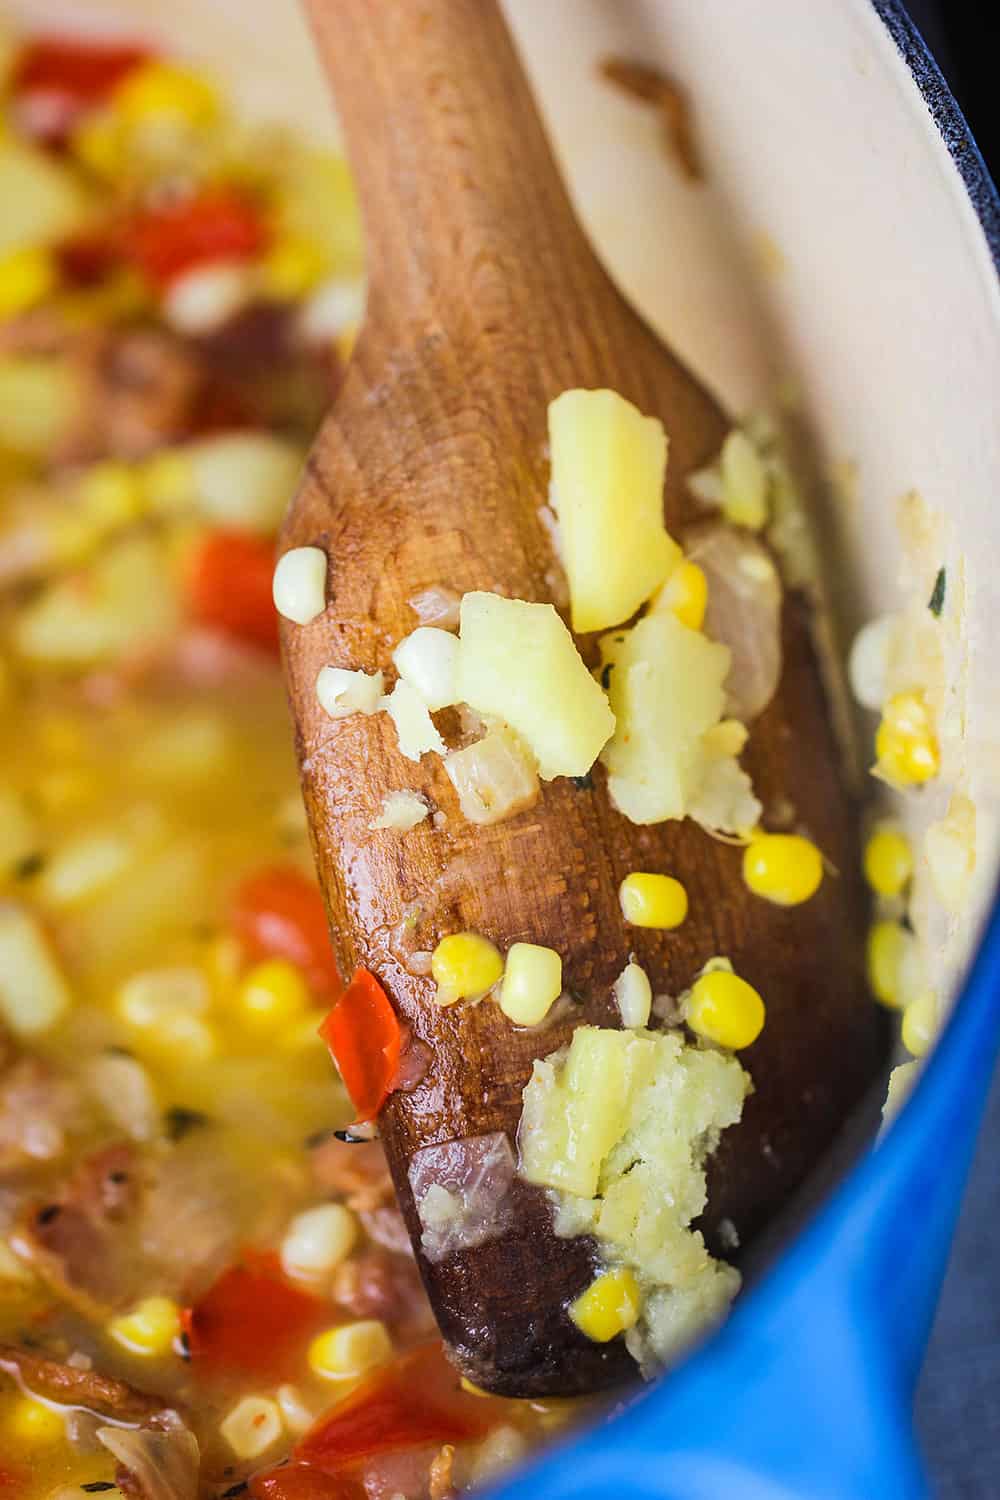
Let’s keep building this corn chowder! It’s time to add the stock, corn, and potatoes.
Bring it to a boil then cover for just 10 minutes.
After removing the lid, you’ll see the potatoes are nice and tender and the corn is perfectly cooked. Using a wooden spoon, we like to smash some of the cooked potatoes and corn against the side of the pot. This naturally helps to thicken the chowder and adds a nice texture.
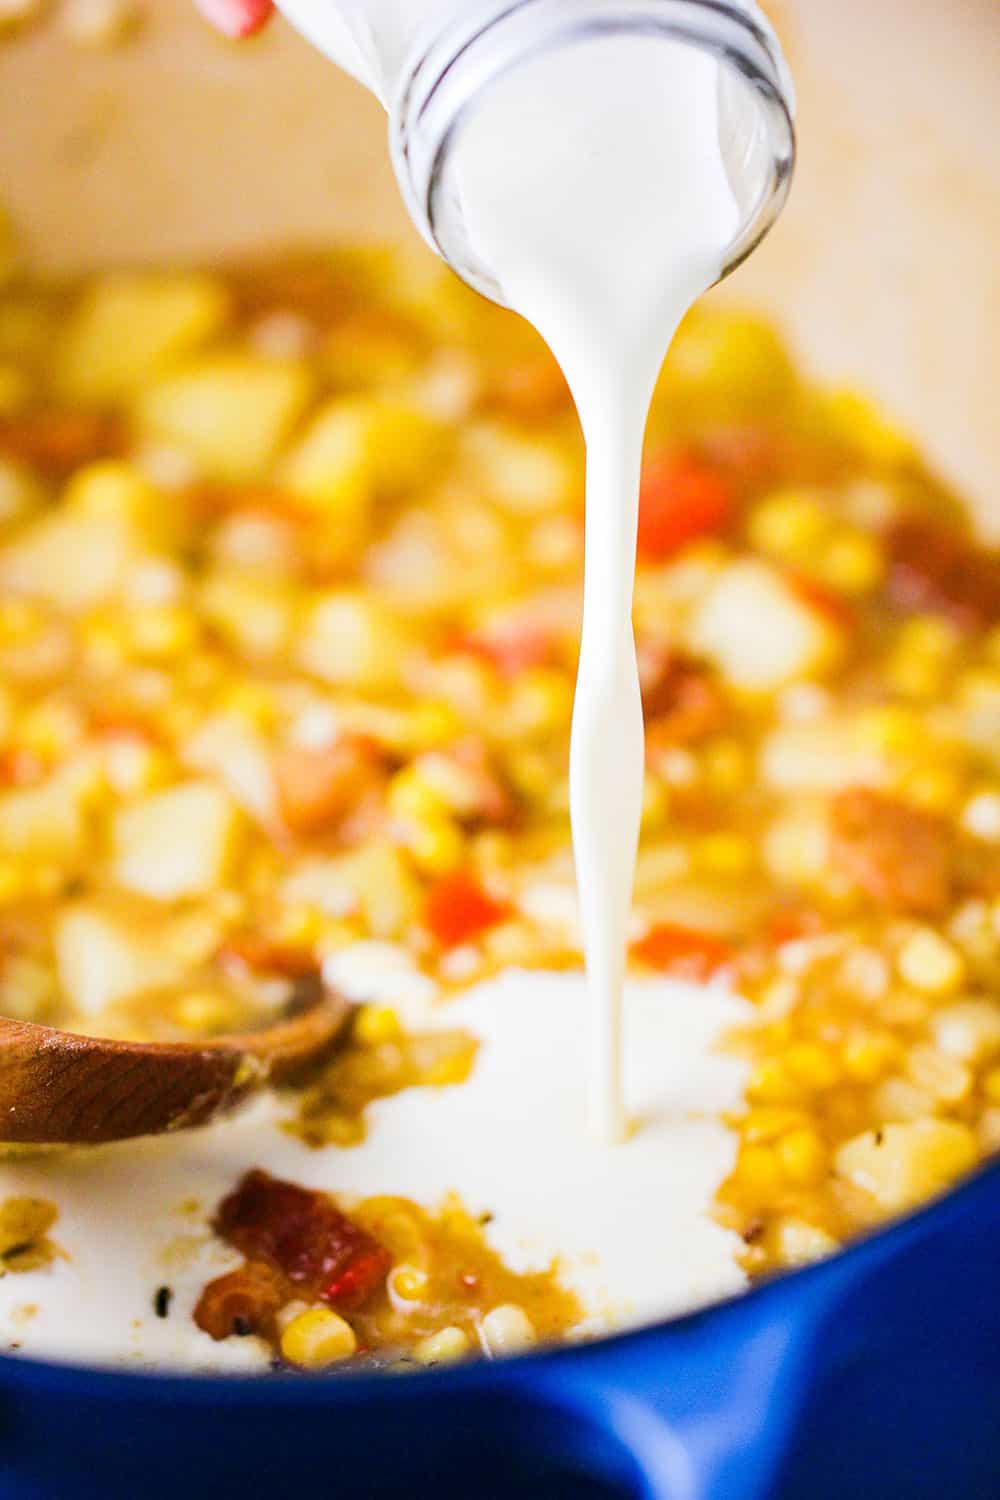
CREAM ADDS A VELVETY RICHNESS TO THE CORN CHOWDER
The last ingredient that we think puts this Farm Fresh Corn Chowder over the top is a bit of heavy cream.
It may seem a little indulgent, but the cream adds a lush texture to the chowder and melds beautifully with the other ingredients.
Stir in the cream until fully incorporated.
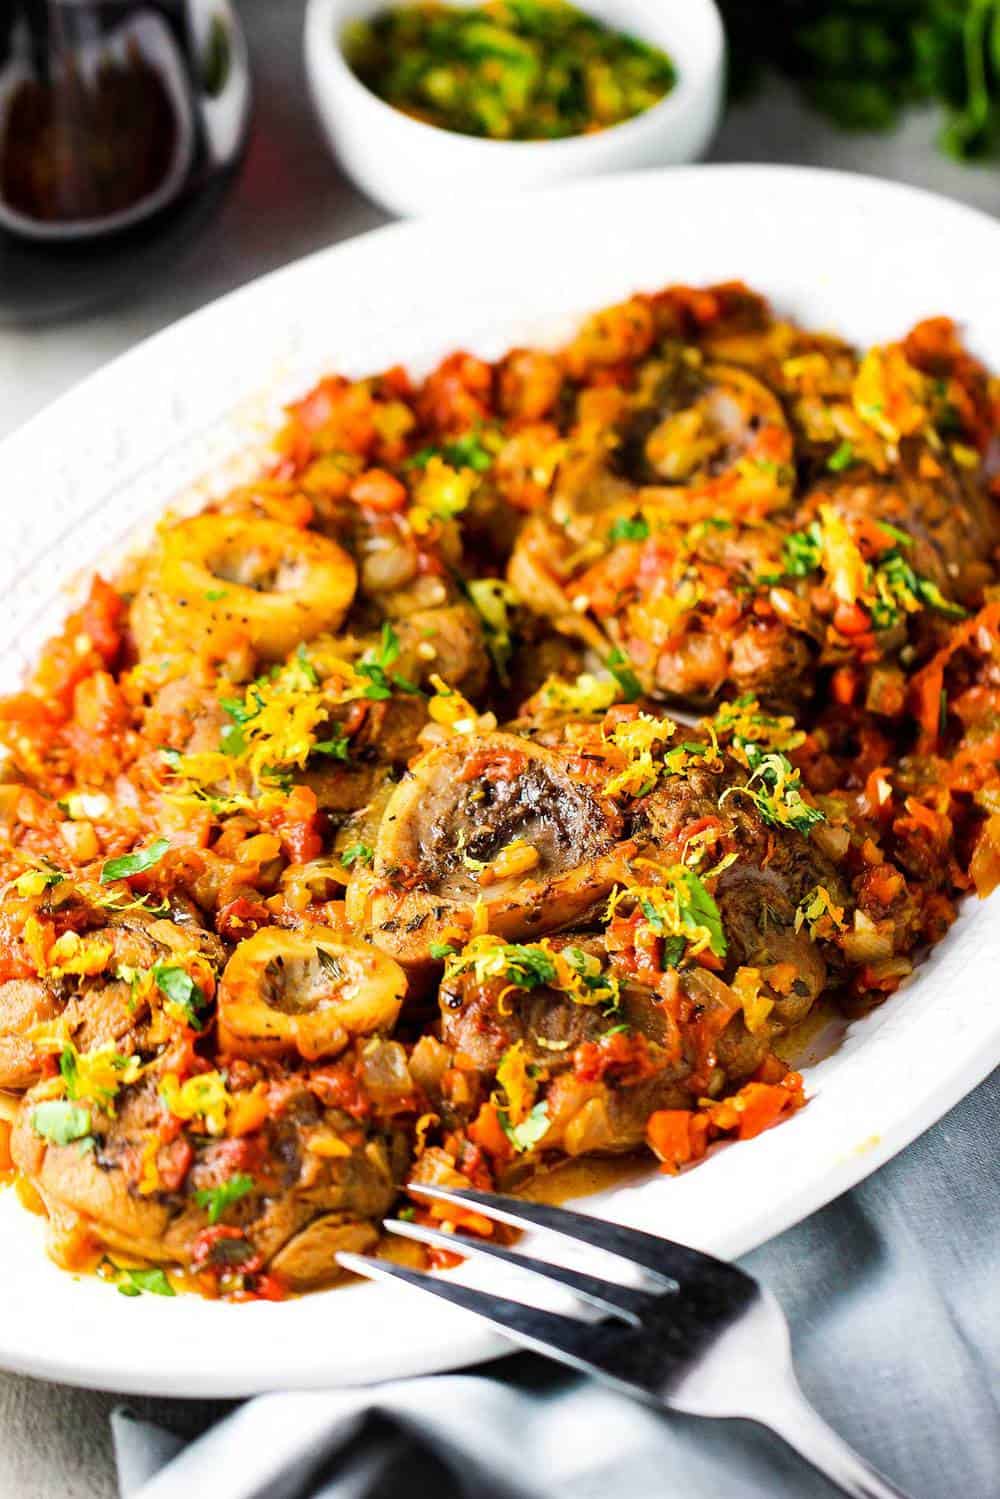
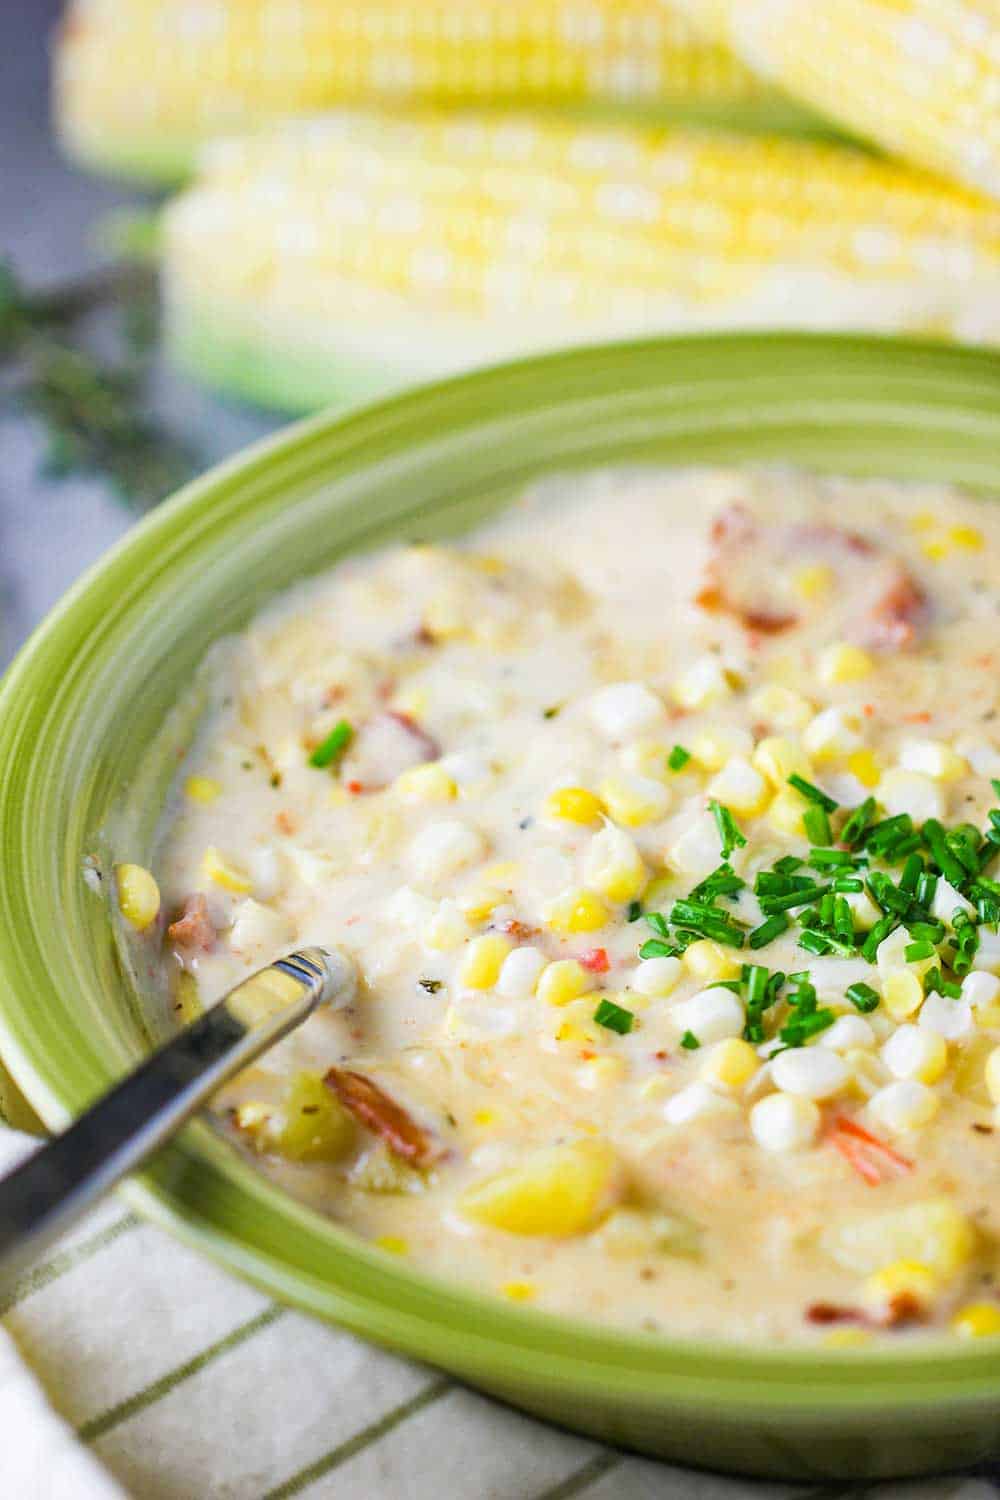
The corn is the star of this chowder, no doubt, but the potatoes and other ingredients complement each other so beautifully.
Every spoonful provides layer after delicious layer of culinary delights.
Just amazing. A few other of our favorite recipes that showcase fresh corn are: Jalapeño Sweet Creamed Corn, Zesty Black Bean and Sweet Corn Salad, and Cowboy Cornbread!

CORN CHOWDER IS COMFORT FOOD AT ITS BEST
As we may have mentioned, Farm Fresh Corn Chowder is absolutely one of our favorite comfort soups to make. If you like this, however, you’ll probably also love our:
Portuguese-Style Clam Chowder
Cream of Mushroom Soup
Lobster Bisque
And another awesome thing about this Corn Chowder is that it comes together in only about 30 to 40 minutes.
So, hurry and go make this spectacular Farm Fresh Corn Chowder recipe!. You and your family will be so glad you did!

Farm Fresh Corn Chowder
Ingredients
- 4 ears fresh yellow sweet corn have an extra on hand, just in case
- 6 slices thick cut bacon cut into ½-inch dice
- 2 tablespoon unsalted butter
- 1 medium yellow onion diced
- ½ large red pepper cut into ½-inch dice
- 1 tablespoon fresh thyme chopped
- 1 teaspoon ground cumin
- 4 Yukon gold potatoes peeled and cut in ½-inch dice
- 3 cups chicken stock
- 1 teaspoon Kosher salt
- ½ teaspoon freshly ground black pepper
- 2 tablespoon cornstarch stirred and dissolved into 2 tablespoon of water
- ¾ cup heavy cream
- 2 tablespoon chives minced, for garnish
Instructions
- Husk the corn and remove the silk.
- Cut the kernels from the cobs into a bowl. This should give you a couple cups of corn. Set a handful aside for garnish.
- Heat a 3 to 4-quart heavy pot over low heat and add the diced bacon.
- Once it has rendered a few tablespoons of fat, increase the heat to medium and cook until the bacon is crisp and golden brown.
- Pour off all but 1 to 2 tablespoons of the bacon fat, leaving the bacon in the pot.
- Add the butter, onion, bell pepper, thyme, and cumin and sauté, stirring occasionally for about 8 minutes - until onions and peppers are soft.
- Add the corn kernels, potatoes, and stock. Turn up the heat, cover, and boil, for 10 minutes.
- Carefully remove the lid, and then use the back of your spoon to smash some of the corn kernels and potatoes against the side of the pot.
- Reduce the heat to medium and add the salt and pepper.
- Stir the cornstarch mixture and slowly pour it into the pot, stirring constantly.
- As soon as the chowder has come back to a boil and thickened slightly, remove from the heat and stir in the cream.
- Taste, and adjust the seasoning if necessary.
- Remove from heat and allow the flavors to meld for about an hour.
- When ready to serve, reheat the chowder over low heat, but don't let it boil.
- Ladle into bowls and sprinkle with chopped chives and reserved corn kernels.