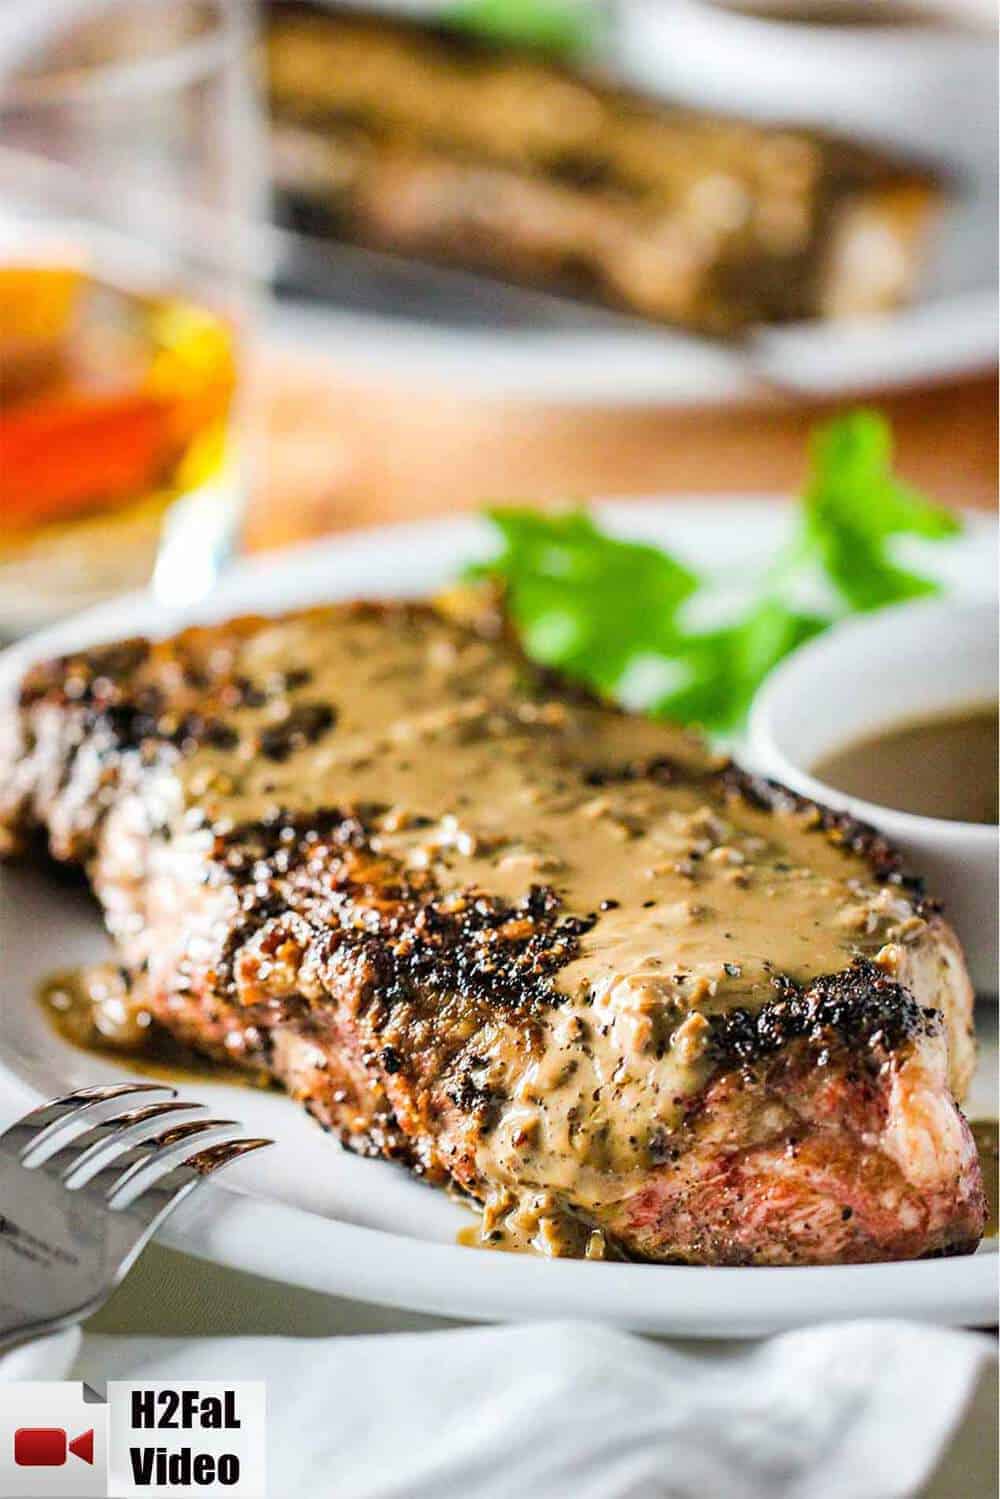
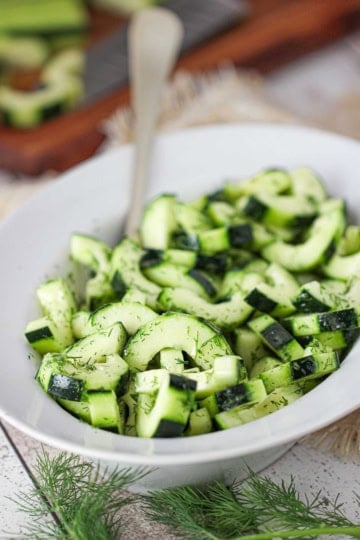
Arancini, also known as Italian Rice Balls, is one of our all-time favorites.
There is just something so tantalizingly delicious about these little balls of yumminess.
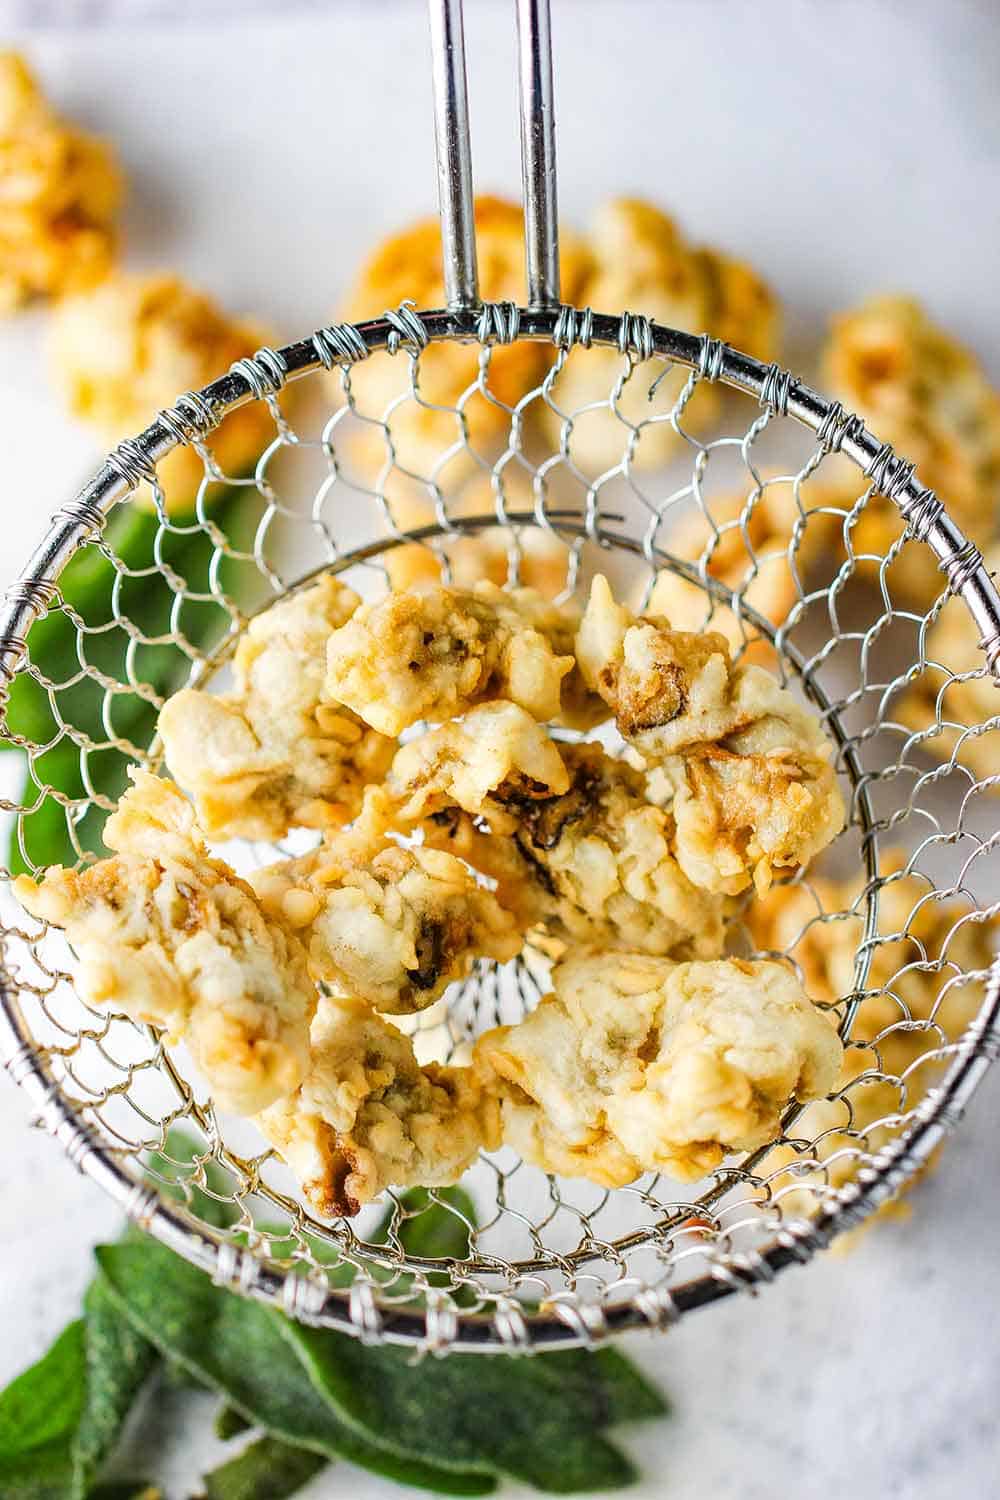
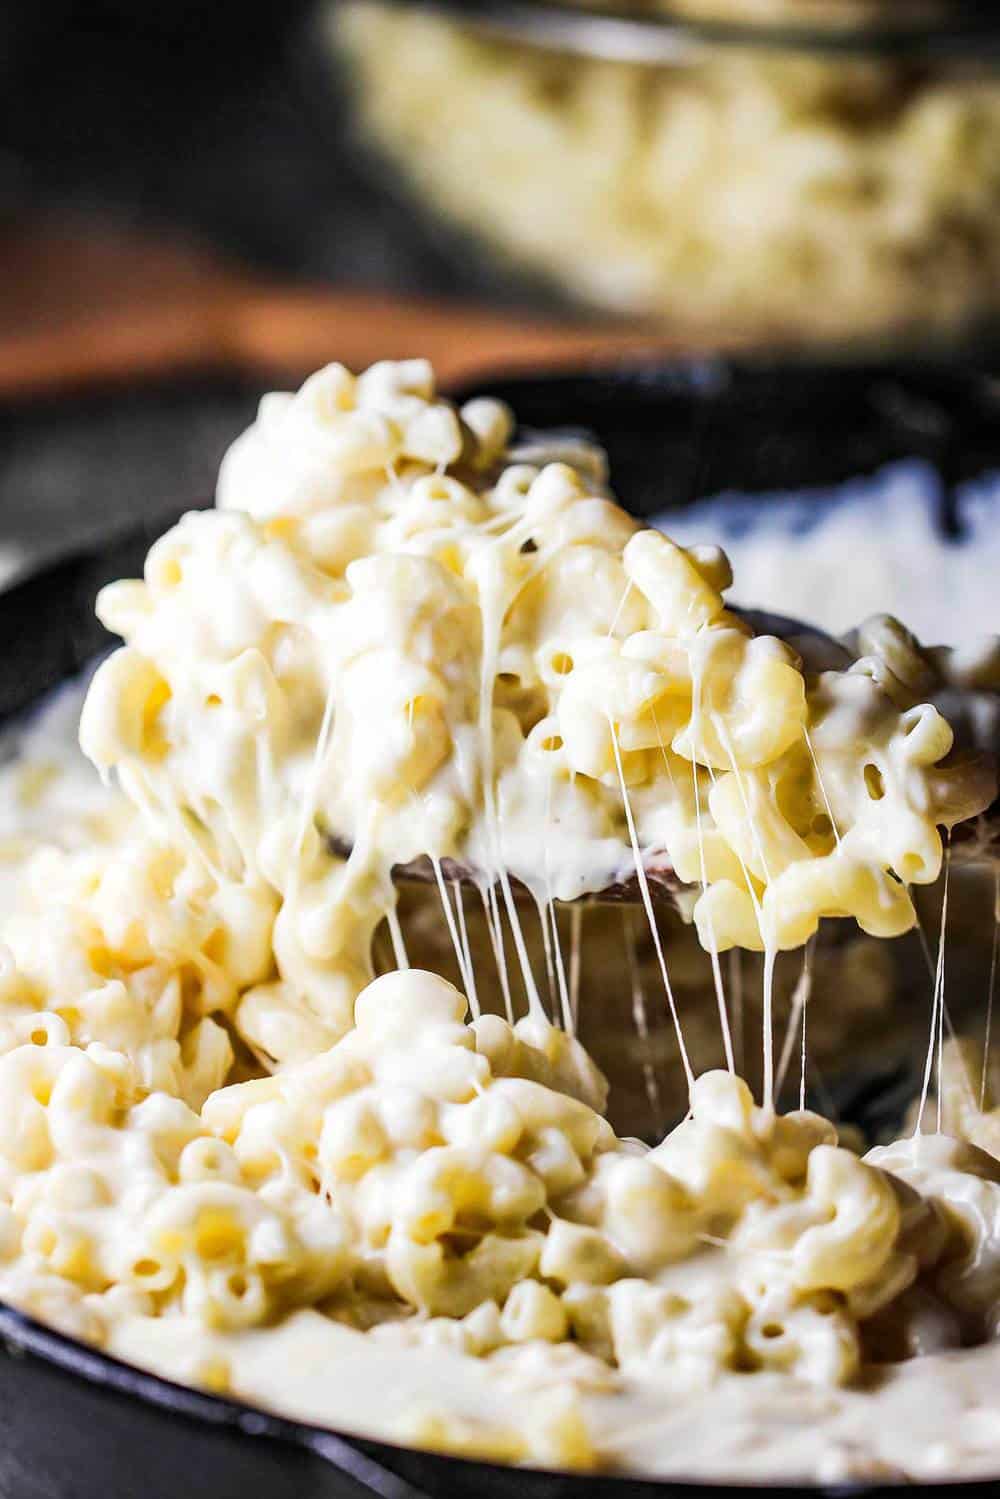
These are quickly deep-fried to golden crispy perfection. The risotto delivers superior flavor.

ARANCINI IS EASY TO MAKE AT HOME
There are a few simple tricks to making perfect risotto, which we show you step-by-step.
The rest is a snap!
Watch us show you how to make perfect Arancini in your own kitchen!
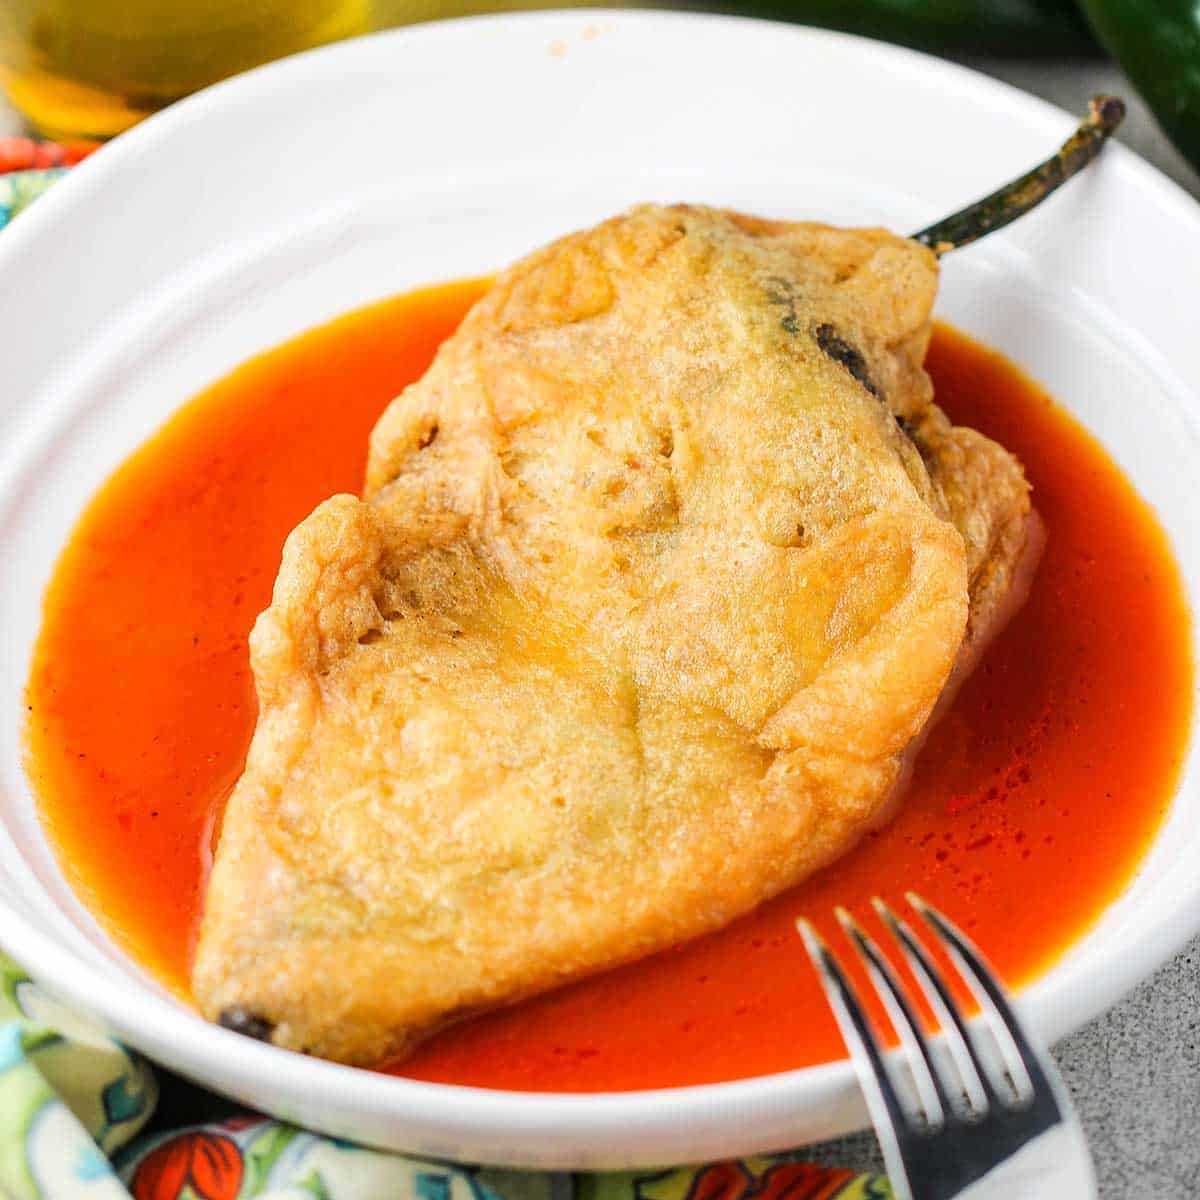
Arancini means ‘little oranges’ in Italian because they sort of look like little oranges once they come out of the fryer. All we know is they are nothing but pure deliciousness. These are very popular in Sicily and in Italian restaurants throughout the world.
Once you have made the risotto, it is important to let the rice mixture cool completely before rolling it into balls.
If the risotto is too wet, then you can add more binding ingredients, such as more Parmesan cheese or bread crumbs.

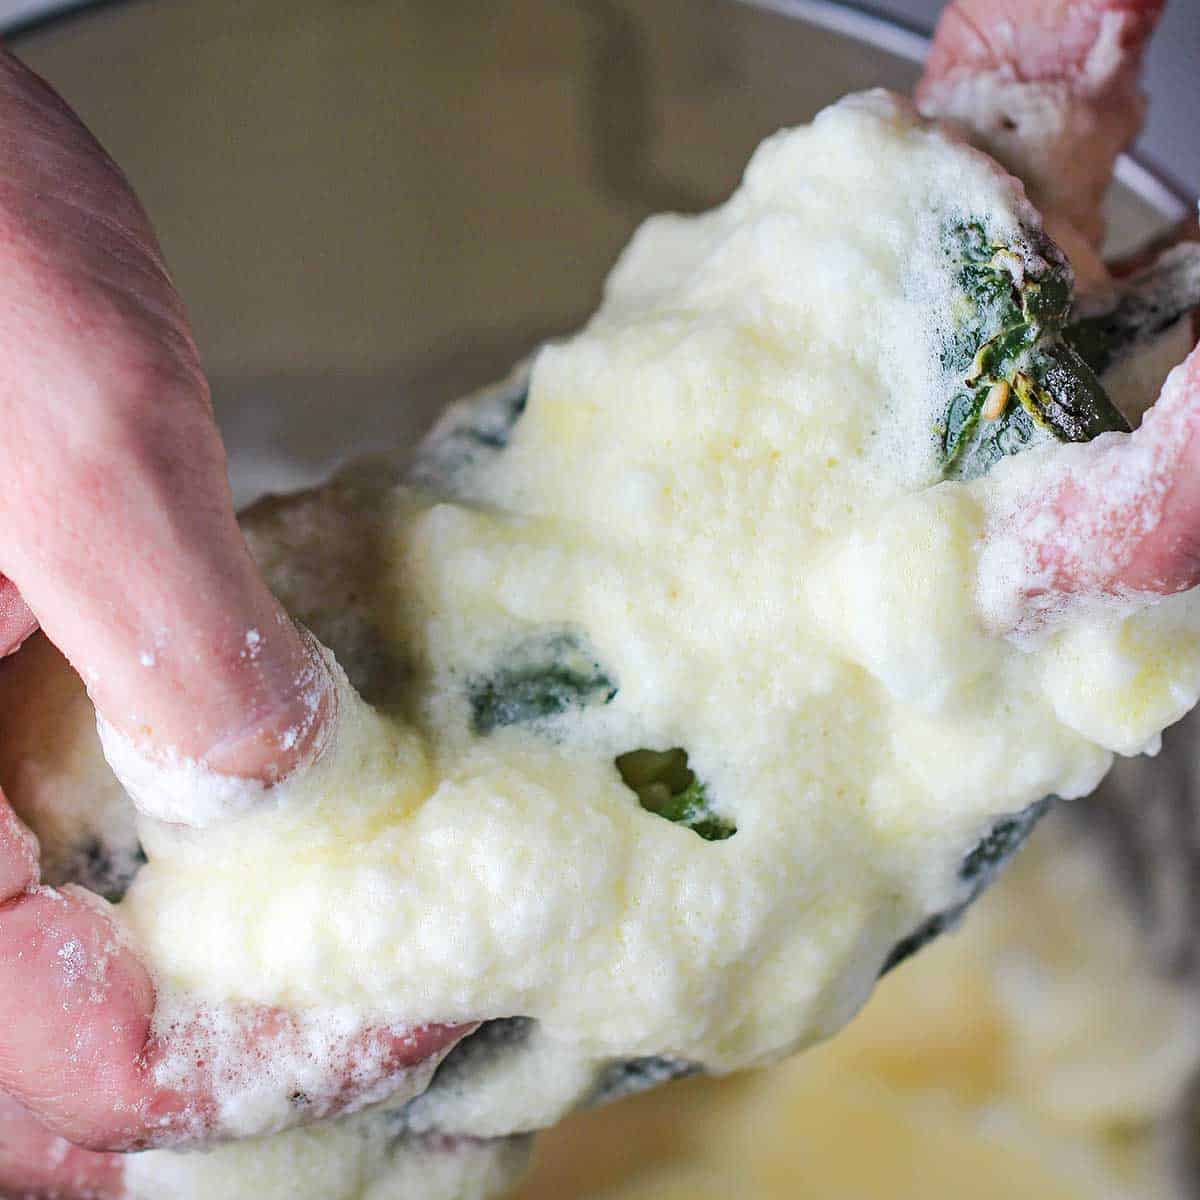
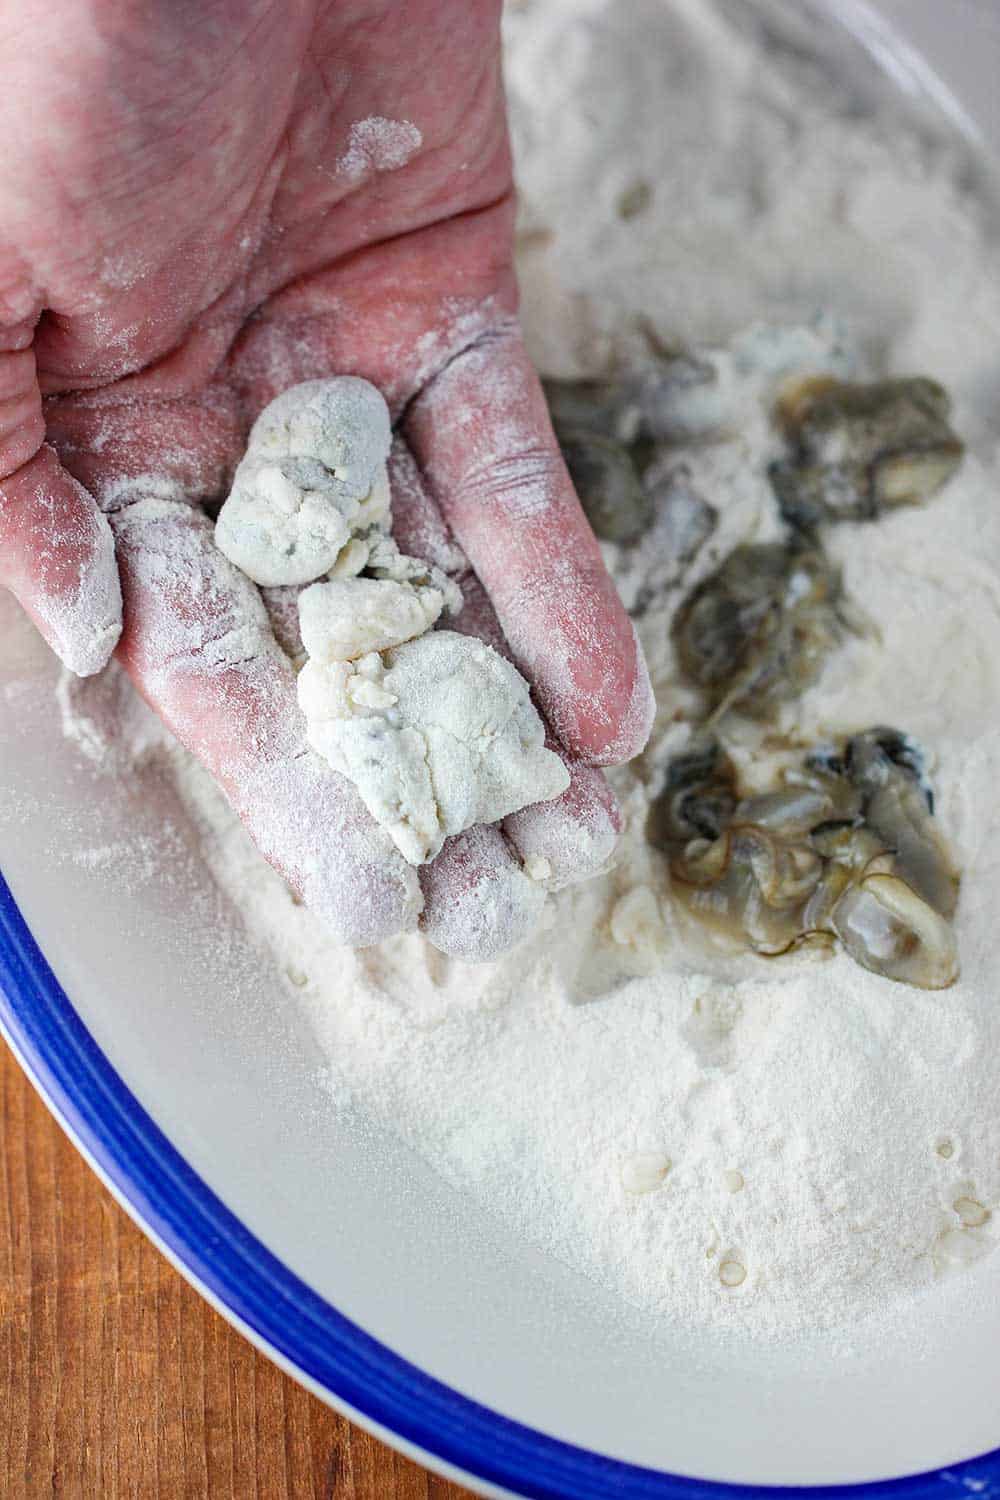
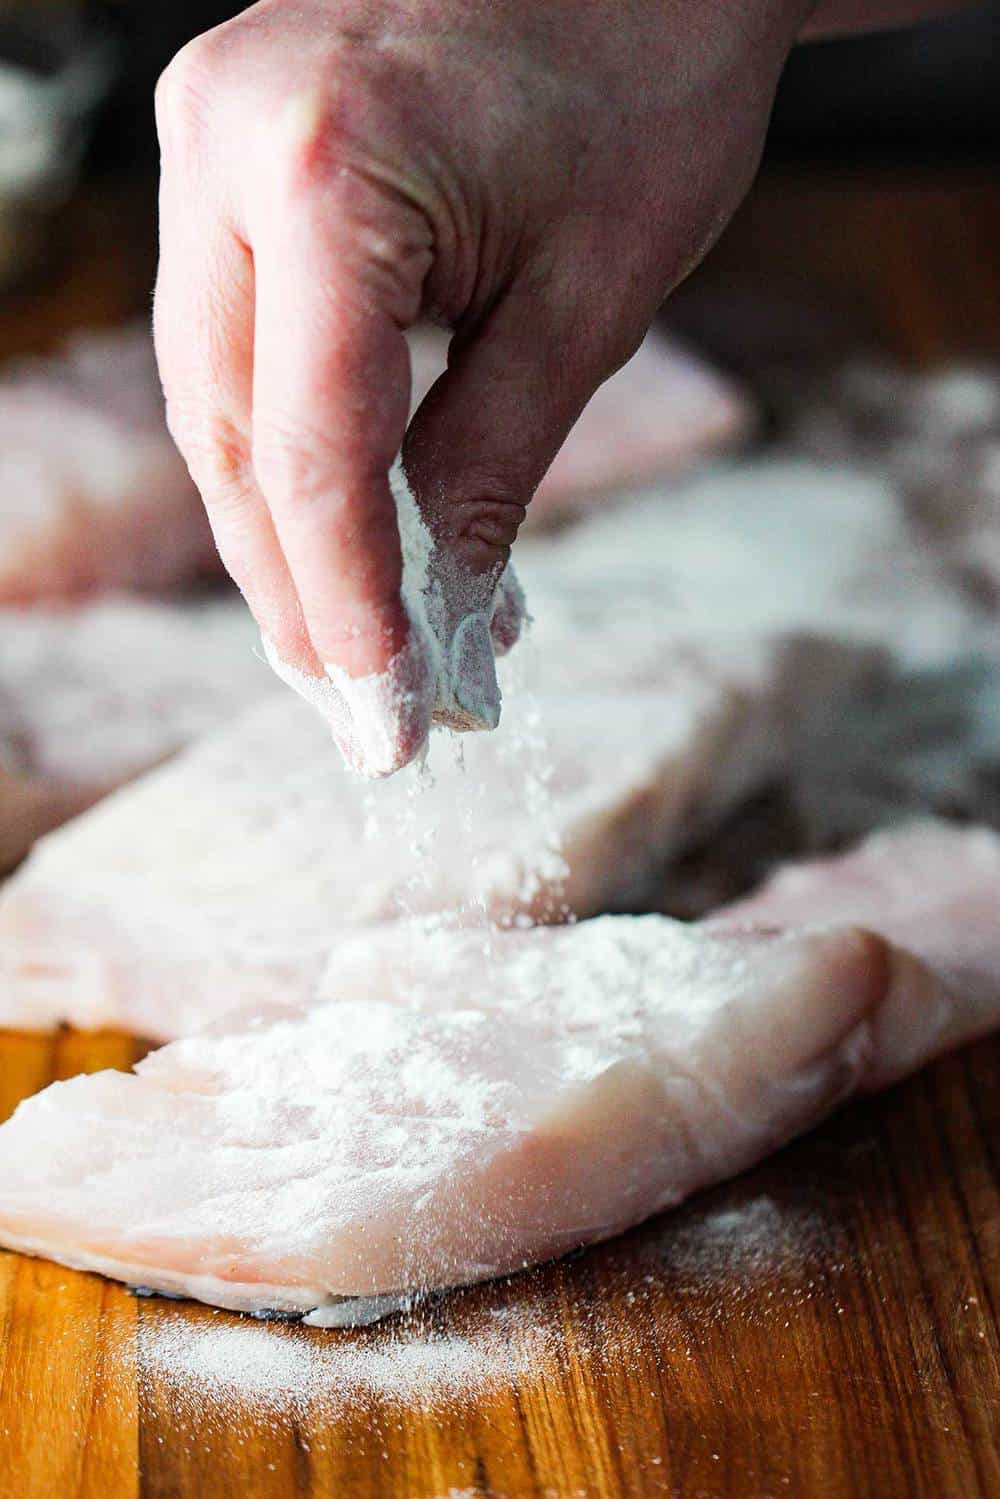
Wet your hands when rolling the balls. Or, you might find that dusting your hands with flour will help. The risotto will be sticky, but once you dredge the arancini in the flour, egg, and bread crumbs, they will hold together.
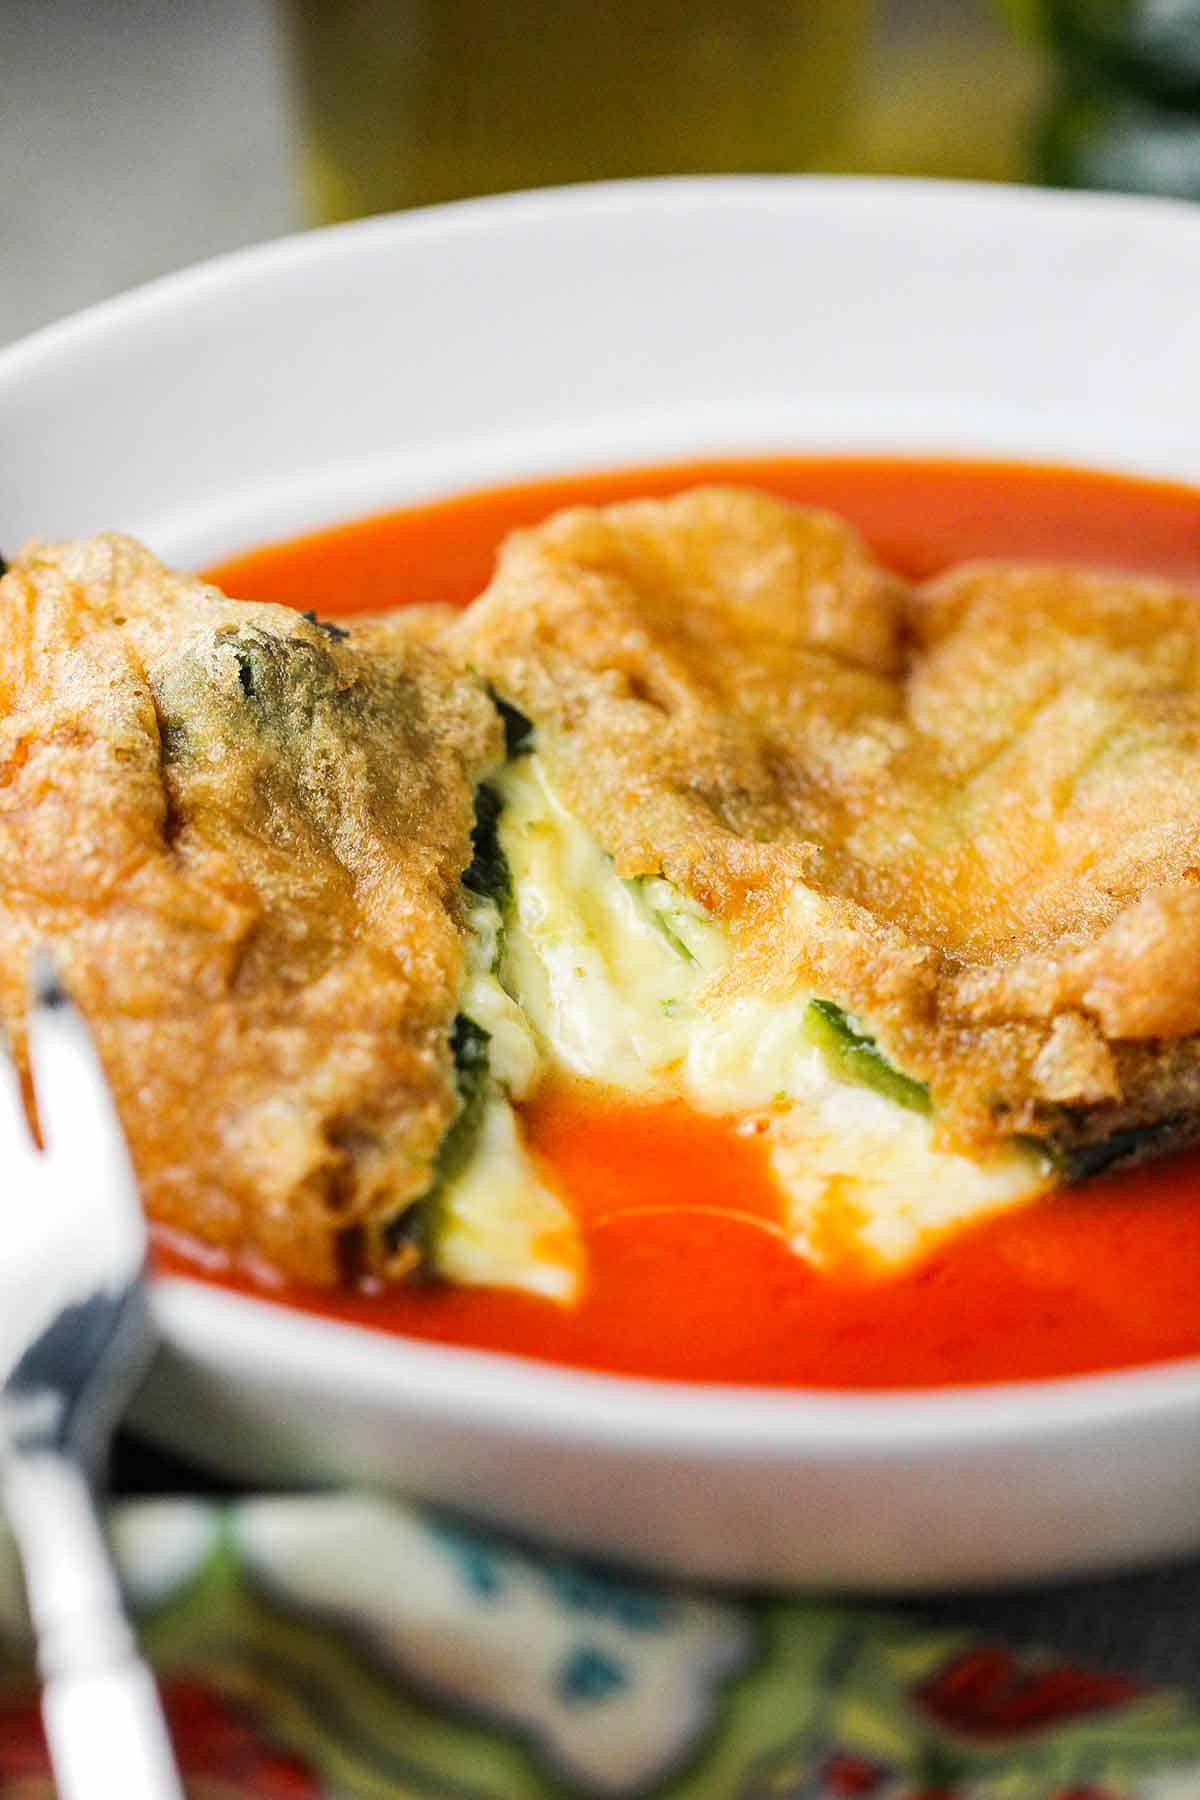
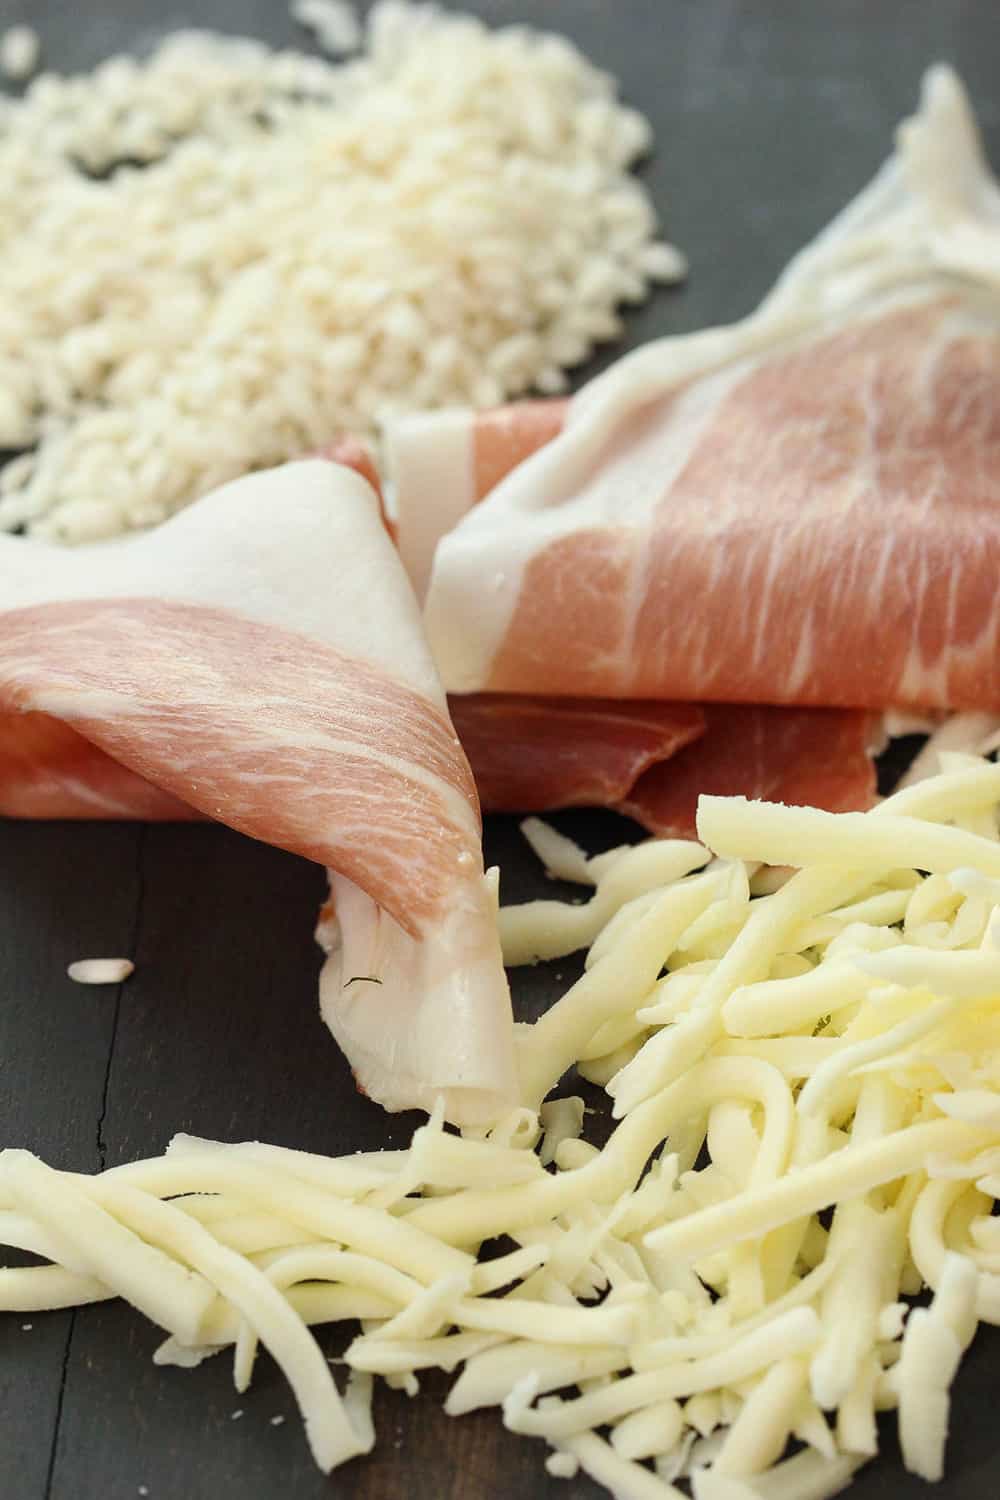
You can choose whatever filling you like for your Arancini. Sweet baby peas are popular along with a rich meat sauce. We love the simplicity of good-quality prosciutto and mozzarella. Ooey gooey, and oh so amazing!
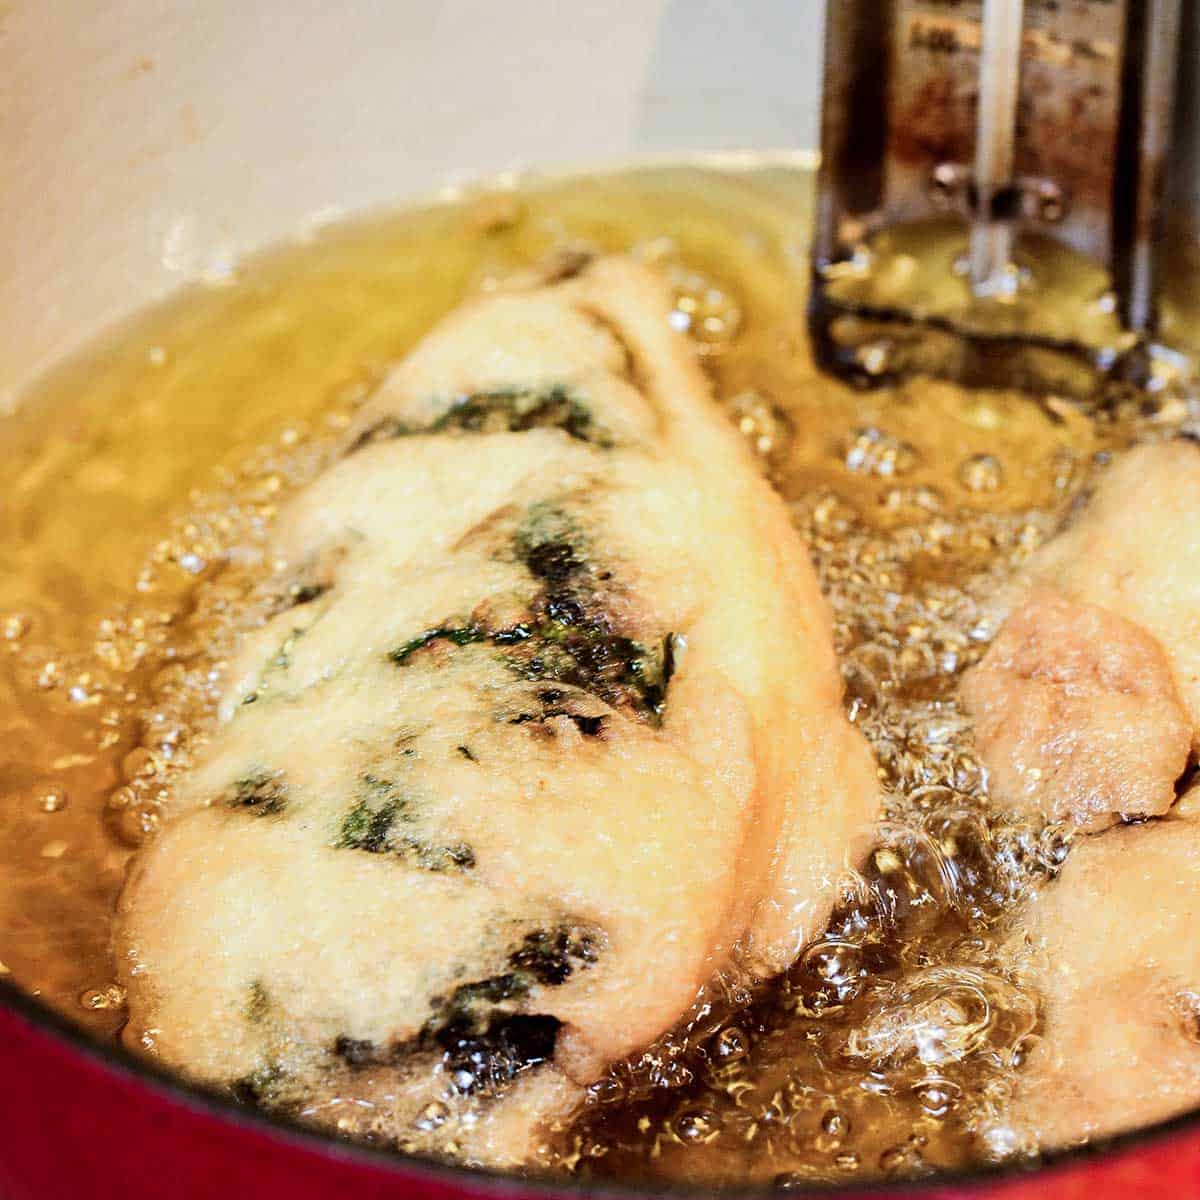
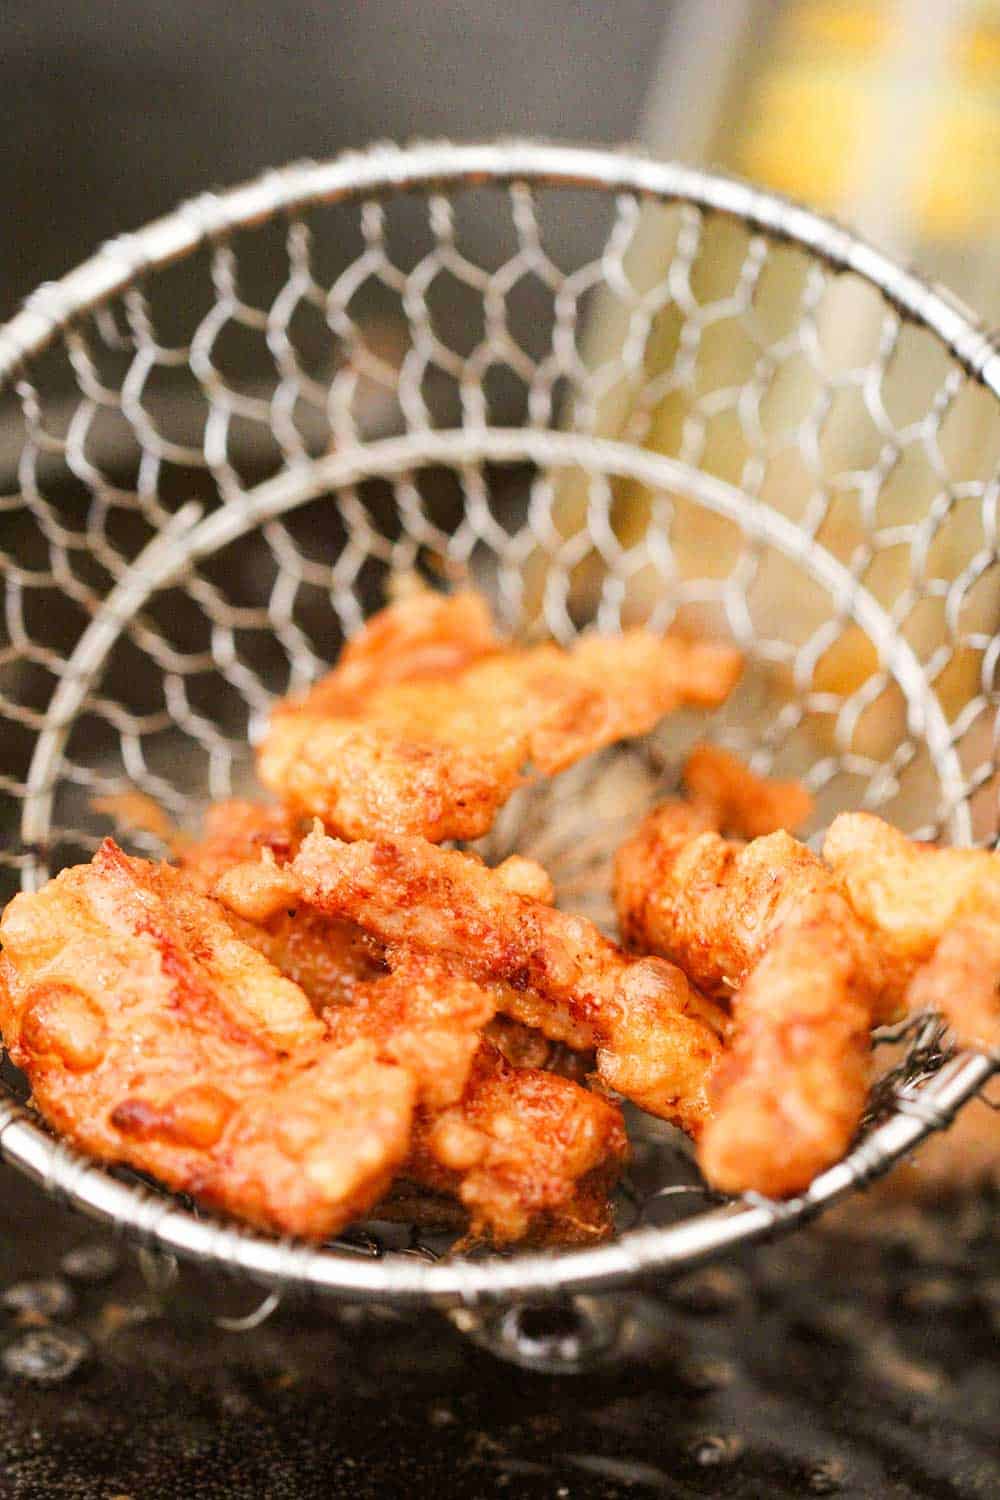
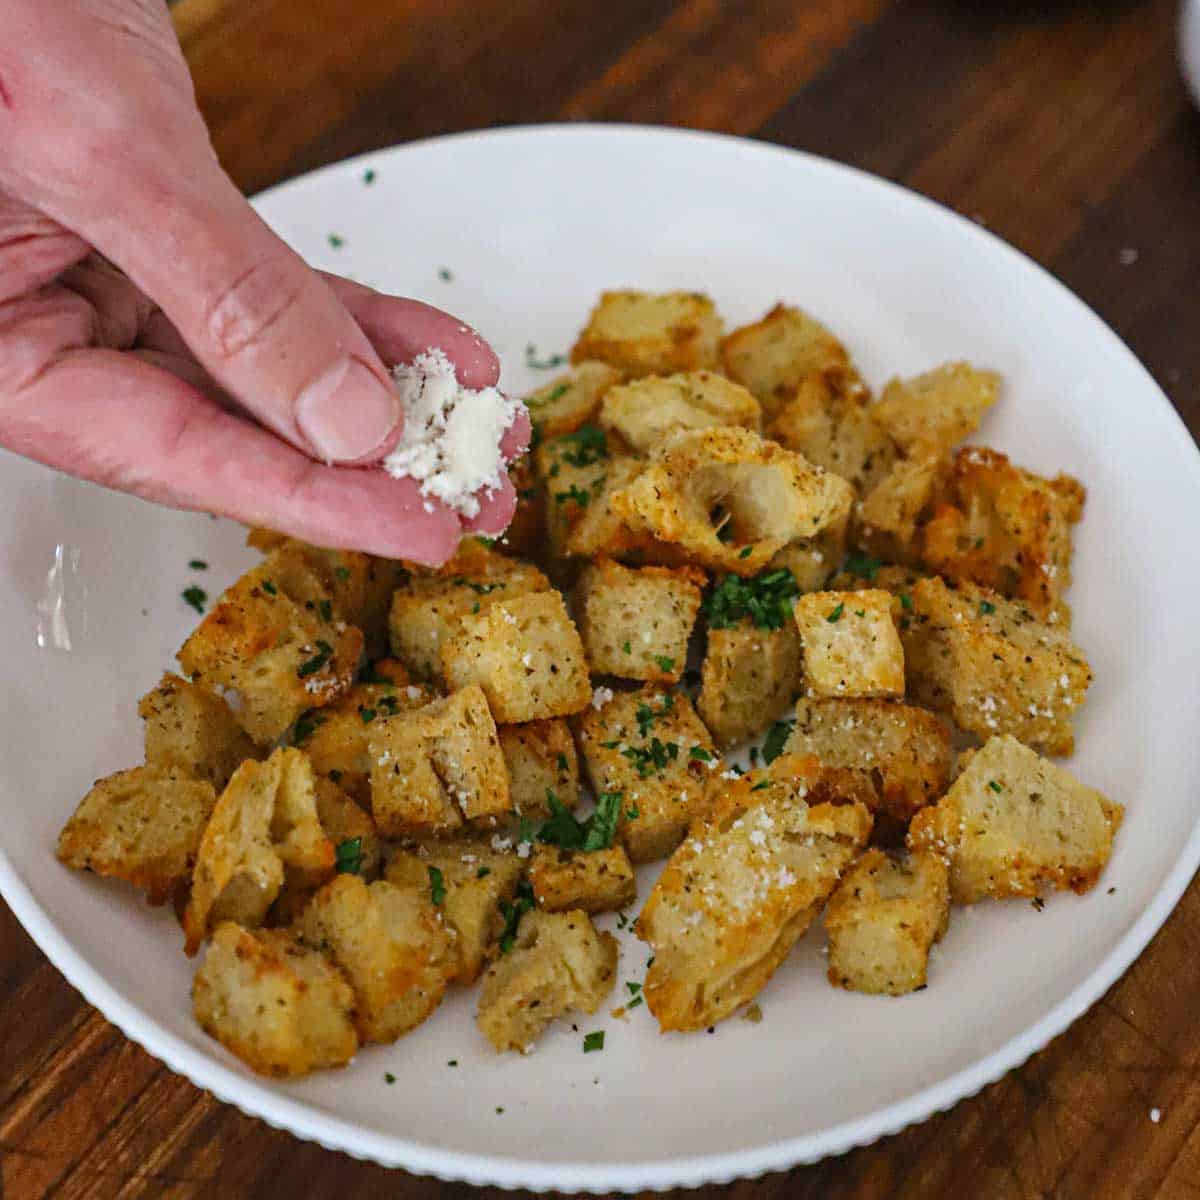
They only take a few minutes to fry up to a golden perfection. If you are making a large batch of arancini, fry them in batches and keep the finished rice balls in a low-temp oven until ready to serve.
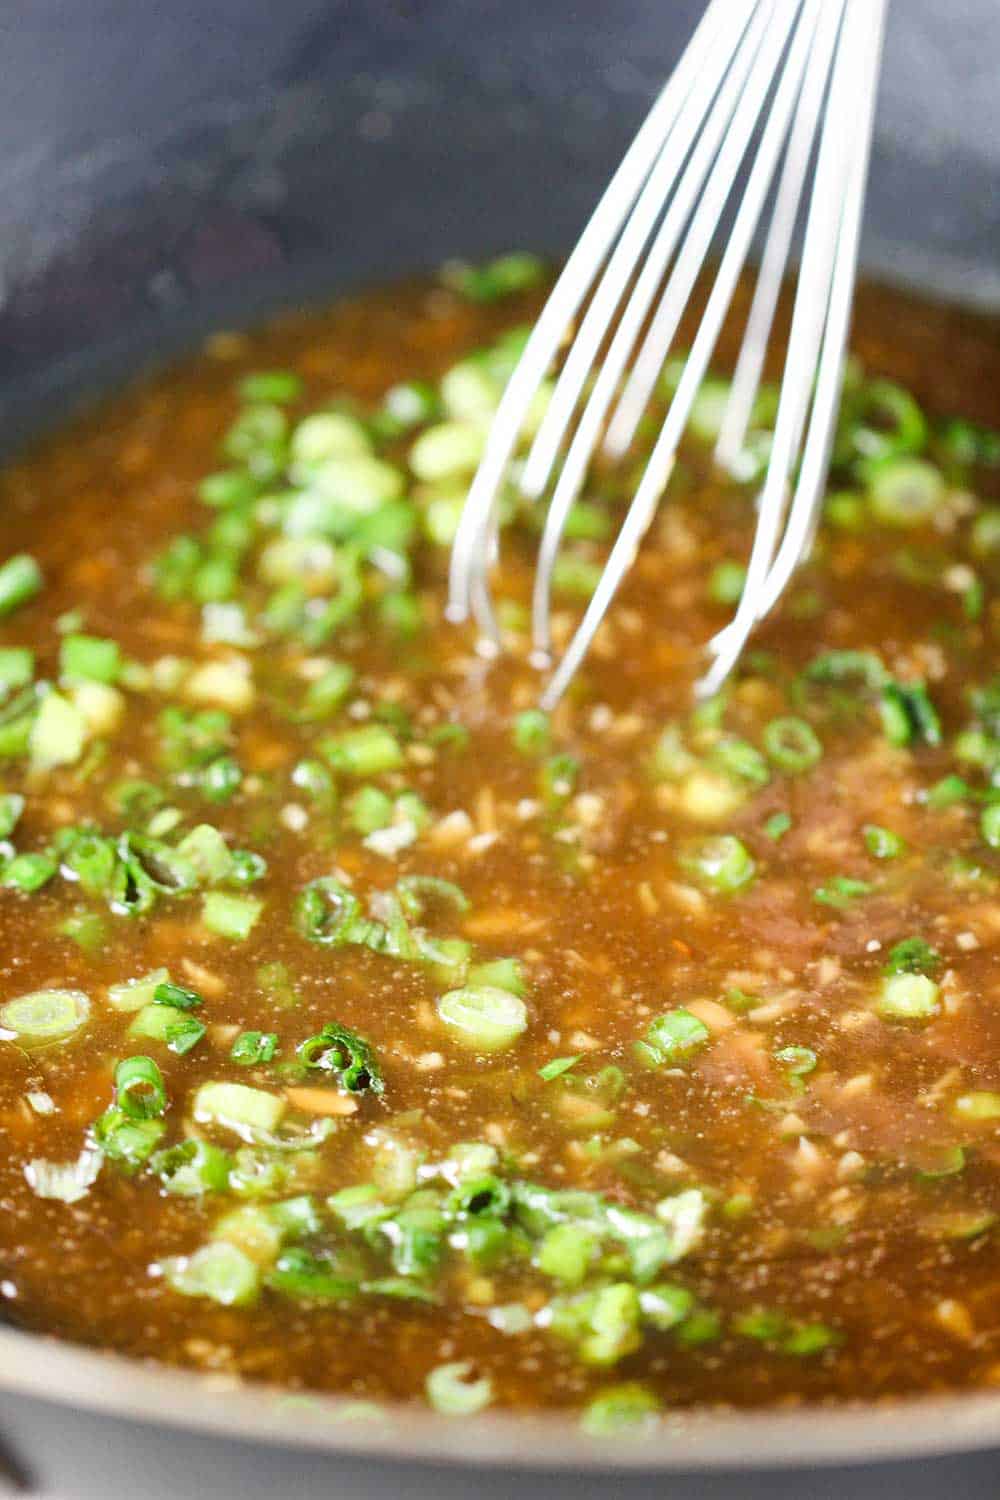
These are delicious served with homemade marinara. But honestly, they are so scrumptious as they are…you won’t even take the time to dip them in a sauce.
Ready to make these incredible balls of Italian deliciousness? They are easier than you’d think. Go for it and ENJOY!!

Arancini (Italian Rice Balls)
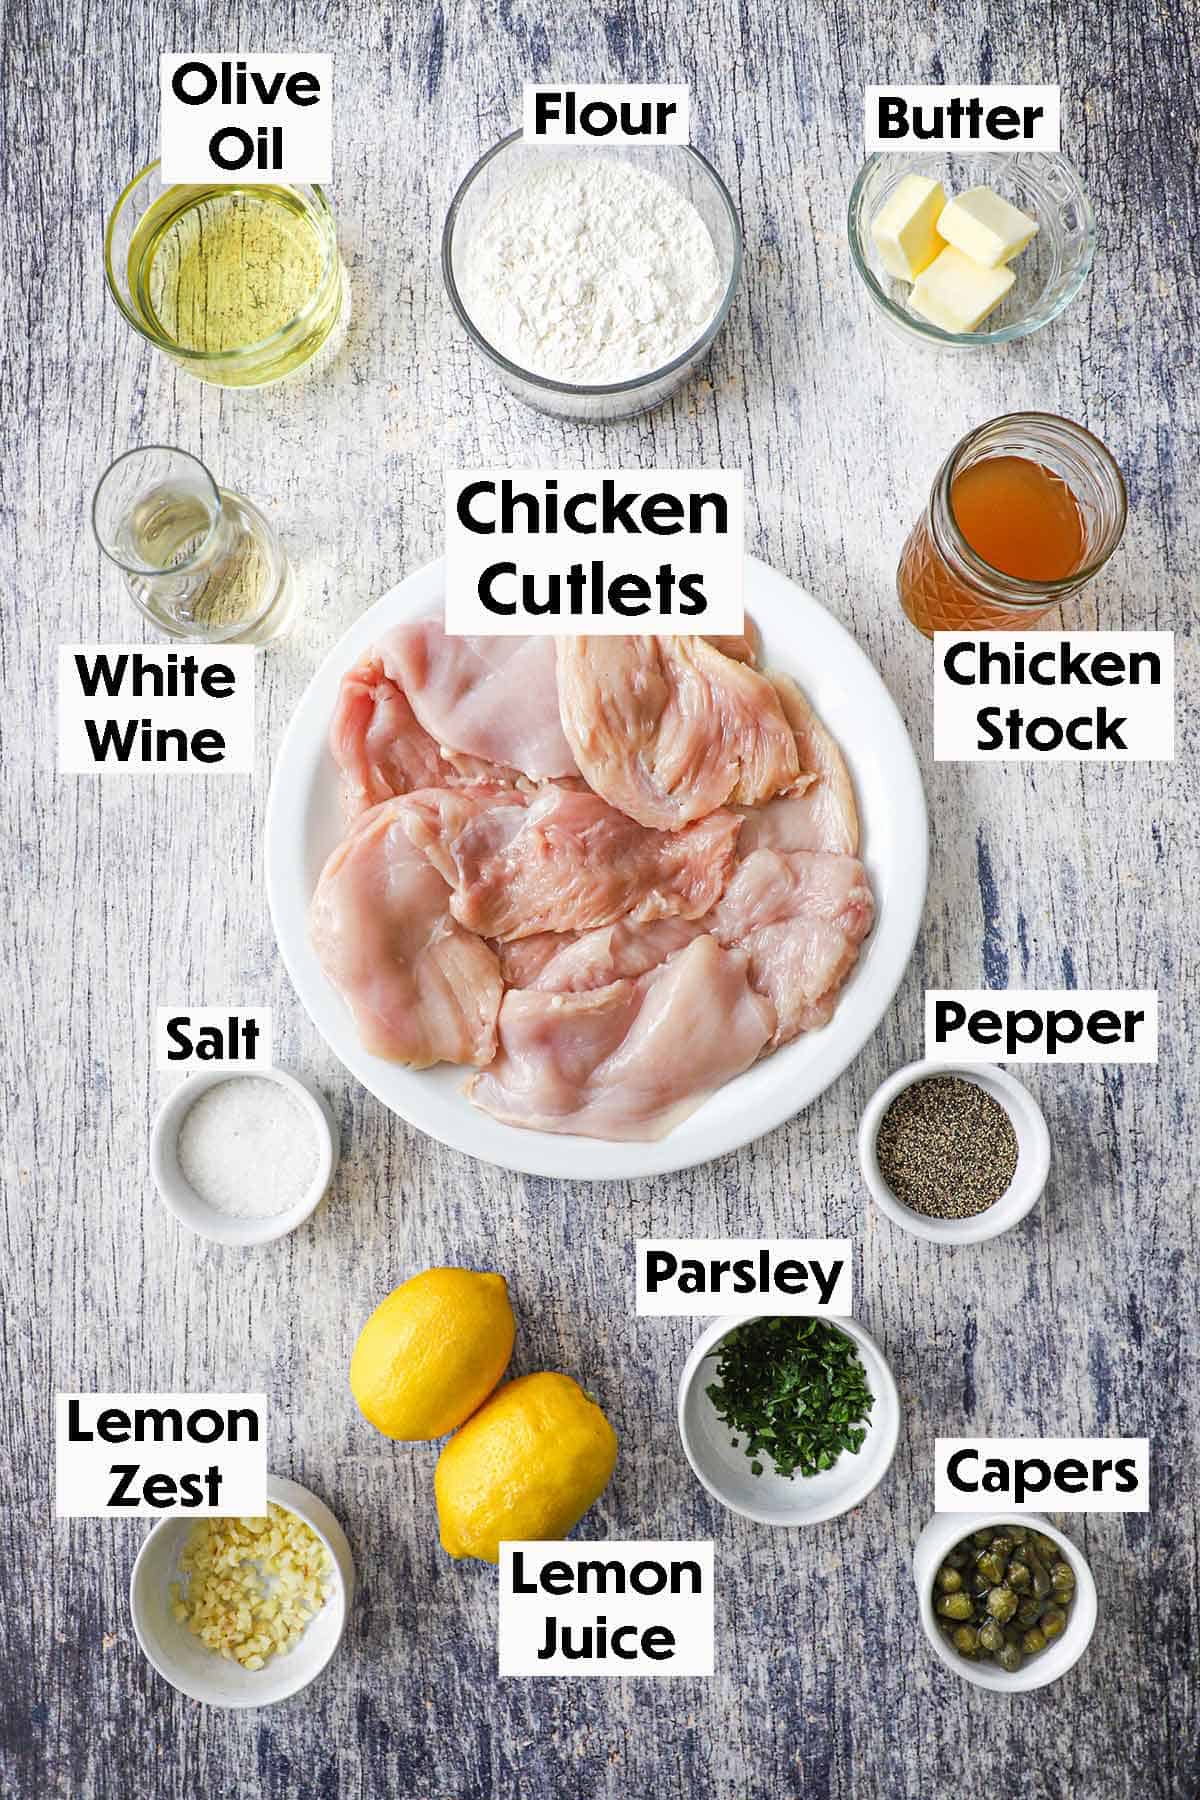
Ingredients
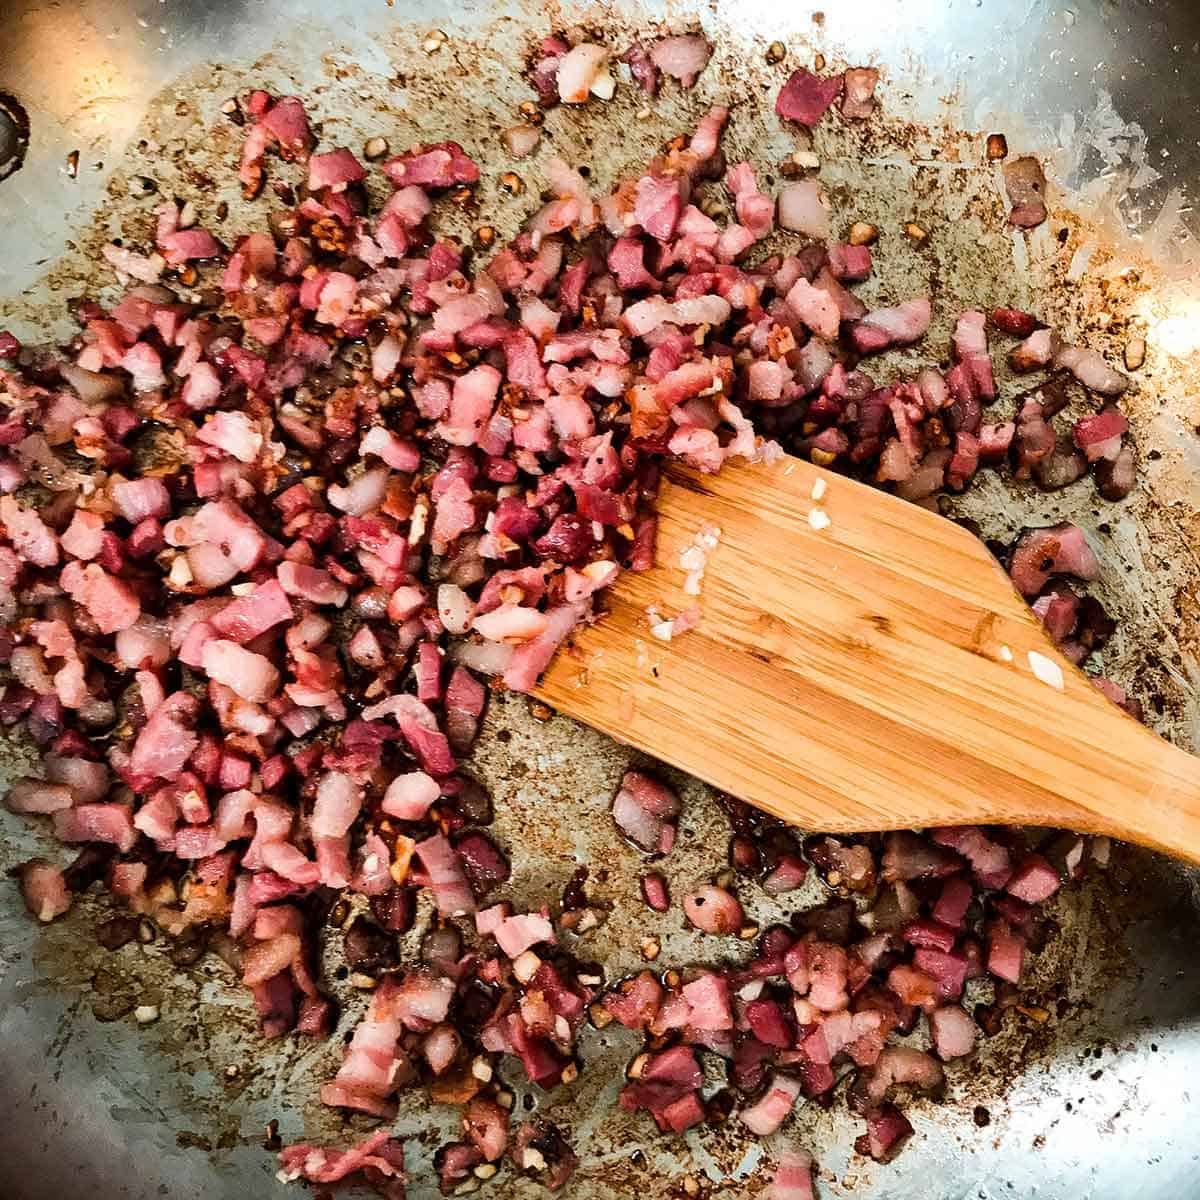
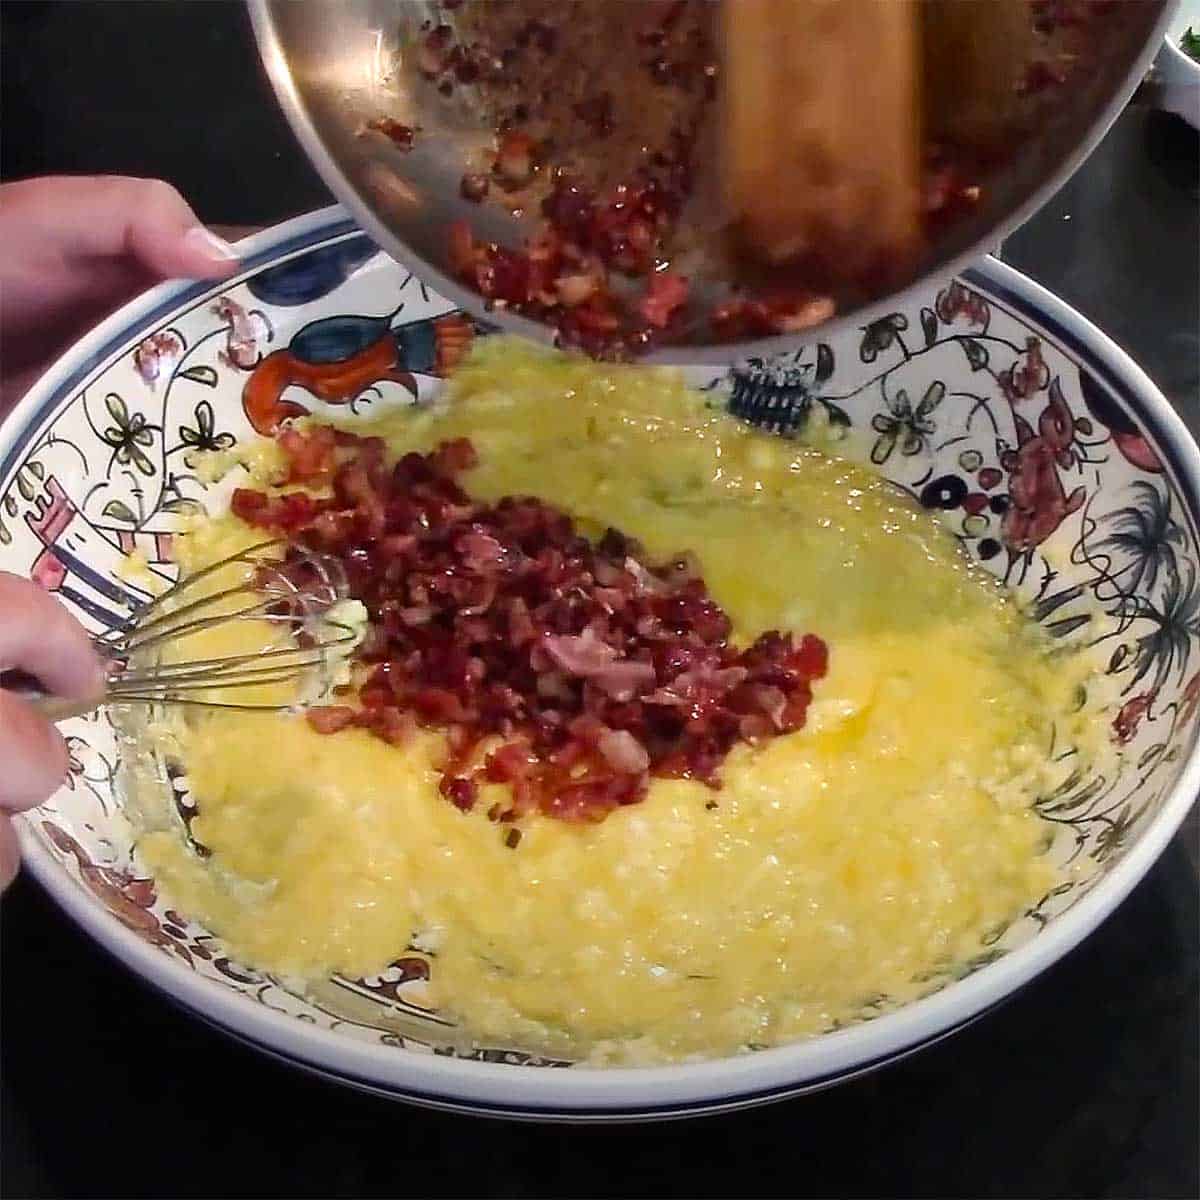
- 3 oz. prosciutto chopped
- 3 oz. mozzarella shredded
- 3 to 5 cups chicken stock
- 1 tablespoon unsalted butter
- ¼ cup shallots chopped
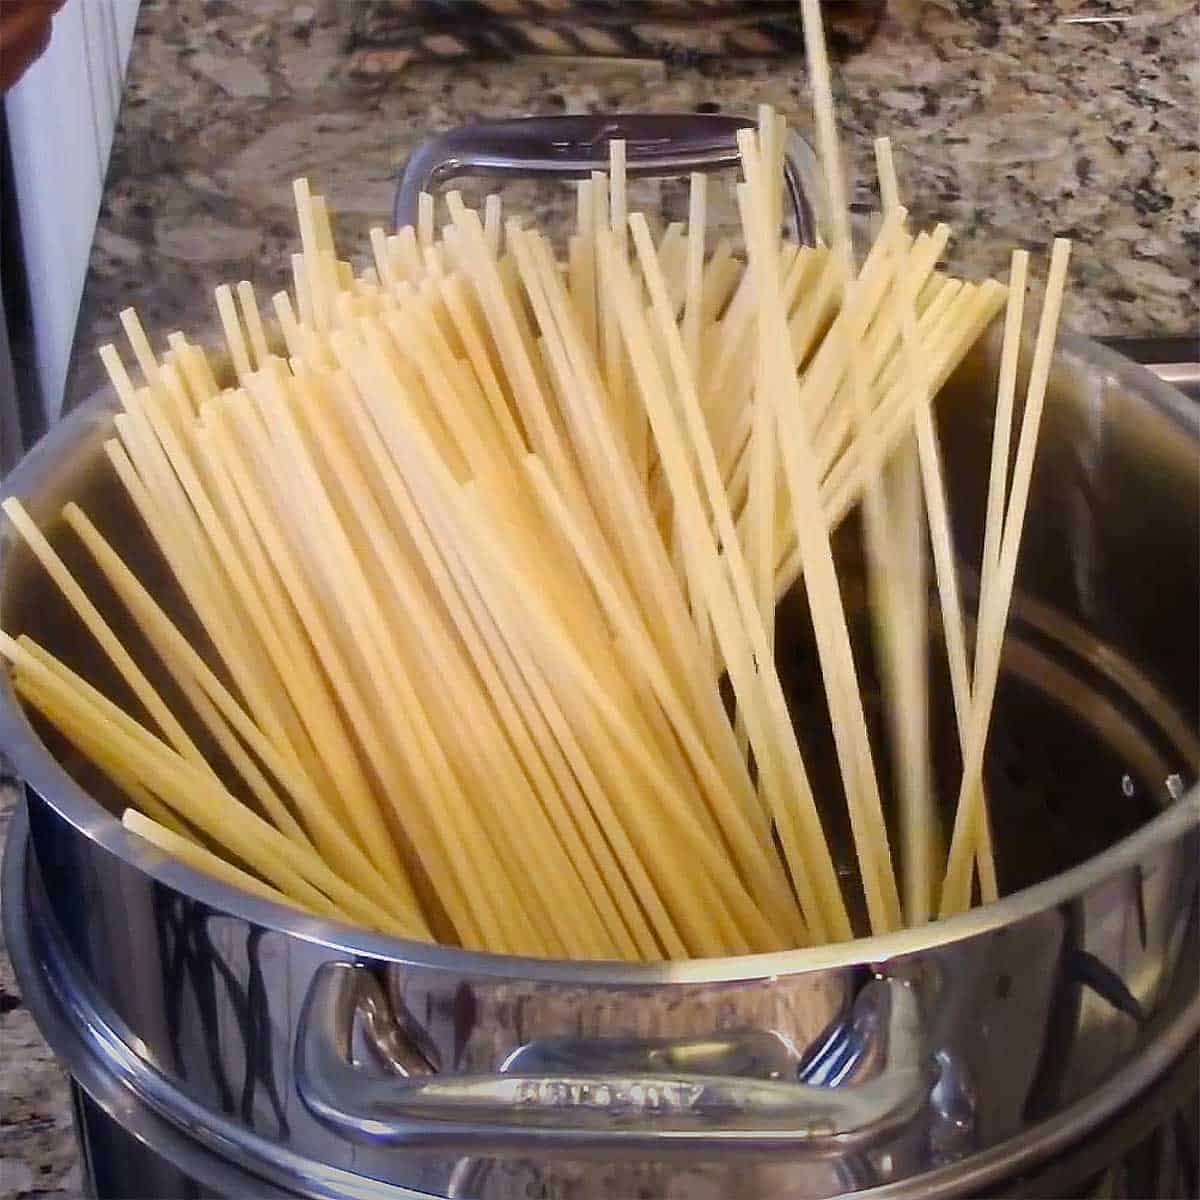
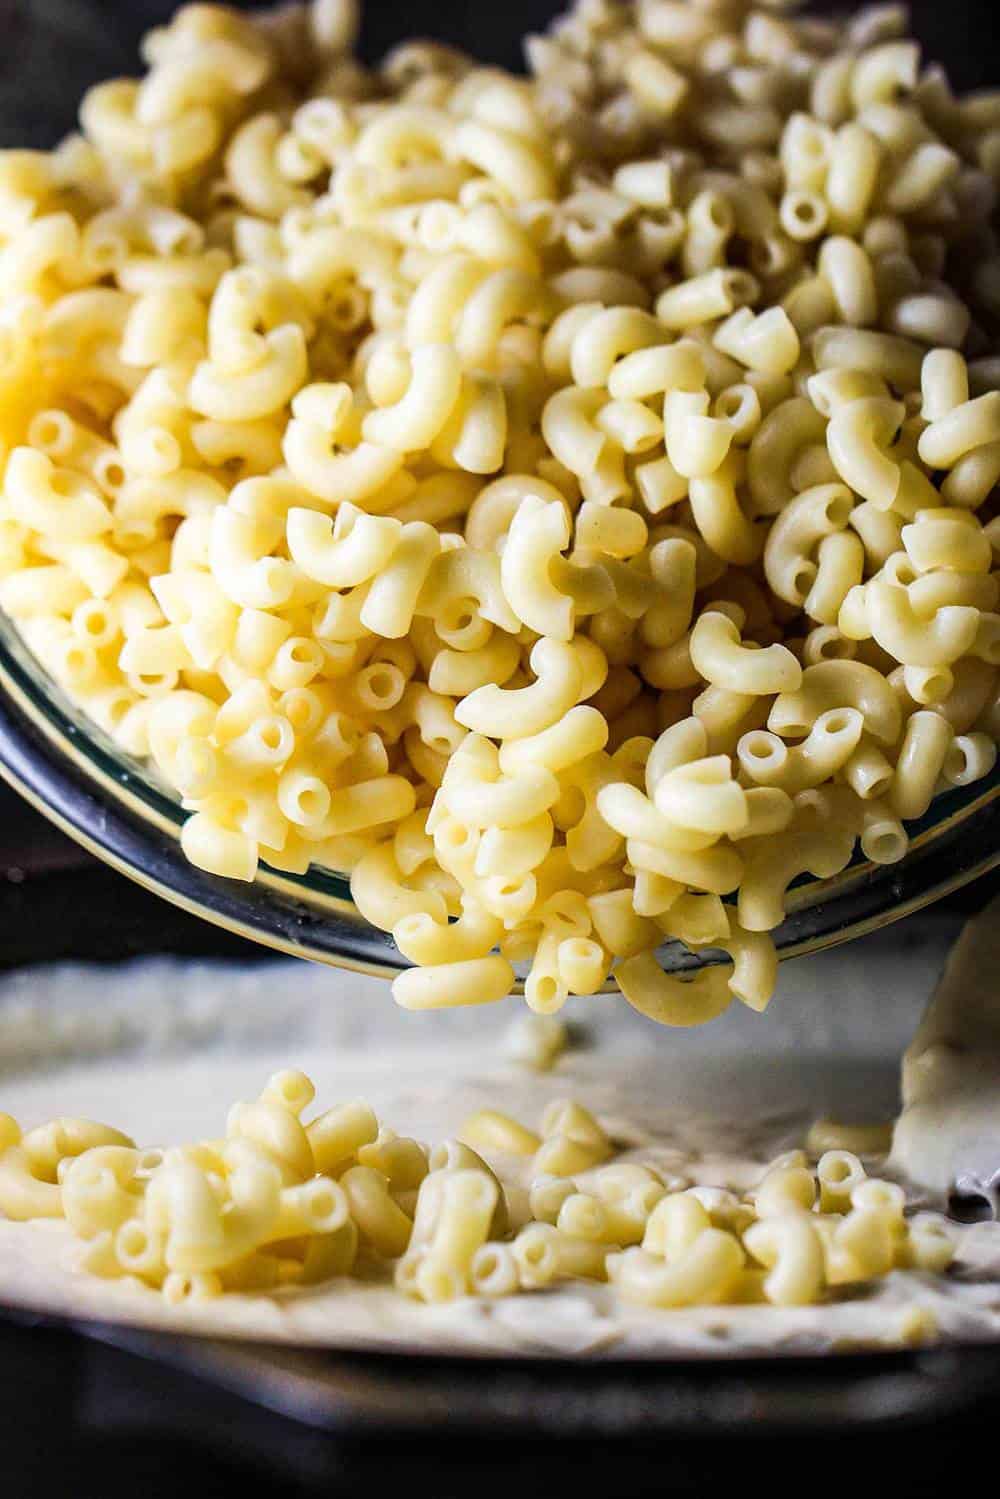
- 1 cup Arborio rice
- ¼ cup dry white wine
- Kosher salt
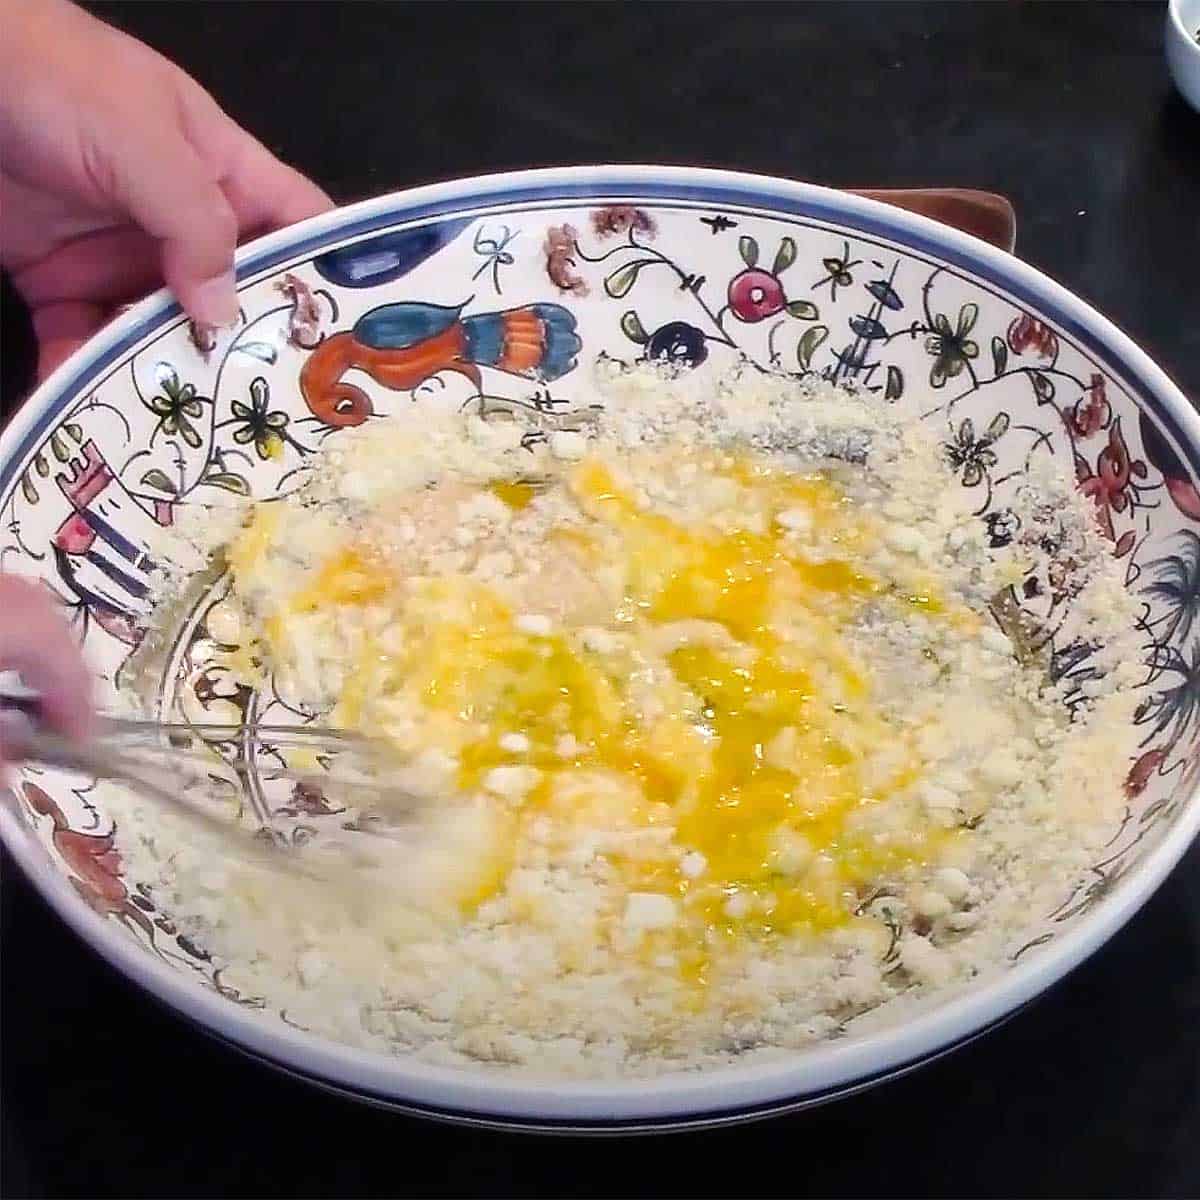
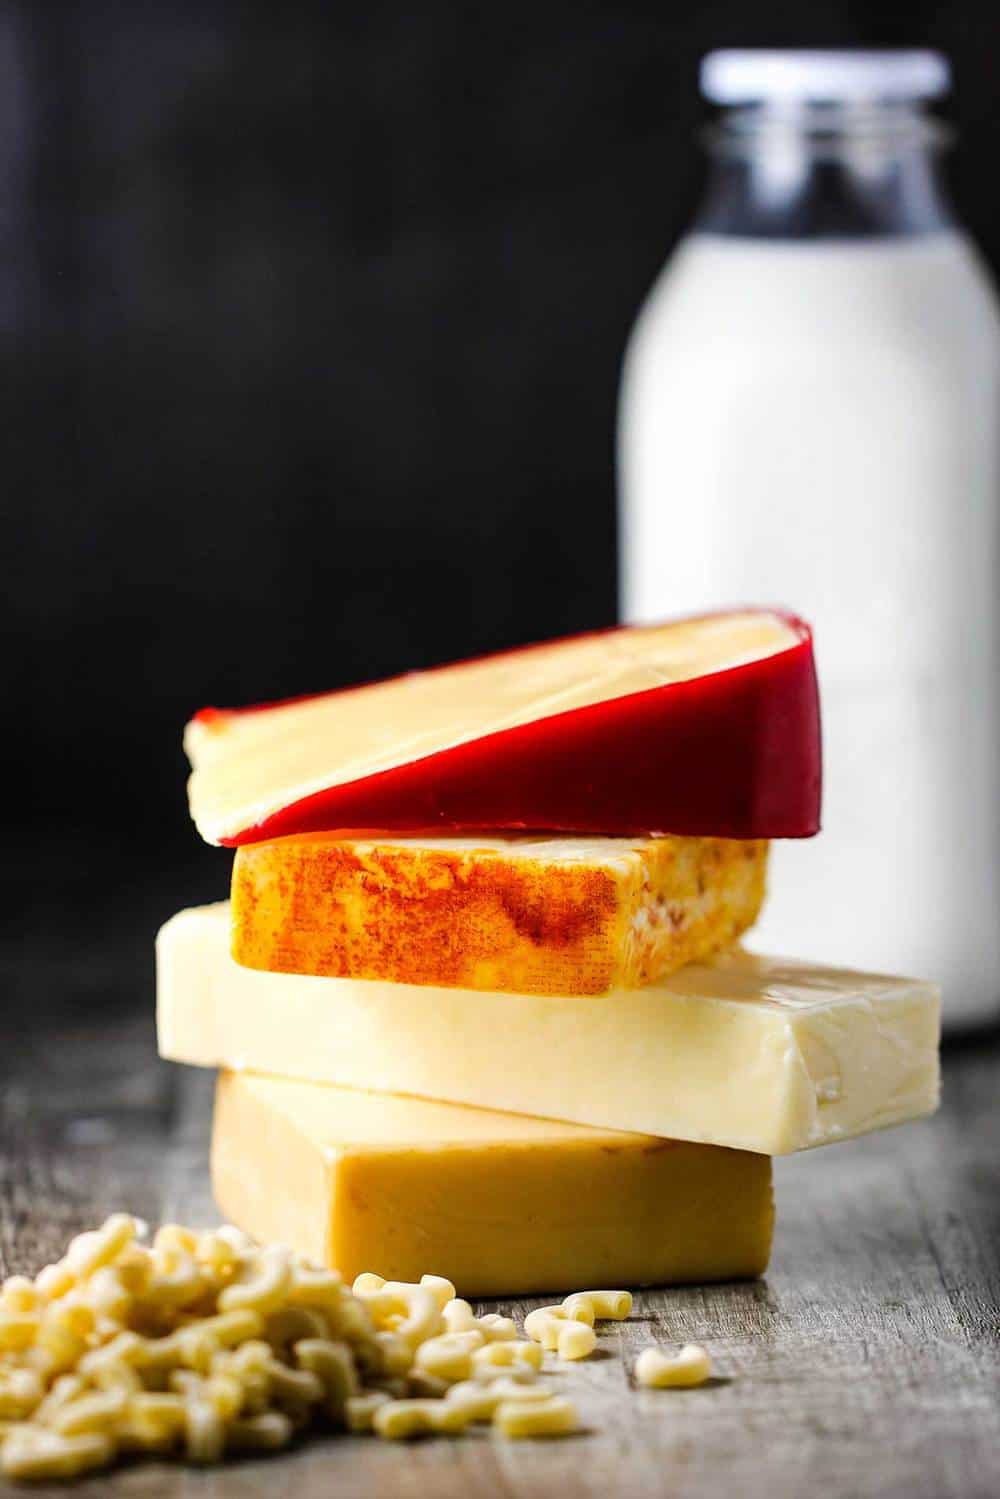
- ½ cup Parmesan cheese grated
- 4 eggs divided
- Canola or vegetable oil for frying
- 1 cup all-purpose flour
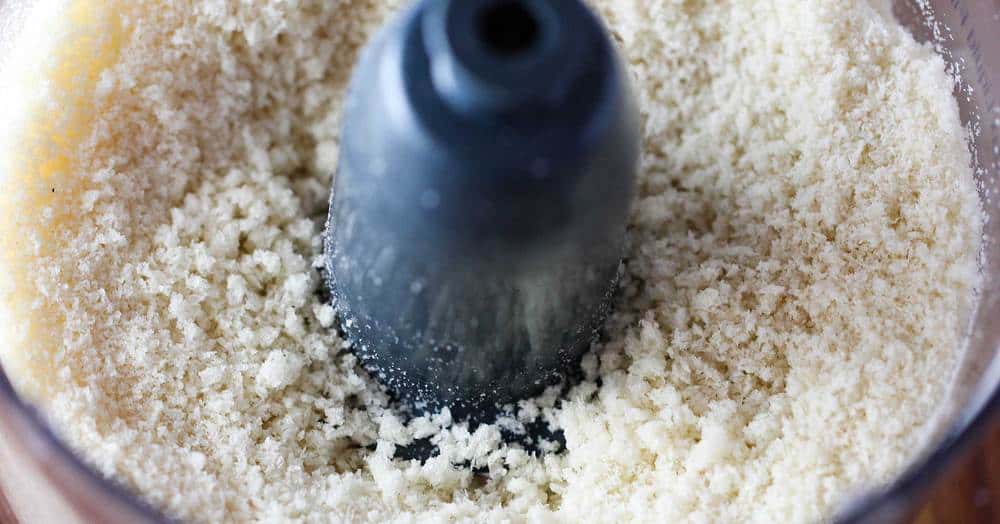
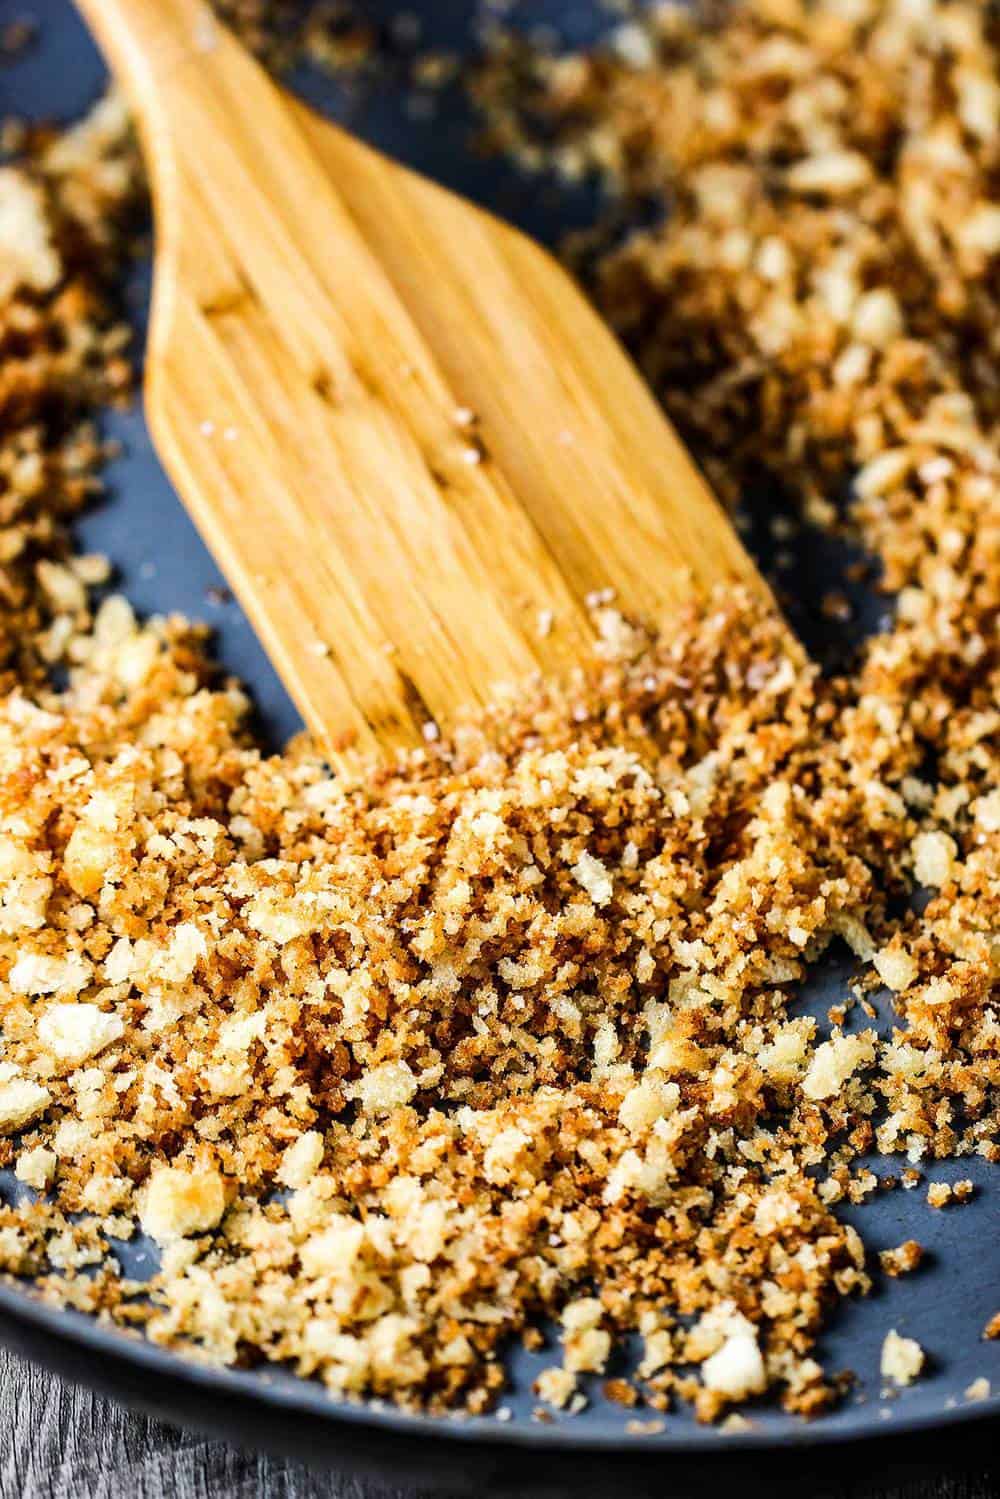
- 2 cups bread crumbs fine crumbs are best
Instructions
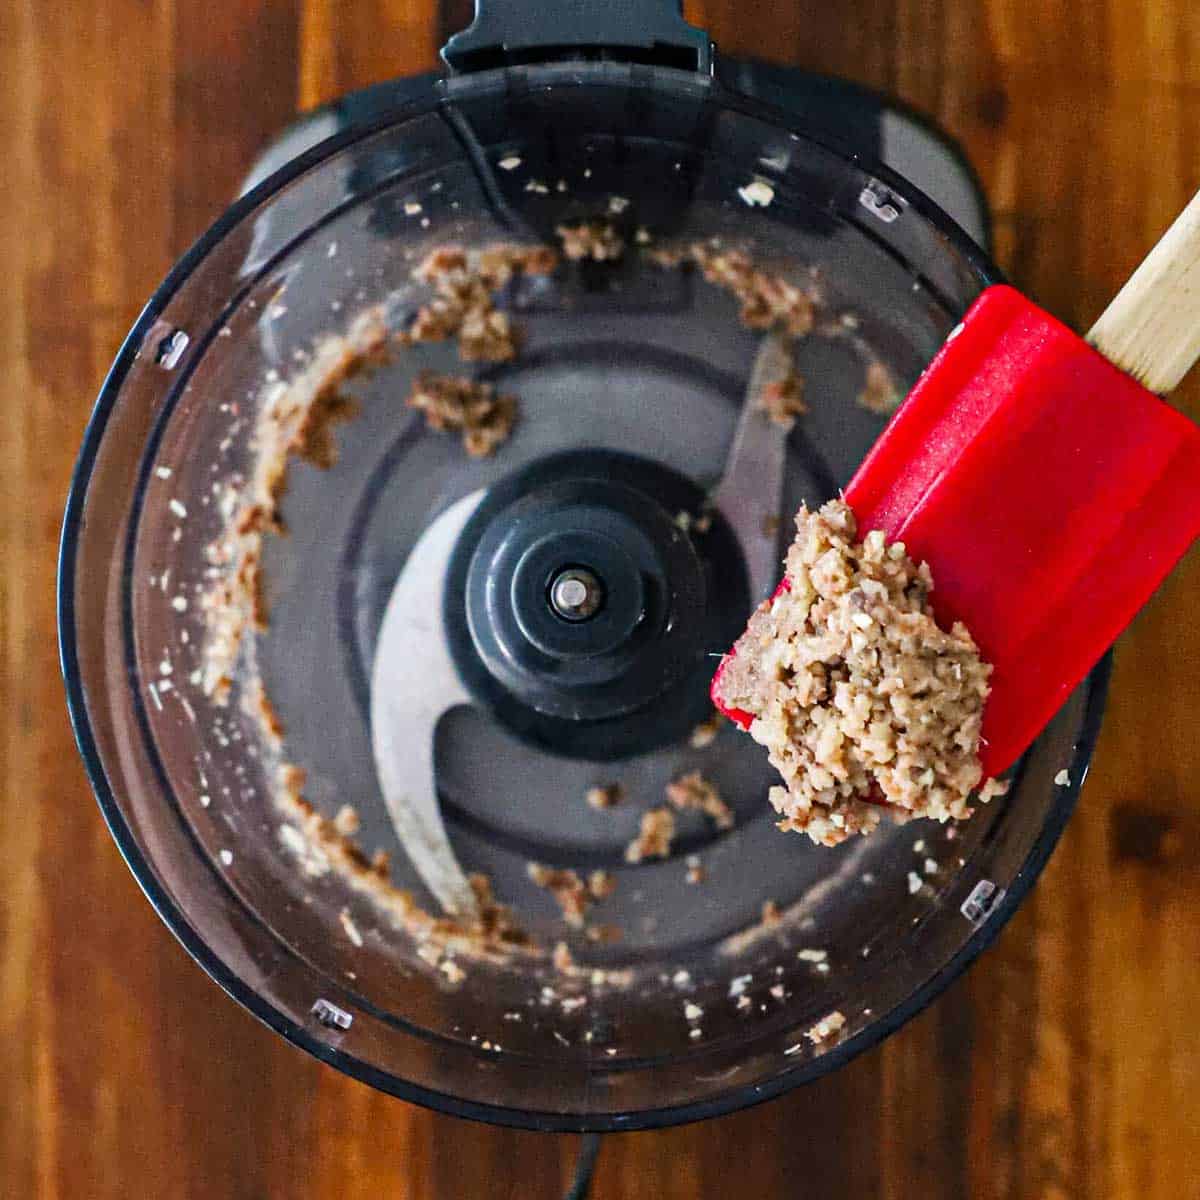
- Combine the prosciutto and mozzarella in a bowl and set aside. (This will be the filling)3 oz. prosciutto, 3 oz. mozzarella
- In a medium pot, heat the stock to a simmer.3 to 5 cups chicken stock
- Meanwhile, in a large heavy skillet or pot (preferably a Dutch oven), melt the butter over medium-high heat.1 tablespoon unsalted butter
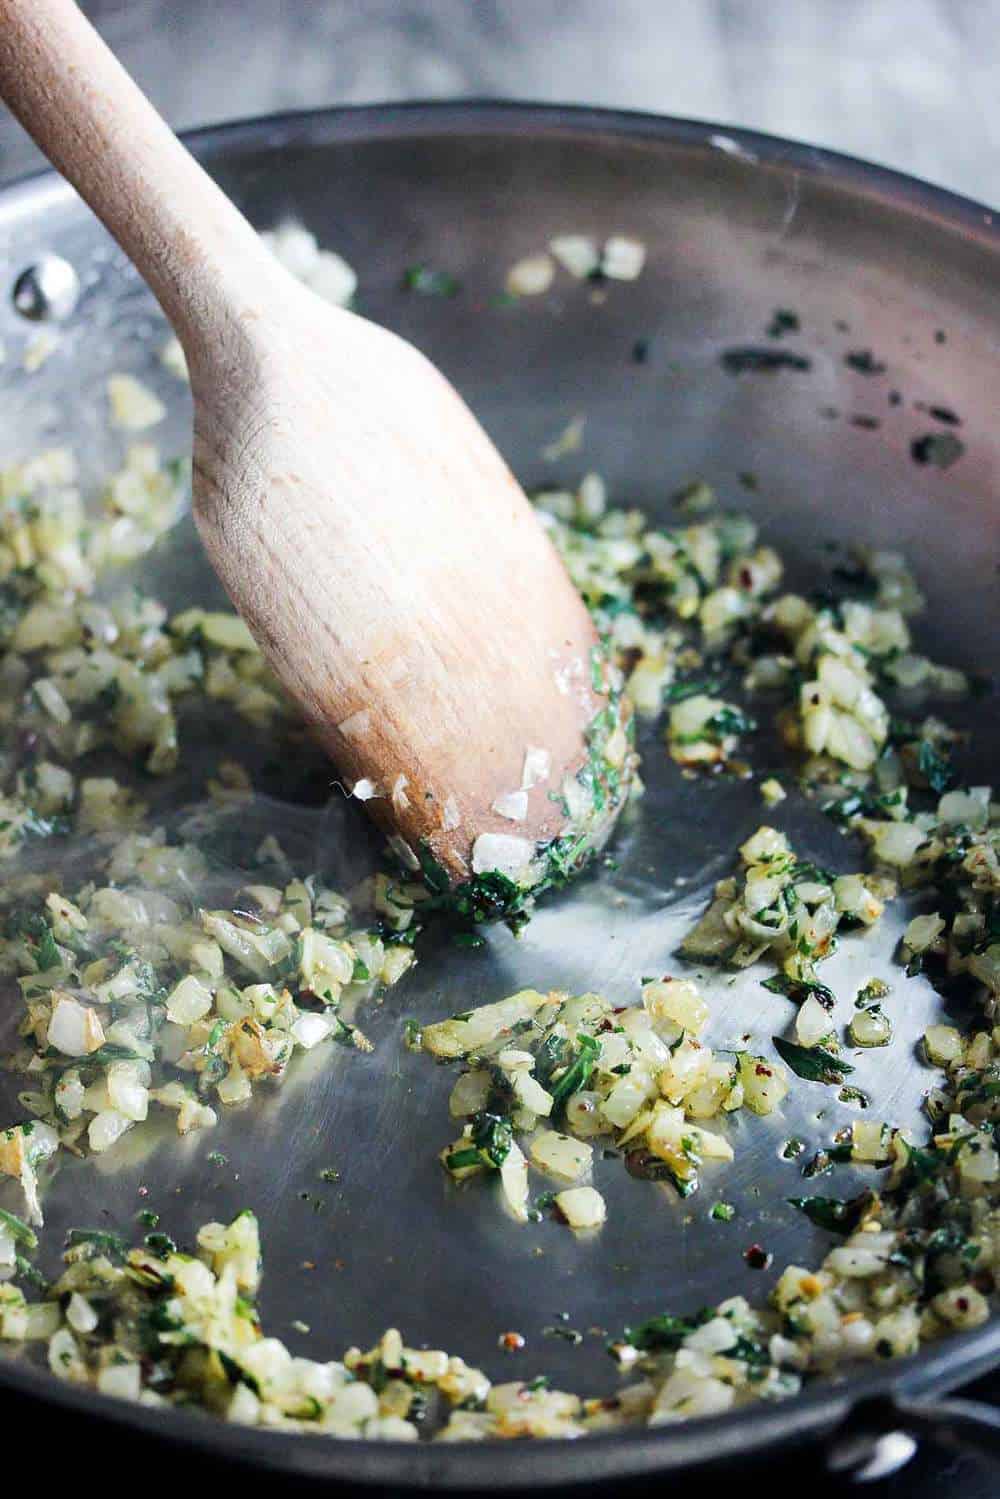
- Add the shallots and cook until translucent, about 4 minutes.¼ cup shallots
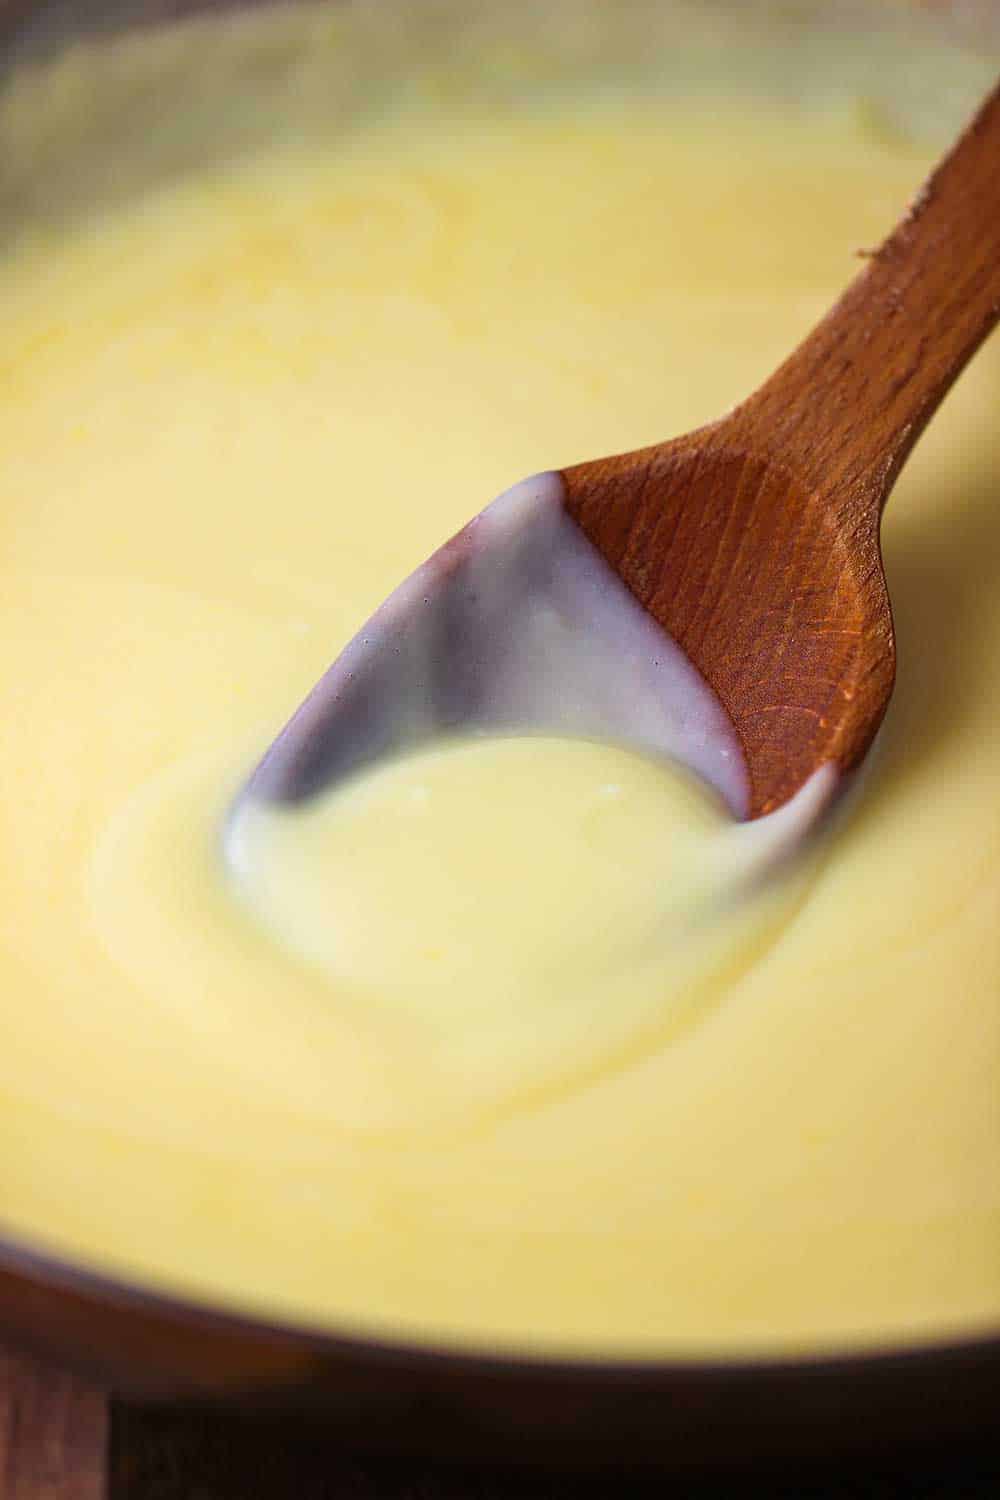
- Add the rice and cook until lightly toasted, about 8 minutes.1 cup Arborio rice
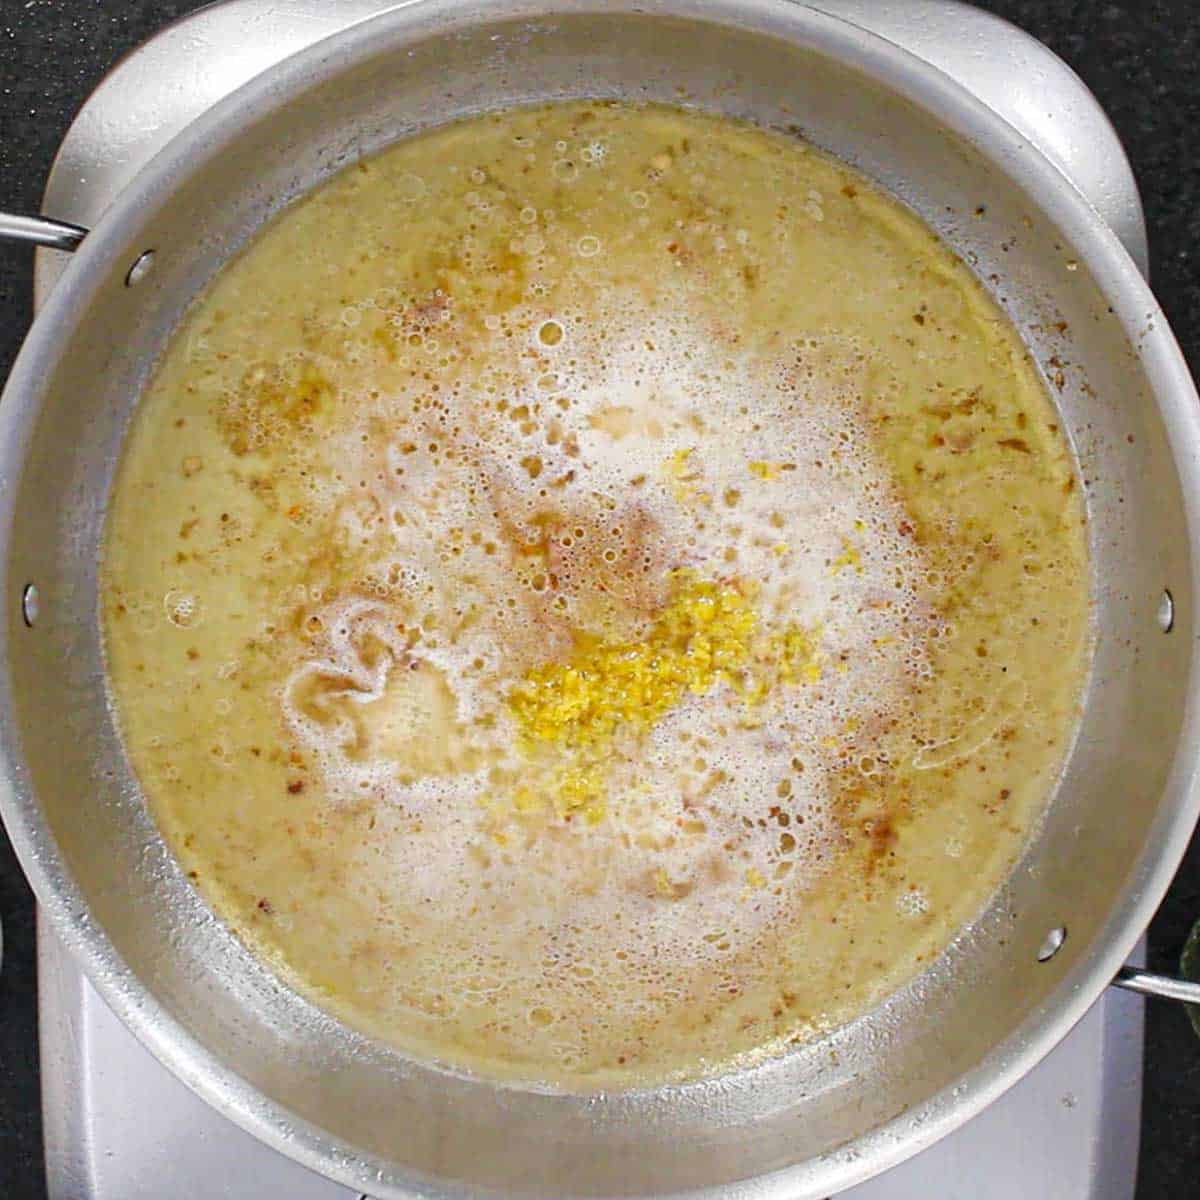
- Add the wine and cook until almost evaporated, about 4 minutes.¼ cup dry white wine
- Ladle over enough of the hot stock to cover the rice.
- Stir frequently with a wooden spoon until almost all liquid is absorbed, about 8 minutes.
- Add more stock and continue stirring until absorbed.
- Add stock again, until absorbed and creamy, and rice is soft (about 25 minutes total). Taste rice, if still not soft, continue adding hot stock and stirring until rice is soft and creamy. Don't let the risotto be too wet! Remove from the heat.
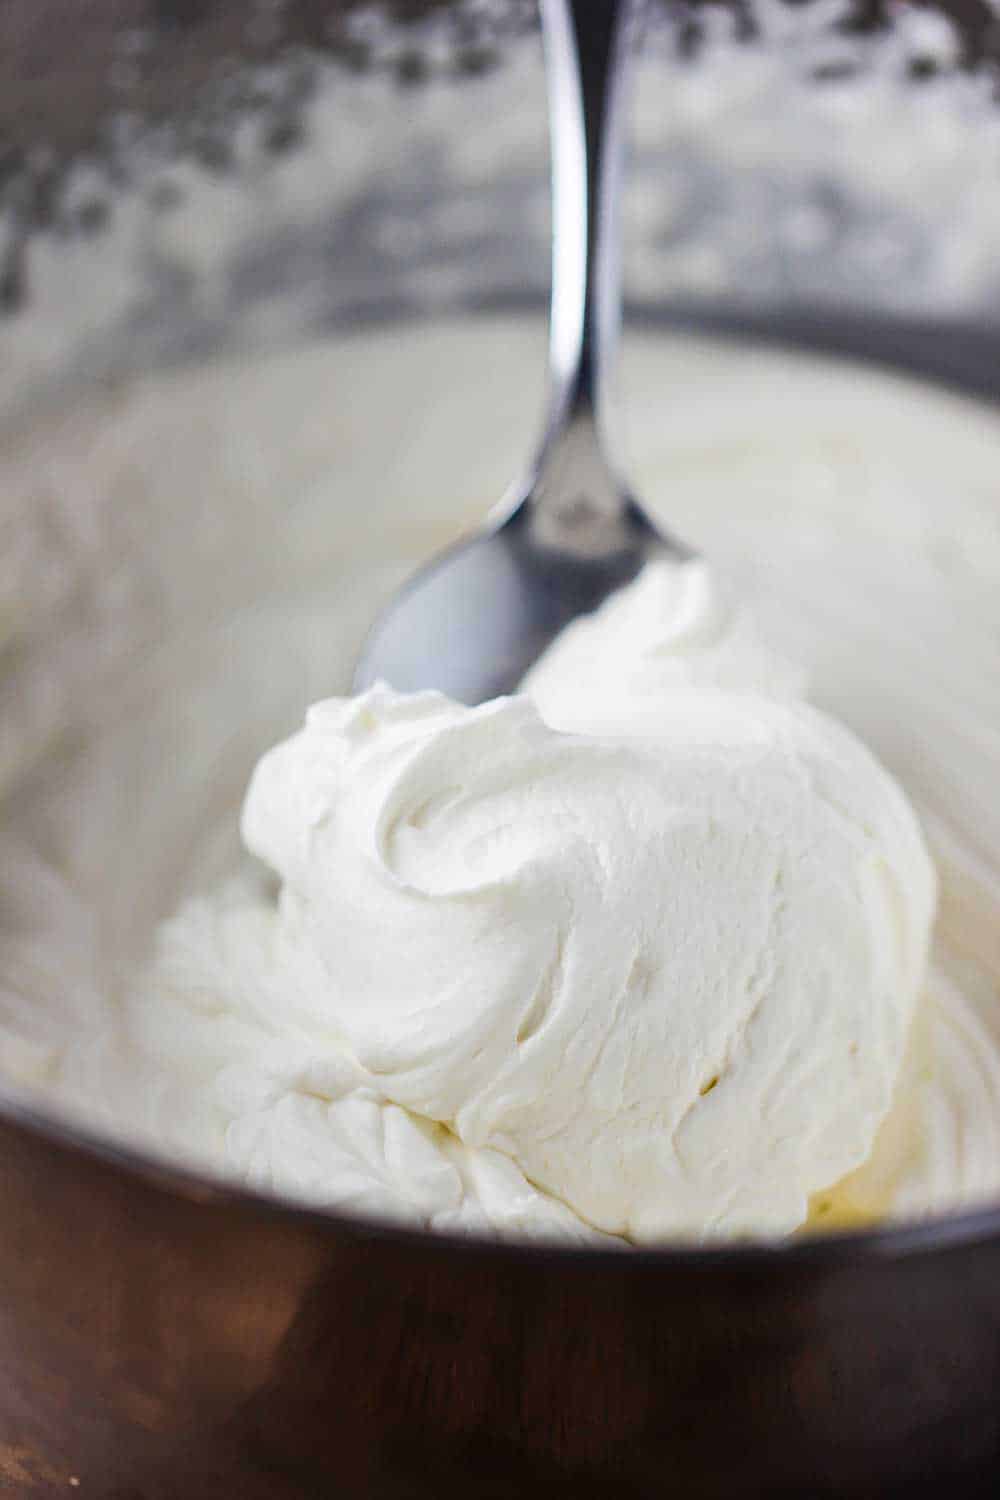
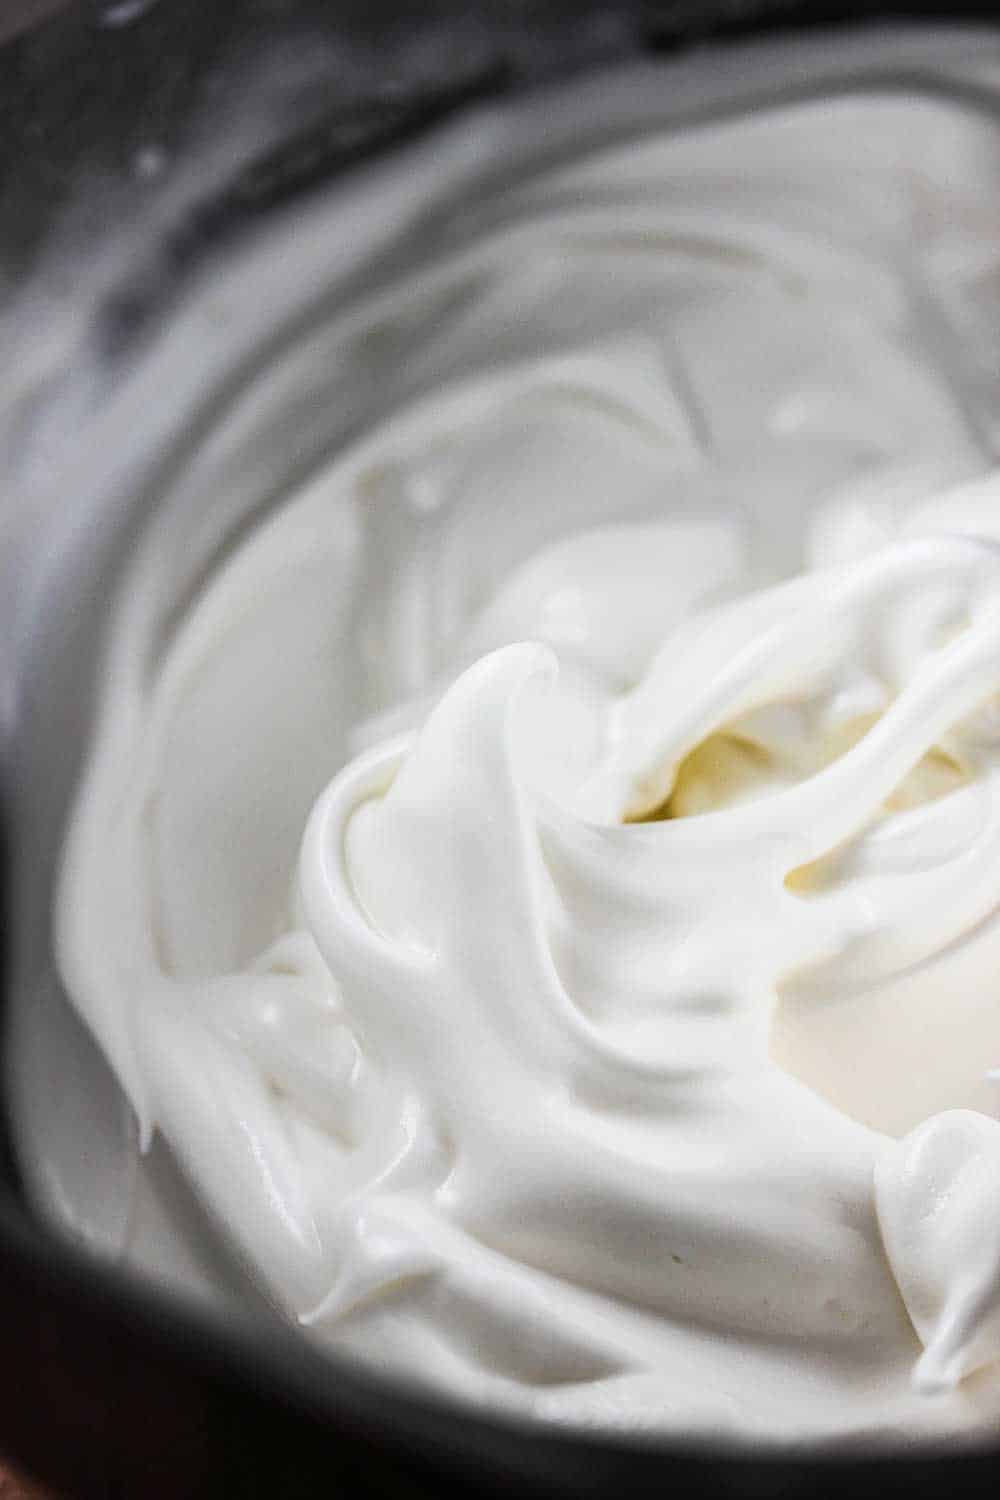
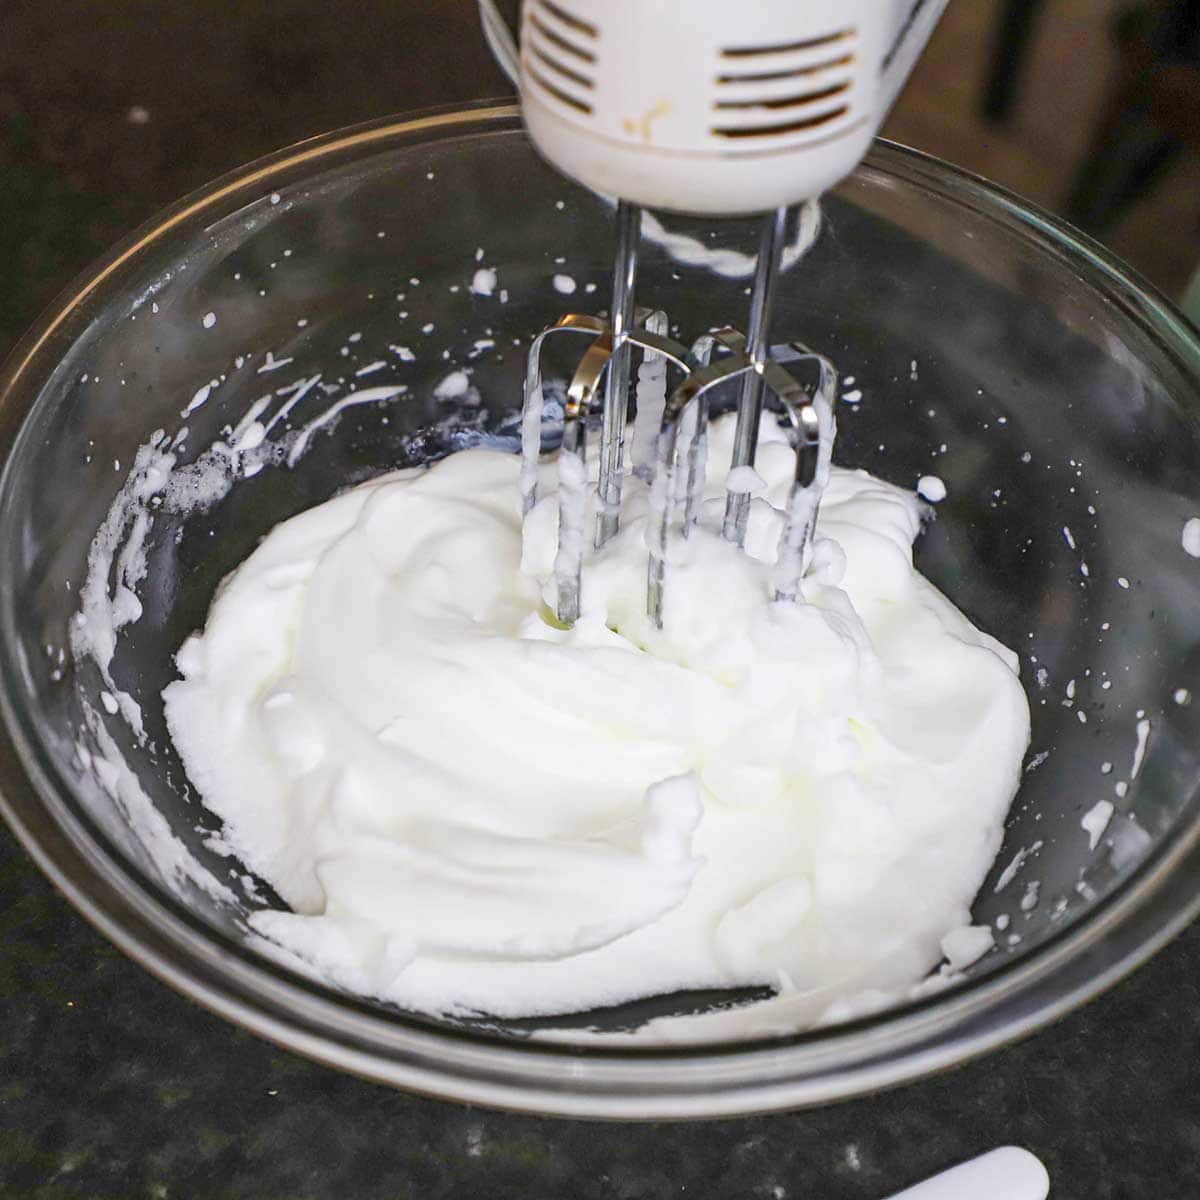
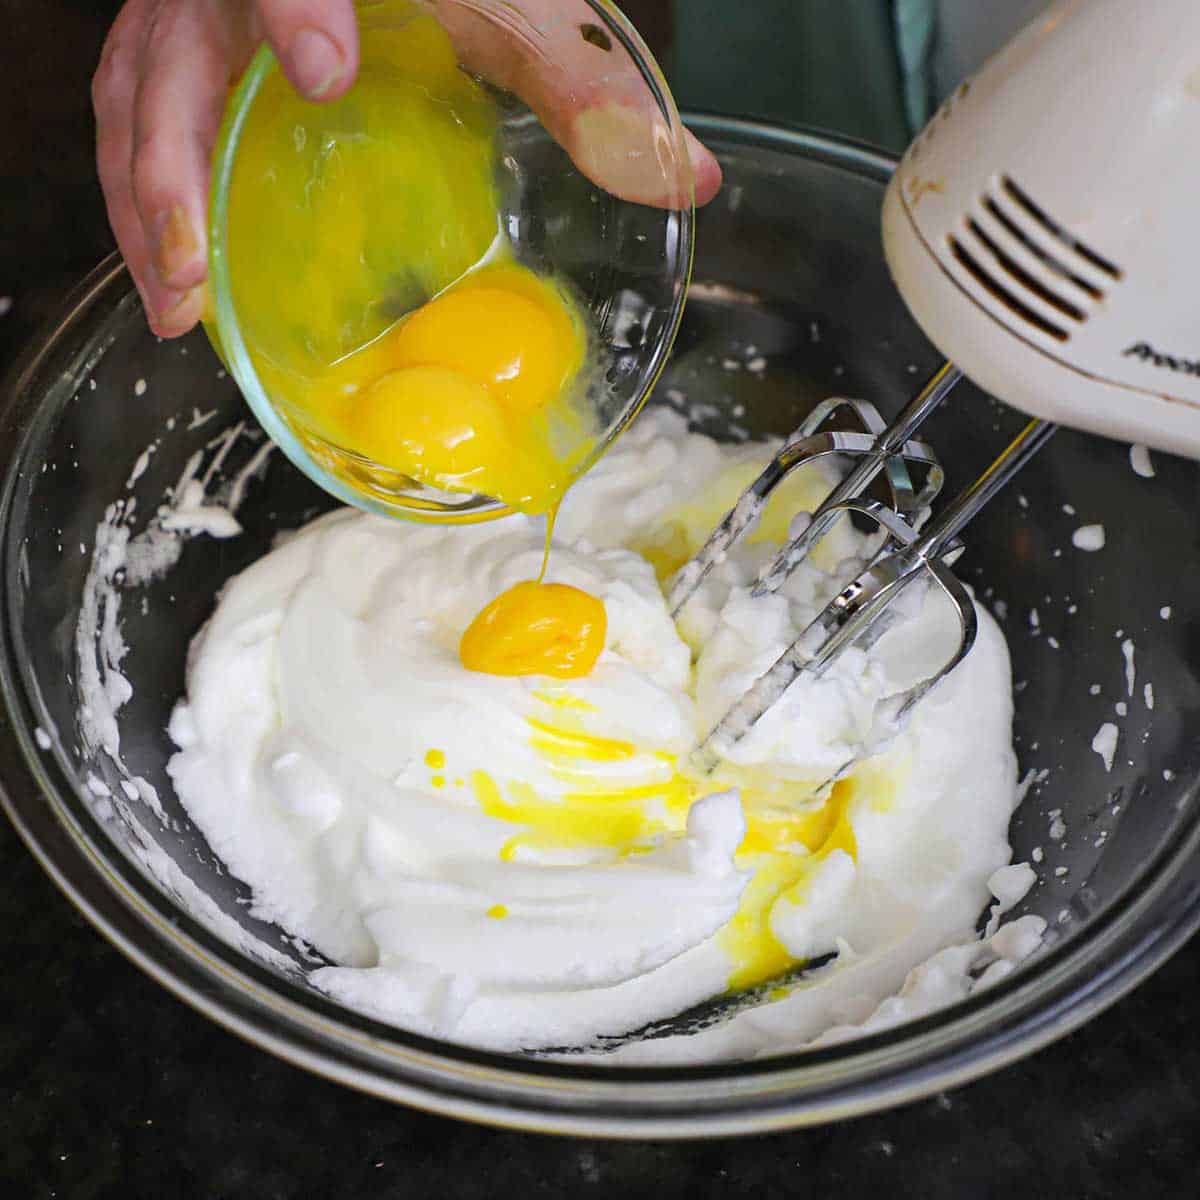
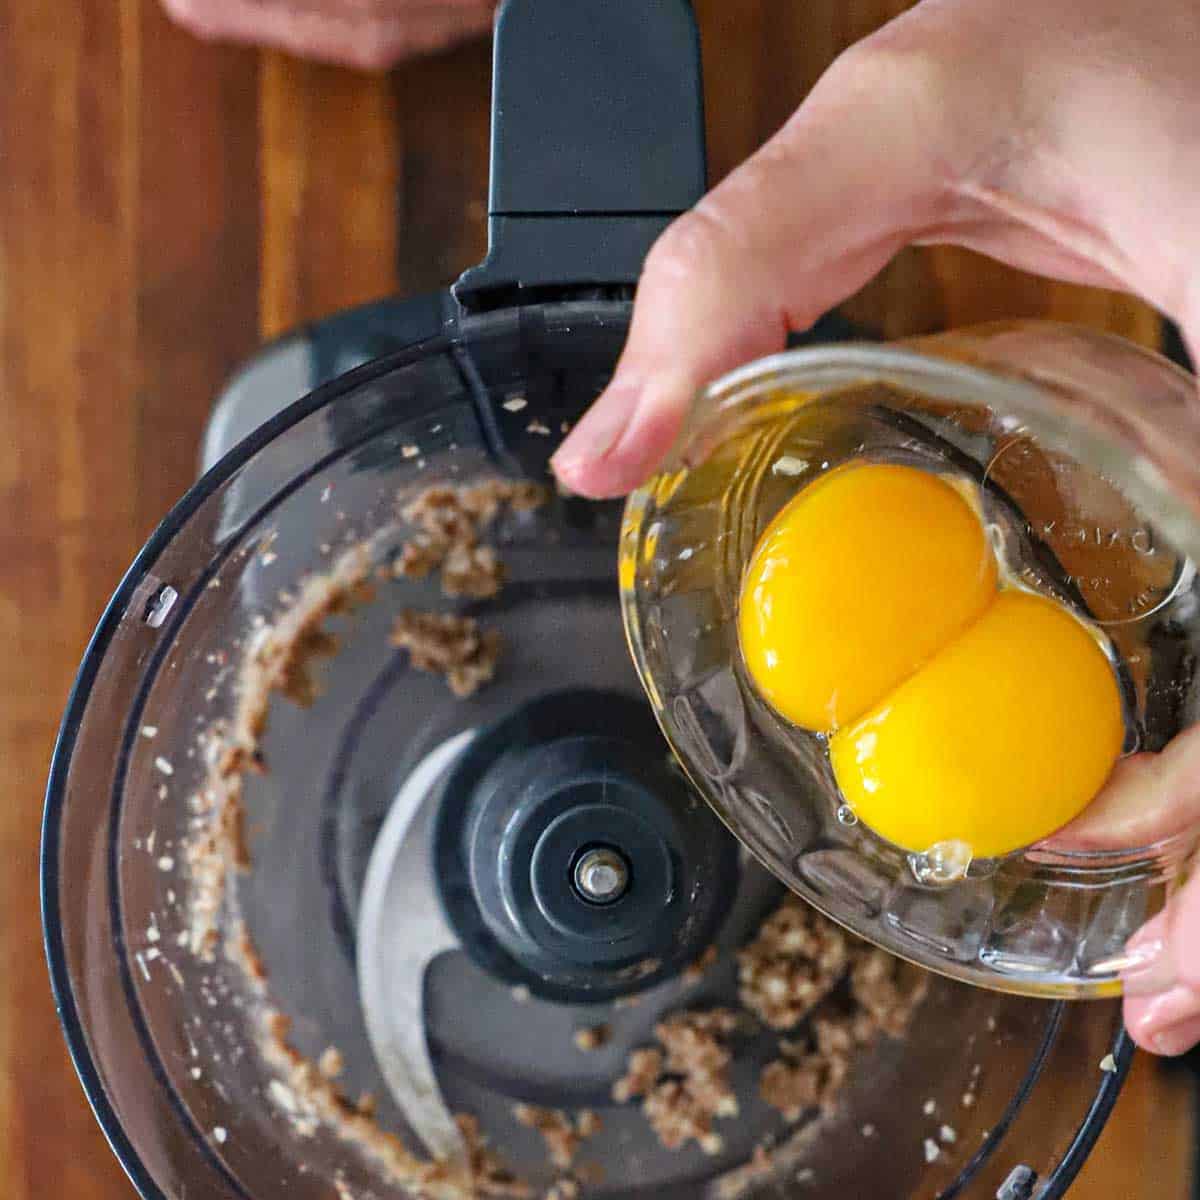
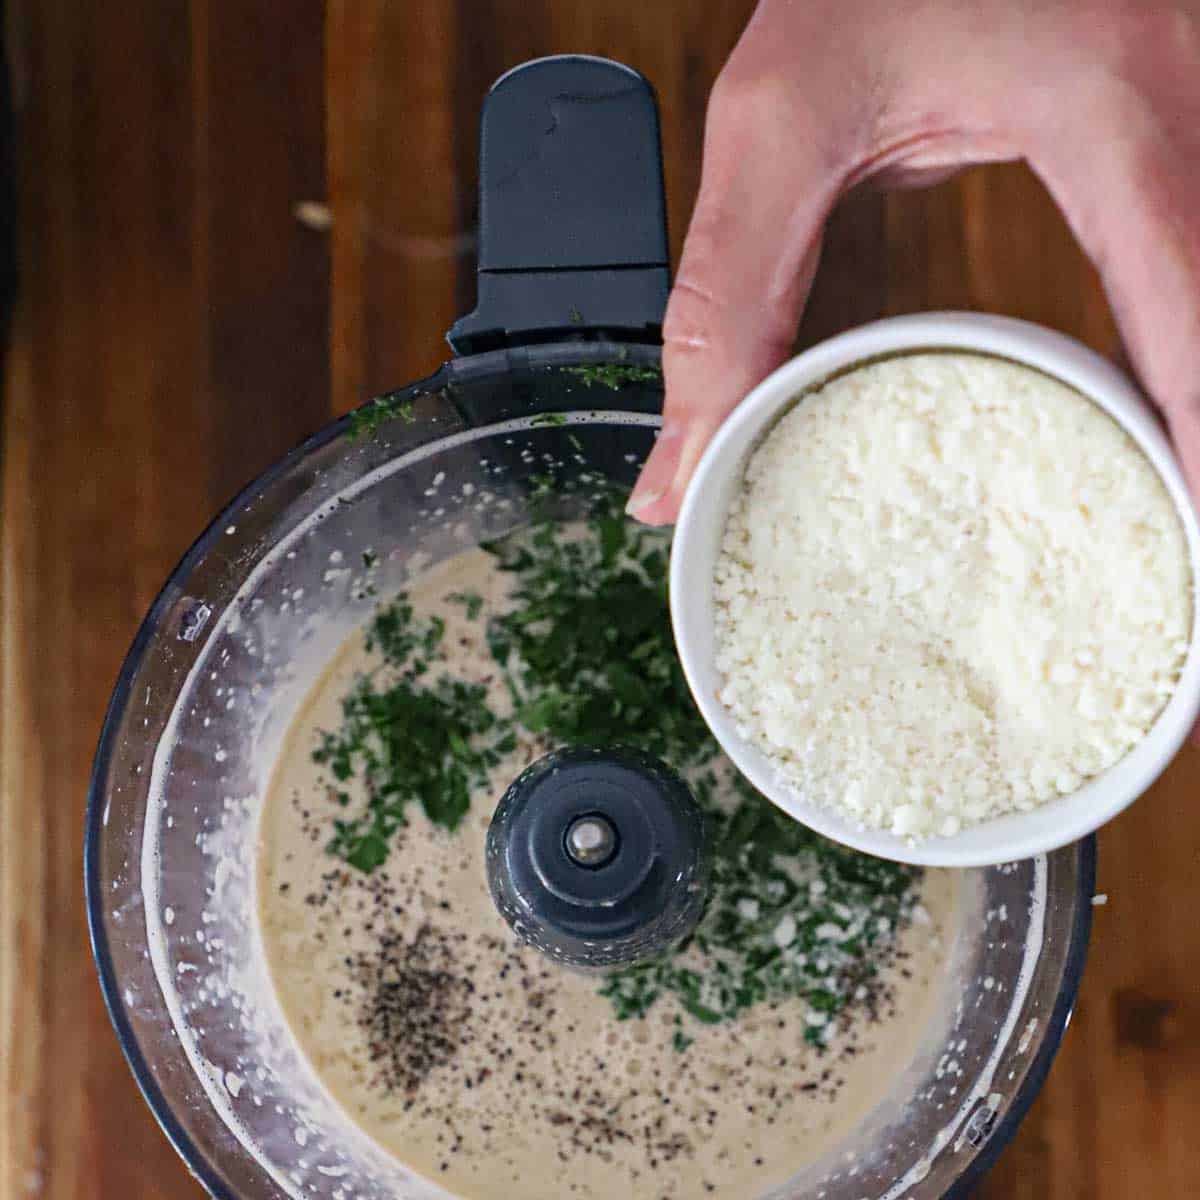
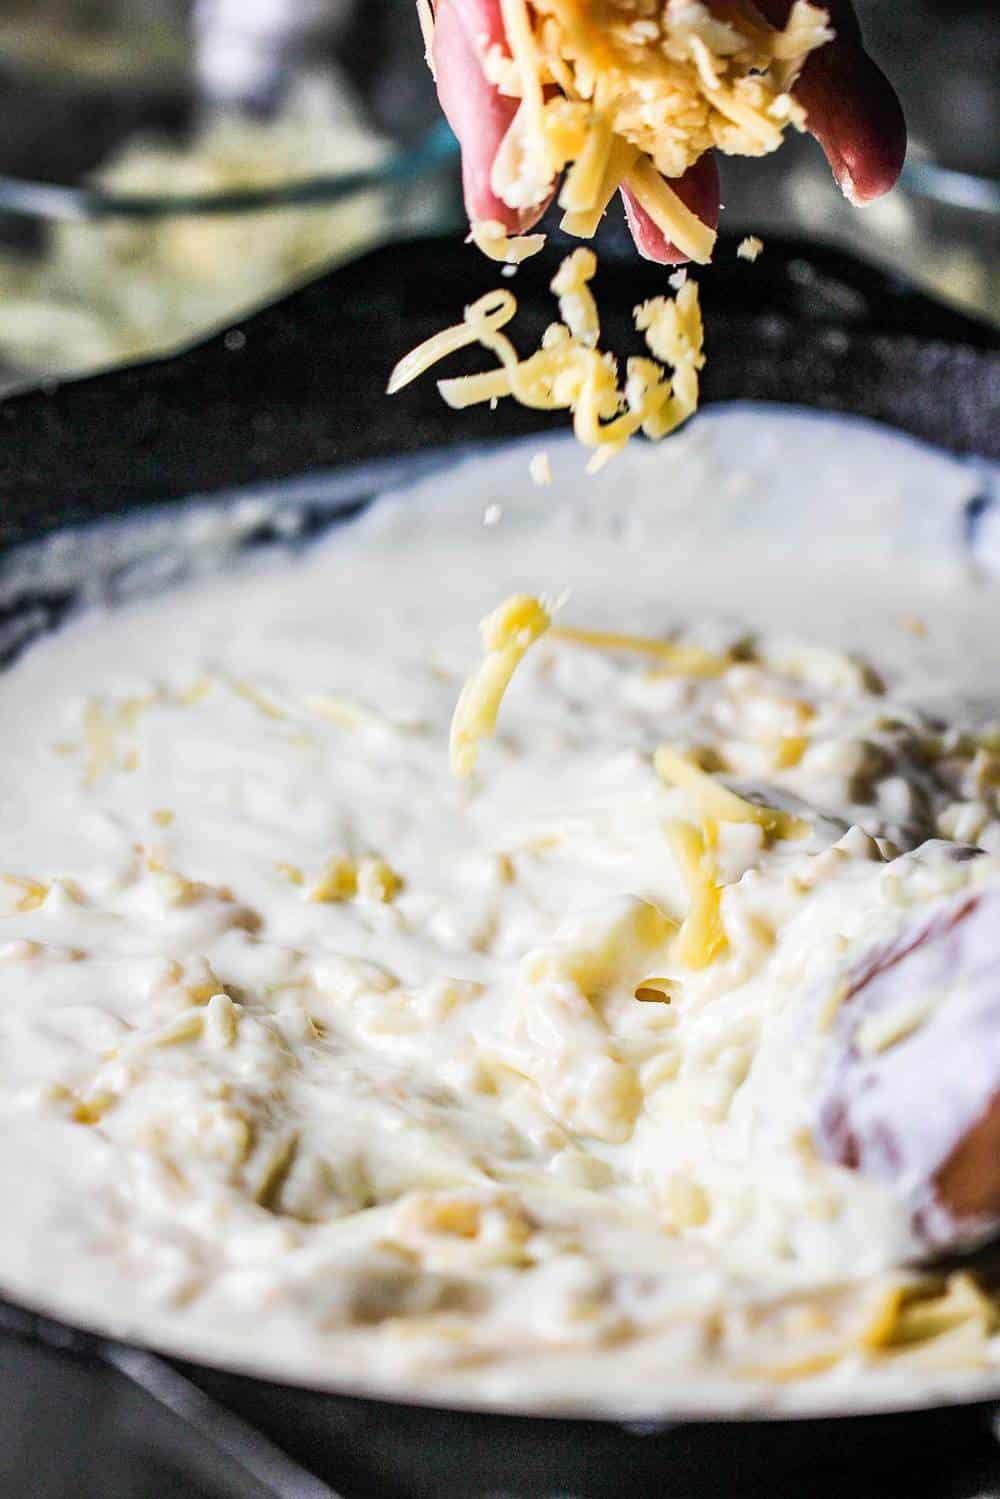
- Add ¾ teaspoon salt, Parmesan cheese, and 2 eggs, and gently mix to incorporate. Set aside and let cool completely.Kosher salt, ½ cup Parmesan cheese, 4 eggs
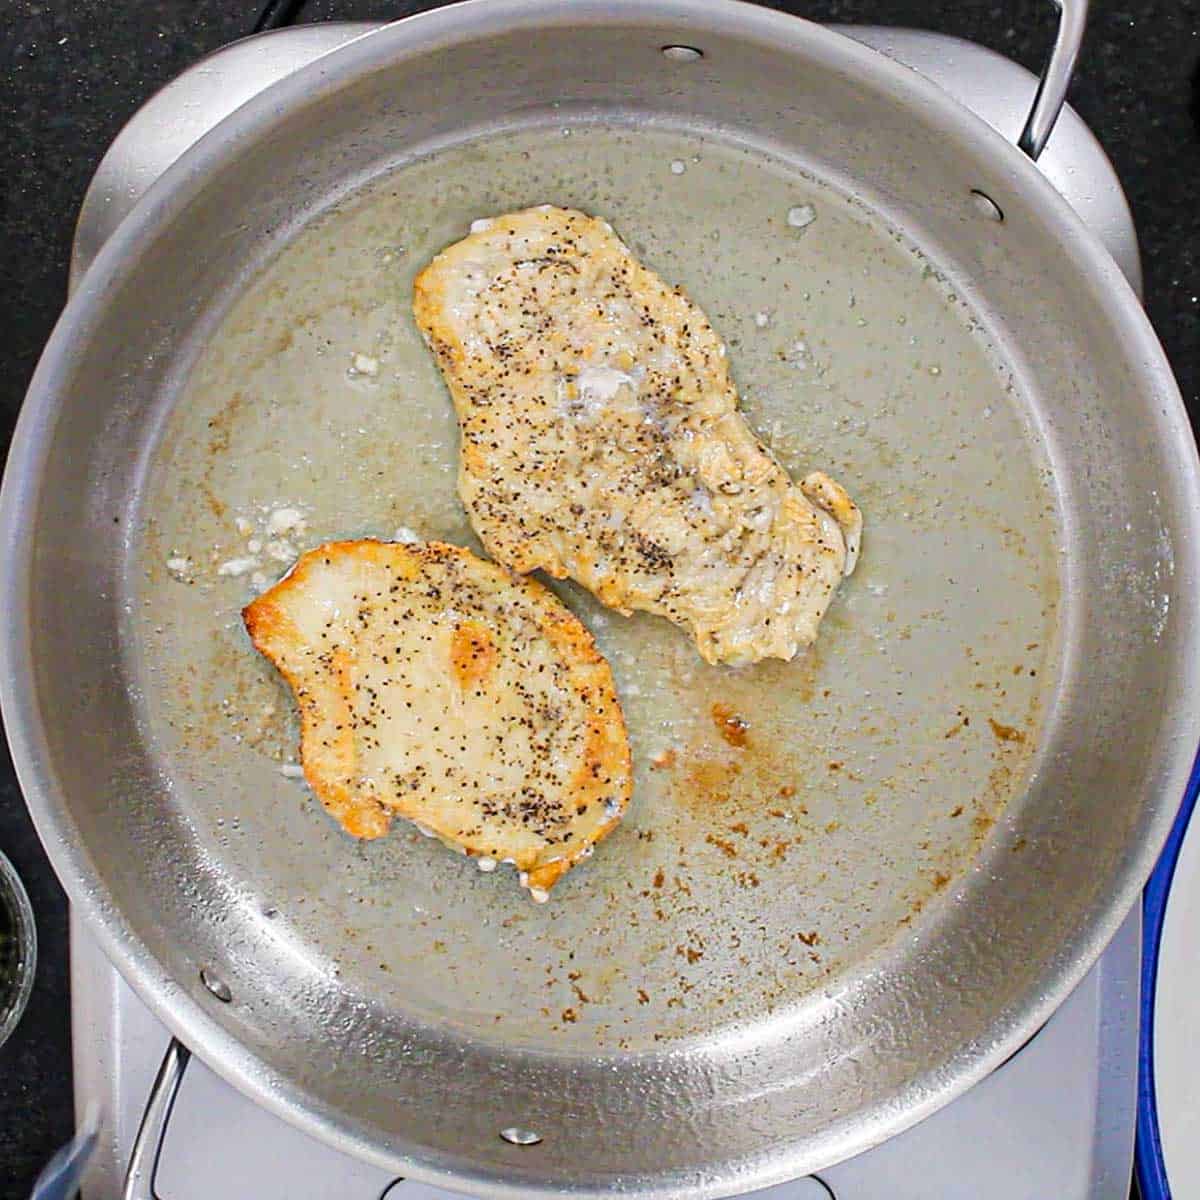
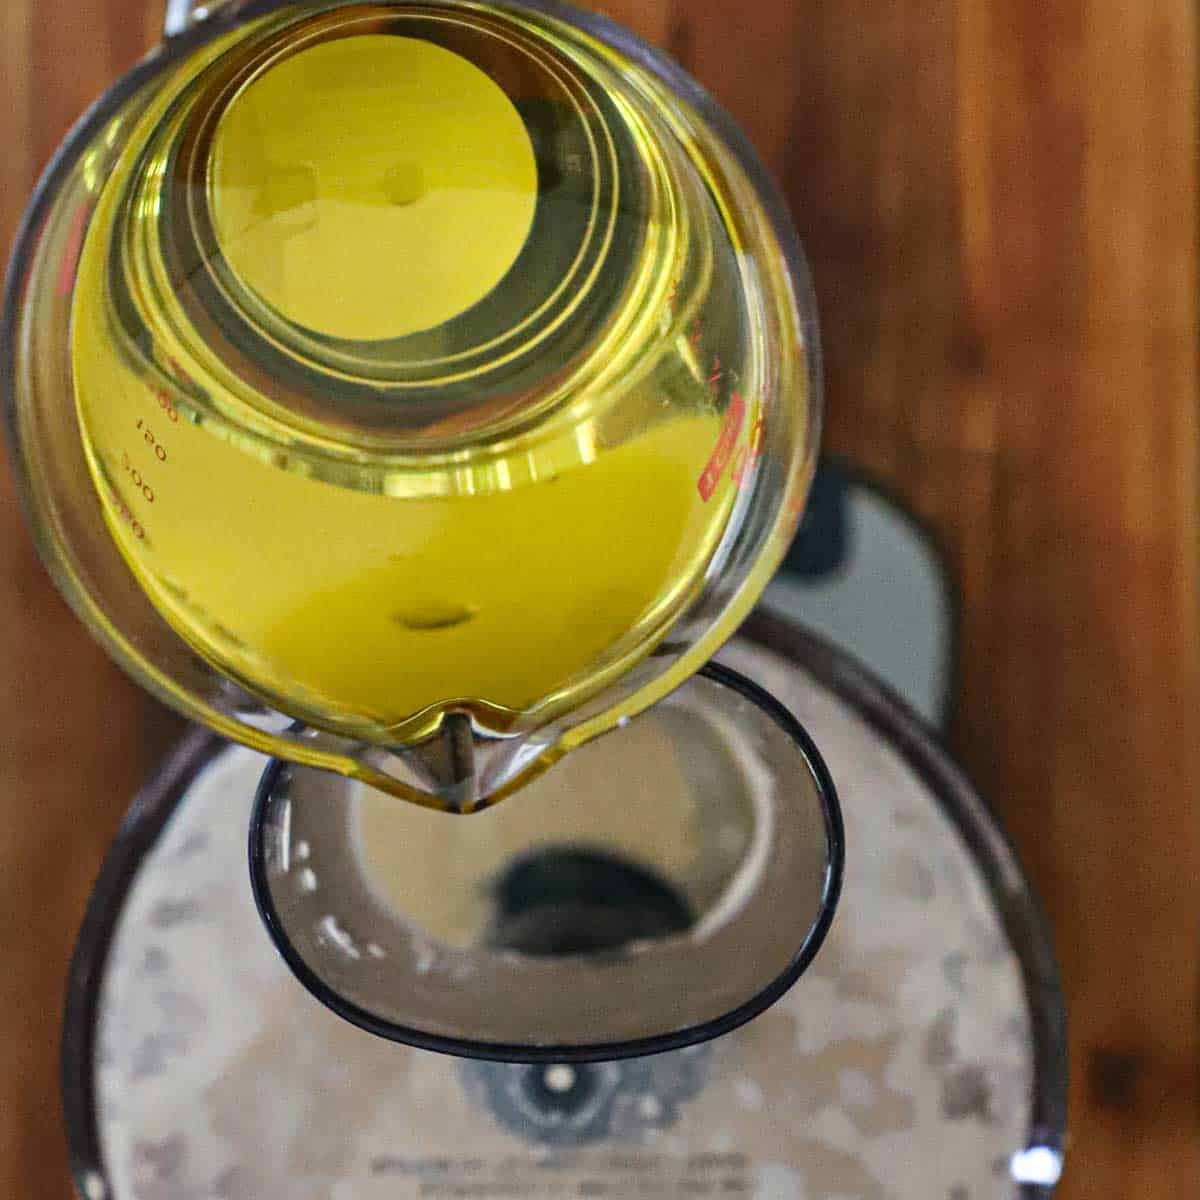
- Heat the oil over medium-high heat until it reaches 365°F.
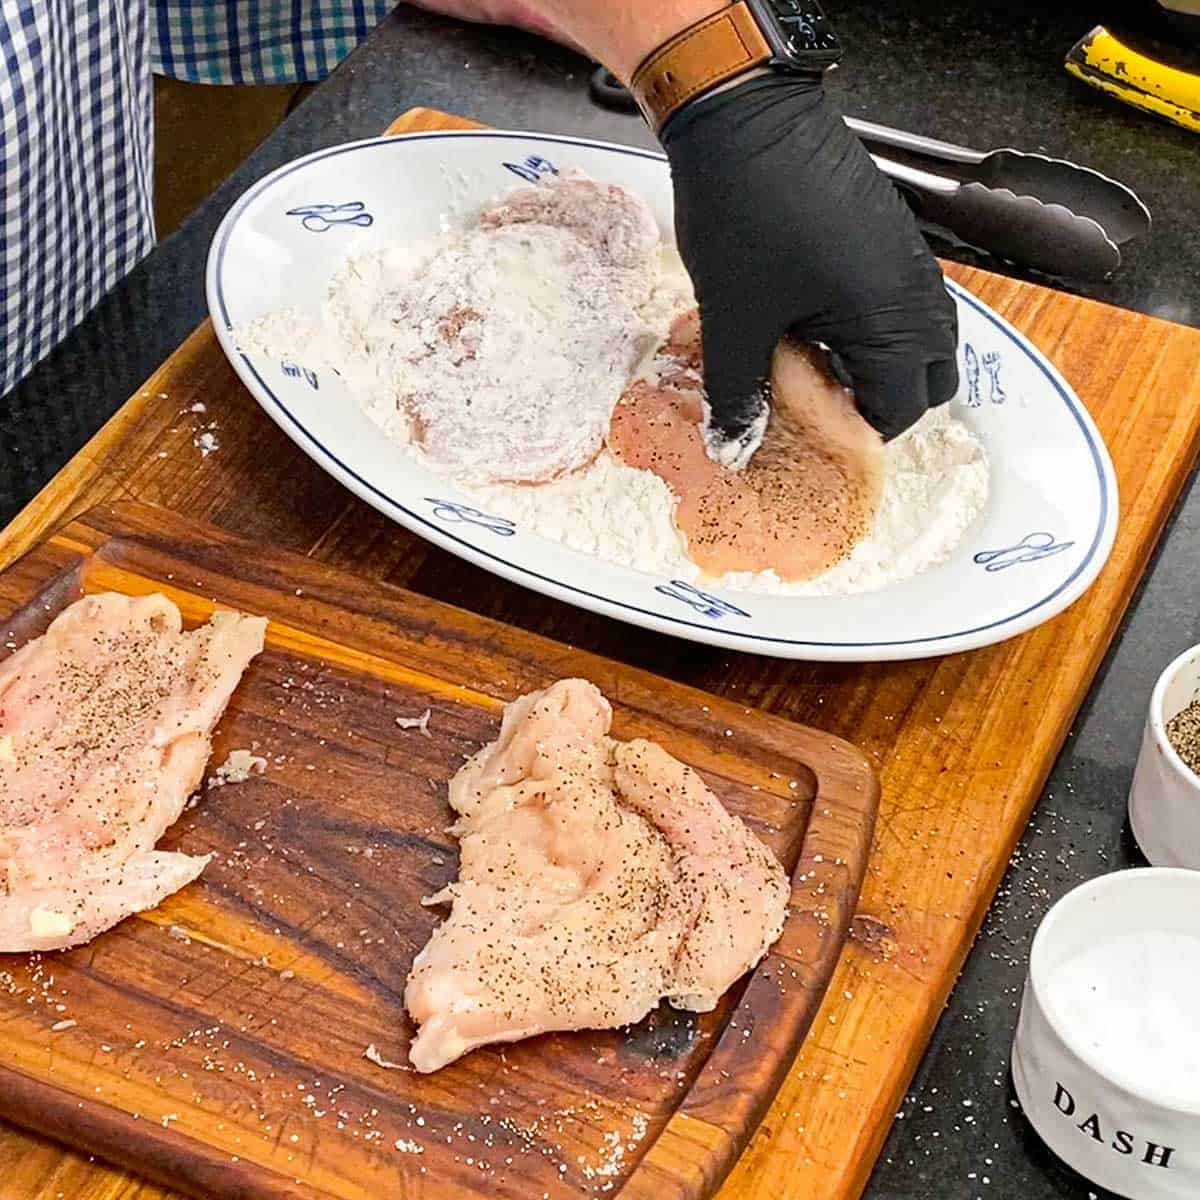
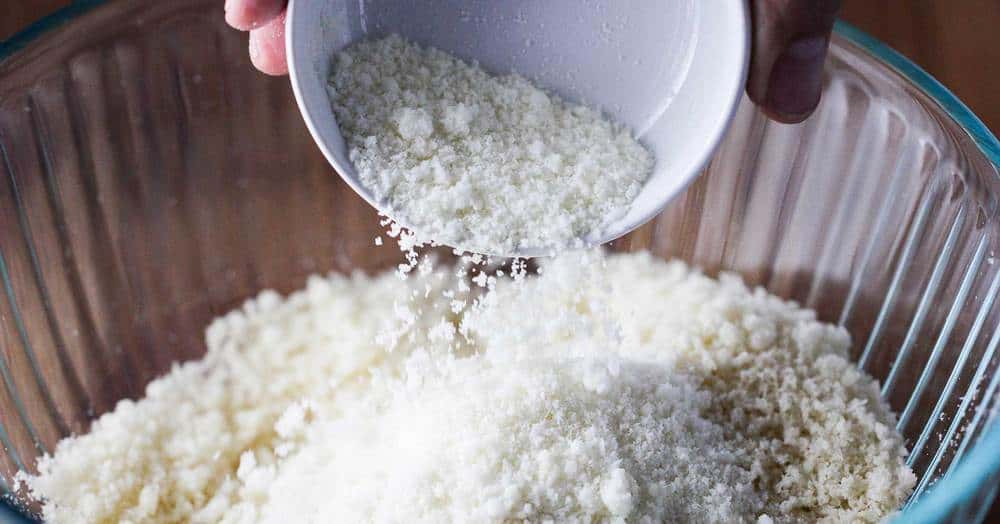
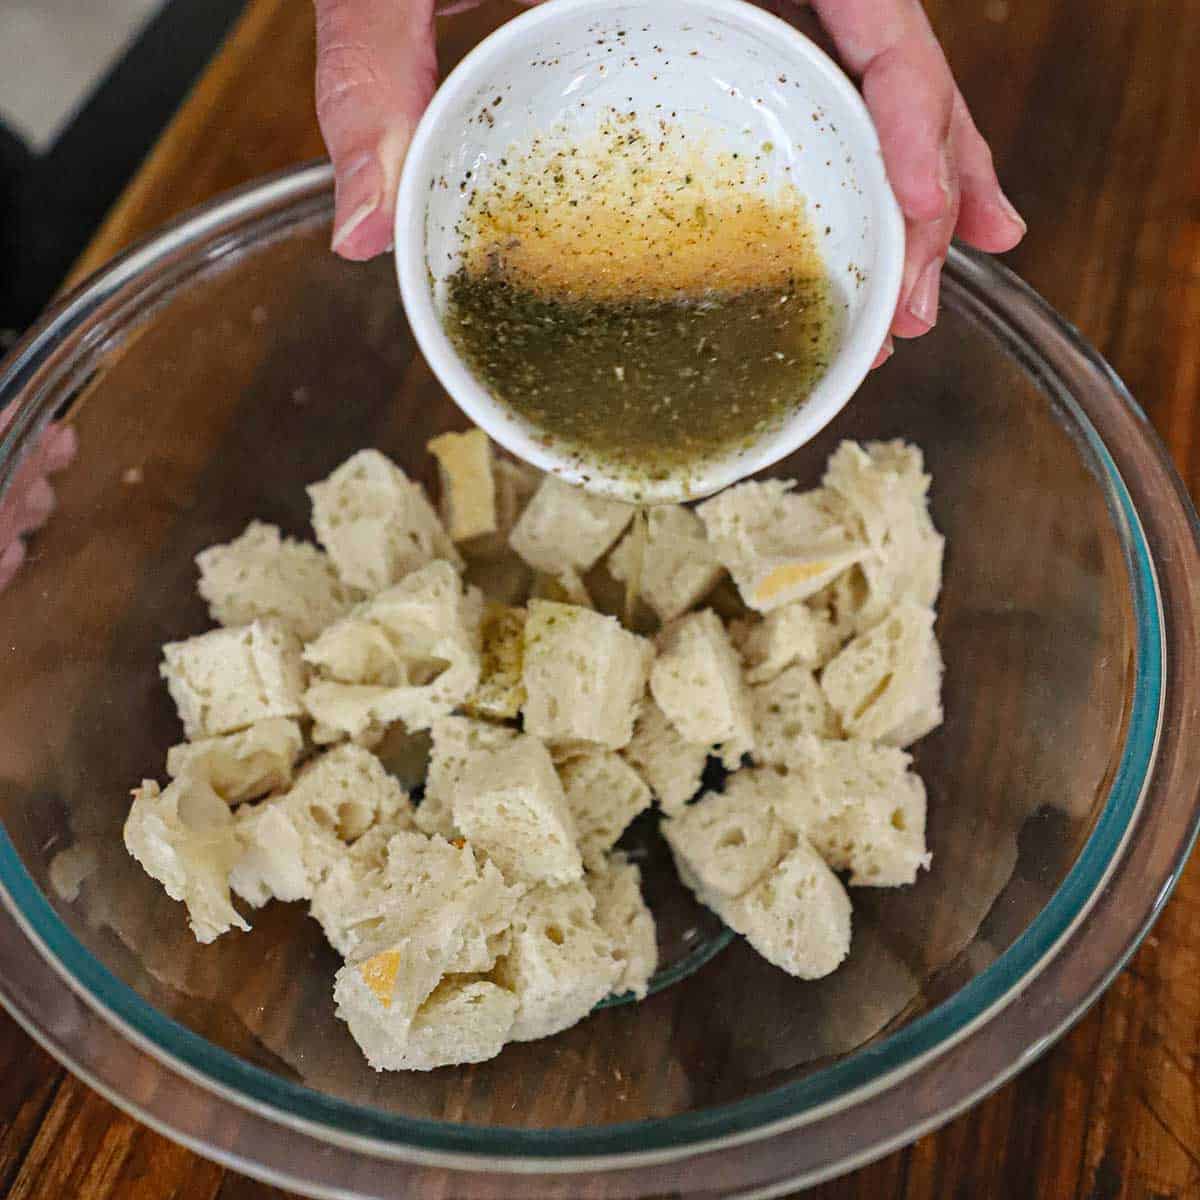
- Spread the flour on a plate and the breadcrumbs in a separate plate.1 cup all-purpose flour, 2 cups bread crumbs
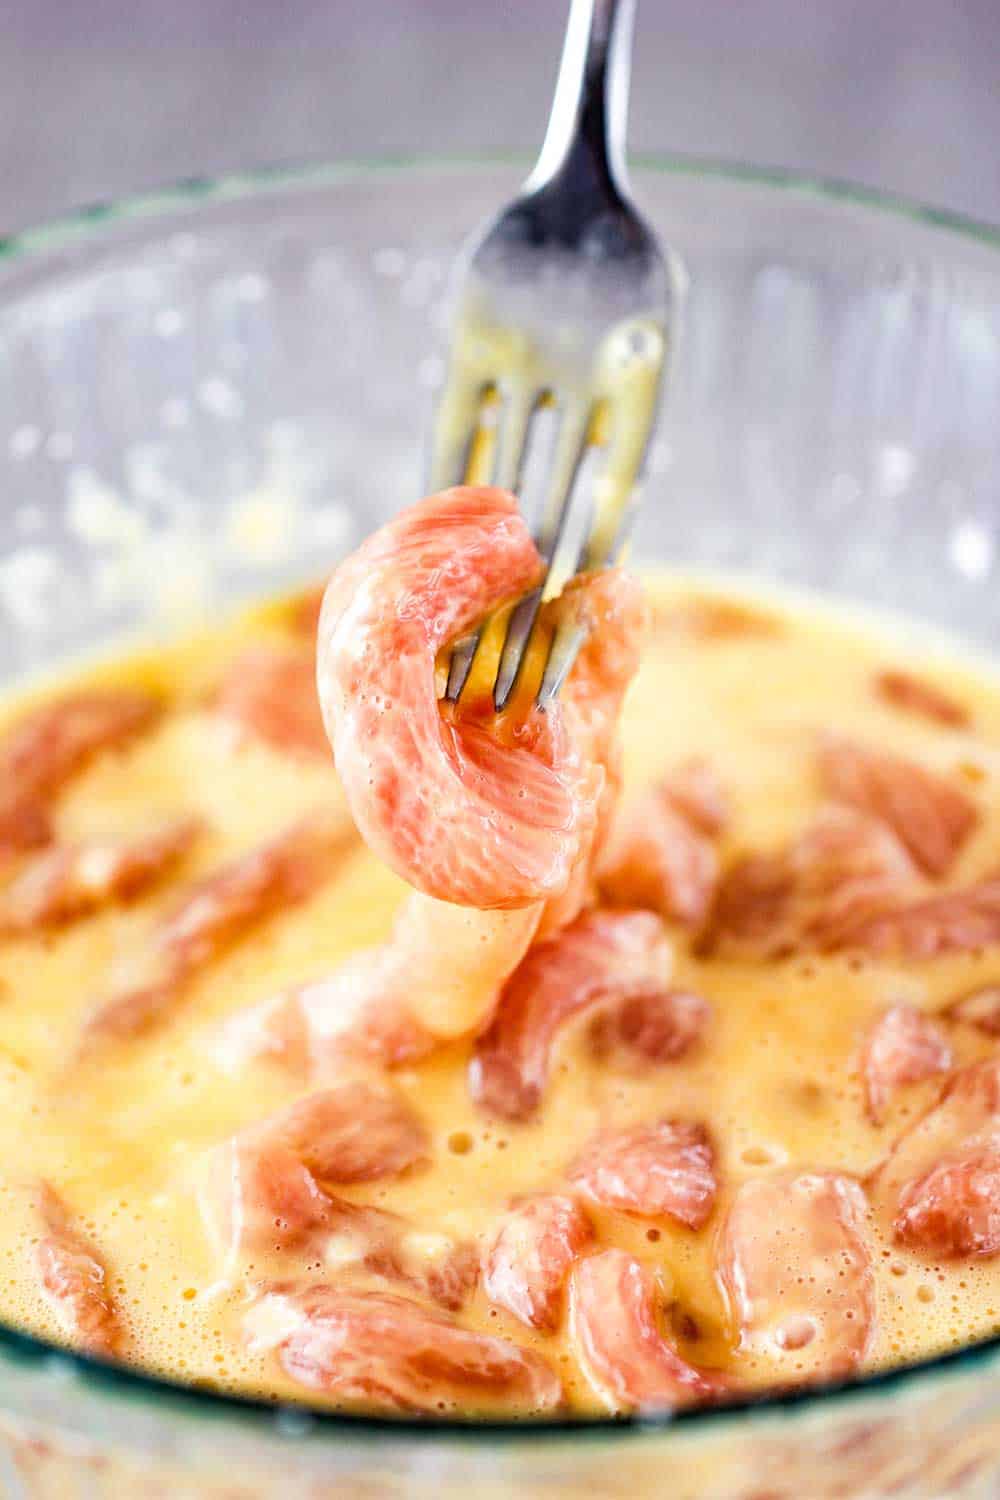
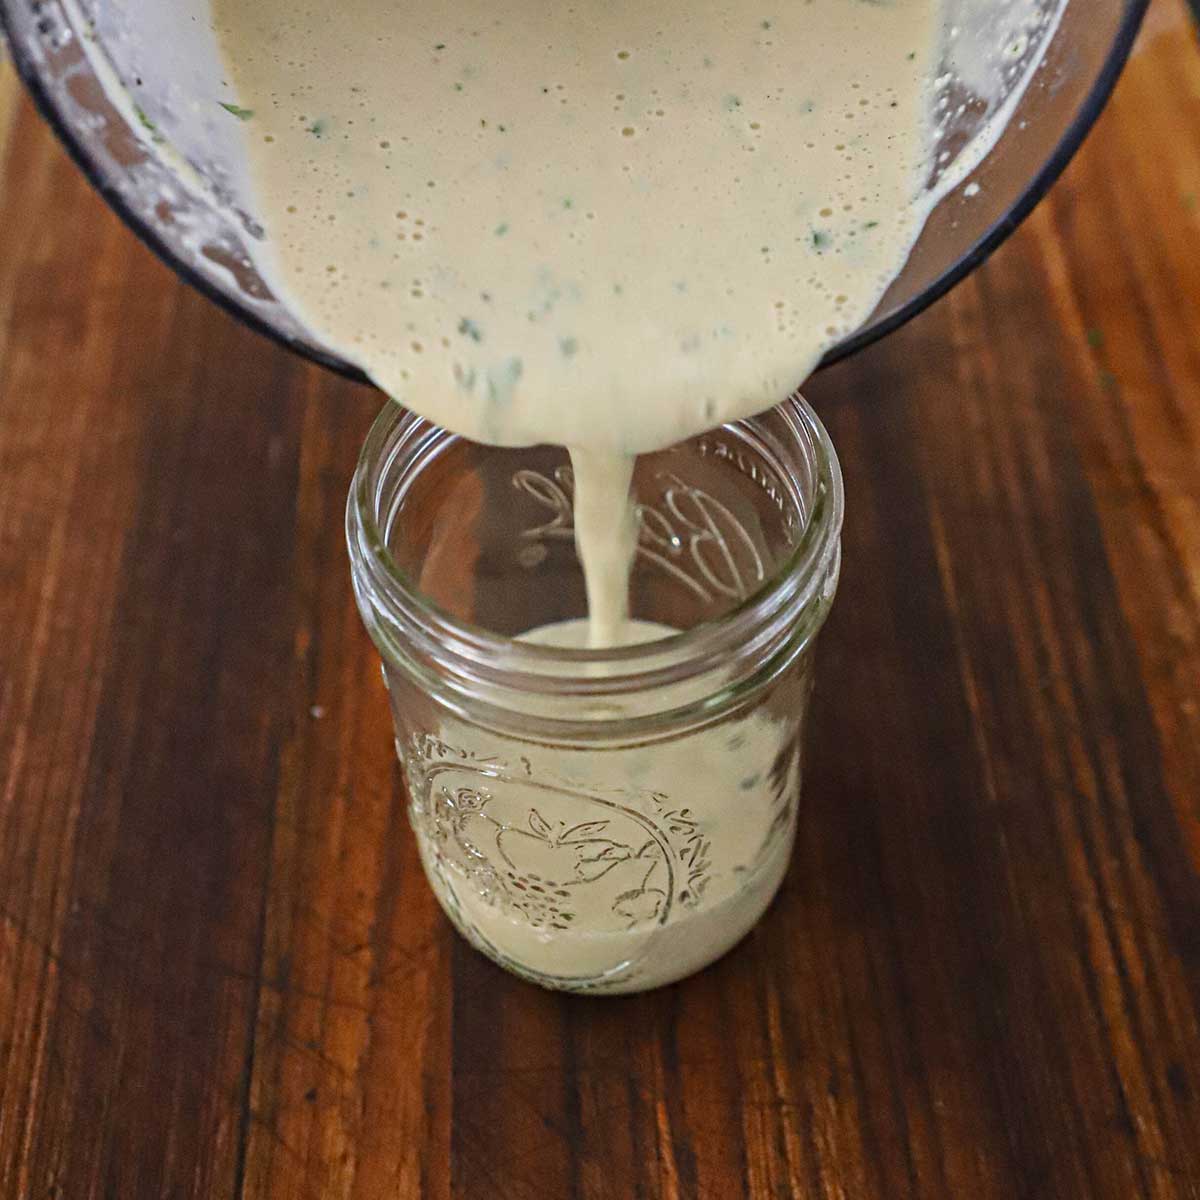
- Add the remaining eggs and 2 tablespoons of water to a medium bowl.
- In another bowl, mix together prosciutto and mozzarella.
- At this point, the risotto will be sticky. However, if the mixture is too wet to roll a ball, then gradually add in more Parmesan cheese and bread crumbs until you can just form a ball. The balls will stay together after you dredge them. Wet hands (or lightly floured hands) help when dredging.
- Scoop about ¼ cup of the risotto (rice mixture) into the palm of your hand and place 1 portion of the prosciutto/mozzarella cheese mixture on top. Shape the rice into a ball and add more risotto, if necessary.
- Roll the ball in flour, and then dip it into the egg mixture to coat completely, shaking off excess.
- Finally, roll the ball in the breadcrumbs and place it on a rack.
- Repeat this process with the remaining ingredients. Depending on the size of the rice balls, you will have between 8 and 12 balls.
- Using a slotted spoon, transfer the balls (a few at a time) to the hot oil and fry until golden, about 2 to 3 minutes.
- Remove with a slotted spoon and place on a rack. (Keep finished arancini in a warm oven).