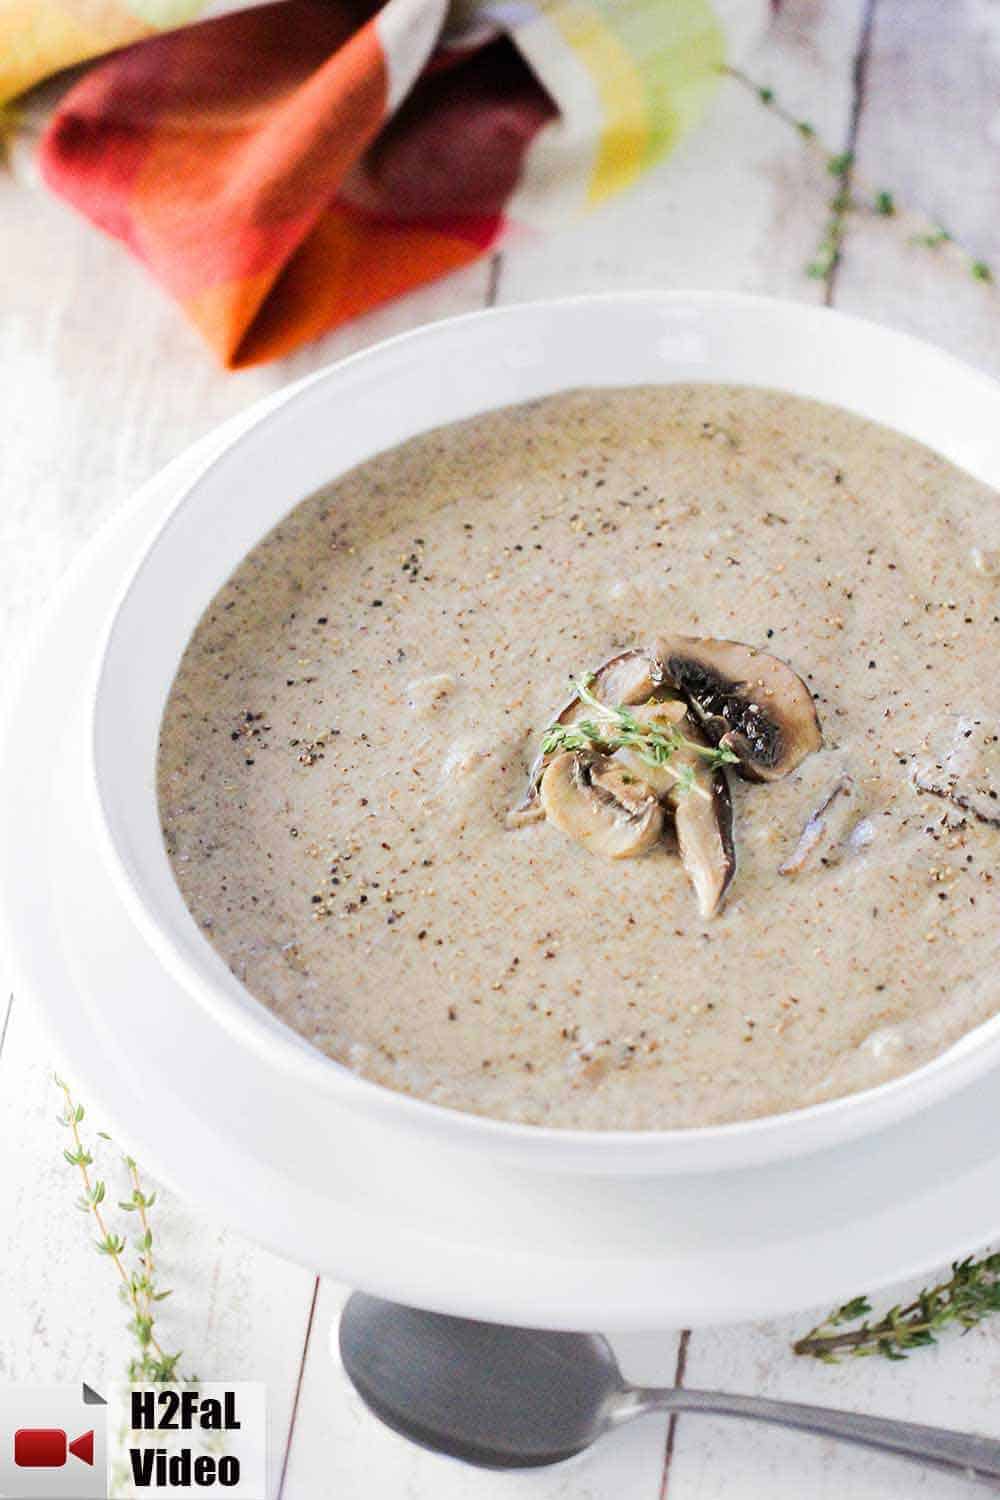
Cream of Mushroom Soup, when done right, is nothing short of amazing.
We’re going to show you how to make the best cream of mushroom soup in the world. Whether you like it extra thick and creamy, or loaded with mushroom pieces, or silky smooth, we’ve got you covered. And this iconic soup comes together in only about 40 minutes!
HOW TO MAKE CREAM OF MUSHROOM SOUP
Cream of Mushroom soup is actually much easier than you might think.
The key ingredients, of course, are mushrooms. But rounding out the flavors with a few other important ingredients is critical in putting this soup over the top in yumminess.
Watch us show you how to make cream of mushroom soup in your own kitchen!
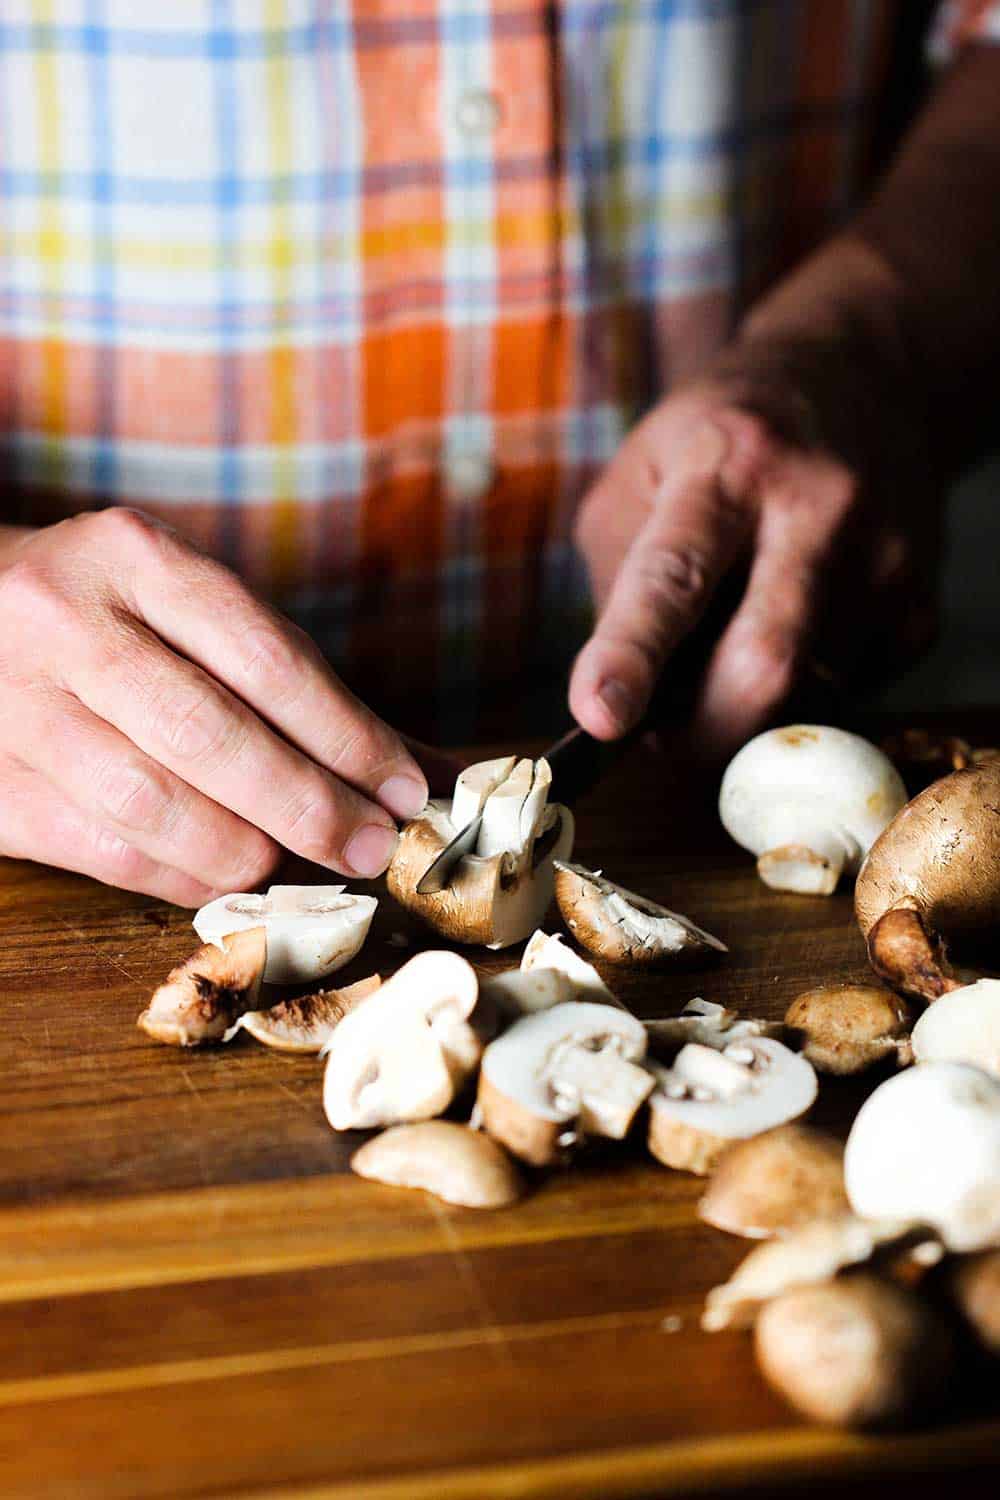
CHOOSING THE BEST MUSHROOMS
As mentioned, you want your cream of mushroom soup to taste like mushrooms. We love using a variety of fresh mushrooms.
Here a some of our favorites to use:
- Cremini
- Shiitake
- Oyster
- White button
- Baby portobello
- Porcini (see Tip, if using dried)
EXPERT TIP: We use a combination of any of the mushrooms listed above. We typically go with fresh mushrooms, but if you want to try dried mushrooms, then you’ll need to reconstitute them in warm water for about 20 to 30 minutes. The soaking liquid can then be substituted (or included with) the vegetable broth called for in the recipe.
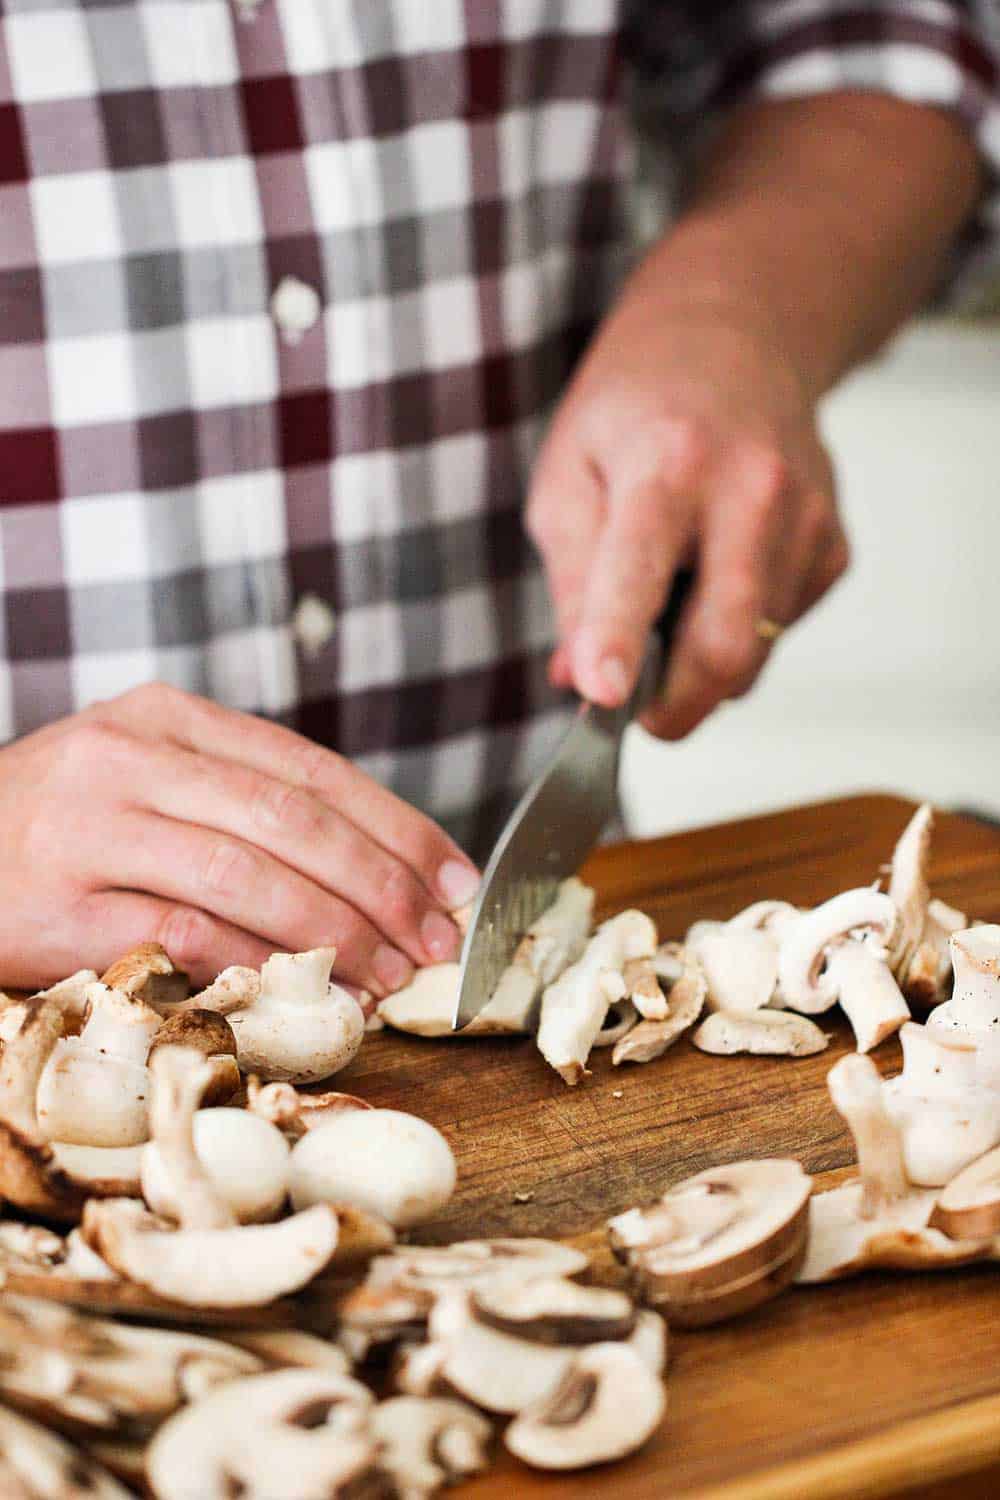
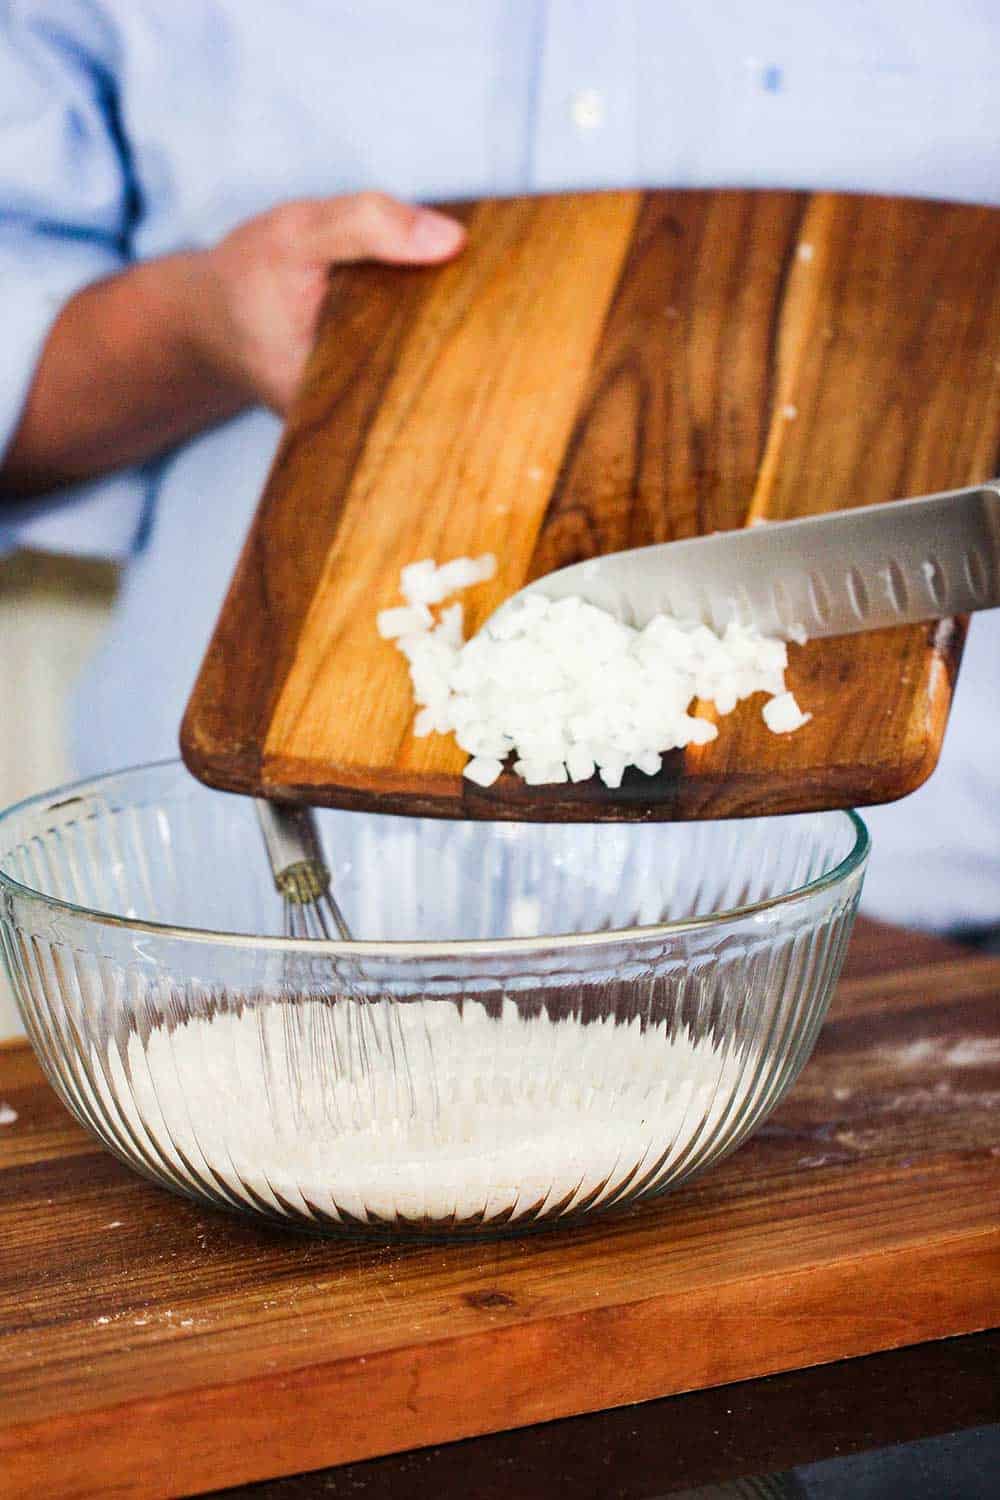
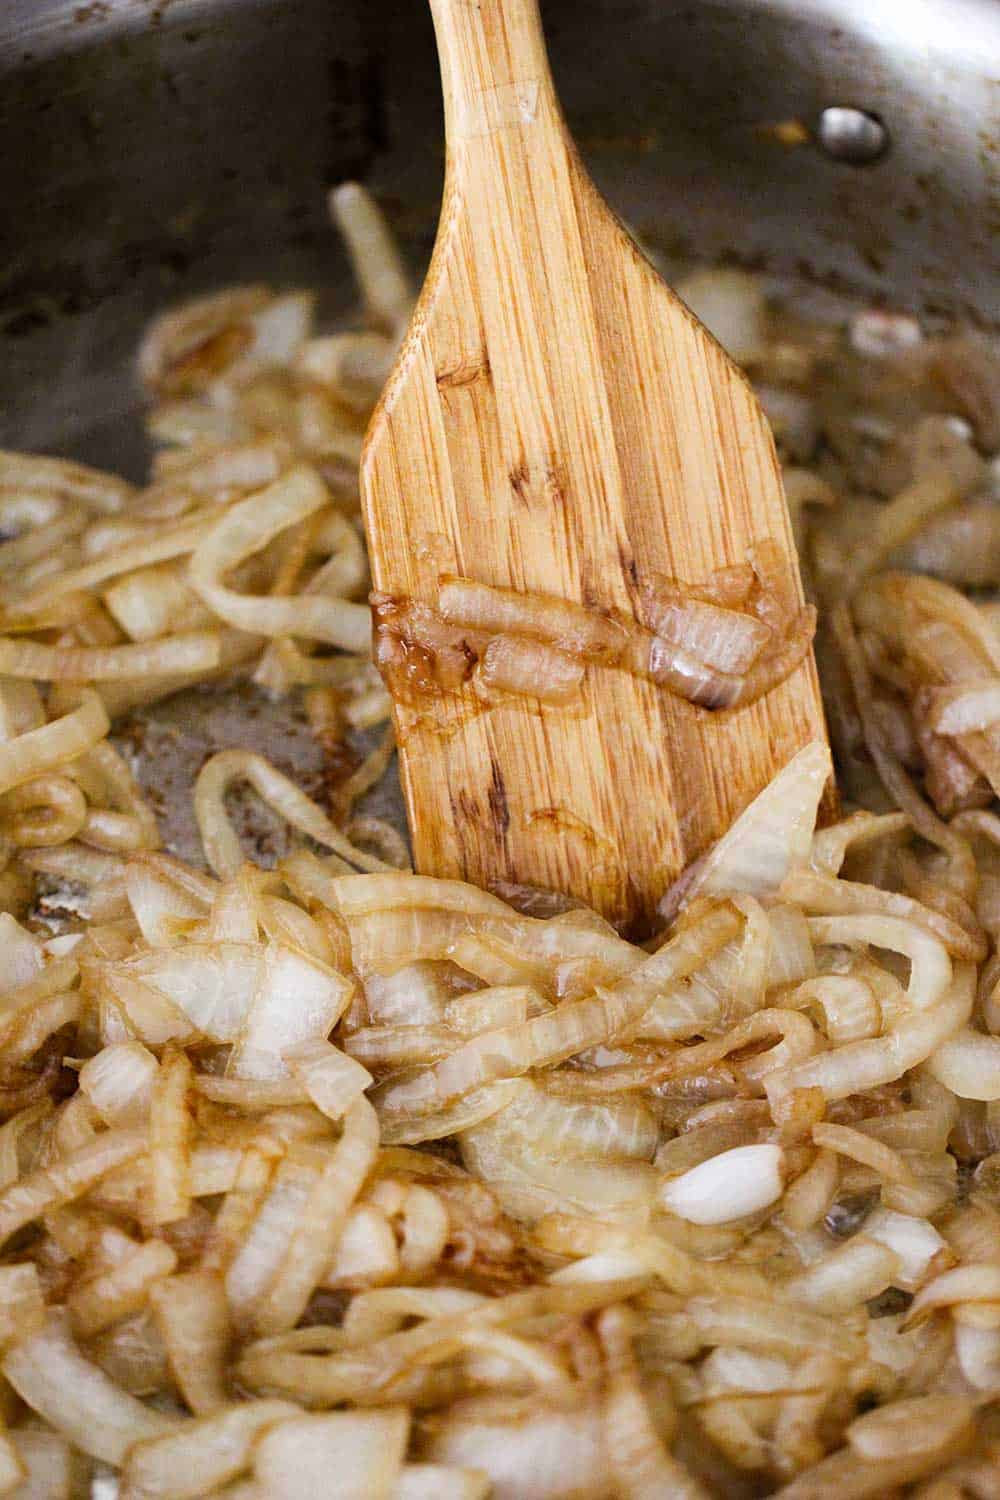
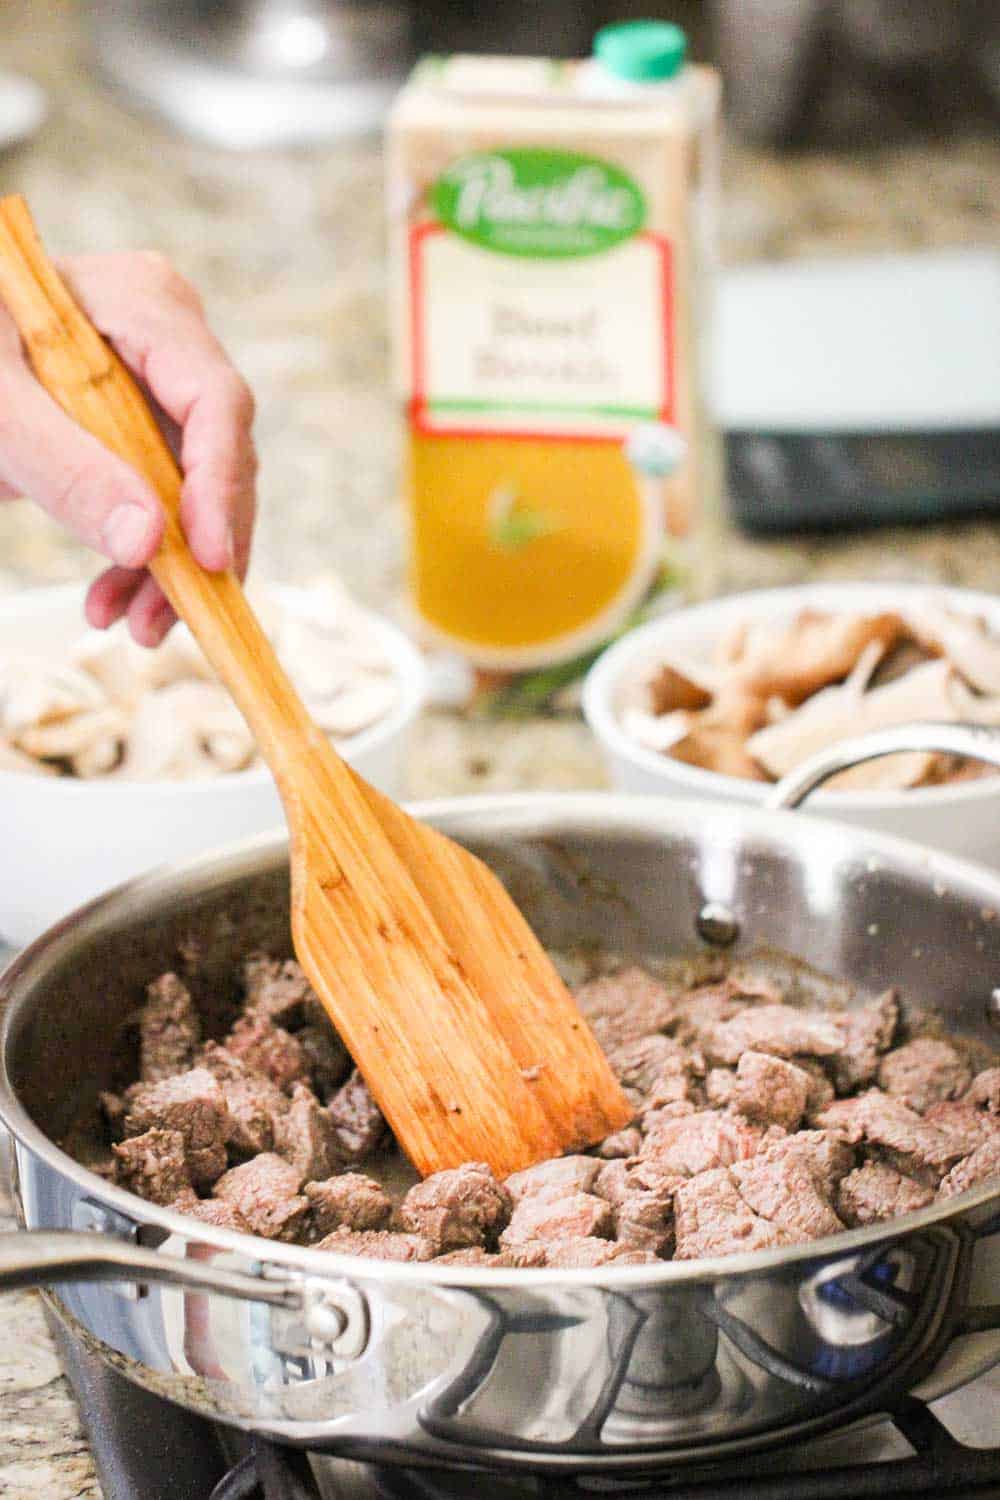
You’ll want to start the flavor profile by sautéing chopped onions and garlic.
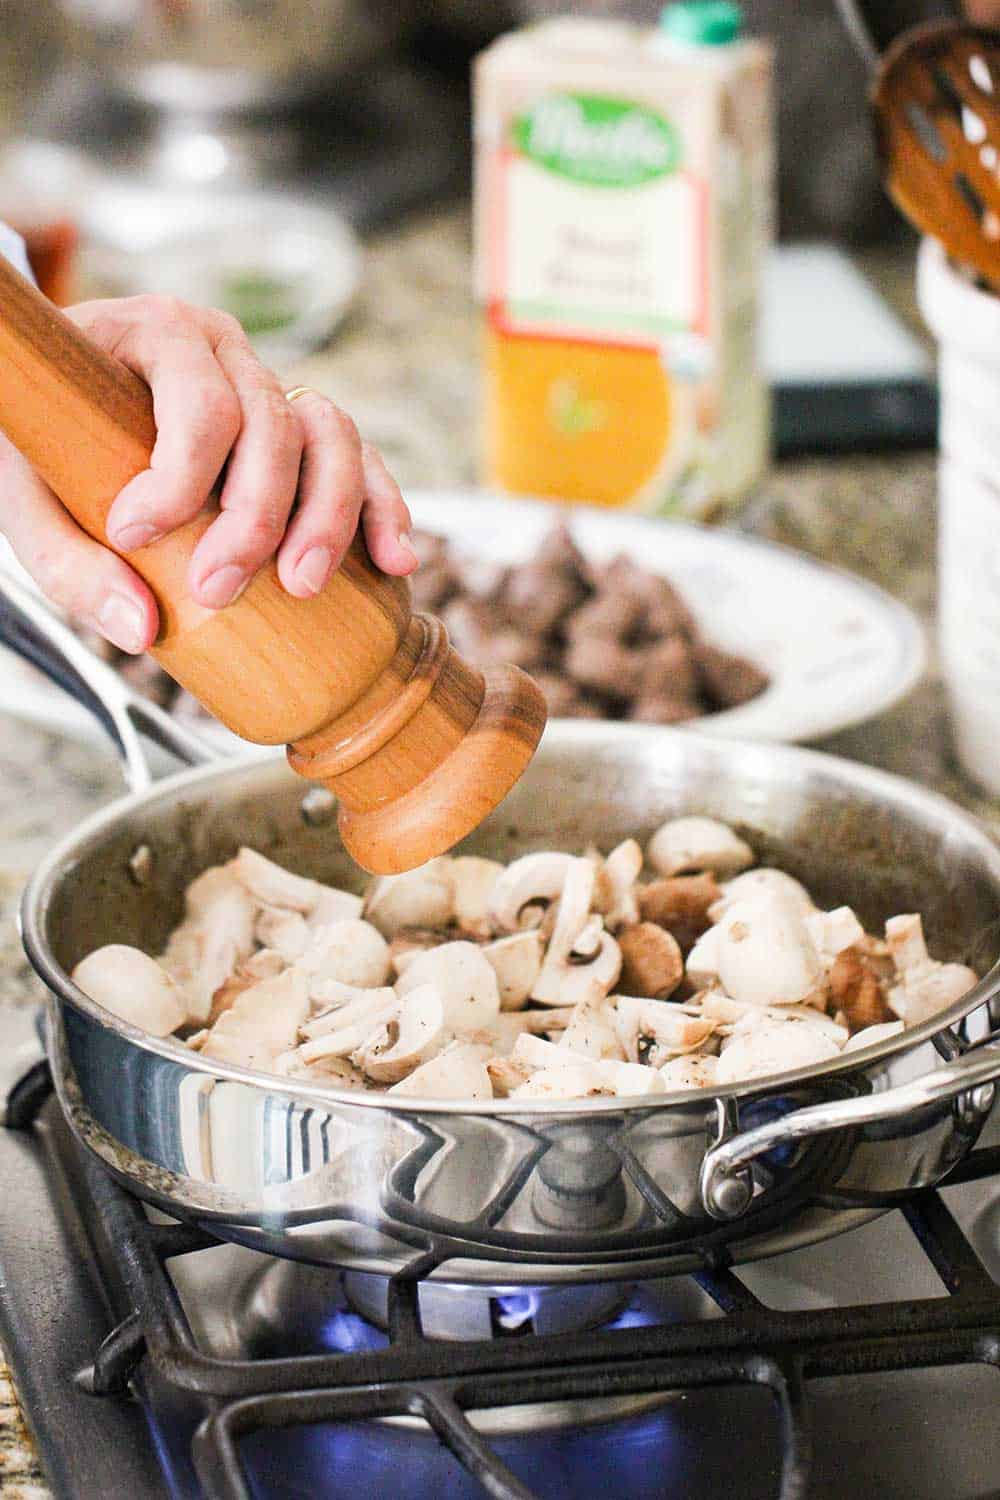
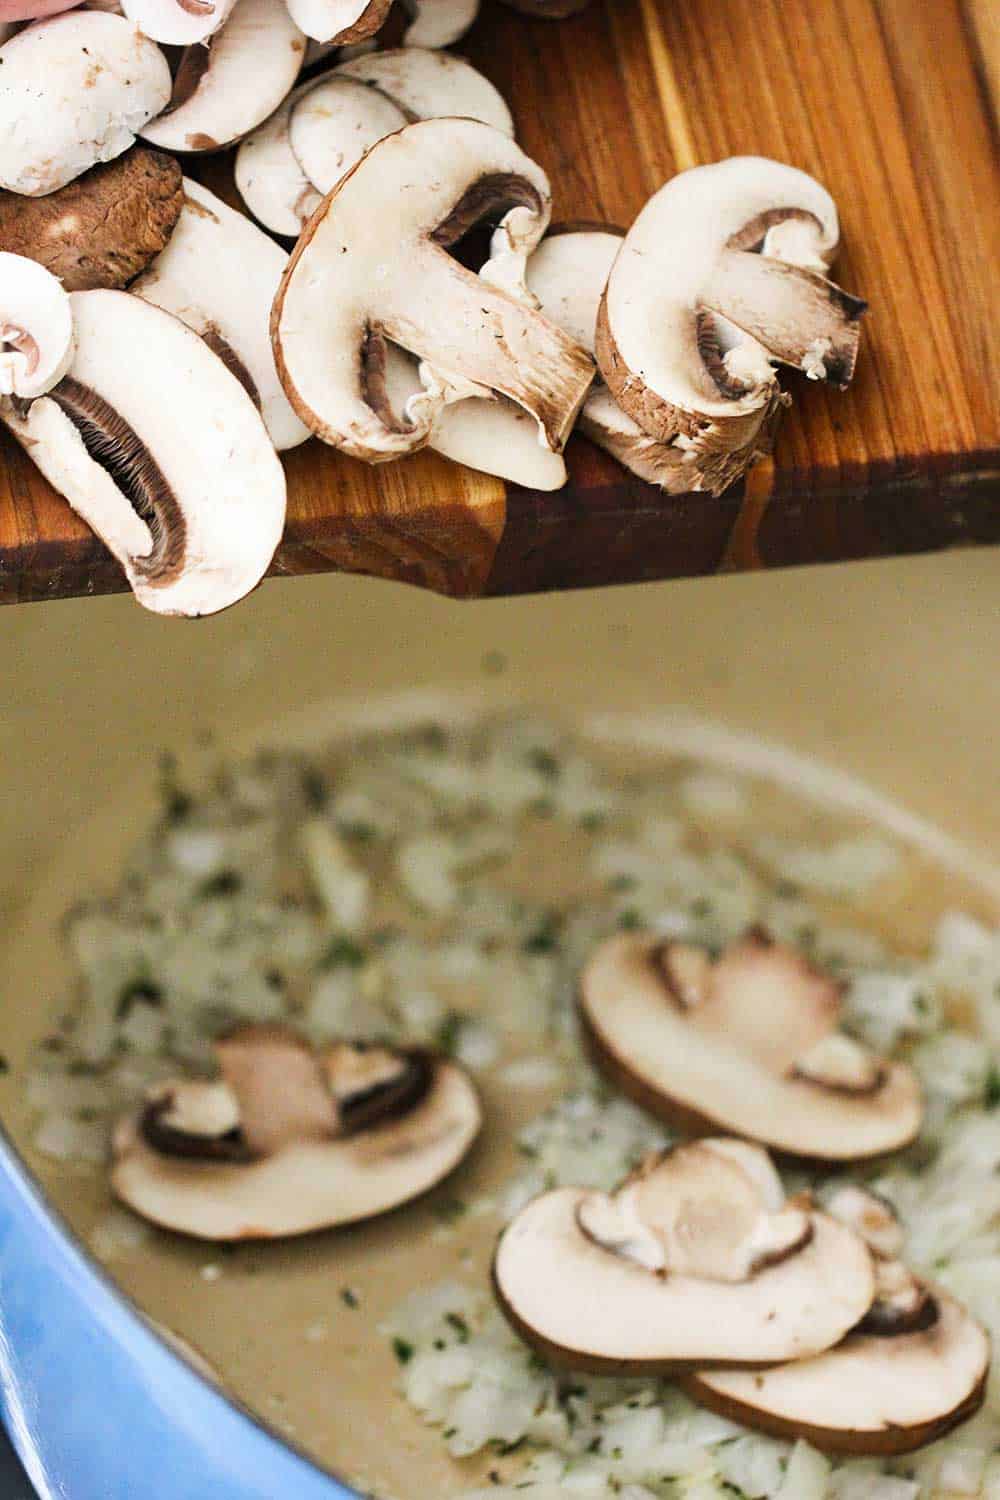
Next, it’s time to add in the mushrooms.
EXPERT TIP: After cooking over medium-high heat, the mushrooms will begin to exude liquid. They will seem dry at first, but be patient, as they soften, they will no longer look and feel dry. This typically takes about 5 to 10 minutes, depending on the size of the mushroom pieces. After they have softened, we like to take a slotted spoon and remove about 1 cup of the cooked mushrooms to use later as garnish.
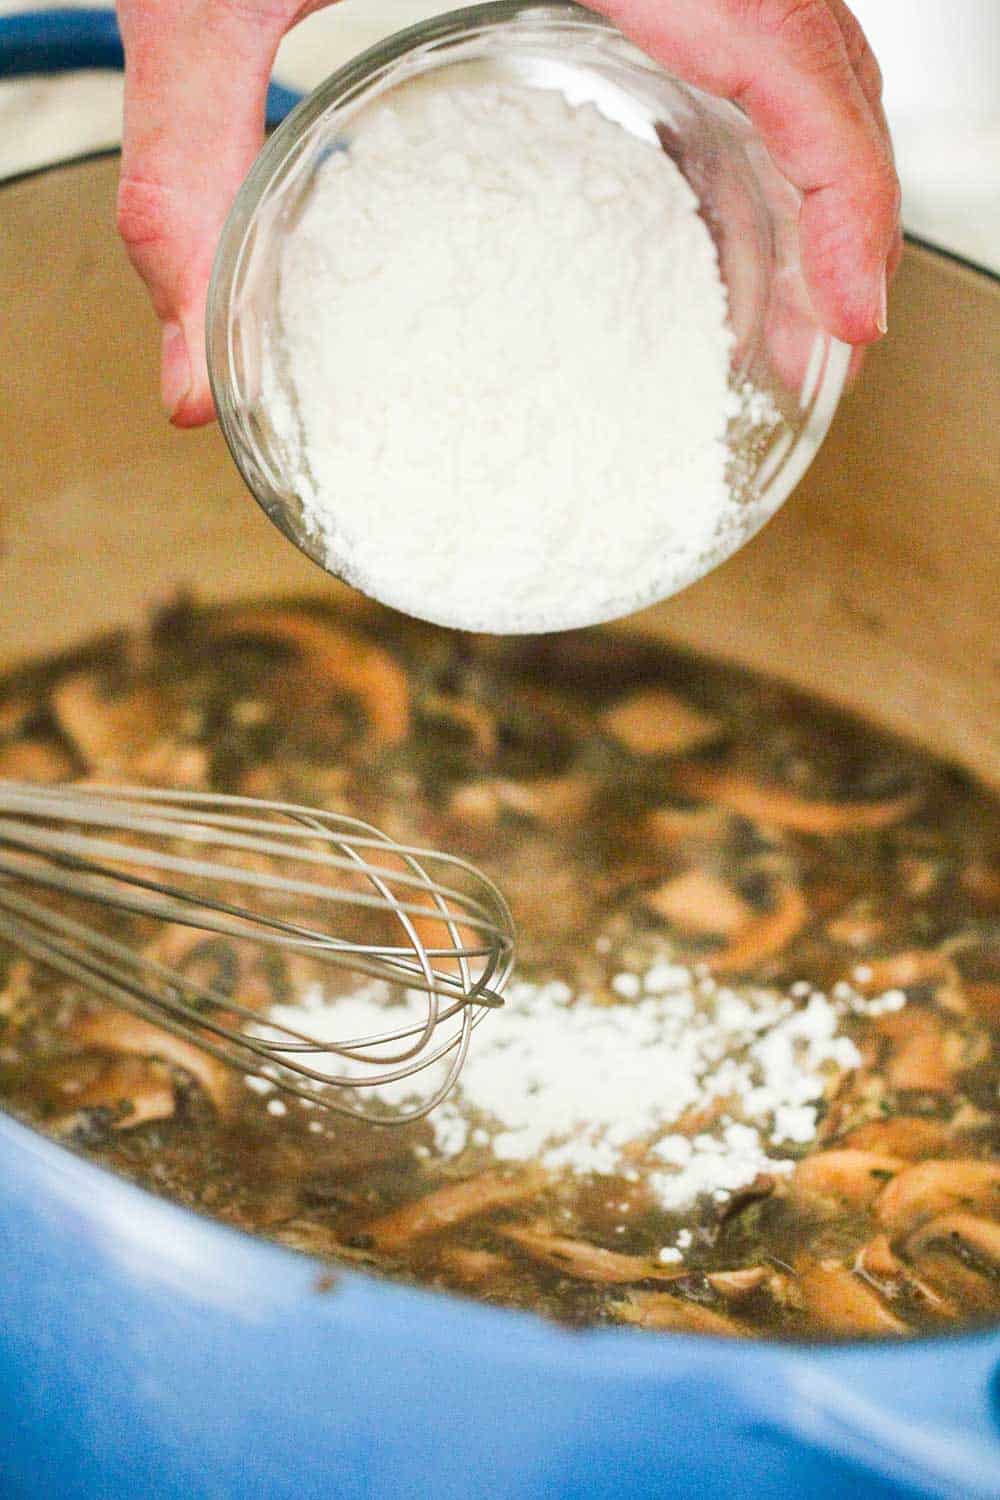
HOW TO THICKEN CREAM OF MUSHROOM SOUP
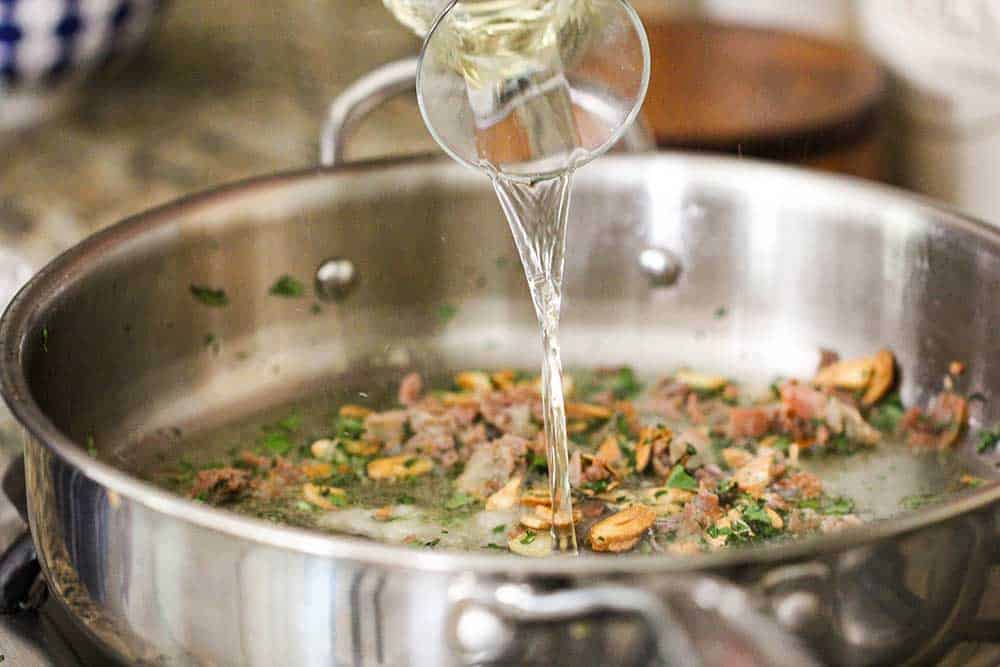
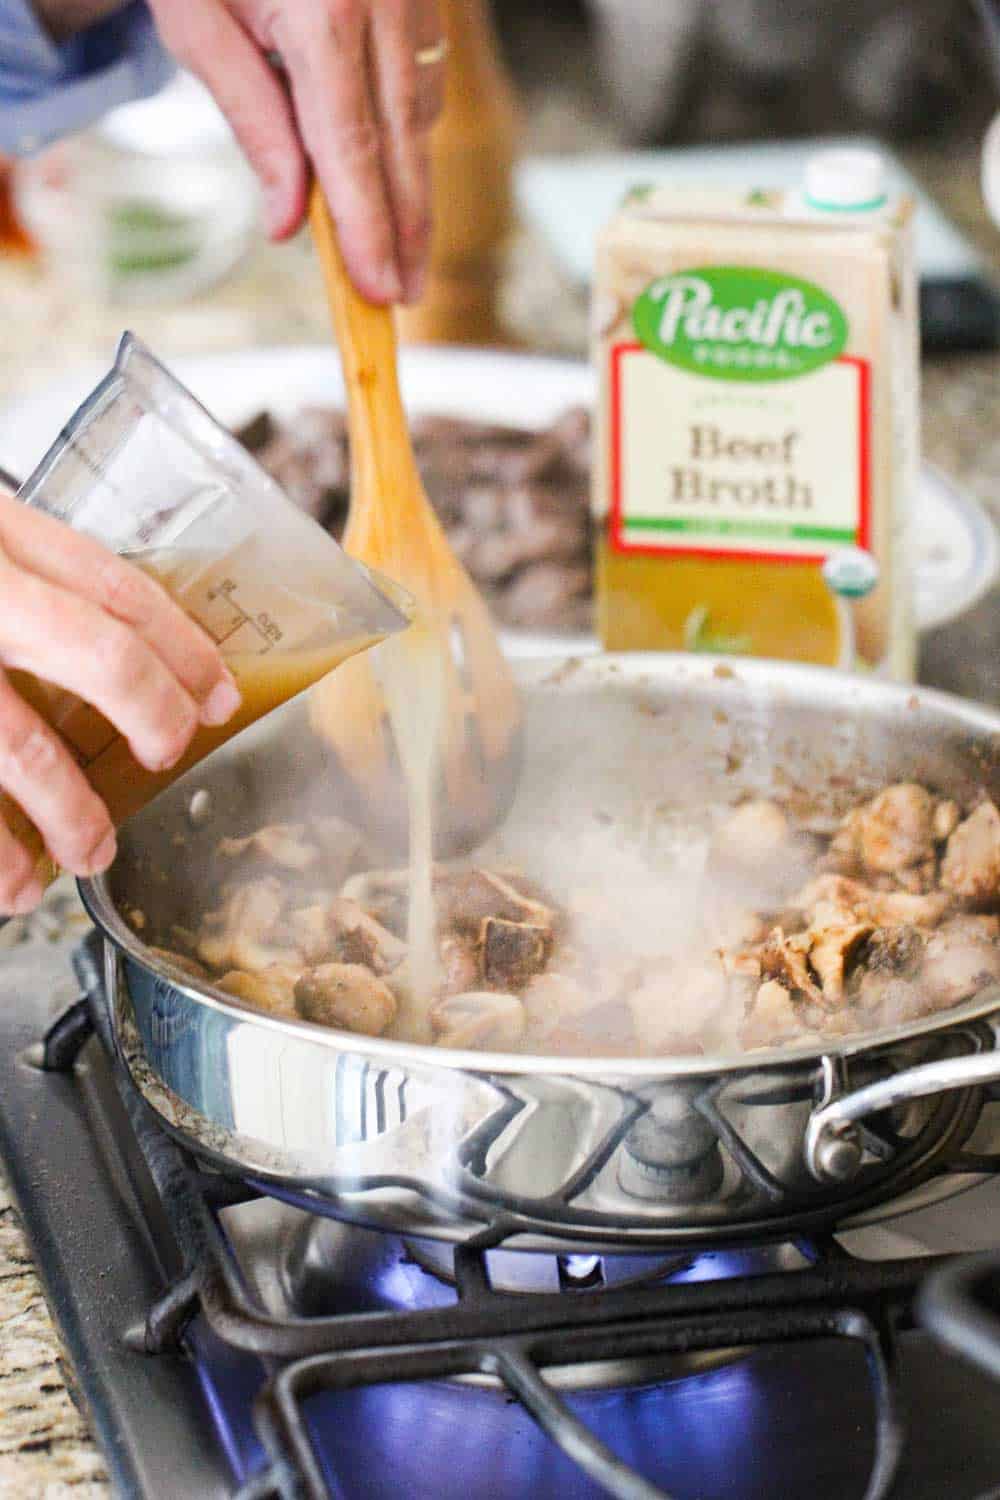
After the mushrooms have begun to soften and release their liquid, it’s time to create a roux. This is done by adding and coating the vegetables with flour before adding sherry and then vegetable stock and letting simmer for about 20 minutes until reduced somewhat and slightly thickened.
This is Step 1 for thickening the cream of mushroom soup.
EXPERT TIP: We like our soup to be thick, but not so thick that it’s like gravy. To achieve this thickness, we add ¼ cup of all-purpose flour to create the roux. If you like your soup to be a little thicker, then increase the flour amount to ⅓ cup, or ½ cup for a thick texture.
We’ll show you Step 2 for thickening in just a moment.
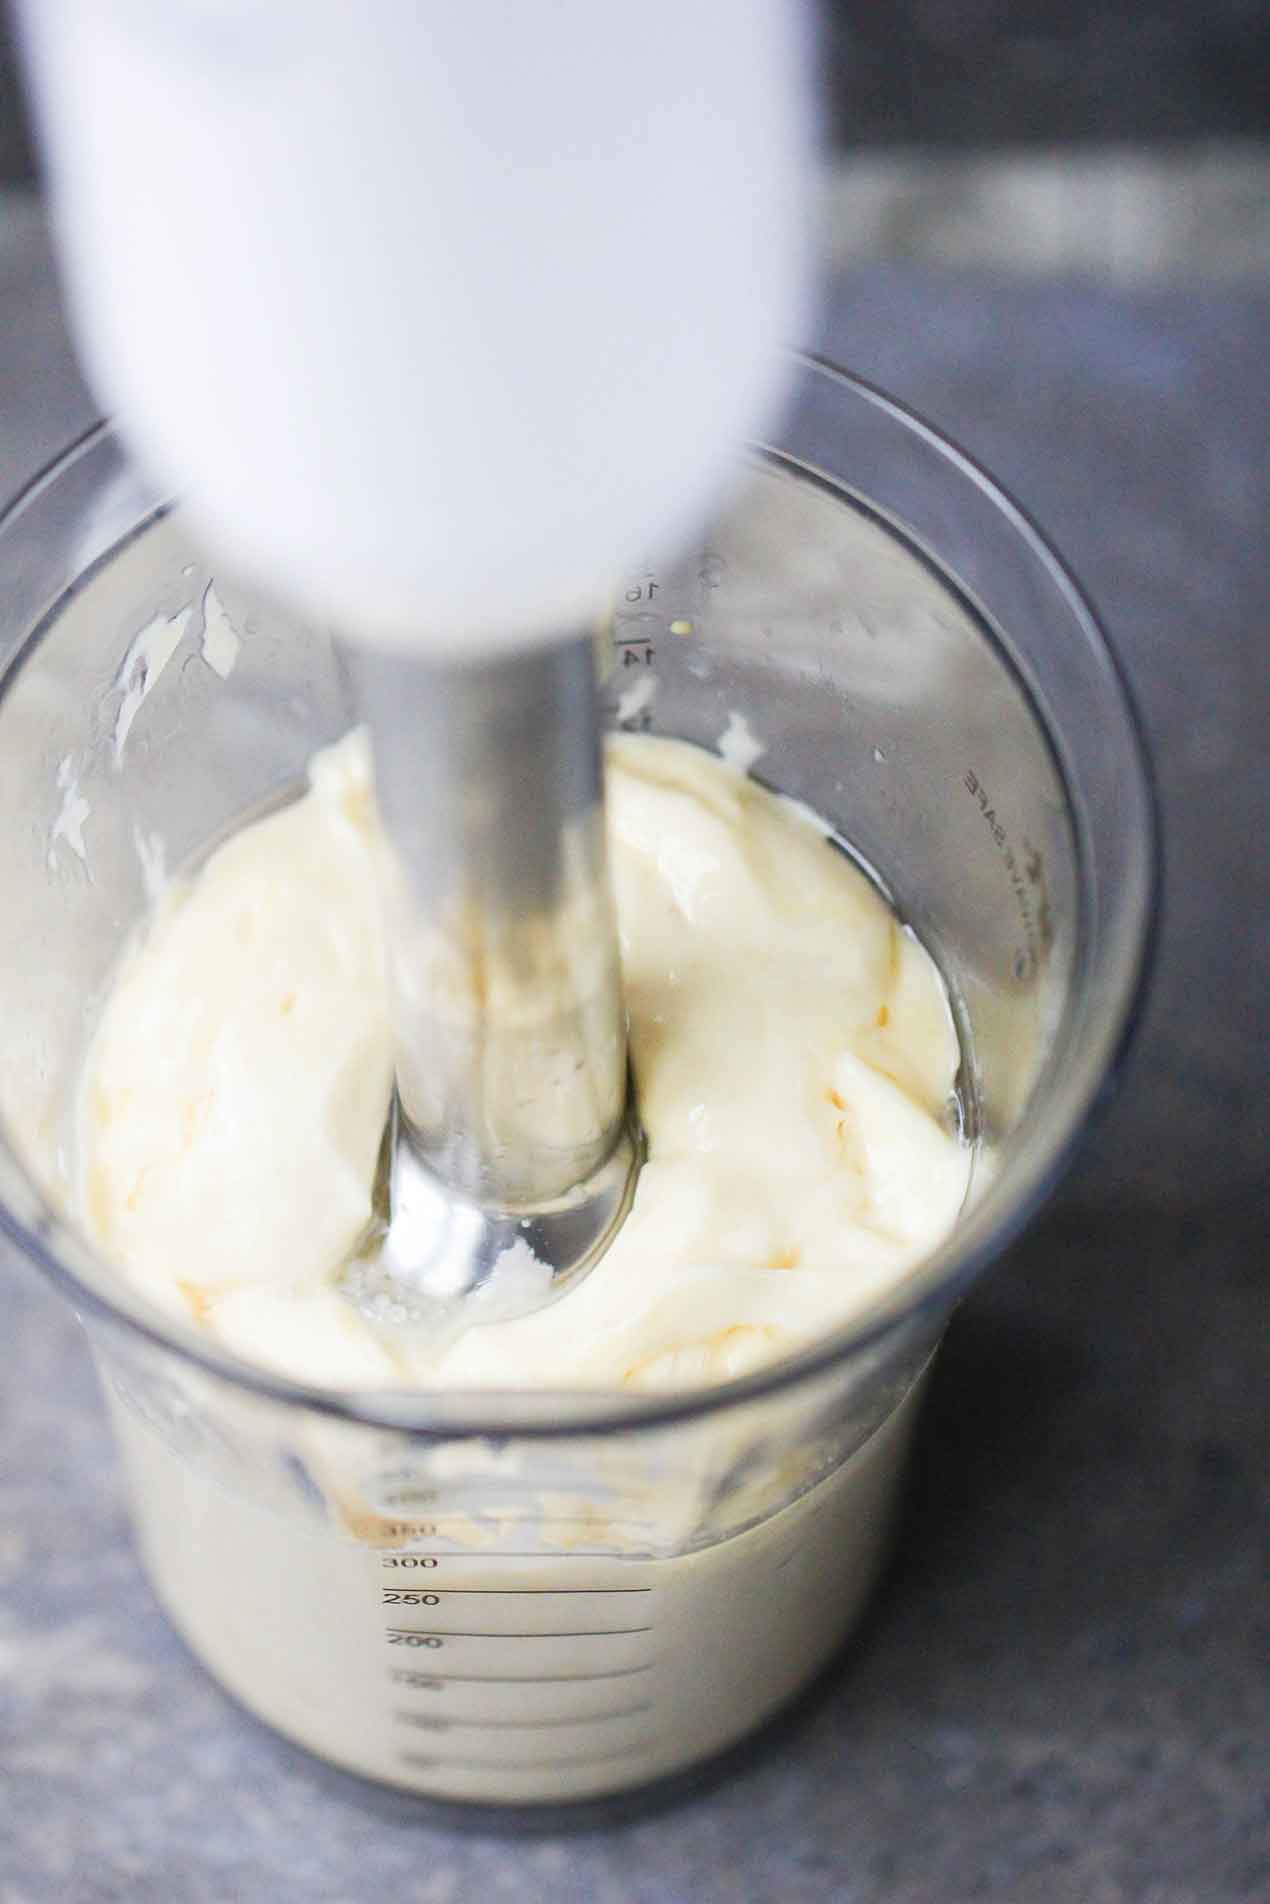
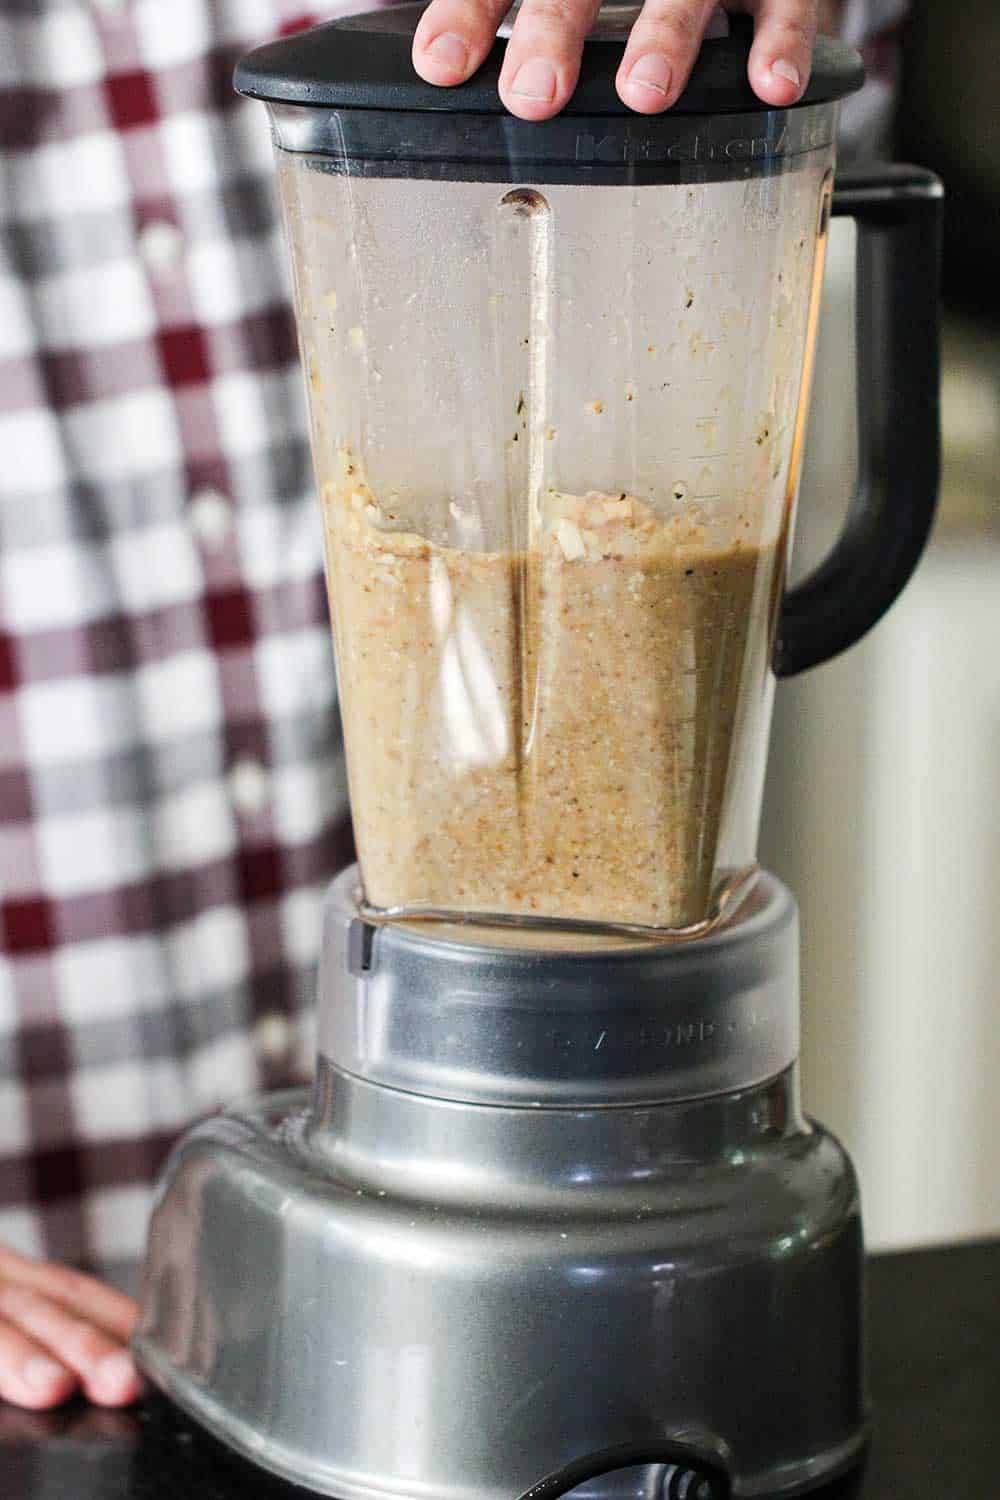
Now…Step 2 for thickening the soup. After the mushrooms have cooked in the stock and the liquid has reduced and thickened, we remove the mixture from the heat, and ladle about half into either a blender or food processor.
Puree the mixture until smooth and silky. The pureed mushrooms act as a natural thickener, but also, once added back with the reserved mixture, you will still have plenty of sautéed mushroom pieces in the soup.
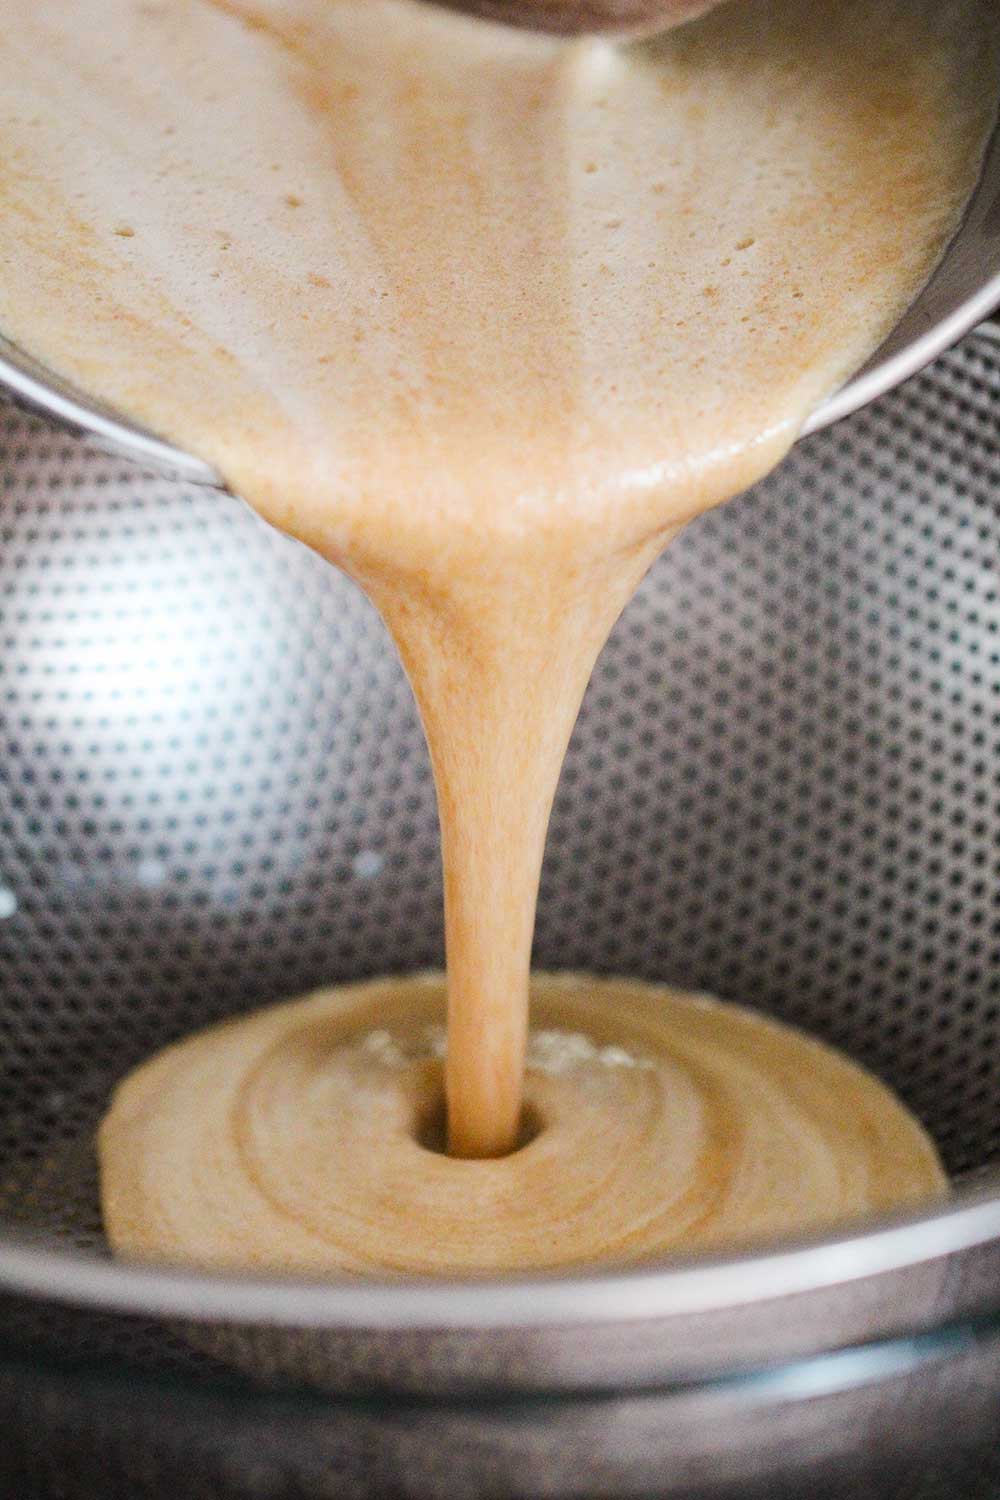
If you prefer your cream of mushroom soup to have no mushroom slices in the final dish, then puree the entire mushroom mixture, not just half of it. If you prefer the soup to be silky smooth, then after pureeing the entire mushroom mixture, pass through a fine-mesh sieve, or colander lined with cheesecloth, using a wooden spoon to help. And then continue with the recipe.
FINISHING THE SOUP
Okay, folks, we’re almost there.
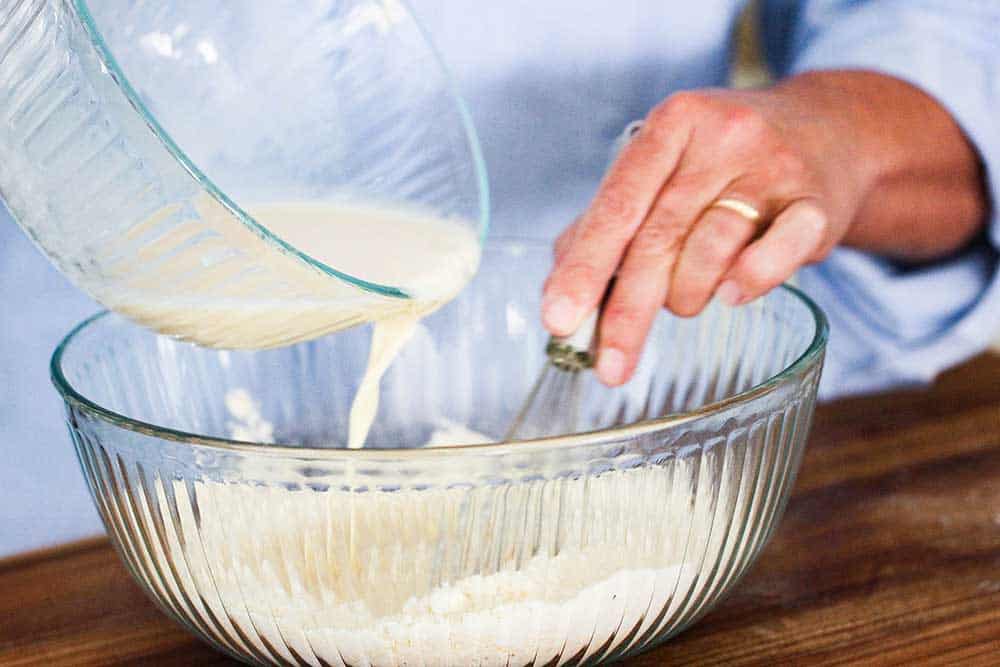
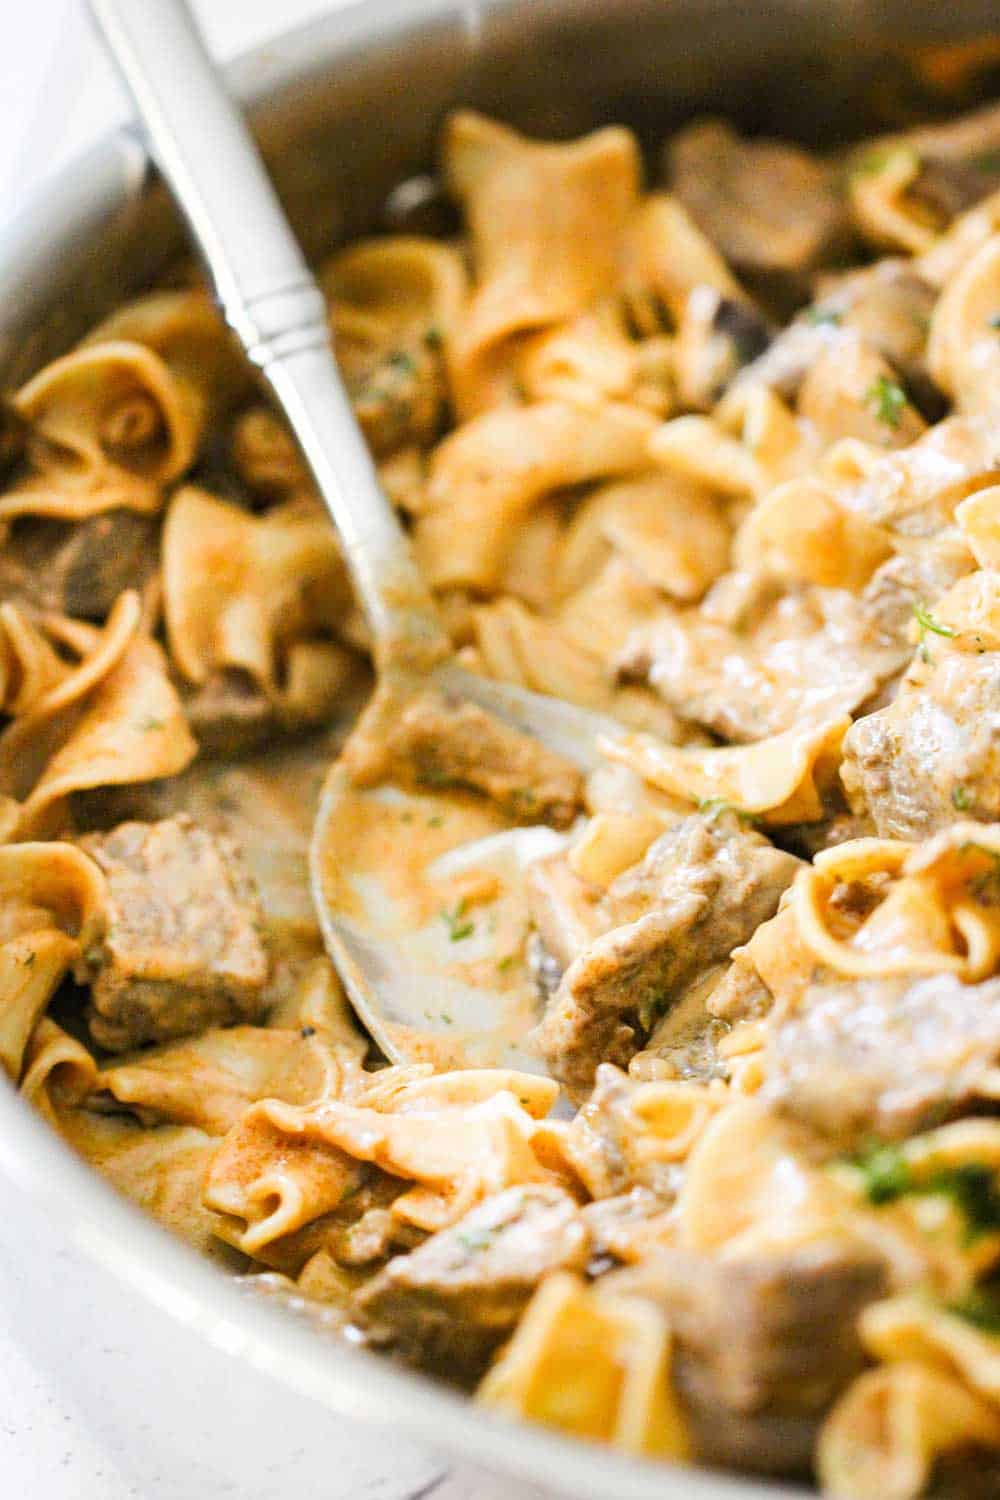
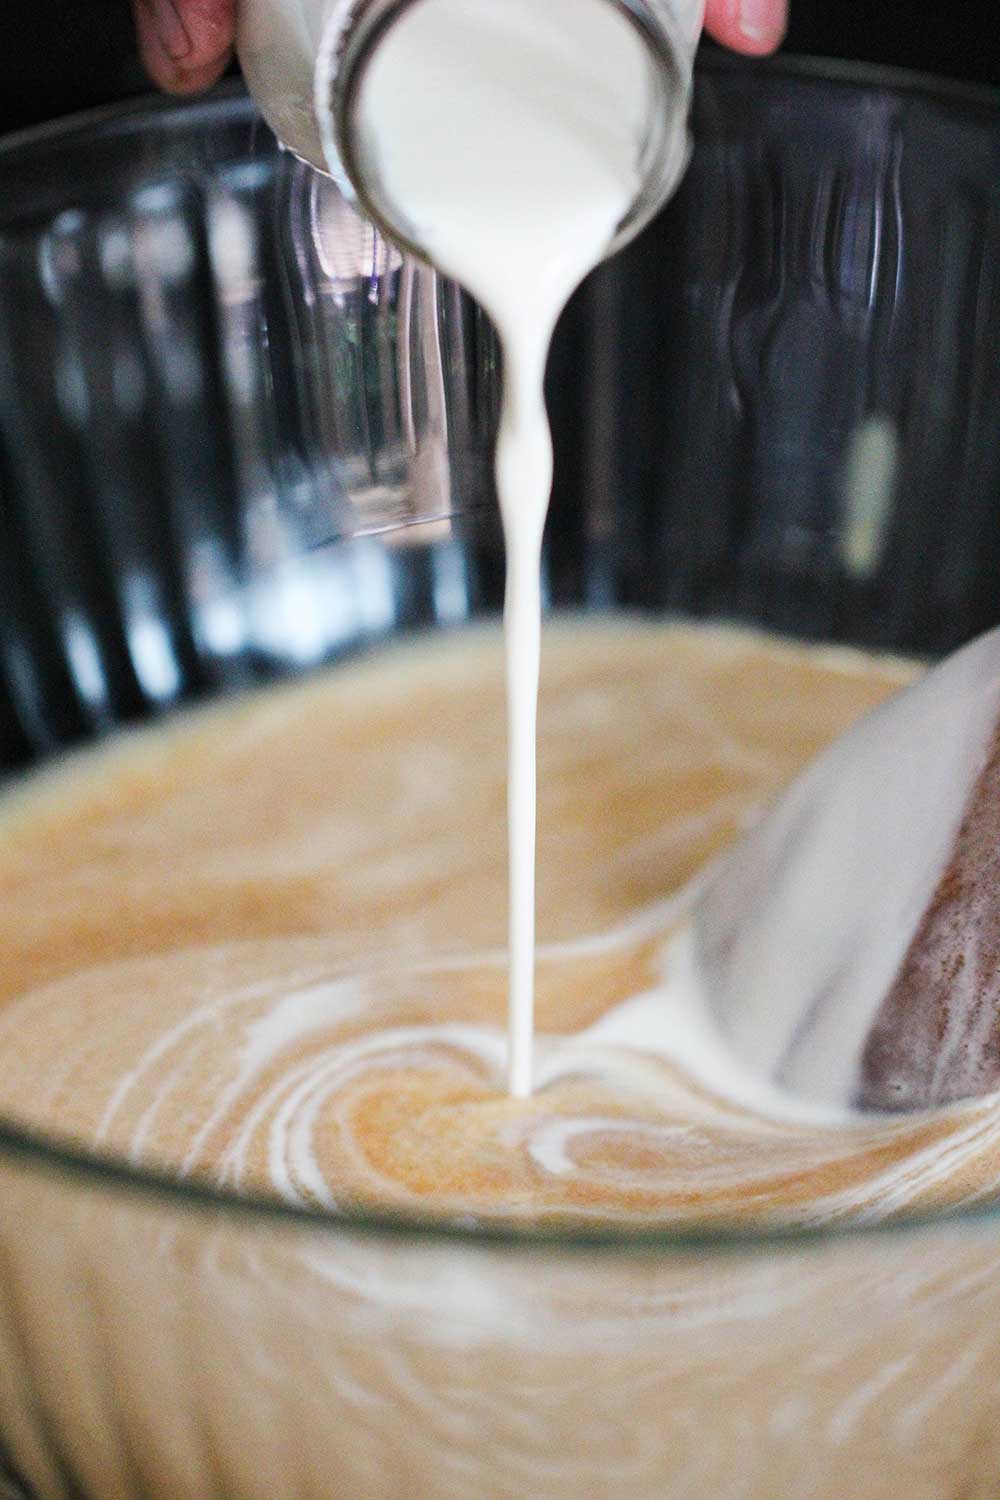
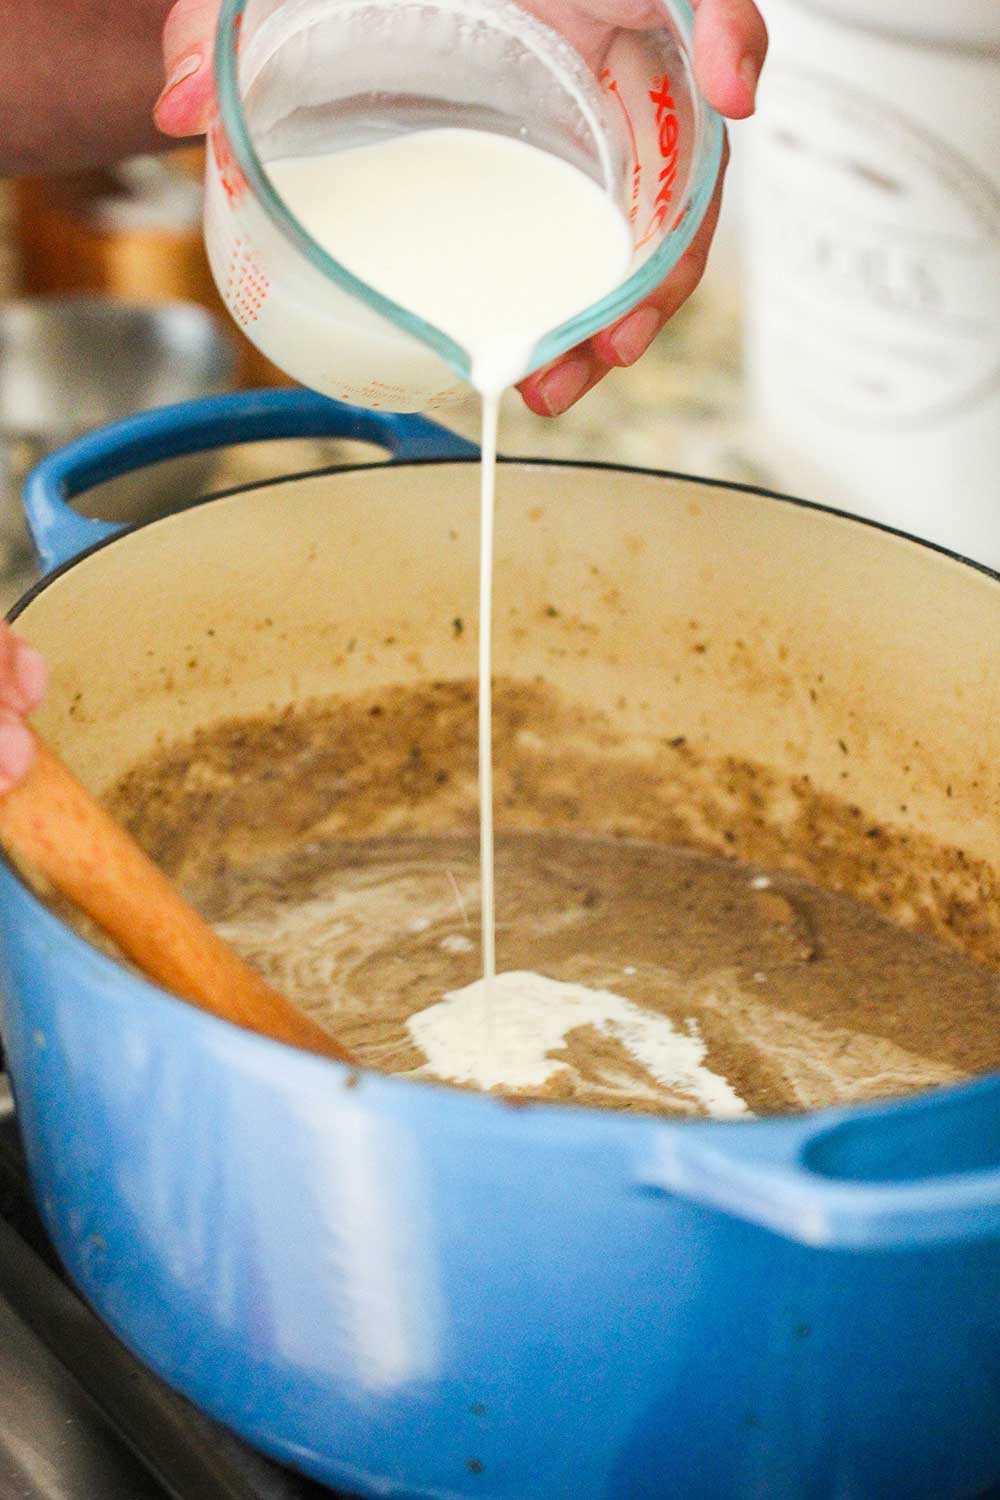
All we need to do now is gently pour in the cream. We recommend a heavy whipping cream, as it adds a luxurious texture and truly creamy taste to the soup.
It’s just about time for homemade Cream of Mushroom Soup! And you know another great recipe that uses our cream of mushroom soup? The classic Broccoli, Cheddar and Rice Casserole!
CREAM OF MUSHROOM SOUP FAQs
- What can be substituted for the sherry? You can certainly substitute a dry white wine, or even a nice port in place of the sherry. If you do not want to add anything with alcohol, then we suggest omitting it altogether. Although 99% of the alcohol will evaporate during the cooking process, we understand for some, no alcohol is preferred at all. The sherry adds flavor, but the soup will still be delicious without it.
- How can I make this soup vegan? You can substitute non-sweetened, non-flavored almond milk for the cream. Obviously, the taste and texture won’t quite be the same as with cream, but the taste will still be outstanding. Also, most types of Worcestershire sauce are made with anchovies, which makes it neither vegetarian or vegan, and can simply be omitted from this recipe if that is what you desire.
- Can I use dried mushrooms? Yes! Just be sure to re-constitute them in warm water first for 20 to 30 minutes. If doing so, be sure to use the soaking liquid in place of, or along with, the stock for the recipe!
- How long will the soup keep? The finished soup will keep in the refrigerator for up to 1 week and can be frozen for 2 months.
OTHER FAVORITE SOUP RECIPES TO TRY
- Roasted Butternut Squash Soup
- Creamy Irish Potato Soup
- Roasted Tomato and Basil Soup
- Homemade Chicken and Dumplings
In the meantime, let’s make this amazingly delicious and restaurant-quality Cream of Mushroom Soup!
Ready to make a soup that is so good your guests will swear you got it from a 5-star restaurant? Go for it!
And when you make the soup, be sure to take a picture, post it on Instagram, and tag #howtofeedaloon and @howtofeedaloon!

Cream of Mushroom Soup
Equipment
- Blender or food processor
Ingredients
- 2 teaspoon butter unsalted
- 1 medium onion yellow,chopped
- 2 cloves garlic minced
- 1 ½ lbs mushrooms sliced
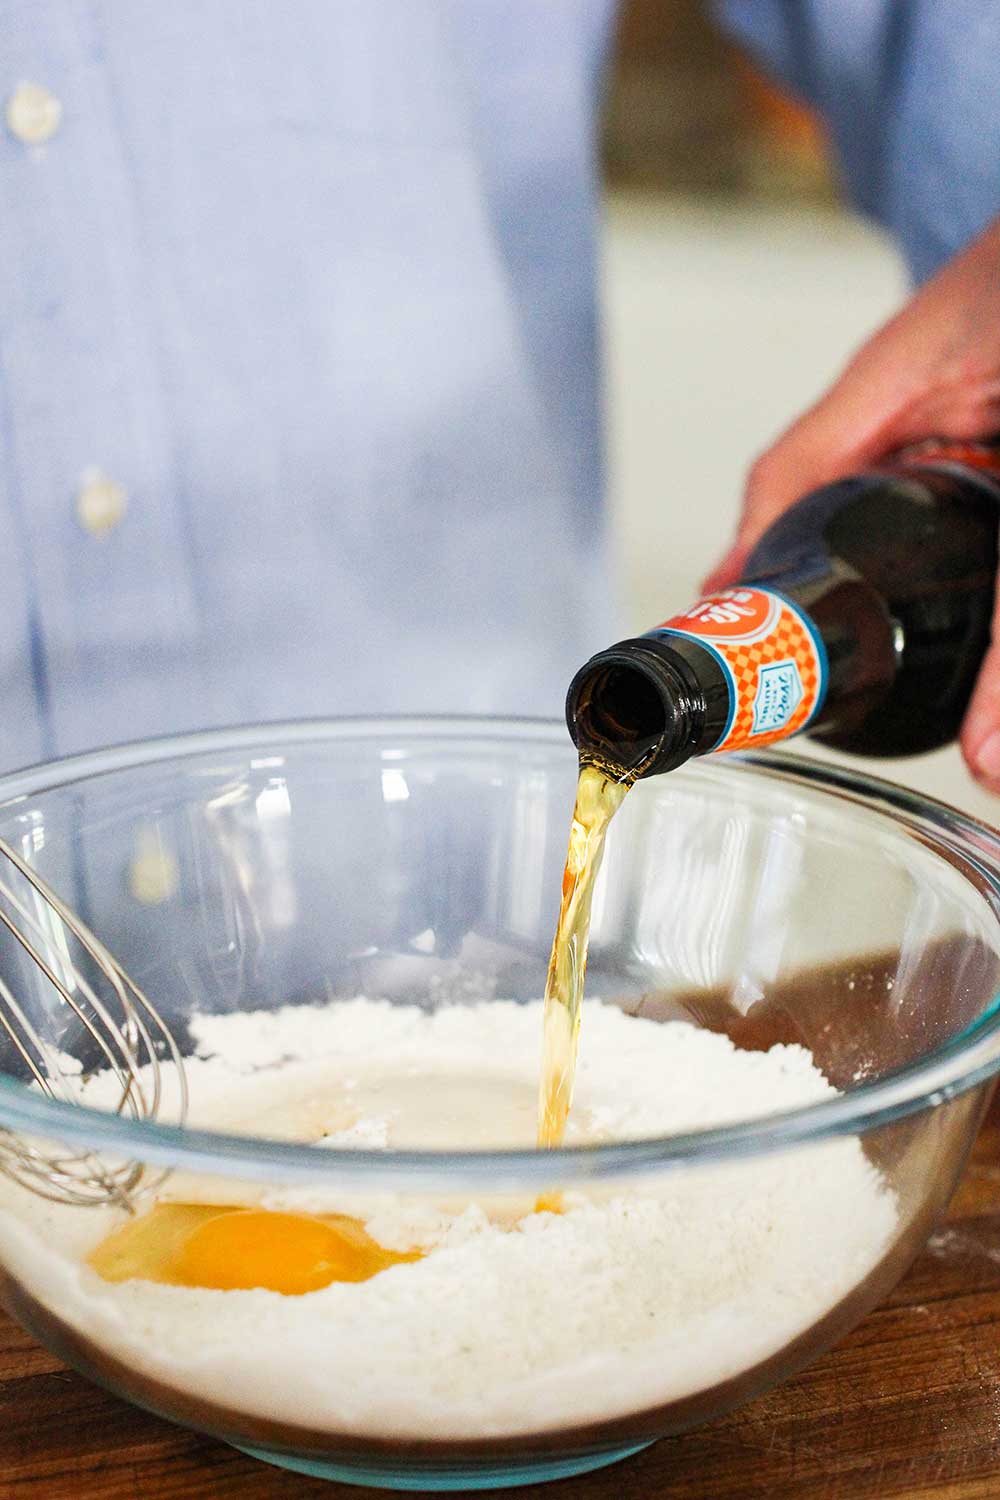
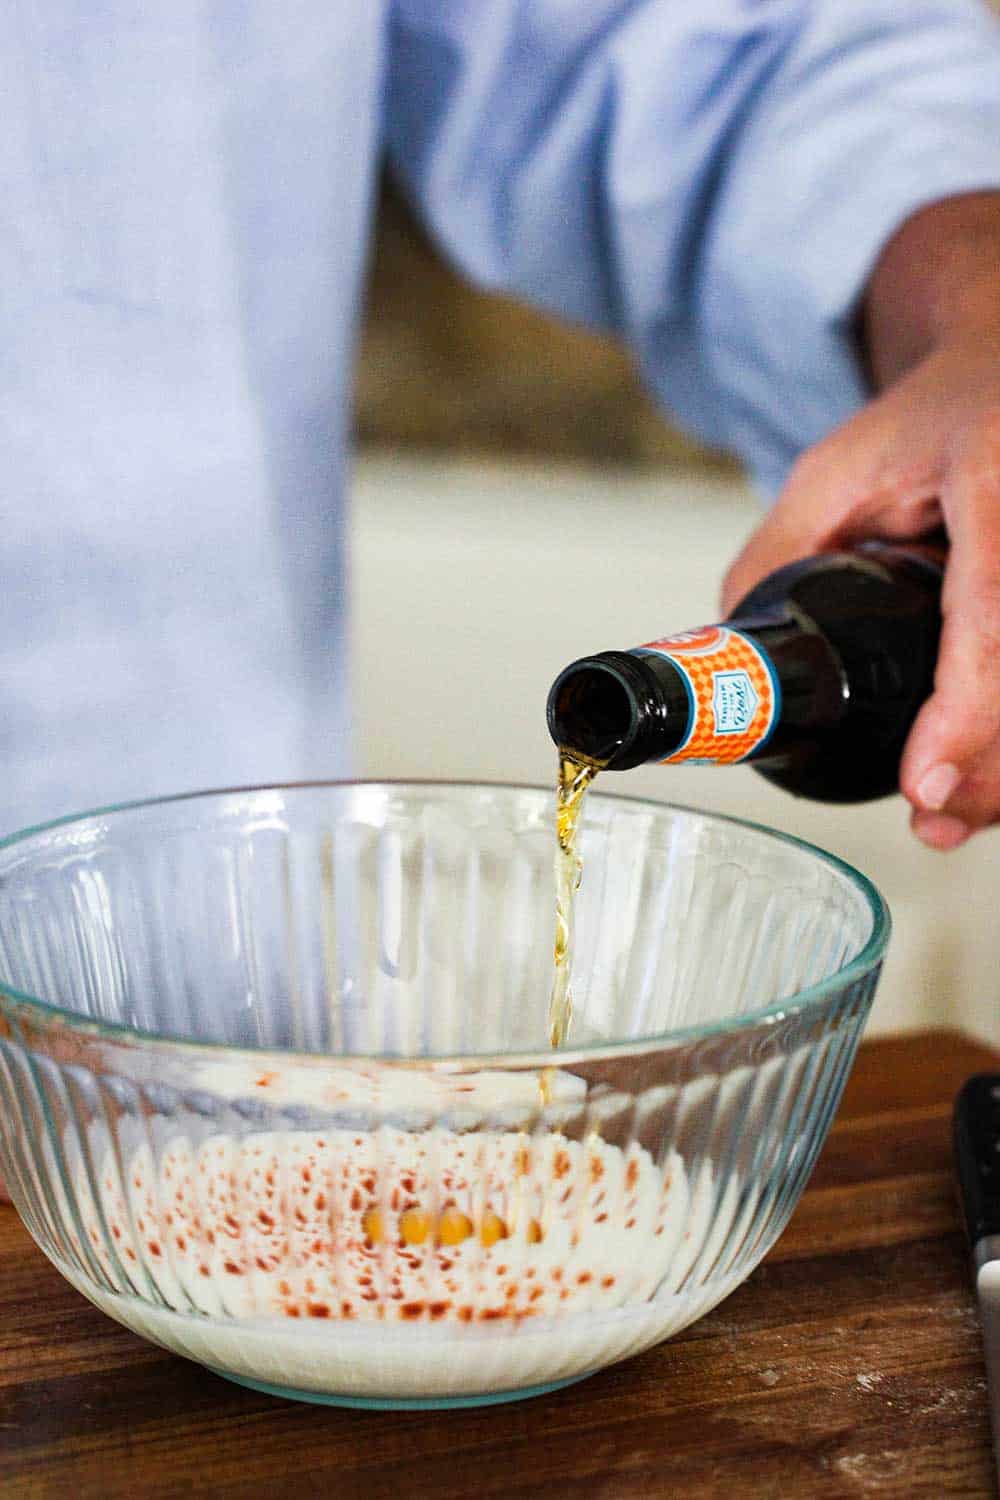
- 1 tablespoon Worcestershire sauce
- ¼ cup all-purpose flour
- 2 teaspoon Kosher salt divided
- 1 teaspoon pepper freshly ground black
- 1 tablespoon thyme fresh, chopped
- ¼ cup sherry
- 6 cups vegetable stock
- 1 cup heavy cream
- ½ teaspoon nutmeg ground
Instructions
- In a large pot (i.e., Dutch oven), melt the butter over medium heat. Add the onions and cook until softened, about 4 to 5 minutes. Add the garlic and cook for 1 minute more.
- Add the mushrooms, Worcestershire sauce, 1 teaspoon salt, ½ teaspoon pepper, and the thyme. Cook until mushrooms are softened and starting to release their liquid, about 8 to 10 minutes, stirring with a wooden spoon frequently.
- If desired, use a slotted spoon to remove about 1 cup of the sauteed mushrooms. Set aside for garnish to the finished soup.
- Add the flour to the pot and stir until the mushrooms are fully coated. Cook for about 1 minute.
- Add the sherry and cook until reduced by about half, about 3 to 4 minutes.
- Add the stock and another ½ teaspoon of salt and bring to a strong simmer. Cook for 20 minutes, or until the liquid has reduced somewhat and has thickened slightly.
- Remove from heat and use a ladle to add half of the mushroom mixture to a blender or food processor, or bowl with an immersion blender. Puree the mixture until smooth.
- Add the pureed mixture back into the pot with the reserved mushroom mixture. Turn the heat back on to medium.
- Add the cream and nutmeg and stir until incorporated. Bring just to a simmer and then turn off the heat. Taste and add more salt, if desired.
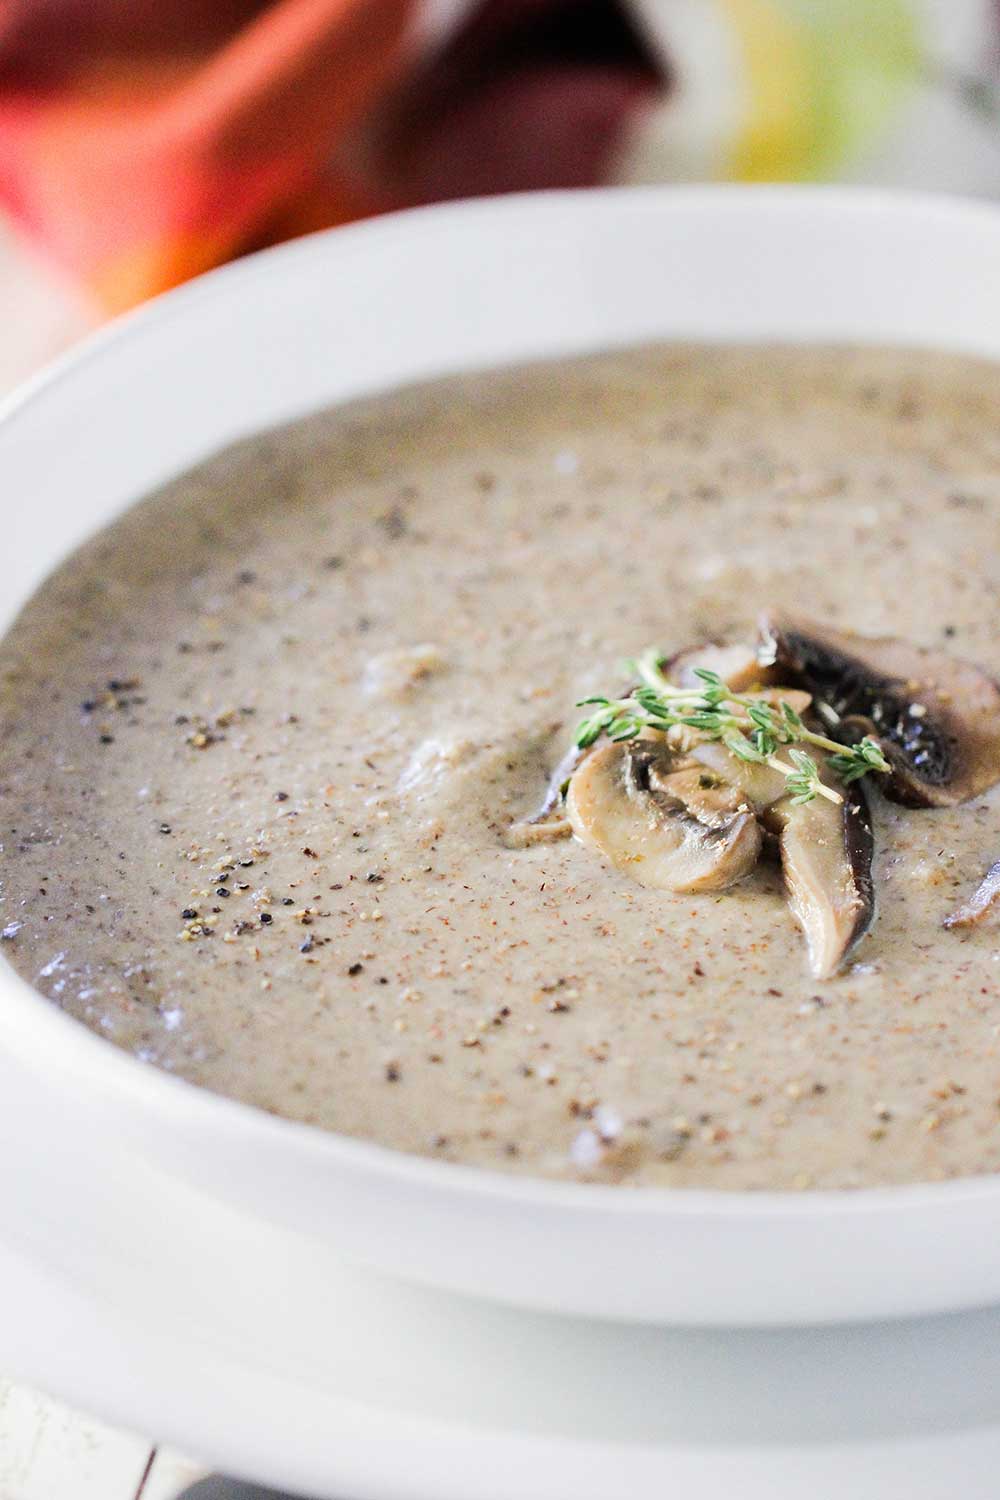
- Serve at once in individual soup bowls.
- Garnish with reserved mushrooms, thyme, and grated nutmeg (if desired).
Video
Notes
Nutrition
POST UPDATE: This recipe was originally posted in November, 2016, but the recipe was improved with new photography and awesome video in October, 2019.