Who doesn’t love a good brownie, right? Well, get ready to fall in love all over again.
We set out to make this iconic sweet treat to be loaded with deep fudge taste, a flaky top, and a chocolate-lovers dream come true. And folks, we think this recipe hits it out of the park. And it comes together in about 45 minutes. Although we do recommend letting them cool before digging in. But, we’re not here to judge if you can’t wait! And remember to set your eggs out early! Room temp is key!
How To Make Brownies
Homemade fudge brownies are so much easier to make from scratch than you might think.
Be sure to pick up some good-quality semi-sweet chocolate, and the rest just falls right into place.

The Best Chocolate for Homemade Brownies
When perusing all the different types of chocolate in your supermarket, or local chocolate store, it can be a little daunting.
For this recipe, we’re going with 12 oz. of semi-sweet chocolate. It delivers a deep chocolate taste that is exactly what you want for chocolate fudge brownies.
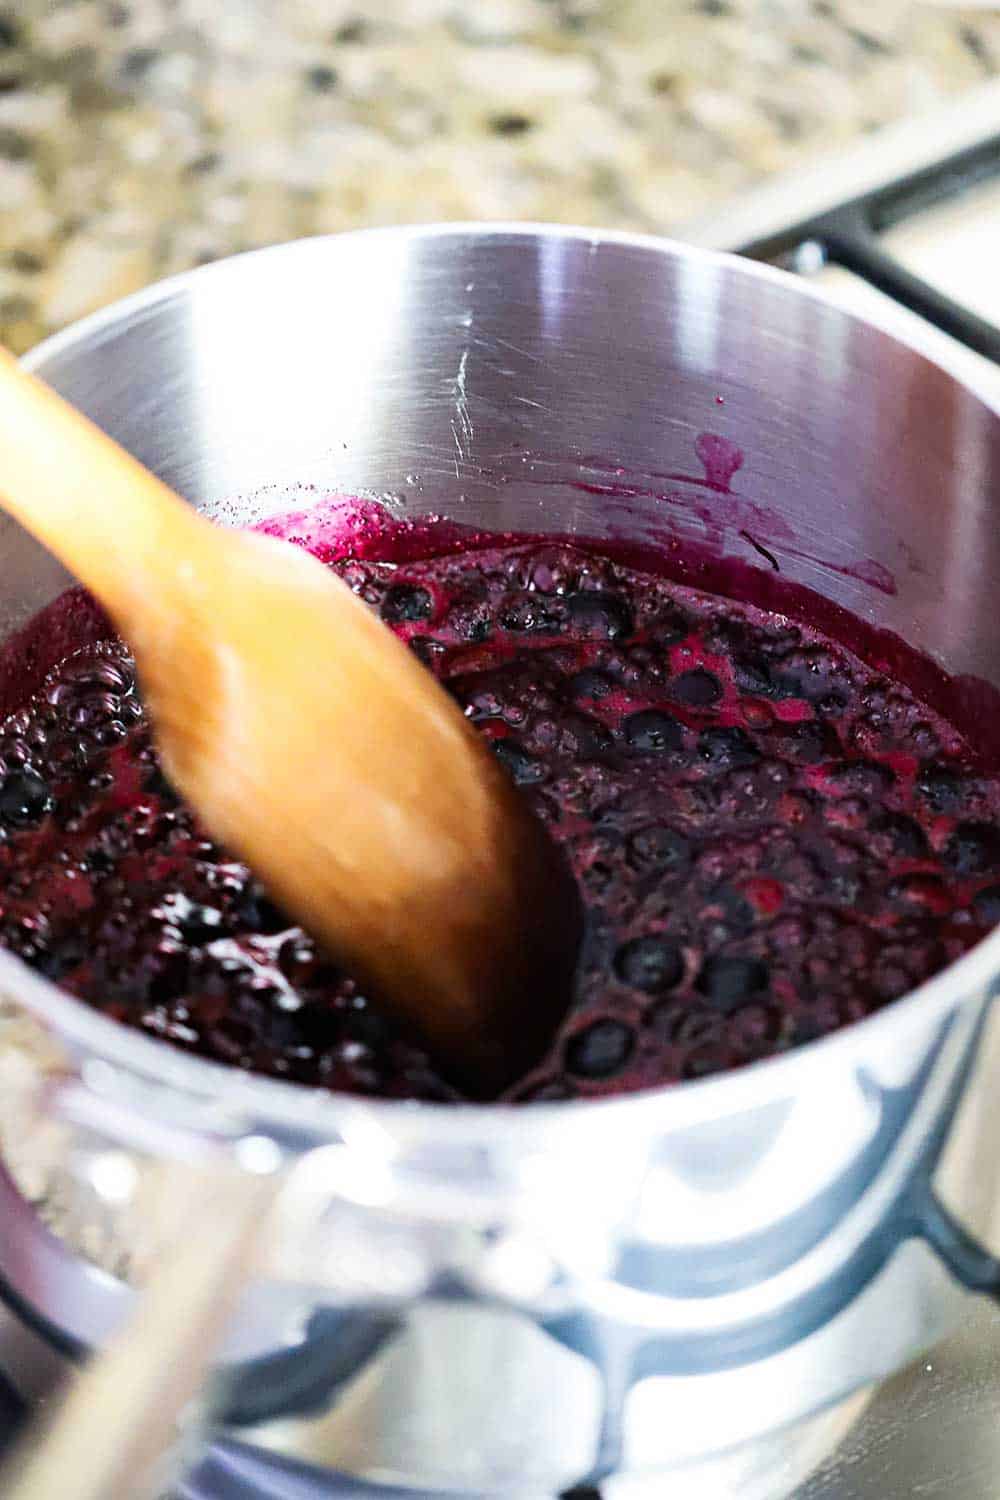
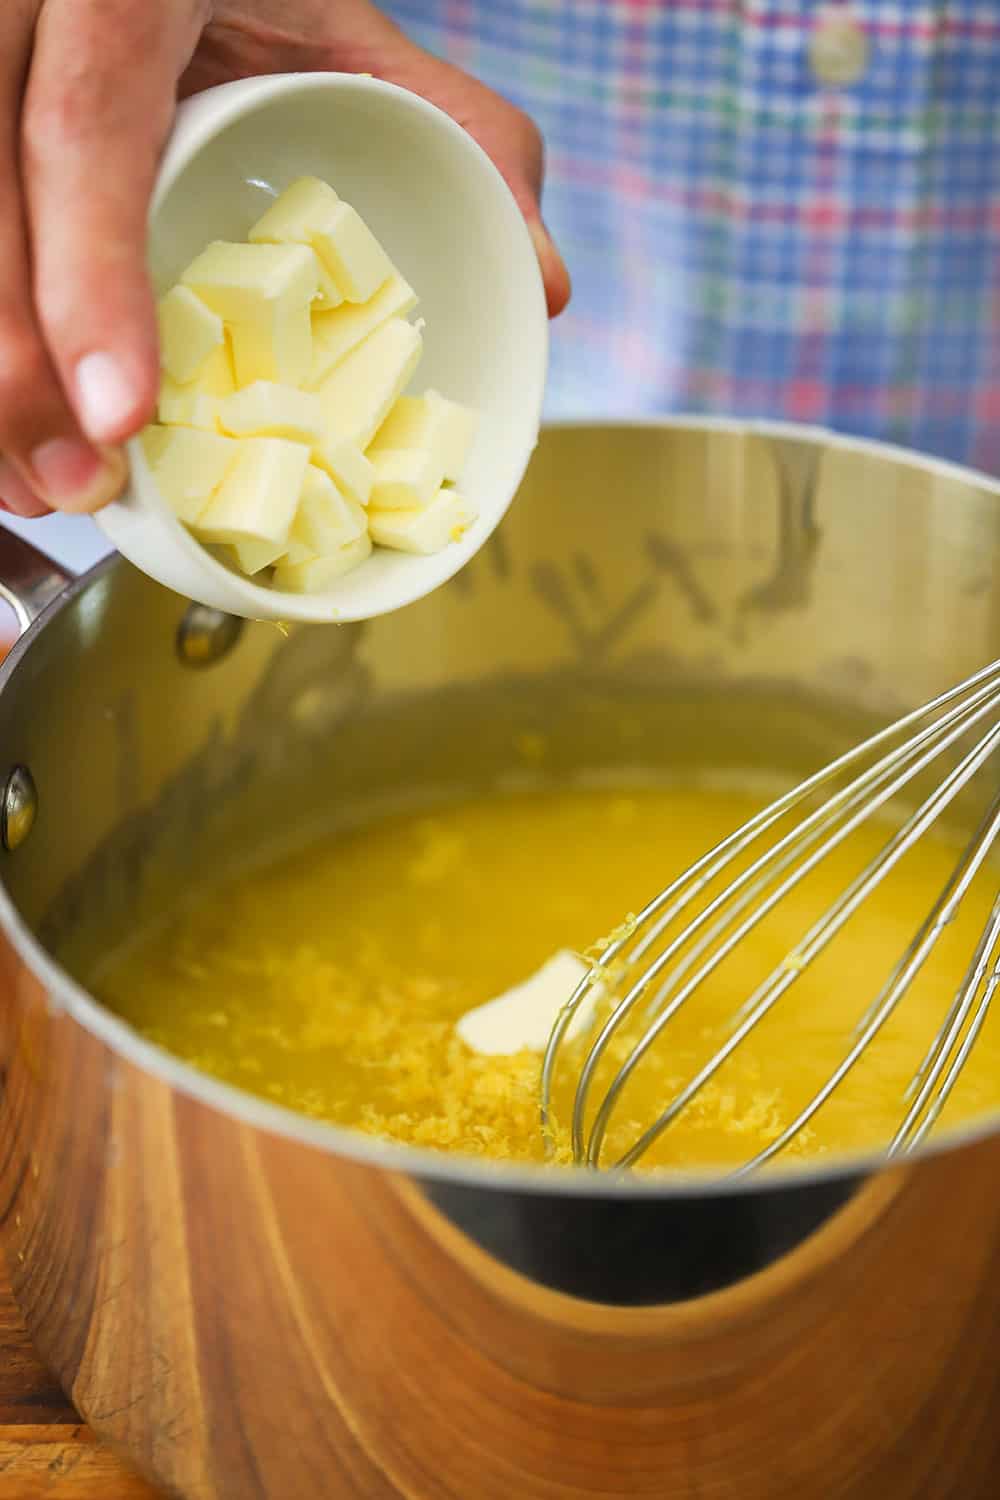
EXPERT TIP: To make life easier, we employ our microwave to melt the chocolate with the butter. Simply place 10 oz. of the chocolate with the butter in a microwave-safe bowl, and melt in intervals of 1 minute, until melted. Set the other 2 oz. of chocolate to the side, we’ll mix it into the batter just before baking.
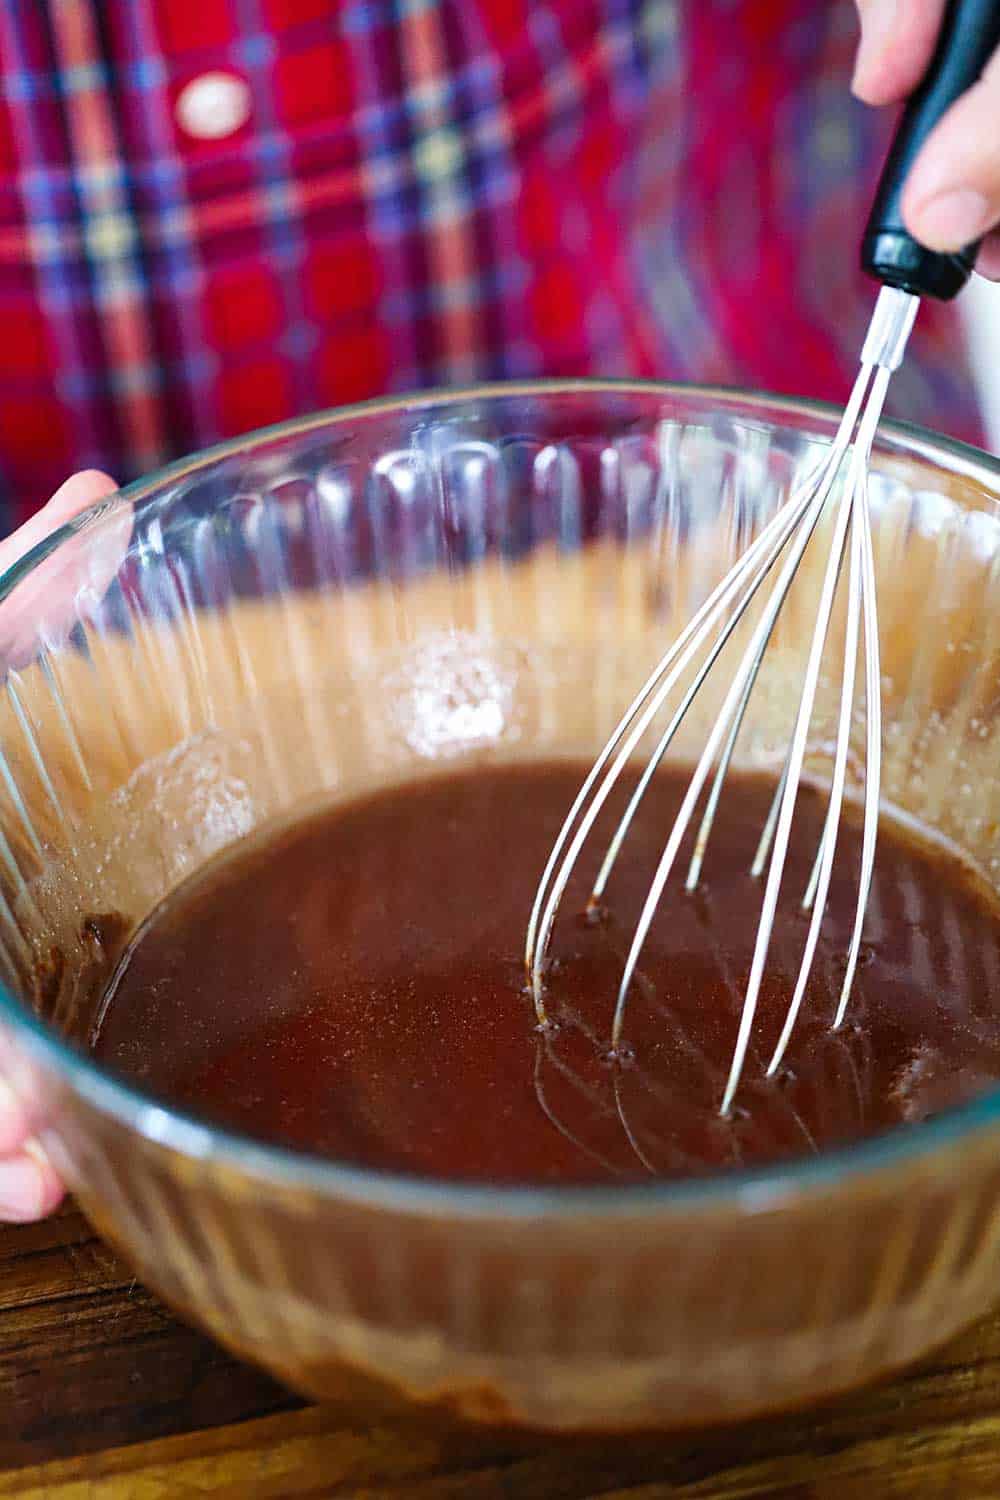
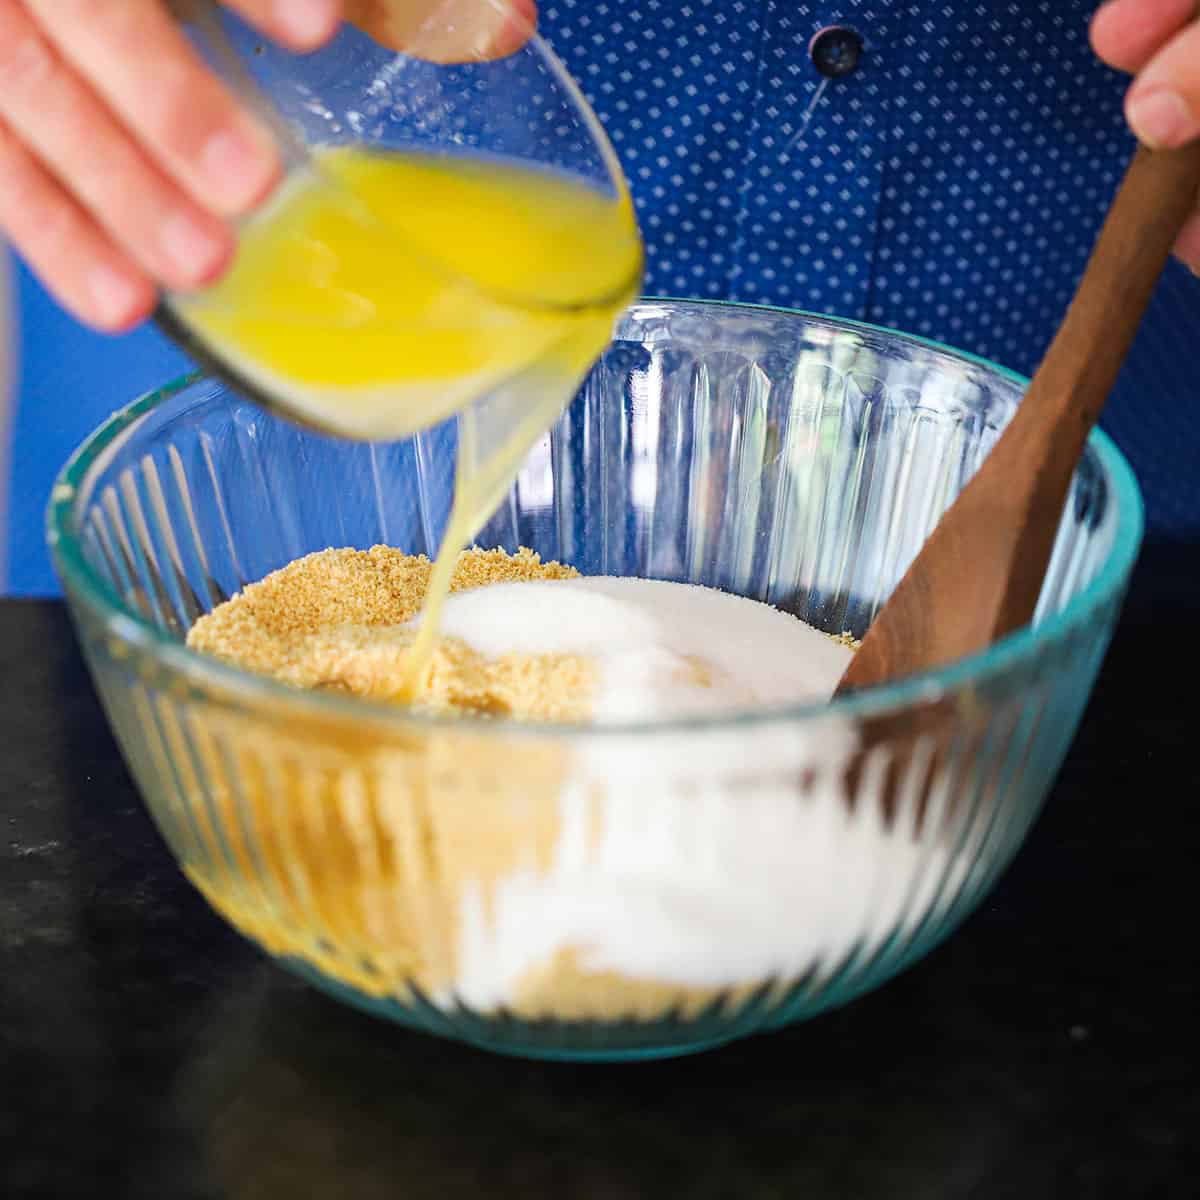
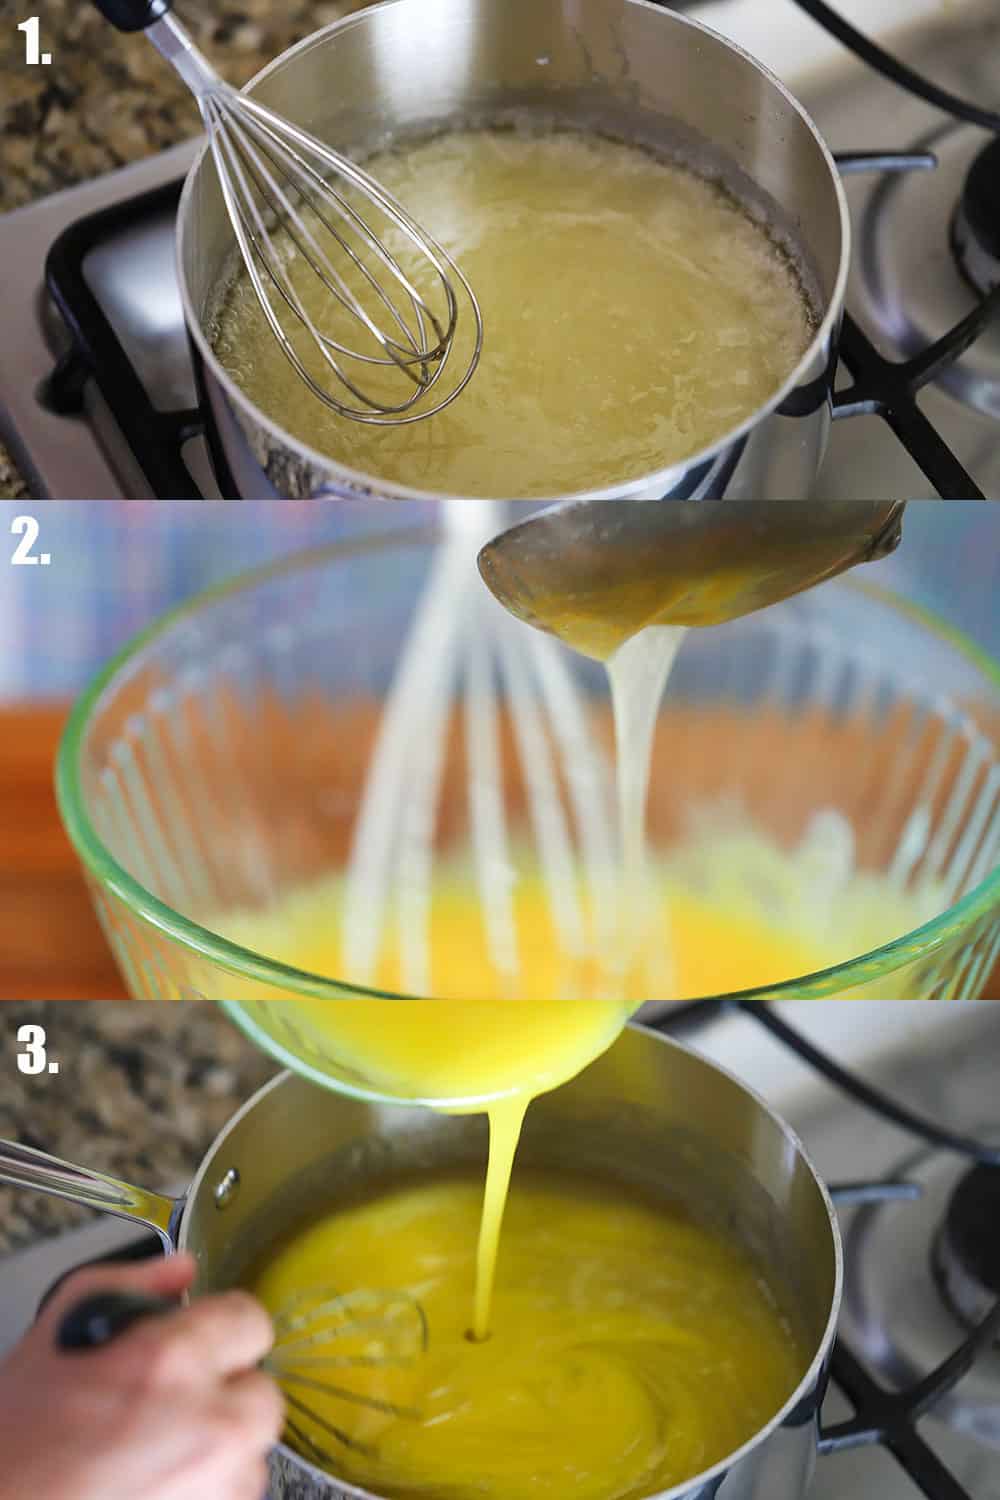
Now, it’s time to start building the batter.
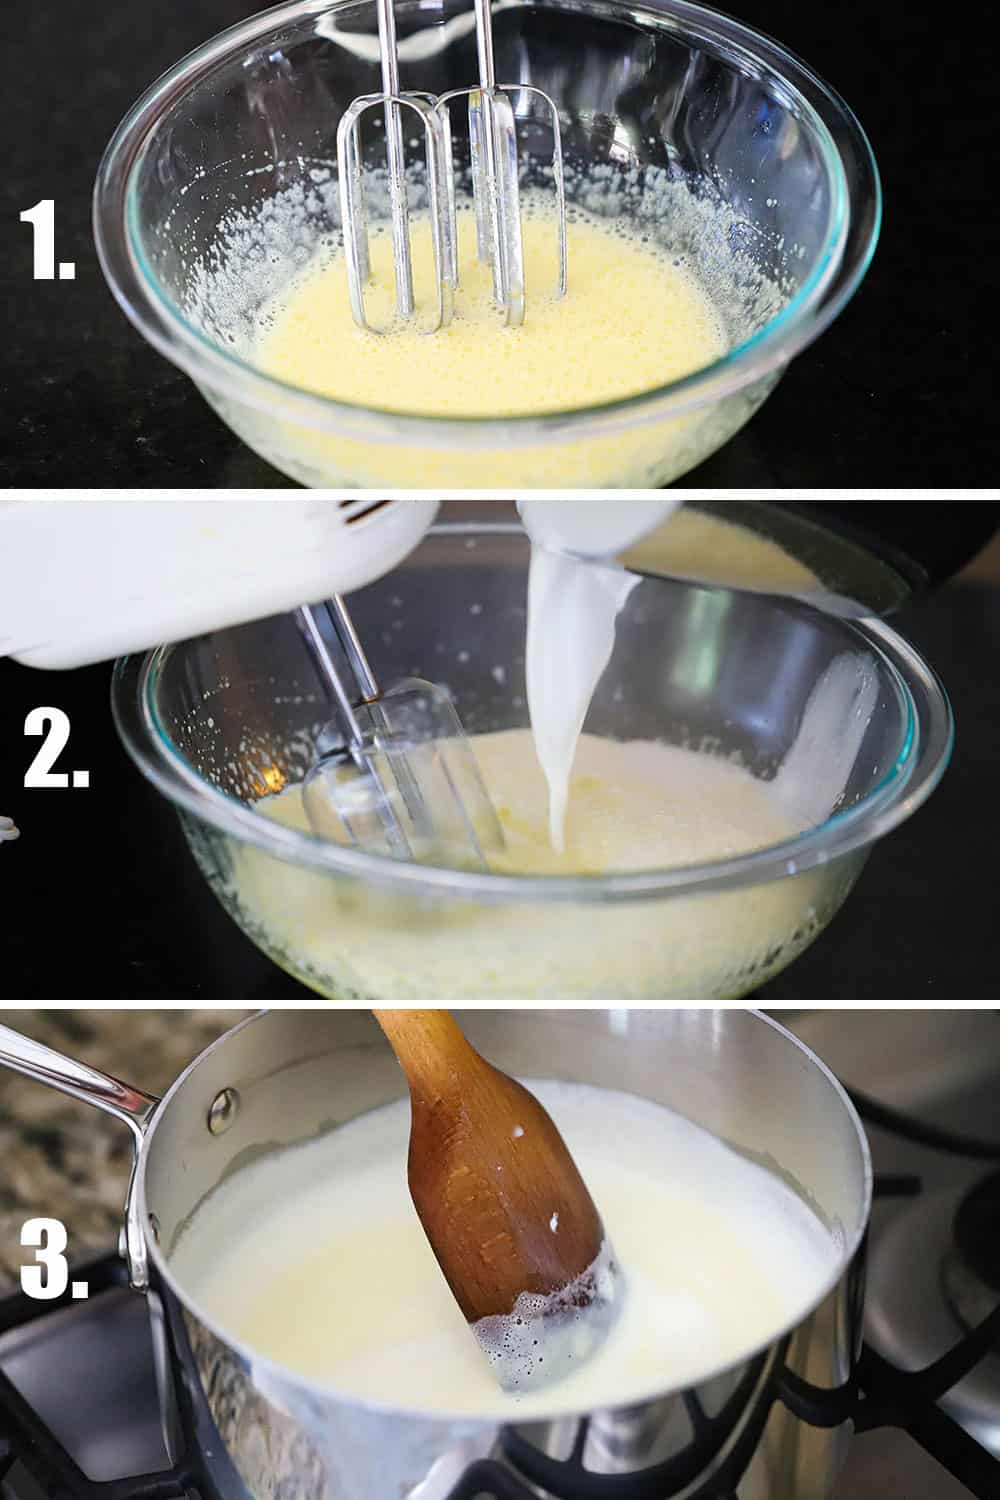
Stir in the sugar and the brown sugar until fully incorporated and sugars have dissolved.
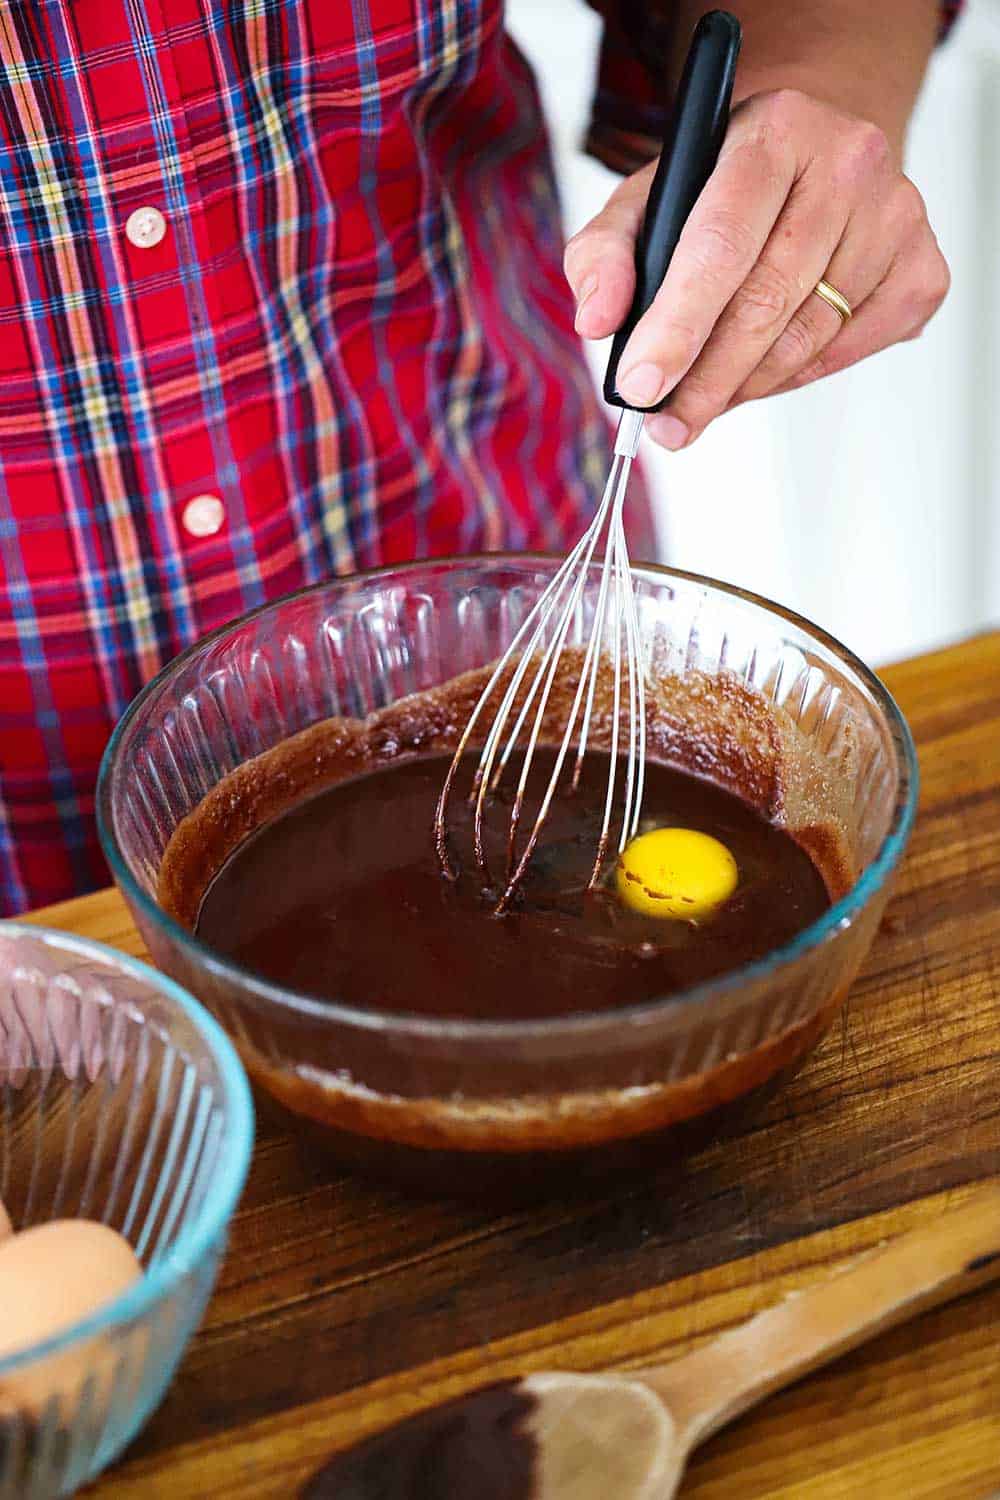
Next, mix in the eggs, 1 at a time. Stir until fully mixed.
EXPERT TIP: It’s really important that the eggs are at room temperature before adding them to the chocolate mixture. If they are cold, it can cause the chocolate to tighten up, and not produce smooth, chocolatey brownies.
The Trick to Extra-Fudgy Chocolate Brownies
After stirring in the flour, cocoa powder, and salt into the mixture, you’re almost ready to add to the pan.
But not quite.
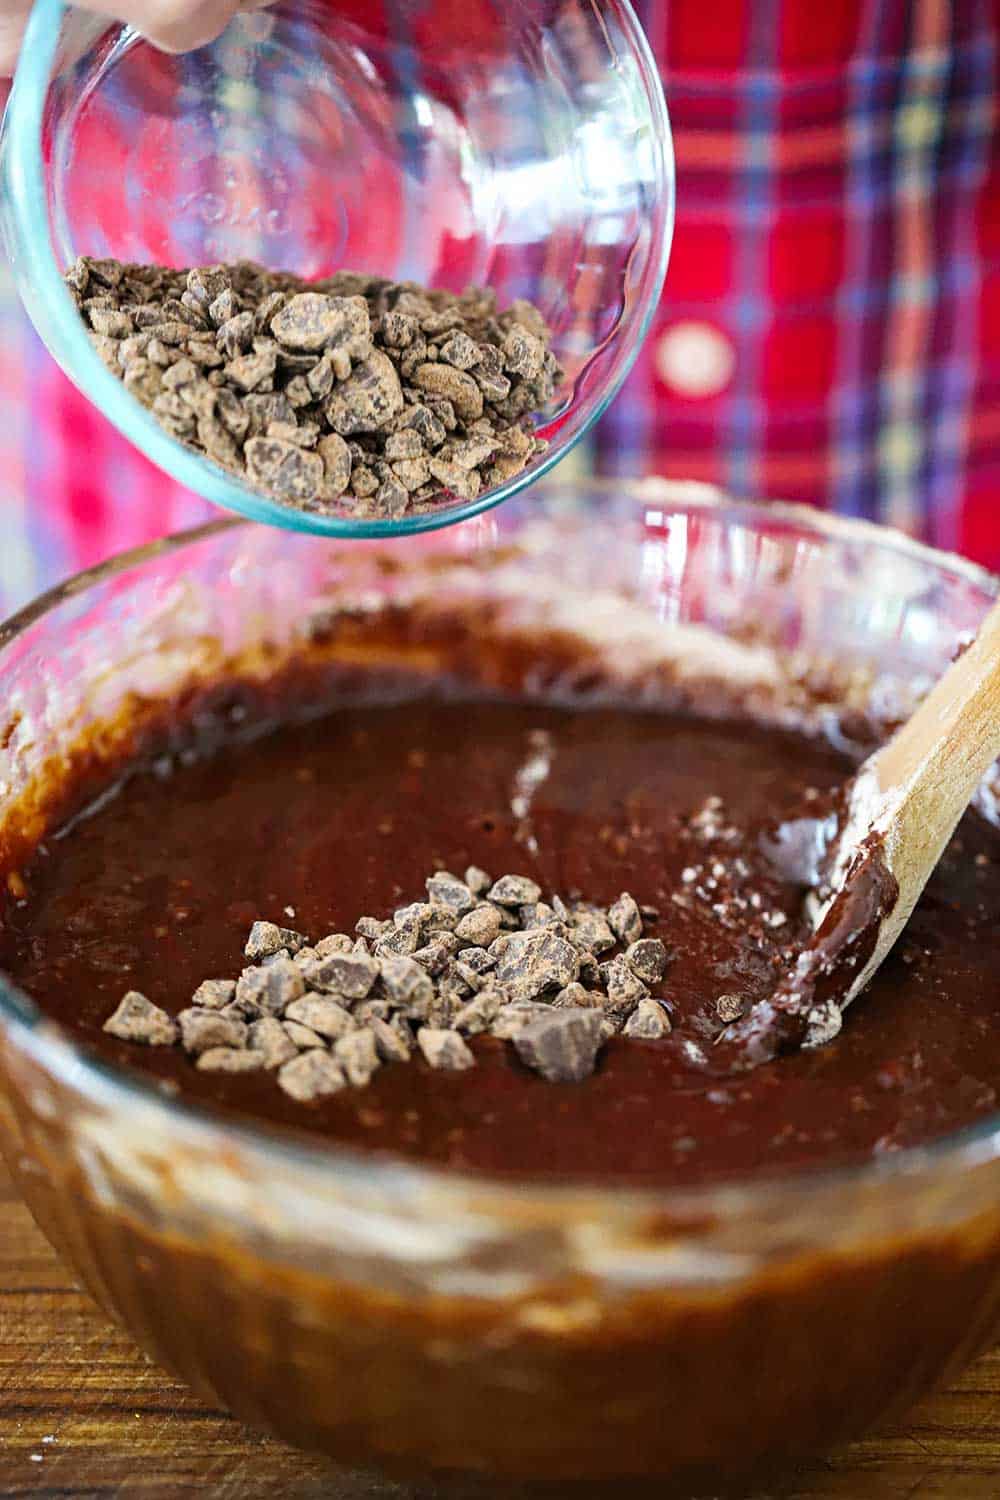
Remember the extra 2 oz. of semi-sweet chocolate you held aside? Give it a rough chop, and stir it into the batter. As the brownies bake, the chocolate will melt and create streams of gooey chocolate throughout. Divine.
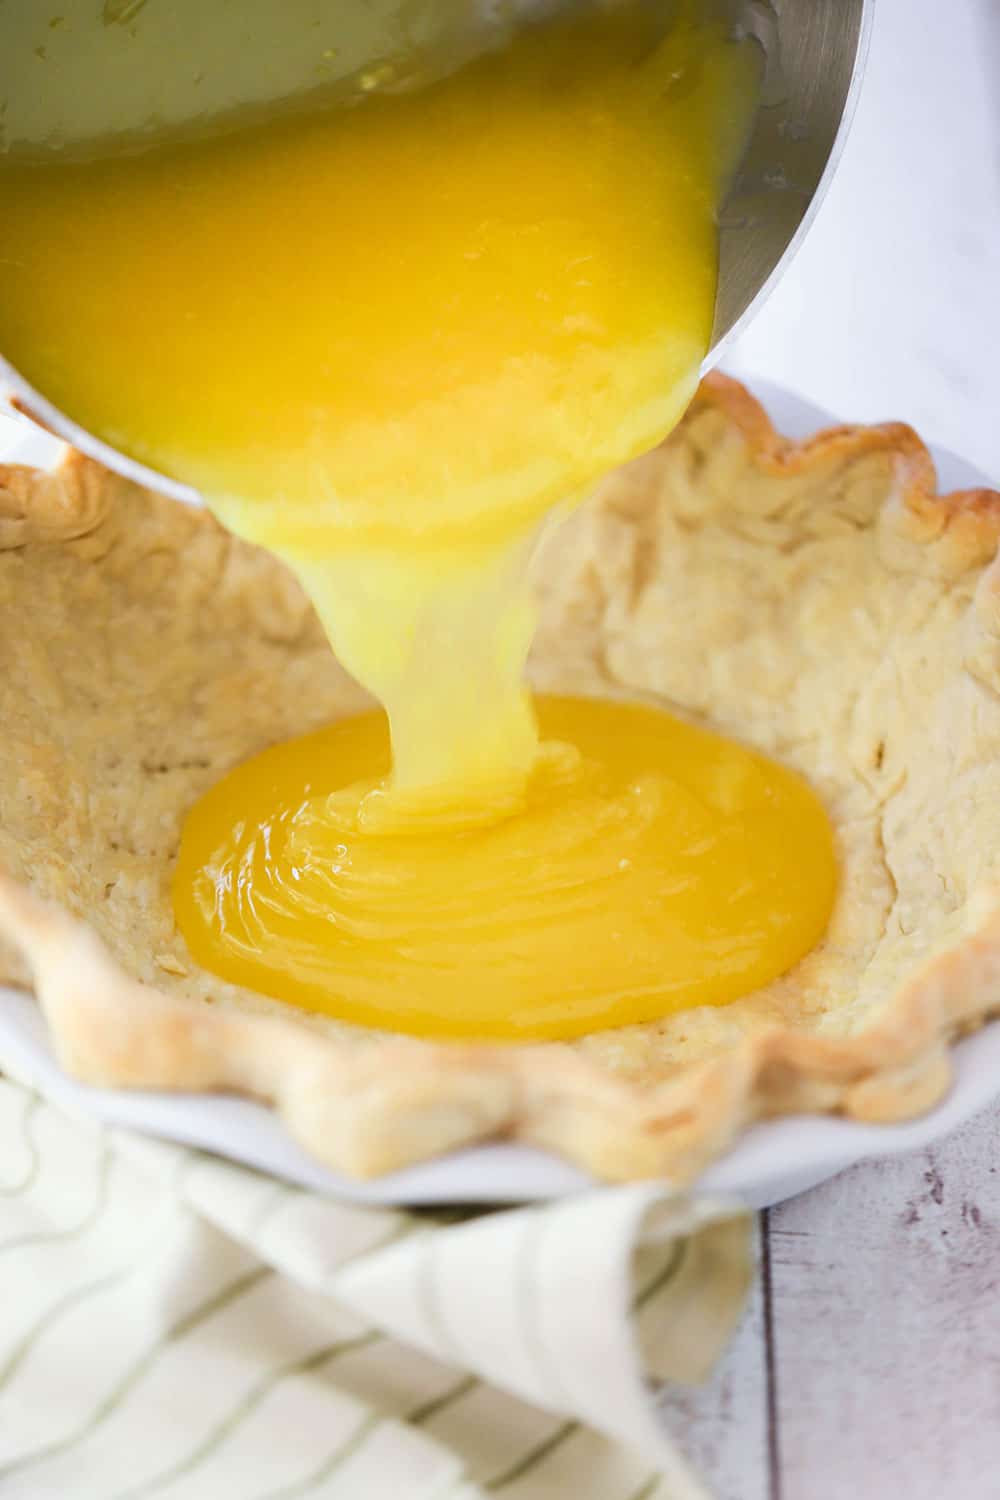
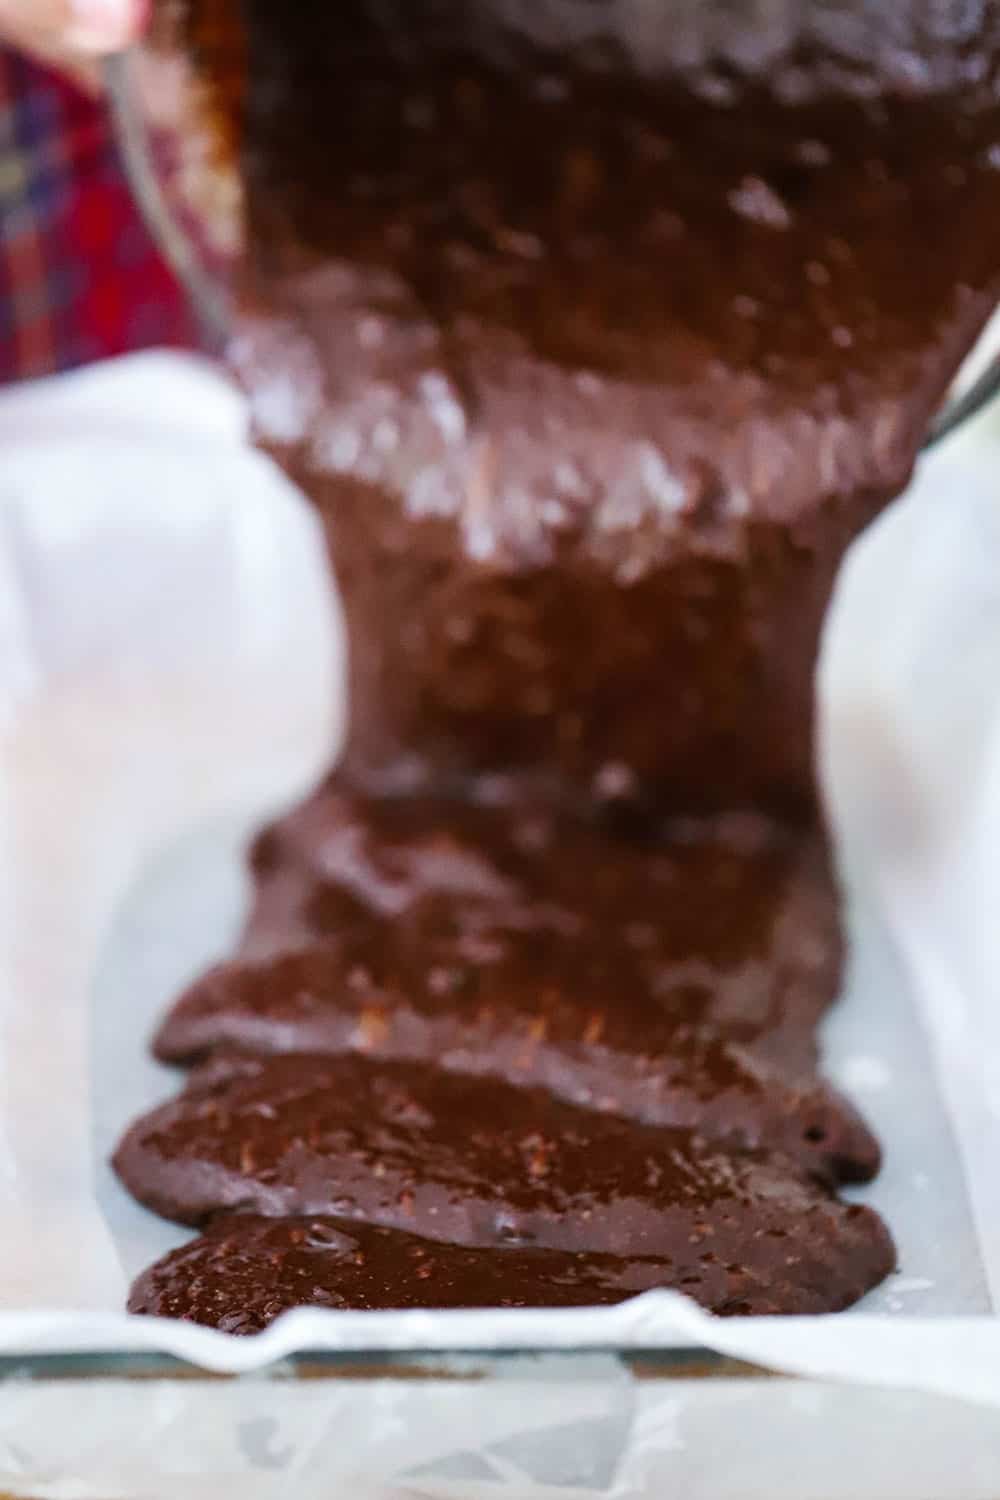
Now, it’s time to pour that amazing brownie batter into your dish.
This is when it really starts getting fun!
EXPERT TIP: To make this an easy brownie recipe, we recommend spraying a 9″x 13″ baking dish with cooking spray and then lining the dish with parchment paper. This isn’t 100% necessary, but it makes removing the baked brownies from the dish so much easier.
Ultimate Fudge Brownies FAQs
- I see semi-sweet morsels at the store, can I use those? Absolutely! You’ll need 2 cups of them. Make sure you go with a quality brand for the best results!
- What is the best dish to use for baking? For size, we recommend a 9″x 13″ dish. For thicker brownies, you could use a 9″ x 9″ or 10″ x 10″ dish, but you’ll need to bake the brownies longer. We use a glass baking dish and get great results, but you can use a metal pan, too. Actually, metal conducts heat even better than glass, so you’ll get amazing brownies either way.
- Why do I have to allow the brownies to cool? You don’t have to, but, they will still be extremely gooey fresh out of the oven. Of course, that’s delicious, but they don’t slice as easily. We recommend cooling them for about an hour before cutting.
- What’s the best way to store the brownies? After cooling and slicing, place parchment or wax paper in the bottom of a large storage container with a tight-fitting lid. Separate layers of the brownies with additional parchment, or wax, paper.
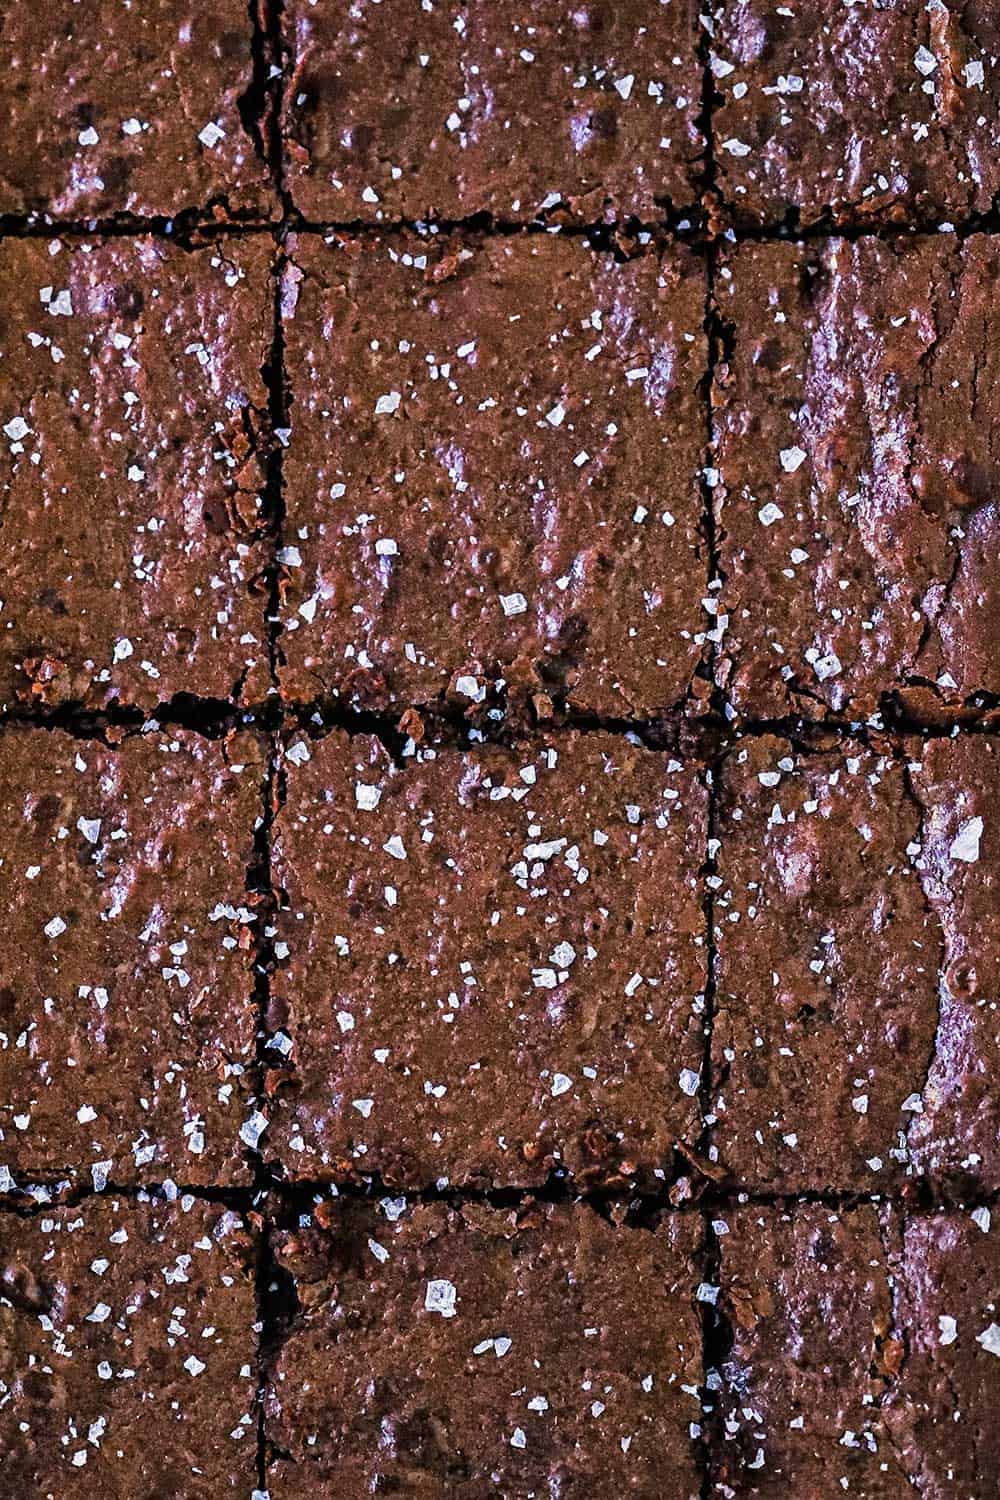
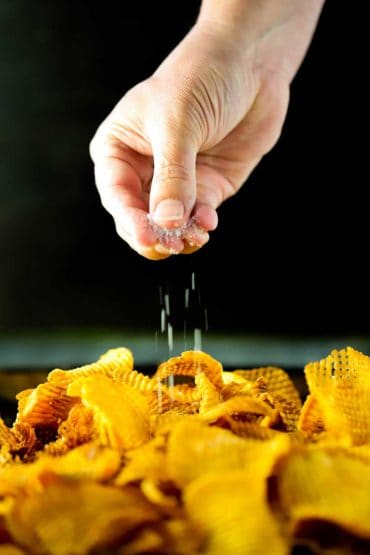
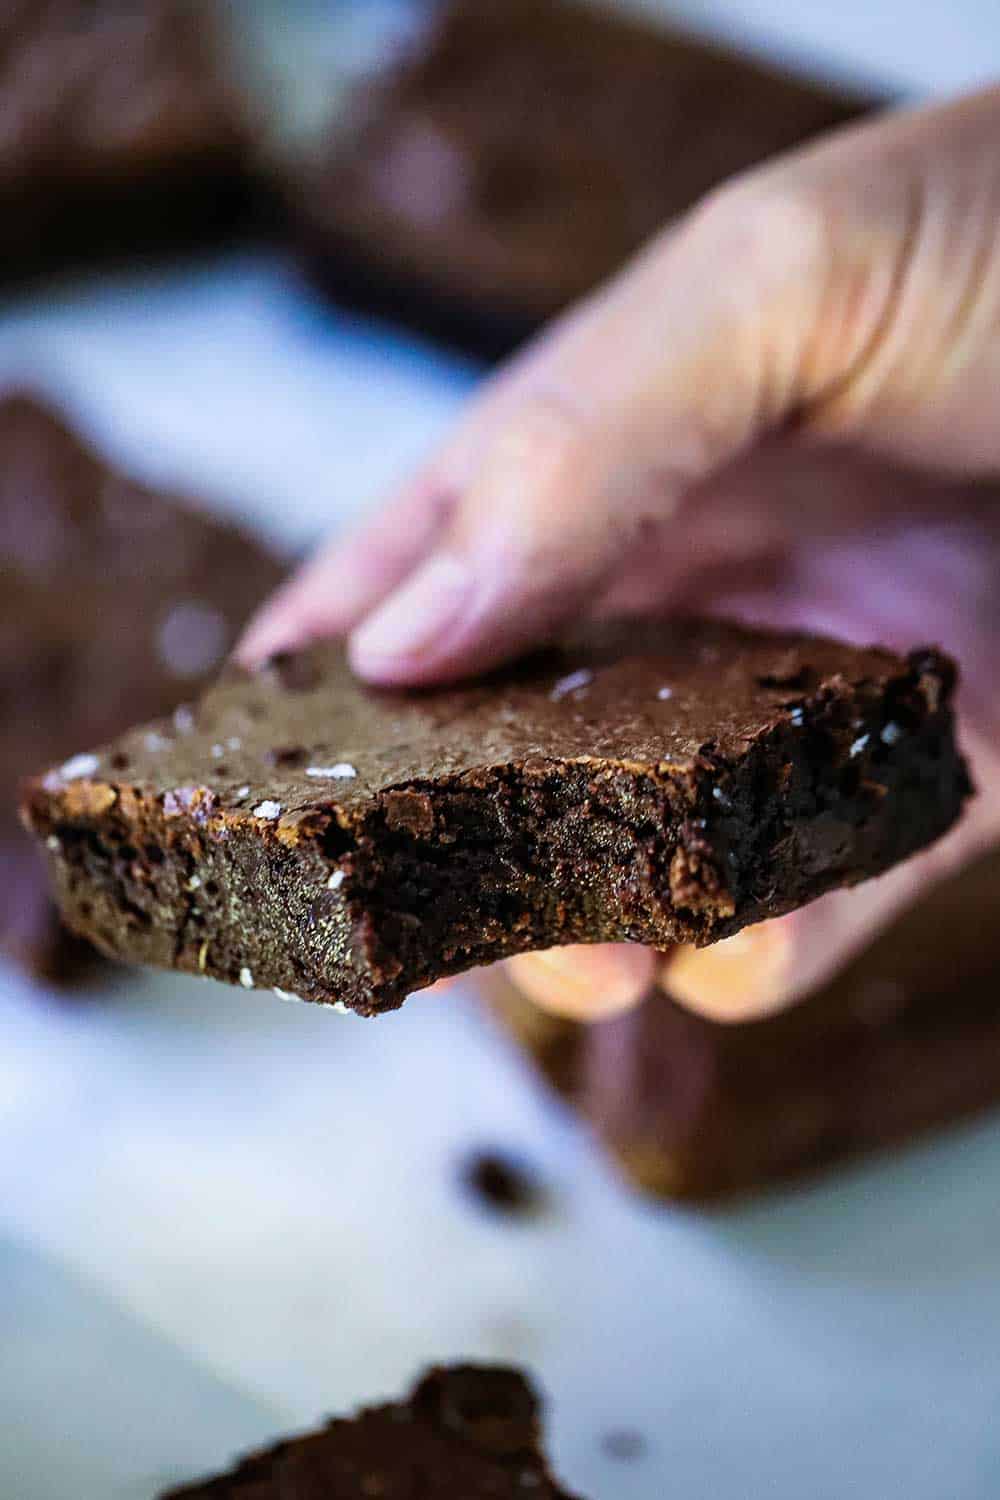
Coarse Sea Salt Deepens the Flavor Profile
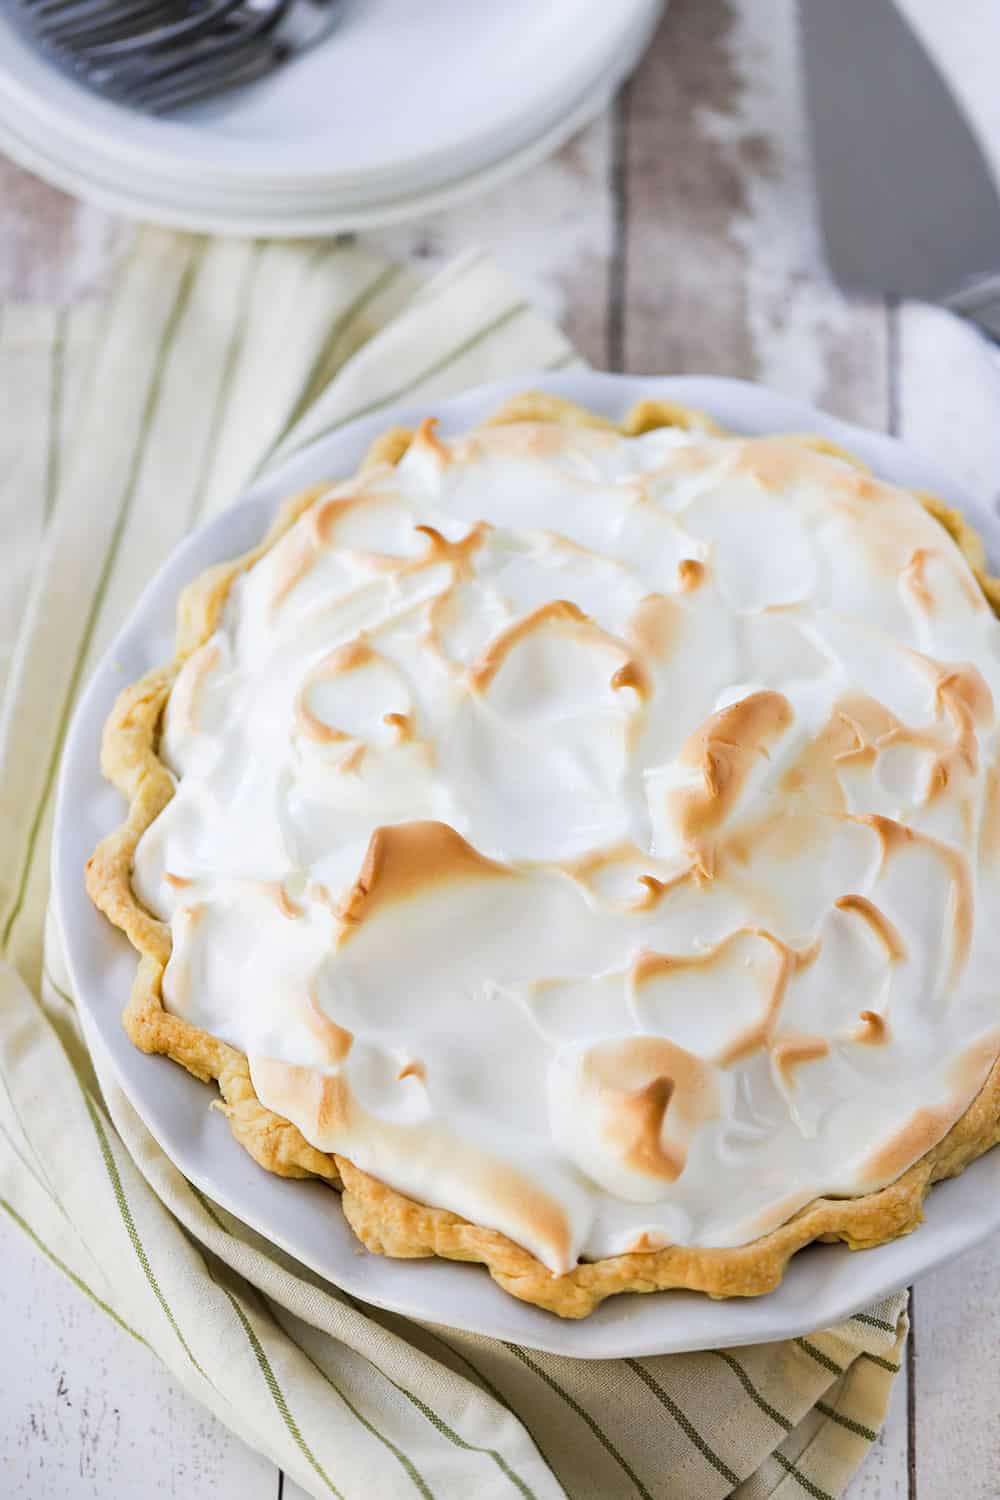
After the brownies are done baking, we love to sprinkle coarse sea salt over the tops.
This is optional, and a matter of taste, but we think the hint of salt against the richness of the brownie elevates the taste even more.
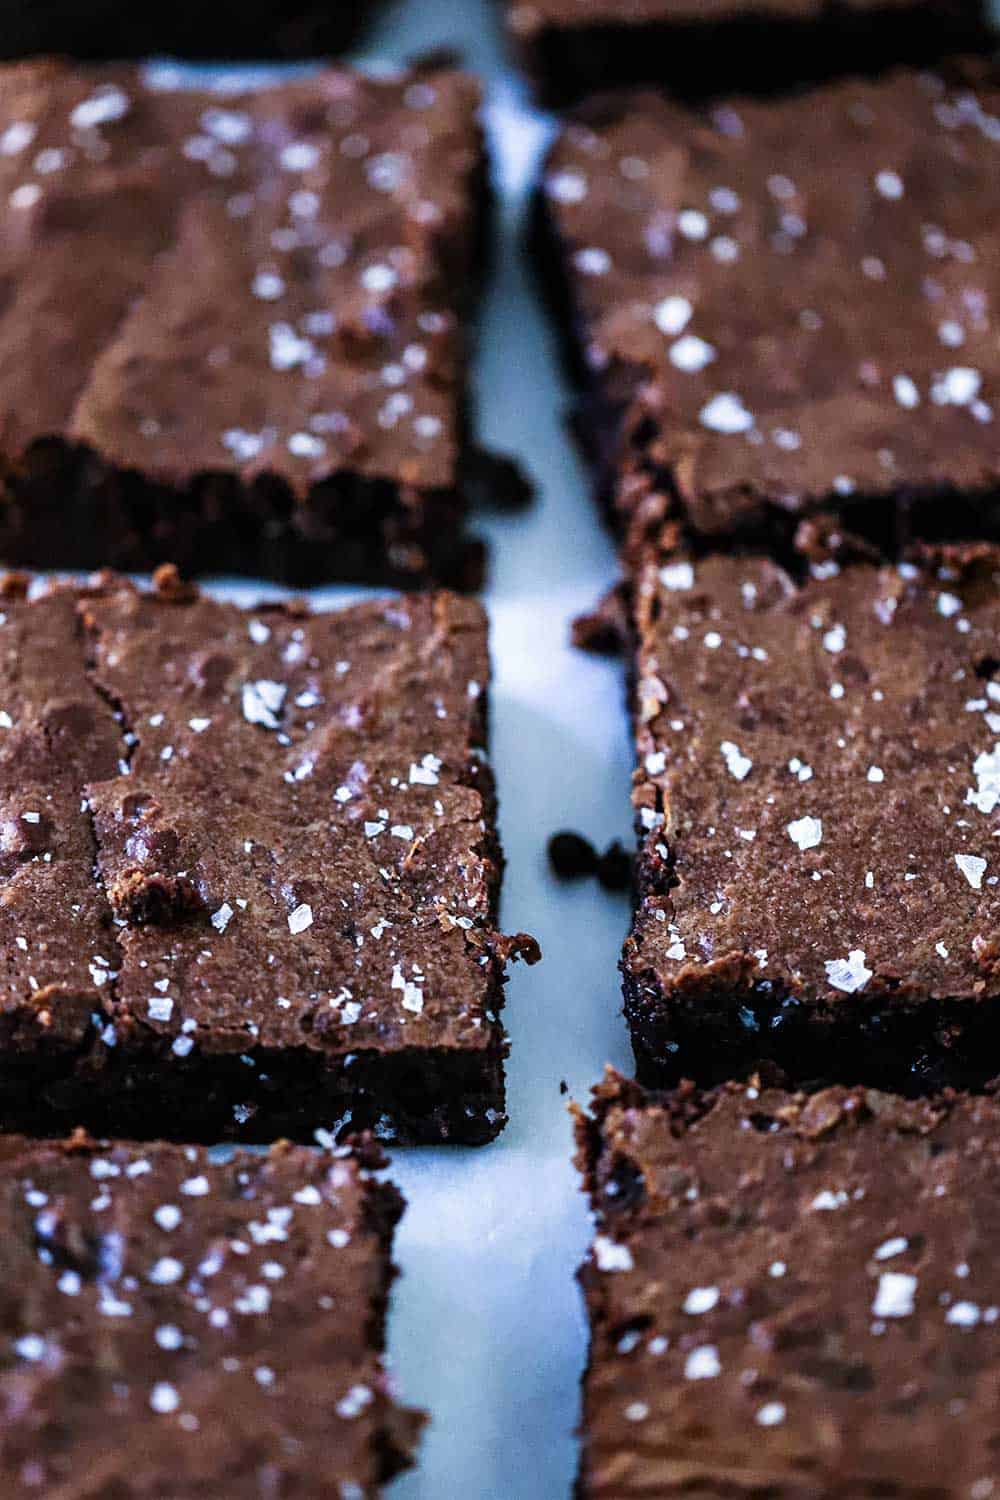
This really is the ultimate fudge brownie recipe.
Other fudge and brownie recipes you will also enjoy are our:
Snickerdoodle Fudge
Heath Bar Fudge Brownies
Chocolate and Cheesecake Brownies
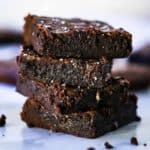
But, once you and your family take the first bite of these babies, get ready for an unforgettable chocolate experience.
Rich, gooey, chocolaty, and undeniable yumminess.
Mmmmm…wanna bite?
Ready to make the most delicious chocolate treat in town? Go for it!
And when you do, be sure to take a photo of it, post it on Instagram, and tag @HowToFeedaLoon and hashtag #HowToFeedaLoon!
Ultimate Fudge Brownies
Equipment
- 9"x 13" baking dish, parchment paper
Ingredients
- Cooking spray
- 12 oz semi-sweet chocolate divided (10 oz. and 2 oz.)
- 16 tablespoon unsalted butter 2 sticks
- 1½ cups all-purpose flour
- ¼ cup unsweetened cocoa powder we use Hershey's
- 1 teaspoon Kosher salt
- 1½ cups sugar
- ½ cup brown sugar dark
- 5 large eggs room temperature
- 2 teaspoon vanilla extract
- 1 tablespoon sea salt coarse, optional
Instructions
- Preheat the oven to 350 F.
- Spray 9" x 13" baking dish with cooking spray. Line with parchment paper, leaving some overhang on the ends of the dish.
- In a large microwave-safe bowl, add the butter and 10 oz. of the chocolate. Microwave on HIGH in 1-minute intervals until melted.
- Meanwhile, in a separate medium-sized bowl, mix together the flour, cocoa powder, and salt. Set aside.
- Stir in the sugar and brown sugar into the melted chocolate/butter mixture. Stir until sugars have dissolved.
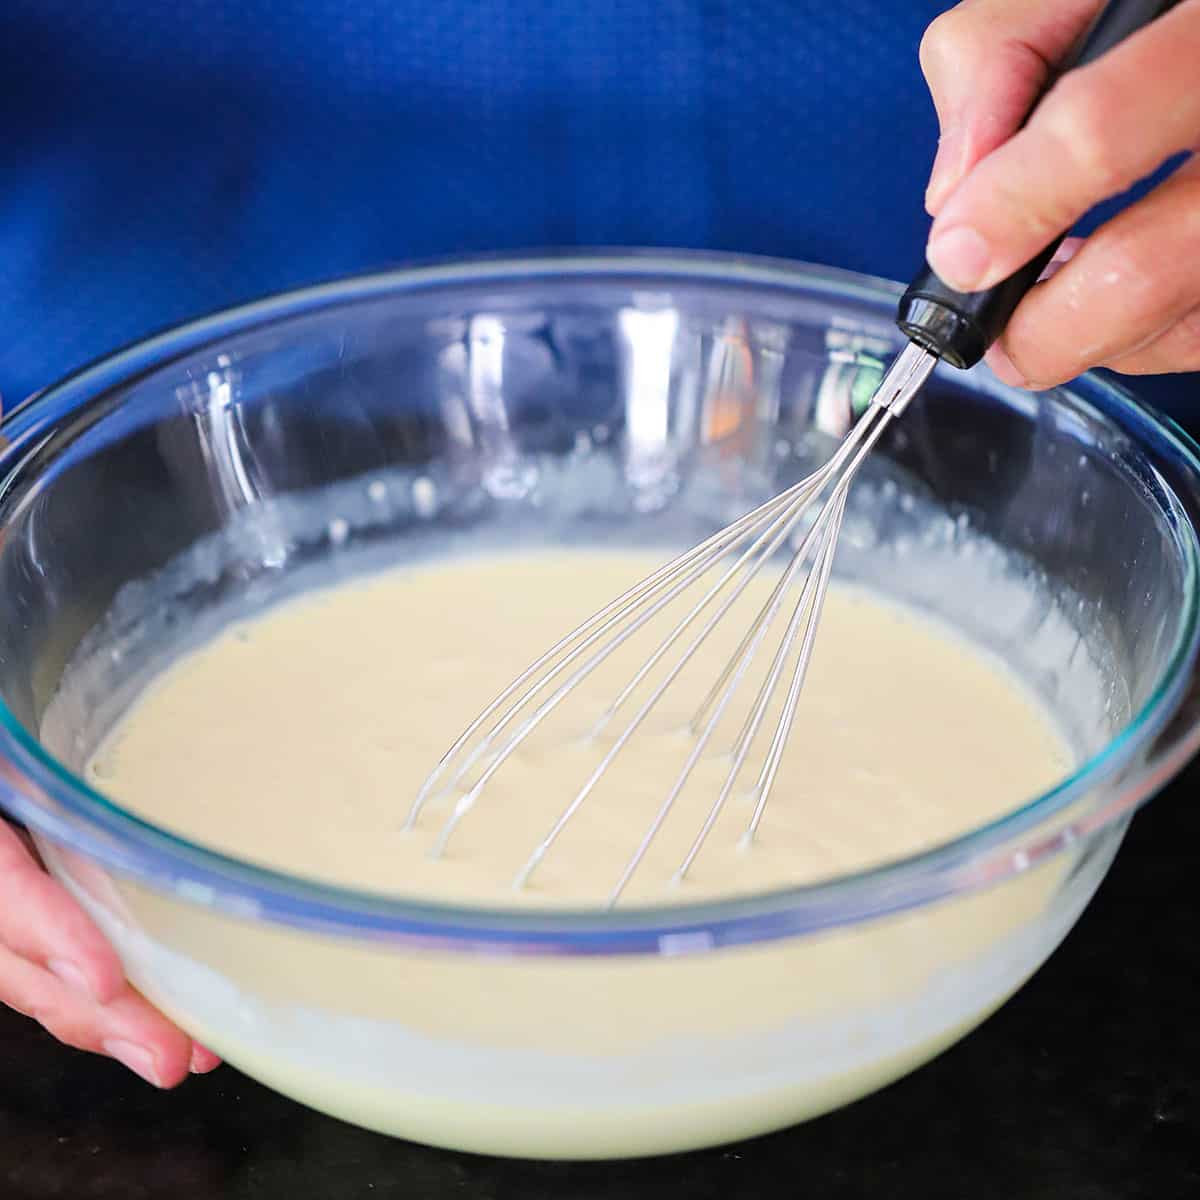
- Add the eggs, one at a time, whisking until fully incorporated. Stir in the vanilla.
- Stir in the flour/cocoa mixture, stirring continuously until completely blended.
- Chop the remaining 2 oz. of chocolate with a large knife, or food processor. Stir into the batter.
- Pour the batter into the prepared dish and bake for 30 minutes, or until an inserted toothpick comes out dry (a little wetness is okay). Transfer to a wire rack and let cool. Sprinkle coarse sea salt over the top, if using.
- Use your hands to carefully use the overhanging parchment paper to lift the brownies of the dish onto a cutting board.
- Cut the brownies into 12 bars.
Video
Notes
Nutrition
POST UPDATE: The recipe was originally published in February 2015, but was updated with improved tweaks to the recipe with new tips and photography, and a fabulous new video in August 2020!