If you love Classic Buffalo Wings as much as we do, but you’re looking for a healthier version…boy, oh boy, have you come to the right place.
We have a firm belief here at How To Feed a Loon: If we’re going to prepare something to eat, the #1 priority is it has to be delicious! Just because a dish is healthy, that does NOT mean you have to compromise on taste! This delectable appetizer hits it out of the park in flavor and keeps you feeling fit! And it’s so easy!
VIDEO ALERT: Be sure to check out the video for this recipe in the recipe card. If you like the video, subscribe to our YouTube Channel!

How To Make Buffalo Cauliflower Bites
This amazing appetizer is actually what they call in the entertainment field a “triple threat.”
1: It’s delicious. 2: It’s healthy. And 3: It’s one of the easiest dishes we have on the blog!
Also, did we mention that besides their amazing taste, these gems are also healthy? And we mean REALLY healthy. Cauliflower is one of the healthiest vegetables on the planet! Read more here!
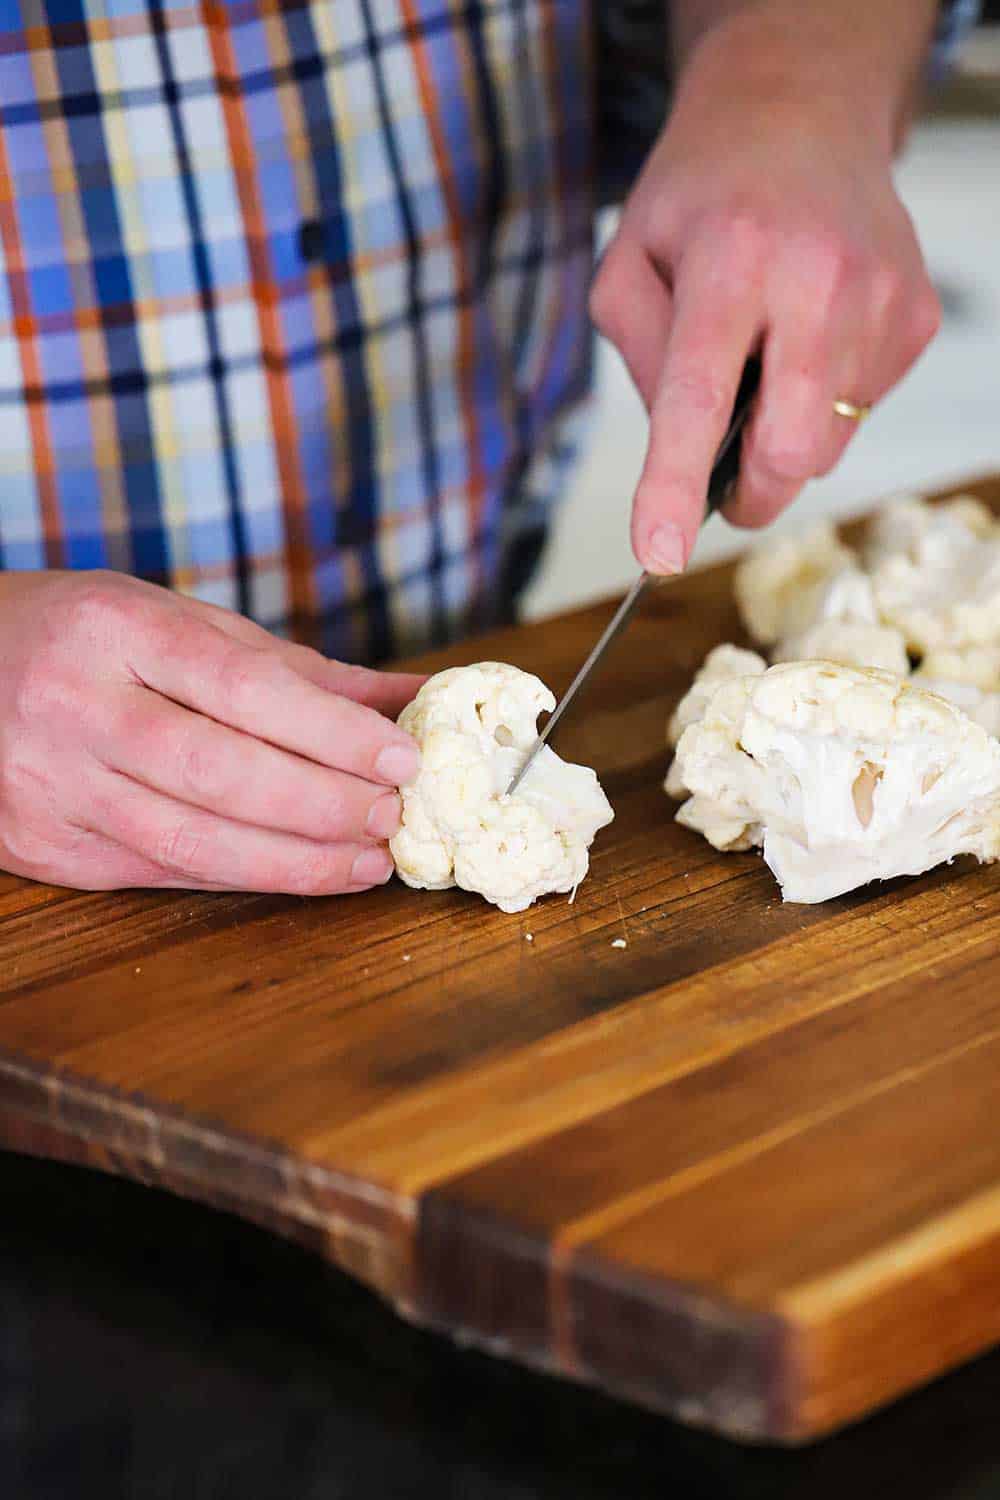
How To Cut Up a Head of Cauliflower
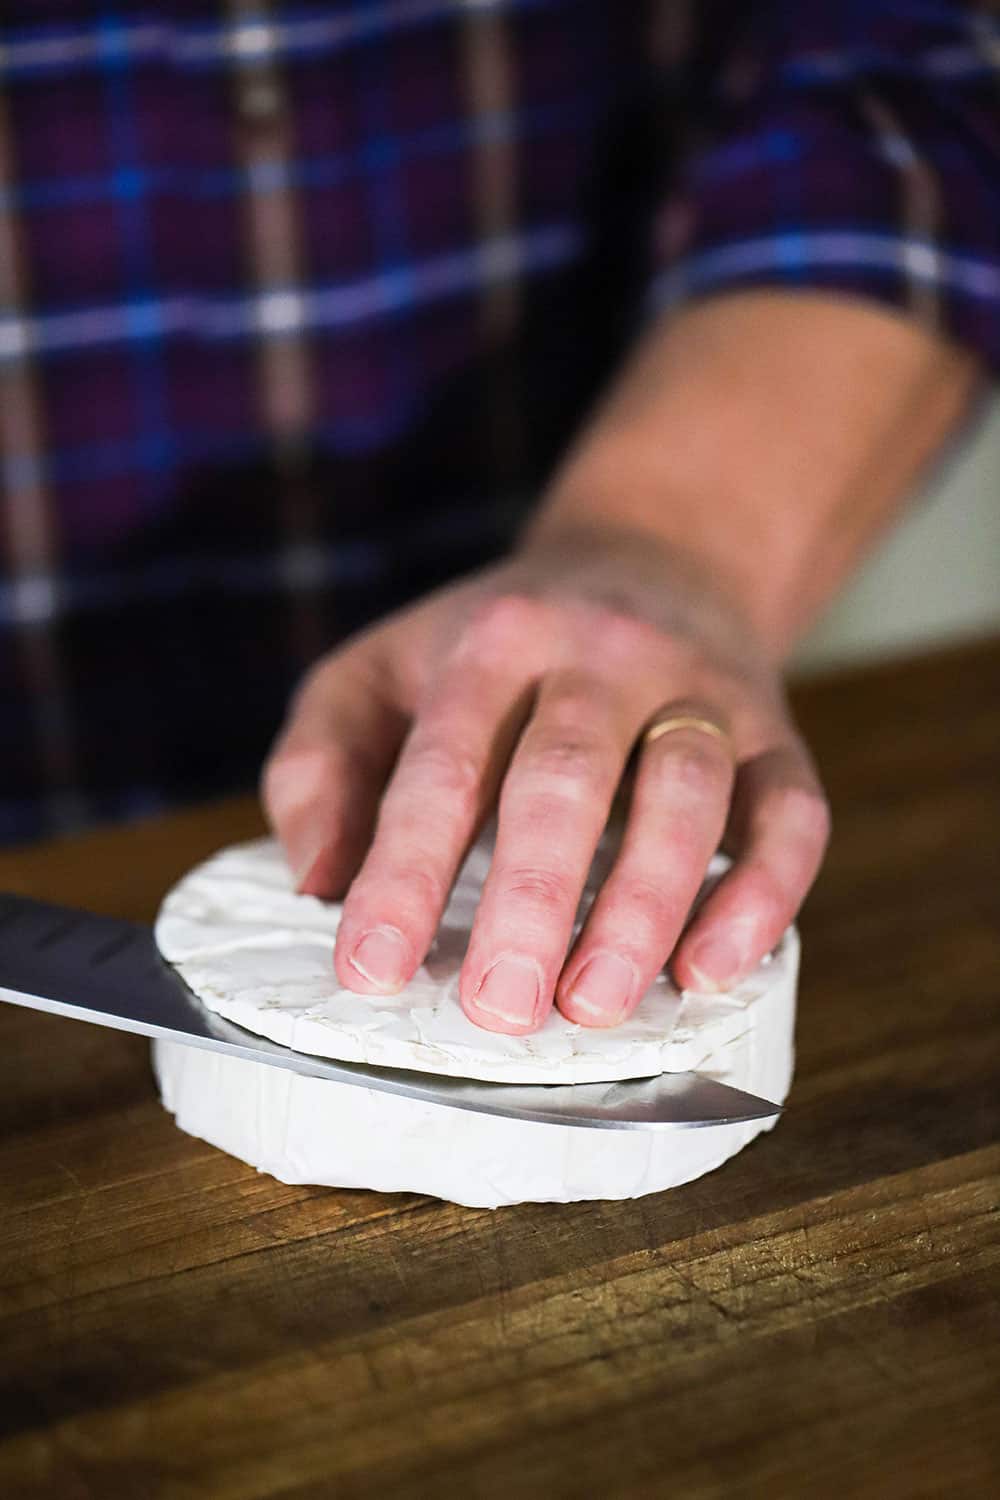
Cutting up a head of cauliflower is not difficult, but does require a decent sharp knife, a steady hand, and a little patience.
Simply first cutaway any extra leaves that might still be attached to the core. Then, very carefully, start cutting out the core of the cauliflower.
EXPERT TIP: It is extremely important to always keep the sharp edge of the knife facing AWAY from your hands. Don’t feel the need to cut the core in its entirety on the first or even 2nd cut. Cut one small layer out, and then another, and then another, until most of the core is removed. Alternatively, you can often find pre-cut cauliflower packaged in the produce section of many supermarkets. Thawed frozen cauliflower can be used, too, however, it will be extremely soft and not retain its shape as well after roasting.
NOTE: Resist the urge to cut the florets too small. Once they have roasted, they will become tender and if too small (especially without much of a stem), the florets will be so tender they will be difficult to grab with a fork when ready to eat them.
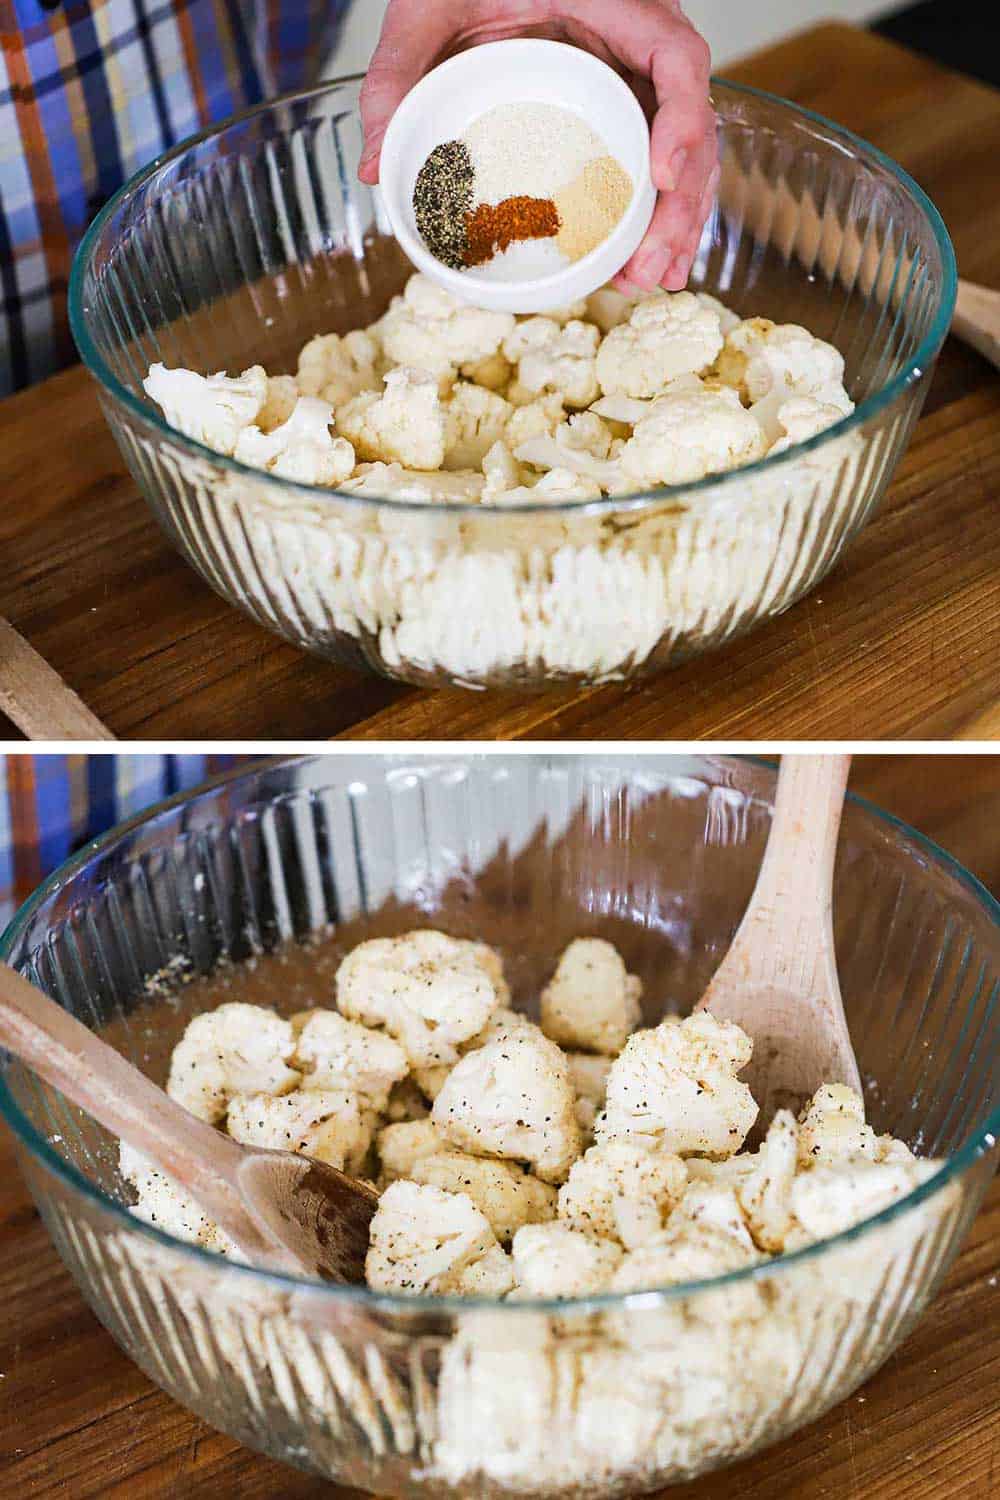
Now, it’s time to season the cauliflower.
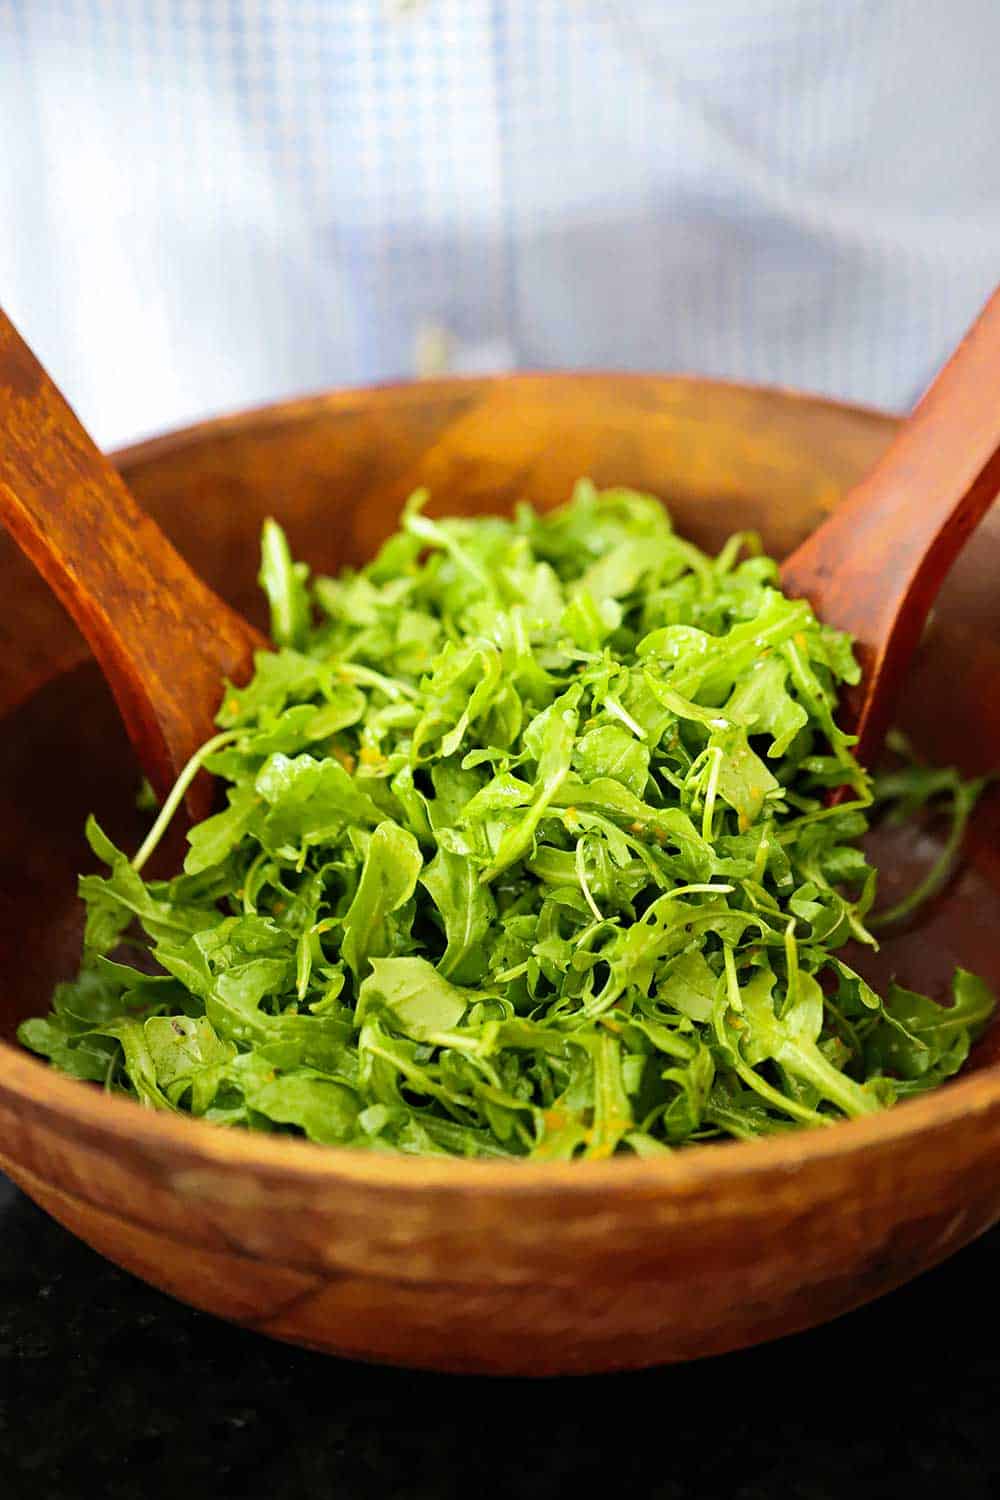
We add the florets to a large bowl, throw in a couple of tablespoons of extra-virgin olive oil, and then toss to fully coat the cauliflower.
For the seasonings, we use a combination of onion powder (1 tsp), garlic powder (1 tsp), Kosher salt (1 tsp), and black pepper (½ tsp). Toss them into the bowl and use two wooden spoons to coat the florets.
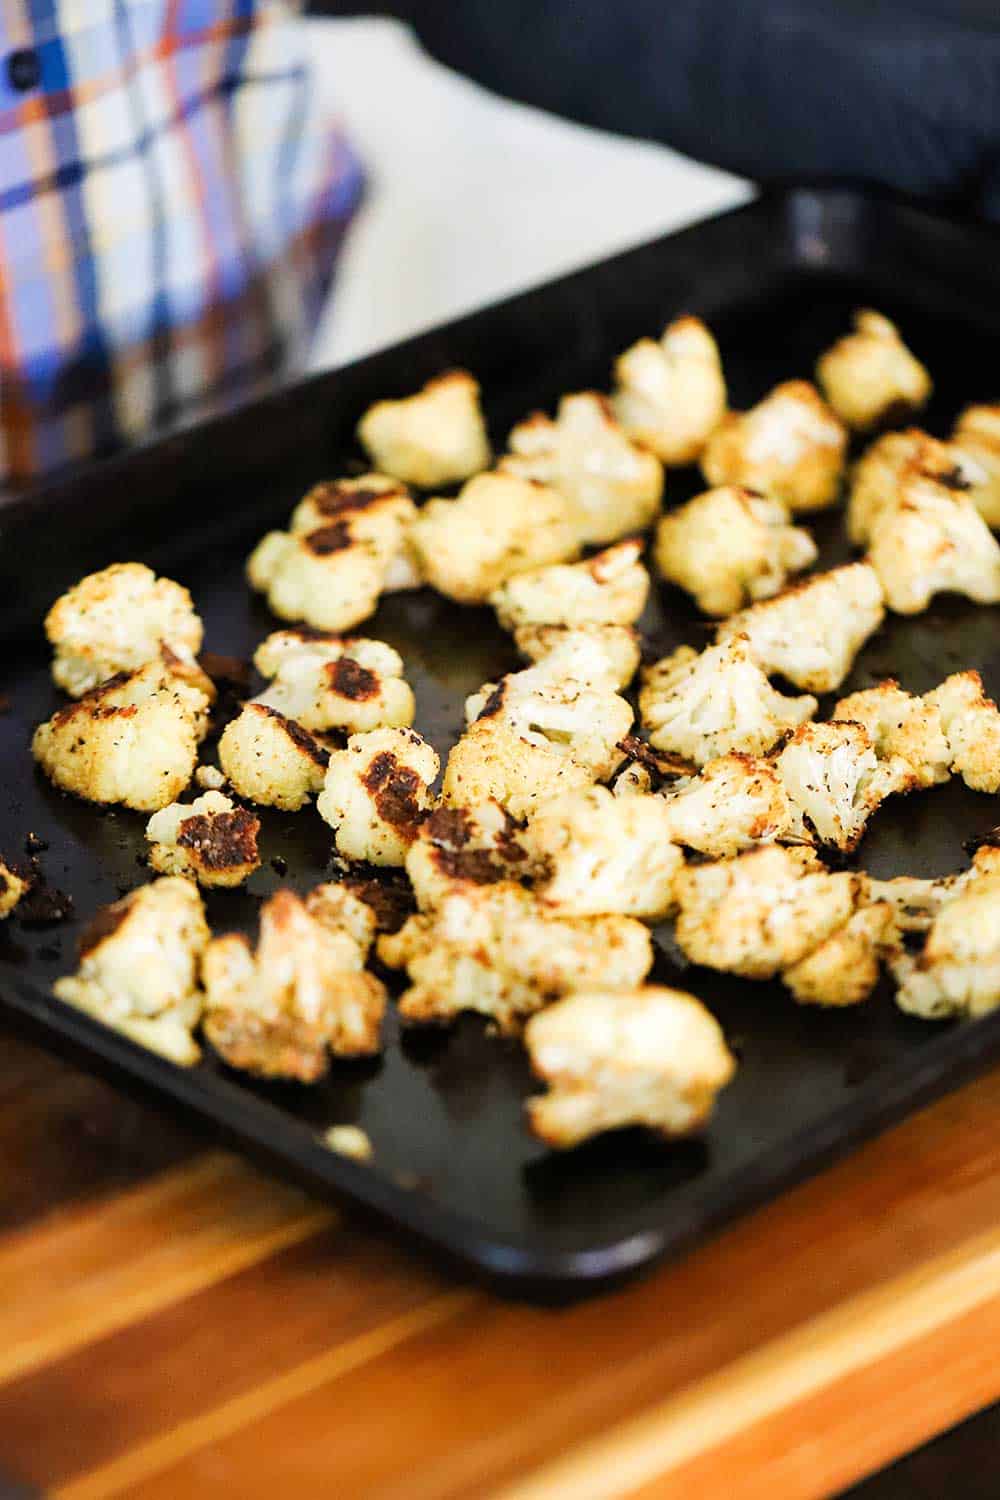
Simply transfer the seasoned cauliflower florets to a baking sheet and place them in a preheated oven set at 425°F.
Roast for 20 minutes, giving the florets a good scooching around about halfway through.
EXPERT TIP: You will notice that the cauliflower will char a little in certain parts. This is ideal and adds to that authentic buffalo taste.
Creating the Classic Buffalo Taste
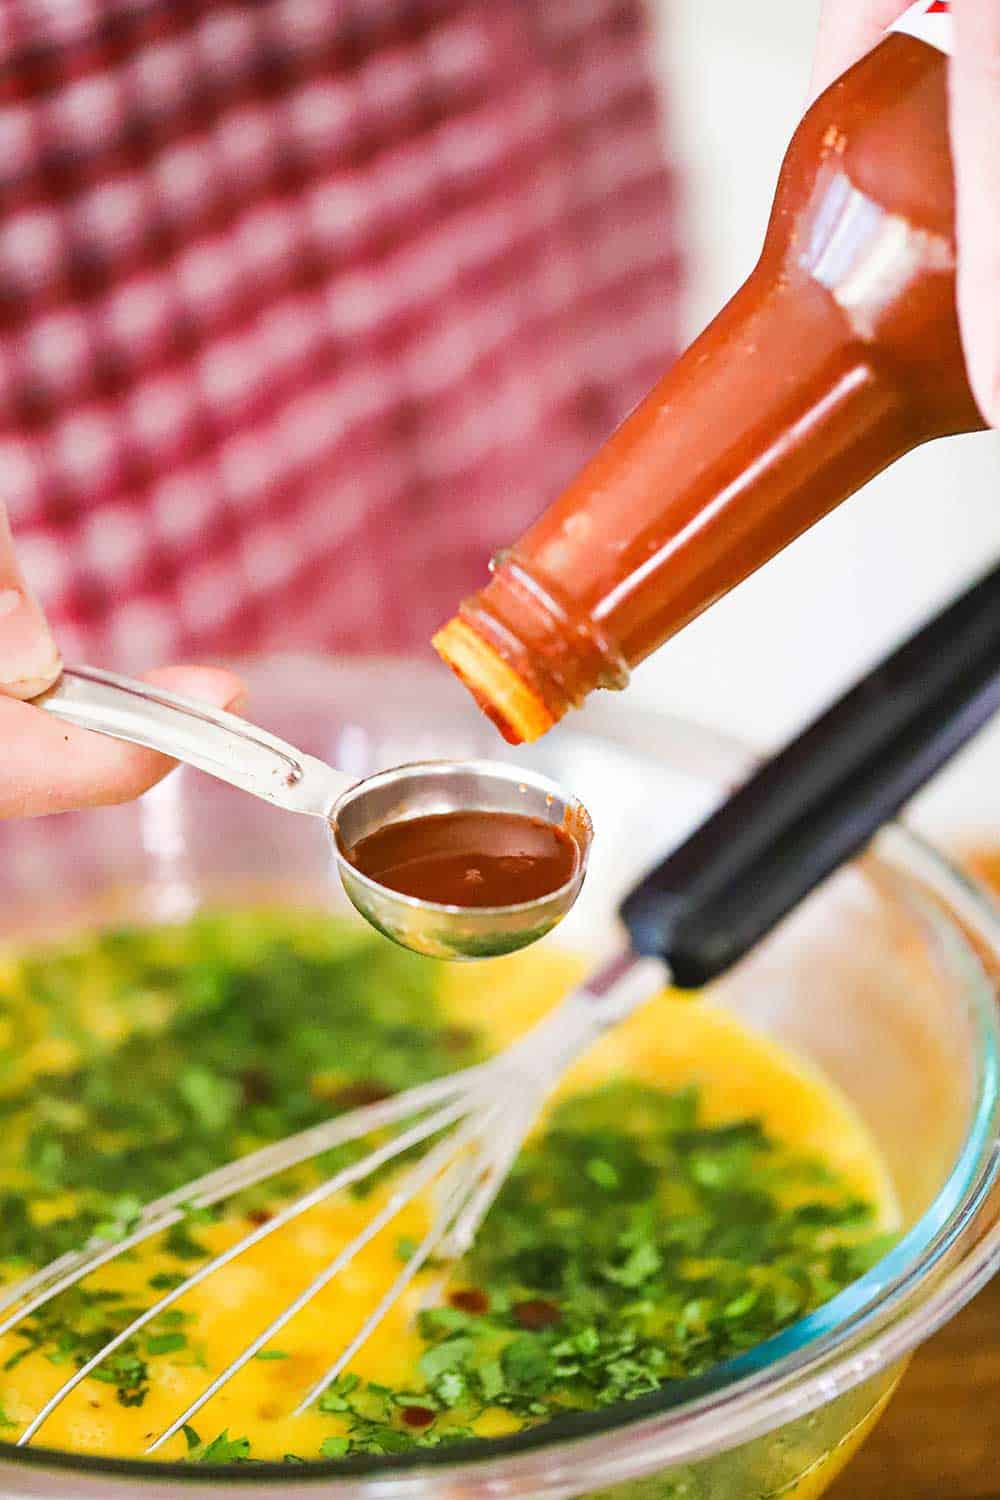
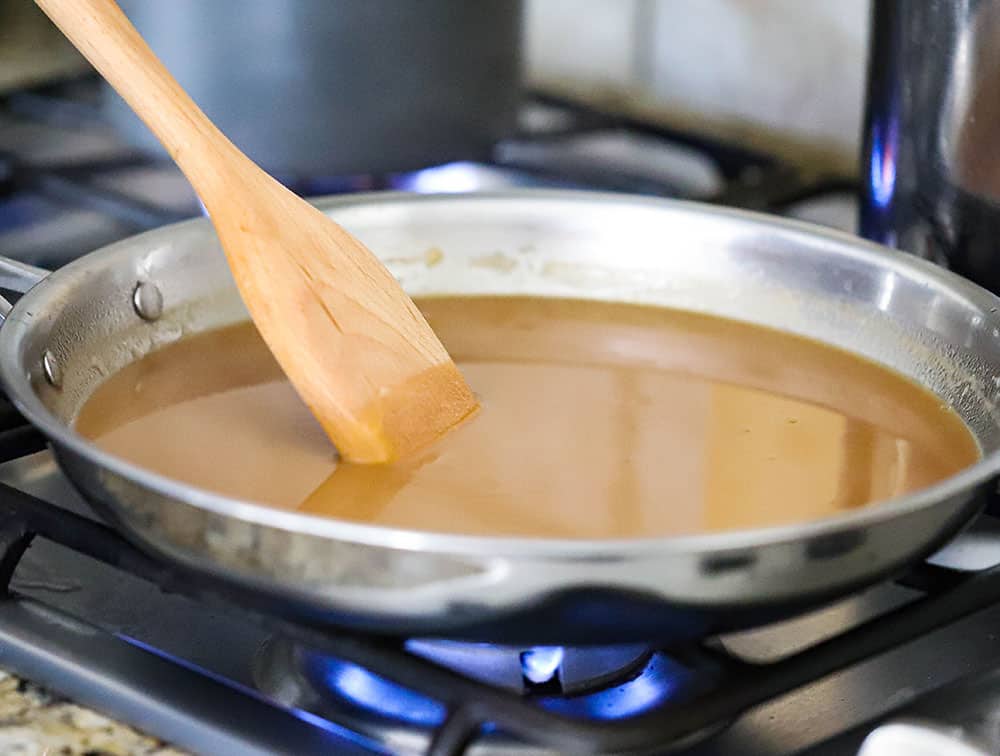
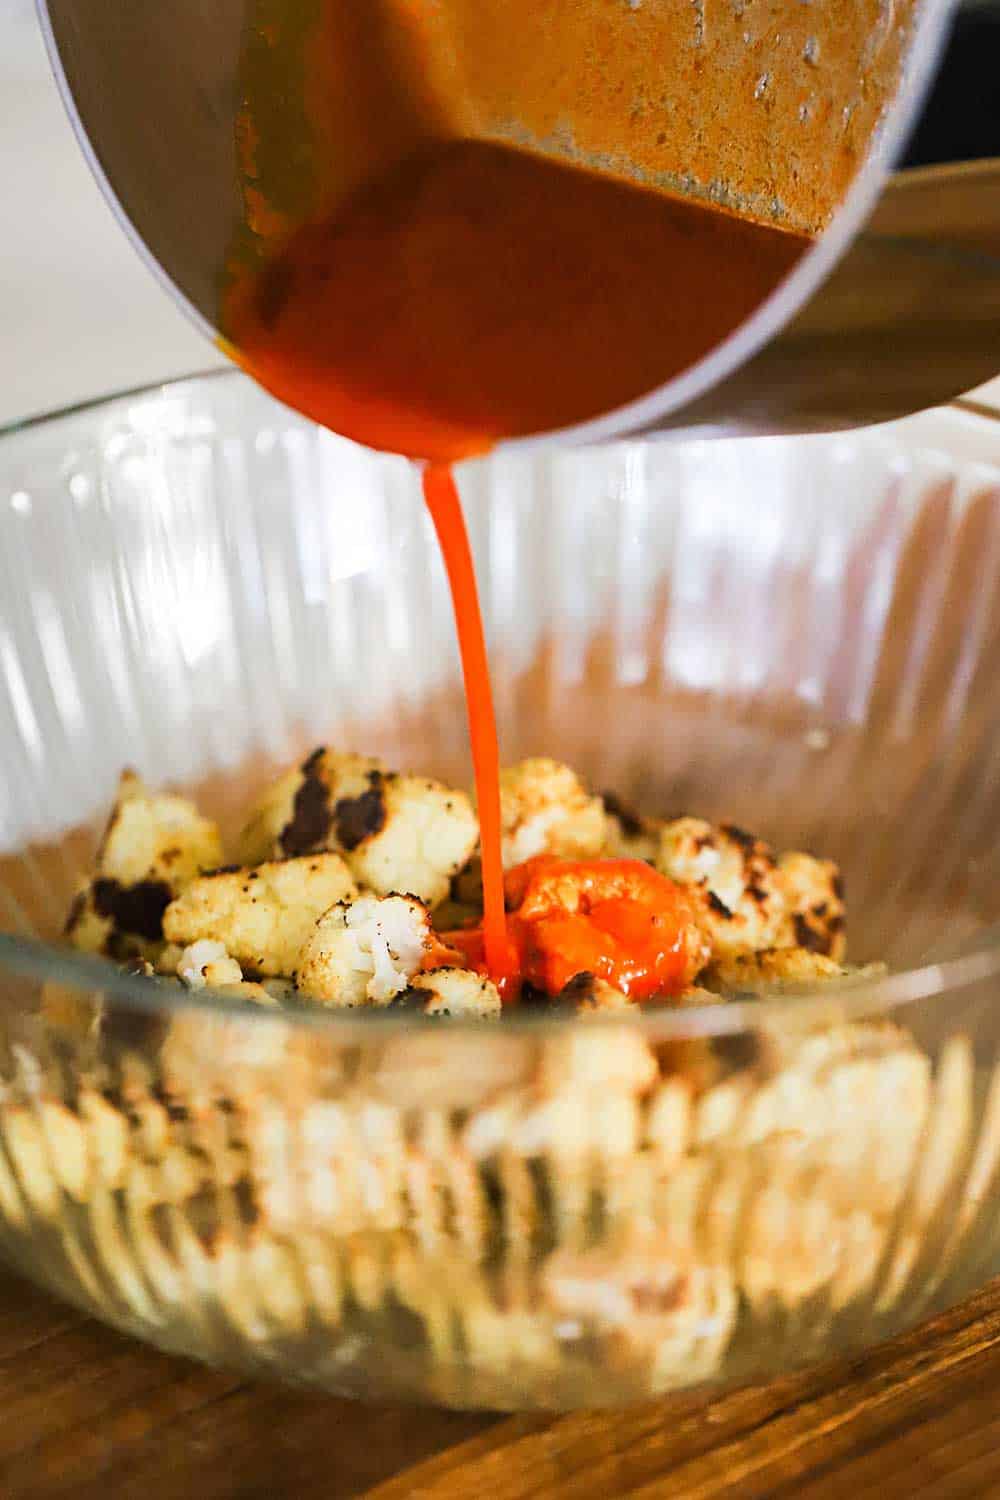
While the cauliflower is roasting, go ahead and whip up the buffalo sauce.
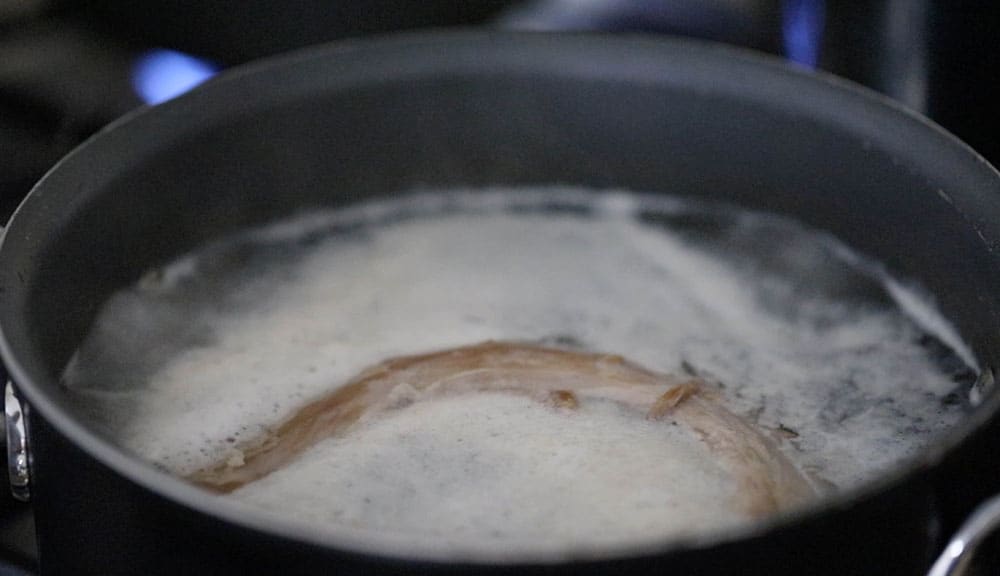
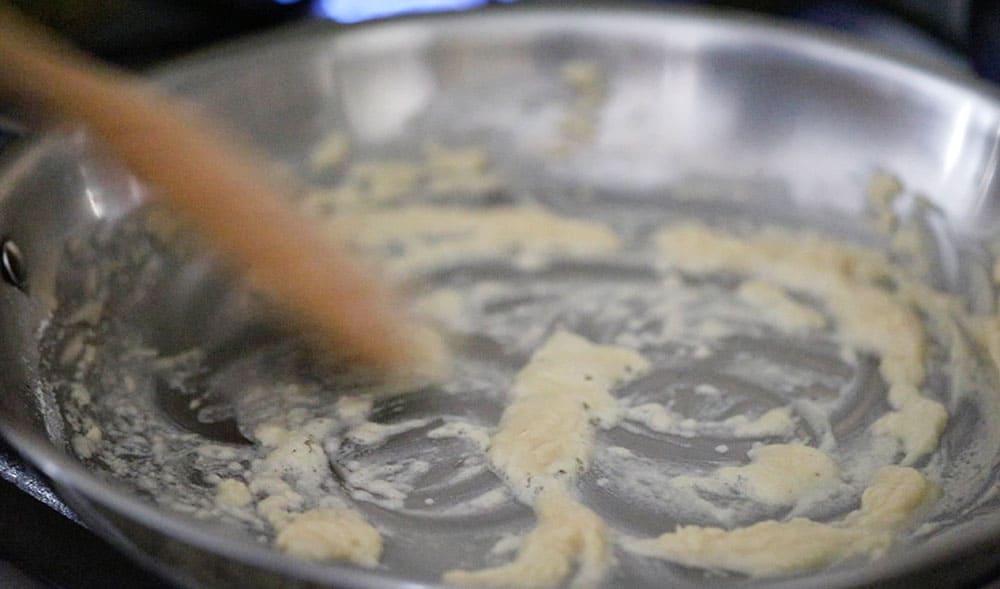
In a medium saucepan, heat a couple of tablespoons of unsalted butter over medium heat. Once melted, add in the hot sauce (we love Franks) and 1 teaspoon of garlic powder. Bring to a simmer.
EXPERT TIP: There are lots of great options for delicious vegan butter available in the dairy section of most supermarkets nowadays. To keep this super low cal and low fat, go vegan!
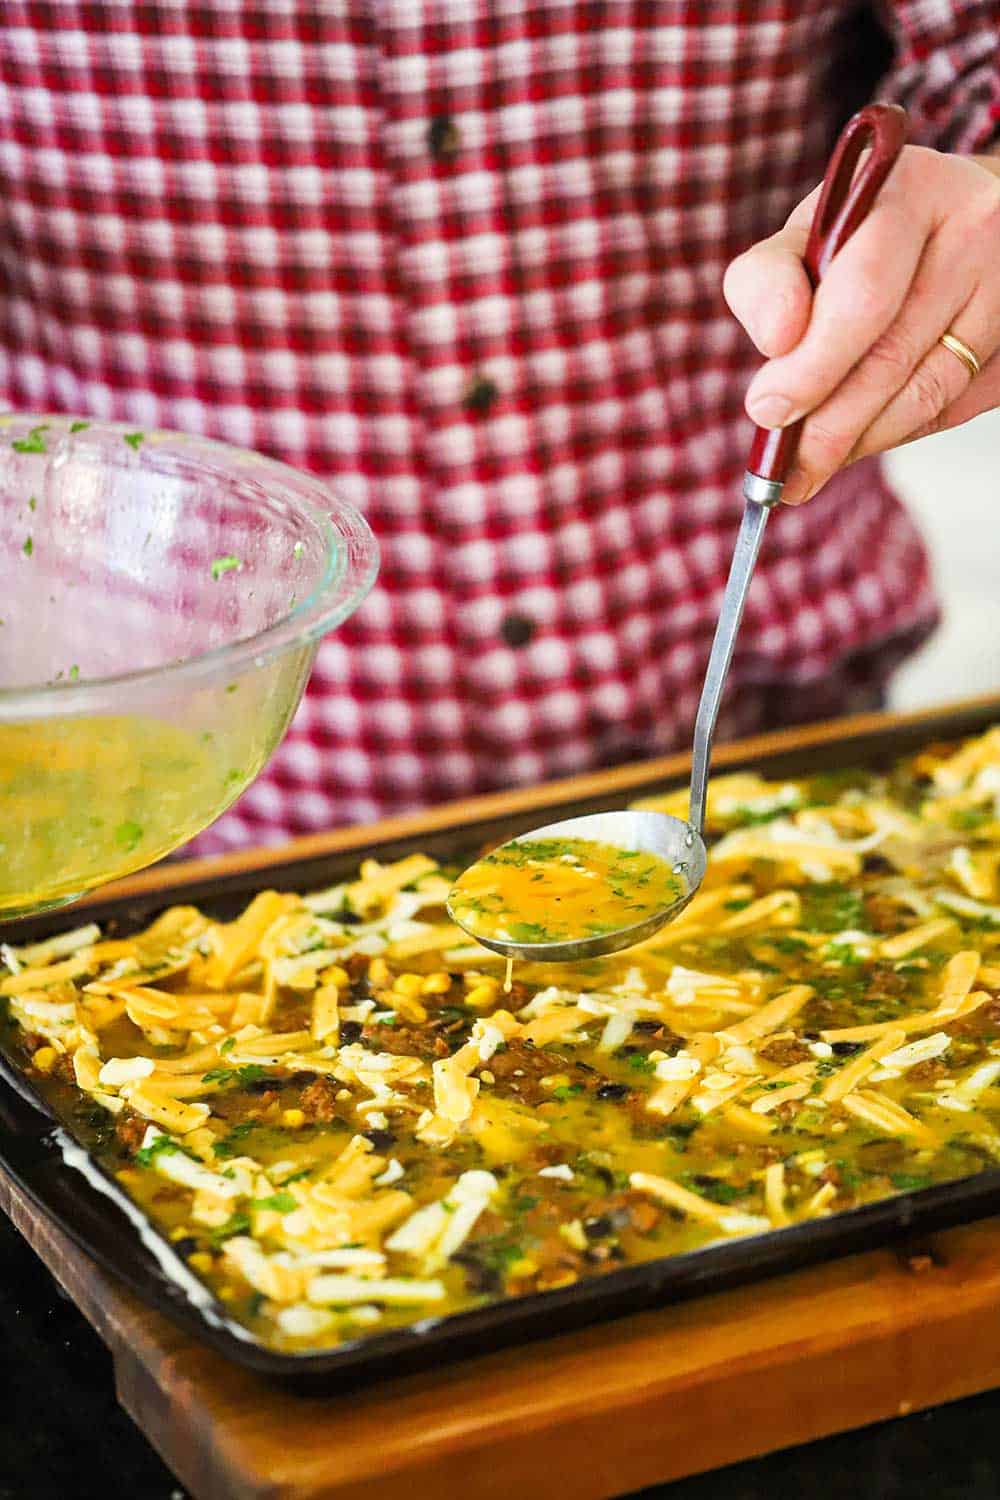
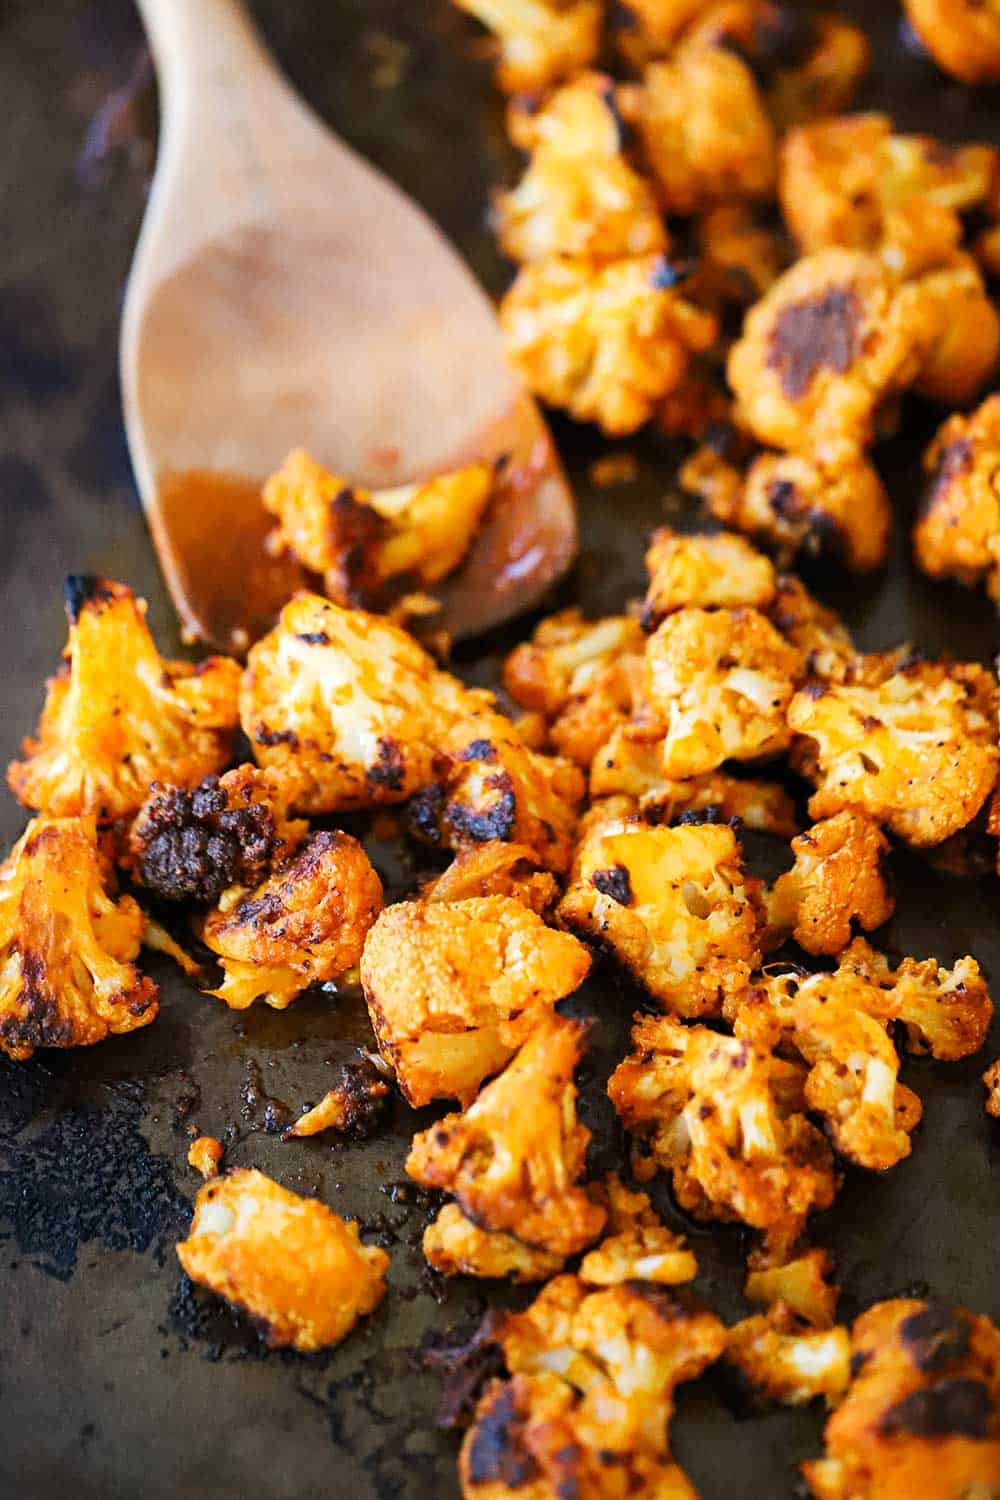
To allow the buffalo sauce to really absorb into the roasted cauliflower, place the coated florets back onto the baking sheet and set our broiler on HIGH.
We set our rack to the 2nd-to-top position and then broil for about 2 minutes or until sizzling and charred a little more on top.
EXPERT (AND SUPER IMPORTANT) TIP Keep an eye on the buffalo cauliflower bites once they are under the broiler. Most broilers vary from oven to oven, so you don’t want them to burn! Take a quick peek after about 1 minute. Typically, they take anywhere from 1 to 3 minutes to reach the desired doneness.
When to Serve Buffalo Cauliflower Bites
You’ll want to serve this amazing dish really anytime you’d love to serve good ole hot wings. They’re good for parties, but also a wonderful side dish for a weeknight meal!
Every time we serve them to guests, folks are a little skeptical at first, and then the dish is gone within a matter of no time at all.
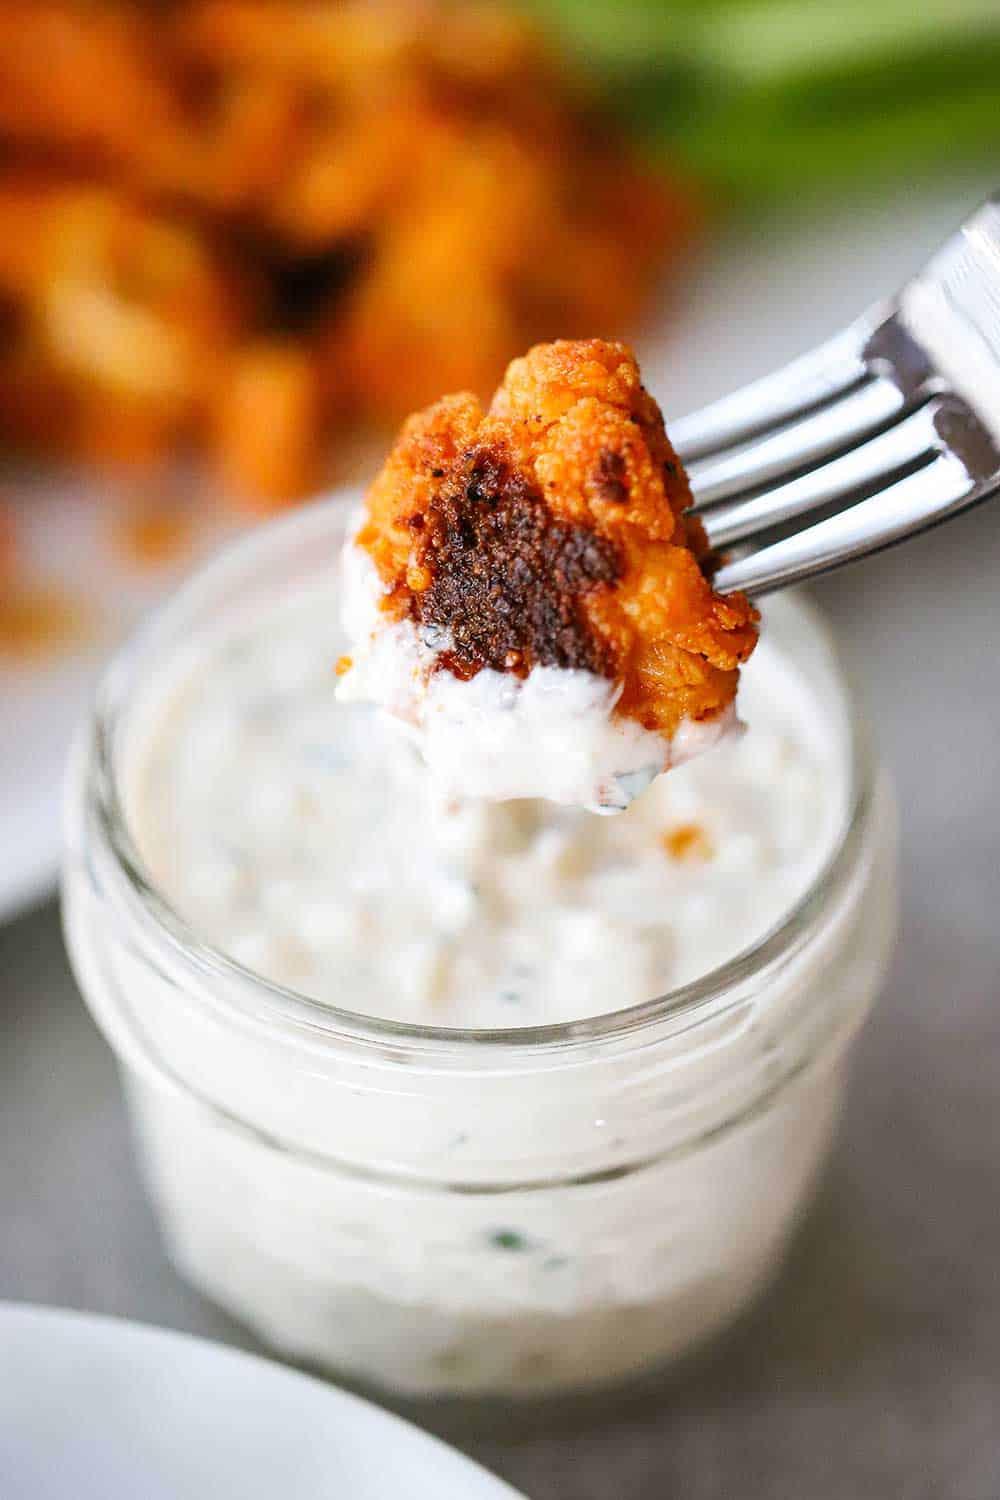
Of course, if you’re going to serve buffalo cauliflower bites, you should also serve them with some celery strips and our Homemade Blue Cheese Dressing!
Are you ready to make our triple threat of an appetizer? Delicious. Healthy. And SO EASY? Go for it!
And when you do, be sure to take a photo, post it on Instagram, and tag @HowToFeedaLoon and hashtag #HowToFeedaLoon!

Buffalo Cauliflower Bites
Ingredients
- 1 head cauliflower
- 2 teaspoon garlic powder divided
- 1 teaspoon onion powder
- 1 teaspoon Kosher salt
- 1 teaspoon freshly ground pepper
- 1 ¼ tsp cayenne pepper
- 2 tablespoon extra-virgin olive oil
- 3 tablespoon unsalted butter or vegan butter
- 1 cup hot sauce we love Franks!
- Celery stalks for serving
- Blue cheese dressing for serving
Instructions
- Pre-heat oven to 450°F.
- Core the cauliflower and cut it into large bite-size florets. Place the florets in a large bowl.
- In another small bowl, mix together the garlic powder (1 tsp), onion powder, salt, black pepper and cayenne pepper.
- Toss the oil with florets. Toss the seasonings with the florets.
- Arrange the florets on a baking dish and bake for 25 minutes, scooching the florets around about half-way through.
- While the florets are baking, melt the butter in a medium saucepan. Add the hot sauce and 1 teaspoon garlic powder and stir until fully incorporated.
- When the florets are done baking, remove them from the oven and return to the large bowl. Pour the sauce over the florets and toss to fully coat.
- Turn the oven onto broil (high).
- Place the coated florets back to the baking dish and place under broiler for 1 to 3 minutes (keep an eye on them...don't let burn!) until sizzling and slightly charred more on the top.
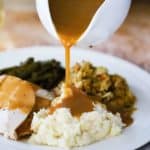
- Transfer to a serving platter at once along with celery sticks and homemade blue cheese dressing!
Video
Notes
Nutrition
POST UPDATE: This recipe was originally published in May 2014, but was updated with improved tweaks to the recipe with new tips and photography, and a fabulous new video in January 2020!