We love ordering classic sides from a great steakhouse almost as we love ordering a good steak.
It would be hard to choose our favorite steakhouse side, but these babies would be very close to the top. We do love steakhouse garlic parm steak fries, mashed potatoes, creamed spinach, and onion rings. But folks, wait until you try these. And they come together in about 15 minutes!
If you like this video, please subscribe to our YouTube channel! And remember to click the little ‘bell’ icon so you’ll never miss a new video! Thanks very much!
How To Sauté Mushrooms
Sautéing mushrooms is one of the easiest culinary tasks you will ever take on.
We definitely recommend serving these fresh from the stove. Reheated sautéed mushrooms are tasty, but fresh is definitely best.
Did we mention how easy (and fun) these are to make?
Choosing the Right Mushroom
You can really use any type of edible mushroom for this amazing dish.
But to keep it simple, we’re using your basic white button mushroom. Inexpensive and easy to find.
EXPERT TIP: Button mushrooms from your local market are sometimes small, medium, large, or a combination of all sizes. We love to cook them whole, but if they are too large, they won’t cook evenly. For the larger mushrooms, simply halve them or quarter them before sautéing. Before cooking, just snap away the stem from the cap.

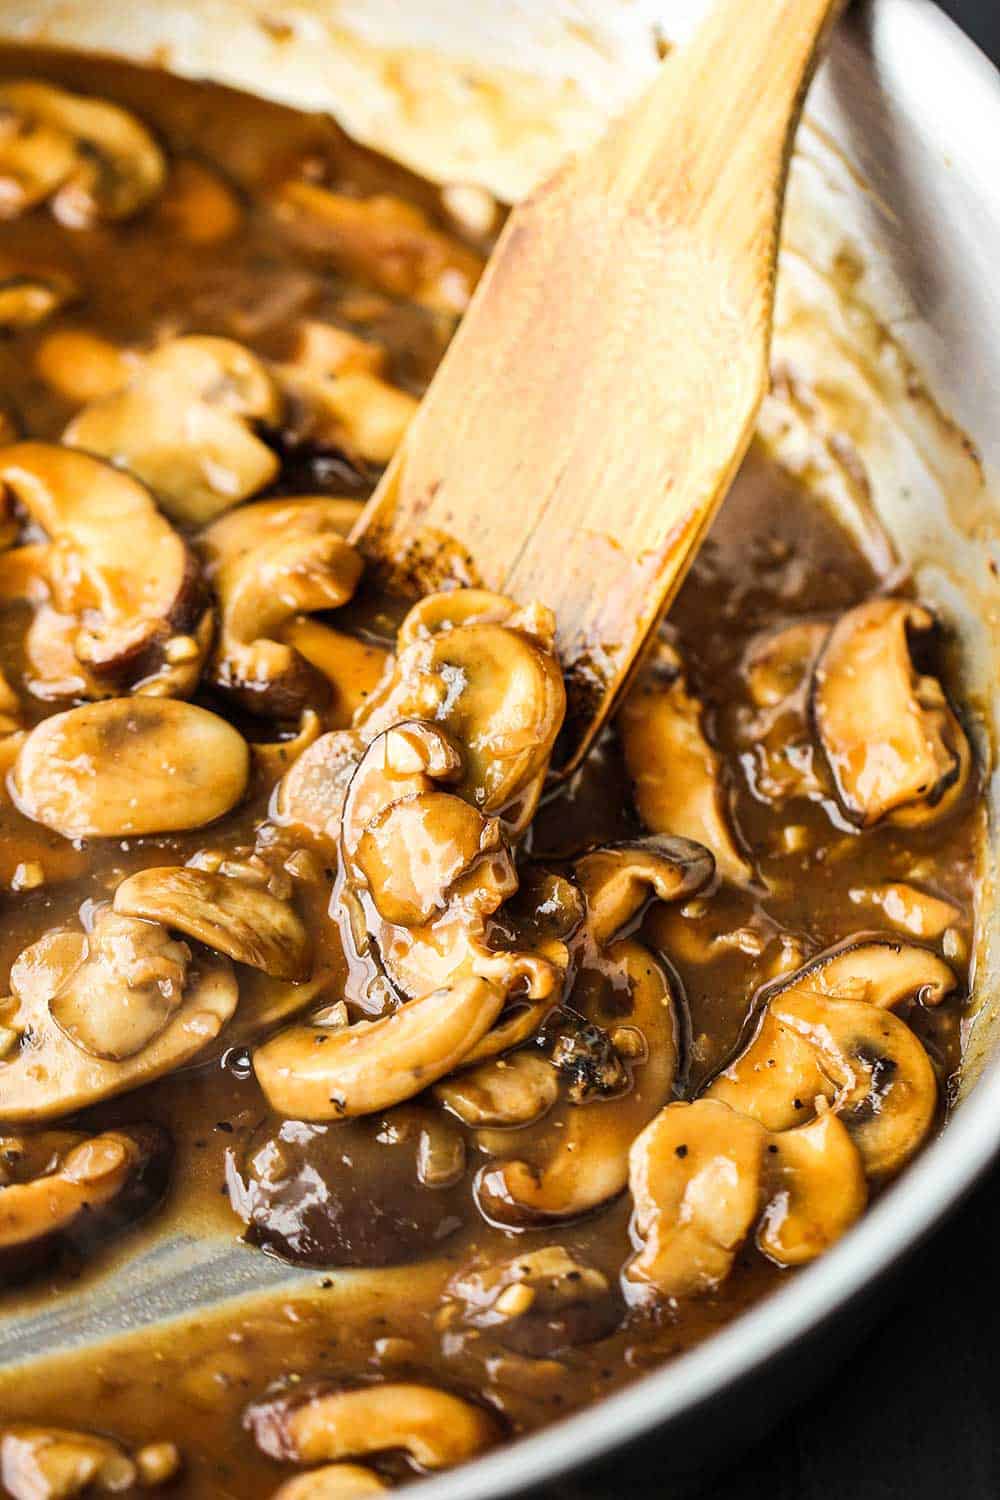
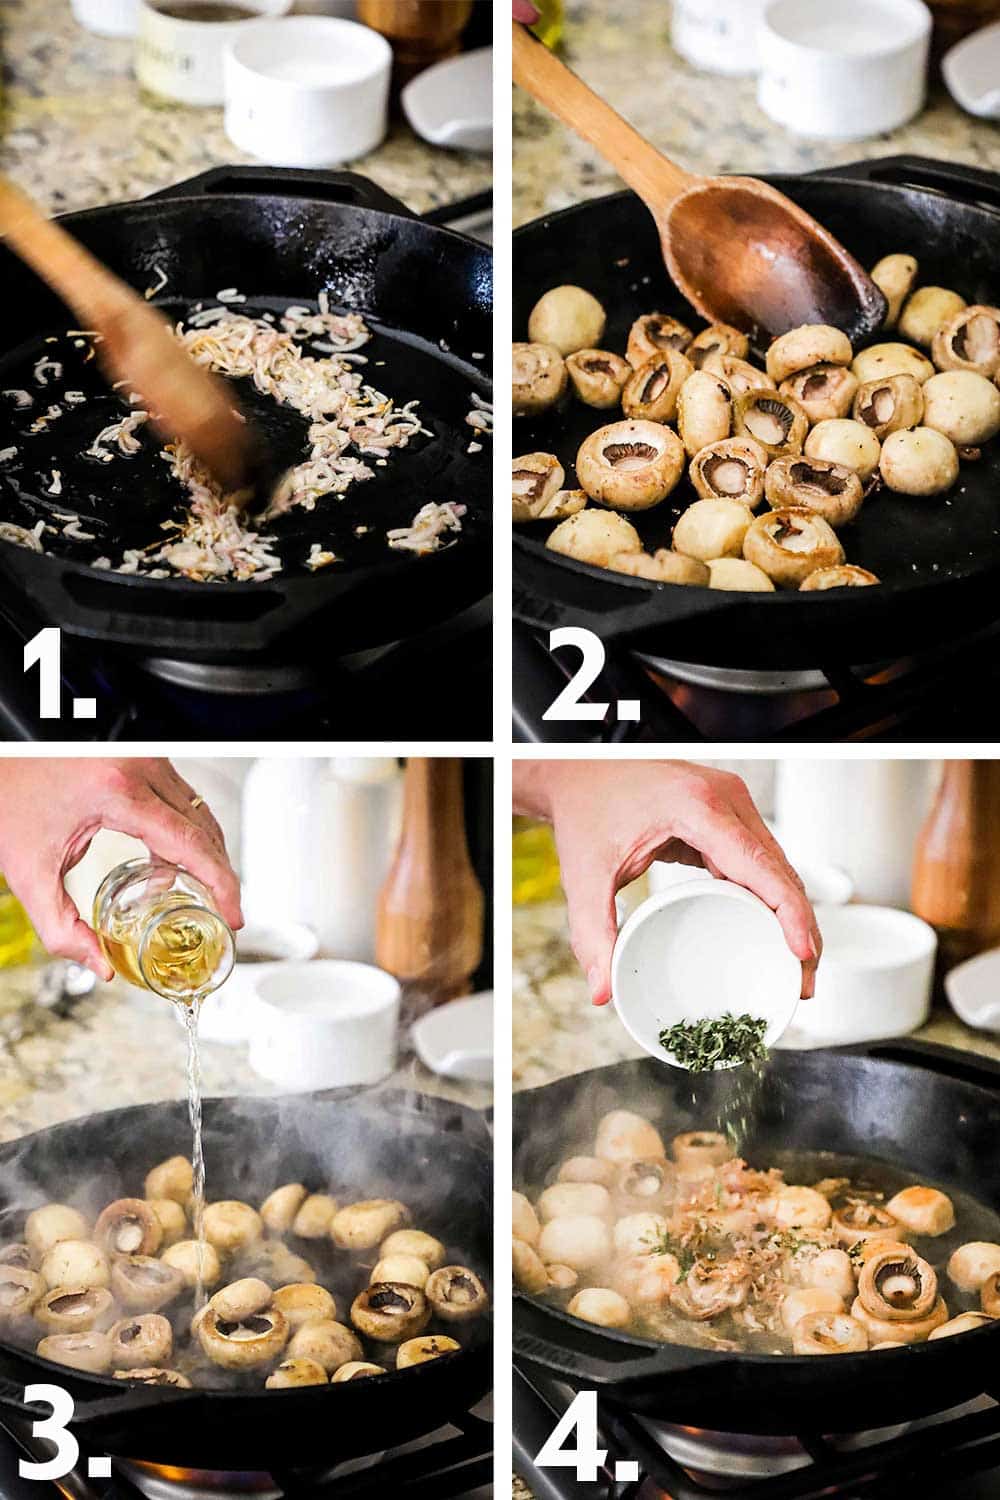
The addition of caramelized shallots seriously puts these mushrooms over the top. Once they are golden brown after about 5 minutes of cooking, remove them from the skillet.
Now, sauté the mushrooms until just soft and starting to release their liquid.
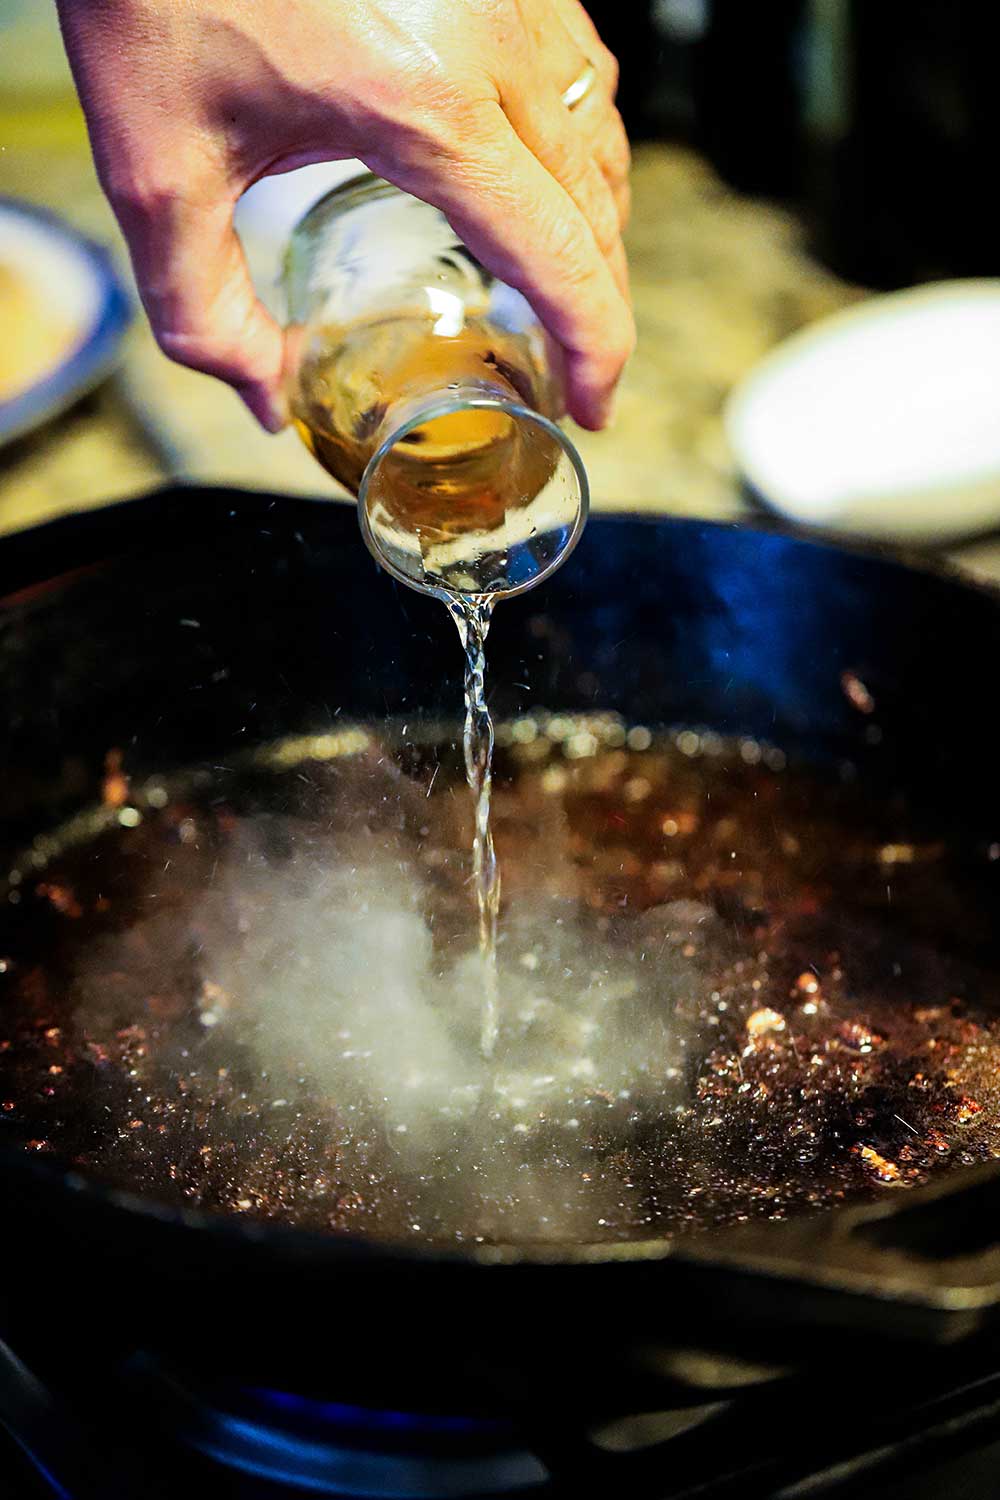
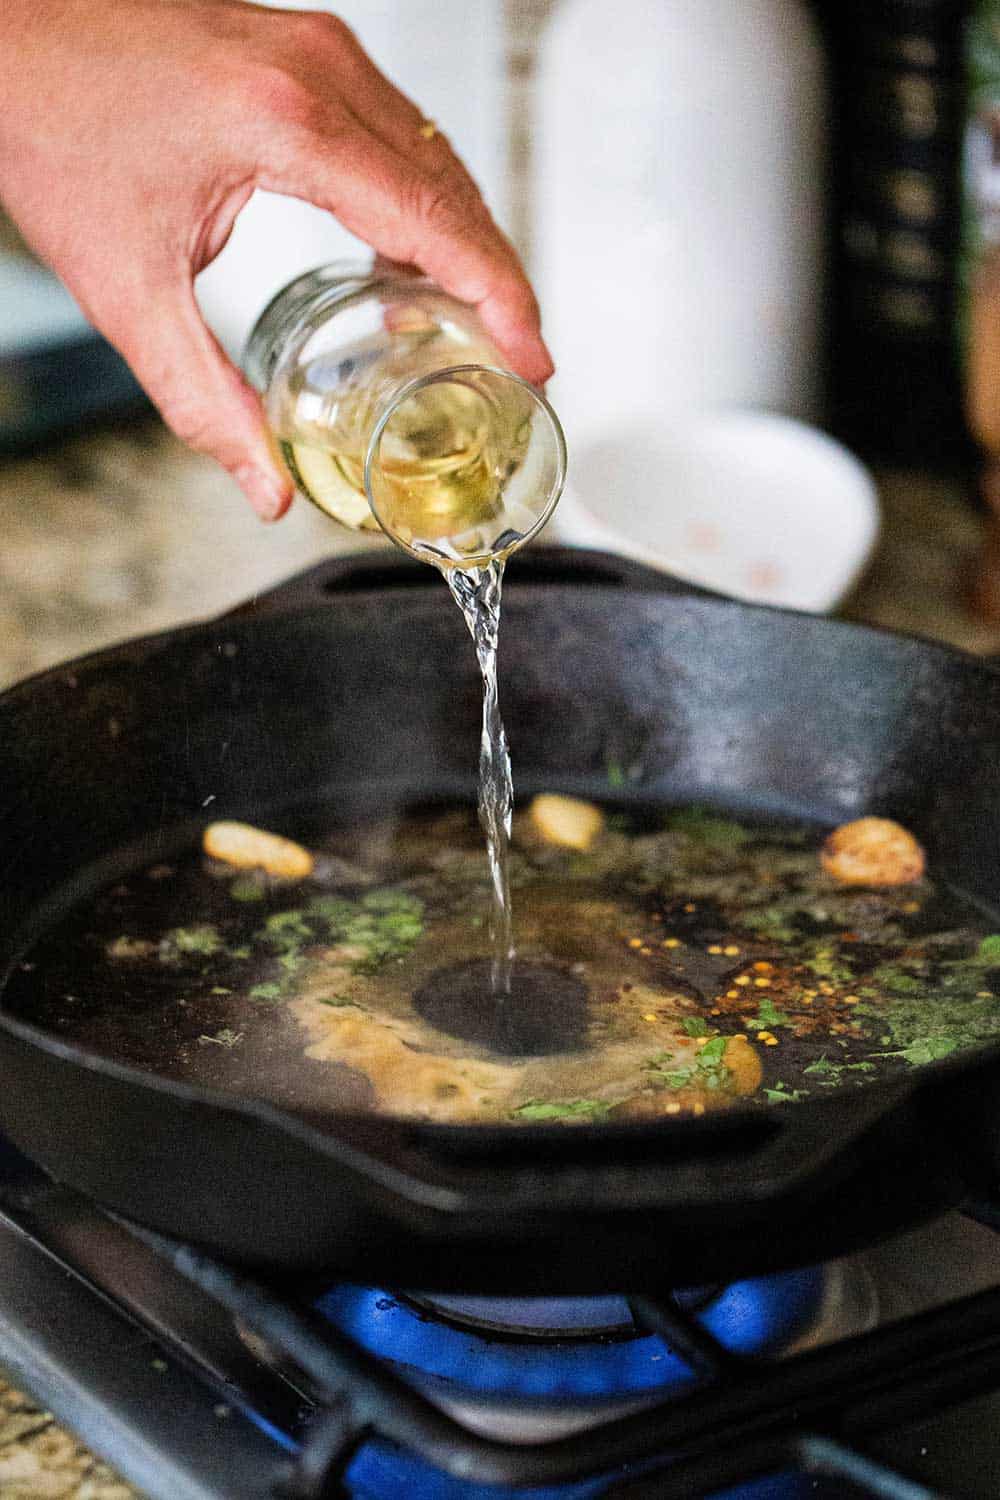
The addition of dry Sherry and fresh thyme complements the earthy taste of the ‘shrooms in an unbelievable way.
When To Serve Sautéed Mushrooms
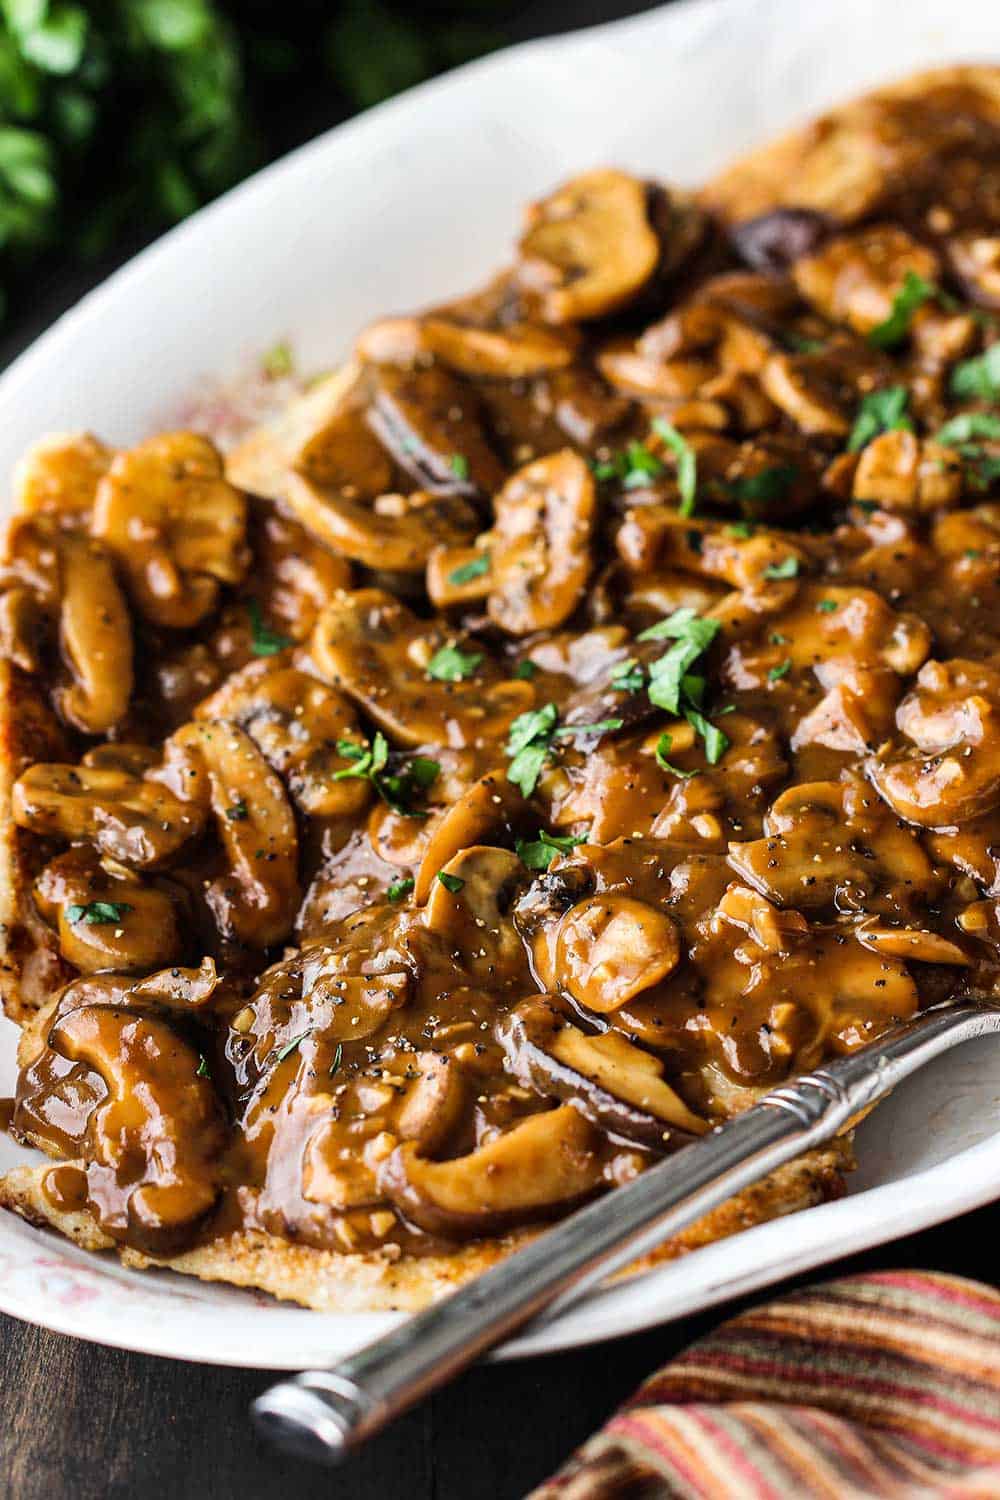
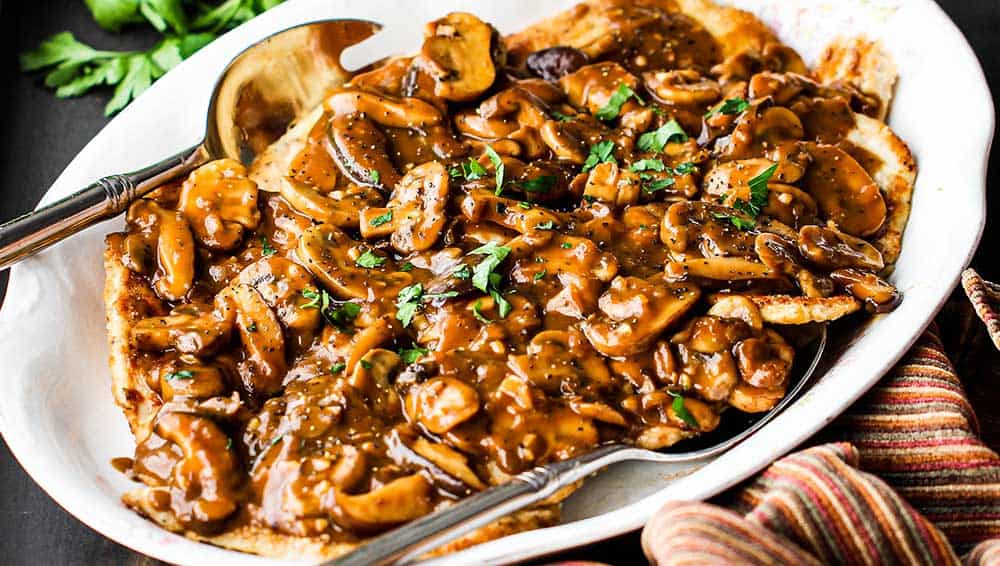
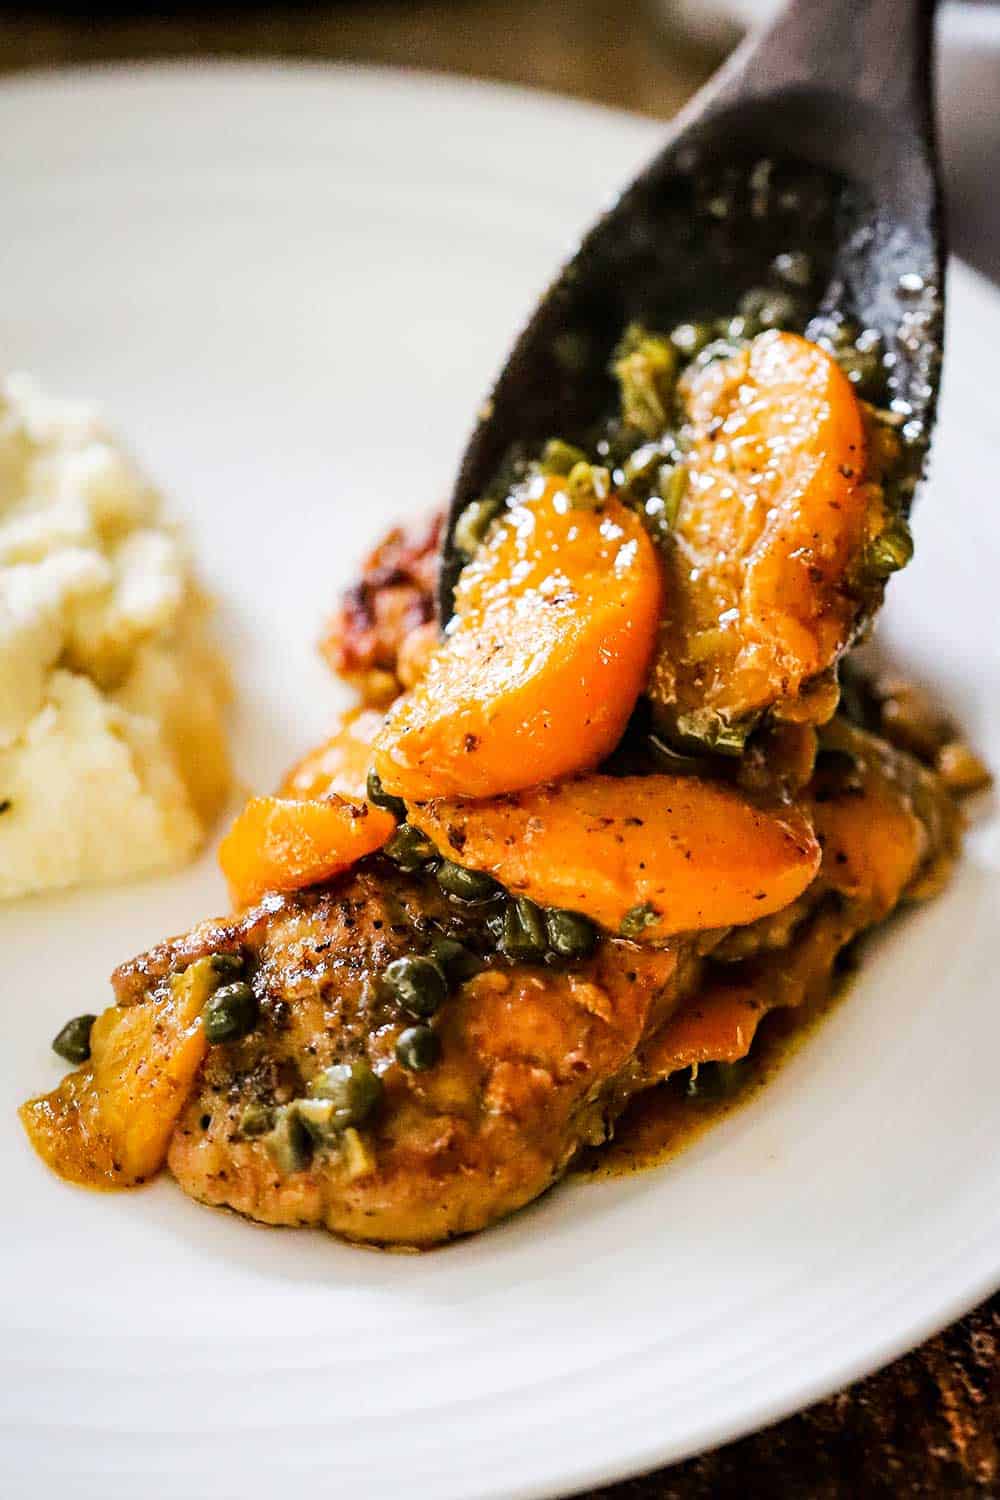
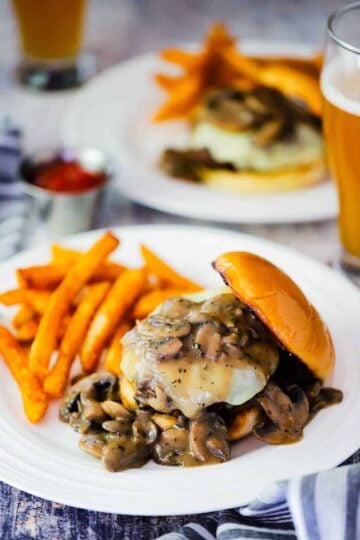
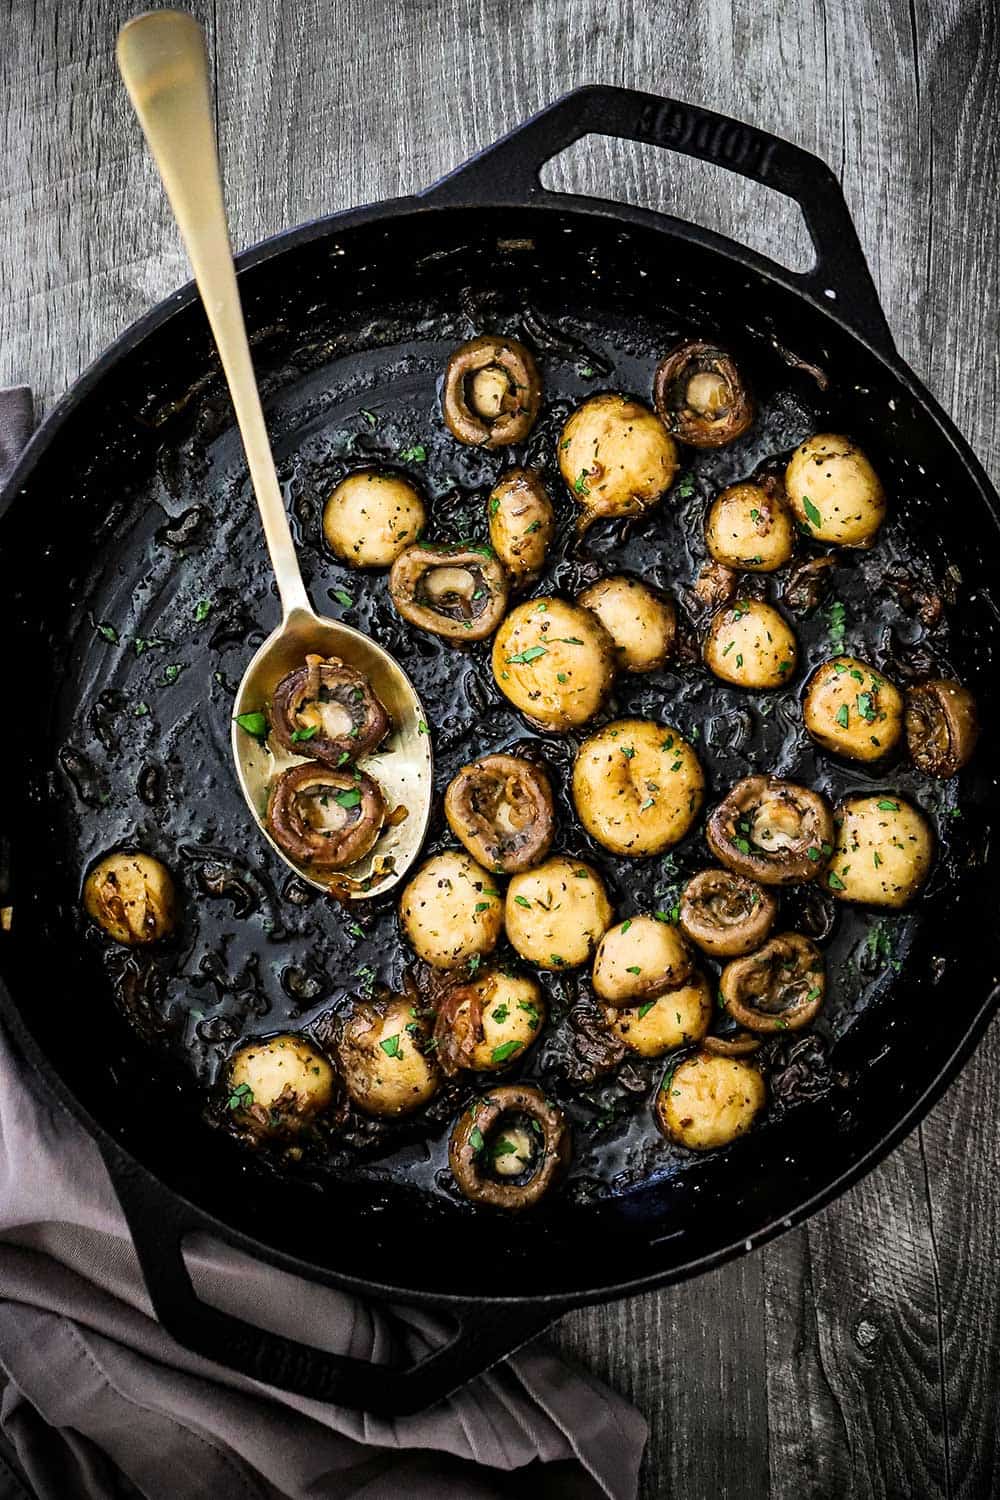
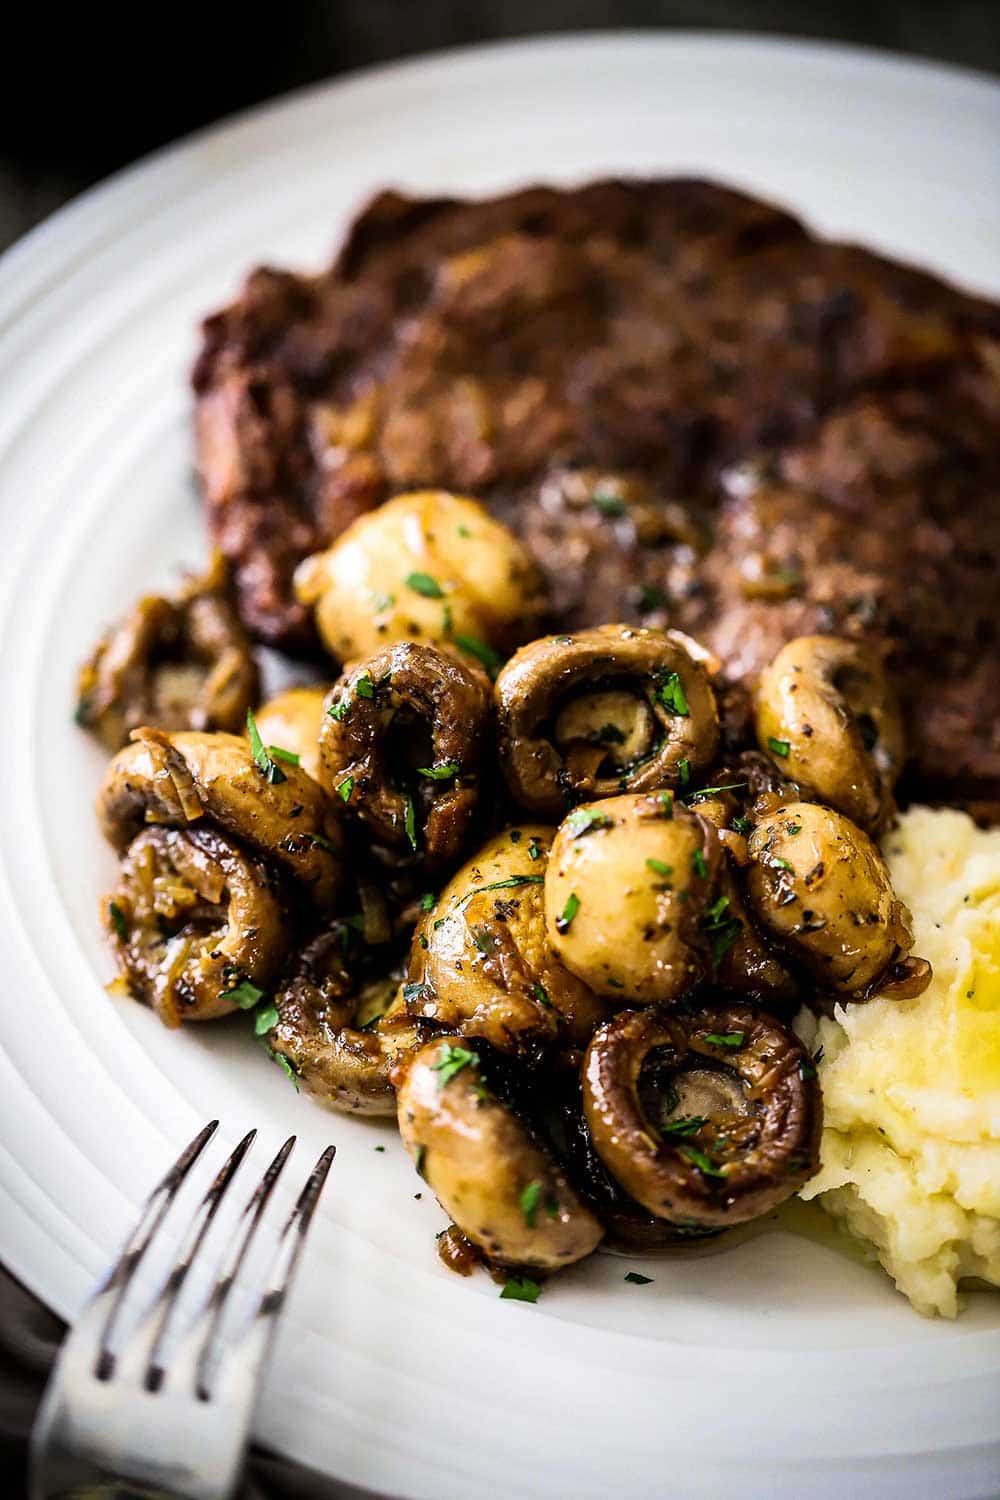
As you can imagine, these steakhouse mushrooms are the perfect side for a big juicy steak.
We often double this recipe because they literally are everyone’s favorite dish.
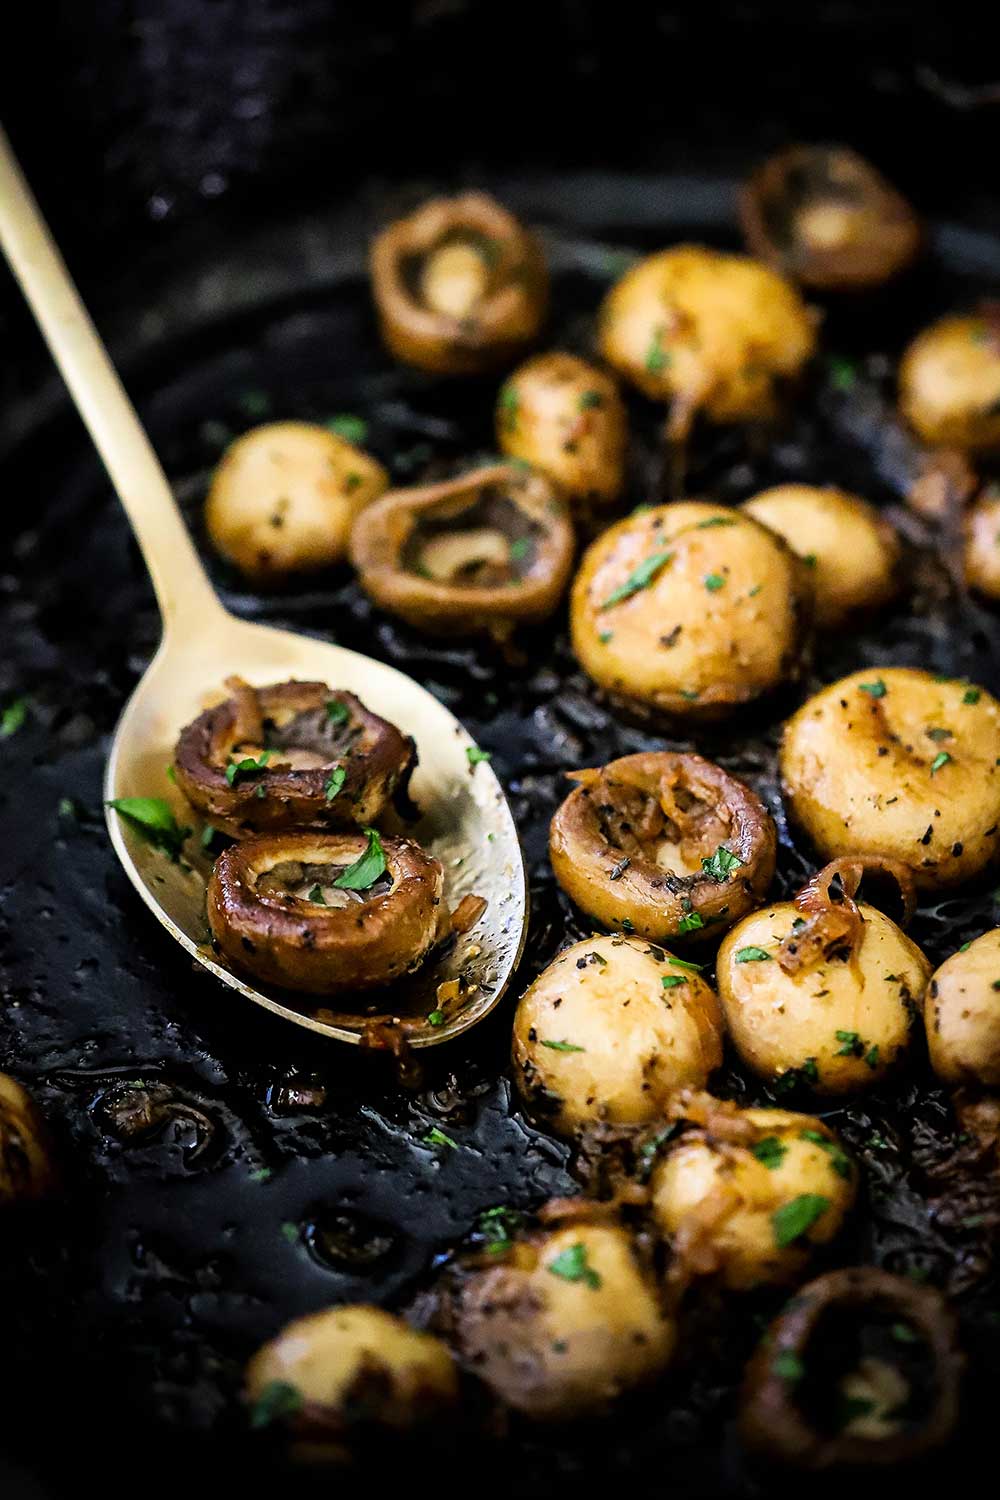
Be sure to pour all of the juice from the pan into the serving dish. The finely chopped fresh parsley makes the perfect garnish.
These are elegant and so delicious, they are perfect for an elegant dinner party or holiday feast. But they are so easy to prepare, that we whip them up every chance we get!
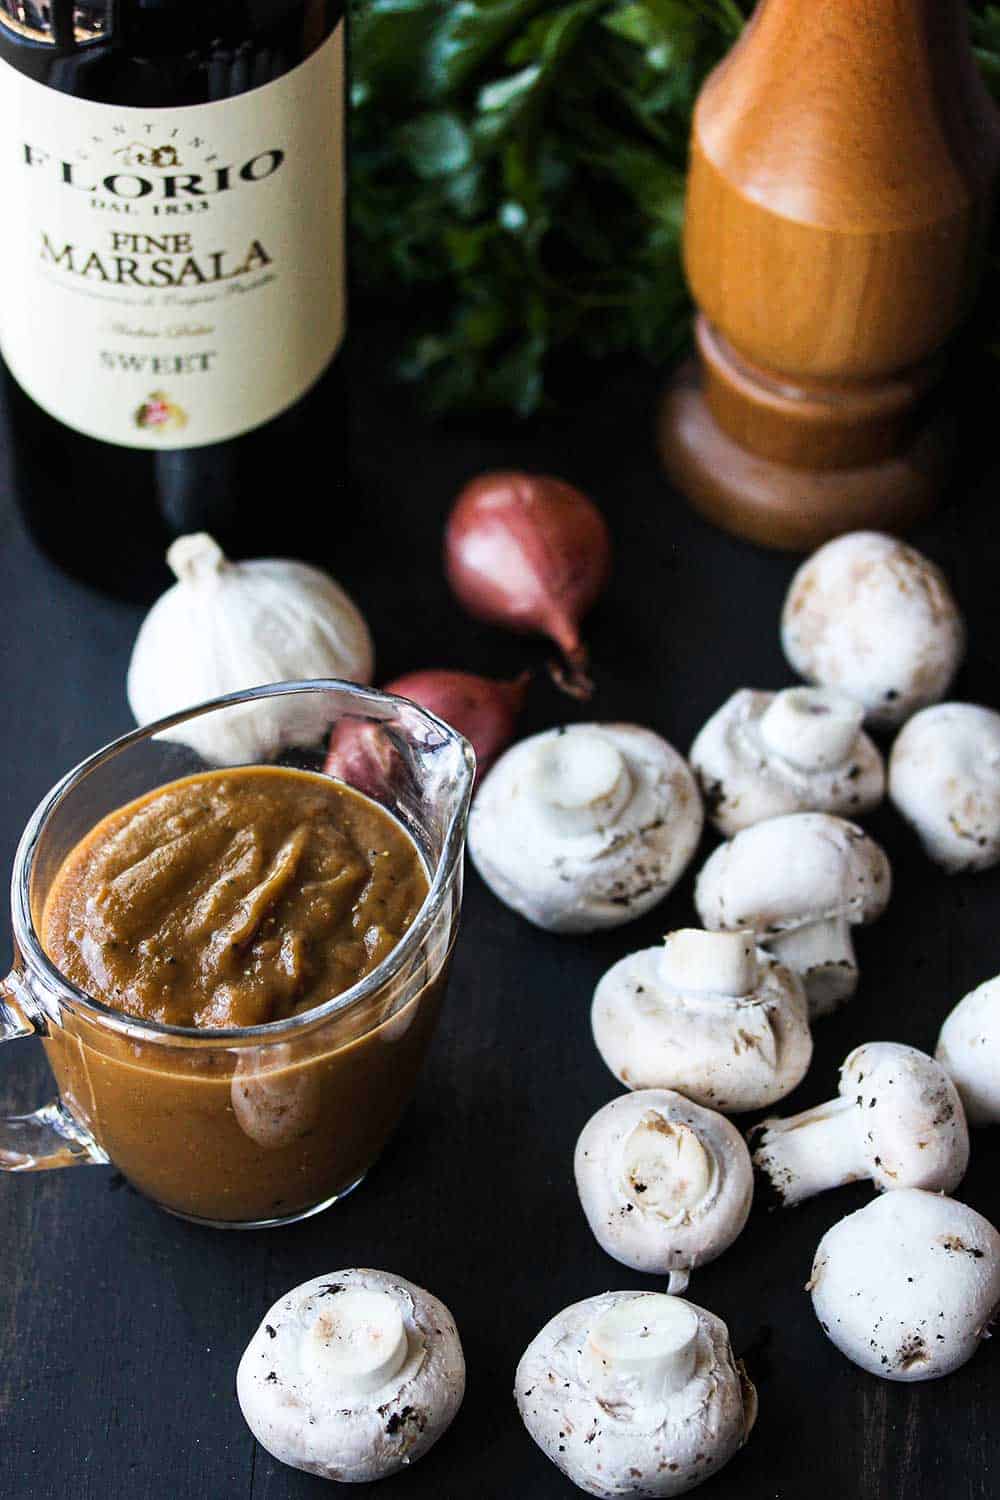
The Ingredients You Will Need
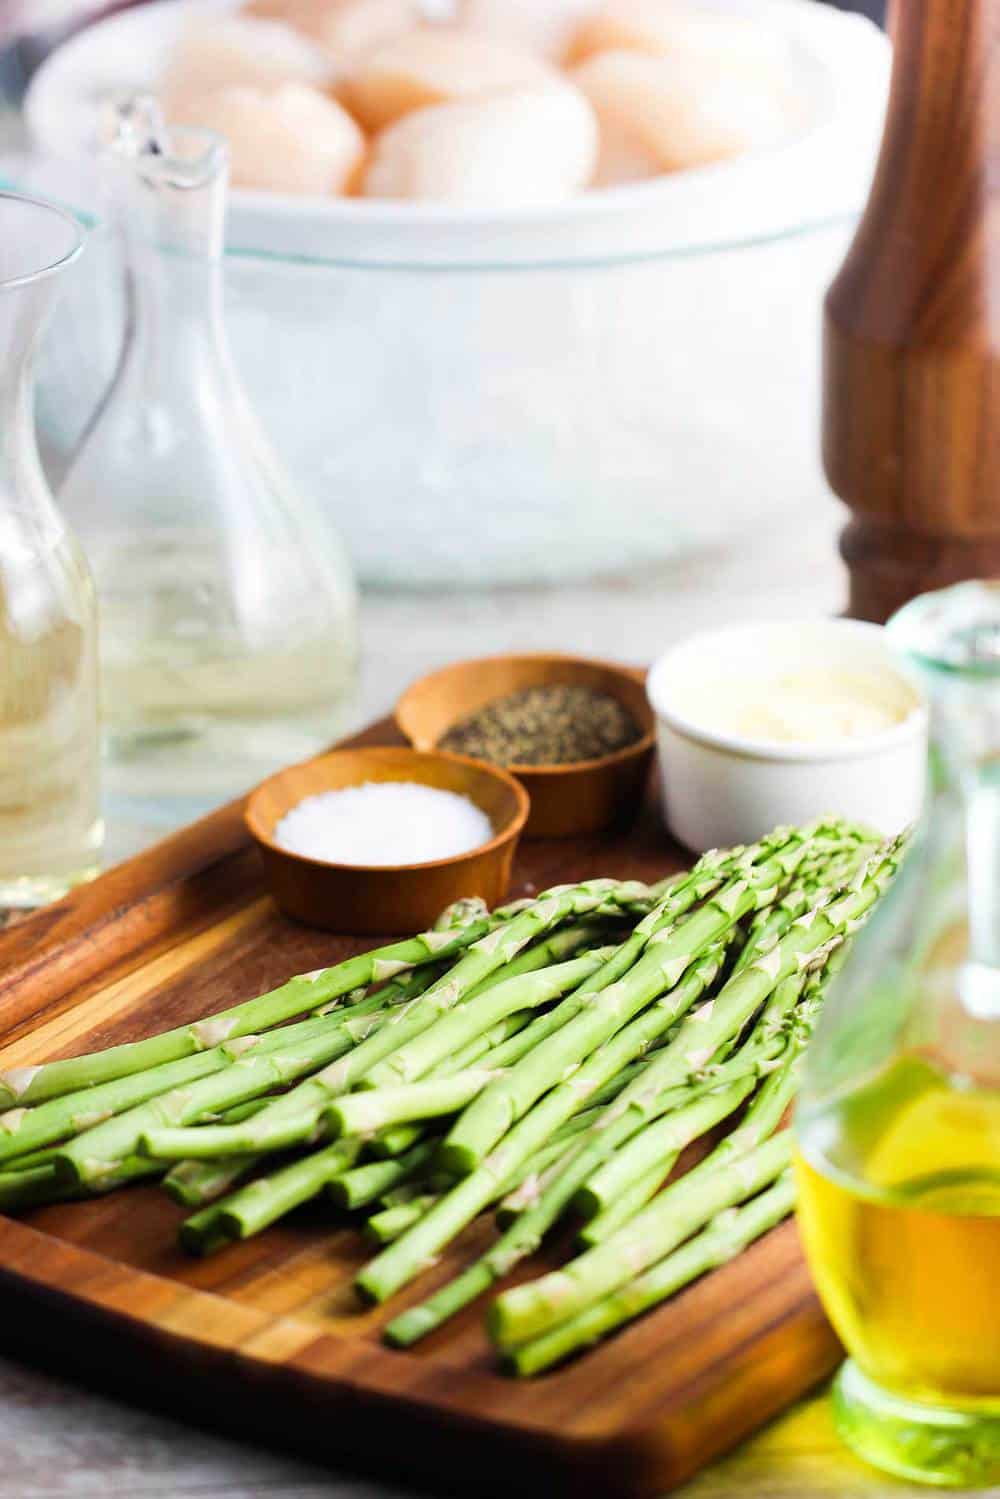
Just a handful of ingredients are needed to make one of the most delicious dishes of all time. Here’s what you’ll need:
- Mushrooms (any variety, but we love whole white button)
- Olive oil
- Shallots, thinly sliced
- Salt and pepper
- Lemon juice
- Dry Sherry
- Fresh thyme
- Unsalted butter
EXPERT TIP: For these mushrooms, we strongly recommend using fresh thyme. Dried will work in a pinch, but the fresh thyme is the perfect match for the fresh mushrooms.
Ladies and gentlemen, serve these sautéed mushrooms – steakhouse style at your next steak feast, and you will be considered a rock star (even more than you already are!).
Ready to make an unbelievable side dish that will rival the best steakhouse in town? Go for it!
And when you do, be sure to take a photo of it, post it on Instagram, and tag @HowToFeedaLoon and hashtag #HowToFeedaLoon!

Sautéed Mushrooms - Steakhouse Style
Equipment
- Large skillet/saucepan
Ingredients
- 4 tablespoon olive oil divided
- 1 large shallot thinly sliced
- 1 lb mushrooms see NOTES
- salt and pepper
- 1 teaspoon lemon juice
- ½ cup dry Sherry
- 1 teaspoon thyme fresh, chopped
- 2 tablespoon unsalted butter
- 1 tablespoon parsley fresh, chopped, for garnish
Instructions
- Heat 2 tablespoon olive oil in a large skillet over medium-high heat. Add the shallots, and cook, stirring frequently, until golden and caramelized, about 5 minutes. Use a large spoon to remove them from the pan.
- Add the remaining 2 tablespoon olive oil to the pan and add the mushrooms with a pinch of salt. Cook, stirring often, until just soft and starting to release liquid, about another 5 to 8 minutes.
- Stir in the lemon juice and sherry and cook until almost evaporated, about another 3 to 4 minutes.
- Return the shallots along with the thyme and a healthy pinch of salt and pepper to the pan. Stir and cook for 1 minute.
- Add the butter and stir until the mushrooms have been coated.
- Remove from heat and serve at once, garnishing with chopped fresh parsley, if desired.