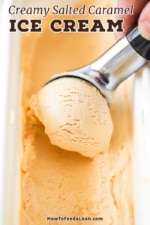
That taste of homemade caramel sauce is classic and is the perfect match for homemade ice cream.
We love all things caramel, from our grilled peaches with caramel sauce to homemade caramel apple pie. But there is just some extra special about the addition of caramel to home-churned ice cream. The coarse sea salt gives an added depth of flavor. This ice cream is always a huge hit.

How To Make Creamy Salted Caramel Ice Cream
This ice cream isn’t difficult to make at all.
You just need to give yourself a little time for the custard to chill and then for the ice cream to freeze. Start a couple of days before you want to serve, and you’ll be golden!
NOTE: If you liked this video, please subscribe to our YouTube channel. Remember to click the little ‘bell’ icon so you’ll never miss a new video. Thank you!
The Ingredients You Will Need
There are just a handful of ingredients needed to make this incredible ice cream. Making the caramel sauce from scratch is easy and definitely the way to go.
Here’s What You’ll Need to Have on Hand
For the Caramel Sauce:
Sugar – Granulated
Cream – Heavy, whipping cream is best. In the U.K., go with double cream. Half and half can be substituted in a pinch.
Salt – Coarse sea salt, or finishing salt, such as Madlon’s is best.
Vanilla extract – Go with good quality.
For the Ice Cream Base:
Milk – Whole (you’ll use a combination of heavy cream and milk).
Maple syrup – Pure, please.
Eggs – Large.
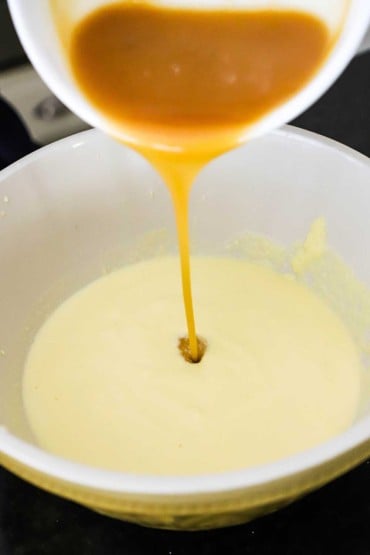
EXPERT TIP: When you make the caramel, it may seem a little thin. This is normal. Allow it to chill in the refrigerator for at least 30 minutes. It will thicken as it cools. Pour directly into the custard and then whisk to combine.
Tips for Making Perfect Creamy Salted Caramel Sauce
Make the Caramel Sauce from Scratch – Store-bought tends to be thicker and extremely sweet. Our version blends perfectly with the custard base and has just the right level of sweetness.
Stir in Your Favorite Blend-ins – The ice cream is incredibly delicious on its own. But stirring in your favorite blend-ins, such as toffee bits, butterscotch morsels, or even crushed peanuts, or all fantastic.
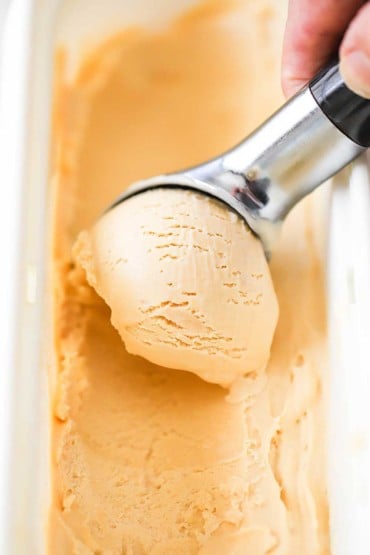
Freeze for Best Results – Once the ice cream reaches a thick, dense, creamy consistency, you could serve it straight out of the machine. But, we find that if you allow the ice cream to completely freeze in the freezer, you get best results.
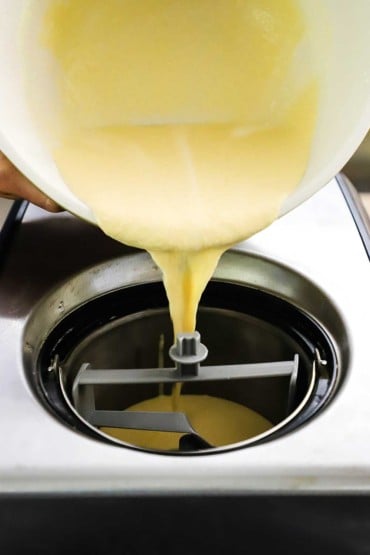
EXPERT TIP: Follow the instructions for your ice cream maker once adding it to the canister. This recipe makes 1½ quarts. The ice cream we used in the video is a Cuisinart 1.5 Quart Electric Freezer.
How to Serve
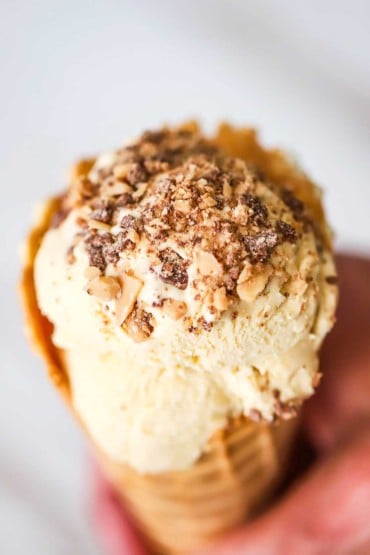
We love to serve this in ice cream bowls, sprinkled with crushed Heath bars, or toffee bits.
You can also add your favorite blend-in during the final 5 to 10 minutes of churning in the canister.
We also get rave reviews (especially from the kids) when we serve these in waffle cones or sugar cones (available in most the ice cream section of most supermarkets).
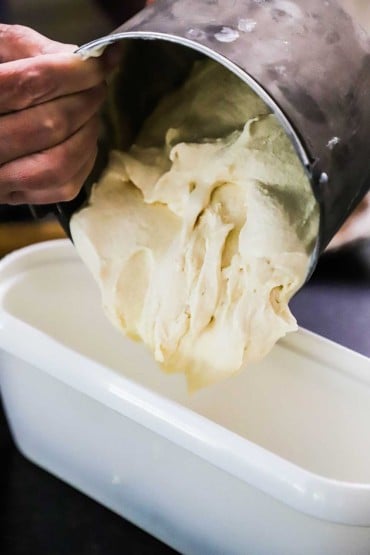
EXPERT TIP: Once the ice cream has reached the right thick and creamy consistency in the machine, we transfer it to an ice cream container (with lid) and keep in the freezer for 6 hours, or for best results, overnight.
Other Classic Homemade Ice Cream Recipes To Try
There are seldom times that we met a bowl of homemade ice cream that we didn’t like. Following are some of the best we’ve ever made, and we’re sure you will love them, too!
Classic Homemade Vanilla Ice Cream
S’Mores Ice Cream
Blueberry Ice Cream
Strawberry Ice Cream
Peanut Butter Cup Ice Cream Cake
These are nothing short of amazing, without a doubt. But, isn’t this scoop of yumminess calling your name right now?
How To Store
If desired, you can keep the ice cream in the canister and place it in the freezer.
Or, you can transfer the freshly churned ice cream from the canister into a freezer-safe container, such as our favorite ice containers from Tovolo, and then place in the freezer.
The ice cream will keep in the freezer for several weeks. If it’s left out and starts to melt, it will re-freeze with no problem. If it melts completely, you will lose the creamy smooth texture.
Every time we serve this ice cream, family and friends are always amazed that we made it from scratch.
We’re always told that it’s so good, it tastes like ice cream you would get from a specialty ice cream shop, or a top-notch pint from one of the most popular ice manufacturers in the world.
It’s easy to prepare. The ingredients work beautifully together. And it just makes people happy. What could be better than that?
Ready to make a batch of ice cream that will rival even the best ice cream shop in town? Go for it!
And when you do, be sure to take a photo of it, post it on Instagram, and tag @HowToFeedaLoon and hashtag #HowToFeedaLoon!

Creamy Salted Caramel Ice Cream
Video
Equipment
- Ice cream maker This recipe makes 1.5 quarts
Ingredients
- 1 cup sugar
- ¼ cup water
- 2 tablespoon unsalted butter
- 2¼ cups heavy cream divided
- 1 teaspoon coarse sea salt or finishing salt, such as Maldon
- ½ teaspoon vanilla extract
- 1 cup whole milk
- ¼ cup pure maple syrup
- 4 large eggs
- 1 cup toffee bits for garnish, optional
Instructions
- Heat the sugar and water in a large heavy skillet over medium heat until starts to bubble. Stop stirring and continue to cook, swirling the skillet periodically. Continue this process (without stirring) until it is deep amber in color, about another 8 to 12 minutes. Remove from the heat.
- Meanwhile, warm 1¼ cup of the heavy cream.
- Add the butter and the warmed cream into the sugar mixture, and stir constantly until smooth (it will bubble vigorously for a minute, but will calm down).
- Transfer to a bowl and stir in the salt and vanilla.
- Chill until no longer warm, about 15 to 20 minutes.
- Meanwhile, bring milk, the remaining cup of cream, and the maple syrup to a boil in a small heavy saucepan, stirring occasionally.
- In a medium bowl, whisk the eggs and then add half of the hot milk mixture in a slow stream, whisking constantly.
- Pour all of the egg and milk mixture back into the saucepan and cook over medium heat, stirring constantly with a wooden spoon, until custard coats the back of the spoon, 4 - 5 minutes. (Don't let come to a boil). If it starts to scramble, take off the heat and stir continuously until smooth and thickened.
- Pour custard through a fine-mesh sieve into a large bowl, then stir in cooled caramel.
- Refrigerate the custard for 3 hours, or overnight.
- Freeze custard in an ice cream maker (it will be soft), then transfer to an airtight container and place in freezer until firm, 4 hours, or overnight.
- Serve with toffee bits sprinkled on top, if desired.
Notes
Nutrition
POST UPDATE: This recipe was originally published in July 2016, but was updated with improved tweaks to the recipe with new tips and photography and a fabulous new video in September 2023!





Karly says
Oh stop. My sweet tooth is taking over my entire body just looking at this! I NEED to try this ASAP.
krislongwell says
Right! LOVE caramel ice cream…homemade is the best.
And we absolutely love your blog, btw! Gorgeous!!! xoxo Kris & Wesley