If you’re looking for an exciting and delicious new kind of burger to grill, look no further.
Grilled burgers are classic and easy to adapt to many types of cuisines. We have to say, this Korean BBQ burger is about as delicious as they come. And you won’t believe how easy (and delicious) the kimchi is. Make homemade hamburger buns for a burger that folks will be talking about for weeks to come!
How To Make Bulgogi Burgers with Easy Kimchi
We love trying new ways of preparing a classic grilled burger and this has become one of our favorites, and we’re pretty sure, you and your guests will feel the same way.
Of course, nowadays, you can find decent kimchi and many well-stocked supermarkets, but our version is easy and just so fresh and loaded with amazing flavor.
And the Korean BBQ sauce puts it all over the top. Korean cuisine, especially Korean BBQ, is amazing in taste and history. We just can’t get enough of it! These burgers are epic!
NOTE: If you liked this video, please subscribe to our YouTube channel. Don’t forget to click the little ‘bell’ icon so you’ll never miss a new video or recipe. Thank you so much!
The Ingredients You Will Need
Most of the components of this amazing burger can be made up to 24 hours in advance
For the Korean BBQ Sauce, here’s what you’ll need:
Gochujang – A paste of red chili peppers, fermented beans, rice, and salt. It’s mildly spicy and can be found in the Asian section of many supermarkets, Asian markets, or online.
Sesame oil – Look in the Asian section of your market
Sugar – Brown sugar is good, too
Water
Apple cider vinegar
Garlic – Minced
For the Chili Sauce Mayonnaise, here’s what you’ll need:
Mayonnaise – Go with good-quality
Chili sauce – Sambal Oelek is great
Lemon juice – Freshly squeezed
Scallion – Minced
For the Burgers, here’s what you’ll need:
1½ lbs ground beef – We love Wagyu
Soy sauce – Low sodium is a good choice
Ginger – Fresh and minced
Garlic – Minced
Hamburger buns – Brioche is a great option

How To Make Easy Kimchi
Authentic made-from-scratch takes some time and involves fermentation.
Our version is still loaded with tons of classic flavors but is ready in much less time.
EXPERT TIP: Placing the kimchi into a sturdy freezer bag and then adding it to simmering water for 30 minutes brings out all of the amazing flavors. Plunge the bag into a large bowl of ice water to cool the kimchi off.
Here are the ingredients you’ll need for Easy Kimchi:
Nappa cabbage – Roughly chopped
Kosher salt – This softens the cabbage
Water – For soaking the cabbage
Rice wine vinegar – If you can’t find it, then go with rice vinegar
Garlic and ginger – Minced
Scallions – Chopped
Fish sauce – Found in the Asian section of most well-stocked supermarkets (or online).
Sugar – For a little sweetness
Chili powder and red chili flakes – For a little heat
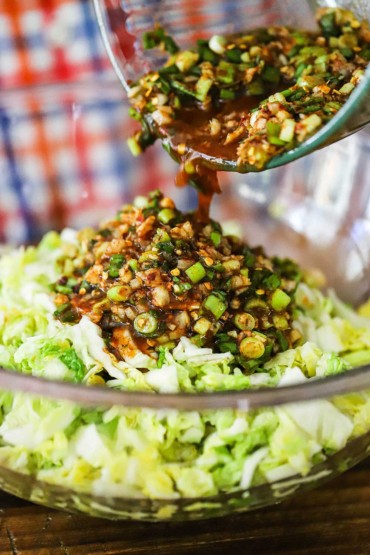
EXPERT TIP: Dissolving 1 cup of Kosher salt into 2 quarts of water and then pouring over the chopped cabbage in a large bowl will soften it perfectly. Drain and rinse after about 1 hour. And then, mix together the remaining ingredients and pour over the softened cabbage.
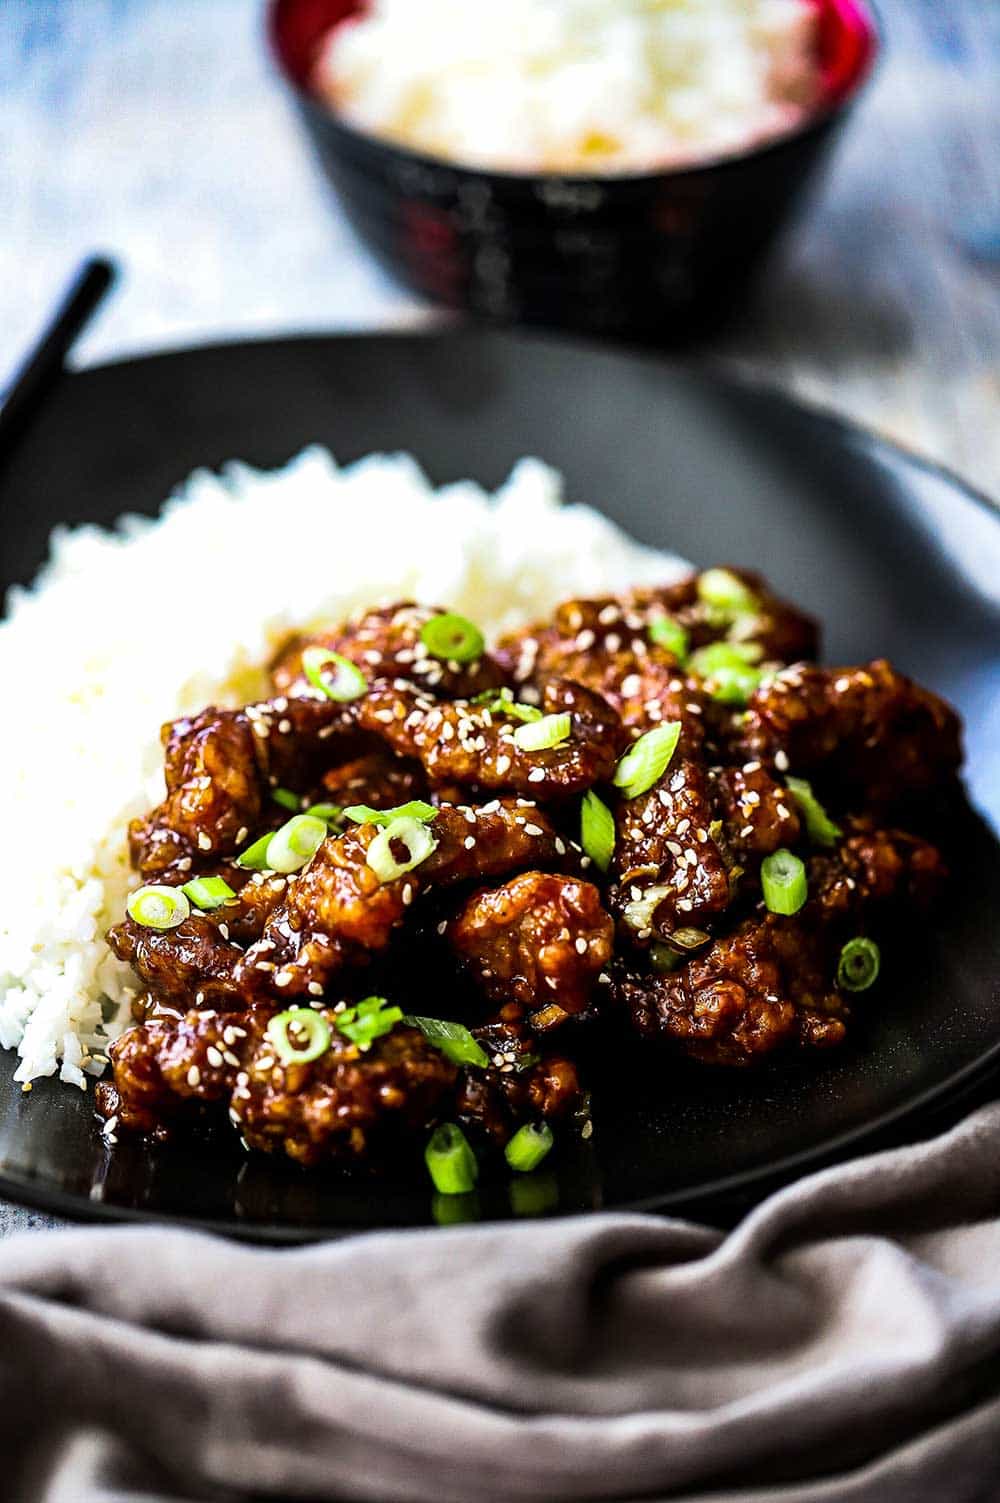
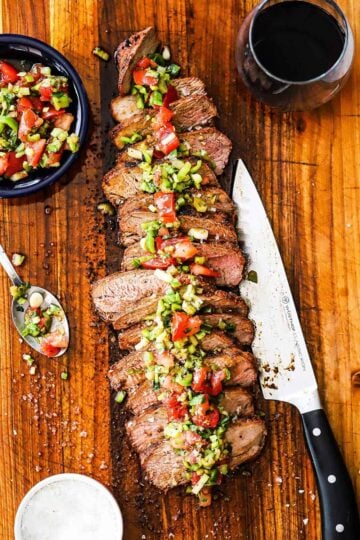
How To Serve Bulgogi Burgers
These are wonderful burgers to serve at an outdoor BBQ. Transfer all the cooked hamburgers to a large platter.
Place the kimchi and chili sauce in serving bowls and let folks build their own burgers.
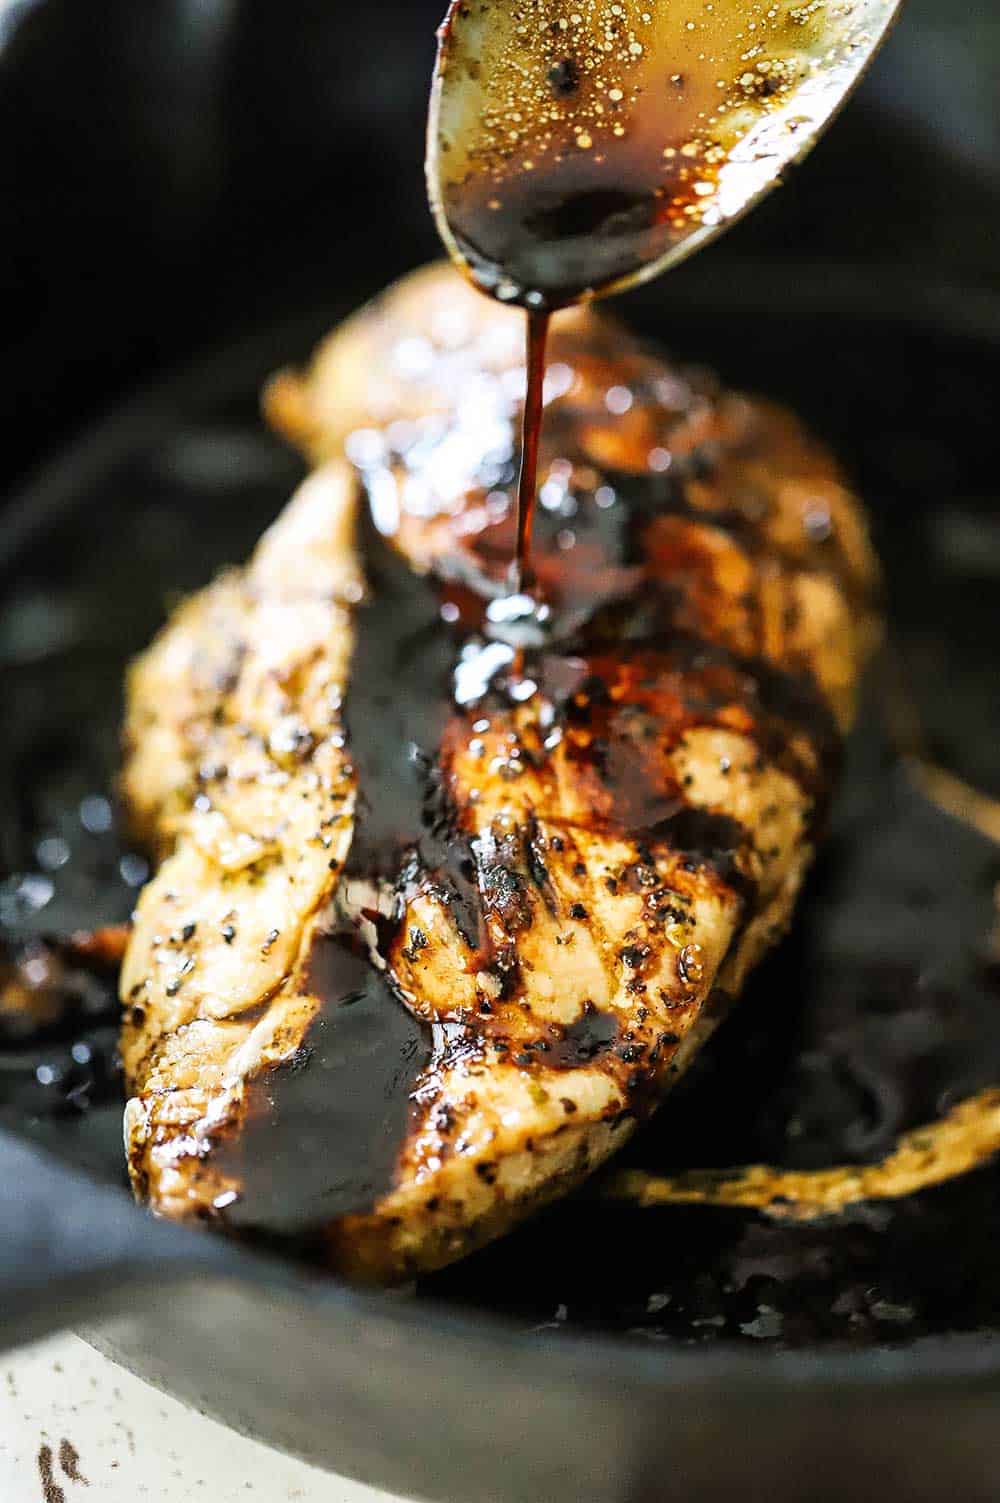
It’s up to you if you want to let guests plunge their burger patty into the Korean BBQ sauce, but find that people really do enjoy it.
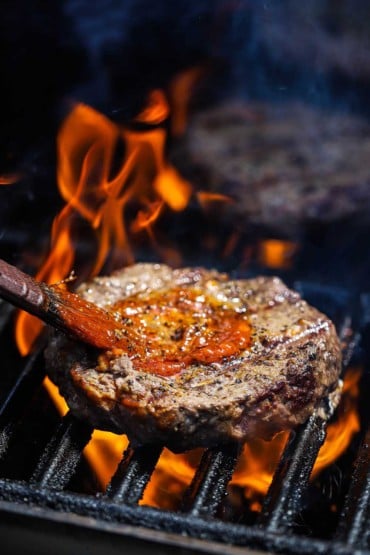
EXPERT TIP: We recommend brushing some of the BBQ sauce onto the patties as they are being grilled. The heat almost caramelizes the sauce and adds a depth of flavor that is amazing. To do this, add about ½ cup of the sauce to a small bowl and bring it with the brush to the grill. Use the remainder of the sauce to dredge the cooked hamburger patties through before letting folks build the burgers.
Other Amazing Hamburger Recipes To Try
We love all kinds of burgers, and here are some of our favorites:
Gourmet Beef Sliders
Epic Homemade Big Mac
Black and Bleu Hamburgers
Swiss and Mushroom Hamburgers
Curry Turkey Burger with Grilled Pineapple
Salmon Burger
World’s Best Veggie Burger
Plant-Based California Burger
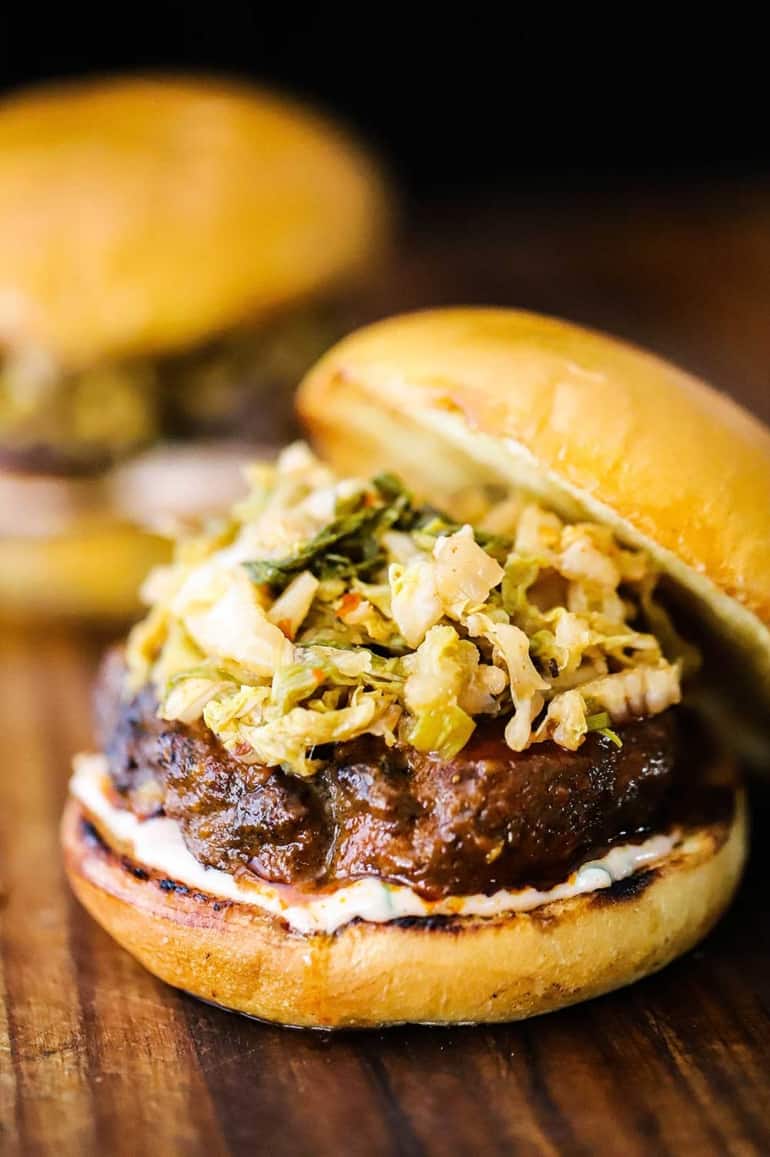
But in the meantime, folks, you will not believe how amazing these Bulgogi Burgers are! You’ve got to give them a try!
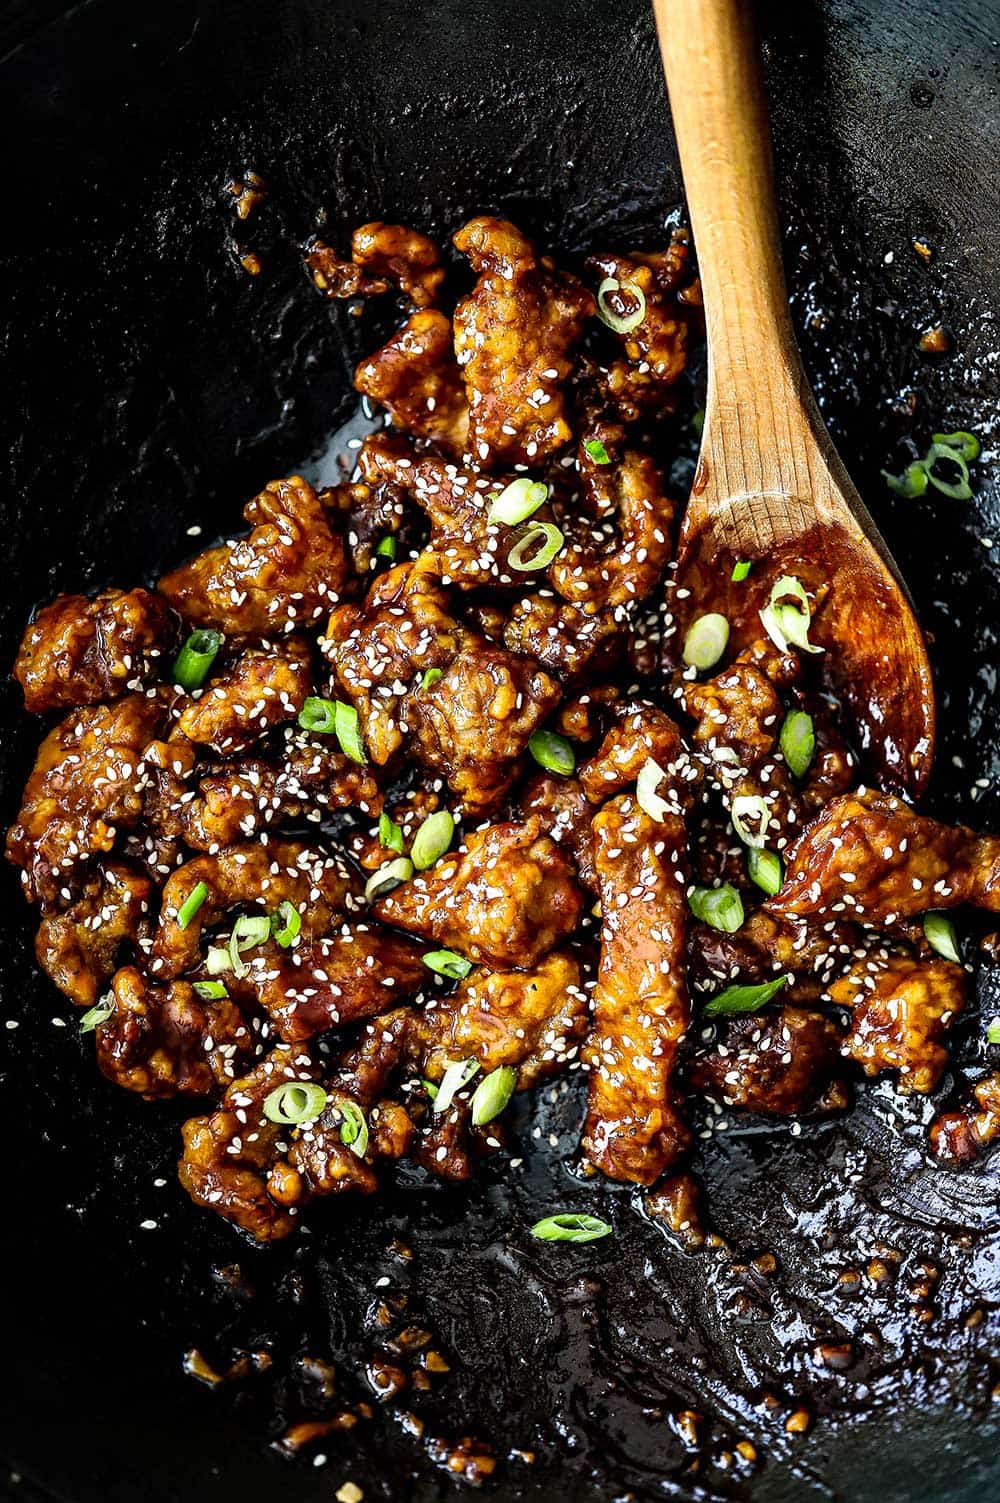
The burgers are literally layers upon layers of flavor. They carry a little beat of heat, but in a good way.
The Korean BBQ sauce and easy kimchi truly put the burger in a class all of its own.
Your guests will flip for these incredible burgers!
Ready to make one of the most unique and delicious burgers on the block? Go for it!
And when you do, be sure to take a photo of it, post it on Instagram, and tag @HowToFeedaLoon and hashtag #HowToFeedaLoon!

Bulgogi Burgers with Easy Kimchi
Equipment
- Gas or charcoal grill
- 1 Large sturdy freezer baggie for the kimchi
Ingredients
For the Easy Kimchi
- 1 head Nappa cabbage
- 1 cup Kosher salt
- 2 quarts water 8 cups
- ¾ cup rice vinegar or rice wine vinegar
- 2 tablespoon ginger fresh, minced
- 2 tablespoon garlic minced
- ¾ cup scallions green onions, chopped
- 5 tablespoon fish sauce
- 2 tablespoon sugar
- 3 tablespoon chili powder
- 1 tbs crushed red pepper
For the Korean BBQ Sauce
- ⅓ cup gochujang
- 2 tablespoon sesame oil
- 2 tablespoon sugar
- ⅓ cup water
- 2 tablespoon apple cider vinegar
- 2 cloves garlic minced
For the Chili Sauce Mayonnaise
- ½ cup mayonnaise
- ⅓ cup chili sauce
- 1 teaspoon lemon juice
- 1 scallion chopped
For the Burgers
- 1½ lbs ground beef Wagyu or ground sirloin, 85% lean
- 2 tablespoon soy sauce
- 1 tablespoon sesame oil
- 1 teaspoon ginger fresh, grated
- 2 cloves garlic minced
- Salt and pepper
- 3 tablespoon unsalted butter softened
- 4 brioche hamburger buns
Instructions
Make the Easy Kimchi
- Cut off the base of the cabbage and coarsely chop the leaves. Place in a large bowl.
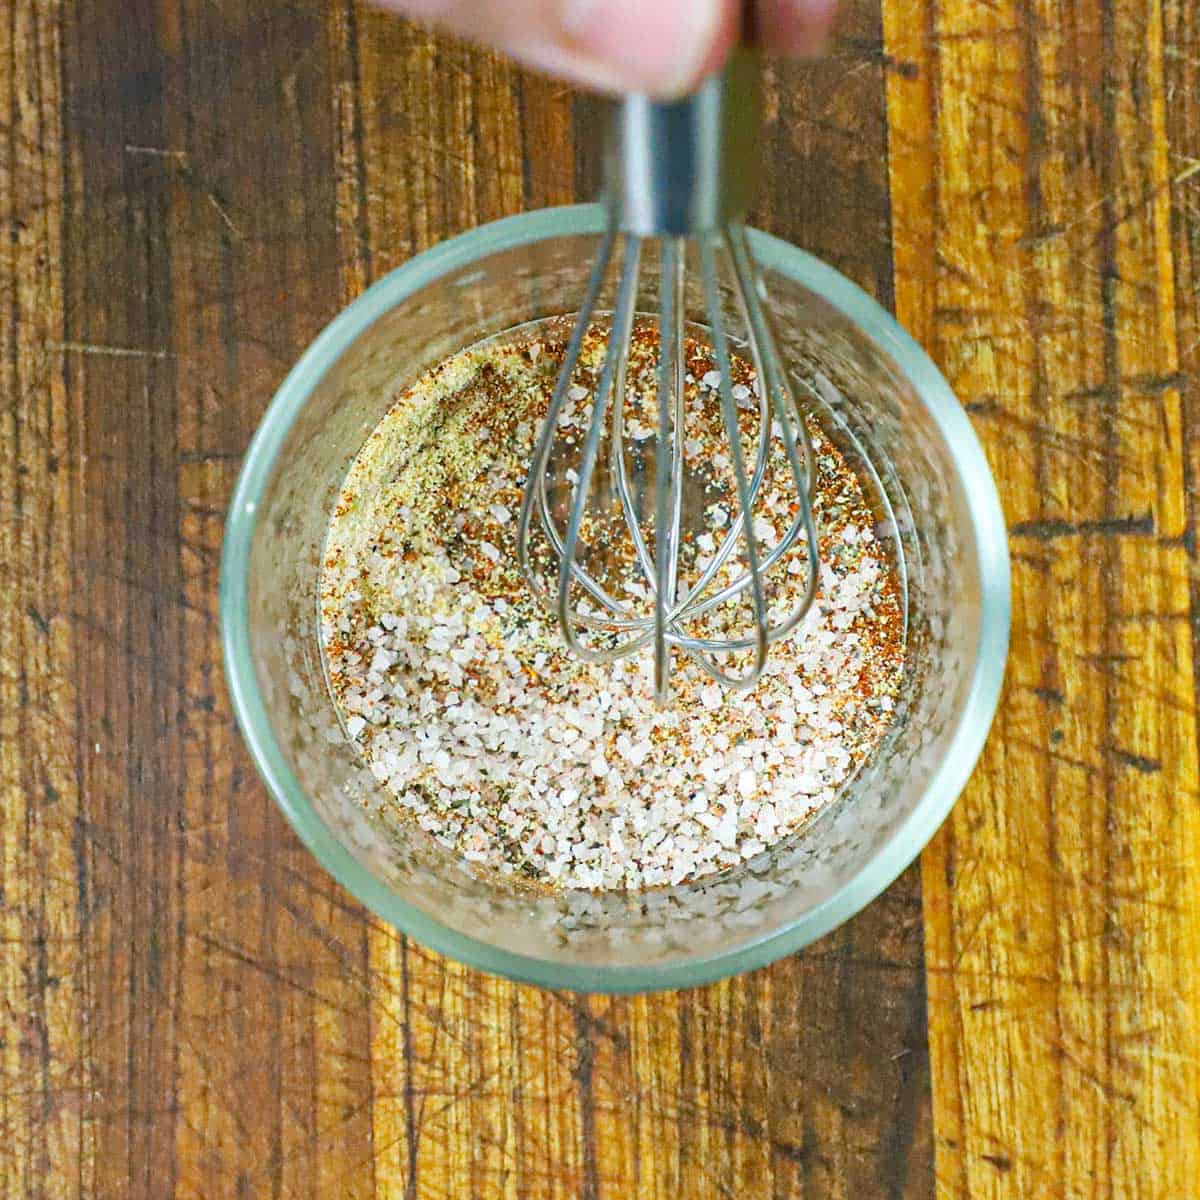
- Add the salt to the water in a bowl or 8-cup measuring cup. Whisk until the salt is completely, or almost dissolved. Pour the salt water over the cabbage and let sit for 1 hour.
- Drain the cabbage and rinse with cool tap water to remove excess salt.
- In a medium-sized bowl, mix together the vinegar, garlic, ginger, scallions, fish sauce, sugar, chili powder, and crushed red pepper flakes.
- Pour the kimchi sauce over the cabbage and mix together until completely combined.
- Meanwhile, bring a medium-sized pot of water to a simmer.
- Carefully transfer the kimchi into a large sturdy freezer baggie. Zip the baggie up and place it in the simmering water. Allow it to simmer for 30 minutes.
- Remove from the simmering water and let cool. To expedite cooling, place the kimchi still in the baggie into a large bowl of ice water.
- Once cool, transfer the kimchi to a large clean bowl (there will be plenty of juice, but that's good). Set aside.
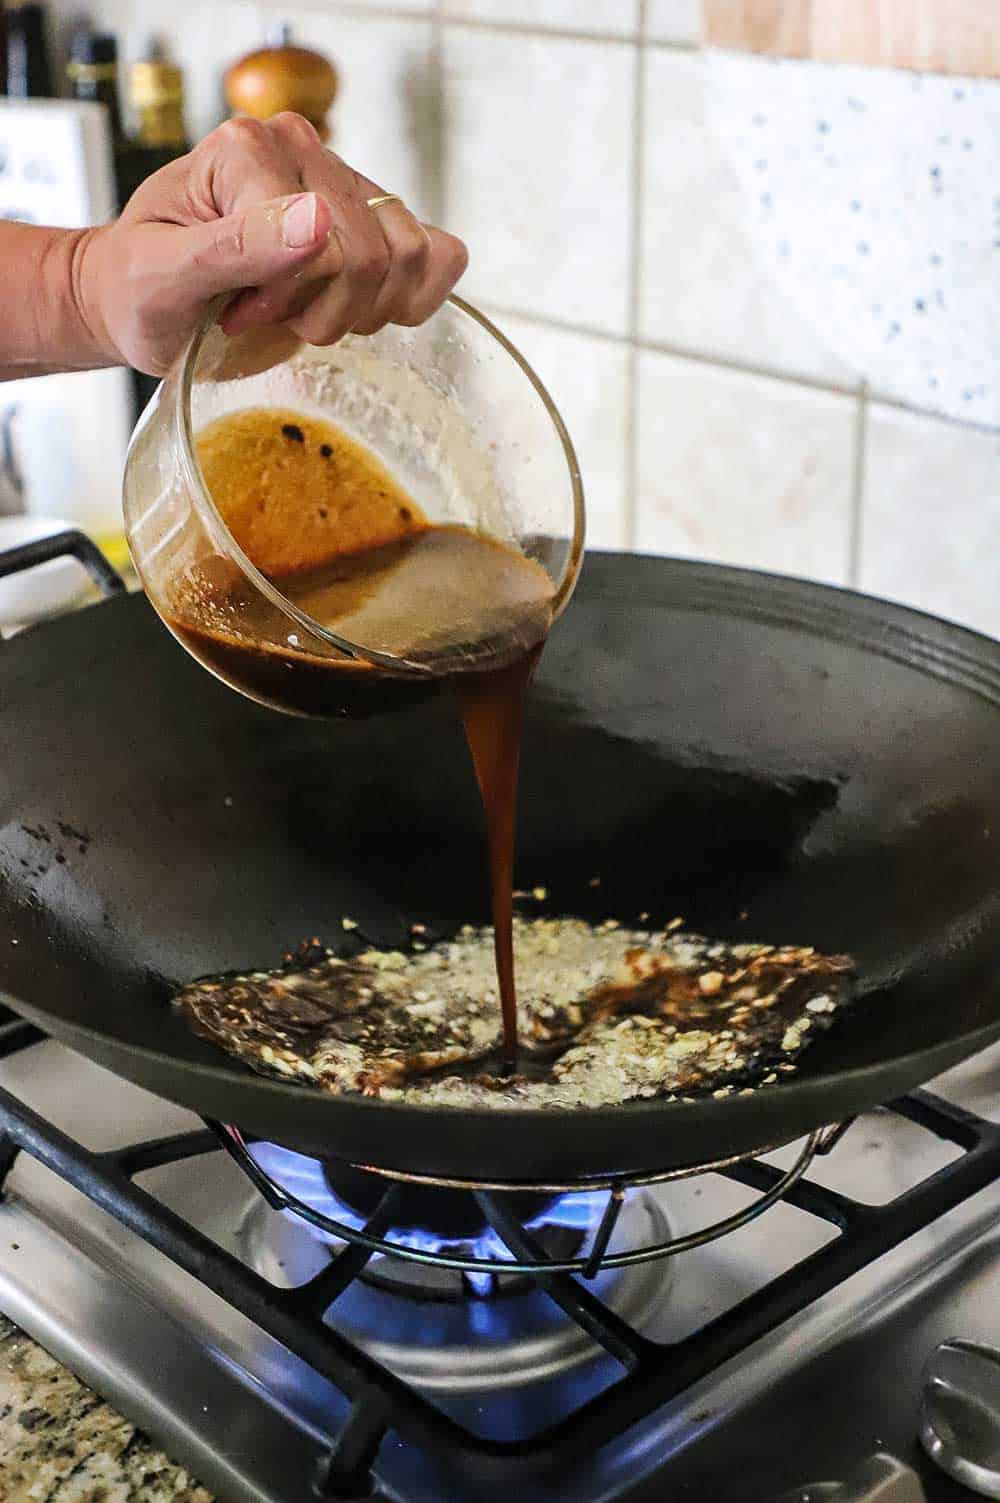
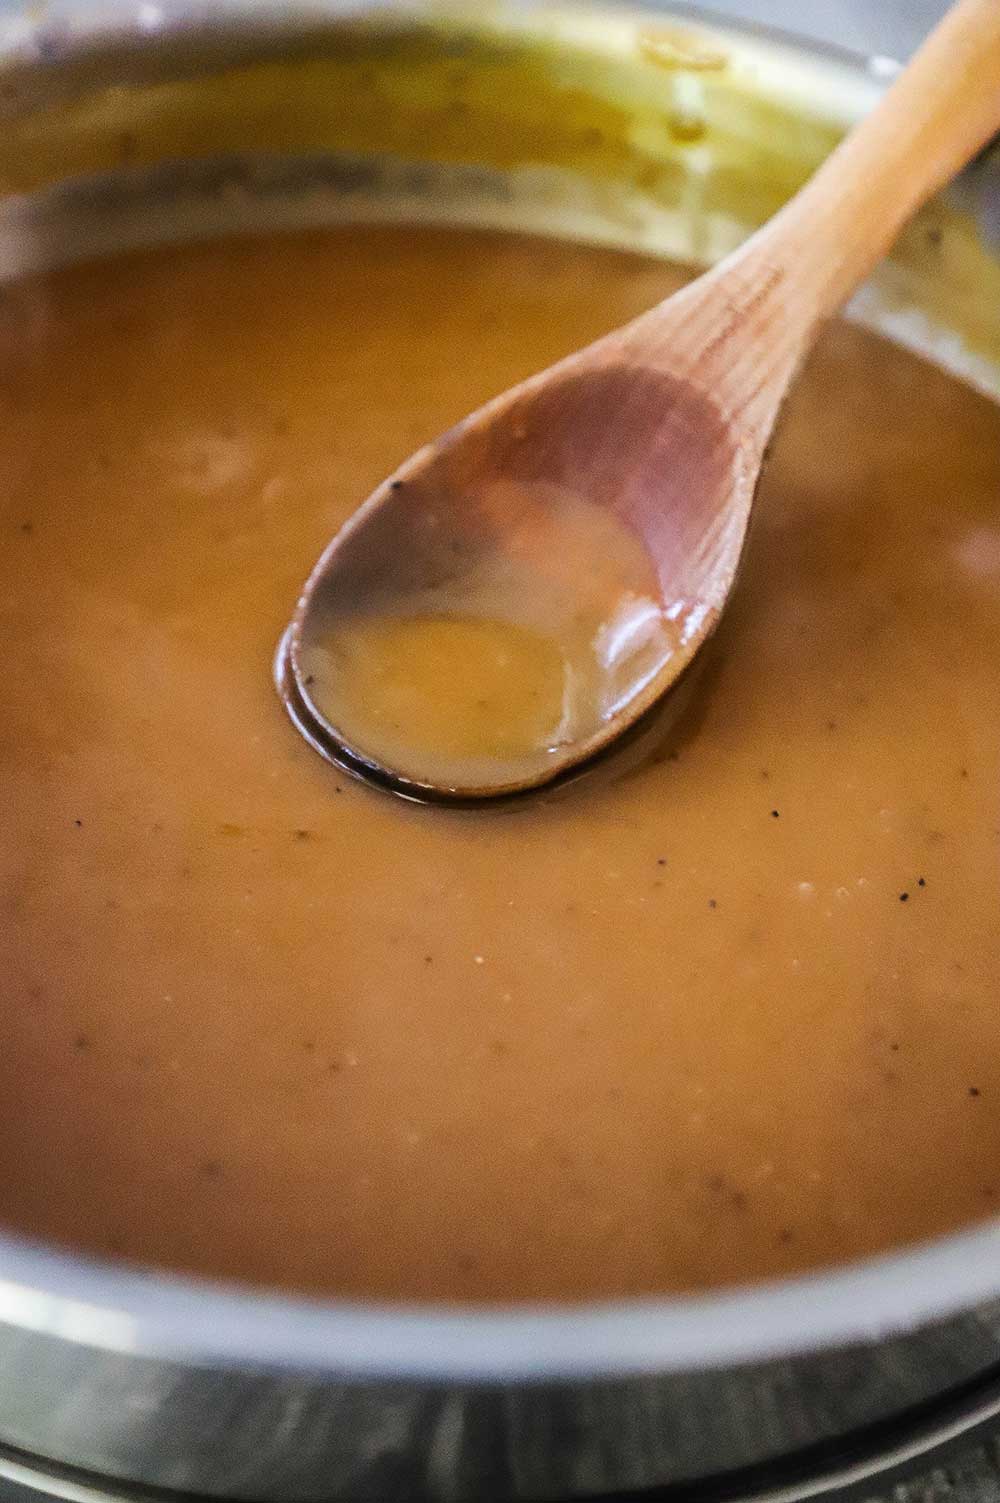
Prepare the Korean BBQ Sauce and Chili Sauce Mayonnaise
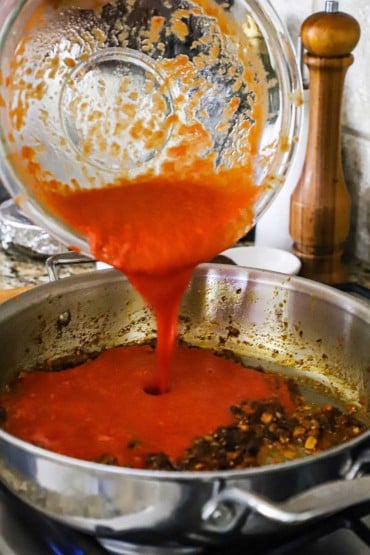
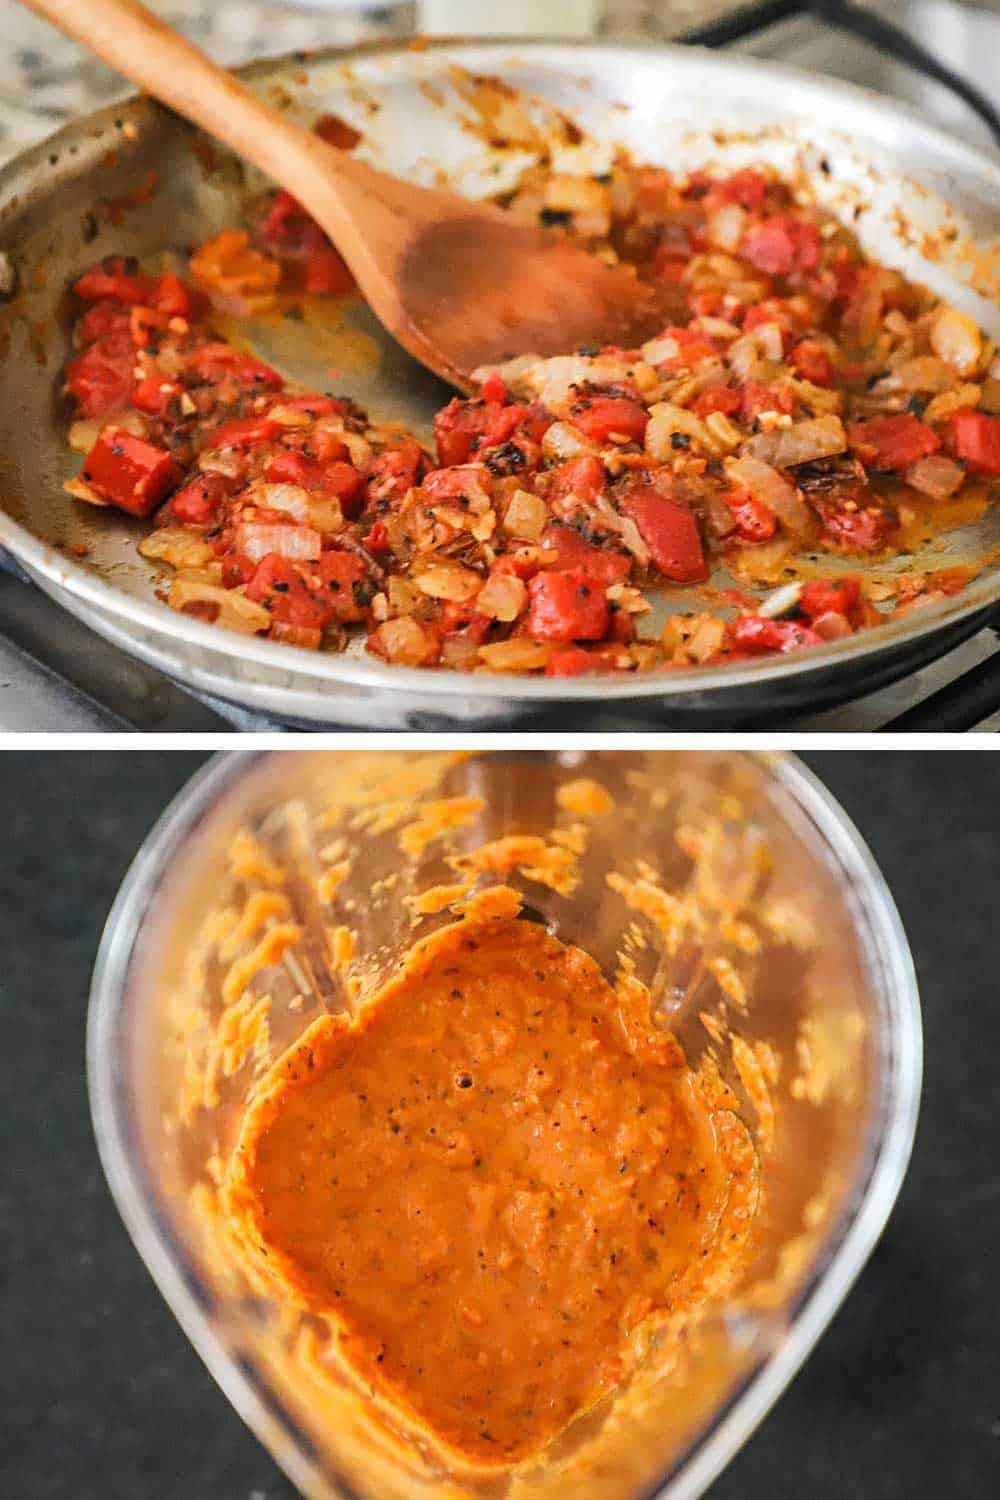
- In a medium bowl, mix all of the BBQ sauce ingredients together and stir until fully combined.
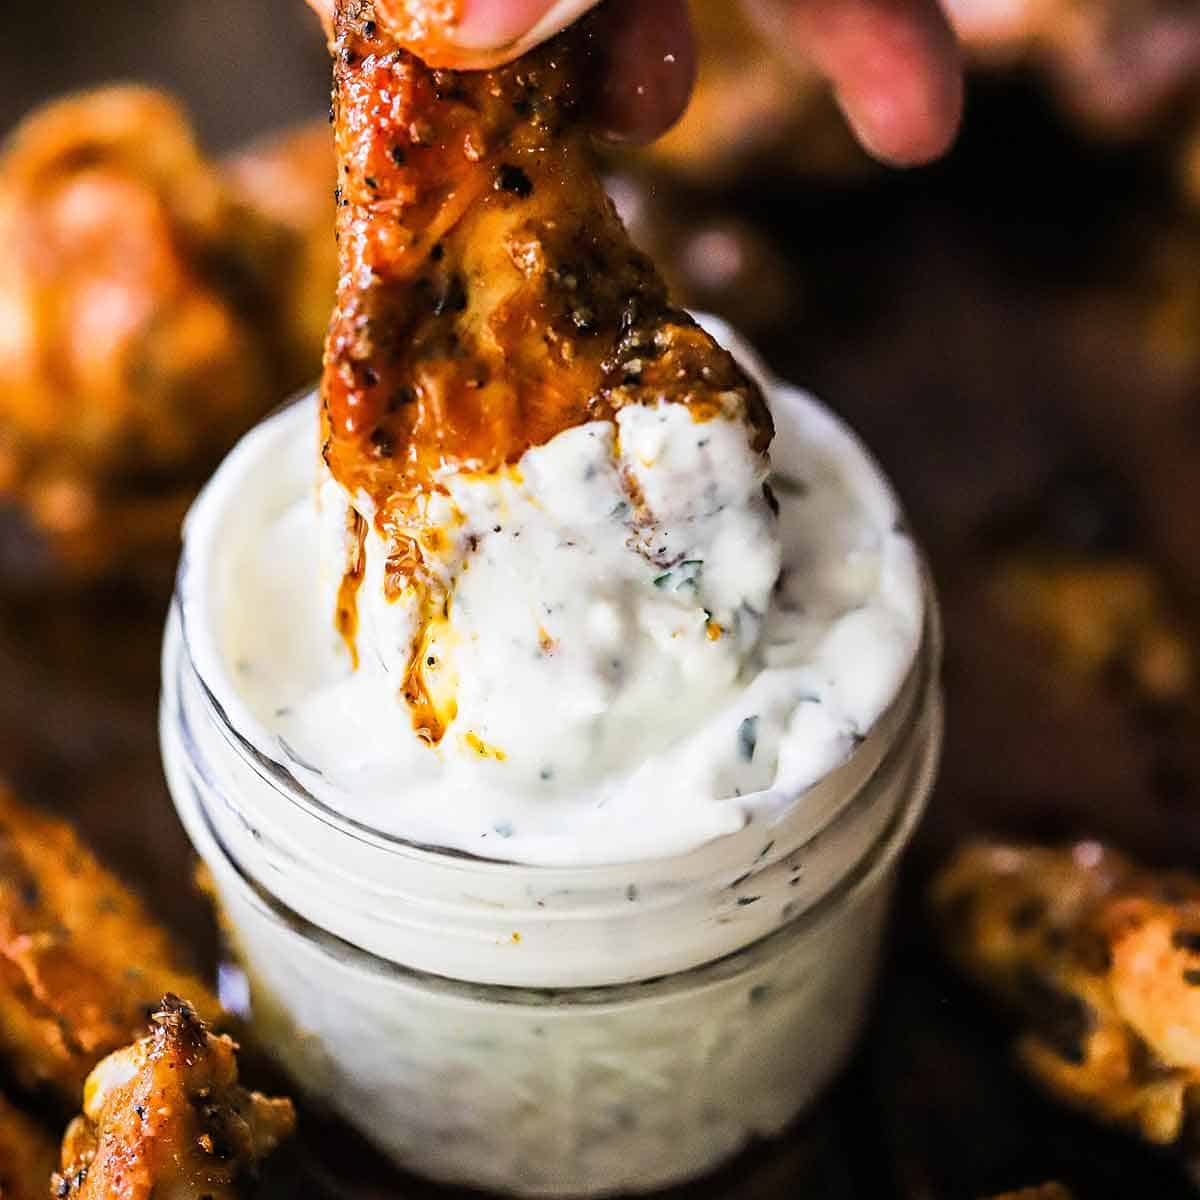
- For the chili sauce mayonnaise, add all of the components into a small/medium bowl and mix until fully combined. Place in the fridge and chill for at least 30 minutes (or up to 24 hours).
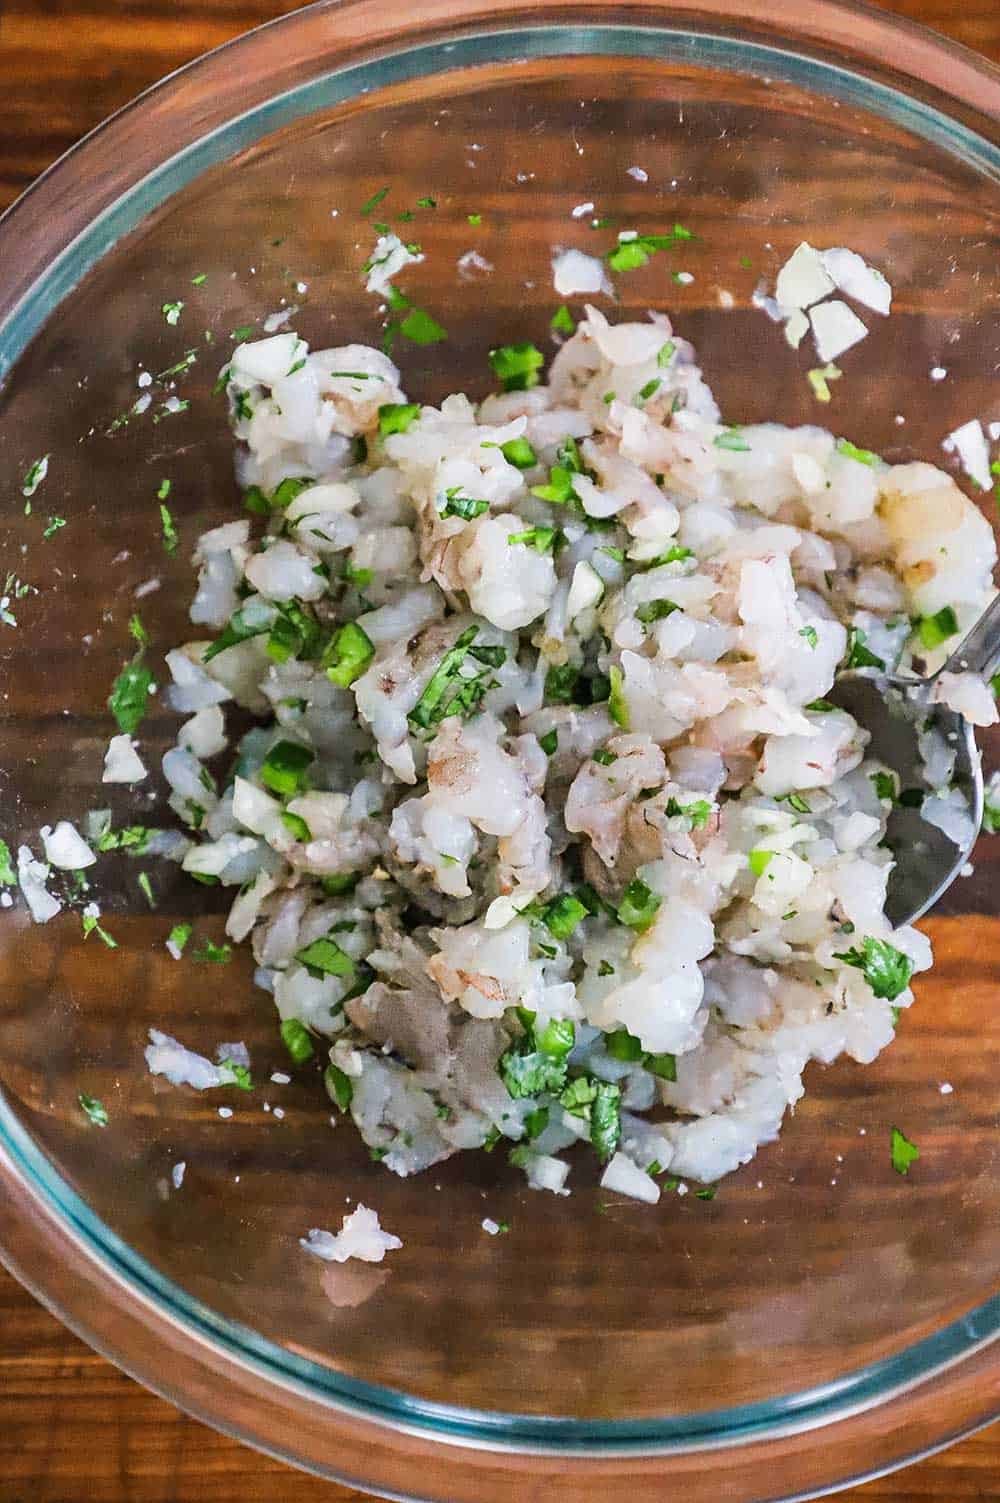
Make the Burgers
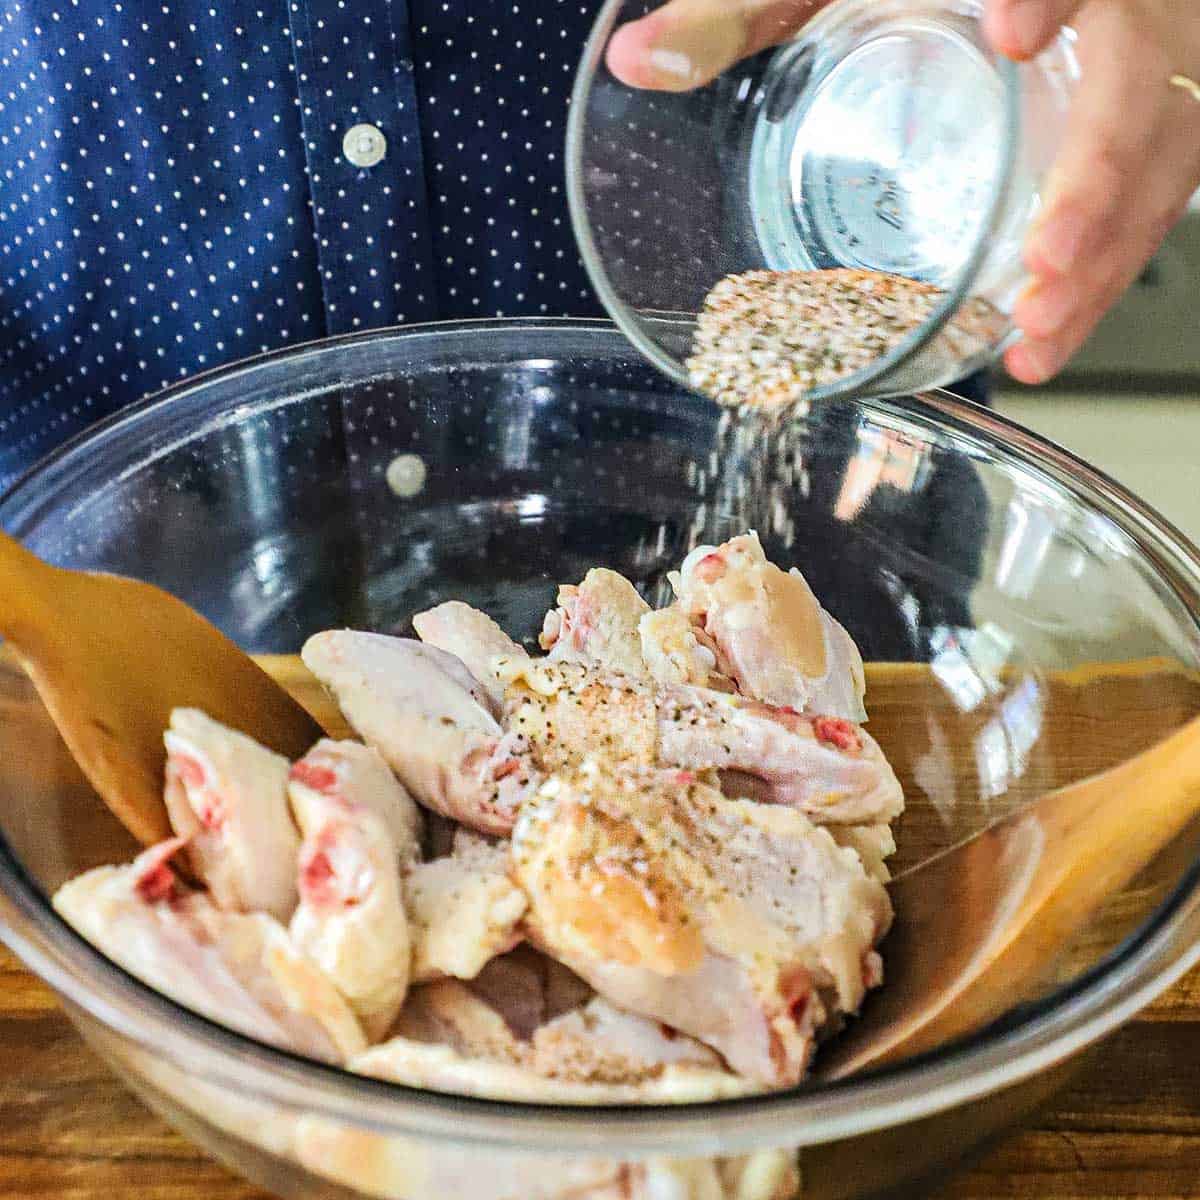
- In a large bowl, mix together the beef, soy sauce, sesame oil, garlic, and ginger until fully combined. Use your hands to form 4 patties, about 6 ounces each. Place on parchment paper and place in the fridge for about 30 minutes.
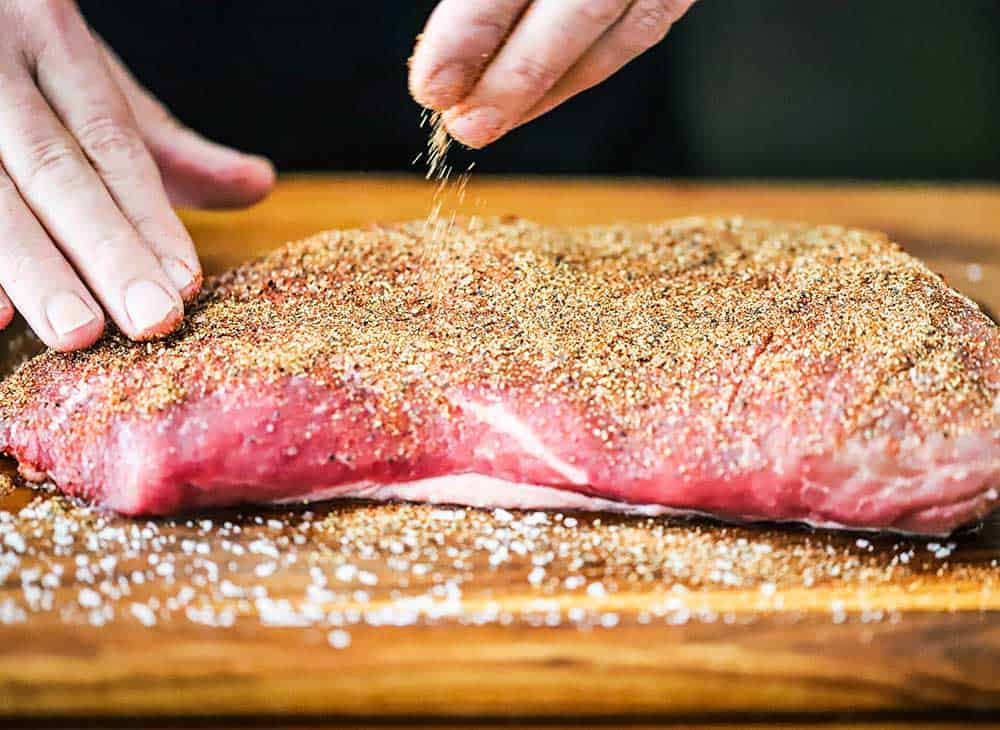
- Remove the patties from the fridge and let rest for another 30 minutes. Salt and pepper on both sides of each patty.
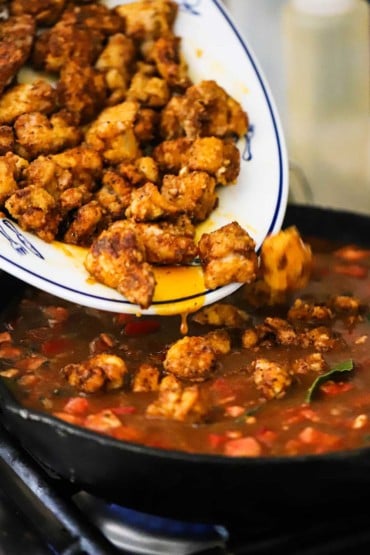
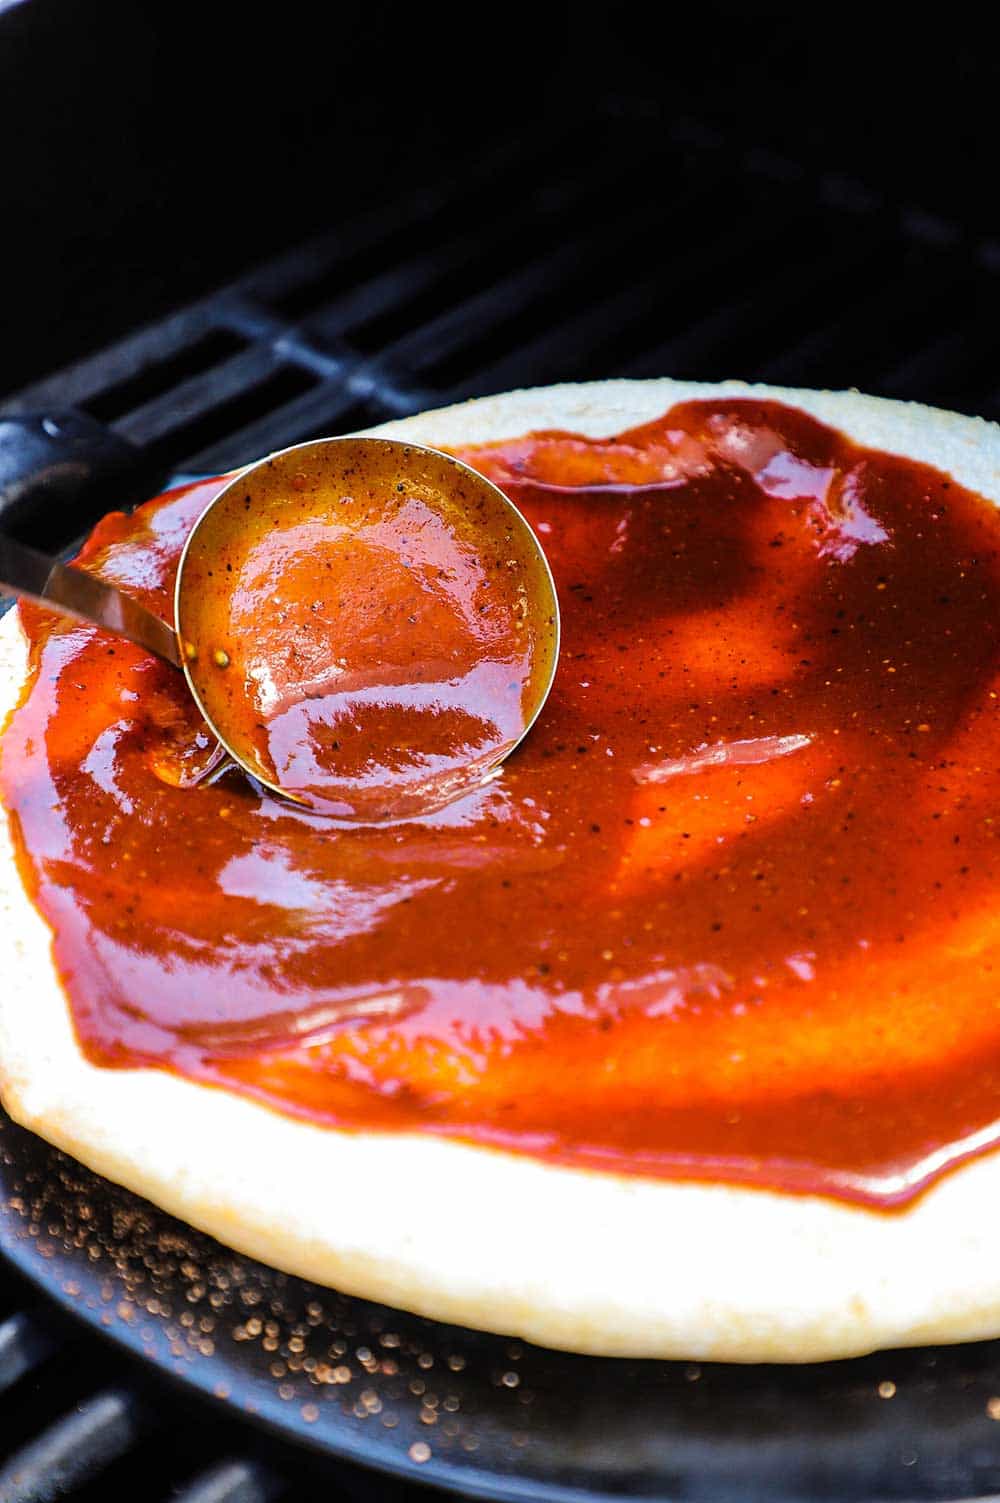
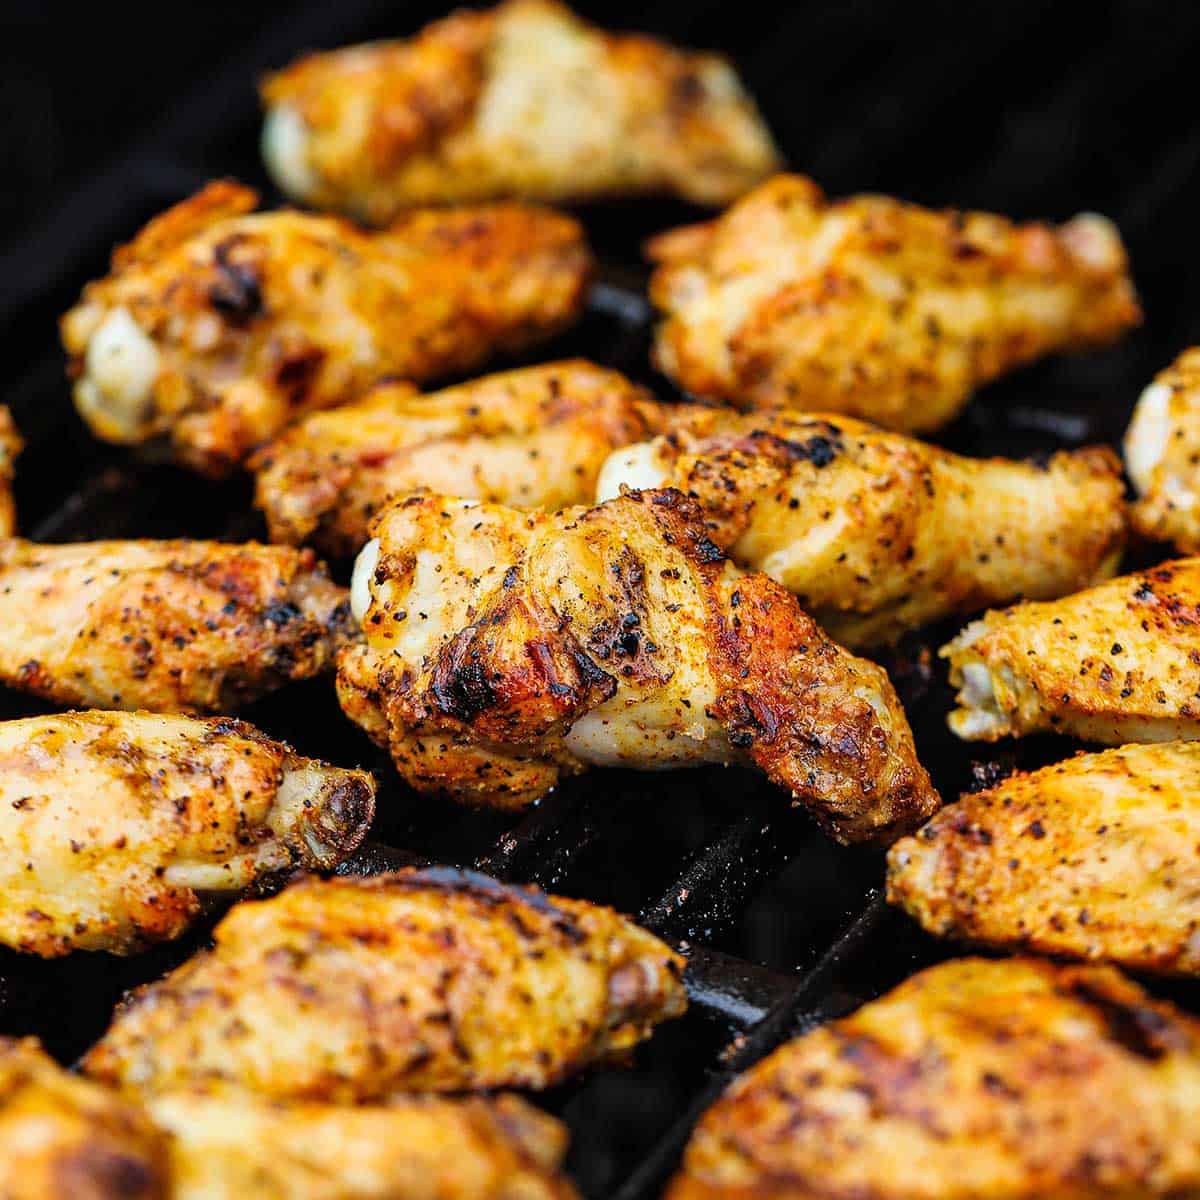
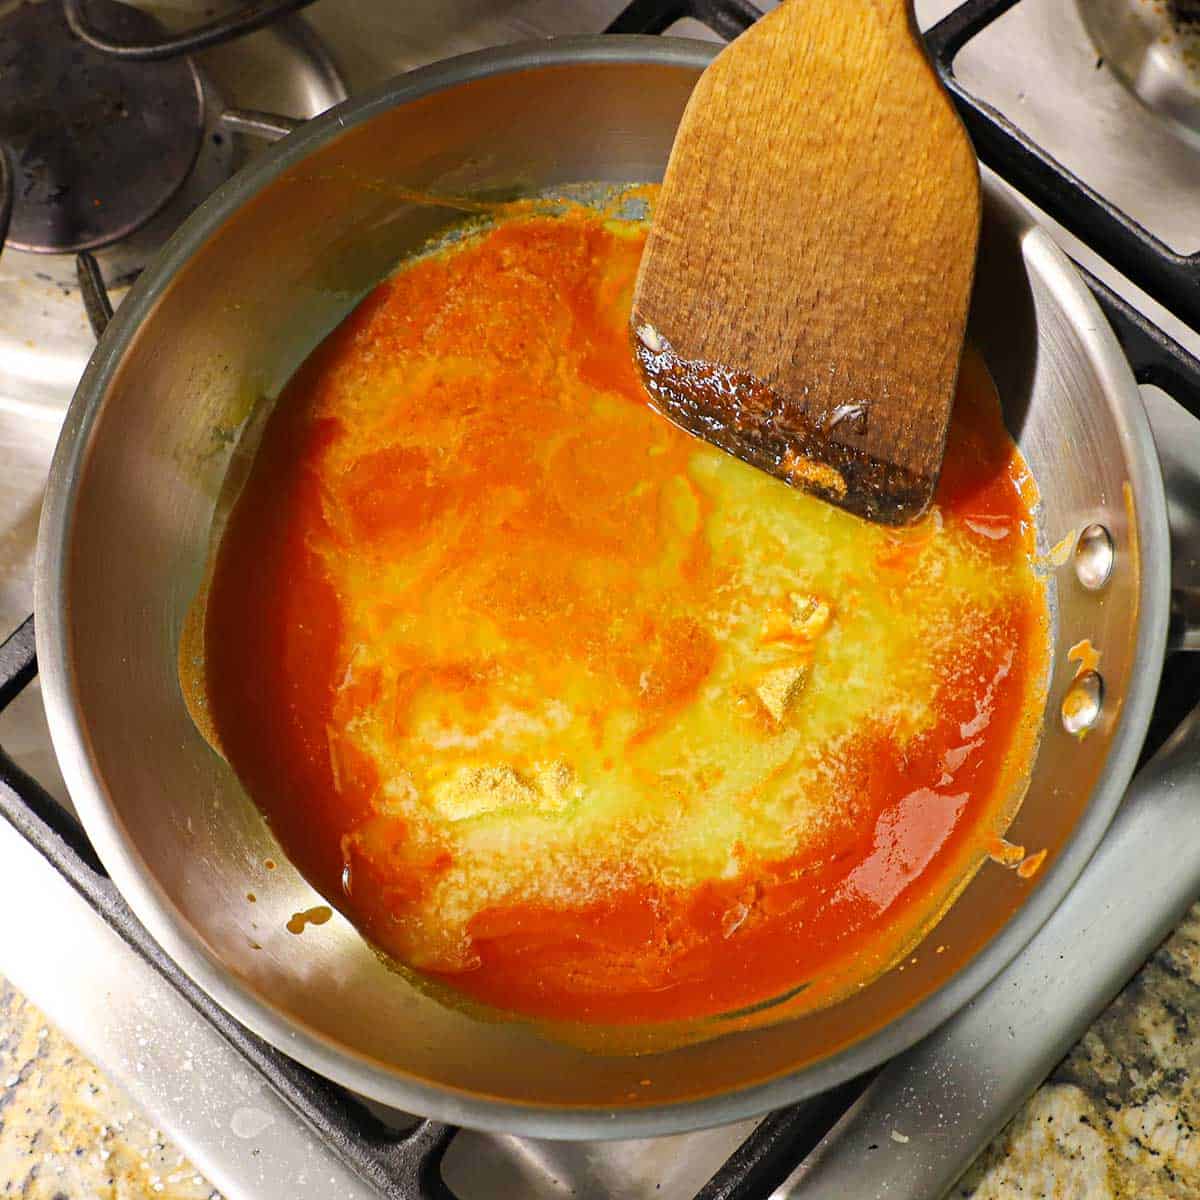
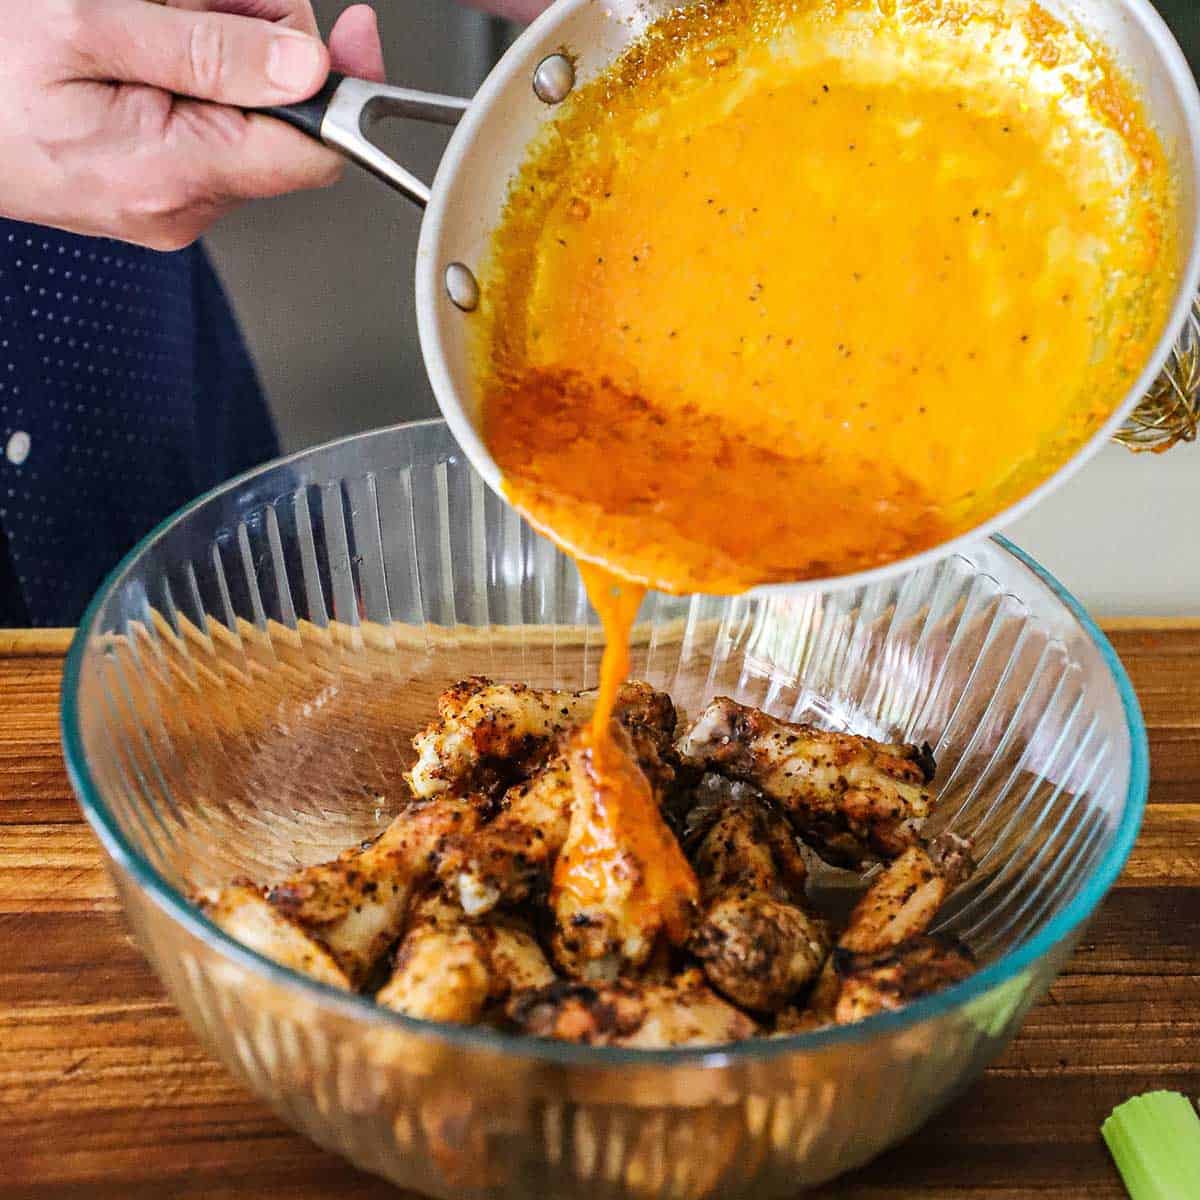
- Heat your grill to medium-high heat. Pour about ½ cup of the Korean BBQ sauce into a small bowl. Add the rest of the sauce to a small/medium skillet.
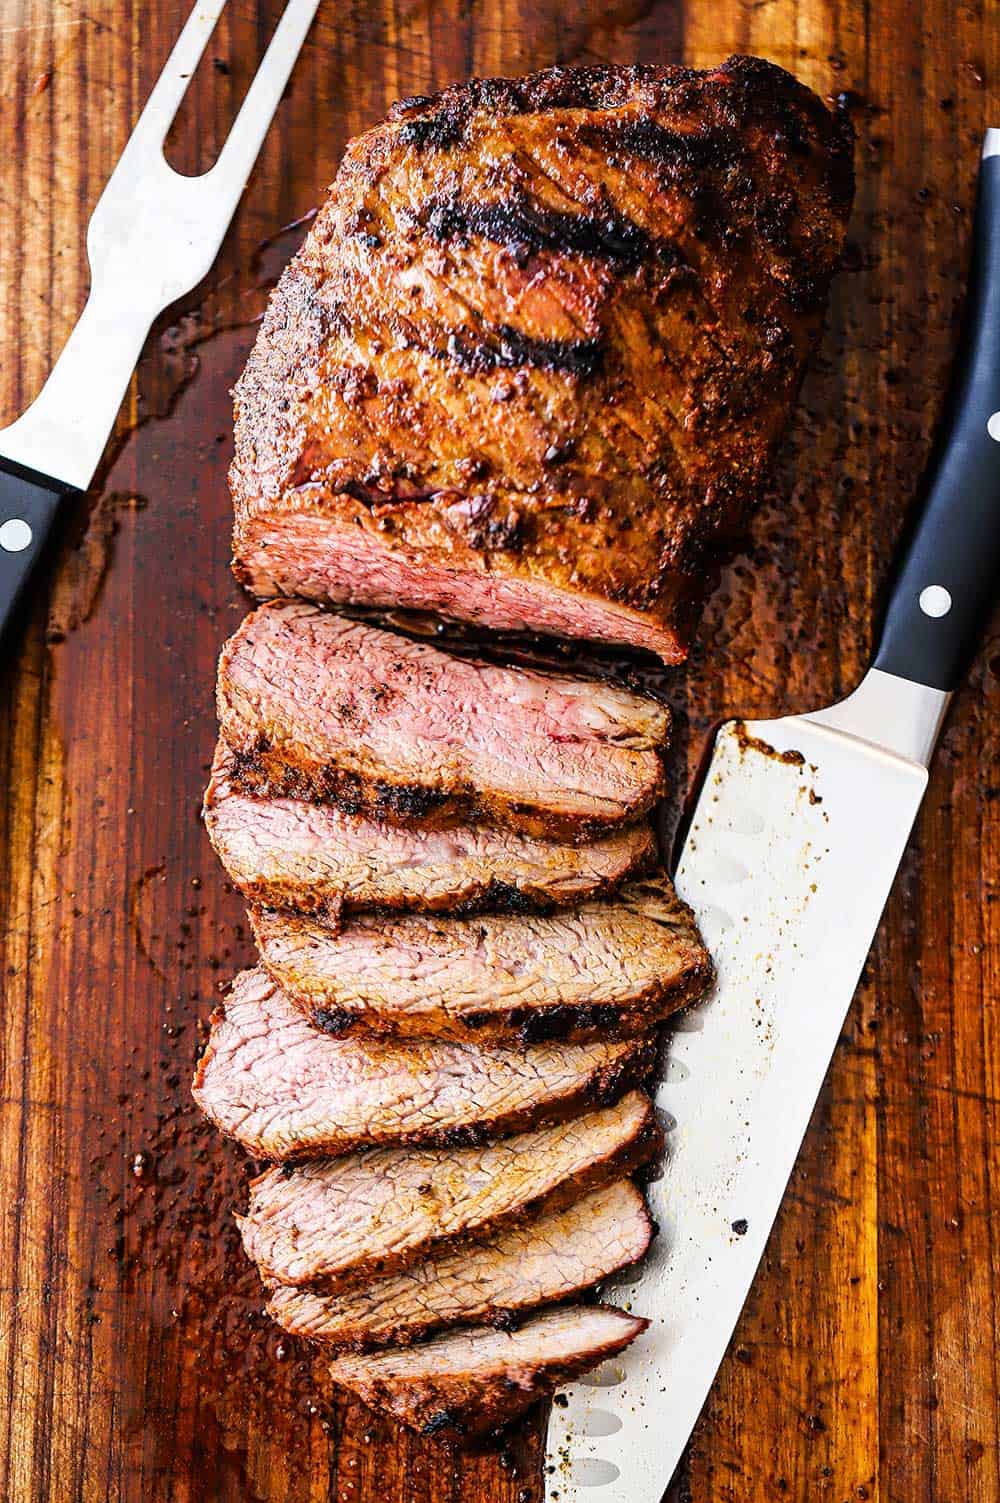
- Place the patties over direct heat. Brush the patties with the BBQ sauce. Flip and brush on more of the sauce. Cook to desired doneness, about 12 minutes (total) for medium. Heat the sauce in the skillet over medium heat. Remove the patties from the grill and the skillet from the stove (or grill). Use a spatula to carefully submerge a patty into the sauce, flip it, and transfer it to a platter. Repeat with remaining burgers.
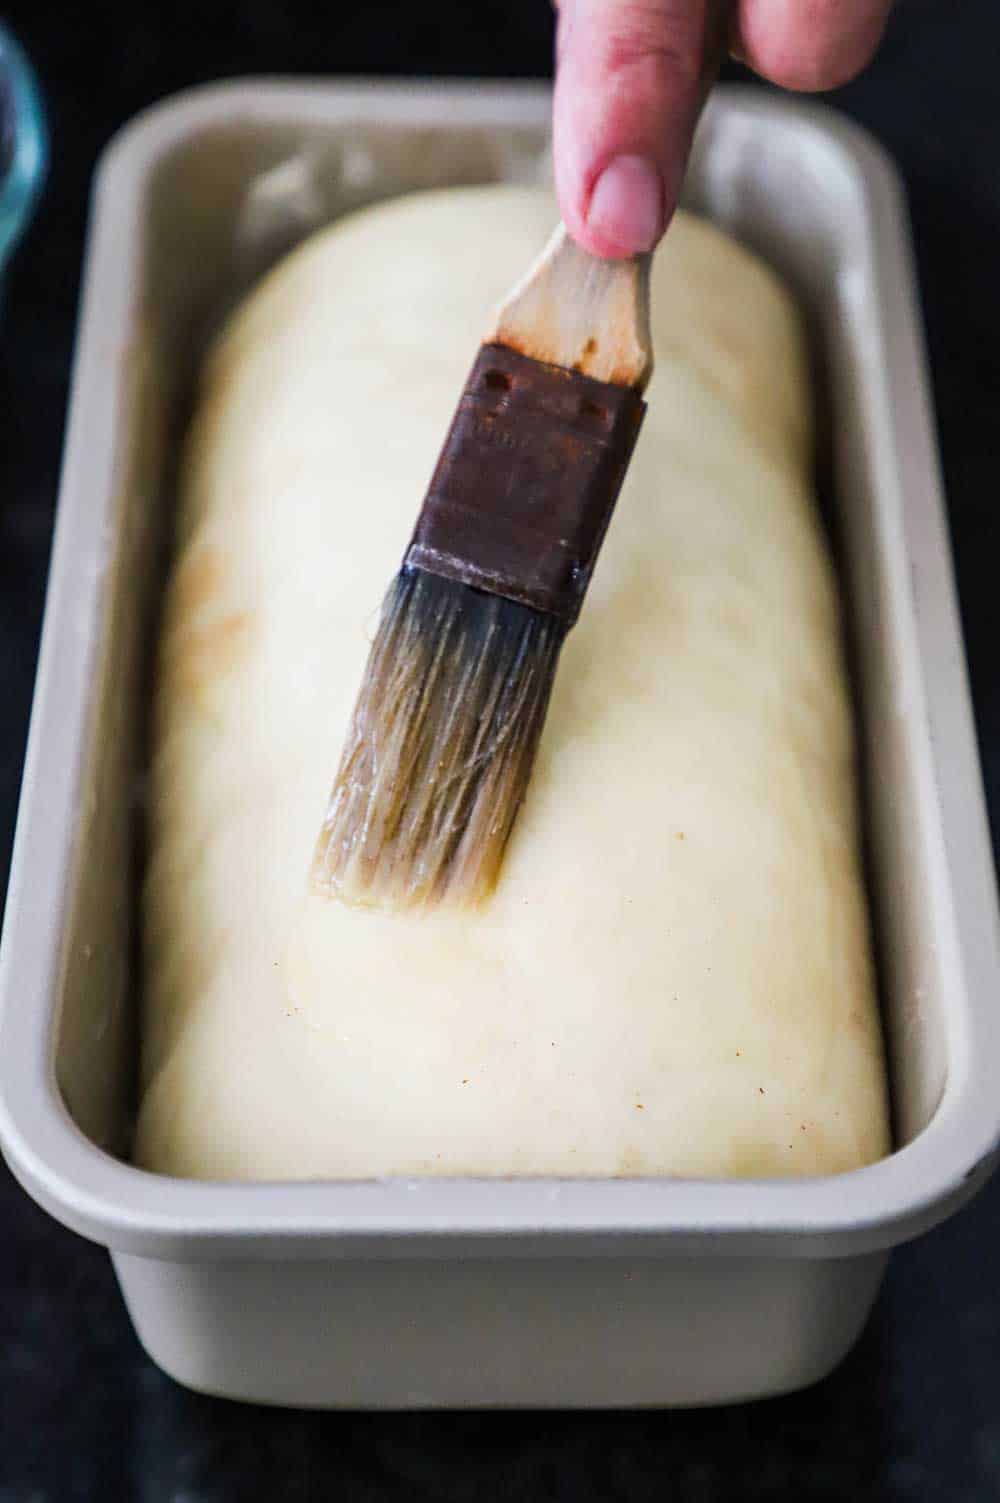
- Meanwhile, smear the softened butter on the cut sides of the buns. Place on the grill until toasted and lightly browned.
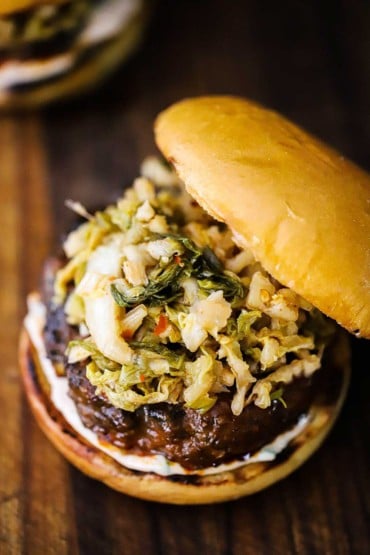
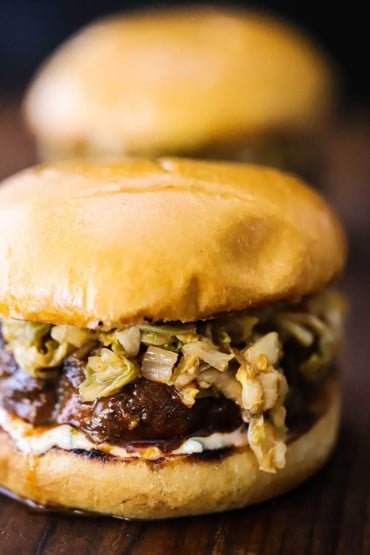
- On each of the bottom buns, smear a layer of the chili sauce mayonnaise. Add the sauced patty, and then use a pair of tongs to place a pile of kimchi on top of the burger. Top with the top bun and serve at once.