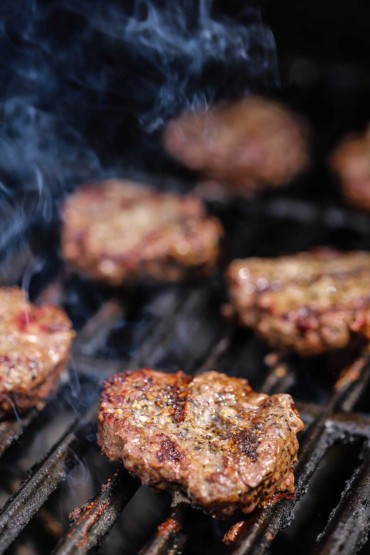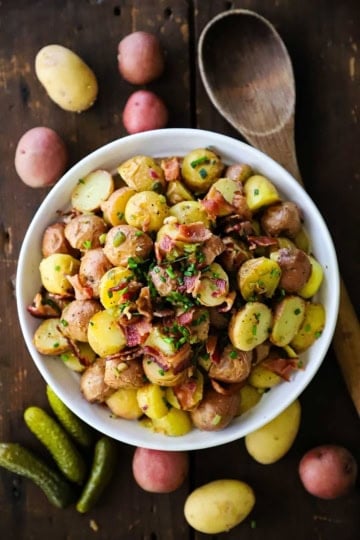
We love this Best German Potato Salad for a number of reasons. First and foremost, it’s incredibly flavorful. It can be served warm or at room temperature. It’s a beautiful salad. It’s perfect to serve all year. We especially love serving it at cookouts alongside the best grilled chicken, slow-cooker corn on the cob, and Caprese pasta salad.

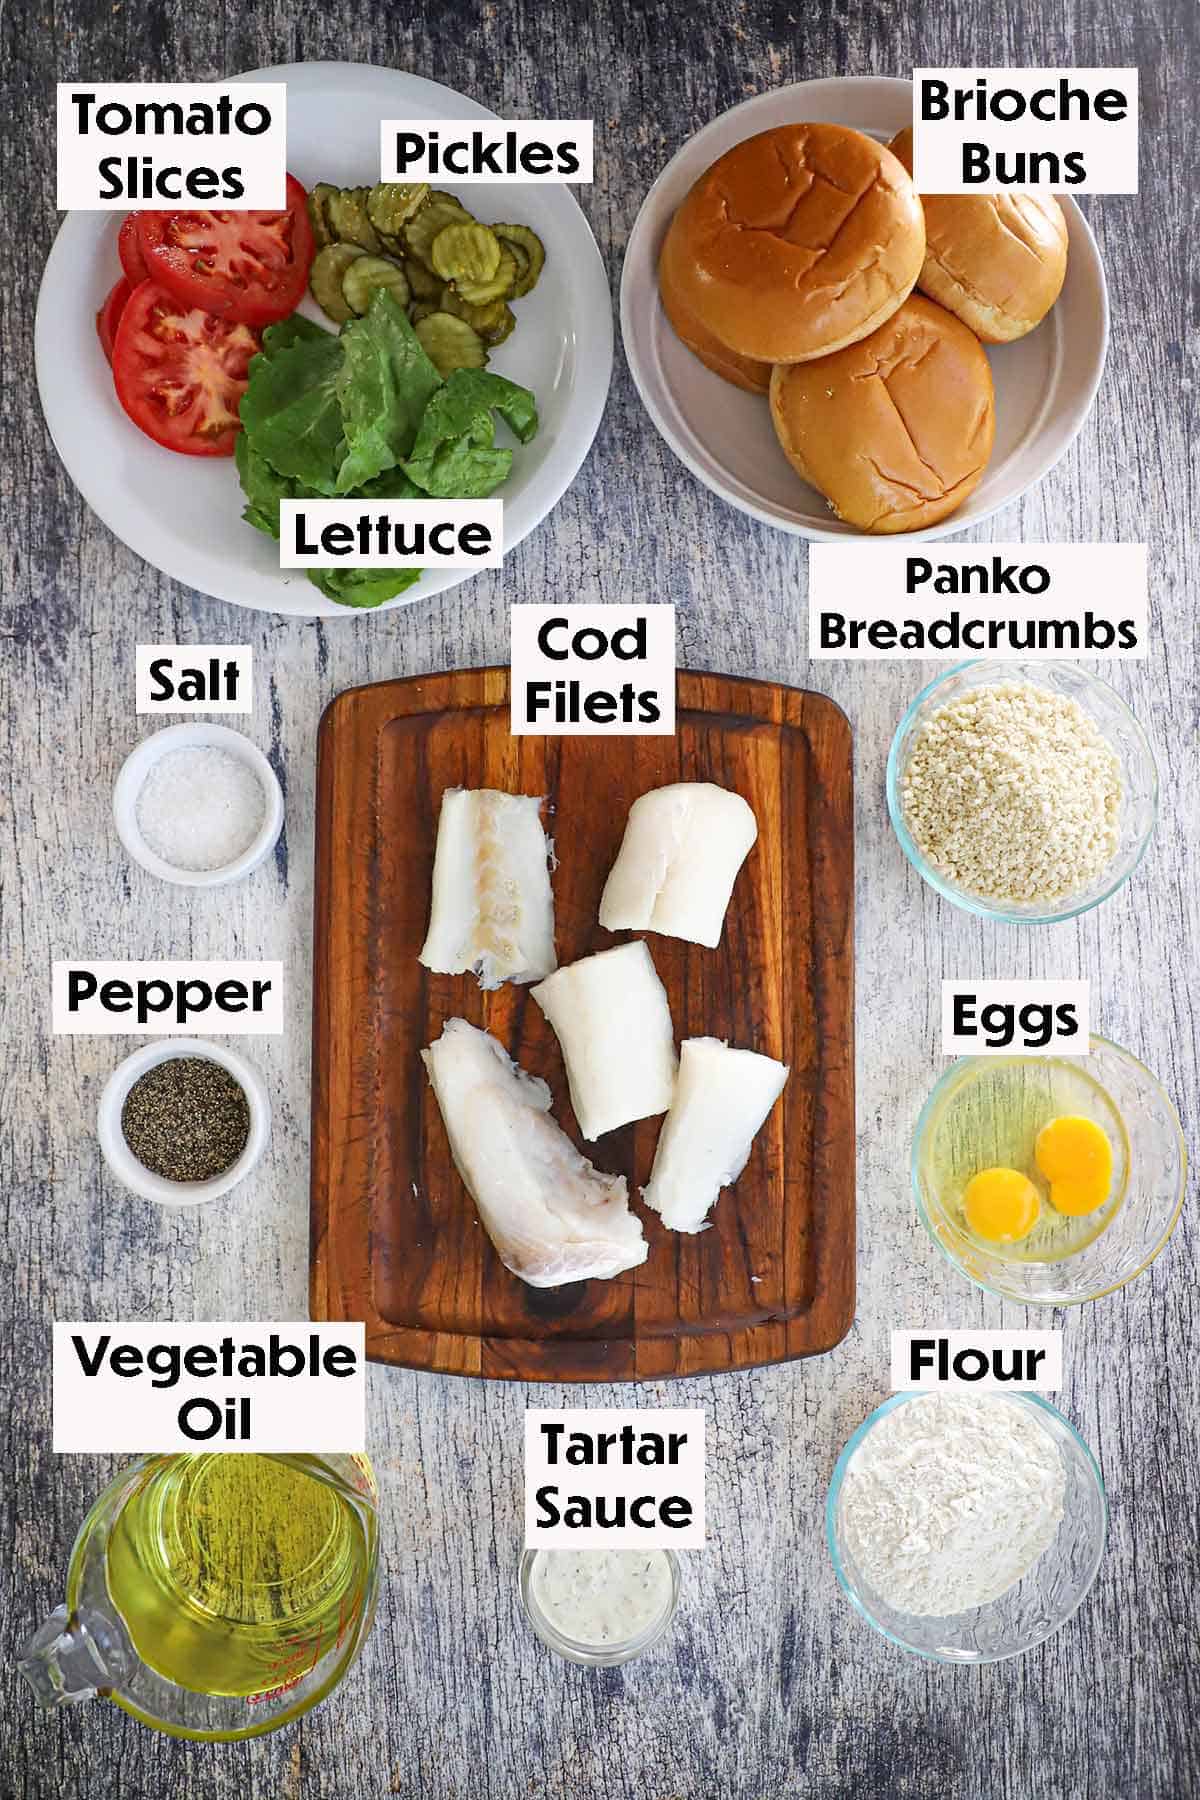
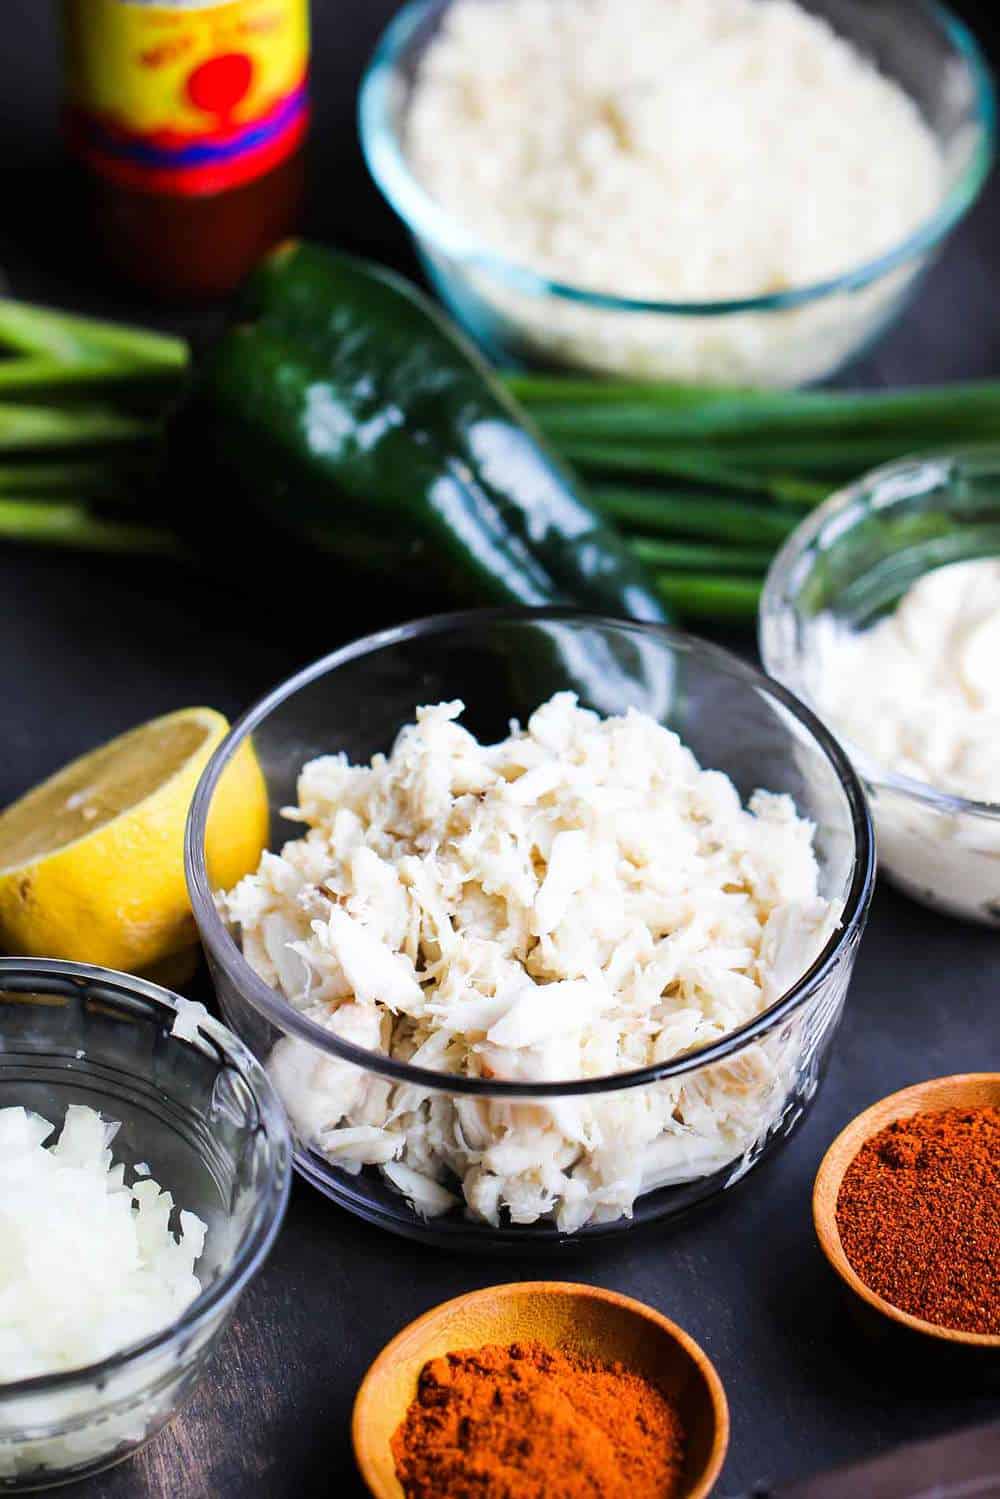
🥓 The Ingredients
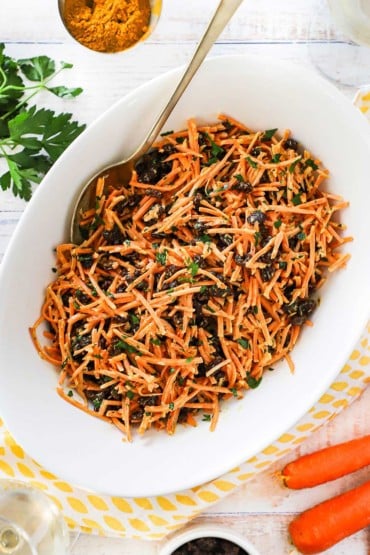
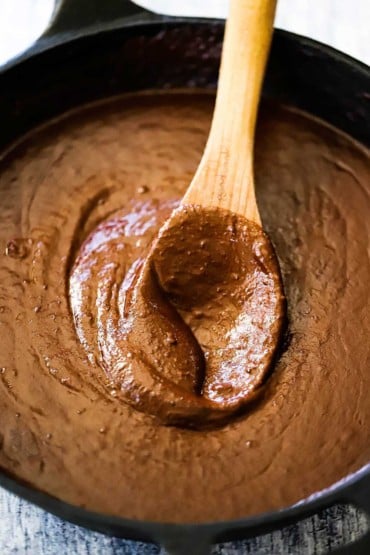
Smoky bacon, zesty mustard, and tender baby potatoes get tossed in a tangy vinegar broth for a German Potato Salad that’s equal parts hearty and crave‑worthy. Find ingredient notes (including substitutions and variations) below.

👉 Substitutions and Variations
- Baby Potatoes (red & yellow): Their thin skins mean no peeling required, or just partial peeling; Yukon Golds or fingerlings also work well.
- Bacon: Adds smoky depth—substitute with pancetta, turkey bacon, or omit for a vegetarian version (just add a little smoked paprika for flavor).
- Mustard (two types): A mix of Dijon and whole grain gives tang and texture; swap with spicy brown mustard or German mustard for a bolder bite.
- Chicken Broth: Enhances flavor—vegetable broth works for a vegetarian option.
- Vinegar: White wine vinegar is classic, but apple cider vinegar or even red wine vinegar can be used for a slightly different tang.
- Salt & Pepper: Season generously; a pinch of sugar balances the acidity, and a dash of paprika for warmth.
See the recipe card (with video) below for a full list of ingredients and measurements.
🇩🇪 Tips and Tricks for Perfect German Potato Salad
- Cook potatoes gently: Simmer, don’t boil hard, to keep baby potatoes tender without falling apart. Peel some of the skin off so the potatoes will soak in some of the dressing.
- Slice while warm: Warm potatoes soak up the tangy dressing better, giving the salad more flavor.
- Balance the tang: If the vinegar and mustard taste too sharp, stir in a pinch of sugar or a drizzle of honey.
- Crisp the bacon well: Extra‑crispy bacon adds the best texture contrast—save some to sprinkle on top just before serving.
- Serve warm or room temp: German potato salad is traditionally served warm, but it’s just as tasty at room temperature.
Expert Tip
For the best flavor and texture, partially peel some of the potatoes before cooking—this helps them soak up more of the tangy mustard‑vinegar dressing when tossed warm, making every bite extra flavorful.
👩🏼🍳 How To Make German Potato Salad

- Step 1: Roast the potatoes at 400°F until tender enough to pierce with a sharp knife, about 40 to 55 minutes.

- Step 2: Cook the chopped bacon in a skillet until crispy and then transfer to a paper towel-lined plate.

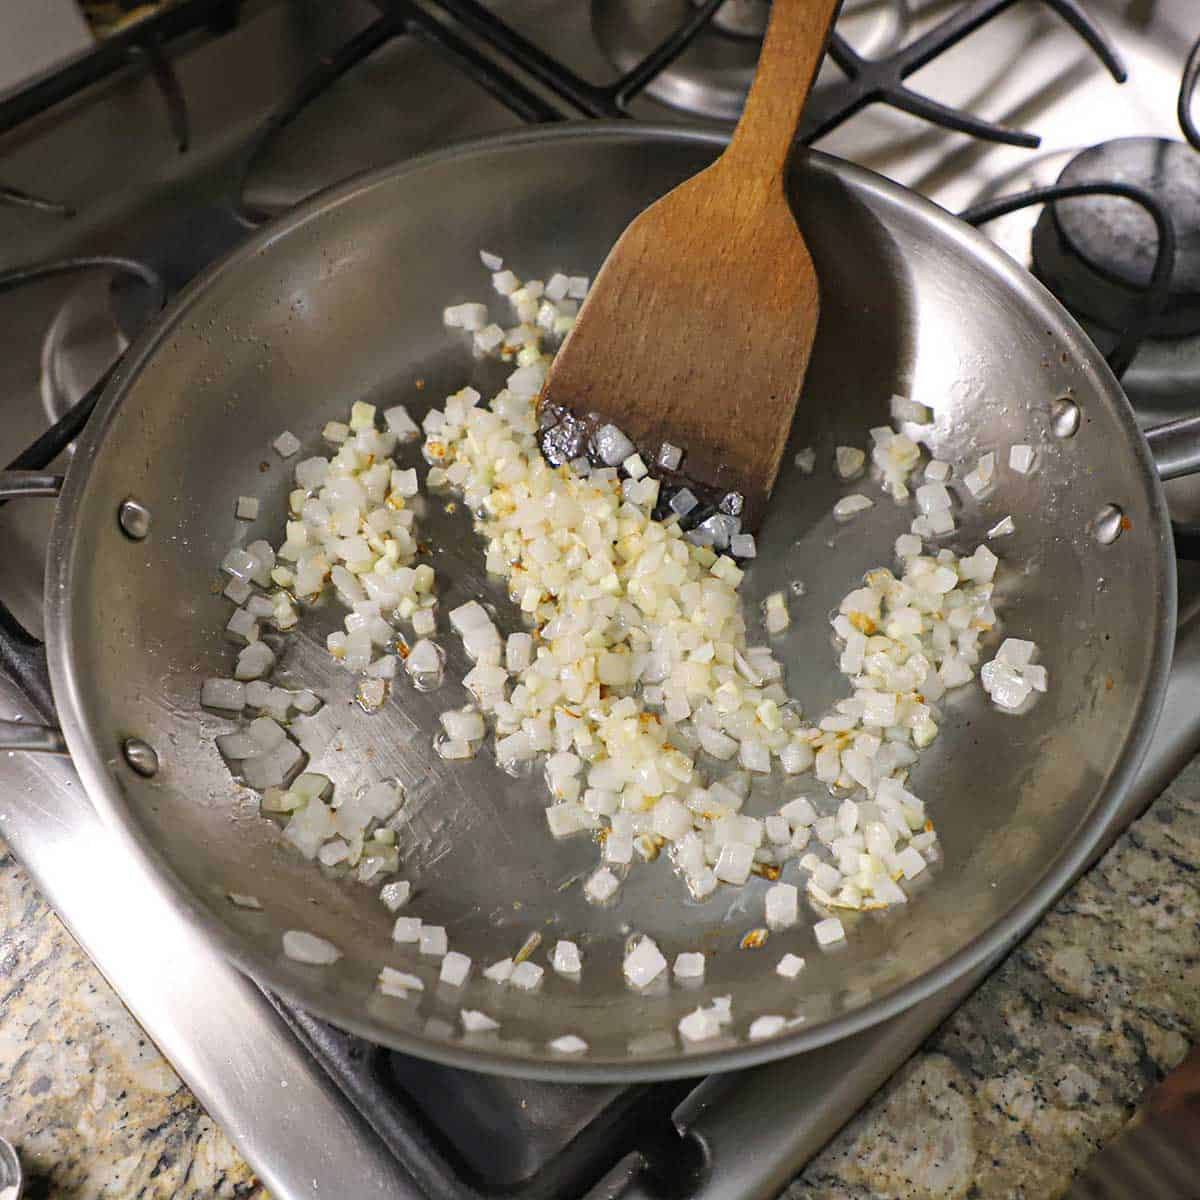
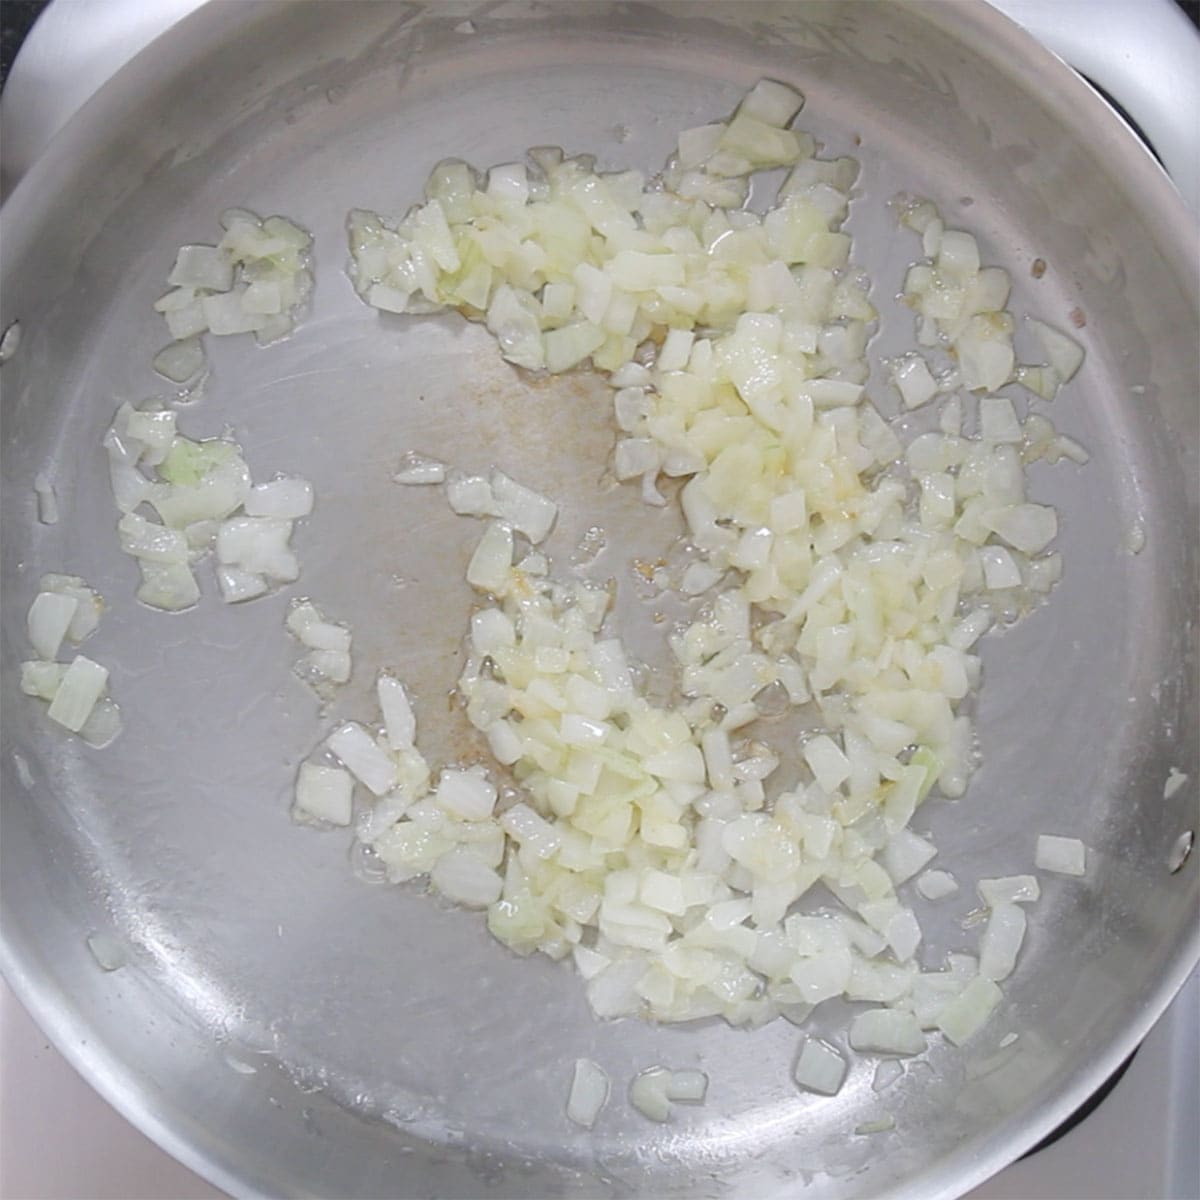
- Step 3: Stauté the chopped onion in the rendered bacon grease.

- Step 4: In a different pan, bring the broth, vinegar, salt, pepper, sugar, both mustards, and the onions with bacon grease to a boil.

- Step 5: Place the potatoes in a serving bowl and pour the warm dressing over them. Toss to coat.

- Step 6: Stir in the pickles and most of the bacon and chives. Garnish with more bacon and chives and serve at once.
🍽️ How To Serve
- Serve warm alongside classic German mains like bratwurst, German pork schnitzel, or roast pork.
- Pair with grilled sausages and sauerkraut for an Oktoberfest‑style spread.
- Enjoy as a hearty side dish at barbecues or picnics—it travels well and tastes great at room temperature.
- Add to a holiday table as a tangy alternative to creamy potato salad.
Expert Tip
If making the salad ahead, save a little extra dressing and stir it in just before serving—this refreshes the flavors and keeps the potatoes from drying out.
🙋🏽♂️ Frequently Asked Questions
Yes, you can prepare it a day in advance. Store it in the fridge and reheat gently before serving, or enjoy it cold or at room temperature.
It will keep for 3–4 days in an airtight container. The flavors often deepen as it sits, but the potatoes may soften slightly.
Absolutely—just skip the bacon or substitute with a vegetarian alternative. Adding smoked paprika can help mimic the smoky flavor.
Waxy potatoes like red, yellow, or fingerlings hold their shape best and absorb the dressing without turning mushy.
Yes, it’s naturally gluten-free since it’s made with potatoes, bacon, mustard, vinegar, and broth—just double-check labels on broth and mustard to ensure they don’t contain gluten additives.

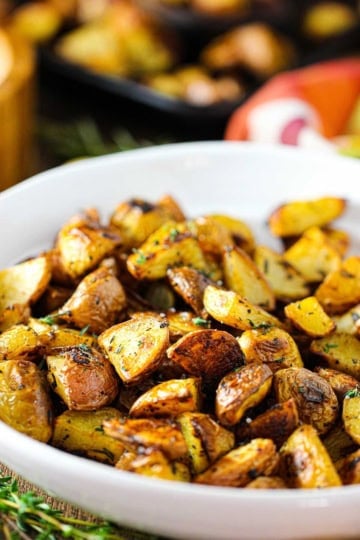
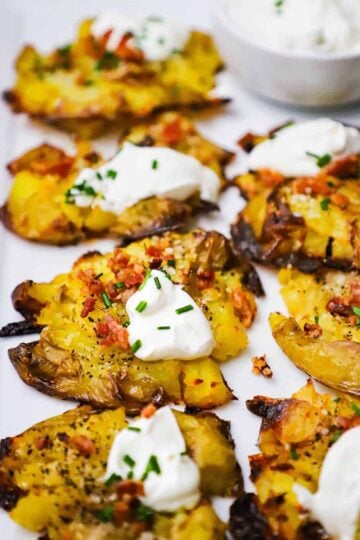
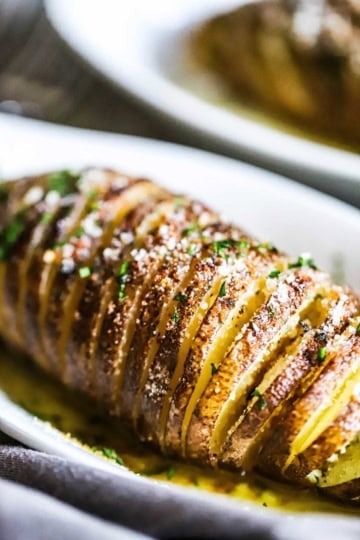
🥔 Other Amazing Potato Side Dish Recipes

Ready to make the best potato salad this side of Berlin? Go for it!
And when you do, be sure to take a photo of it, post it on Instagram, and tag @HowToFeedaLoon and hashtag #HowToFeedaLoon!

Best German Potato Salad
Equipment
- Roasting pan or baking sheet
- Large skillet for cooking bacon
- Medium saucepan for simmering dressing
Ingredients
- 1½ lb baby red potatoes
- 1½ lb baby gold potatoes
- 4 strips bacon
- ½ cup red onion chopped
- ½ cup chicken broth can substitute vegetable broth
- ¼ cup white wine vinegar
- 1 teaspoon Kosher salt
- ½ teaspoon black pepper ground
- 1 teaspoon sugar
- 1 tablespoon Dijon mustard
- 1 tablespoon spicy brown mustard
- ¼ cup dill pickles finely chopped
- ¼ cup chives finely chopped
Instructions
- Preheat oven to 400°F.
- Pierce the potatoes once with a sharp knife or fork (this will keep them from bursting in the oven). Place the potatoes on a baking sheet and roast them until tender, about 40 to 55 minutes. (Check doneness by inserting a sharp knife.)1½ lb baby red potatoes, 1½ lb baby gold potatoes
- Once the potatoes are cool enough to handle, cut the larger ones in half and remove the skin from about half of them (the skin will be somewhat loose from being roasted). Place potatoes in a large bowl.
- Meanwhile, cook the bacon in a large skillet until crisp. Remove to a paper towel-lined plate. Keep the rendered bacon grease in the skillet.4 strips bacon
- Over medium heat, sauté the chopped red onions in the bacon grease until soft, about 4 minutes. Turn off the heat. Crumble the cooked bacon and set aside.½ cup red onion
- In a separate saucepan, add the chicken broth, vinegar, salt, pepper, and sugar, and bring to a boil. Add the two mustards and the sautéed onions with the bacon grease. Reduce the heat and simmer for about 5 minutes.½ cup chicken broth, ¼ cup white wine vinegar, 1 teaspoon Kosher salt, ½ teaspoon black pepper, 1 teaspoon sugar, 1 tablespoon Dijon mustard, 1 tablespoon spicy brown mustard
- Pour the warm dressing over the potatoes and add the chopped pickles, and most of the crumbled bacon and snipped chives (save some for garnish).¼ cup dill pickles, ¼ cup chives
- Use two large wooden spatulas or spoons to gently toss the potatoes in the dressing. Allow the salad to sit for a few minutes to absorb the dressing.
- Taste and add more salt, if desired. Top with remaining bacon and chives. Serve warm or at room temperature.
Video
Notes
Nutrition
POST UPDATE: This recipe was originally published April 2018, but was updated with improved tweaks to the recipe with new tips and photography and a fabulous new video in July 2023!