
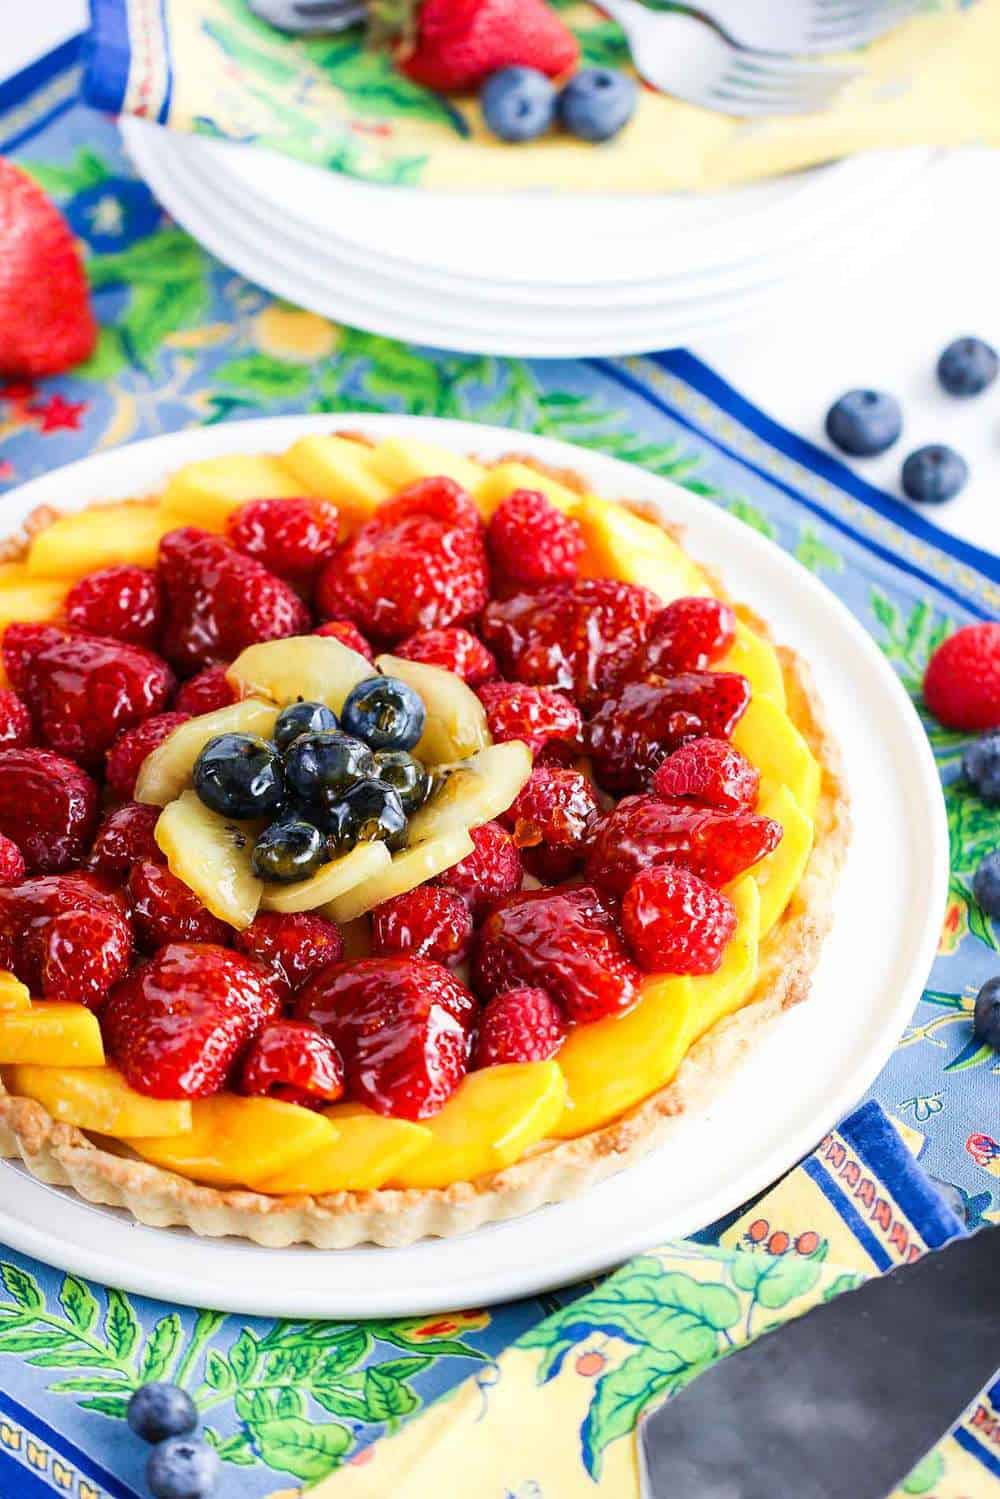
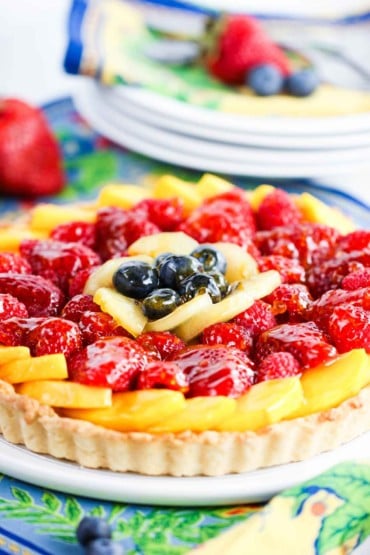
Nothing spells the joys of summer much better than this gorgeous tart.
If you’re looking for a summertime dessert to serve that is sure to impress, this is the recipe for you. A slightly sweet crust, topped with a vanilla custard and amazing fresh fruit is a combination that your guests will never forget. This gives our Tomato Tart with Fresh Corn and Herbs a run for the money!
How To Make a Classic Fruit Tart
This tart is festive in appearance, but the taste is truly spectacular.
It can be made in advance of serving, which makes it an ideal dessert to bring to an outdoor BBQ, a shower, or any time you’re in need of a wonderful dessert.
NOTE: If you liked this video, please subscribe to our YouTube channel. Remember to click the little ‘bell’ icon so you’ll never miss a new video! Thank you!
The Ingredients You Will Need
There are three main components to this tart. The tart crust, the vanilla custard, and then, of course, the fresh fruit.
Here’s What You’ll Need to Have on Hand
For the Sweet Tart Pastry:
Egg yolk – Room temperature
Water – Ice cold
Vanilla extract – Madagascar is a great option
Flour – All-purpose
Sugar – Granulated
Salt – Kosher
Butter – Unsalted, cube, ice cold
For the Vanilla Custard:
Milk – Whole
Egg yolks – Room temperature, if possible
Sugar – Granulated
Cornstarch
Salt – Kosher
Vanilla extract – Go with a good-quality brand, if possible
For the Fruit Topping:
Mango – Peeled and cut into strips
Strawberries – Hulled and cut into strips, or halved
Raspberries – Can substitute blackberries
Kiwi – Peeled and cut into slices
Blueberries – Fresh is definitely the best
Apricot jam – For a nice glaze
EXPERT TIP: After tempering the eggs, you’ll want to cook the mixture on medium-low heat, otherwise, the custard could seize up on you and become too thick and lumpy. If this starts to happen, remove the pan immediately from the stove and stir vigorously until smooth. Chill the custard completely before smoothing over the tart crust.
Tips for Making a Perfect Fruit Tart
Make the Crust – You could go with store-bought pie dough, but making this slightly sweet tart crust from scratch puts the tart over the top.
Cool the Custard Completely – After you’ve prepared the custard, it’s important to let it cool completely in the refrigerator. To keep it from forming a film, press plastic wrap over the surface of the custard.
Chill the Tart – You can serve the tart as soon as you’ve assembled it, but we recommend letting it chill in the fridge for about 1 hour before serving. If making in advance, keep the tart covered and in the fridge until ready to serve.
Other Amazing Fruit Recipes To Try
Fruit is one of Mother Nature’s most beautiful, delicious, and healthy gifts to us. Here are some of our favorite recipes starring beautiful fruit:
Summer Fruit Salad
Strawberry Pavlova
Wild Berry Bread Pudding with Orange Sauce
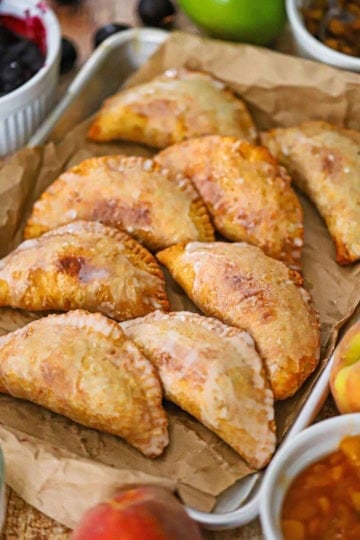
Old-Fashioned Peach Cobbler
Grilled Peaches with Caramel Sauce
Wild Berry Parfait with Mascarpone
Classic Cheery Pie
Homemade Blueberry Pop Tarts
Raspberry Linzer Bars
These are all spectacular in their own way. Isn’t this incredible fruit tart calling your name?
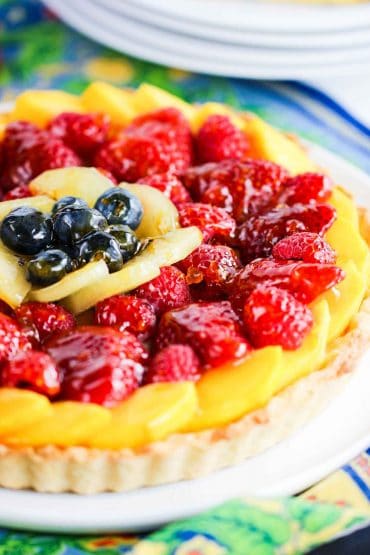
There is honestly so much to love about this glorious dessert.
It is one of those presentations that always generates lots and lots of “oohs” and “ahs.”
The crust and custard can be made several hours in advance, and then the assembly is a snap! Summer never tasted so good!
Ready to make the very best summertime dessert in town? Go for it!
And when you do, be sure to take a photo of it, post it on Instagram, and tag @HowToFeedaLoon and hashtag #HowToFeedaLoon!

Classic Fruit Tart
Video
Equipment
Ingredients
Sweet Tart Dough
- 1 large egg yolk
- 2 tablespoon ice water
- 1 teaspoon vanilla extract
- 1¼ cups all-purpose flour
- ⅓ cup granulated sugar
- ¼ teaspoon salt
- ½ cup unsalted butter 1 stick, cubed, chilled
Vanilla Custard
- 1½ cups whole milk
- 4 large egg yolks
- ⅓ cup granulated sugar
- 3 tablespoon cornstarch
- ¼ teaspoon salt
- 1 teaspoon vanilla extract
Fruit Tart
- 1 mango peeled, cut into strips
- 2 cups strawberries hulled and cut in half or into slices
- 1 cup raspberries
- 2 kiwis peeled, cut into ¼-inch sliced
- ½ cup blueberries
- ½ cup apricot preserves or jam
Instructions
Make the Sweet Tart Crust
- In a medium bowl, gently beat together the egg yolks with the water and vanilla and set aside.1 large egg yolk, 2 tablespoon ice water, 1 teaspoon vanilla extract
- In a stand mixer with the paddle attachment, stir together the flour, sugar, and salt in the mixer bowl. Add the butter and mix on low speed until the texture looks like small pebbles. (If doing this by hand, use the backs of two forks, or a pastry cutter, in a large bowl containing the flour/sugar/salt mixture).1¼ cups all-purpose flour, ⅓ cup granulated sugar, ¼ teaspoon salt, ½ cup unsalted butter
- Add the egg mixture and mix together until just starting to pull together. Don't worry about forming into a ball, but if it's just too crumbly, add very small drops of water, until it just starts to come together.
- Transfer the dough to a lightly floured work surface and press into a disk (resist using your hands too much, because you want the butter to stay as cold as possible). Using a lightly floured rolling pin, roll to about a 12-inch round, gently turning and dusting with flour a couple of times.
- Fold the dough round in half and very carefully place it into a 9 to 9 ½-inch tart pan (preferably with a removable bottom). Unfold and gently press into the sides and bottom of the pan. Trim away excess dough that is hanging over the edges.
- Place the tart shell in the refrigerator for 30 minutes to an hour, to firm up.
- After the shell has been chilling for 15 minutes, preheat the oven to 375°F.
- Remove the tart shell from the fridge and place a piece of parchment paper over the dough, enough so that about 2 inches are hanging over the edges. Fill the tart shell with pie weights, dried rice, or dried beans.
- Bake for 20 minutes and then remove from the oven and carefully remove the parchment paper with weights. Return to the oven for another 5 to 10 minutes, until lightly golden brown. Place on rack to cool completely.
Make the Vanilla Custard
- In a medium-sized saucepan, heat the milk over medium heat until bubbles just start to appear on the edges of the pan. Remove from heat.1½ cups whole milk
- In a large bowl, whisk together the egg yolks and sugar until lighter in color. Add the cornstarch and salt and whisk until incorporated.4 large egg yolks, ⅓ cup granulated sugar, 3 tablespoon cornstarch, ¼ teaspoon salt
- Slowly pour half of the warm milk into the egg yolk mixture while whisking constantly (this prevents the eggs from curdling).
- Whisk in the remainder of the warm milk and then return back to the saucepan. Cook over medium heat, whisking constantly, until it has become the texture of pudding, about 5 to 7 minutes.
- Transfer the custard into a bowl and stir in the vanilla.1 teaspoon vanilla extract
- Cover the custard with plastic wrap and gently press onto the wrap to form a seal. Place in the refrigerator until completely chilled, about 1 to 2 hours.
Assemble and Finish the Tart
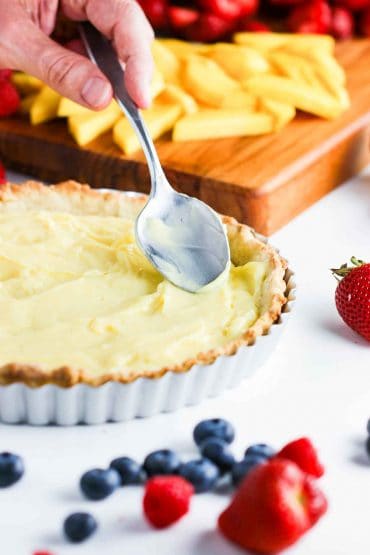
- To assemble the tart, remove the chilled custard from the fridge, and give it a good stir with a spoon.
- Spoon the custard into the bottom of the cooled tart shell and spread evenly.
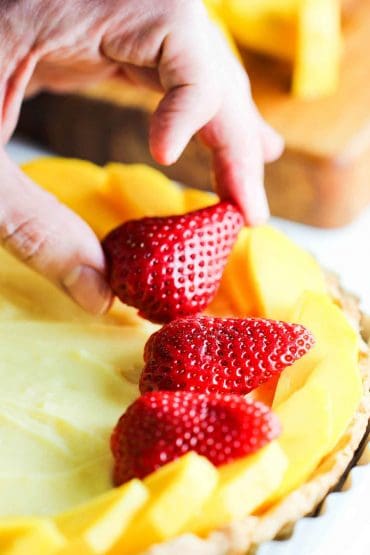
- Arrange the mango in an overlapping ring around the edge of the tart. Place the strawberries, cut side down, in a second ring inside the first, then arrange the raspberries in a third ring. Overlap the kiwi in a fourth ring and fill the hole in the center with the blueberries.1 mango, 2 cups strawberries, 1 cup raspberries, 2 kiwis, ½ cup blueberries
- Meanwhile, heat the apricot preserves (or jam) in a small saucepan over low heat until liquified. If chunky, strain it into a small bowl. Brush a thin coating of the preserves all over the top of the fruit.½ cup apricot preserves
- If your tart pan has a removable bottom, gently lift the tart from the sides. Serve at room temperature.
Notes
Nutrition
POST UPDATE: This recipe was originally published in June 2018, but was updated with improved tweaks to the recipe with new tips and a fabulous new video in June 2023!
Chris says
This tart is so delicious. Just love it!