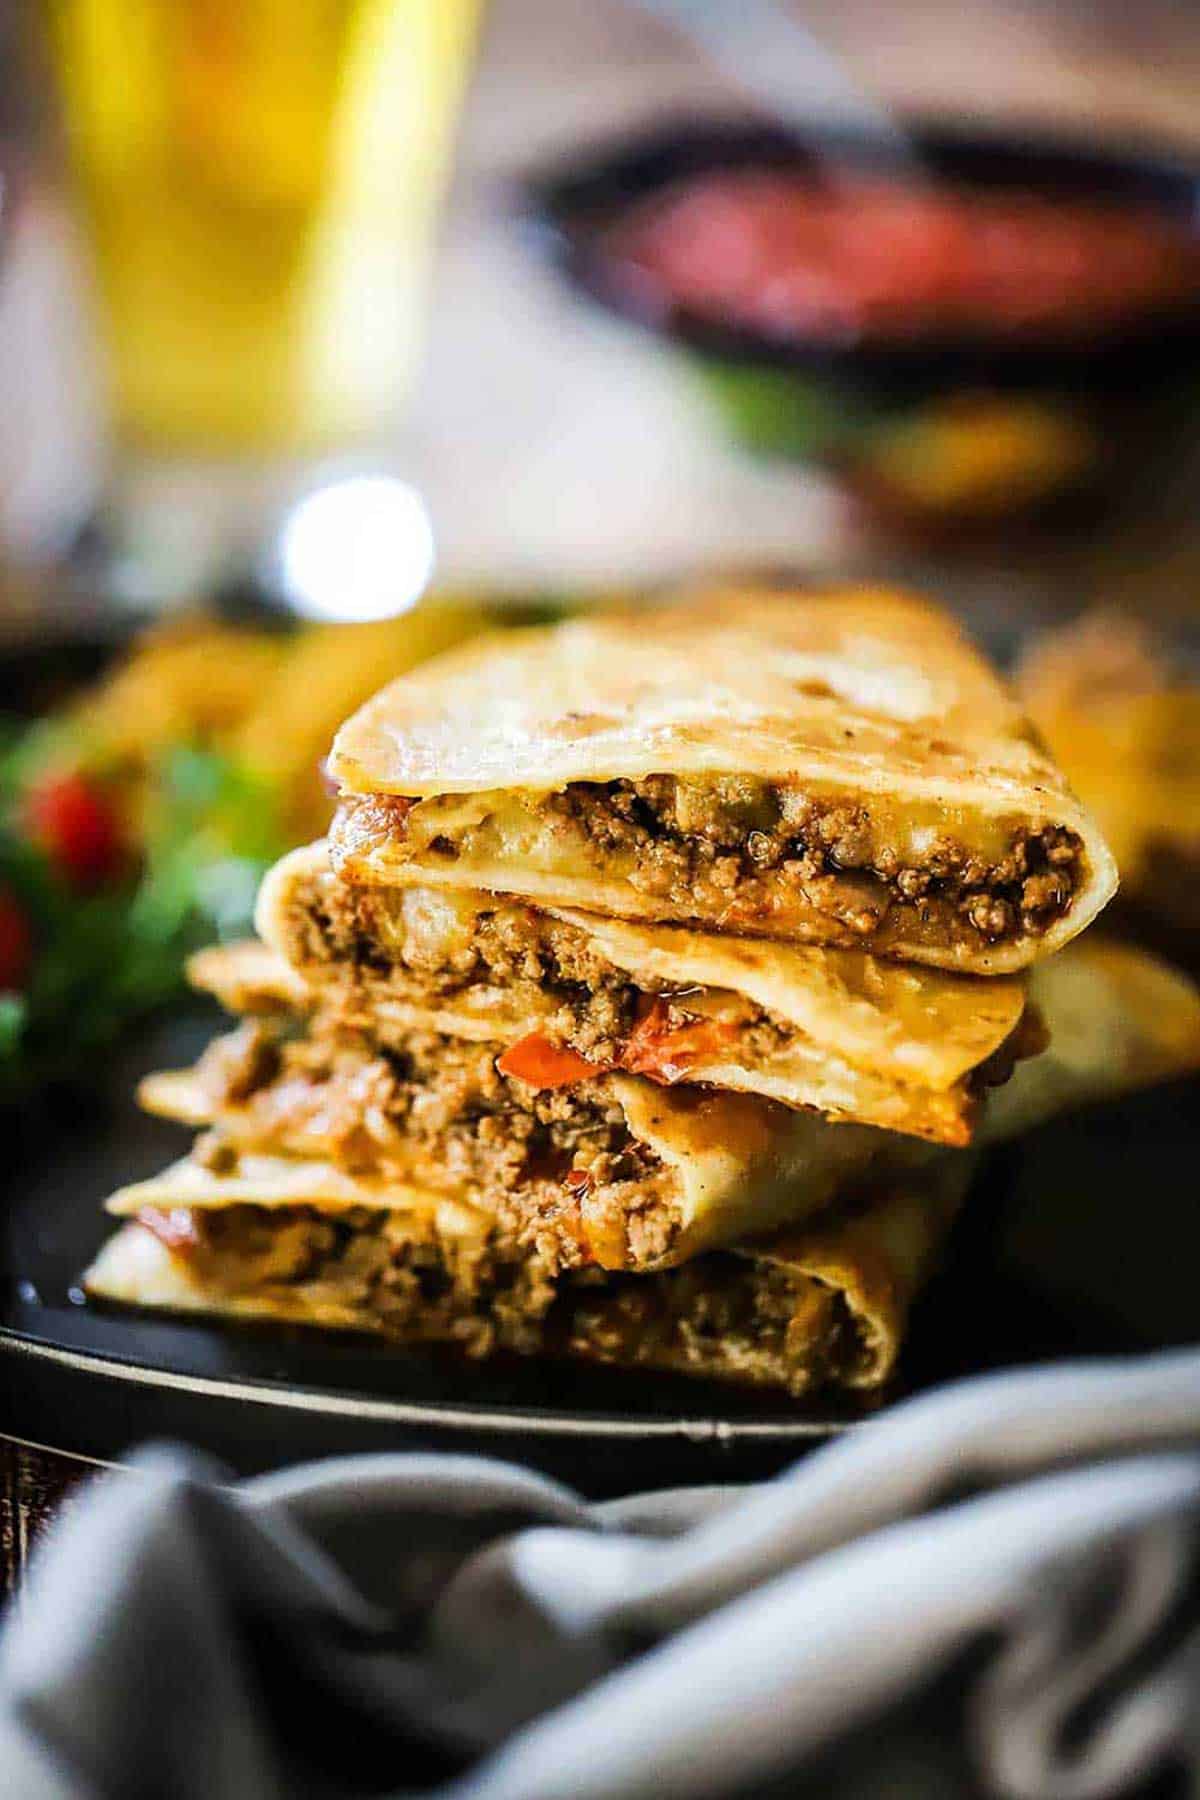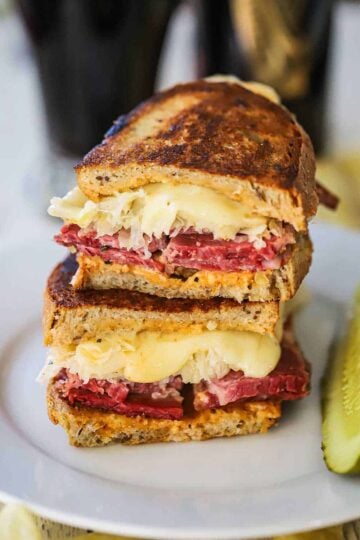
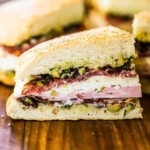
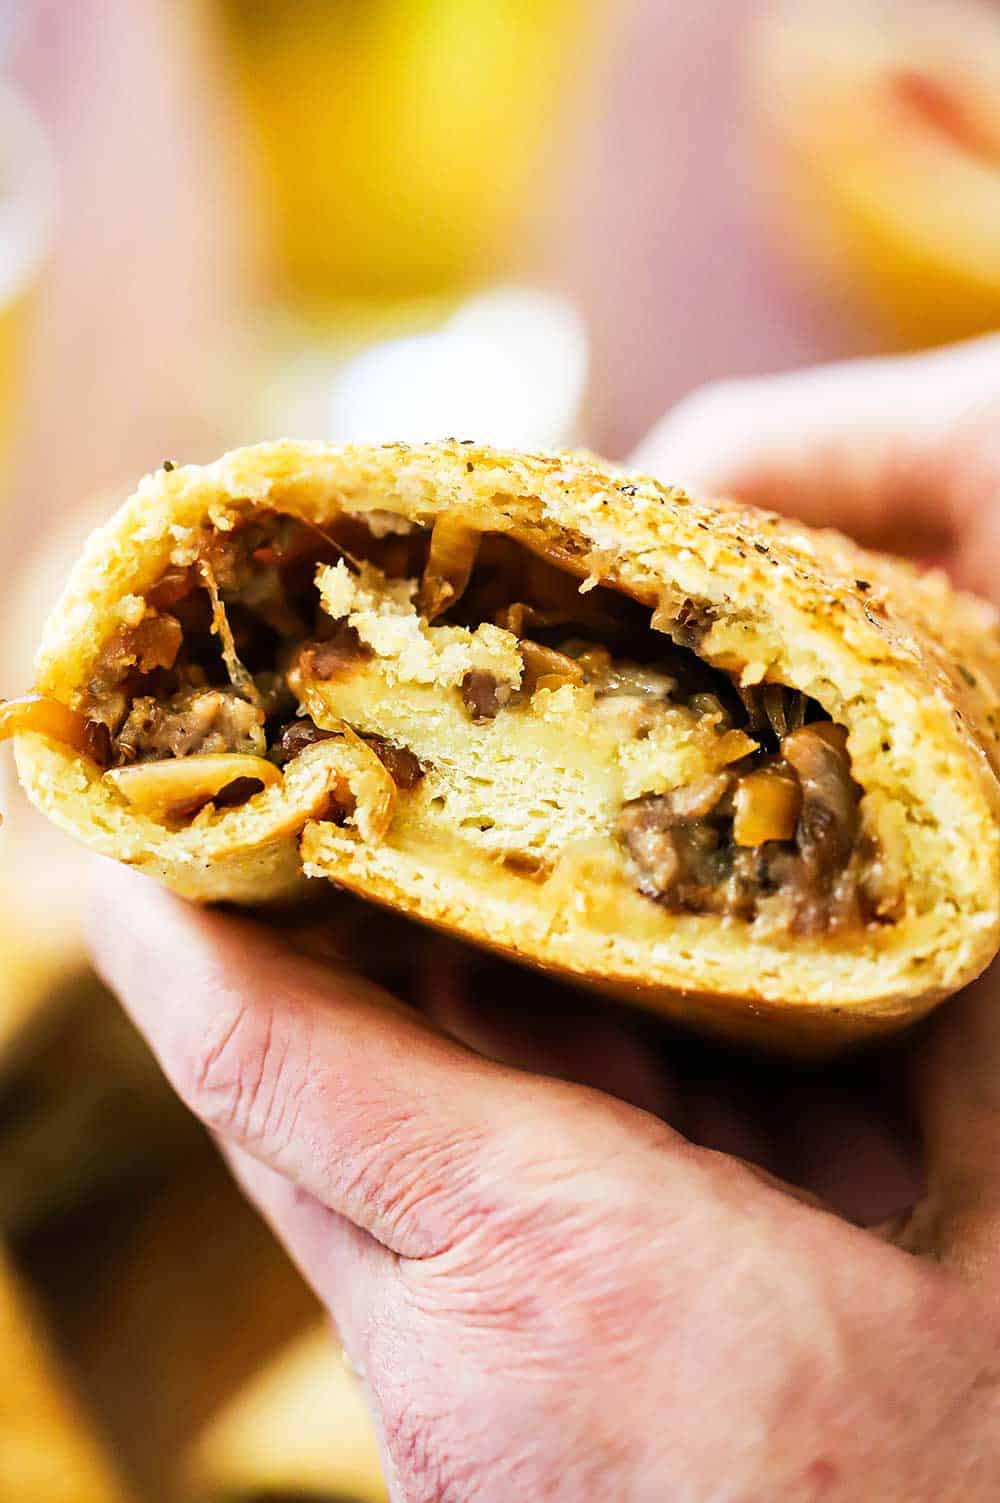
This sandwich brings together a true taste sensation that makes it such a classic. And it may not actually be Irish in origin, but many of the components are. The perfect St. Patrick’s Day sammie!
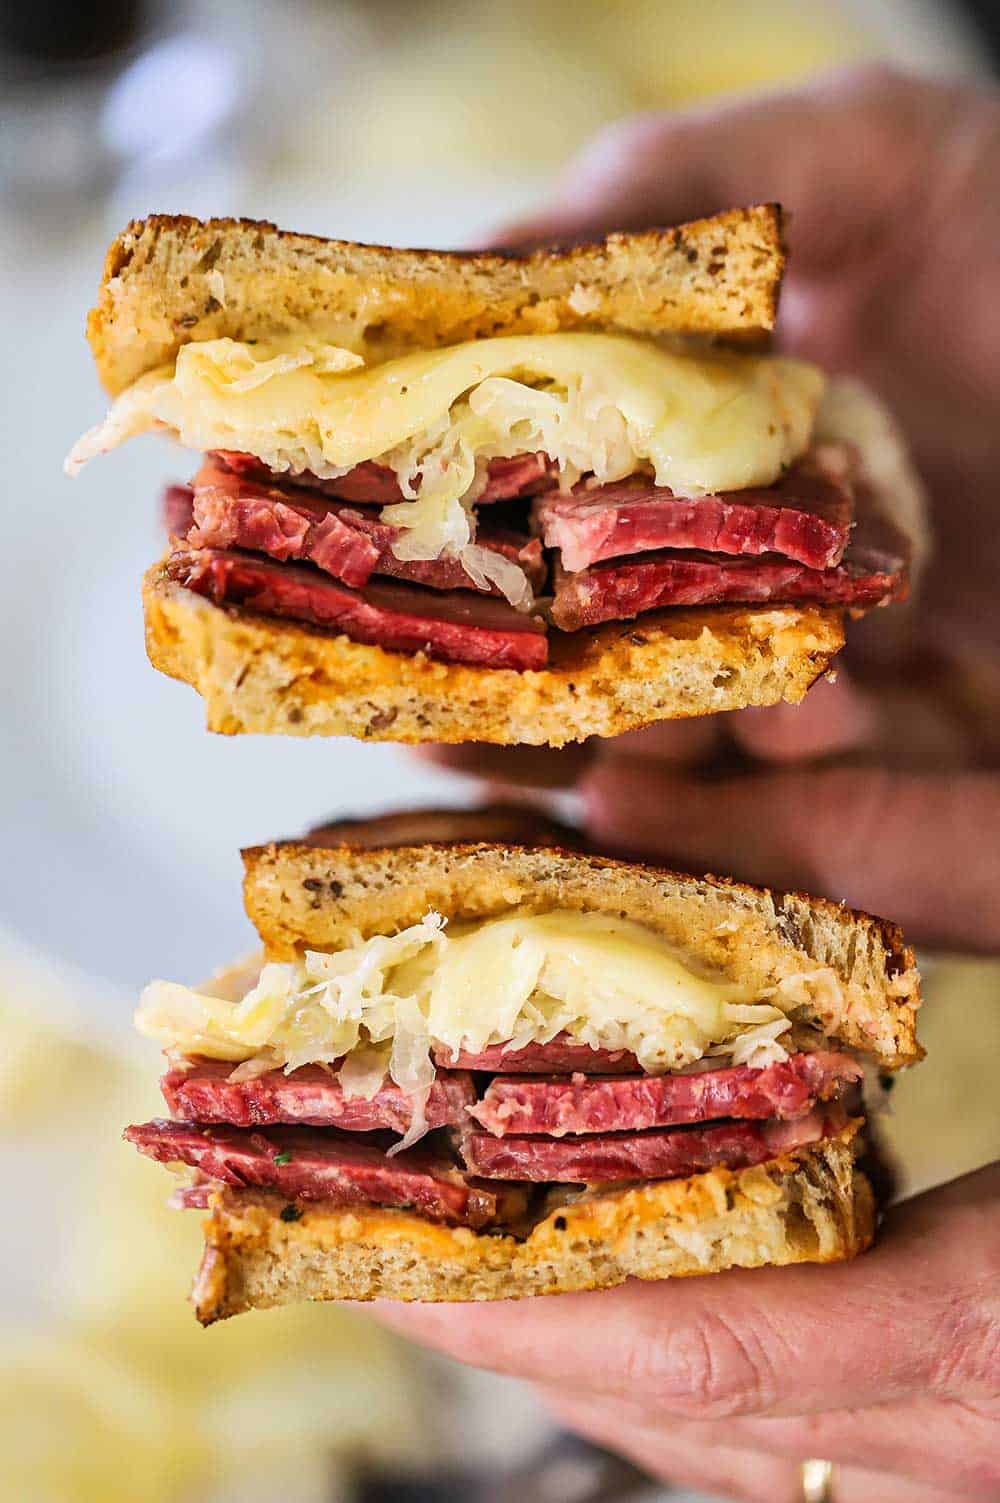
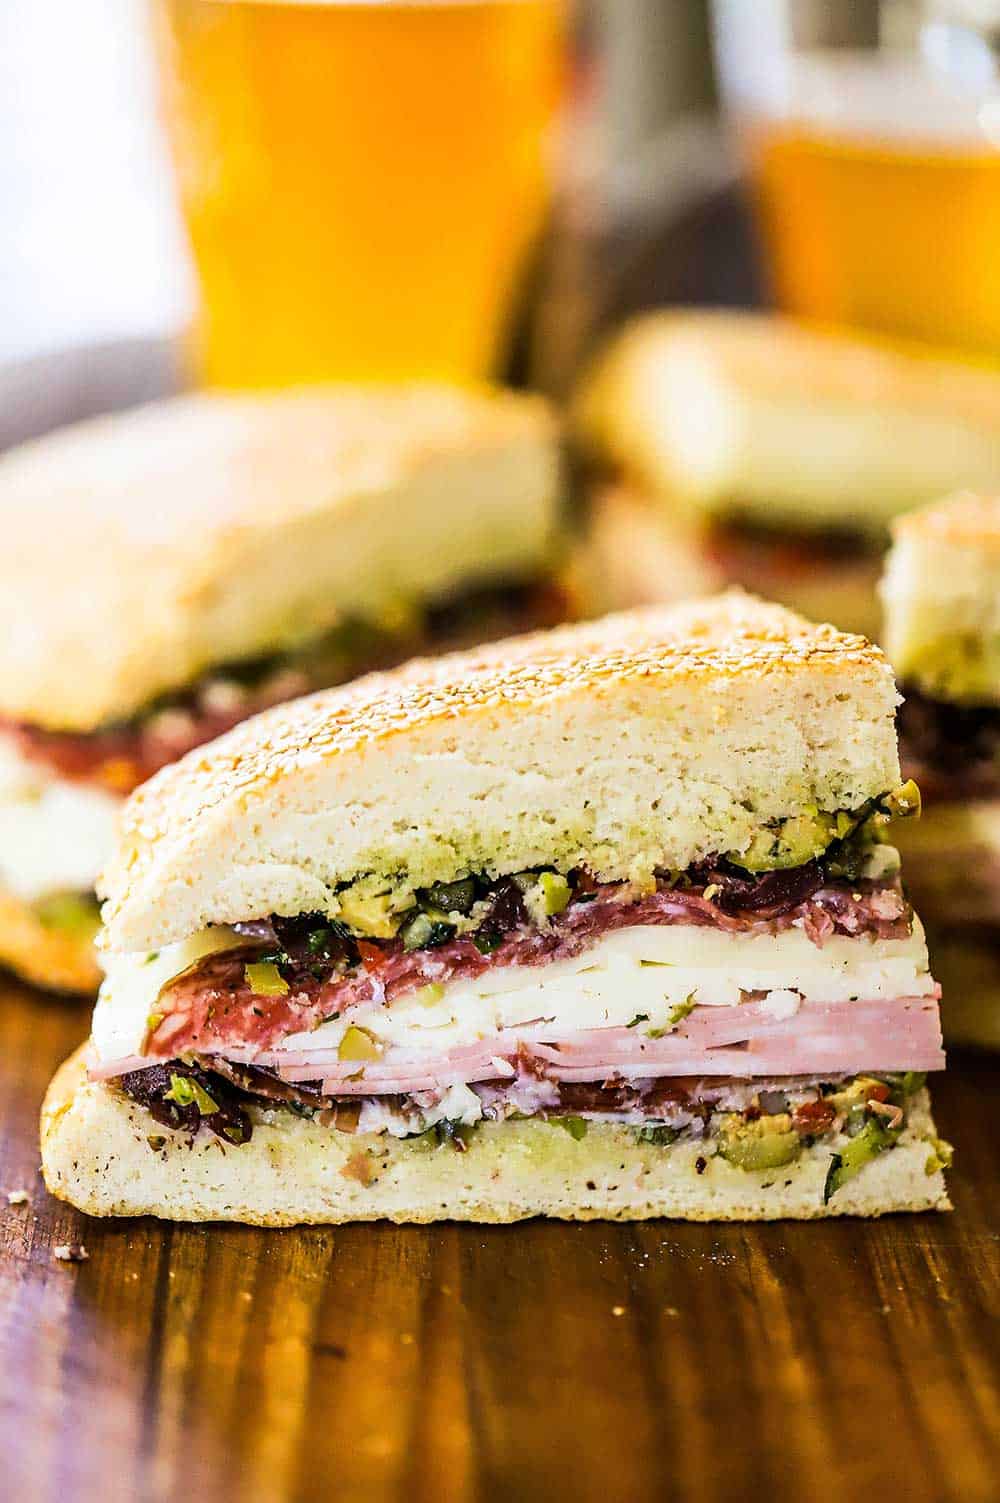
The ingredients are simple: thinly sliced corned beef, sauerkraut, cheese, rye bread, and homemade Russian dressing! Grilled to perfection!
How To Make a Reuben Sandwich
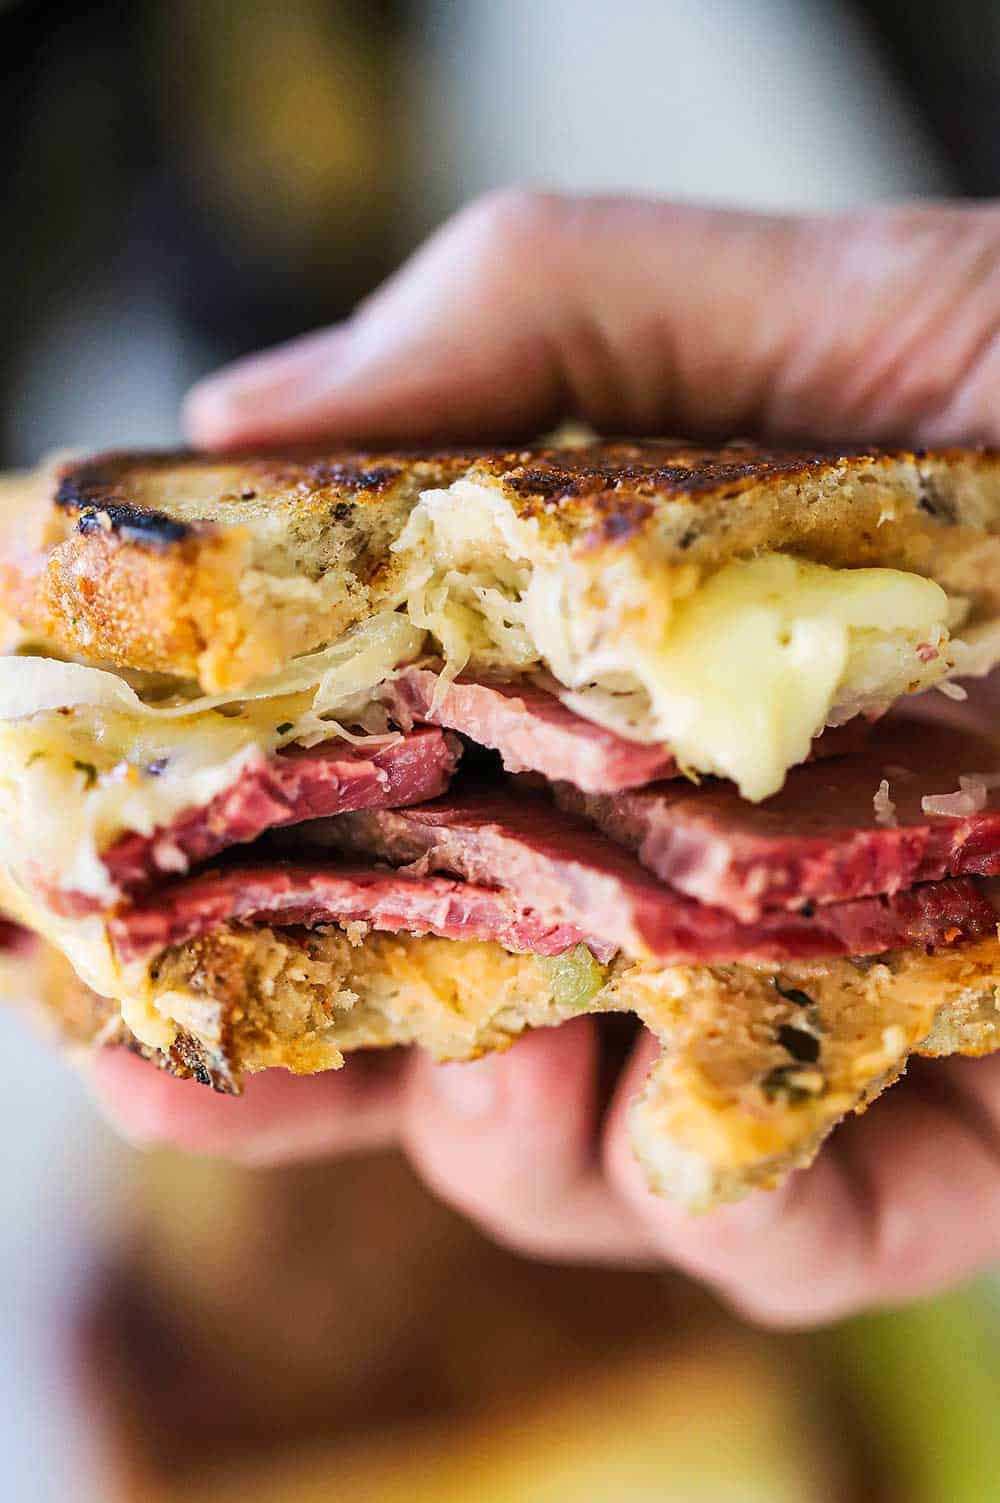
This is one of those sandwiches where the sum is greater than the parts.
Each component comes together to make a classic and epic taste sensation.
And they are so much fun to prepare!
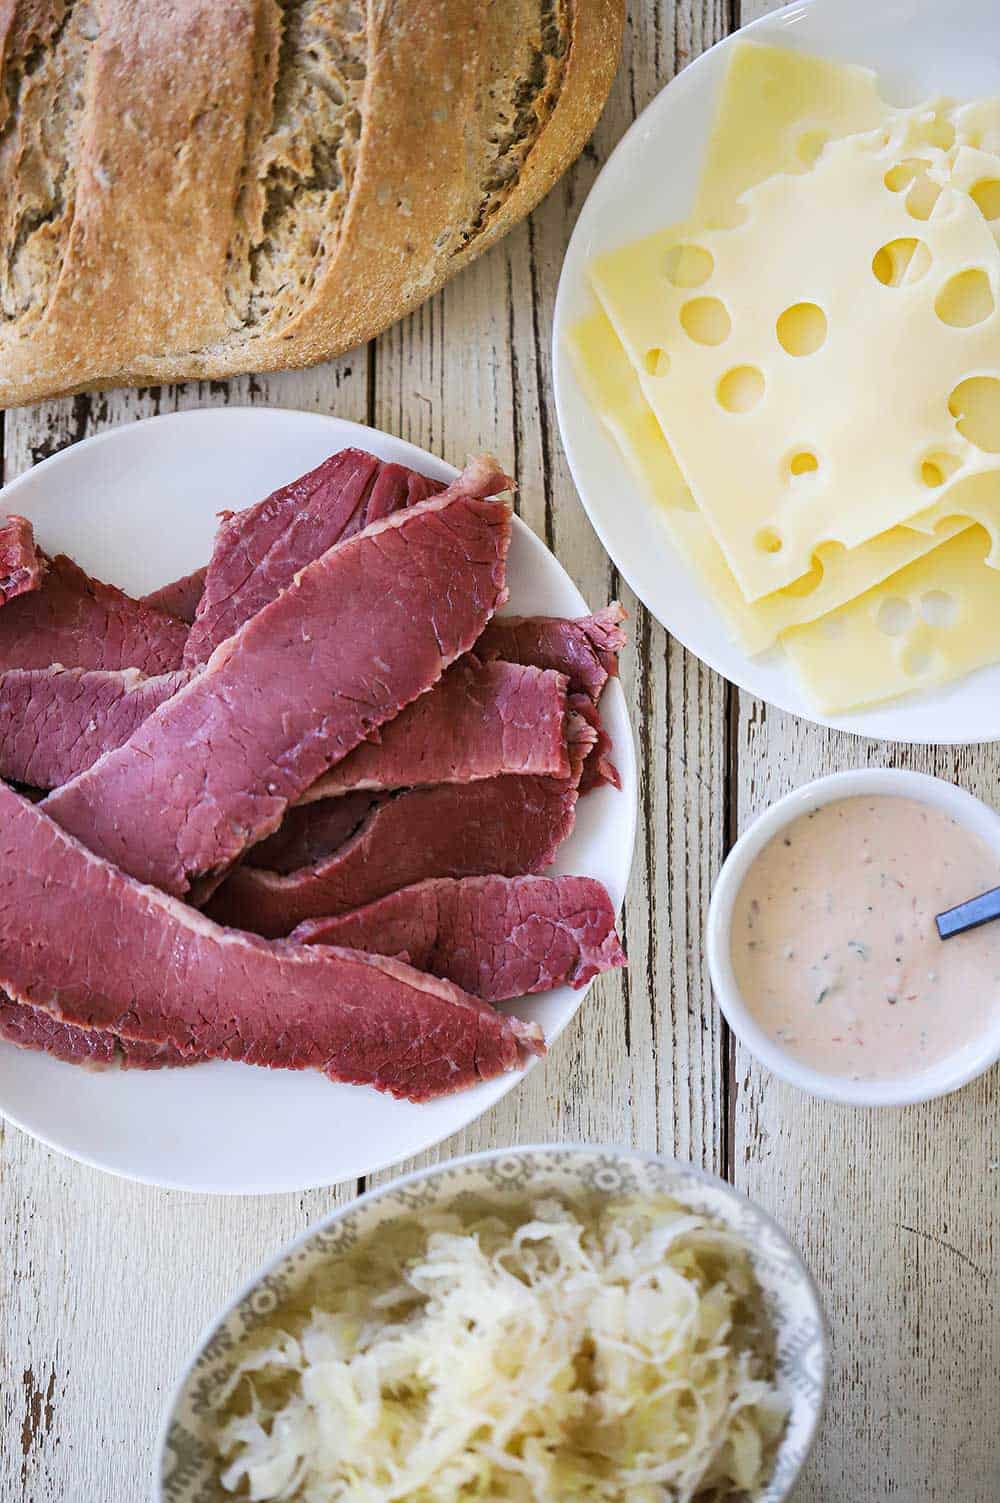
The Key Ingredients
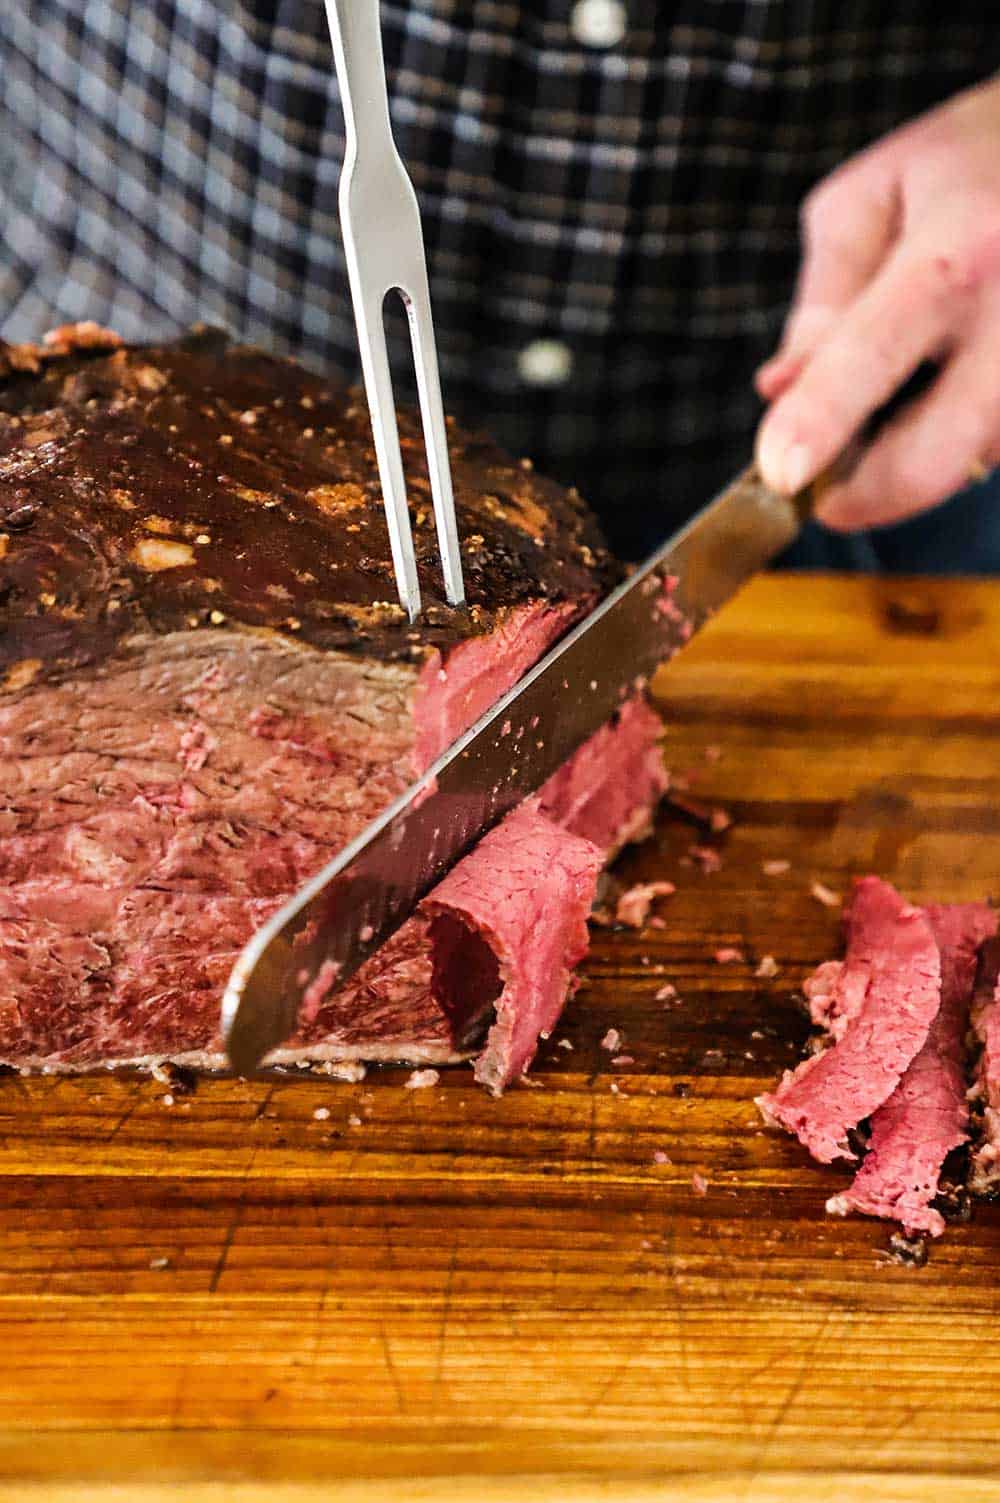
We’ve got to say, a Reuben sandwich is really only as good as the corned beef. What is corned beef, you may ask? Read more here.
We order incredible corned beef from Katz Delicatessen in New York City.
The homemade Russian dressing (with a Loon twist) adds amazing taste. More on that in a moment.
Seek out top-notch sauerkraut, Swiss cheese, and deli rye bread to create the perfect sandwich.
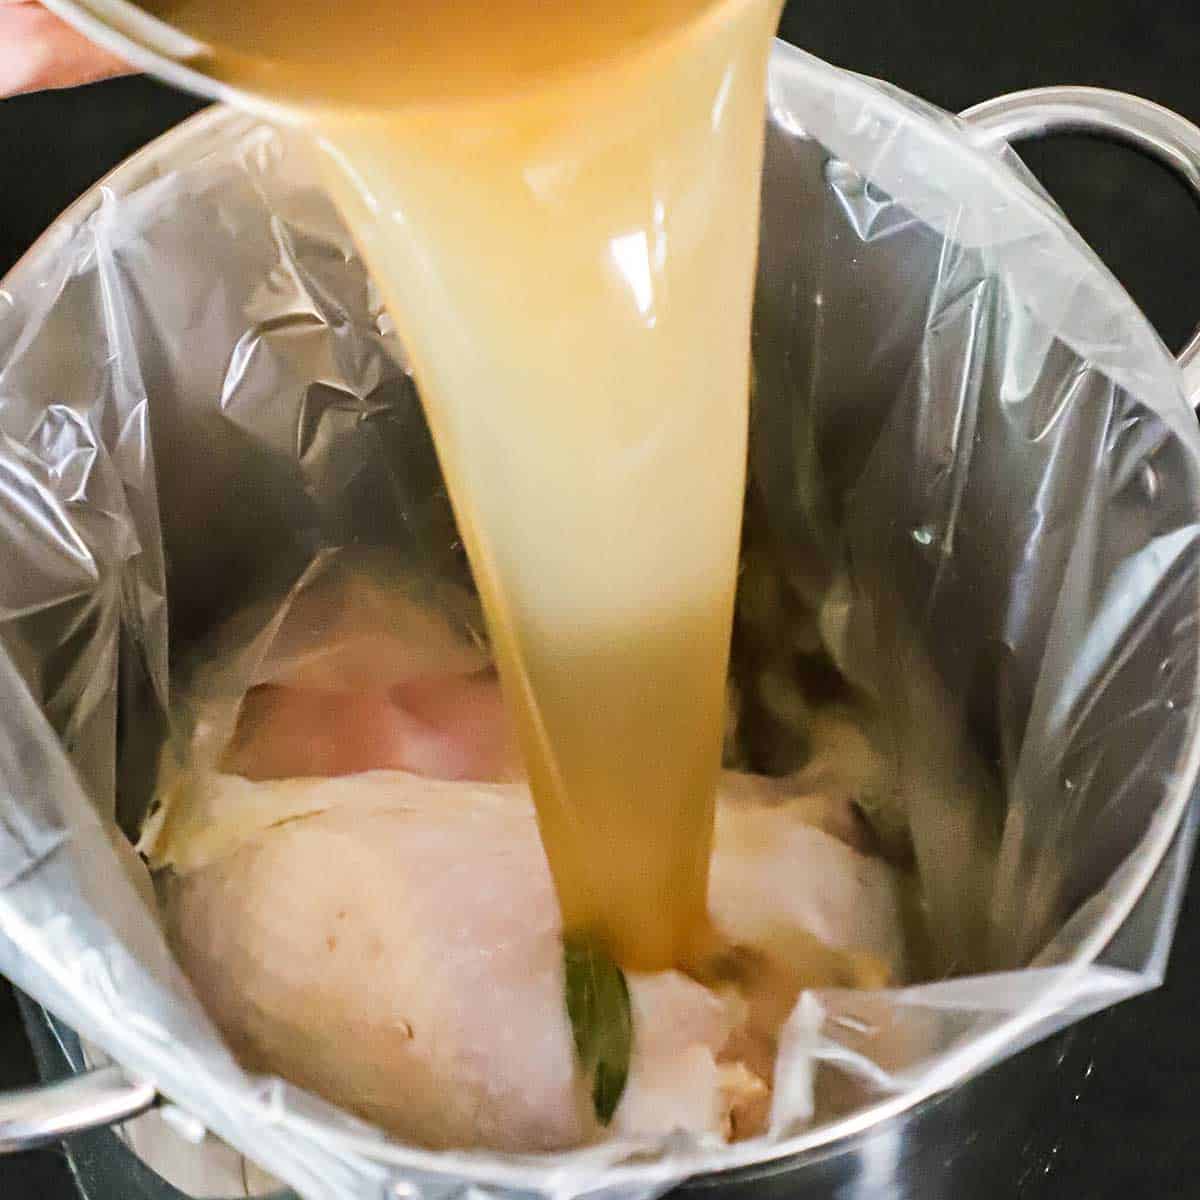
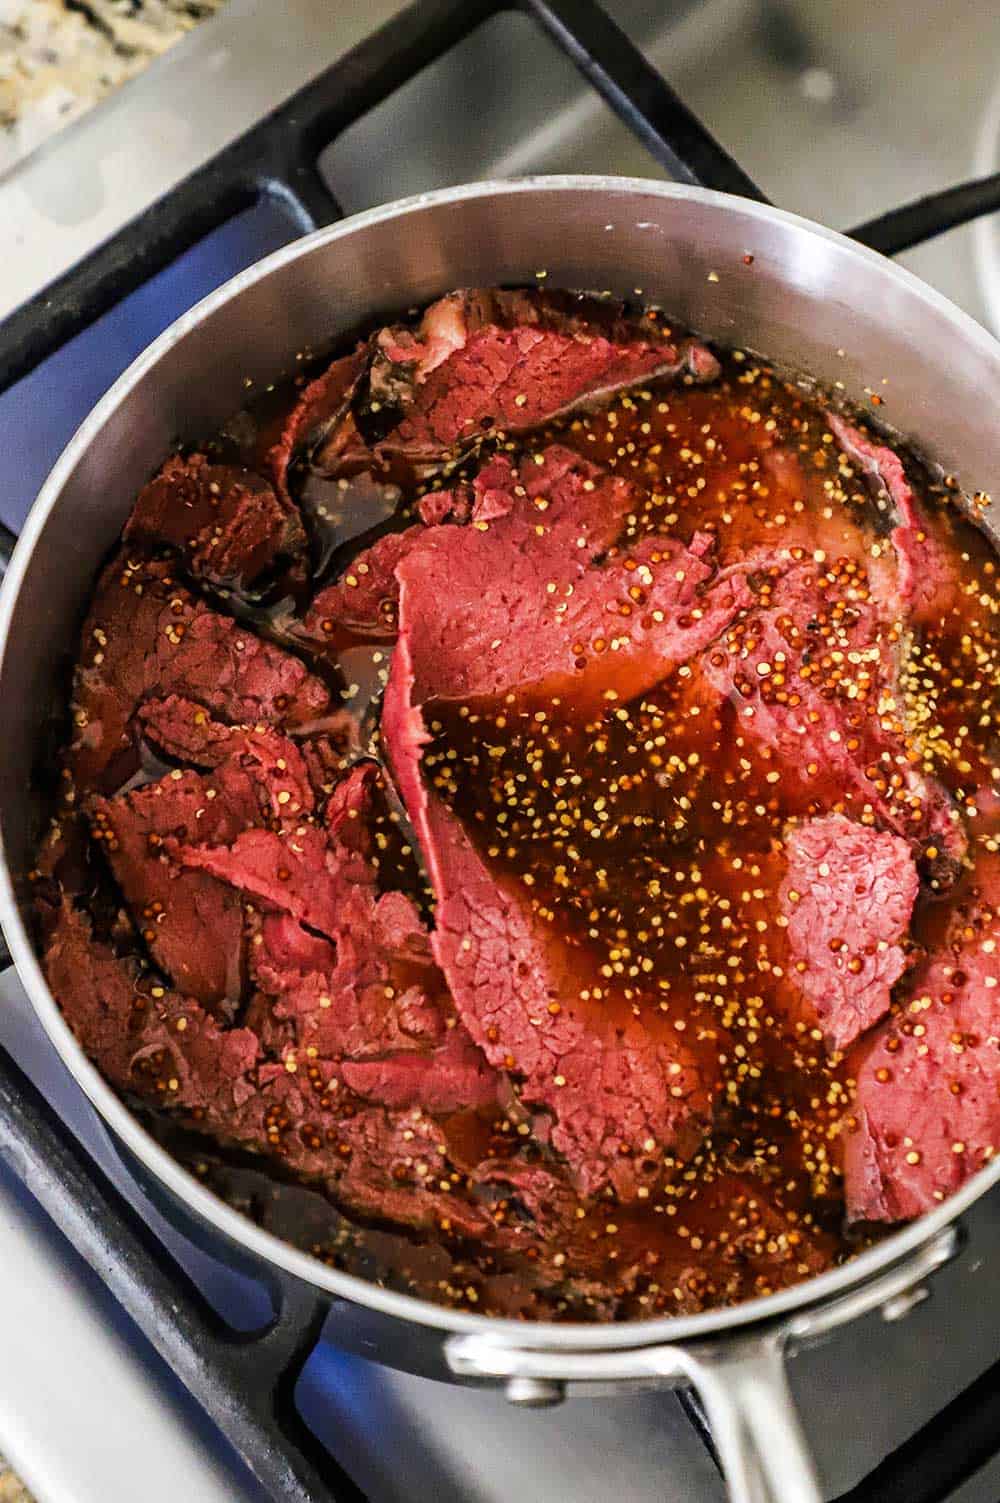
EXPERT TIP: You can find delicious corned beef at almost any decent deli, even at most quality supermarkets. We love our corned beef cut nice and thick, but it is also extremely delicious when cut very thin. You decide what looks best to you and have the deli person slice it for you accordingly. Place the meat in a heat-proof bag and steam in simmering water for about 5 minutes.
Russian Dressing vs. Thousand Island Dressing
Russian Dressing and Thousand Island Dressing are very similar.
We combine the main components of each to make what we think is one of the best condiments you’ll ever have or serve. Here are the ingredients you’ll need:
- Mayonnaise
- Sour cream
- Chili sauce
- Worcestershire sauce
- Prepare horseradish sauce
- White onion, grated
- Dill (or sweet) pickles, finely chopped
- Fresh parsley, chopped
- Fresh lemon juice
- Salt and pepper
EXPERT TIP: Chili sauce can usually be found in the condiment section of most supermarkets. Heinz makes a great chili sauce. We like dill pickles, but sweet pickles are tasty, too. After you mix it all together, store it in the fridge to deepen the flavor.

Building the Perfect Reuben Sandwich
The sandwich needs to be treated almost like a grilled cheese sandwich.
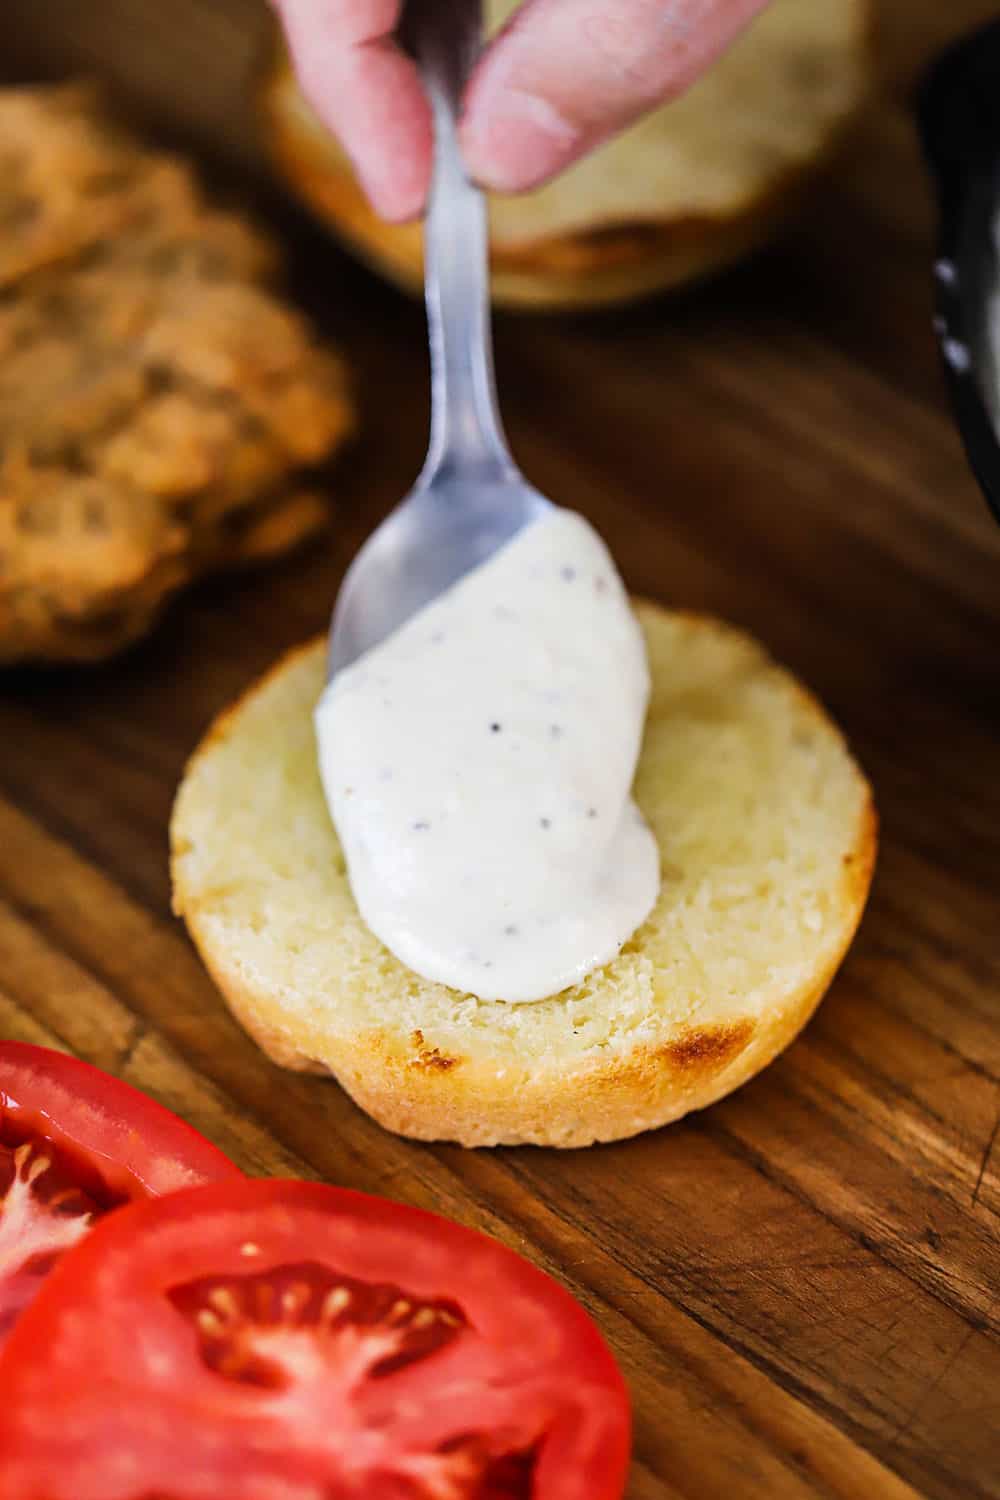
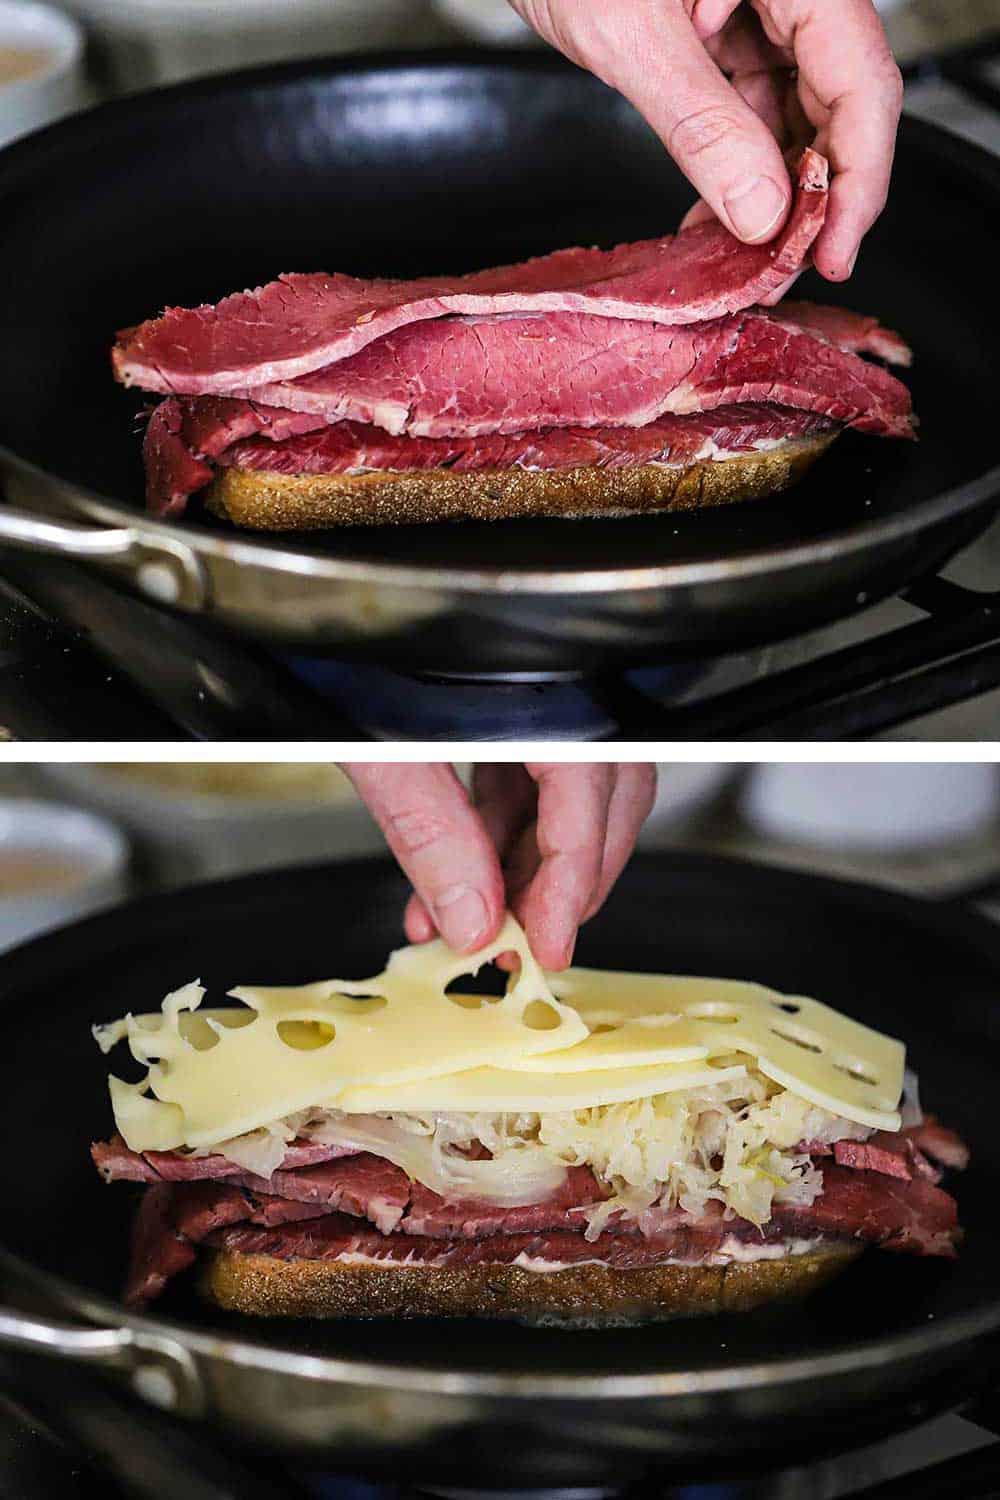
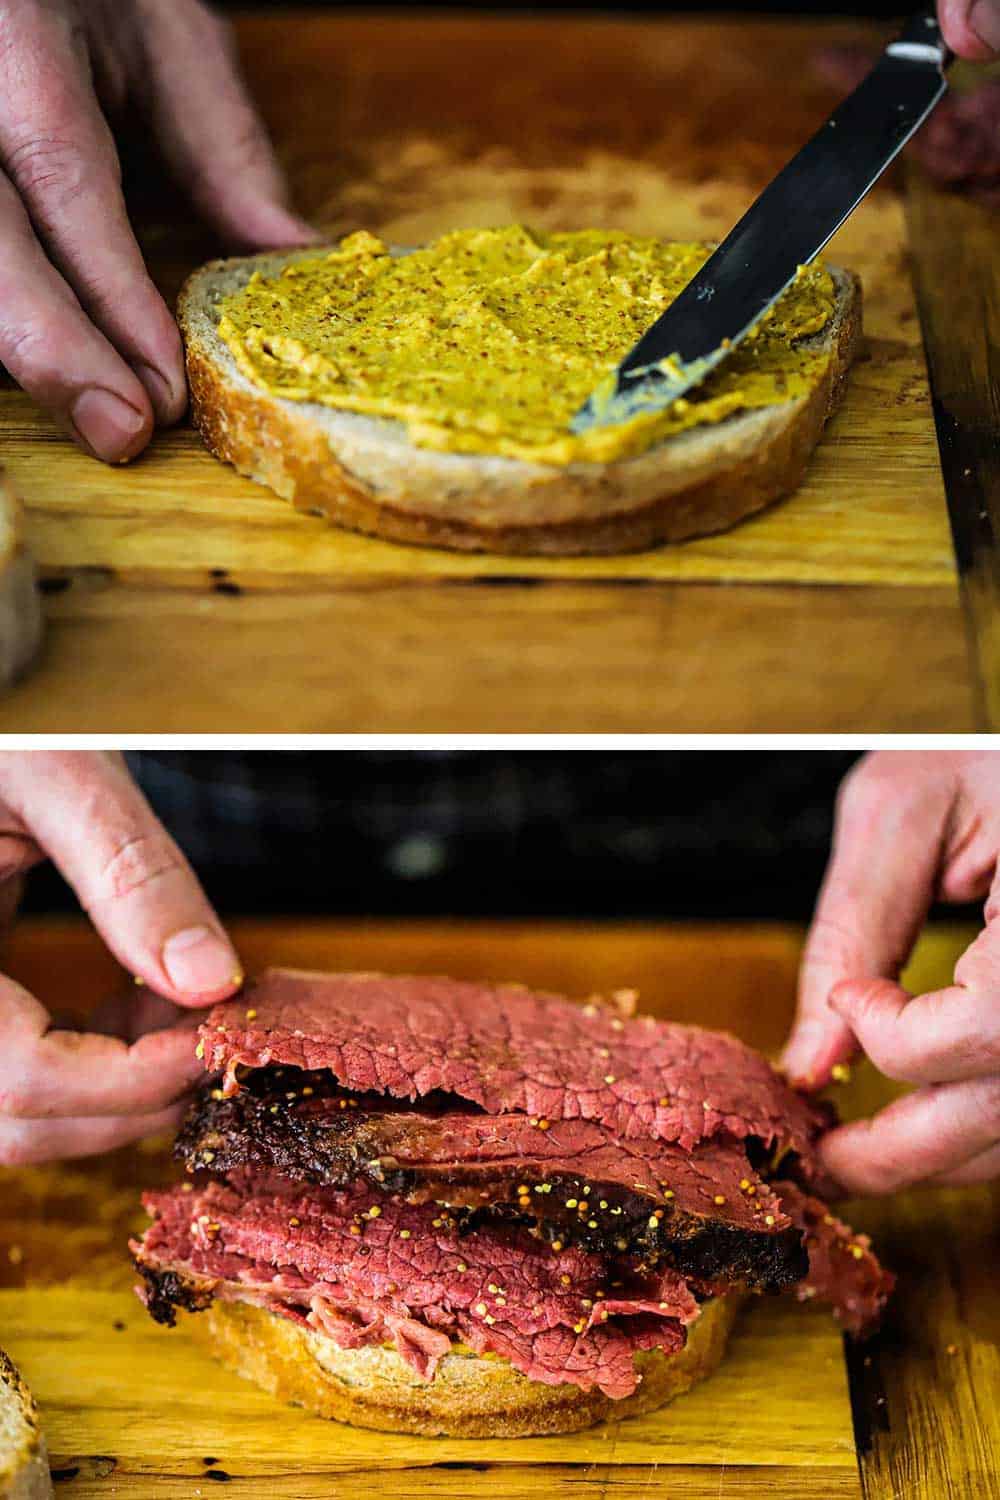
Smear a generous amount of softened butter on one side of each slice of bread. Slather on a layer of the dressing. Place in a medium-hot non-stick skillet.
Add the corned beef, then sauerkraut, cheese slices, and another slice of bread with dressing on one side and butter on the other. Cook until golden brown on the underside.
Flip and continue on the other side.
When and How To Serve a Reuben Sandwich
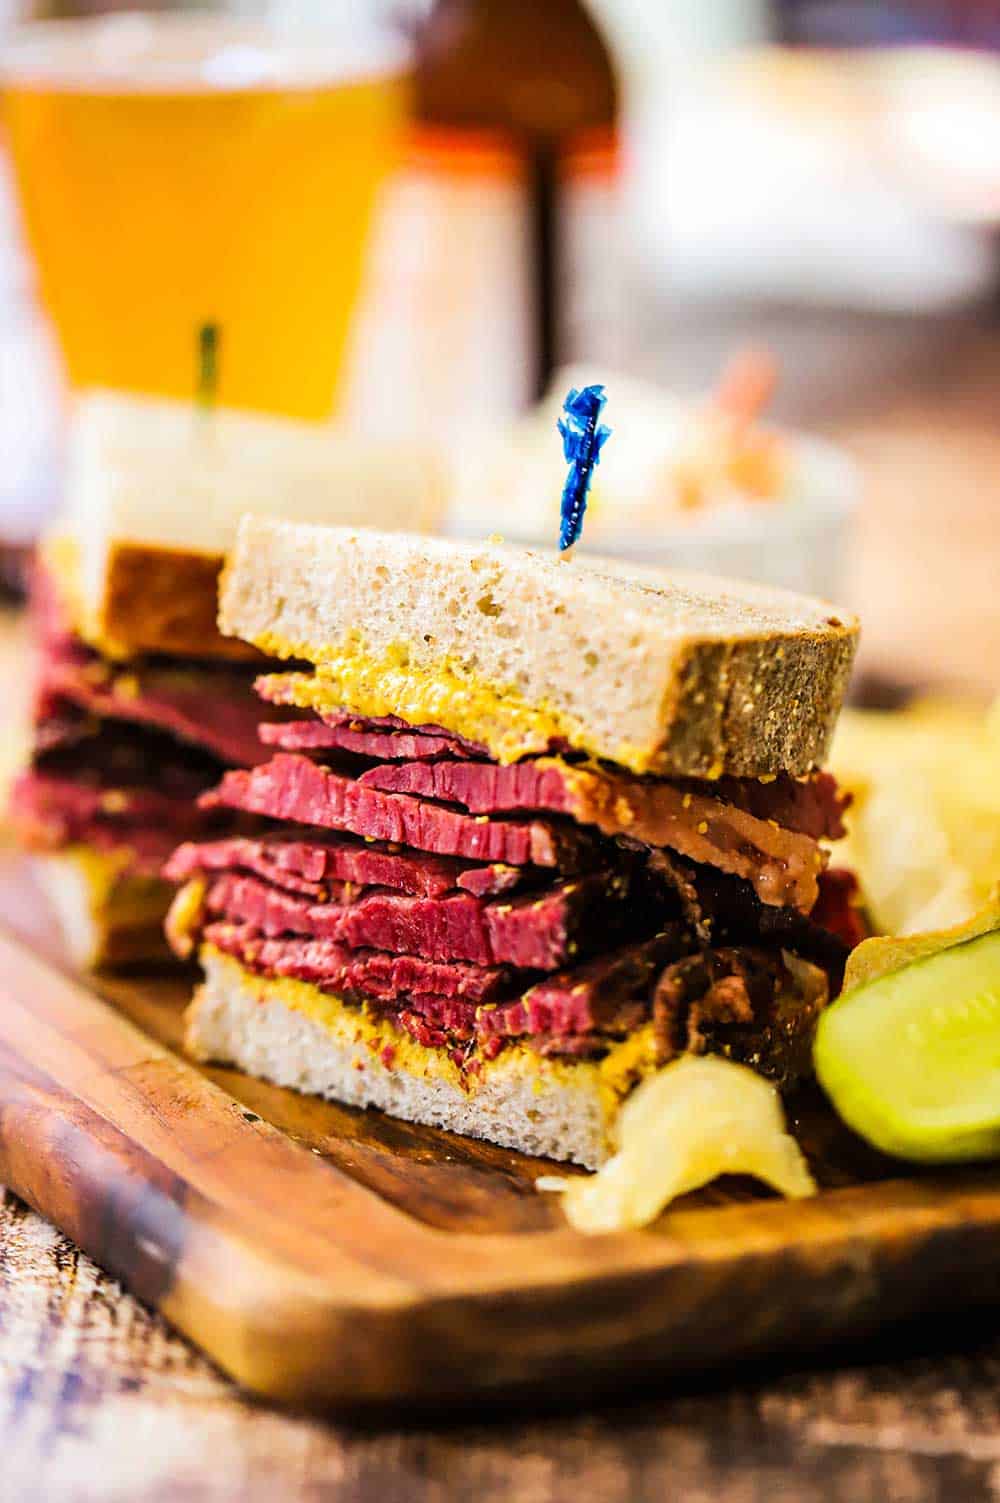
This Reuben sandwich is classic any time of the year. We love to celebrate St. Patrick’s Day by fixing them pile-high for lunch.
However, these are also so much fun to serve to family and friends.
After you’ve warmed the corned beef, set up an assembly line using an electric griddle or a large non-stick skillet, such as our beloved Sardel.
Other Epic Sandwiches
We are absolutely crazy about a great sandwich. Here are some of our all-time favorites:
- Wagyu Pastrami Sandwich
- Marinated Grilled Steak Sandwich
- Chicken Fried Steak Sandwich
- Buffalo Chicken Sandwich
- Honey Mustard Chicken Sandwich
- Salmon Burger
- Fantastic Fried Fish Sandwich
In the meantime, aren’t you just dying to make this epic sammie?
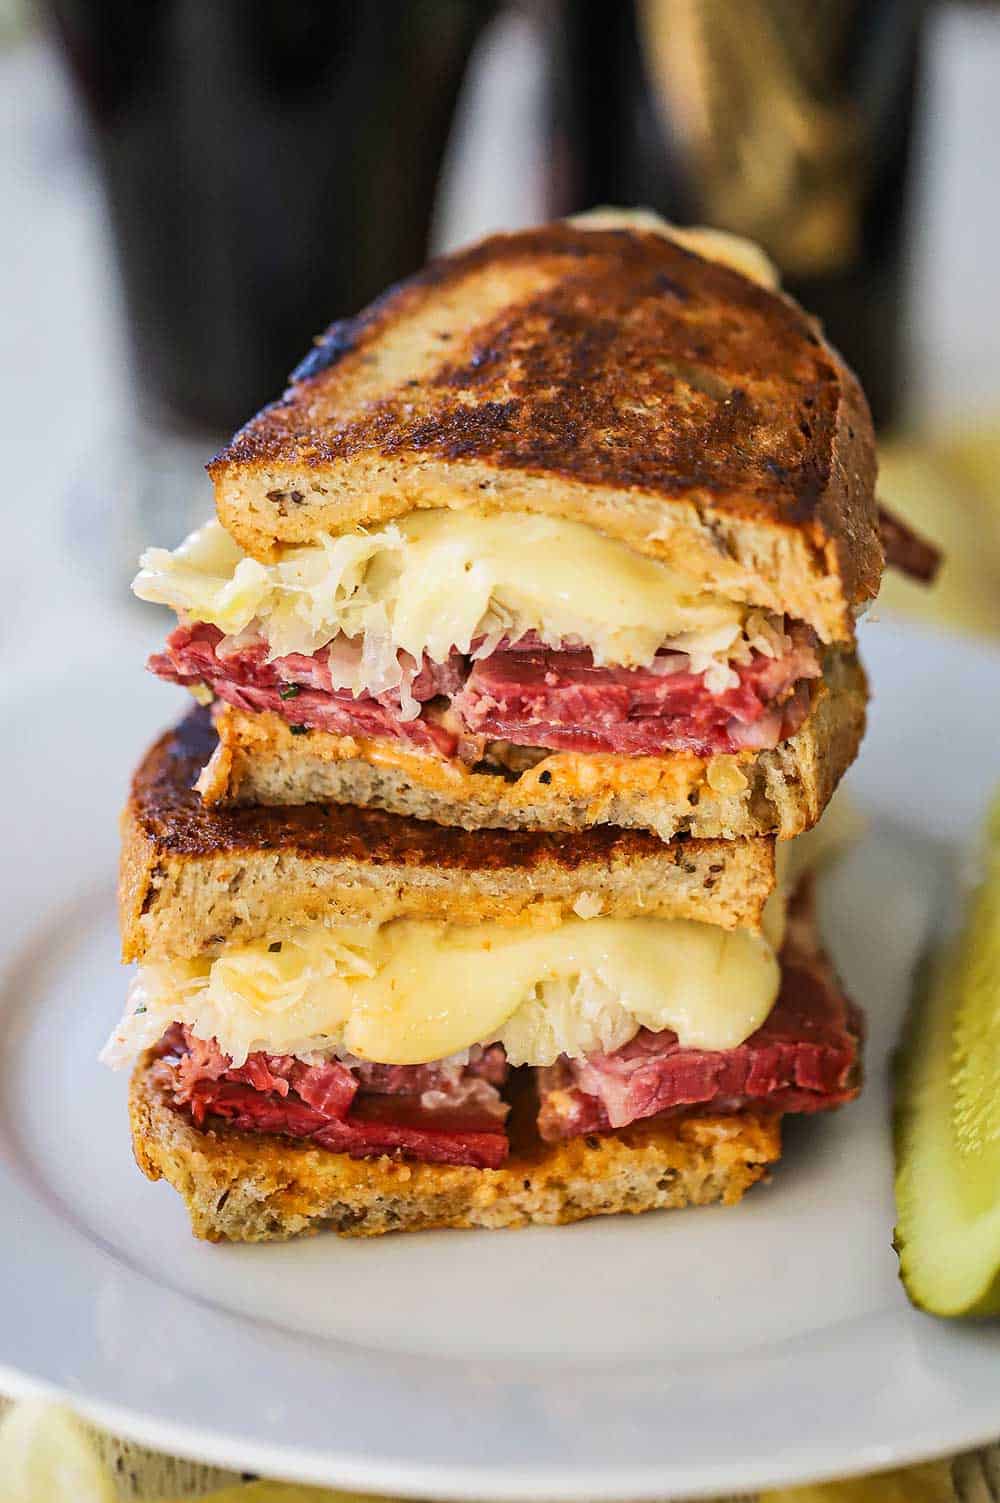
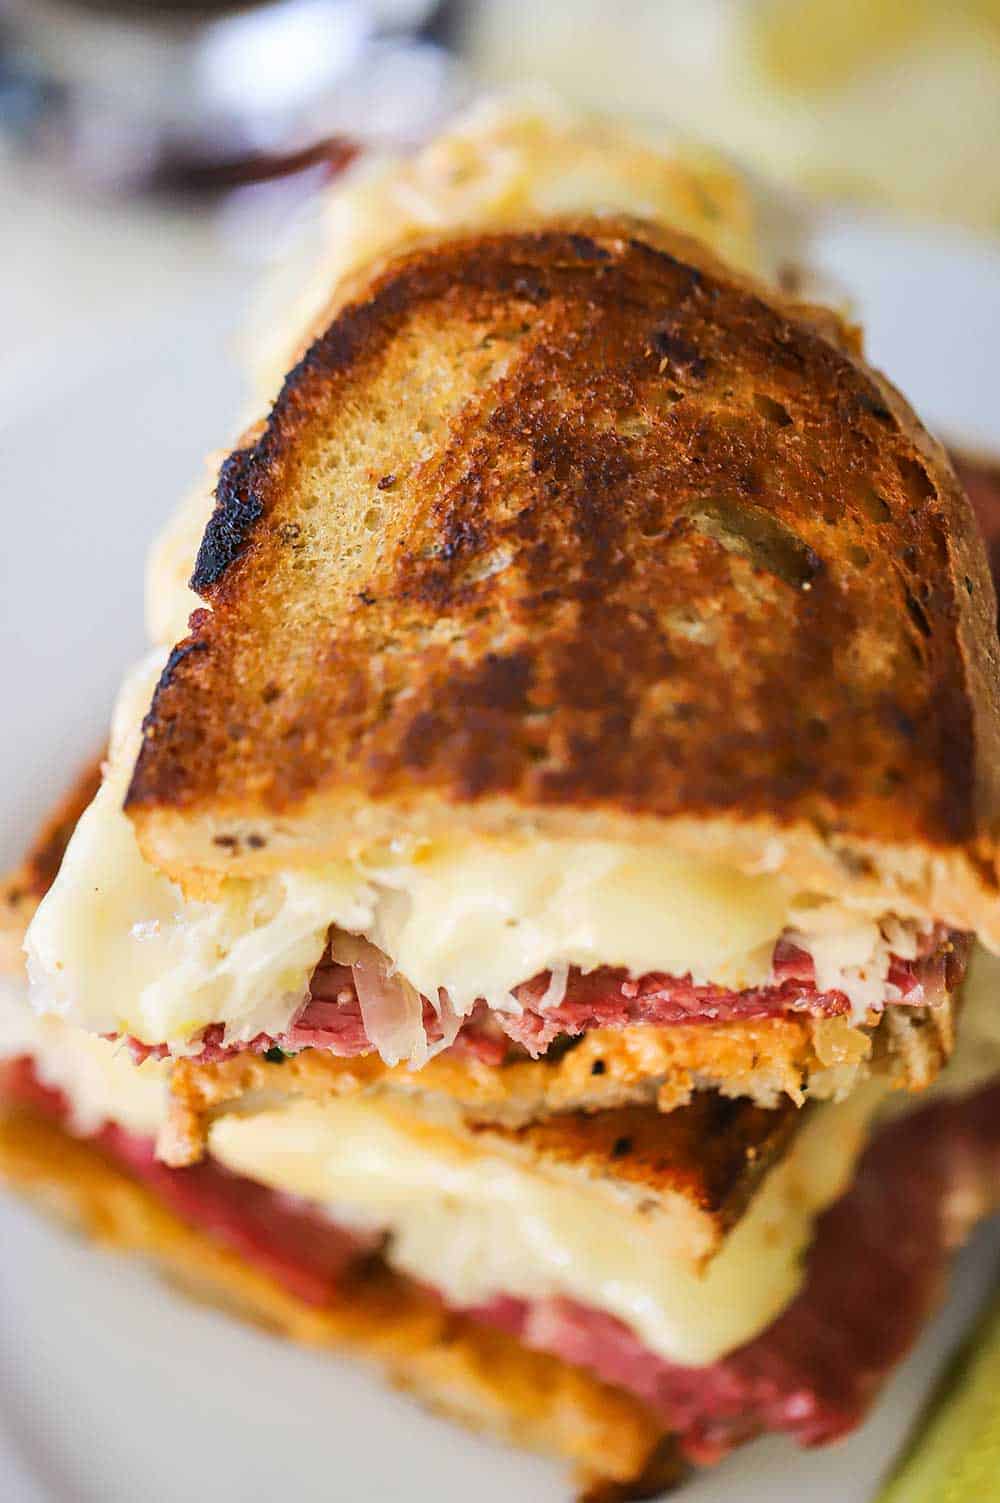
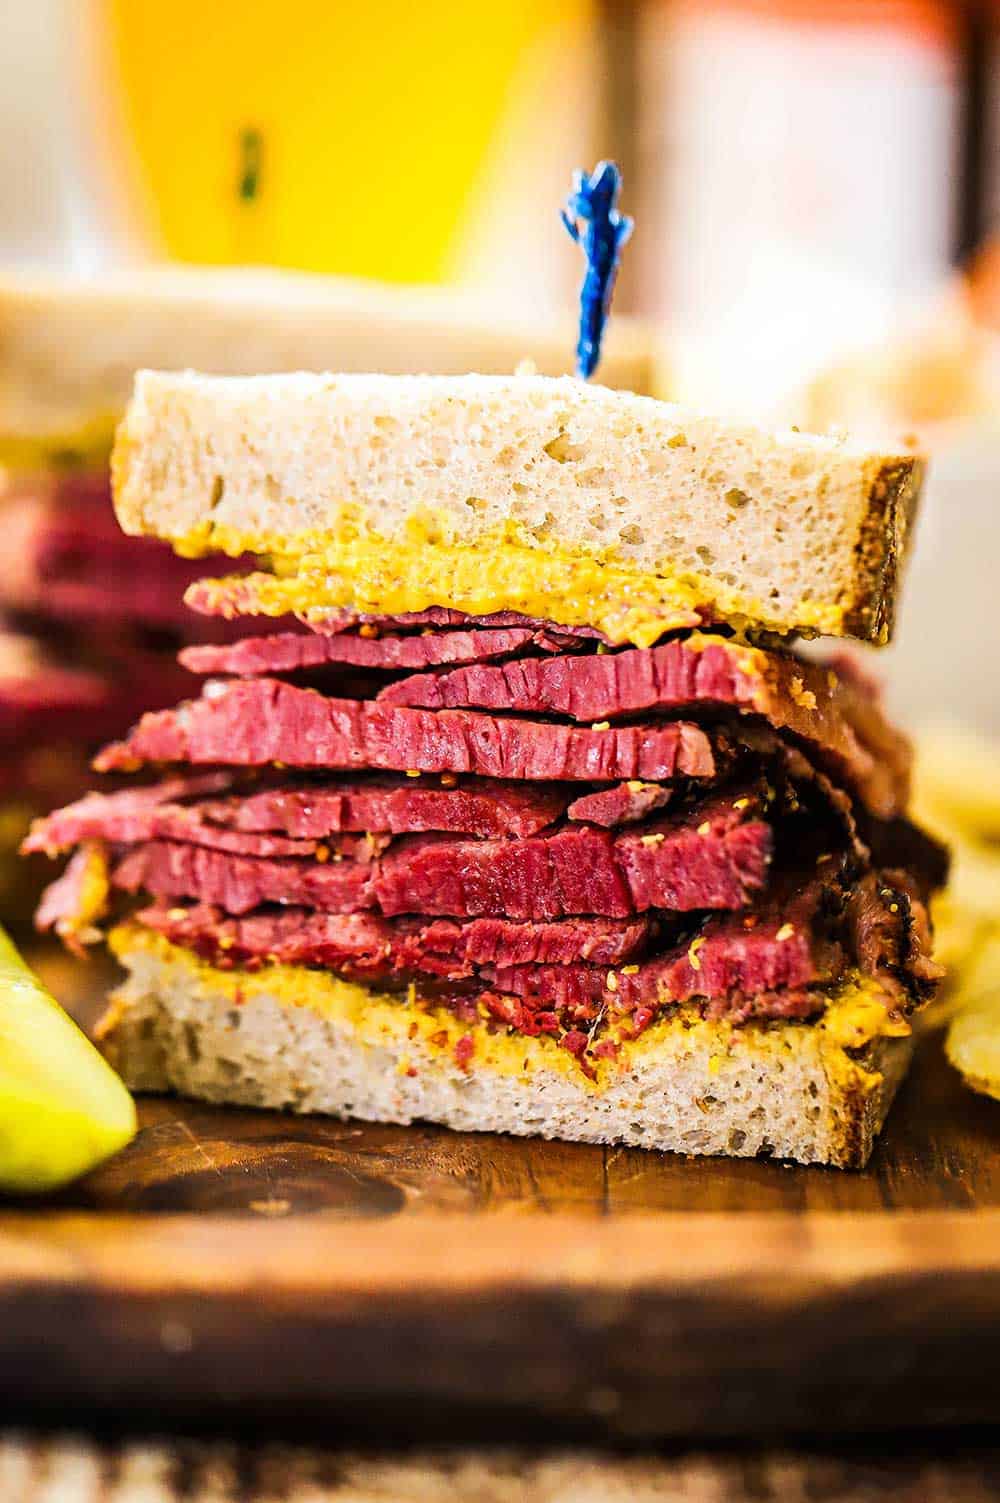
Folks, there are sandwiches, and then there are epic sandwiches.
This is undoubtedly one of them. It’s possibly the best sandwich we’ve ever made.
The combination of the flavors is comfort food at its very best. One bite, and we think you’ll 100% agree.
Ready to make the best sandwich this side of…ANYWHERE? Go for it!
And when you do, be sure to take a picture of it, post it on Instagram, and tag @HowToFeedaLoon and #HowToFeedaLoon!

Reuben Sandwich
Equipment
- A large non-stick skillet or griddle
Ingredients
- 8 slices rye bread
- 4 tablespoon unsalted butter softened, for outside of bread slices
- ¼ cup Classic Russian Dressing for spreading
- 1½ lb corned beef thinly sliced
- 12 oz sauerkraut drained
- 6 slices Swiss Cheese
Instructions
- Butter one side of each bread slice.8 slices rye bread, 4 tablespoon unsalted butter
- Heat a large, non-stick skillet (or griddle)over medium-high heat.
- Place a bread slice in the skillet, buttered-side down (place two slices in the skillet, if room, if not, you'll need to keep the cooked sandwiches in a warm oven, until they are all ready for serving).
- Add about a tablespoon of Russian dressing to the bread slice(s).¼ cup Classic Russian Dressing
- Next, add a nice heaping handful of the corned beef.1½ lb corned beef
- On top of this, add a layer of sauerkraut.12 oz sauerkraut
- On top of the kraut, add cheese slices.6 slices Swiss Cheese
- Add another layer of Russian dressing.
- Top with a bread slice, buttered side up.
- Once lightly browned, carefully flip the sandwich, and grill the other side until nicely browned.
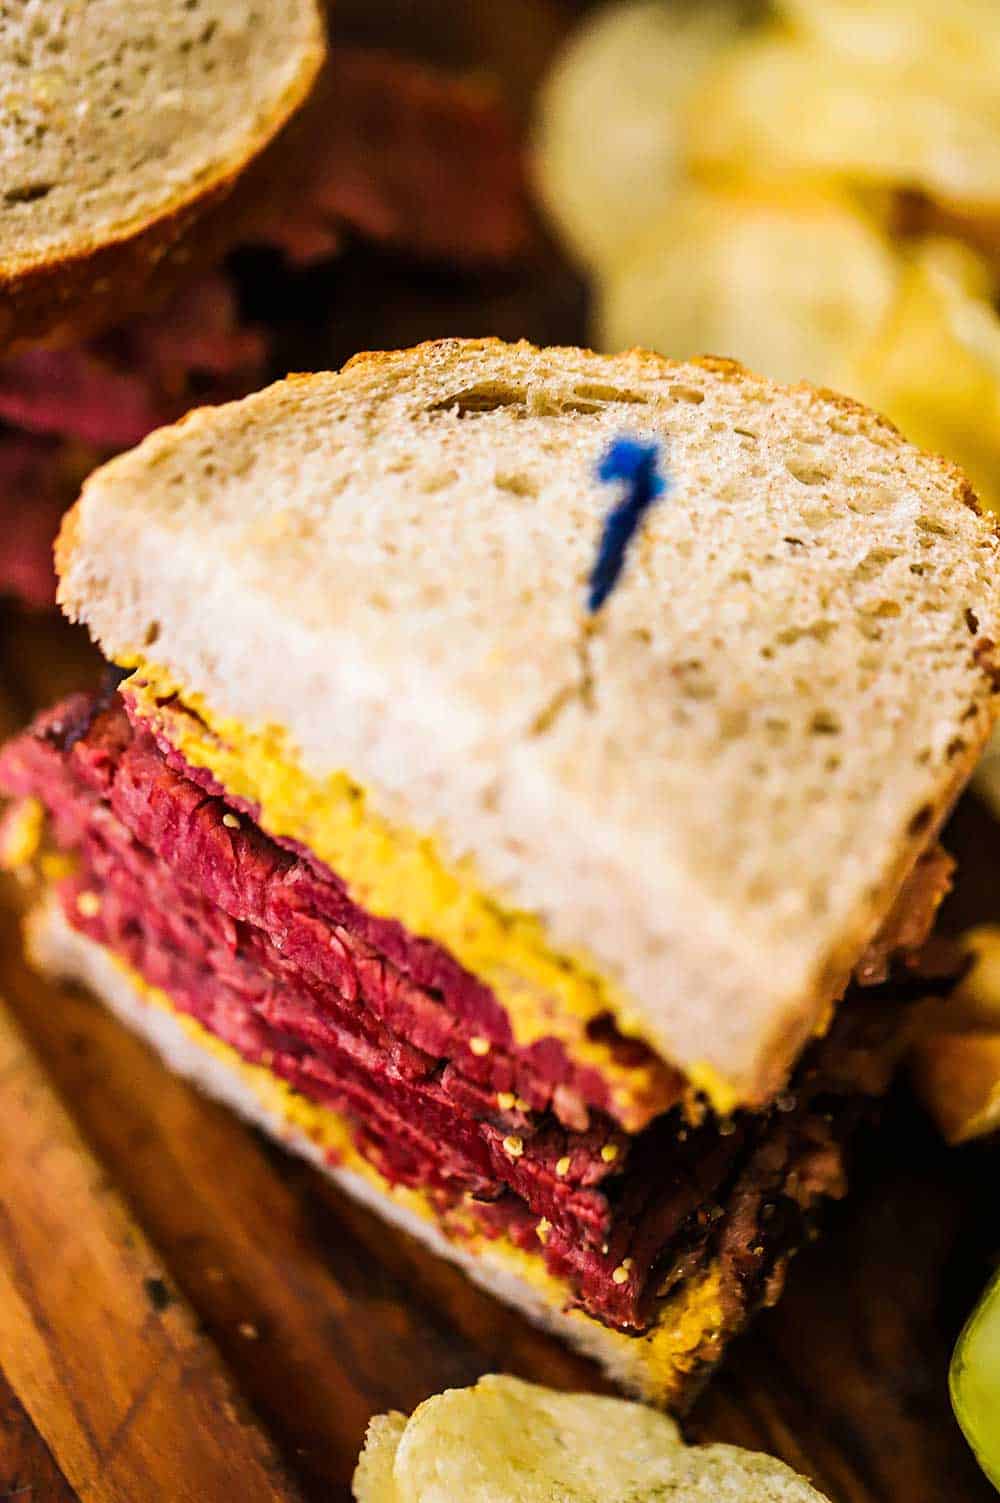
- Remove, slice, and serve at once!
Video
Notes
Nutrition
POST UPDATE: This recipe was originally published in June 2015 but was updated with improved tweaks to the recipe with new tips and photography and a fabulous new video in March 2022!


 .
.