Craving classic Tex-Mex comfort? Our Best-Ever Classic Nachos are a faithful copycat of the iconic Joe T. Garcia’s in Fort Worth, Texas. Crispy, salty corn tortillas smothered in melty cheddar cheese and topped with a kick of fresh jalapeños make for the perfect crowd-pleasing snack or Tex-Mex appetizer.

🧀 The Ingredients
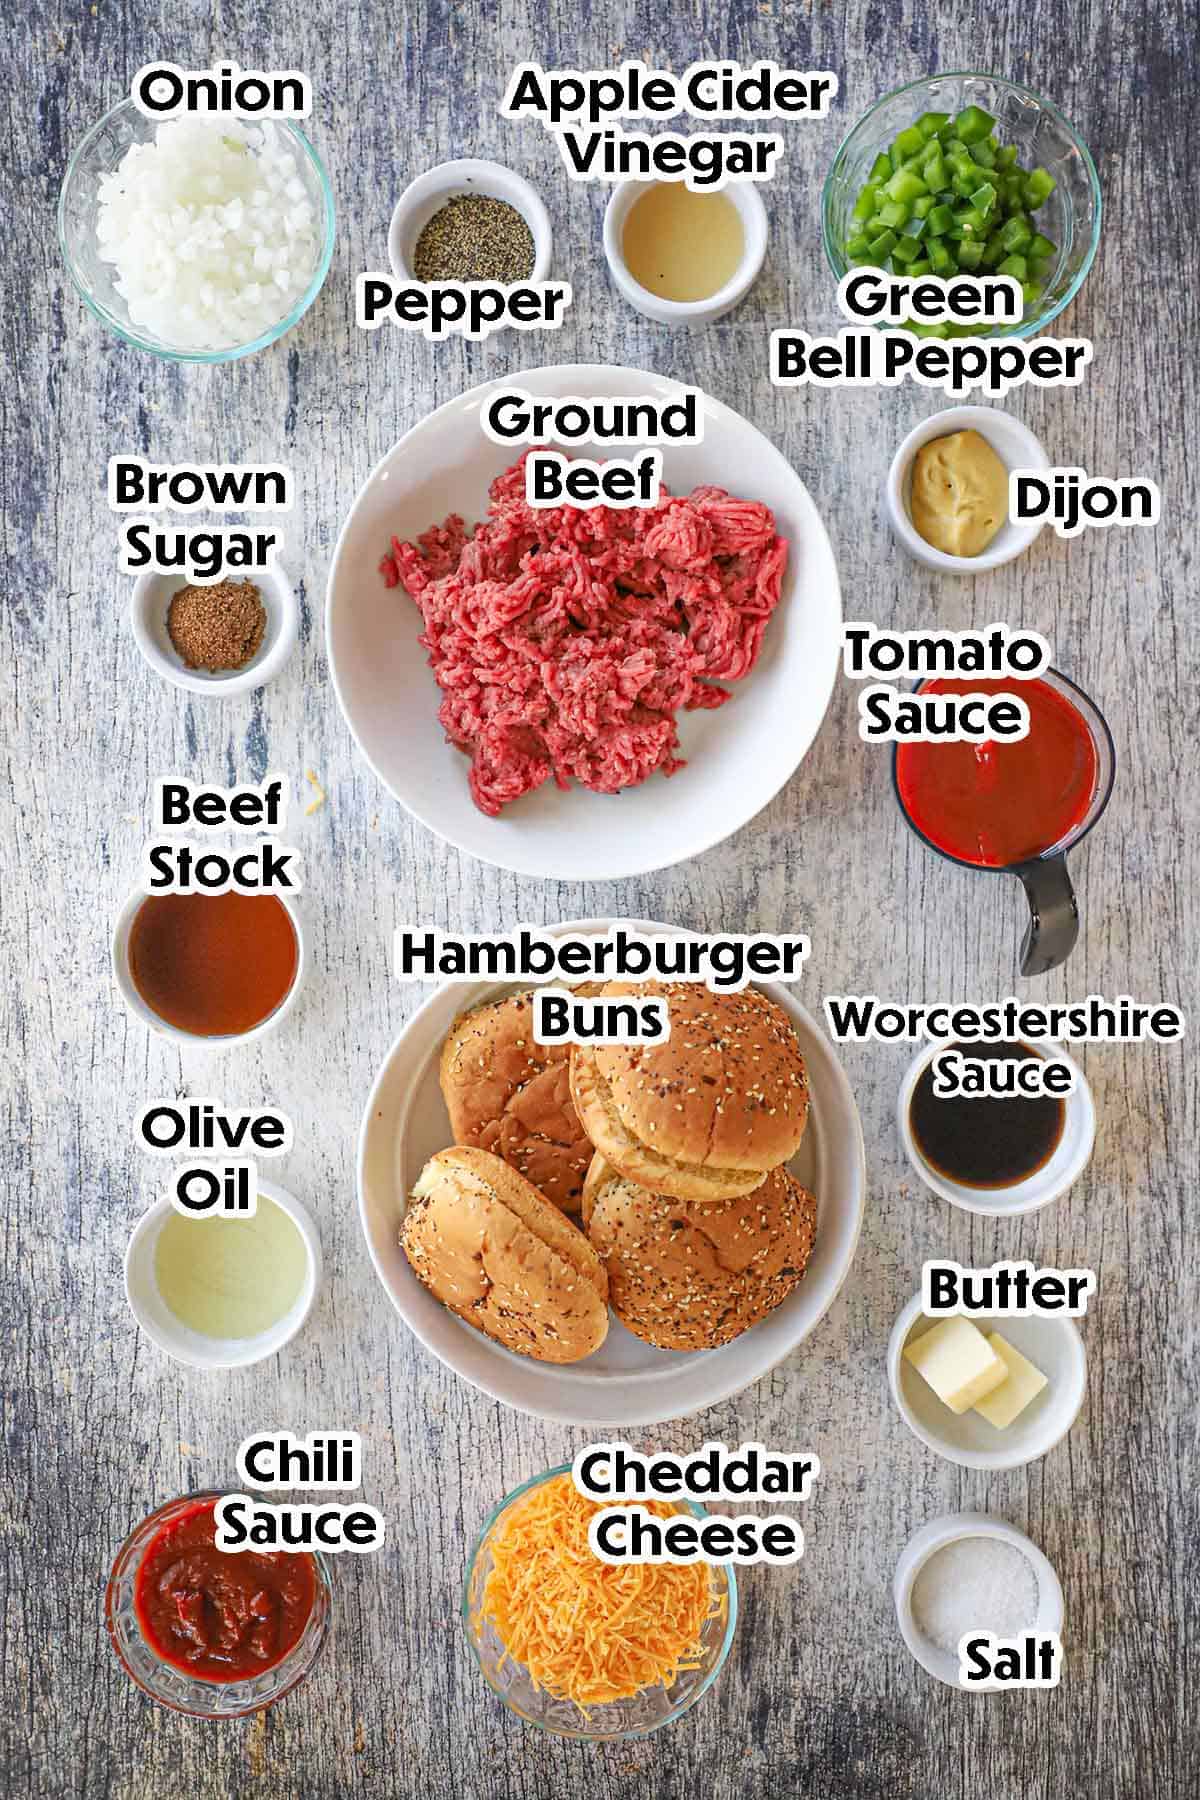
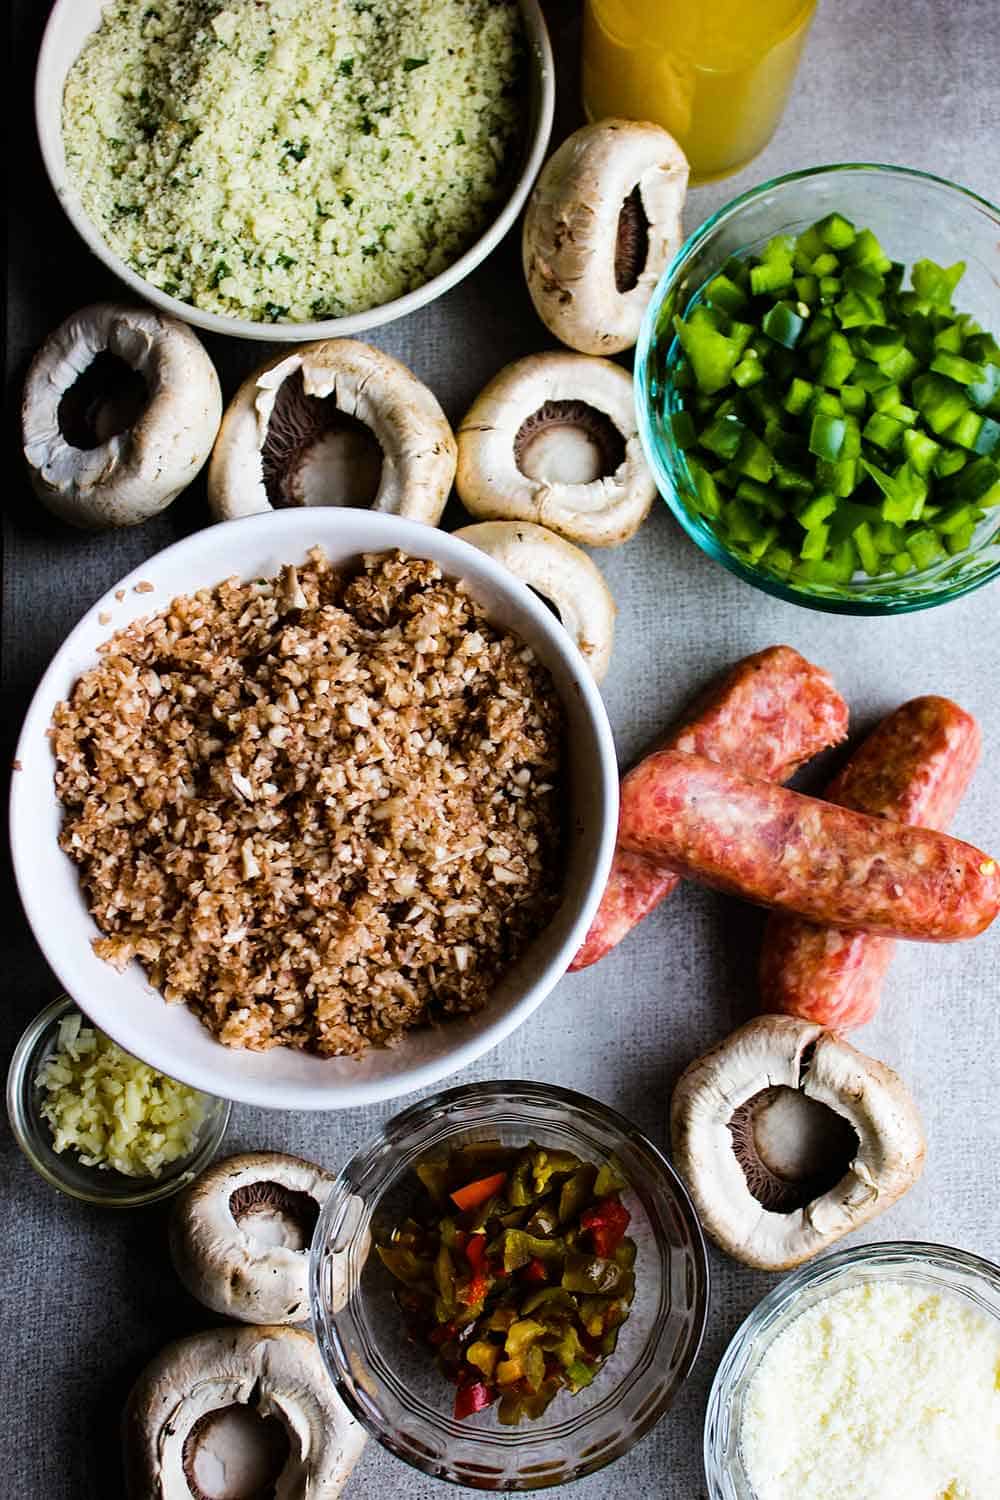
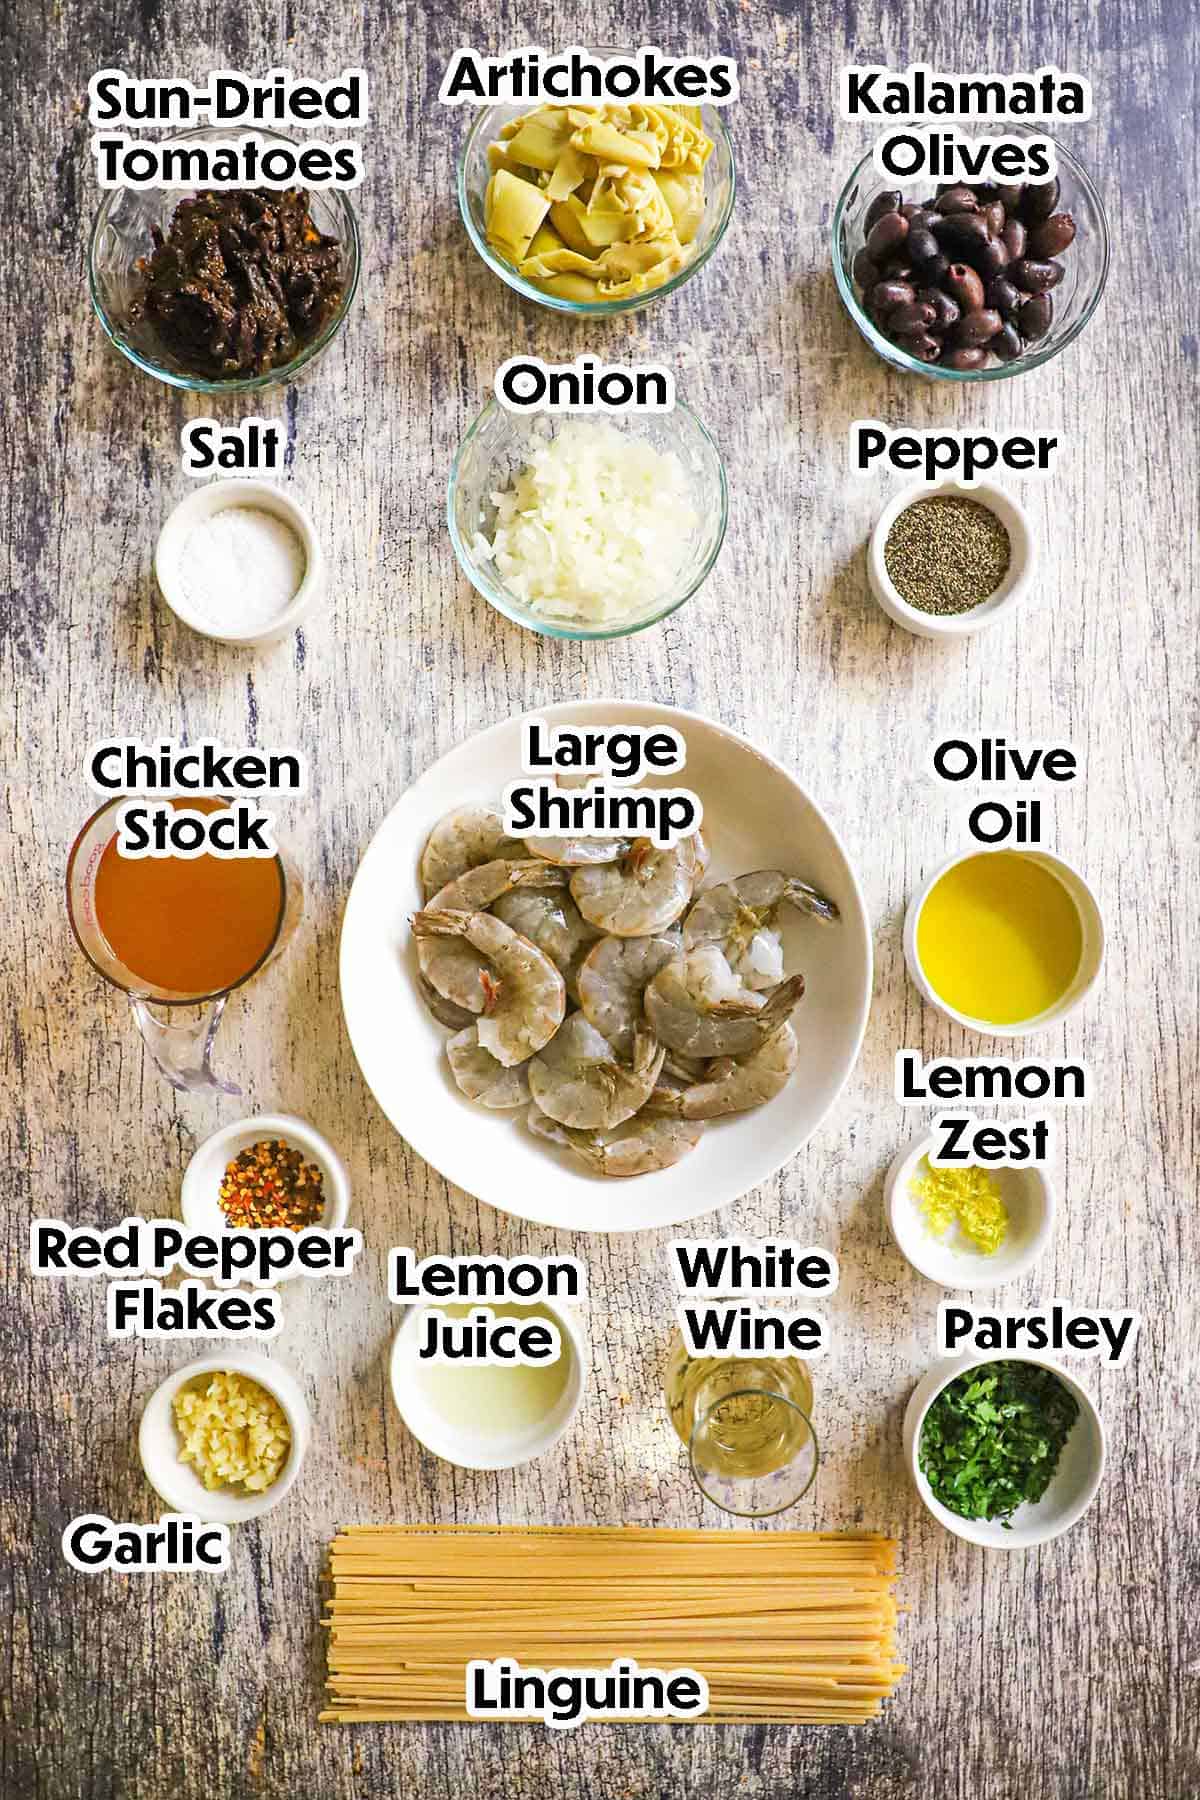
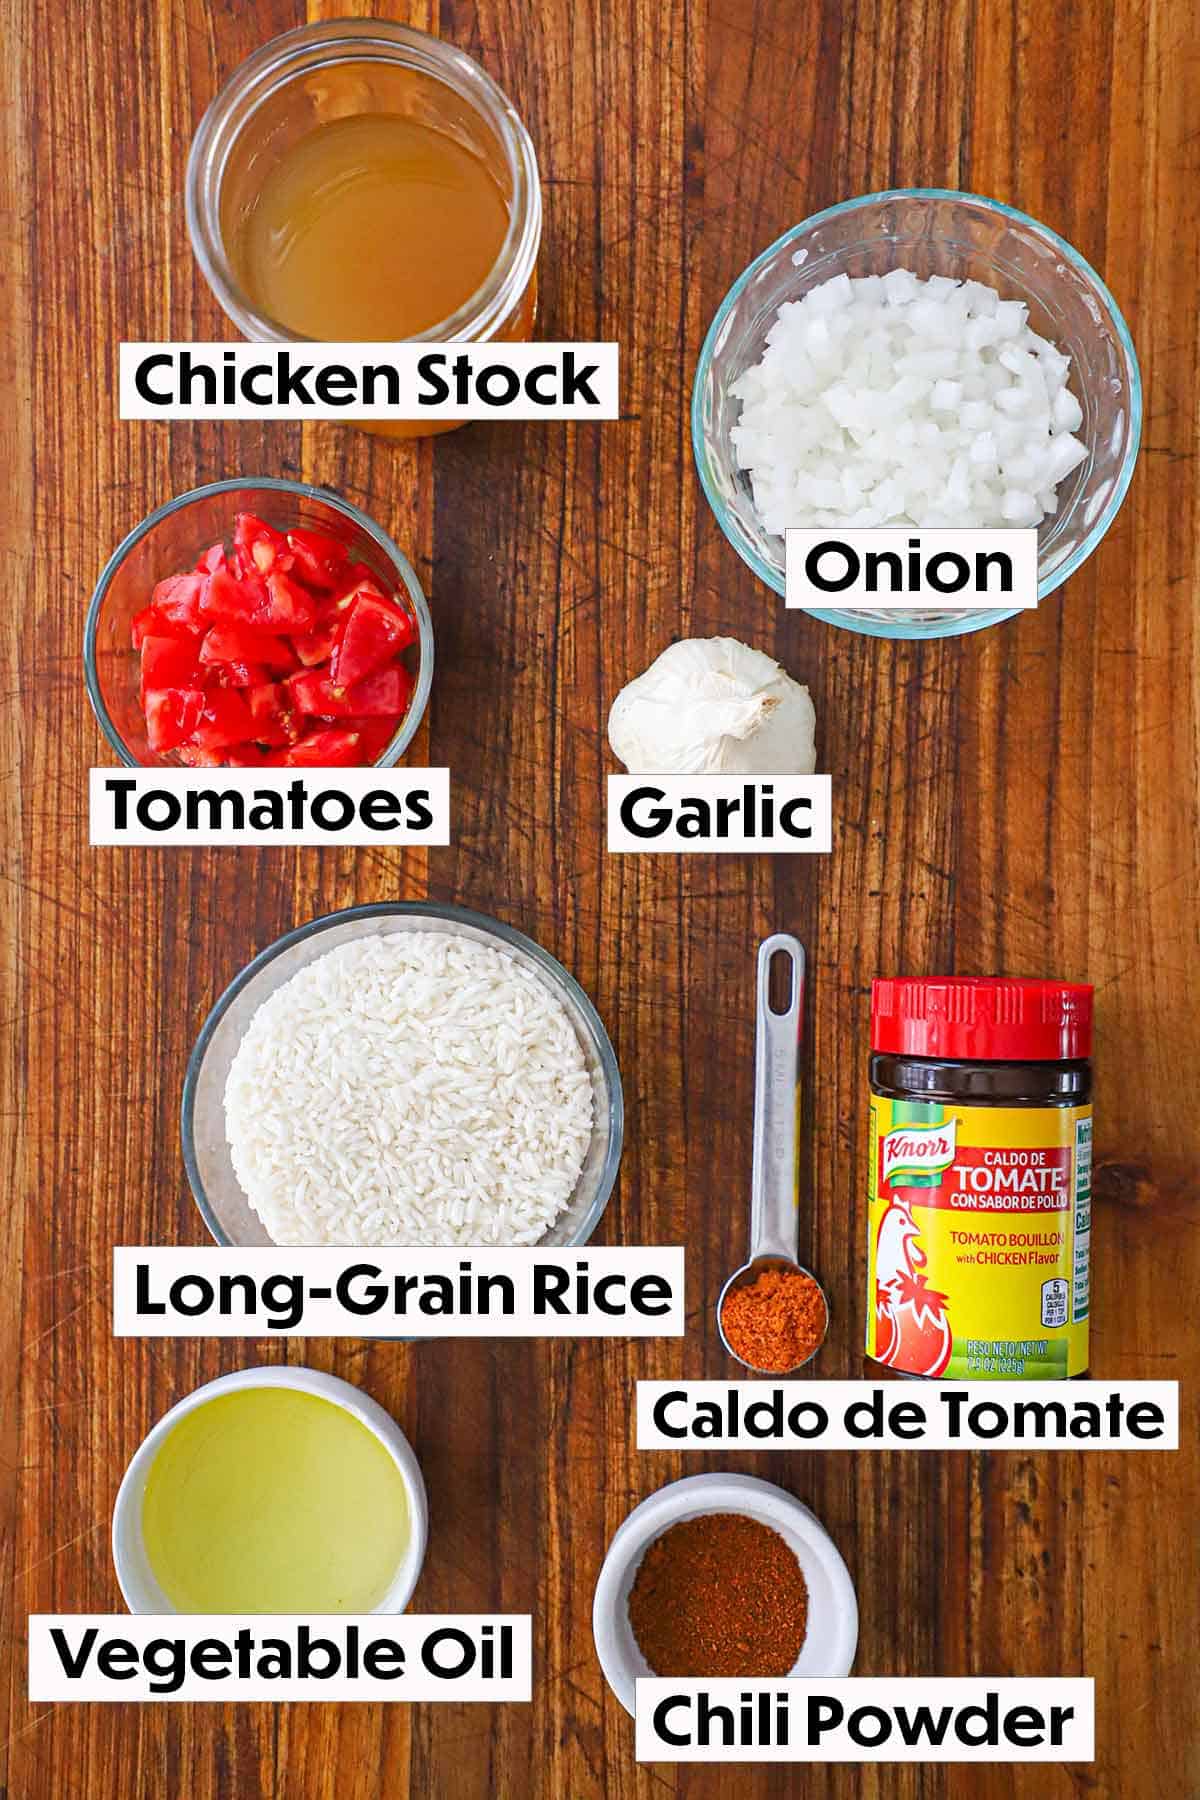
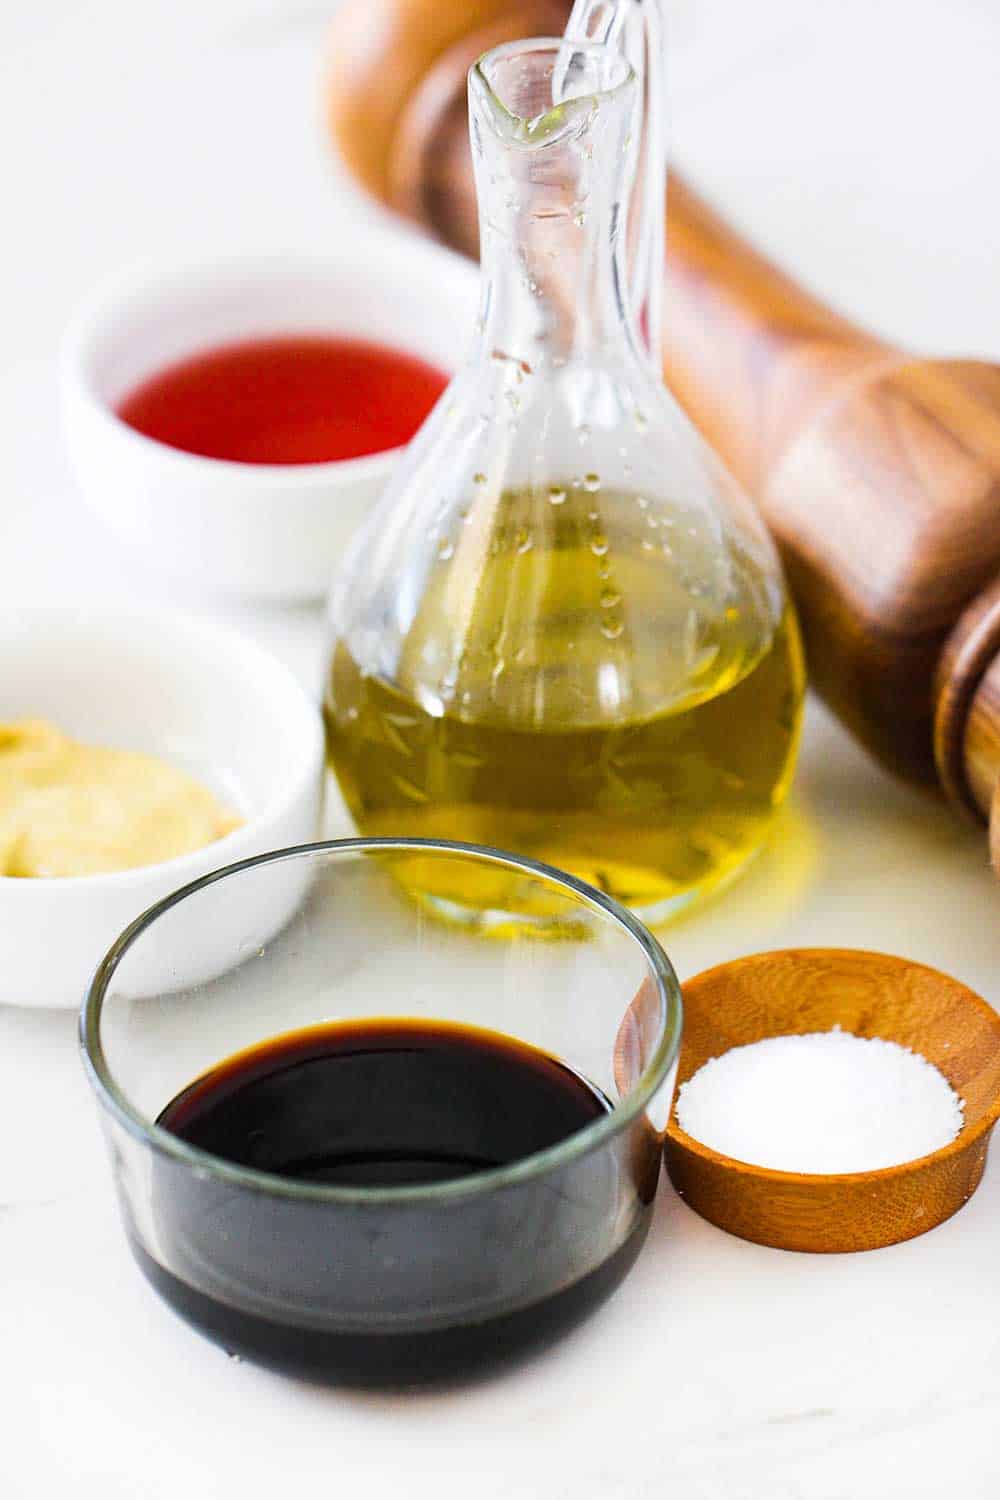
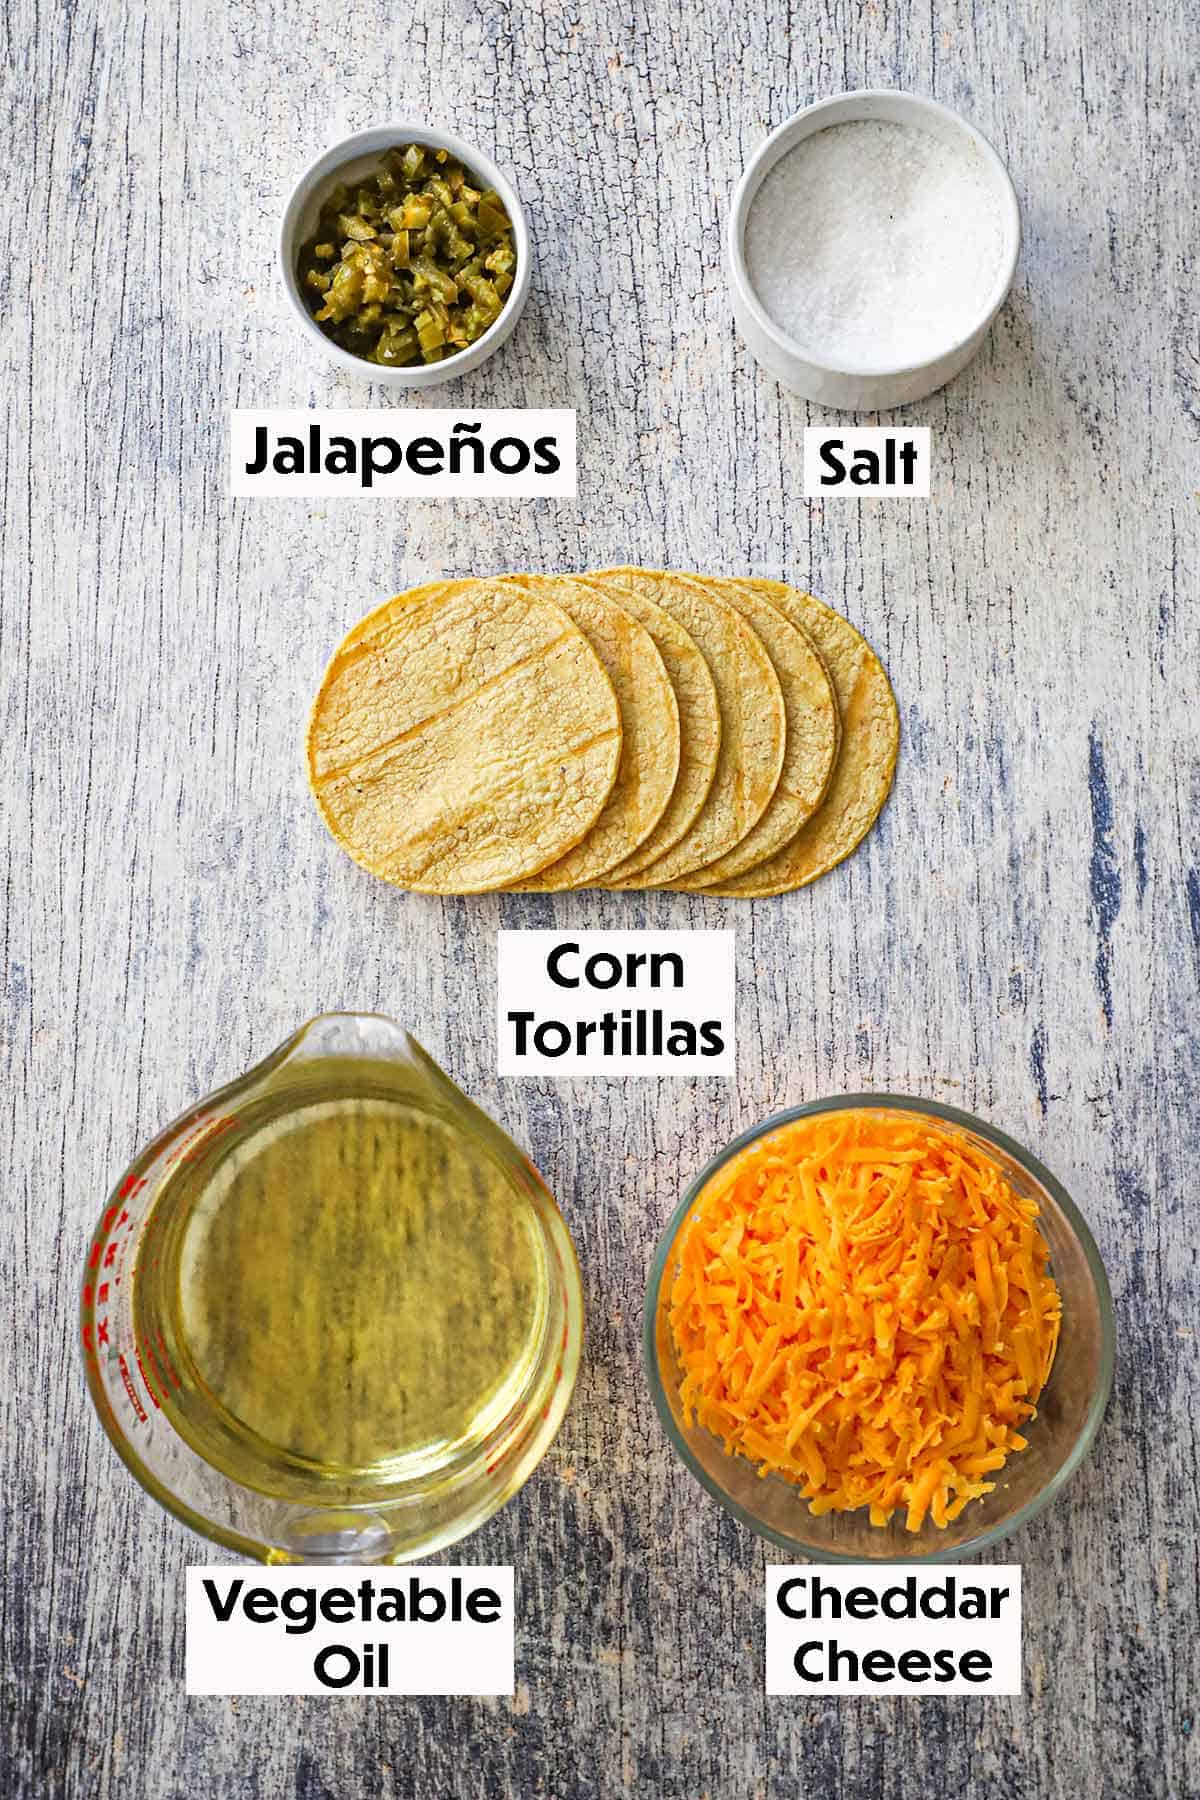
This recipe combines simple, bold flavors and fresh ingredients to create a perfectly balanced, irresistible Tex-Mex classic. Find ingredient notes (including substitutions and variations) below.
📝 Ingredients Note with Substitutions and Variations
- Corn Tortillas: Traditional for authentic texture and flavor, but you can use flour tortillas or even tortilla chips for a quicker version.
- Cheddar Cheese: Sharp cheddar provides classic taste, but feel free to mix in Monterey Jack, Colby, or a Mexican cheese blend for a different flavor profile.
- Jalapeños: Fresh jalapeños add a bright, spicy kick; substitute with pickled jalapeños for tang or use milder peppers if you prefer less heat.
- Salt: Lightly salting the fried tortillas enhances flavor—adjust to taste or try flavored salts for a unique twist.
- Oil for Frying: Use a neutral oil with a high smoke point like vegetable, canola, or peanut oil for best results.
See the recipe card (with video) below for a full list of ingredients and measurements.
🔥 Tips and Tricks
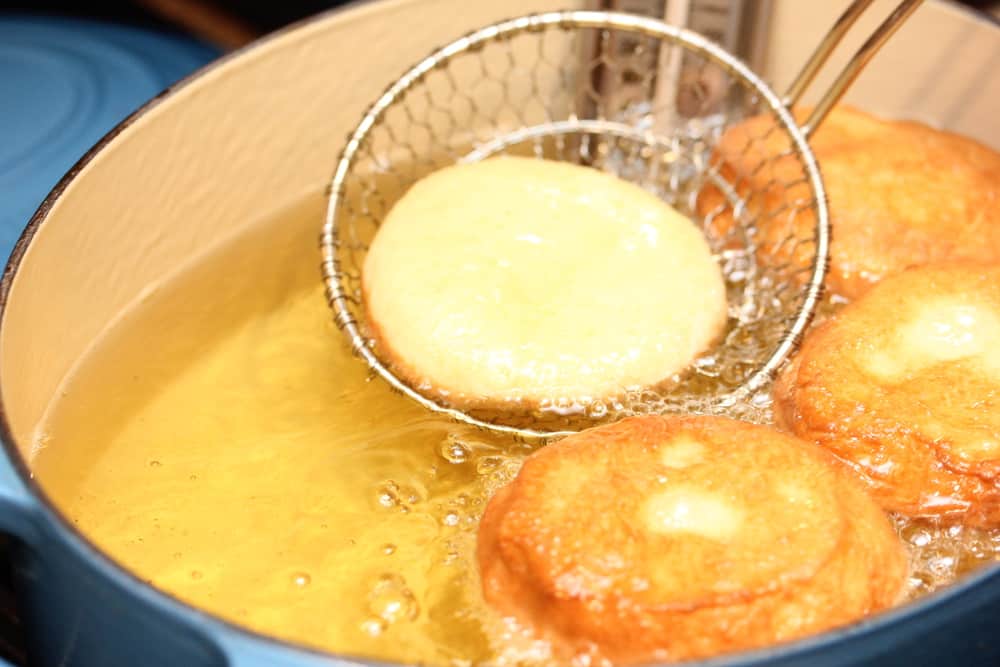
- Fry tortillas in small batches to keep the oil temperature steady and ensure they come out crispy, not greasy.
- Drain fried tortillas on paper towels to remove excess oil and keep them crunchy.
- Use freshly shredded cheese instead of pre-shredded for better melting and flavor.
- Don’t overload the nachos—layer cheese and jalapeños evenly to ensure every bite is balanced.
- Serve immediately after baking to enjoy the cheese at its meltiest and the tortillas at their crispiest.
- Adjust jalapeño amount to suit your heat preference or swap for milder peppers if desired.
- For extra flavor, sprinkle a little smoked paprika or chili powder on top before baking.
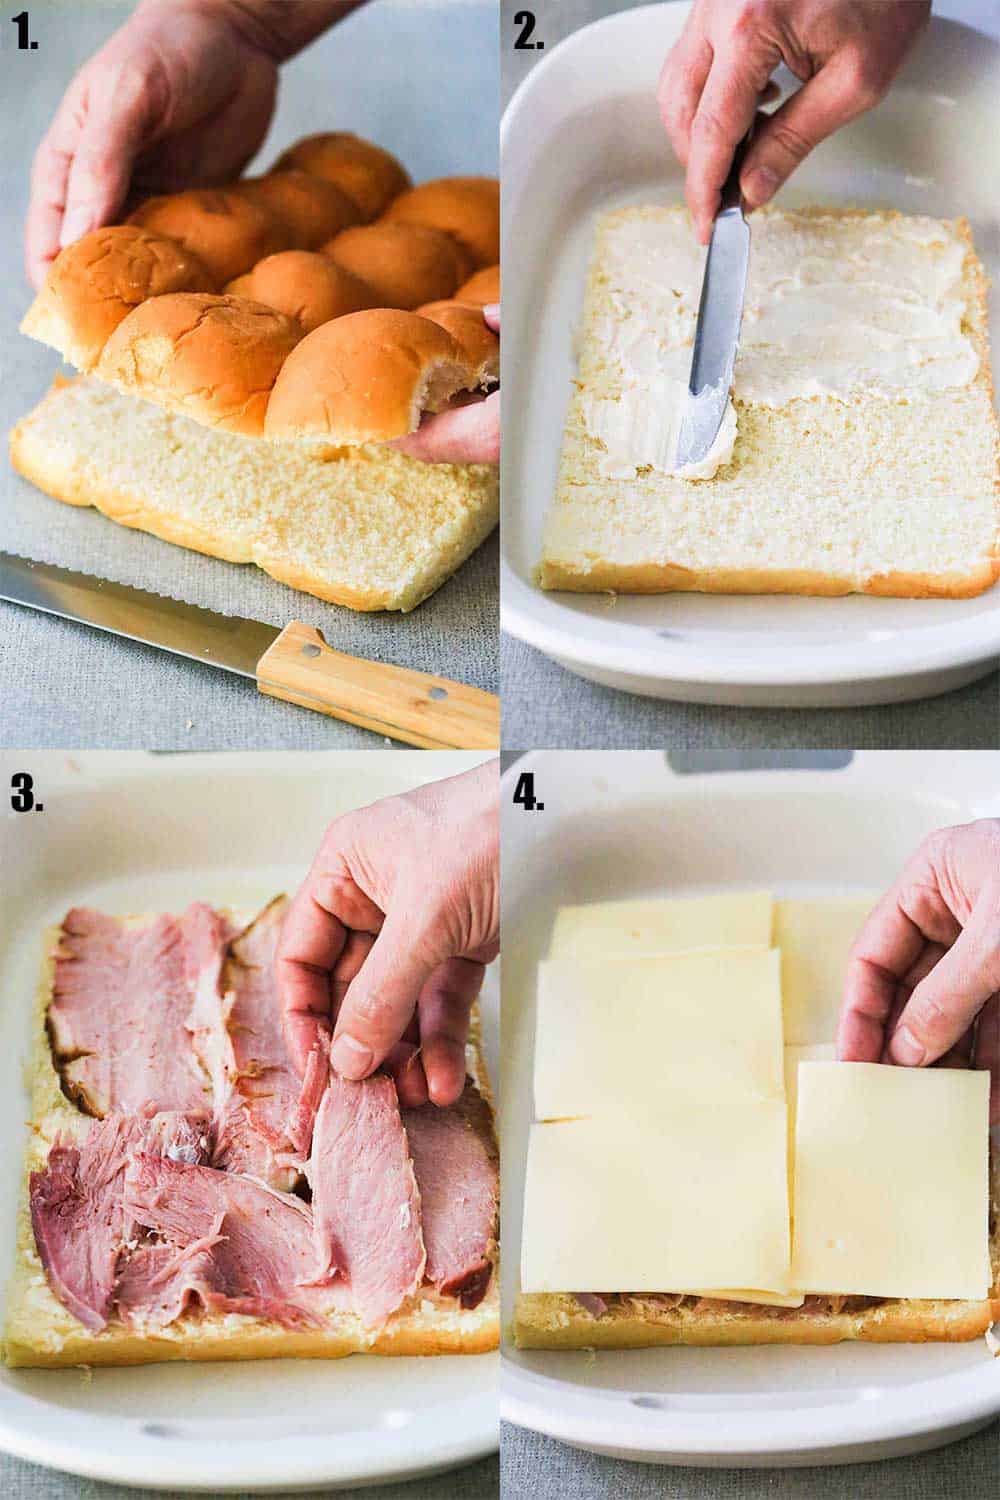
How to Make Best-Ever Classic Nachos
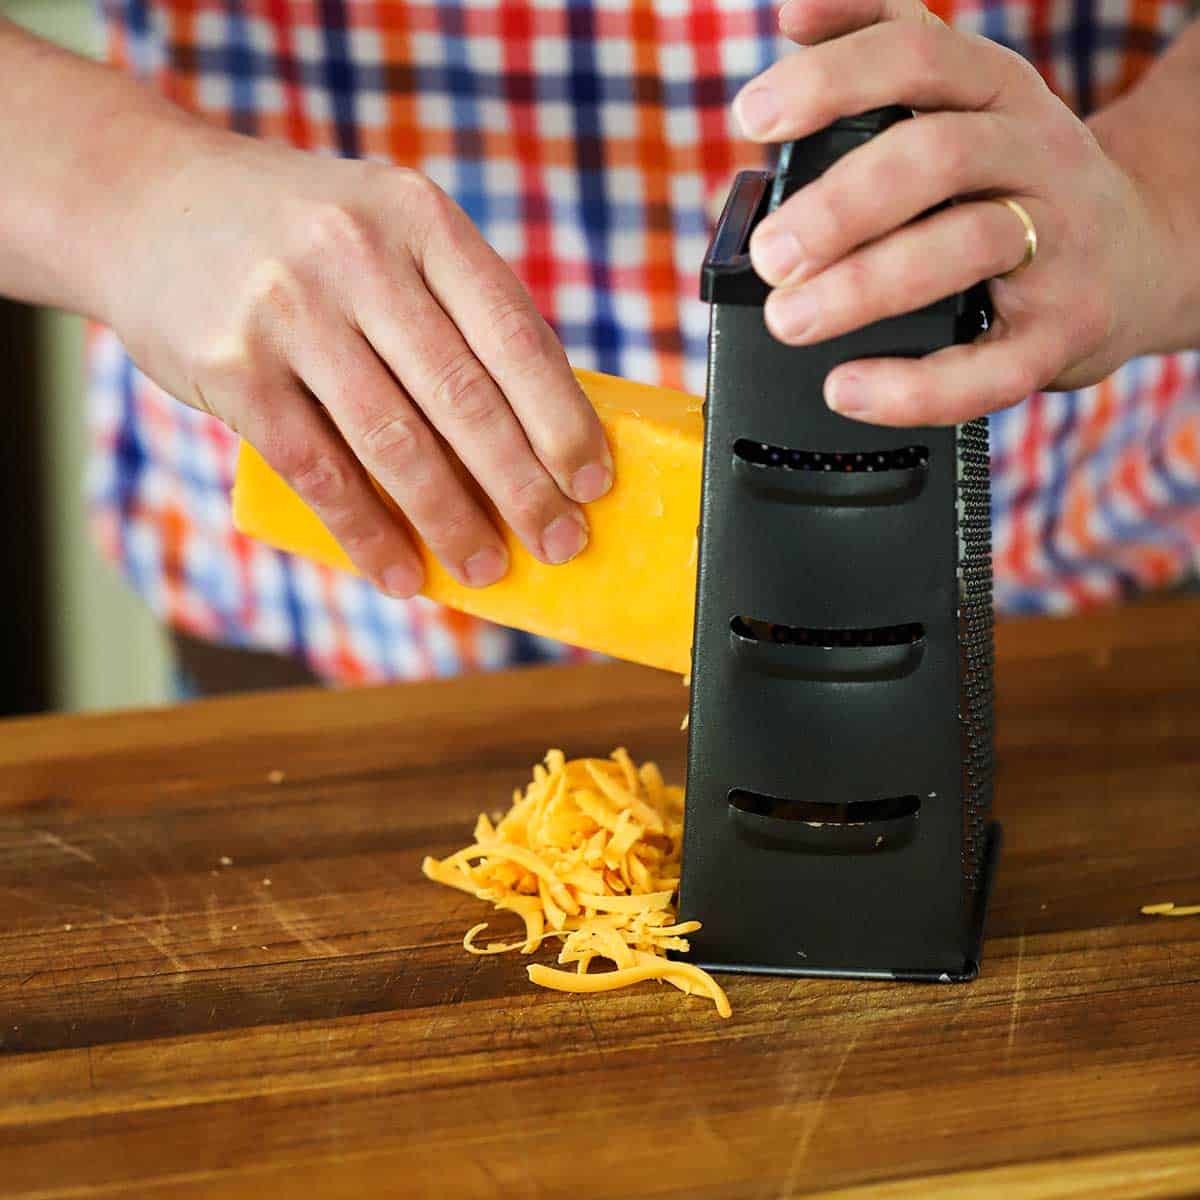
- Step 1: Shred the block of cheese on a box grater or with the shredding attachment on your food processor.
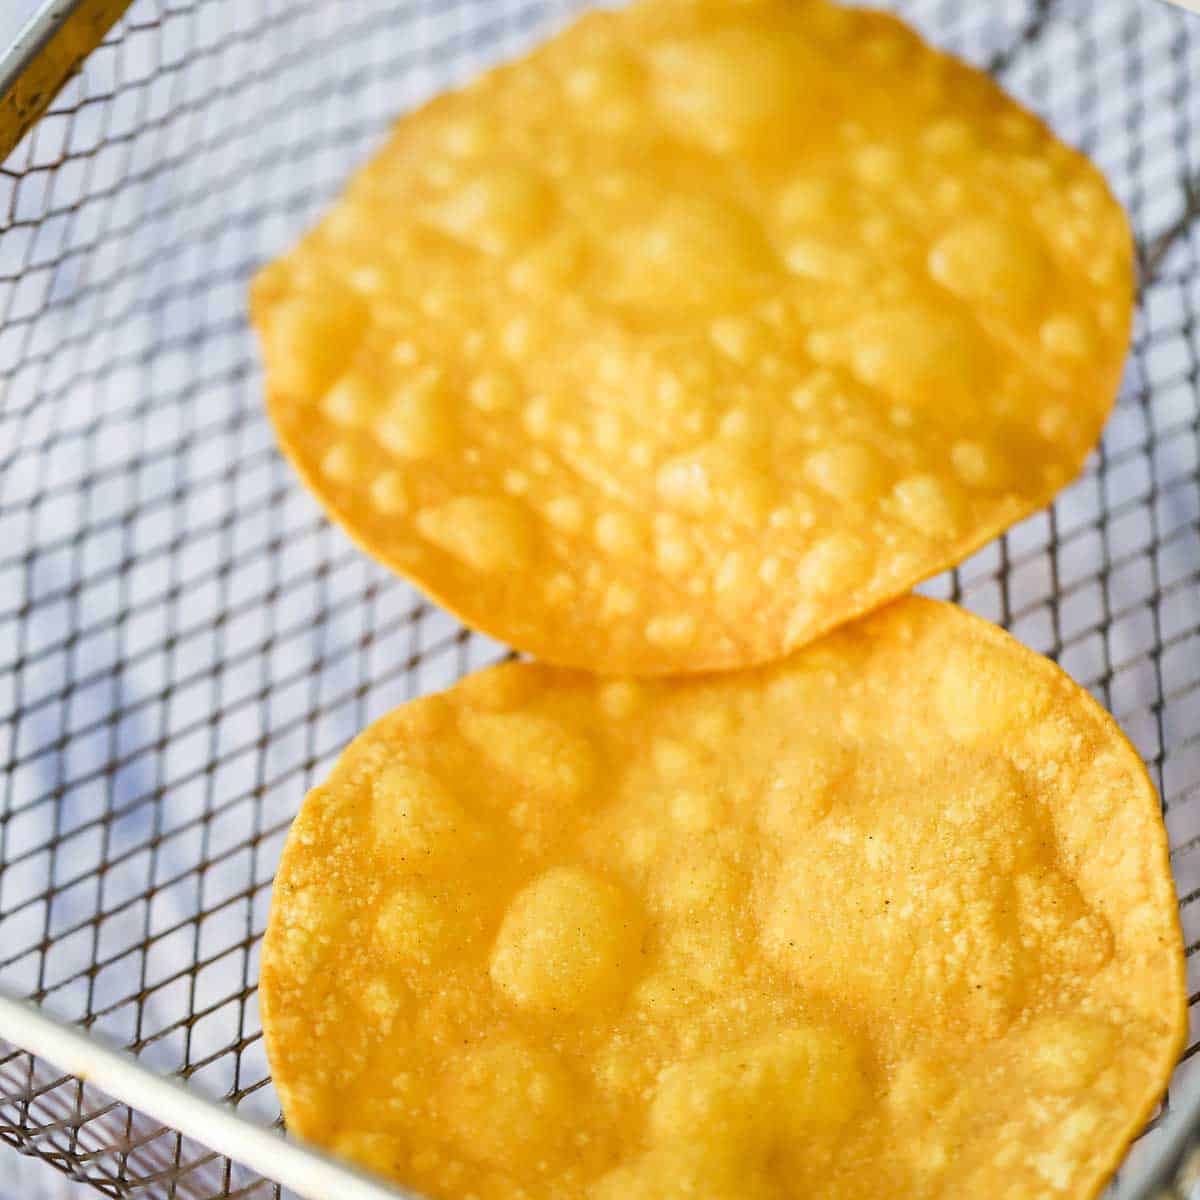
- Step 2: Fry the tortillas in batches until golden and crispy. Drain on paper towels.
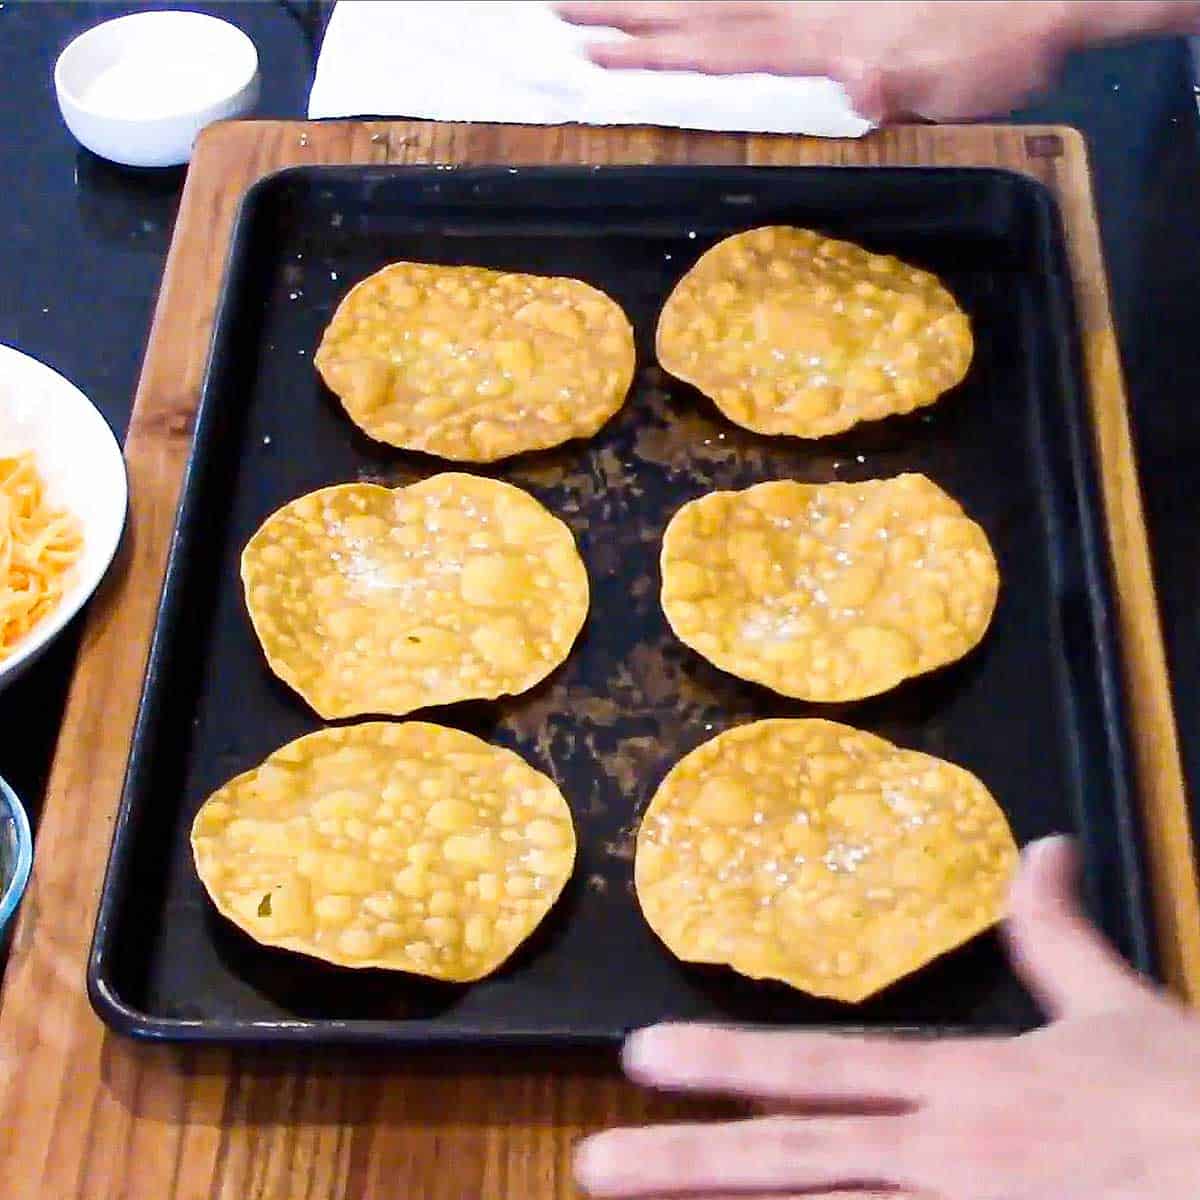
- Step 3: Place the crispy tortillas on a baking sheet and lightly sprinkle them with salt.
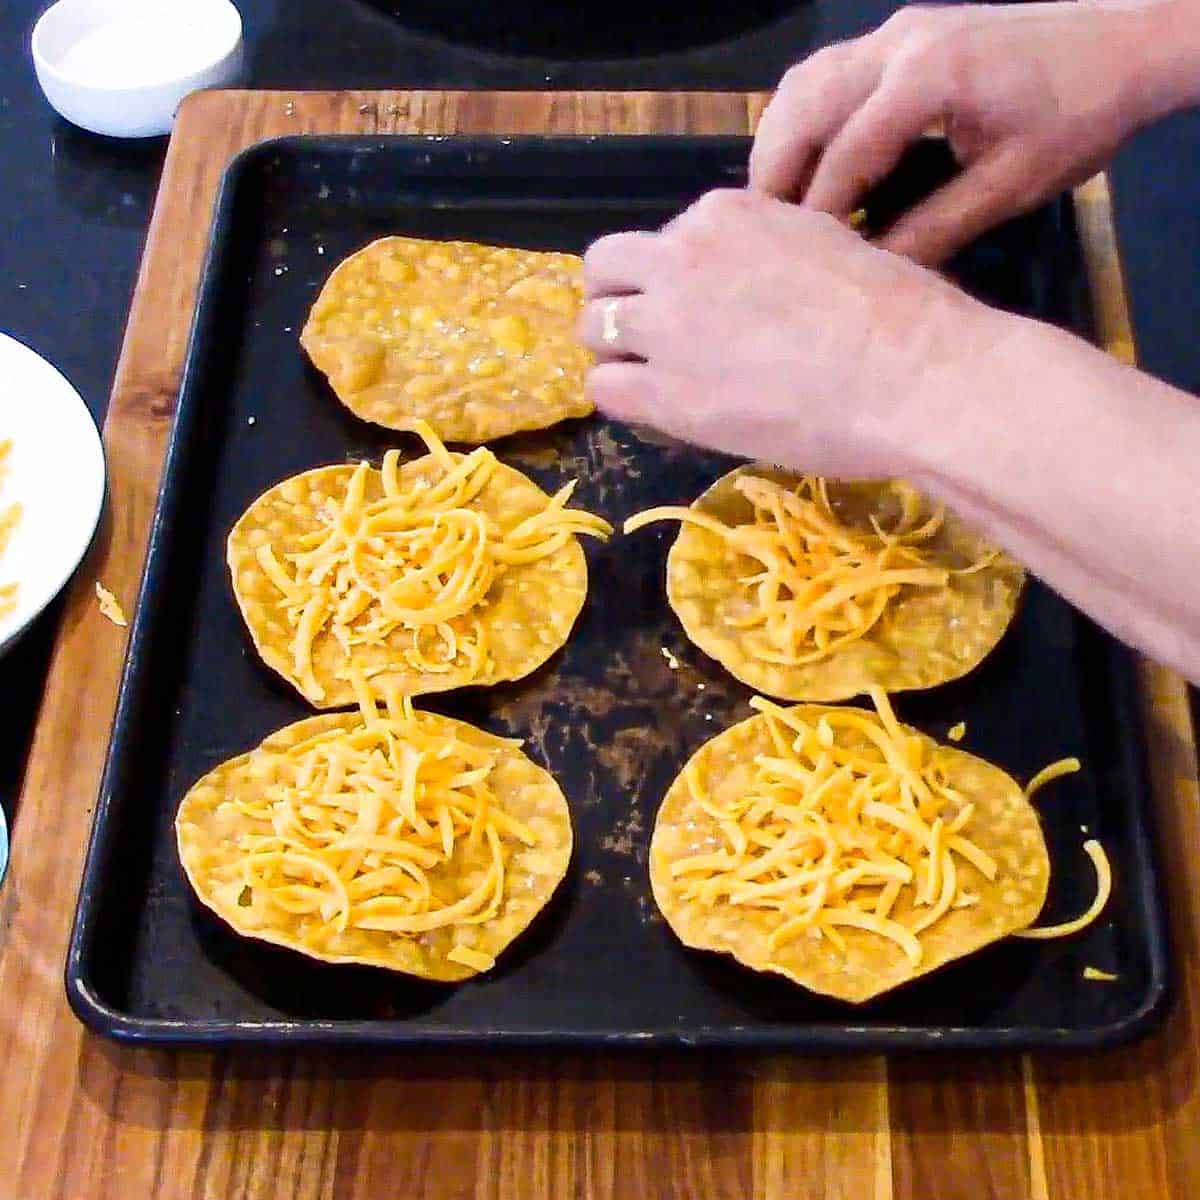
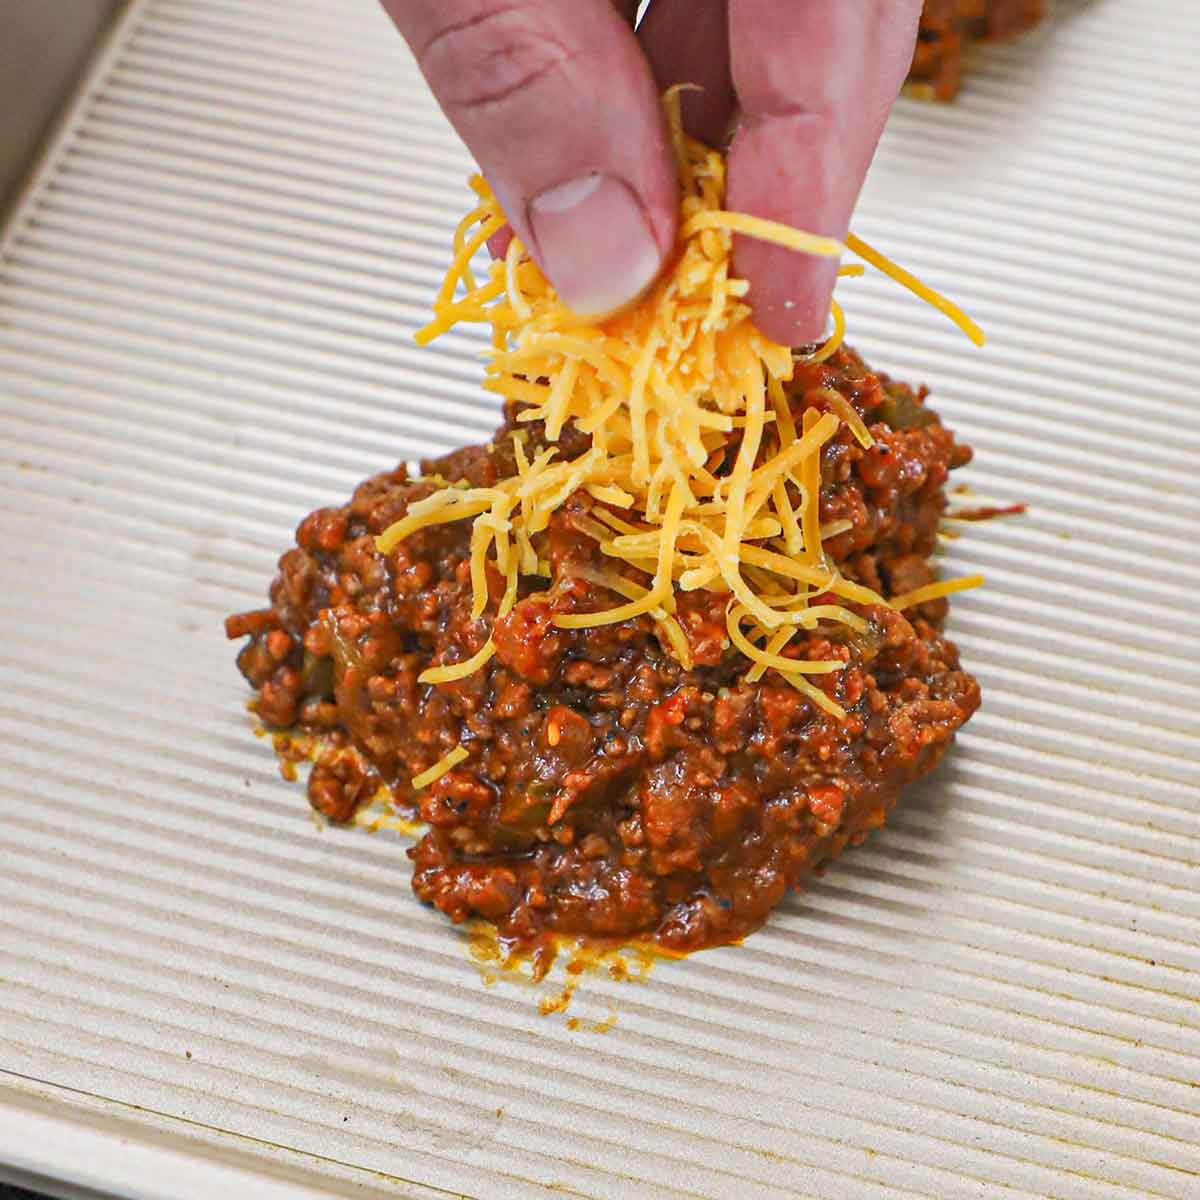
- Step 4: Top each tortilla with a generous amount of the cheese.
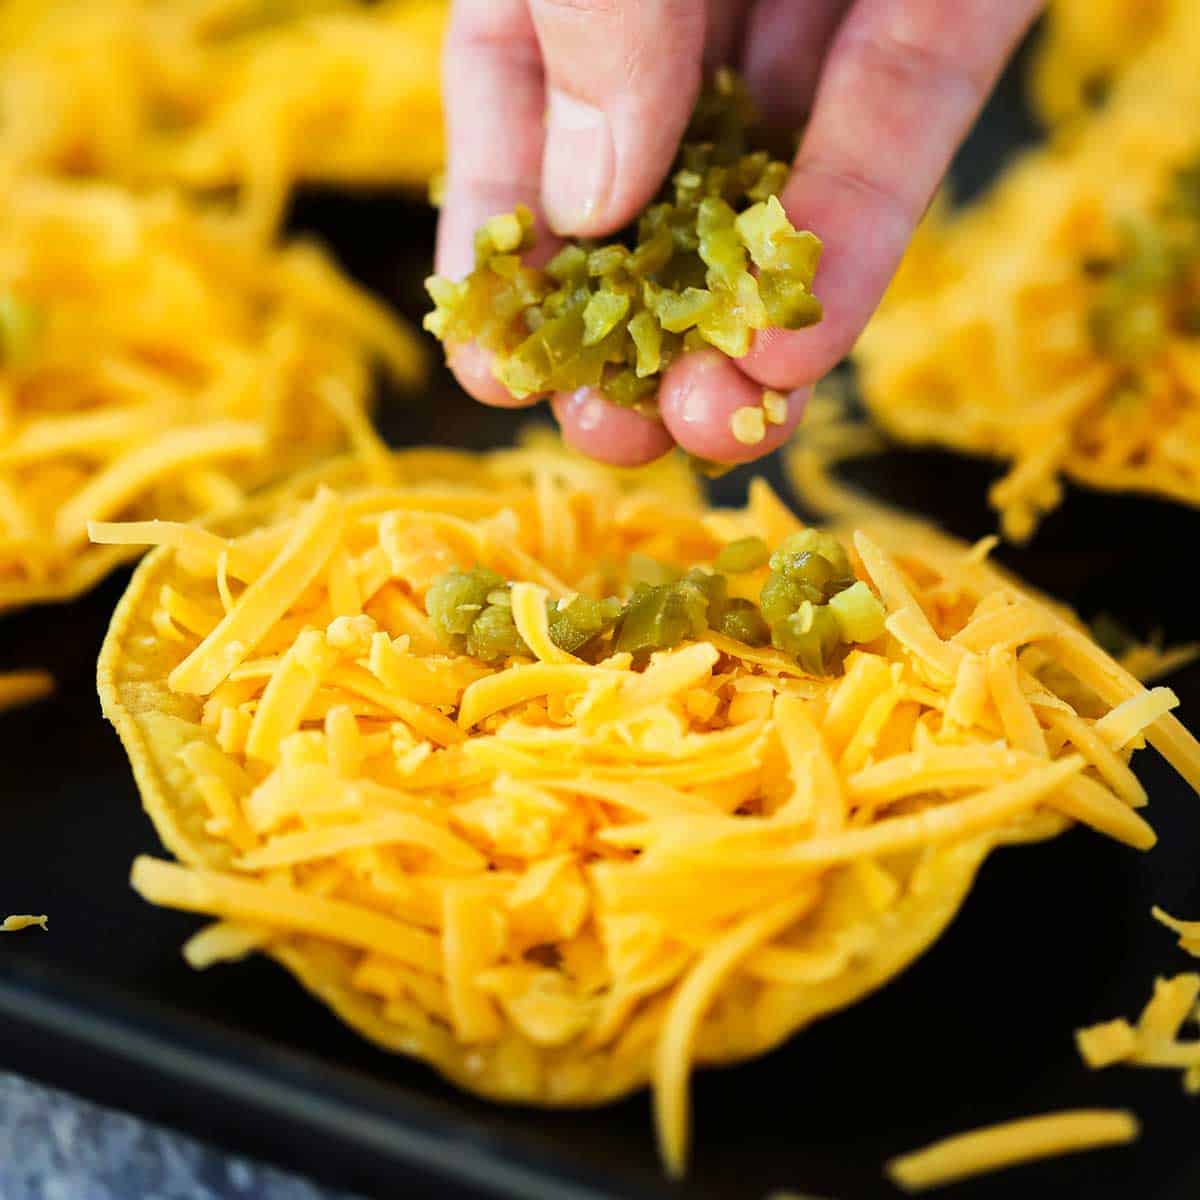
- Step 5: Add a small mound of the finely diced pickled jalapeños in the center of each uncooked nacho.
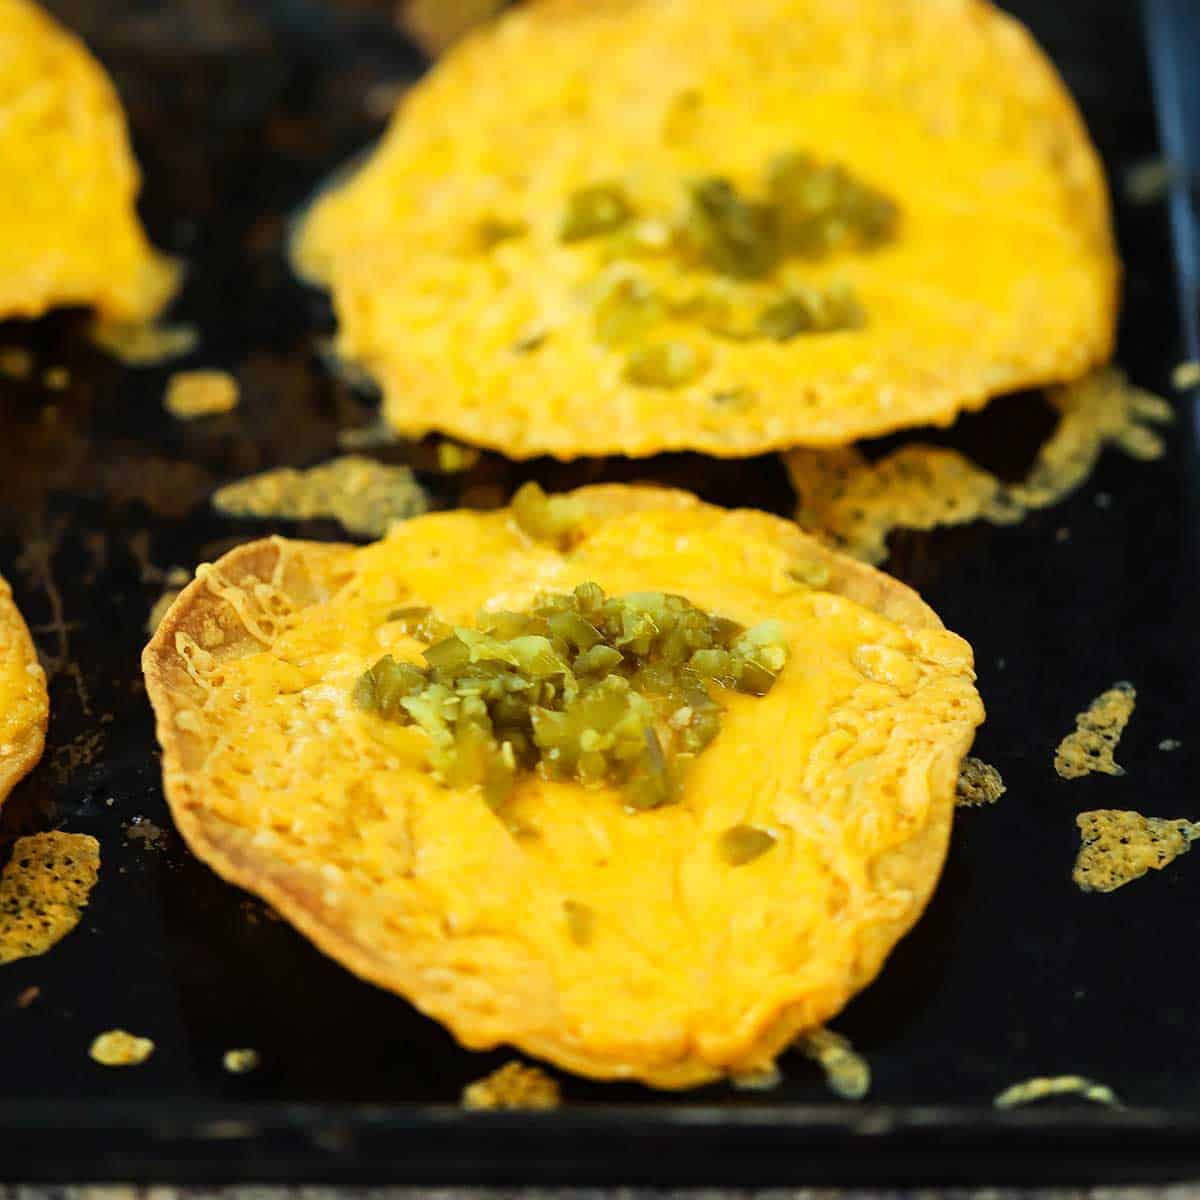
- Step 6: Bake at 350°F until the cheese has melted. Serve at once.
Expert Tip
We recommend using a 16-ounce block of top-notch cheddar cheese and then shredding it yourself. The pre-shredded bagged variety tends to be a drier cheese, and you won’t get the creamy melting like you would with freshly shredded cheese. For the jalapenos, we just get our favorite pickled variety and then dice them finely with a knife. Be sure to use thin, yellow corn tortillas.
🍽️ How to Serve
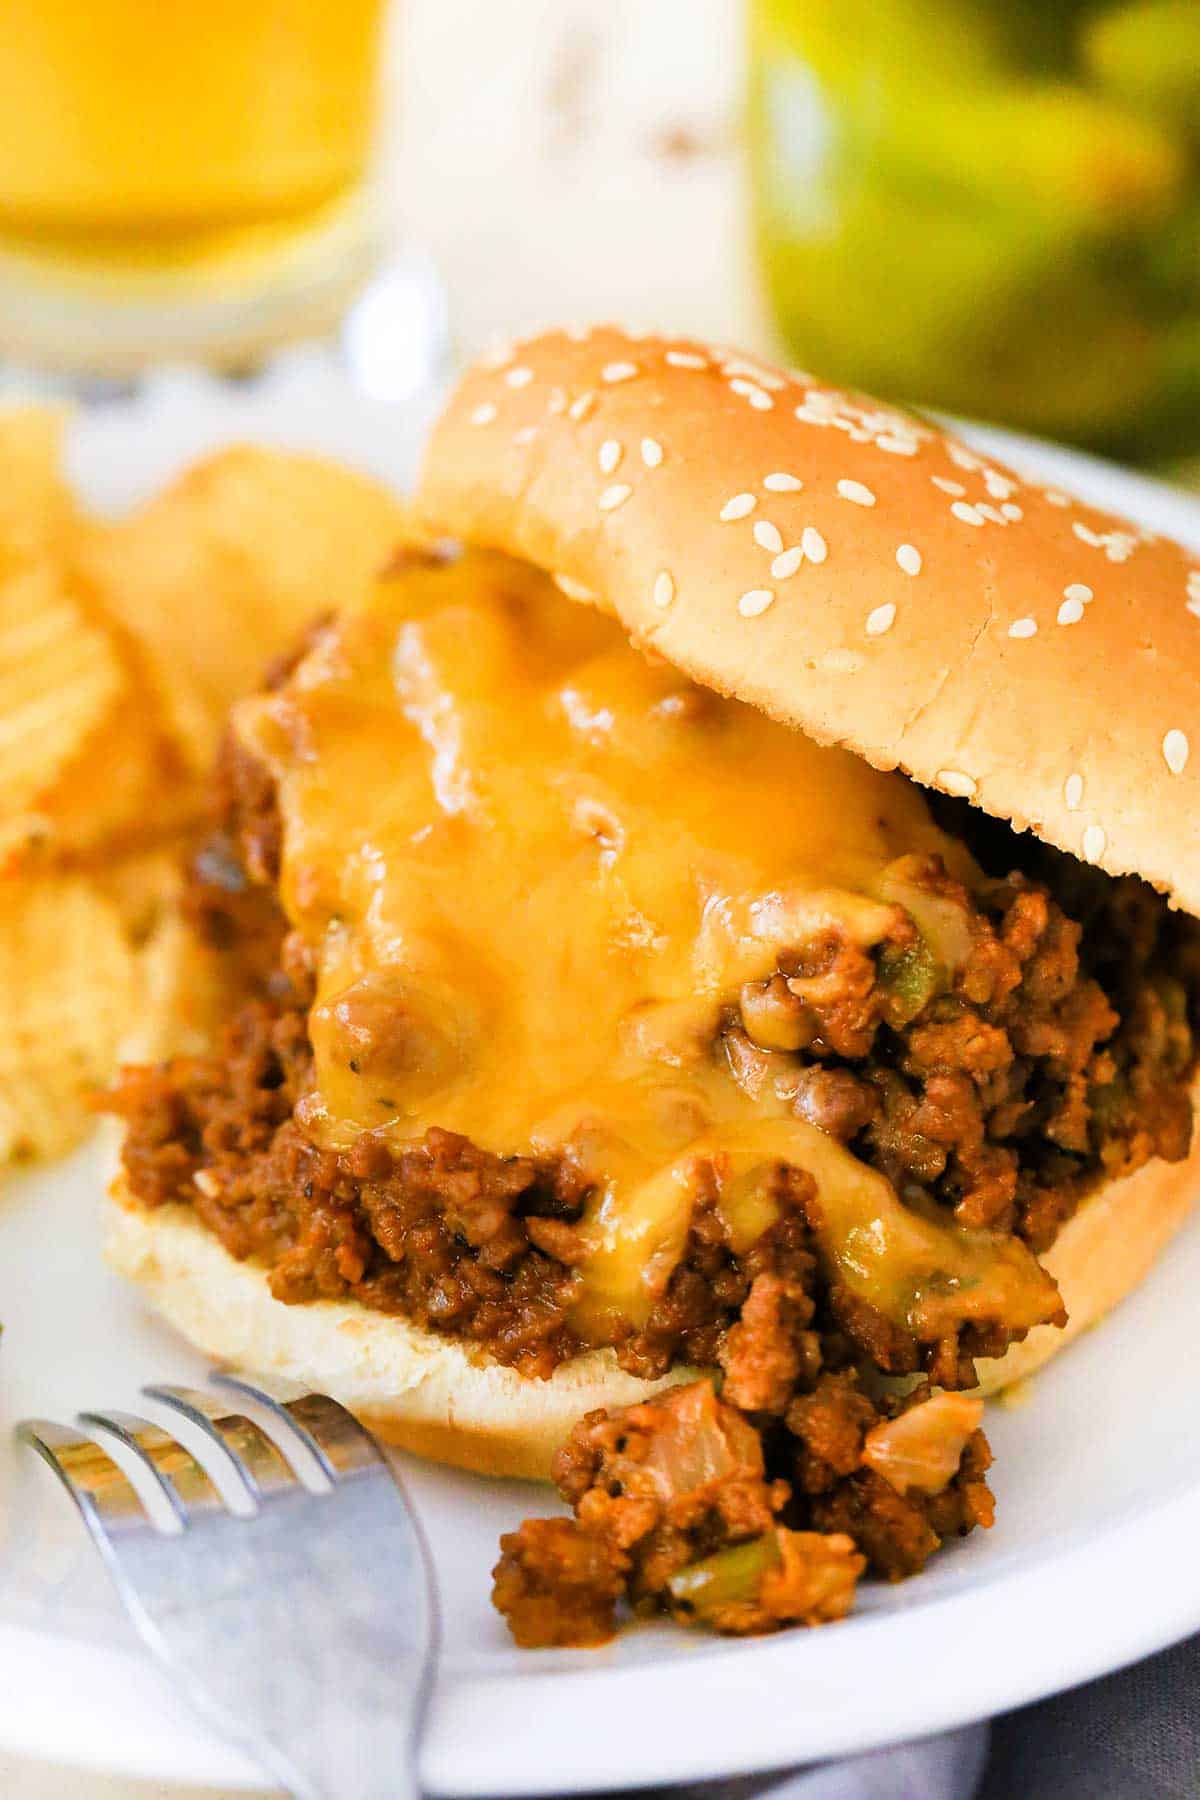
- Serve hot and fresh straight from the oven for perfectly melty cheese and crispy tortillas.
- Pair with classic Tex-Mex sides like homemade guacamole, fire-roasted salsa, and sour cream for dipping.
- Add a squeeze of fresh lime juice over the top to brighten the flavors.
- Garnish with chopped fresh cilantro or green onions for a pop of color and freshness.
- Offer alongside your favorite Mexican-inspired mains, like Tex-Mex beef tacos or chicken enchiladas, for a complete meal.
- For parties, serve on a large platter so guests can easily grab their favorite pieces.
EXPERT TIP: Cooking the nachos in the oven will melt the cheese beautifully. Make sure to spread the cheese as evenly as possible over the fried tortilla to ensure even melting. Roasting the nachos with the diced jalapenos on the cheese mellows the peppers slightly and infuses them into the cheese.
🙋🏽♂️ Frequently Asked Questions
Yes! You can bake the corn tortillas in the oven until crispy as a healthier, easier alternative to frying.
Sharp cheddar is traditional, but you can also use Monterey Jack, Colby, or a Mexican cheese blend for great melting and flavor.
The heat level depends on the amount of jalapeños you add, so you can adjust to suit your taste.
For best results, it’s recommended to assemble and bake just before serving to keep the tortillas crispy and the cheese melty.
Yes, using corn tortillas makes this recipe naturally gluten-free, but always check your ingredients to be sure.
Absolutely! Feel free to customize with beans, salsa, sour cream, guacamole, or your favorite Tex-Mex additions.

😋 Other Classic Tex-Mex Appetizers


Ready to make the best nachos this side of the Rio Grande? Go for it!
And when you do, be sure to take a picture, post it on Instagram, and tag @HowToFeedaLoon and hashtag #HowToFeedaLoon!

Best-Ever Classic Nachos
Equipment
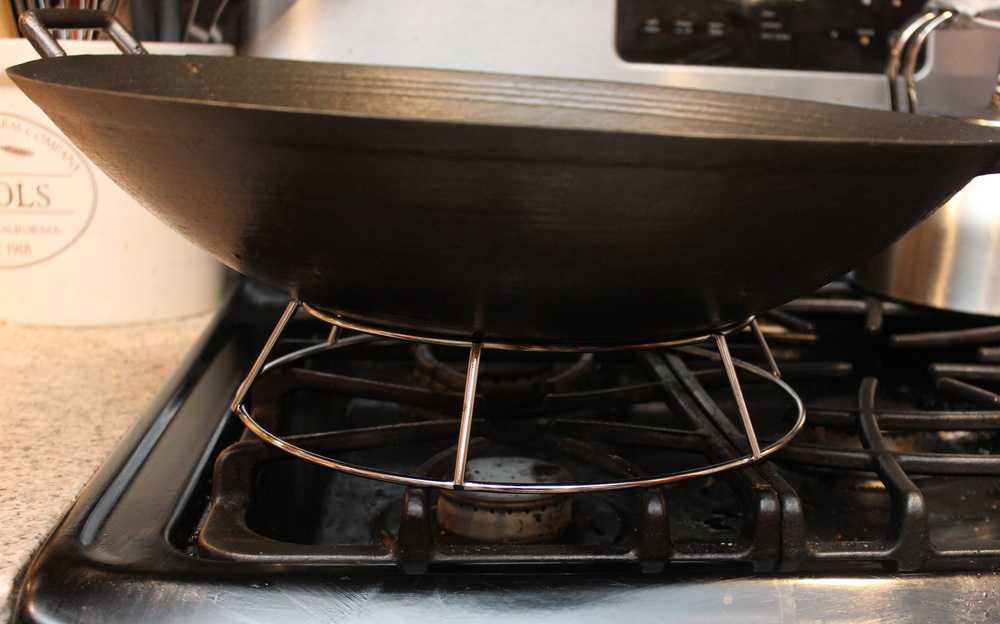
- Deep fryer, or sturdy skillet with a couple of inches of vegetable oil
Ingredients
- Vegetable oil for frying
- 6 corn tortillas yellow
- Kosher salt or coarse sea salt, for sprinkling the tortillas
- 1 lb mild cheddar cheese shredded
- ½ cup jalapeno peppers pickled, finely minced
Instructions
- Heat oil to 365°F and preheat oven to 400°F.
- Working in batches, place the tortillas in the hot oil, flipping occasionally with metal tongs or a couple of forks, until golden and crispy, about 2 minutes per side.Vegetable oil, 6 corn tortillas
- Remove the fried tortillas to a plate lined with paper towels and immediately sprinkle them with a small amount of salt. Continue this process until all tortillas are fried and lightly saltedKosher salt
- Place the fried tortillas on a baking sheet. Top each tortilla with anywhere from ¼ to ½ cup of the shredded cheese. Be sure to spread the cheese evenly across all the tortillas.1 lb mild cheddar cheese
- Top each nacho with approximately 1 tablespoon of the diced peppers.½ cup jalapeno peppers
- Place in the oven and bake until the cheese has fully melted. About 3 to 5 minutes. Keep an eye on them, don't let them burn! Remove from the oven and serve at once, with extra diced peppers on the side.