This Instant Pot Cinnamon Raisin Steel-Cut Oatmeal recipe is now requested in our home practically every morning. Thanks to the wonders of the Instant Pot, you can now have amazing steel-cut oatmeal in about 30 to 40 minutes.
So long soggy instant oatmeal, and hello pure deliciousness!
And steel-cut oatmeal had wonderful nutritional value, too!

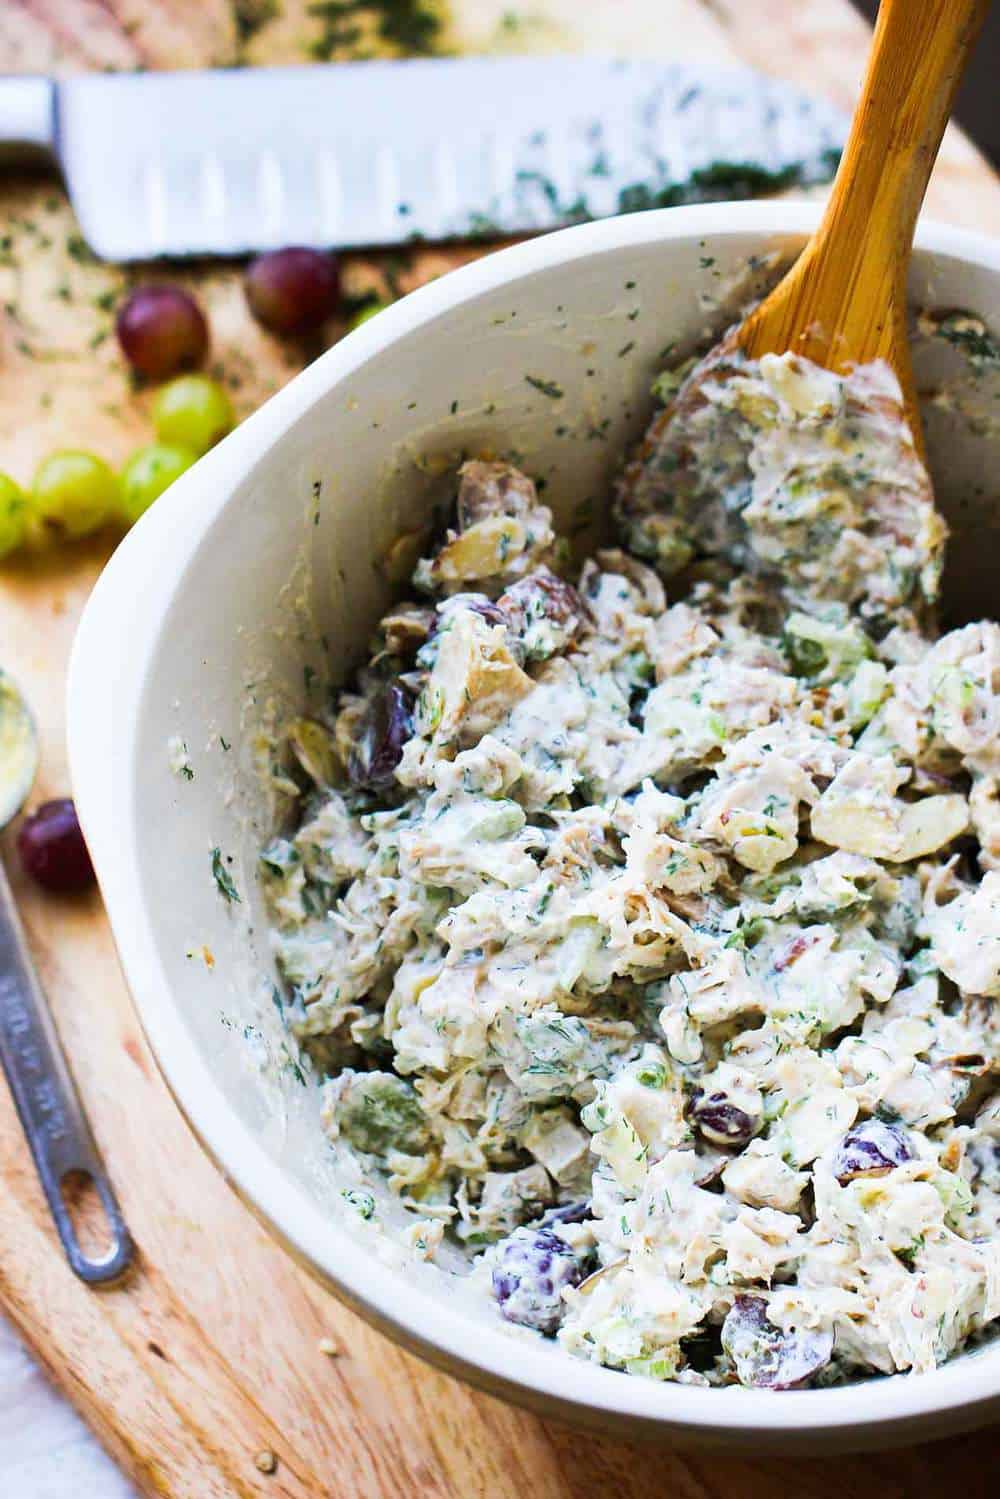
As it so often the case, the simplicity of the recipe is what really makes it so fantastic. The flavor profile is just right, and allows the oats to shine, while gently enhanced with the cinnamon, raisins and brown sugar.
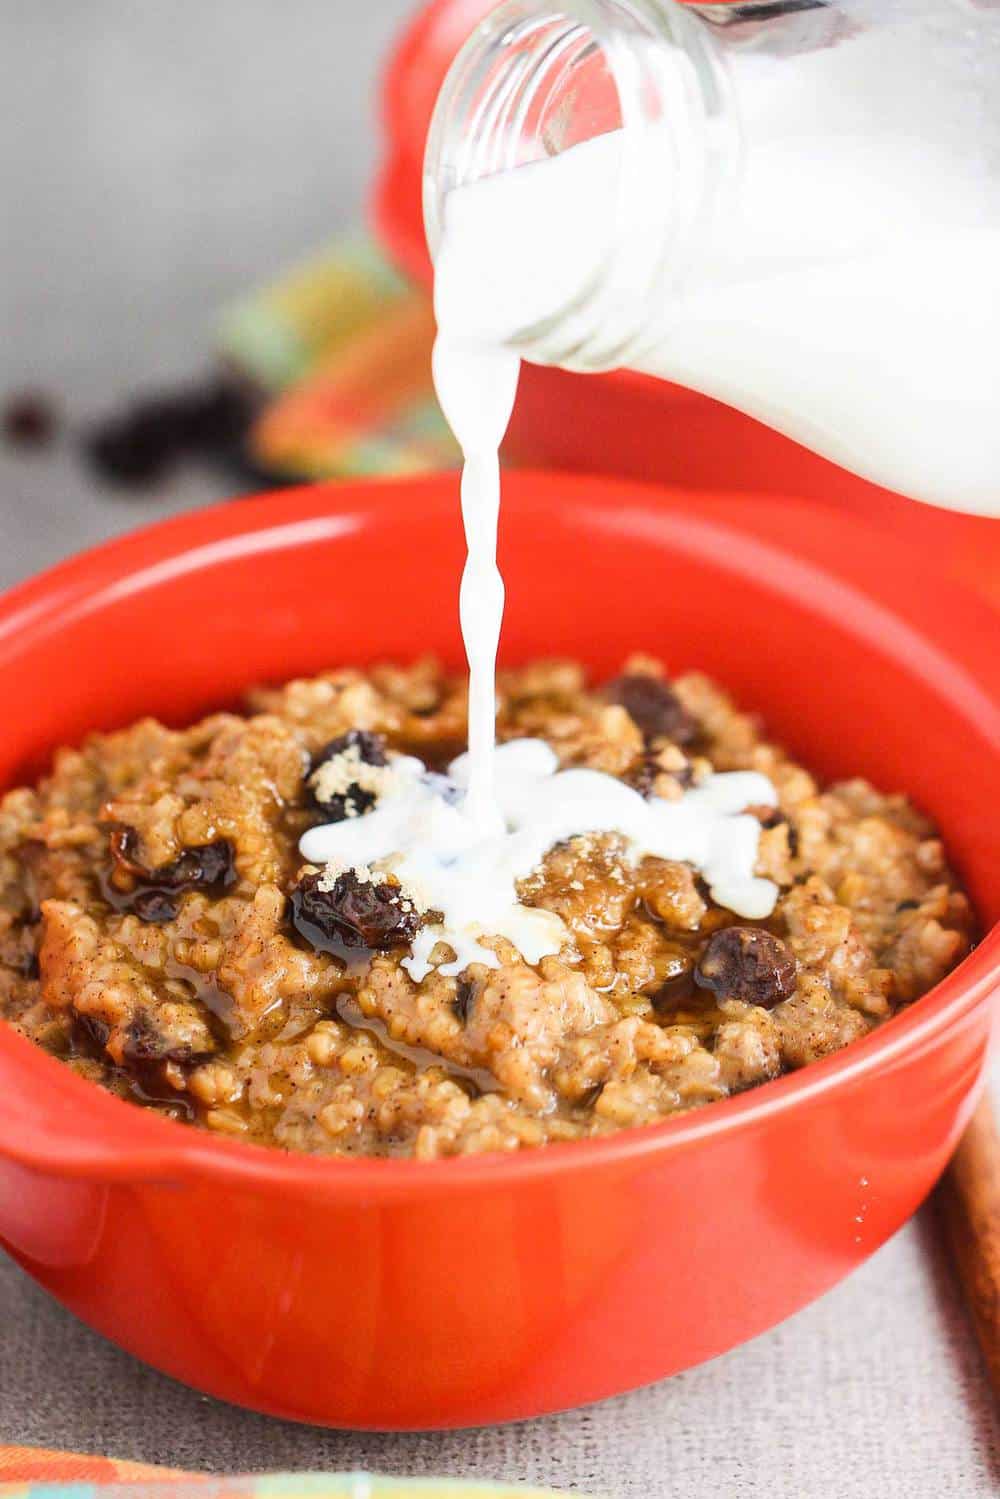
The wonderful creamy milk just rounds out the incredible flavor.

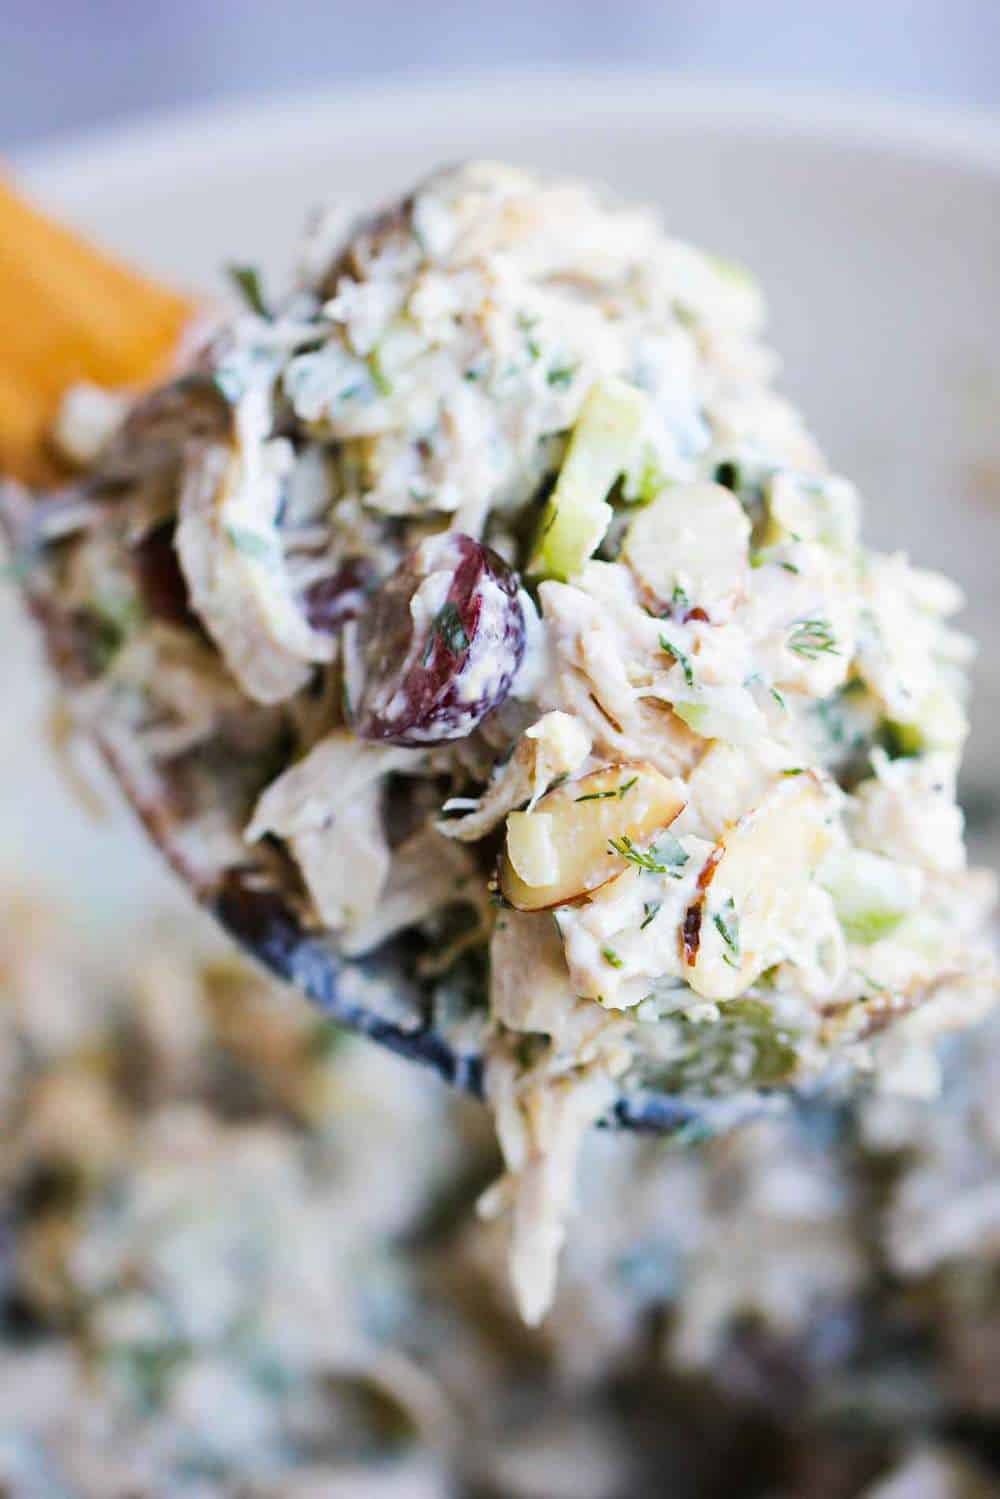
Steel-Cut Oatmeal has such amazing texture. With just a bit of chewy and full-bodied bite, the texture and flavor of the oats are spectacular.
We’ve always enjoyed oatmeal for breakfast when dining in a nice lodge and restaurant (The Four Seasons in Whistler, Canada comes to mind). But replicating that texture and taste at home has been a challenge.
But no longer. Look at that amazing steel-cut oatmeal!
So good.
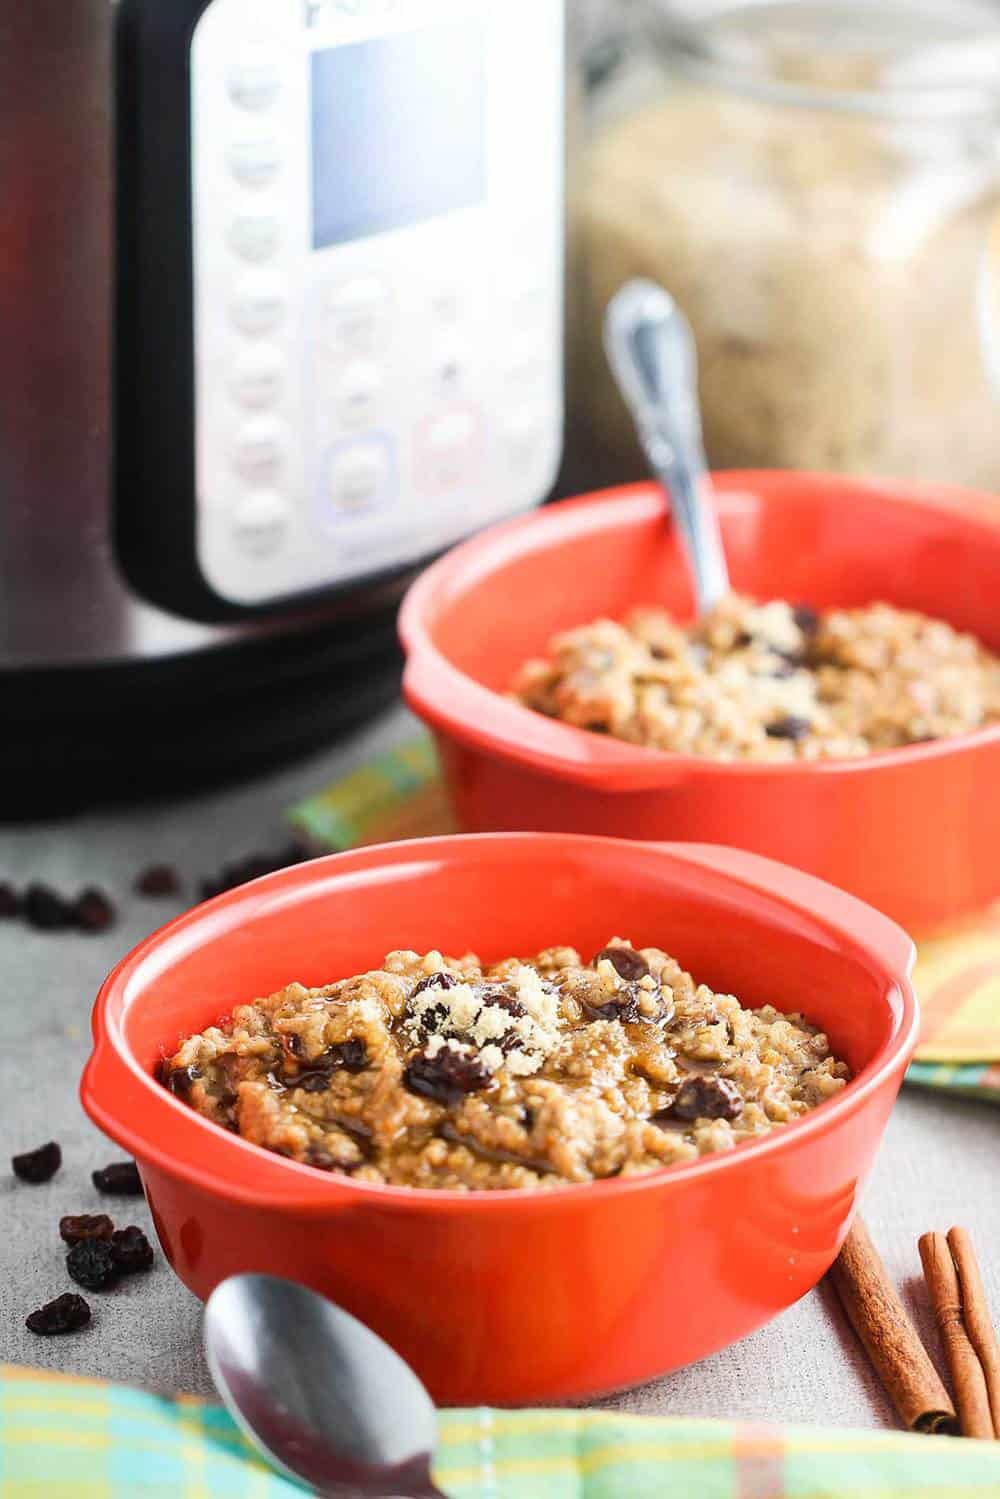
And the amazing Instant Pot lets you serving this dish from start to finish in about 35 minutes.
So heartwarming and simple to make on a busy week morning, or a relaxing weekend brunch.
Thank you Instant Pot!
So creamy, satisfying and comforting. And the oats are packed with nutrition, too!
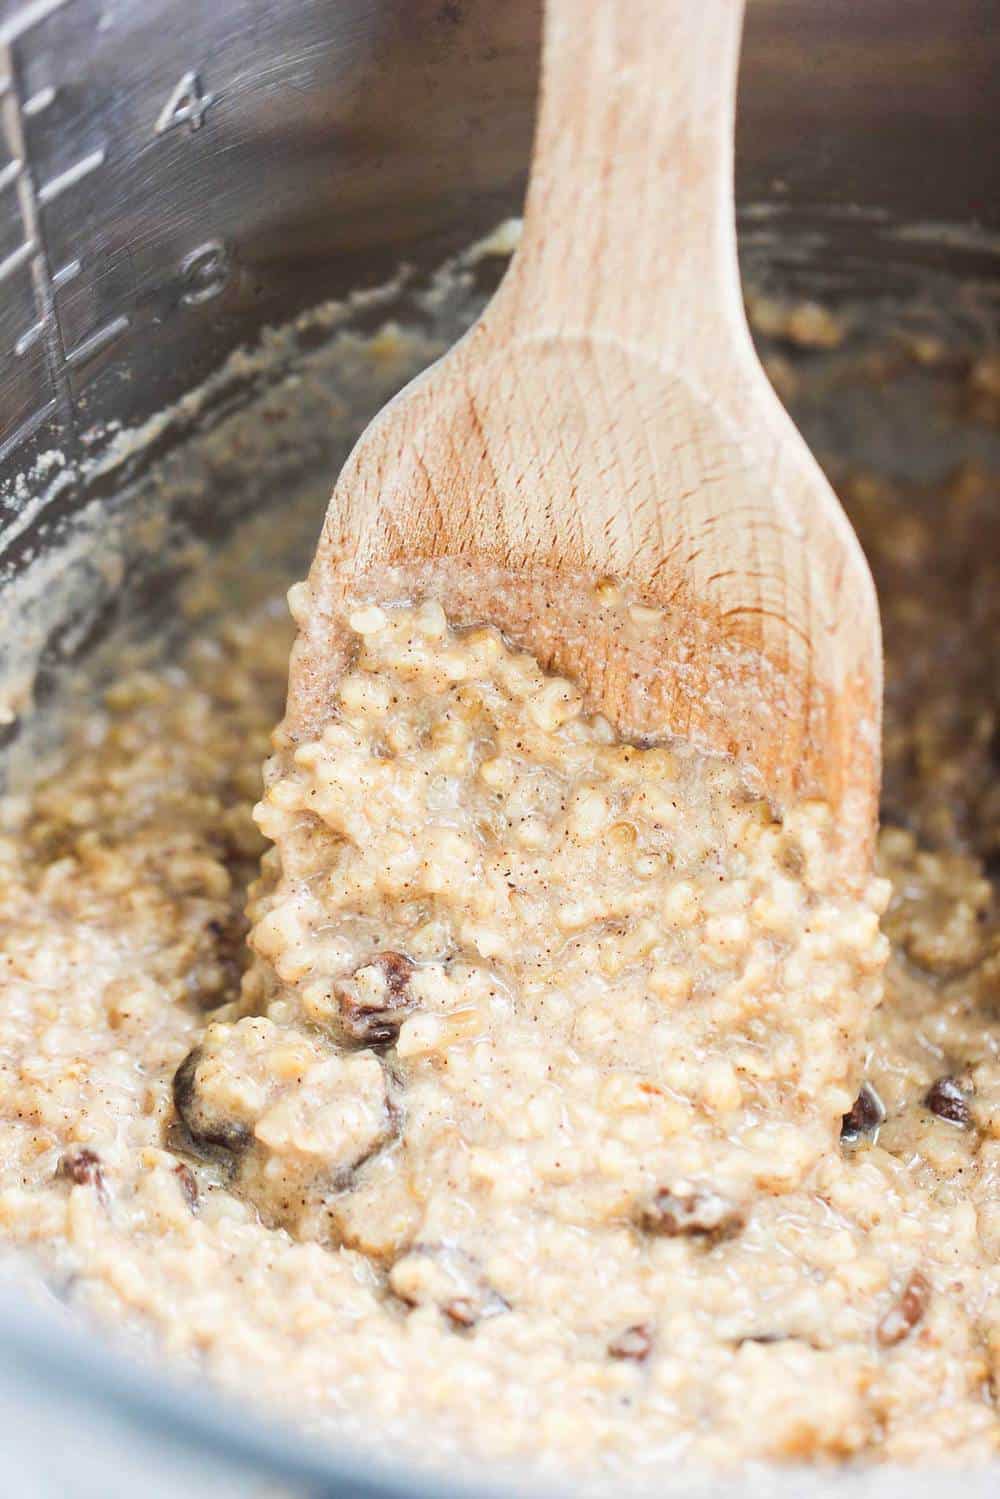
Toasting the oats first in a little butter gives them a nice toasty flavor and helps in the cooking.
And the smell is heavenly. But then, wait for the taste.
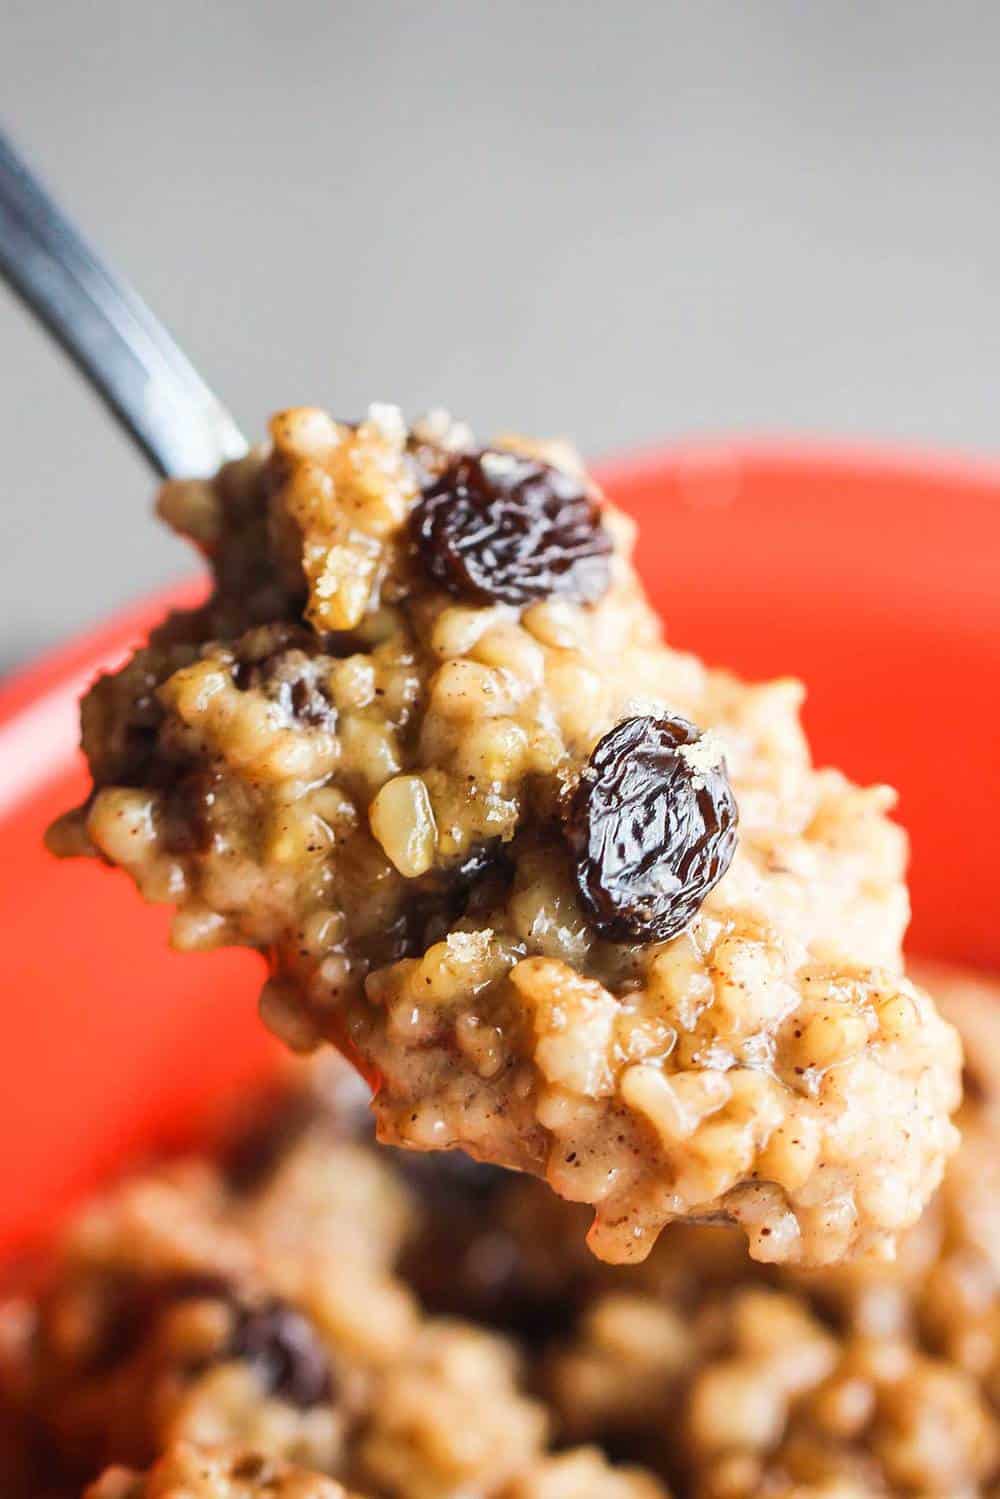
Freshly made oatmeal raisin cookies are my all-time favorite treat in the world. So, it would make sense that this incredible steel-cut oatmeal with cinnamon, raisins and brown sugar would become one of our all-time favorite breakfast dishes ever!
You gotta give this a try. The Loon flipped for it.
Now, go and make this incredible Instant Pot Cinnamon Raisin Steel-Cut Oatmeal recipe.
You are going to LOVE it!! And it is so easy!

Instant Pot Cinnamon Raisin Steel-Cut Oatmeal
Ingredients
- 2 tablespoon unsalted butter
- 1½ cups steel-cut oats
- 1 tablespoon sugar
- ½ teaspoon Kosher salt
- 2 cups water
- 1½ cups milk
- ¾ cup raisins
- 1½ teaspoon cinnamon ground
- 4 teaspoon brown sugar
Instructions
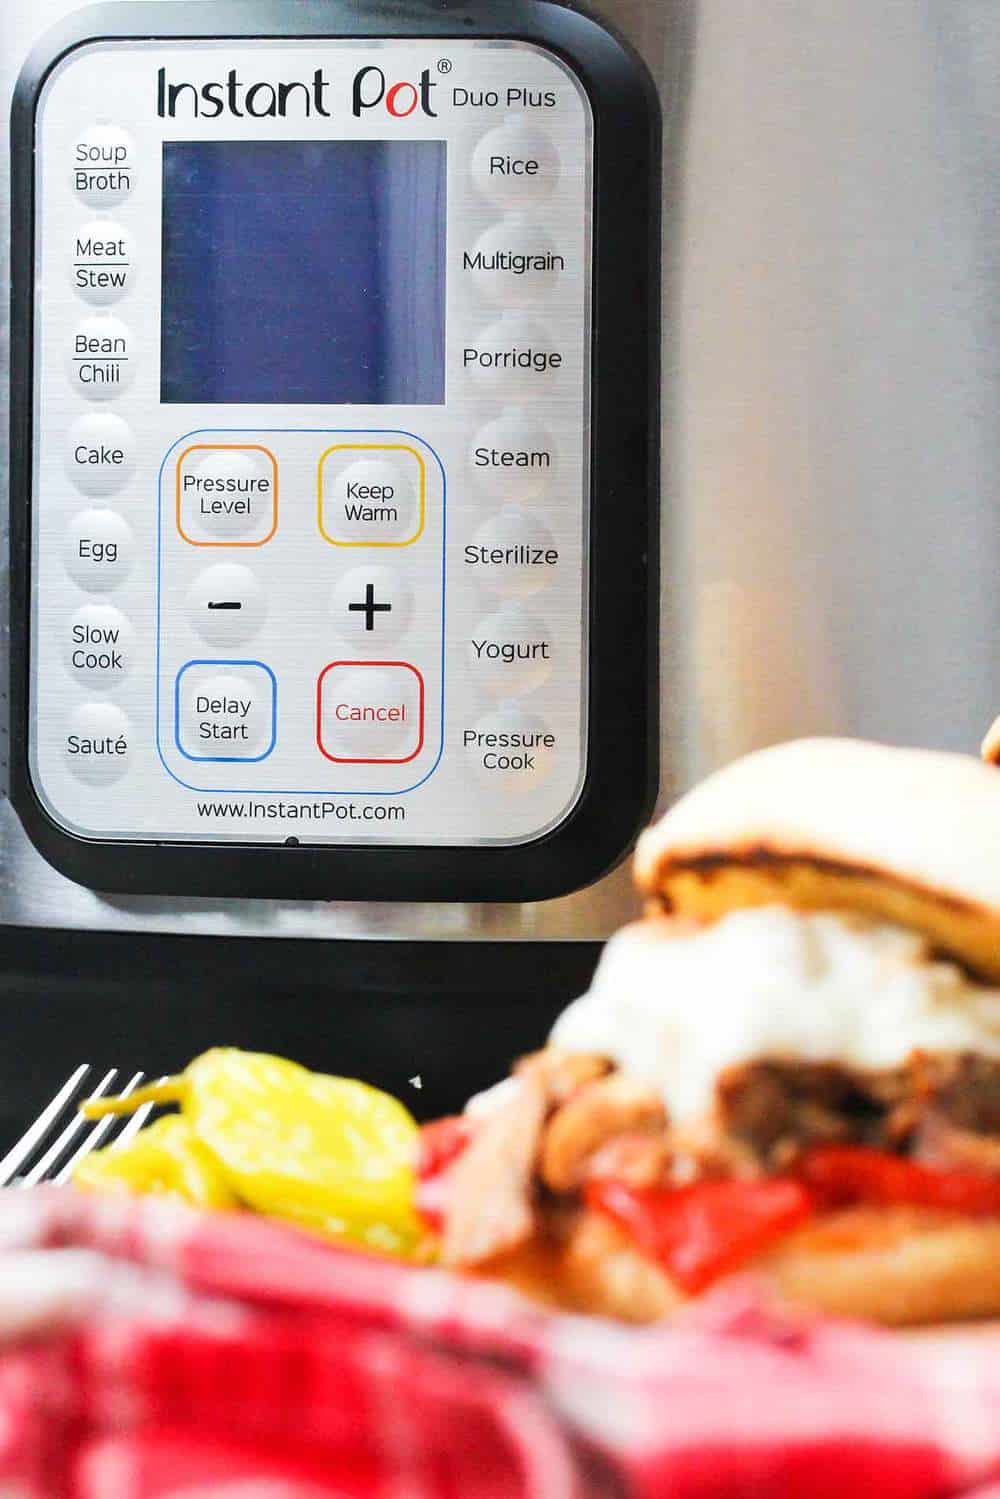
- Select SAUTE on the Instant Pot and adjust to More for high heat.
- Add the butter and stir until melted.
- Add the oats and stir to coat them with butter, stirring frequently, about 4 minutes.
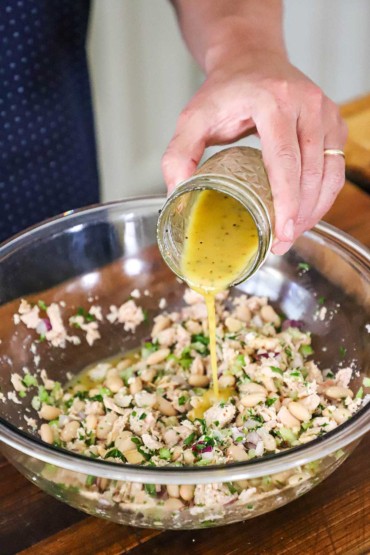
- Add the sugar, salt, water, milk, raisins and cinnamon. Stir until combined.
- Secure the lid and set the Pressure Release to SEALING. Press the CANCEL and then select PORRIDGE or MANUAL or PRESSURE COOK (Any of these settings will work). Adjust the pressure to High and set the time to 10 minutes.
- Allow the pressure to release naturally for 5 minutes (don't do anything), then Quick Release any remaining pressure. Carefully remove the lid.
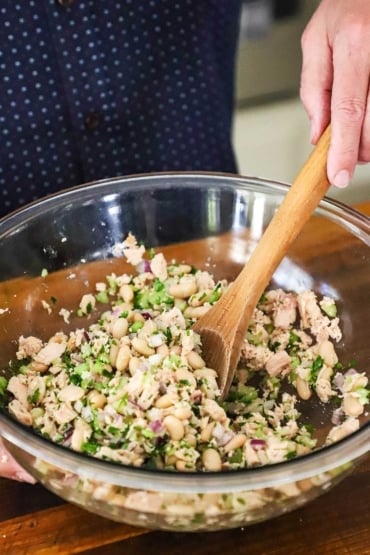
- Stir the oatmeal with a large wooden spoon.
- Transfer to bowls and sprinkle on the brown sugar and add extra milk, if desired.
- Serve at once and enjoy!
Nutrition


 And just a minute or two in some hot oil produces the most amazingly crisp and crunchy exterior, and yet still the most tender, succulent crab mixture on the inside.
 And, did we mention how creamy, crabby and ridiculously delicious the inside is? Oh we did? Well, we want to make sure you believed us.