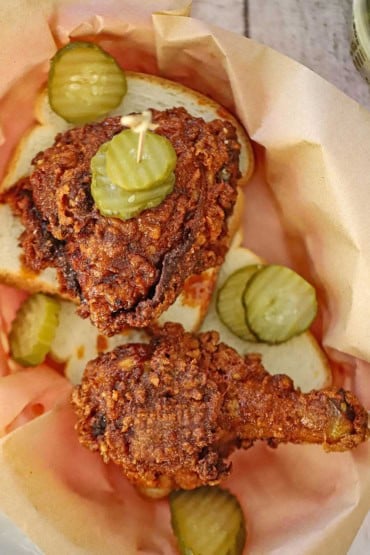
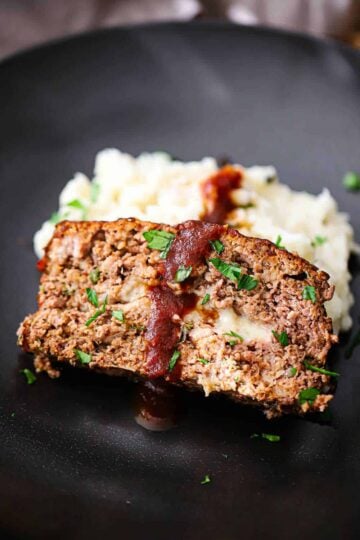
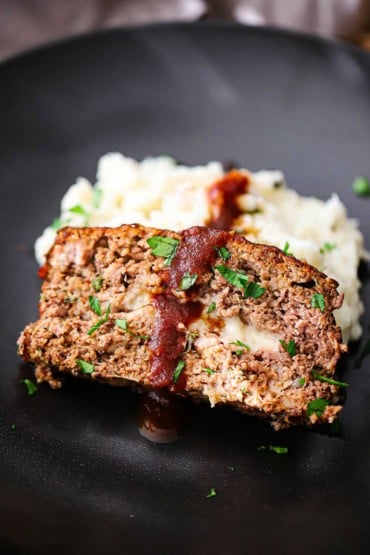
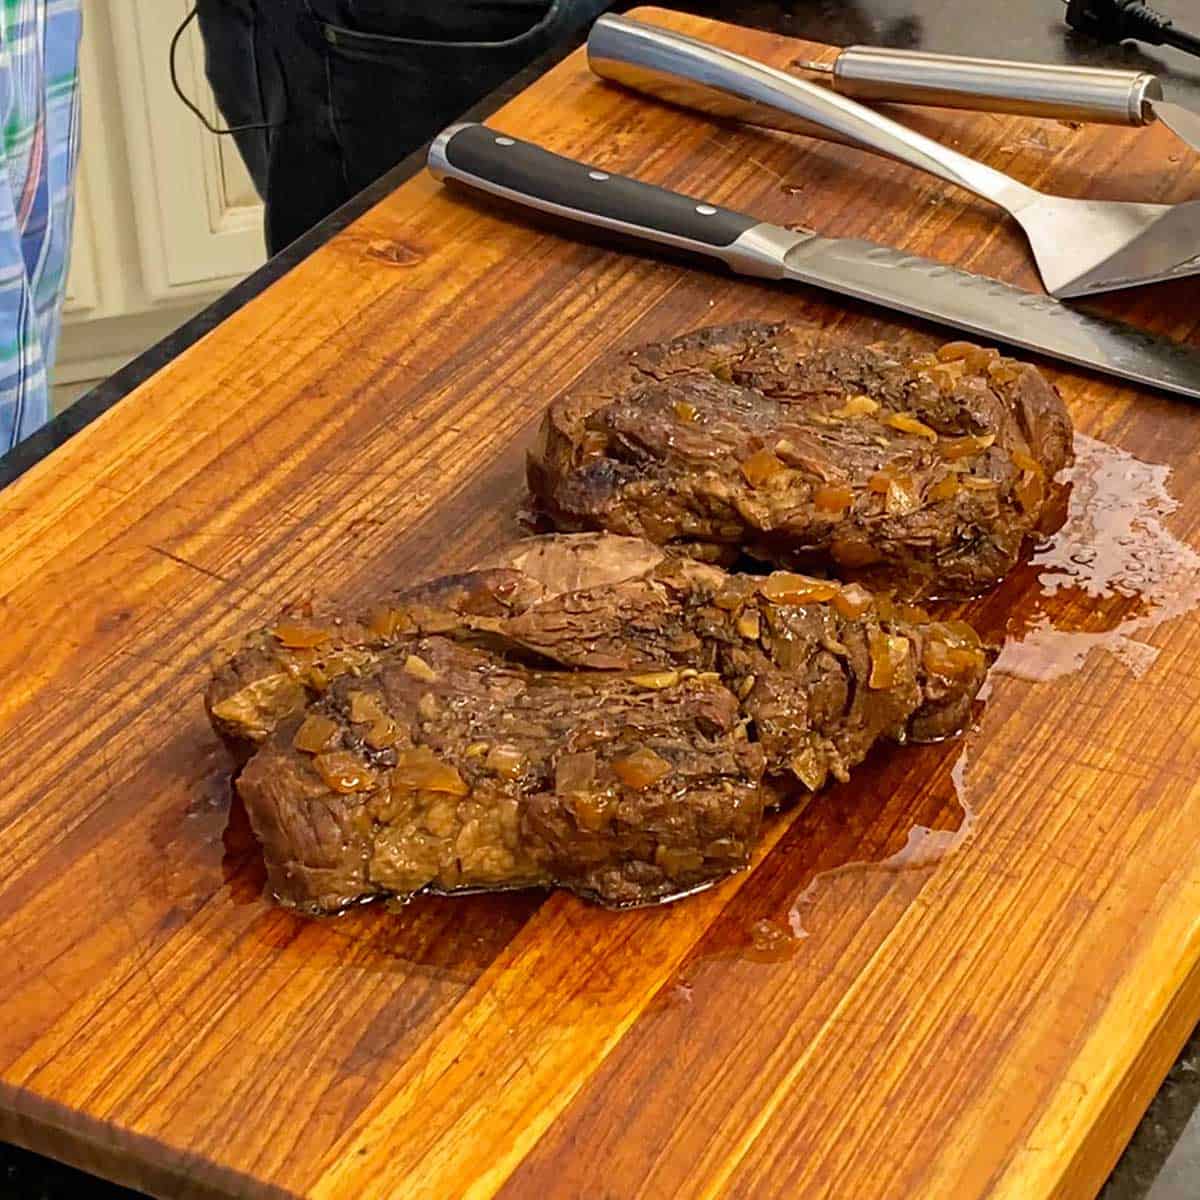
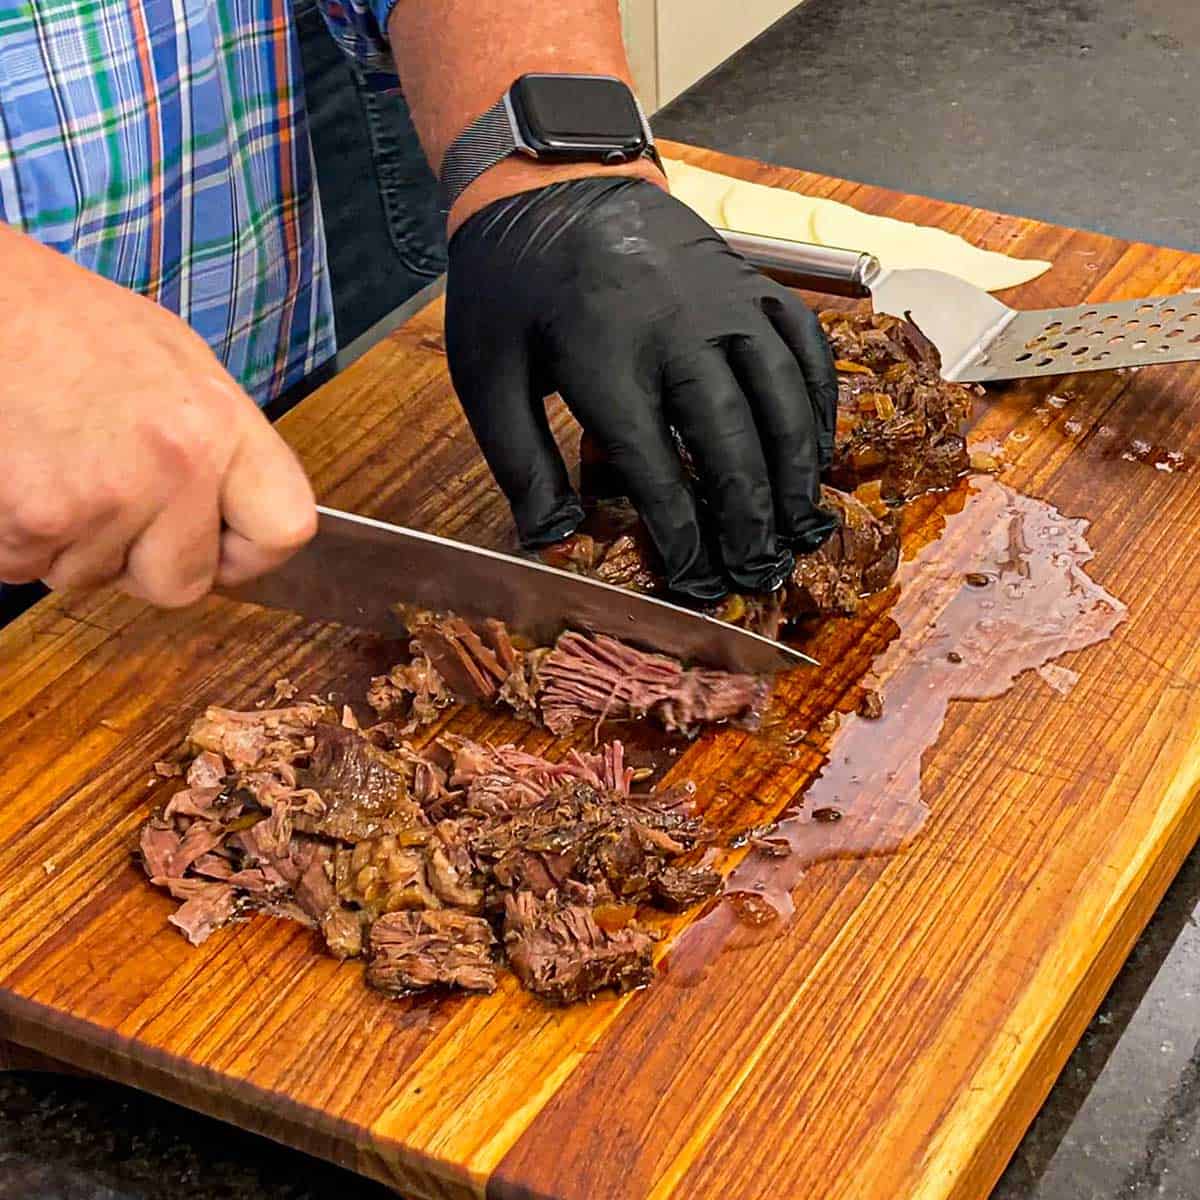
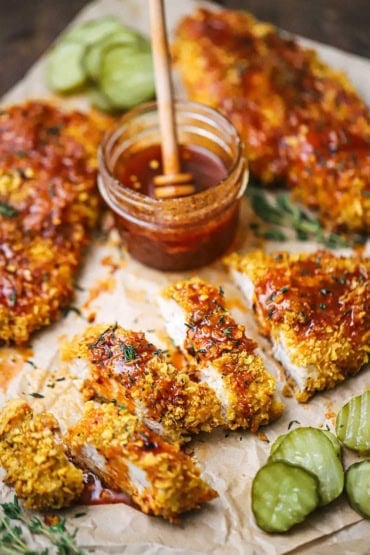
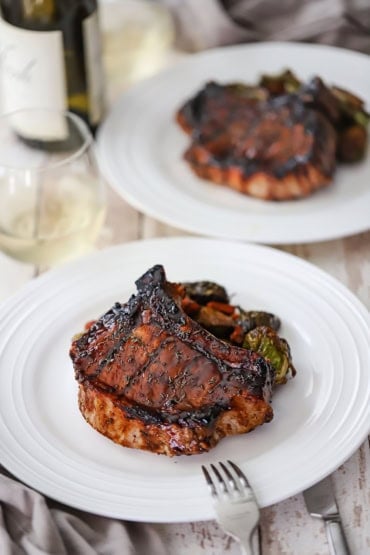
Best Pork Rub enhances the flavor of your favorite pork dish. Including Italian-style pork chops, juicy pork tenderloin, classic pulled pork, and even smoked pork brisket. The rub doesn’t outshine the pork meat but complements it. Perfect for ribs, too! Whip up a batch (or two) and keep it in a sealed jar for months!
🐷 The Ingredients
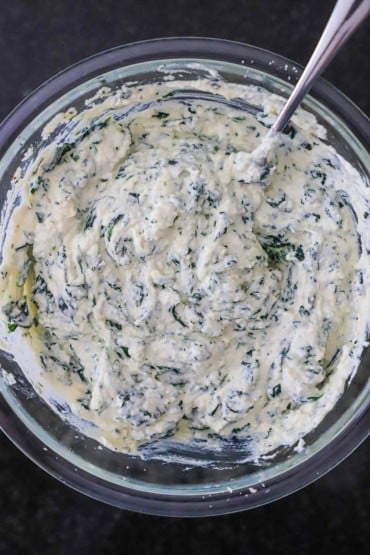
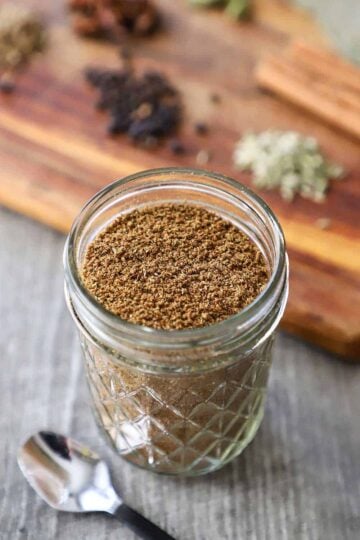
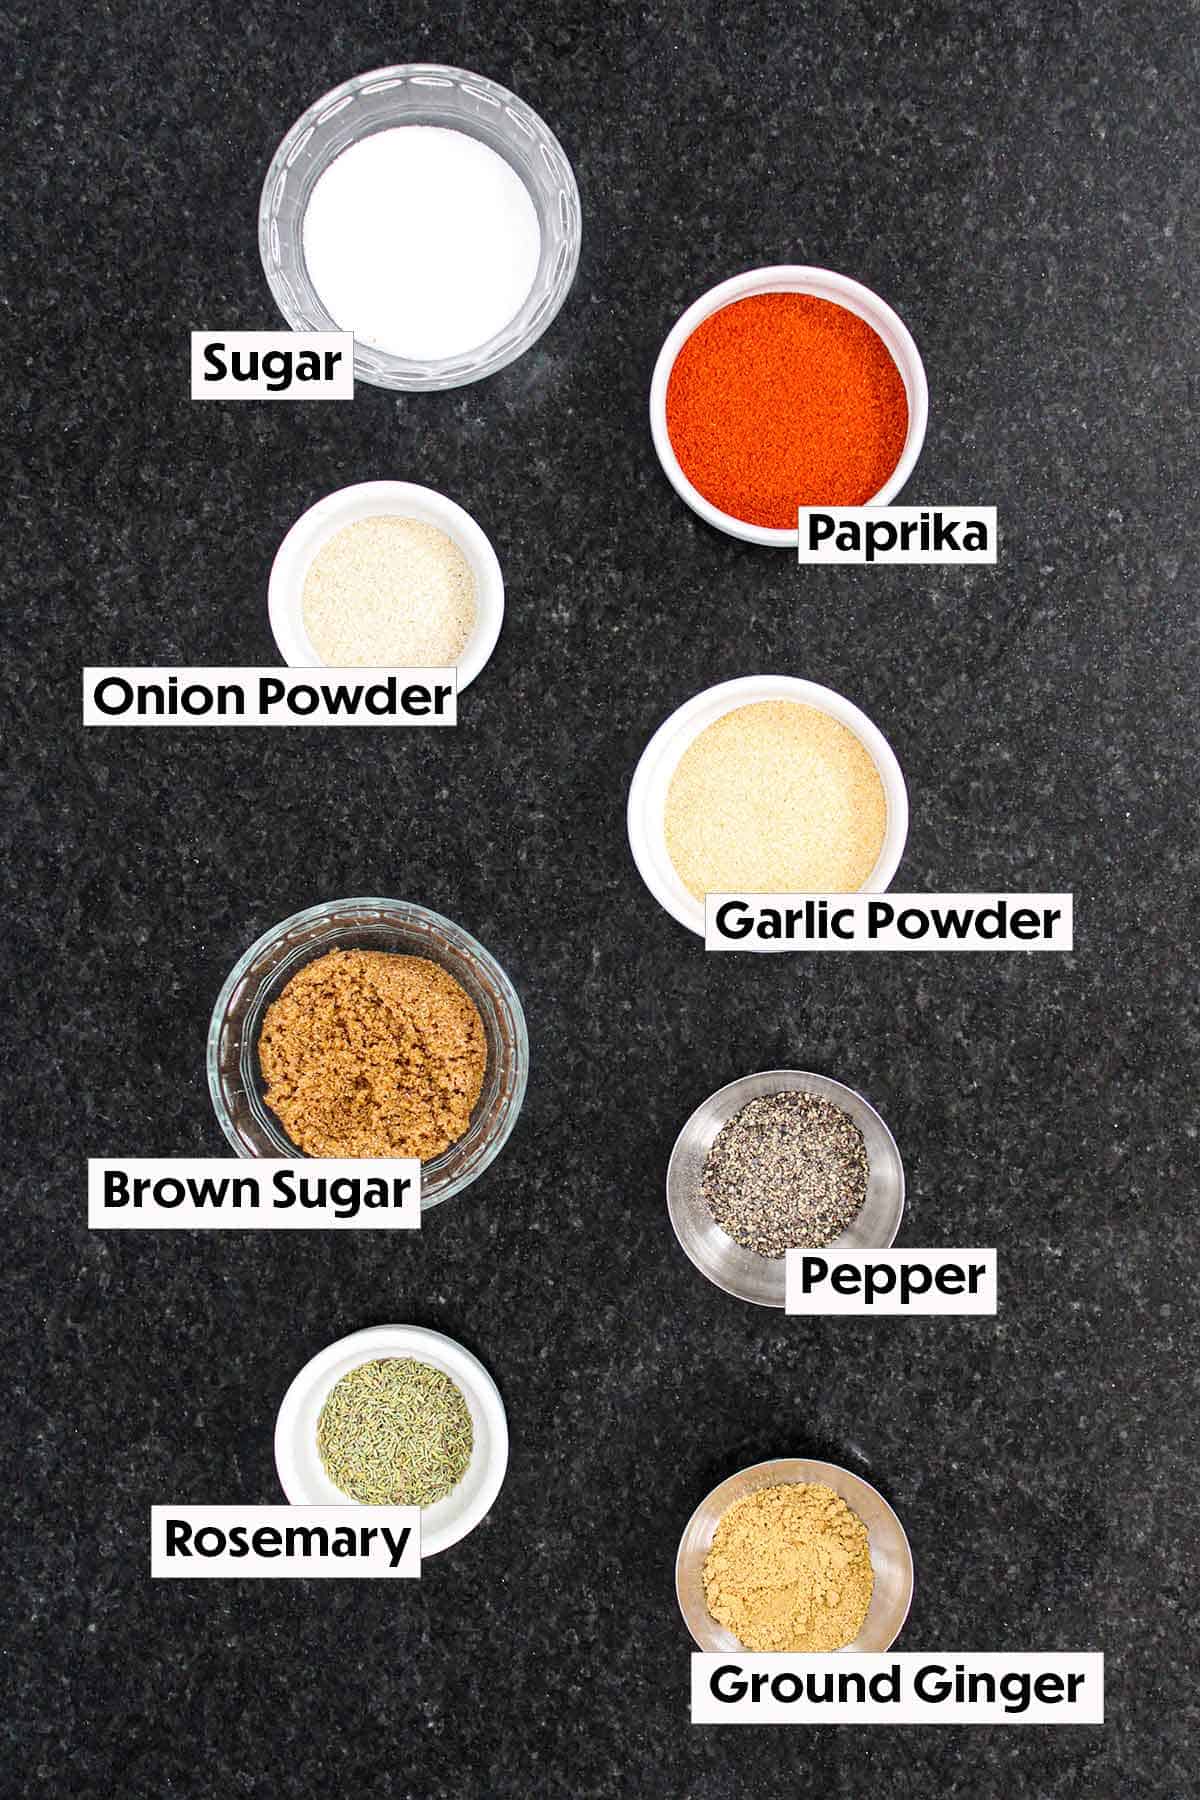
The ingredients for homemade pork rub are likely already in your pantry, yet their combination creates an incredible flavor enhancer that elevates your pork dishes to a whole new level.
👩🏼🍳 How To Make the Best Pork Rub
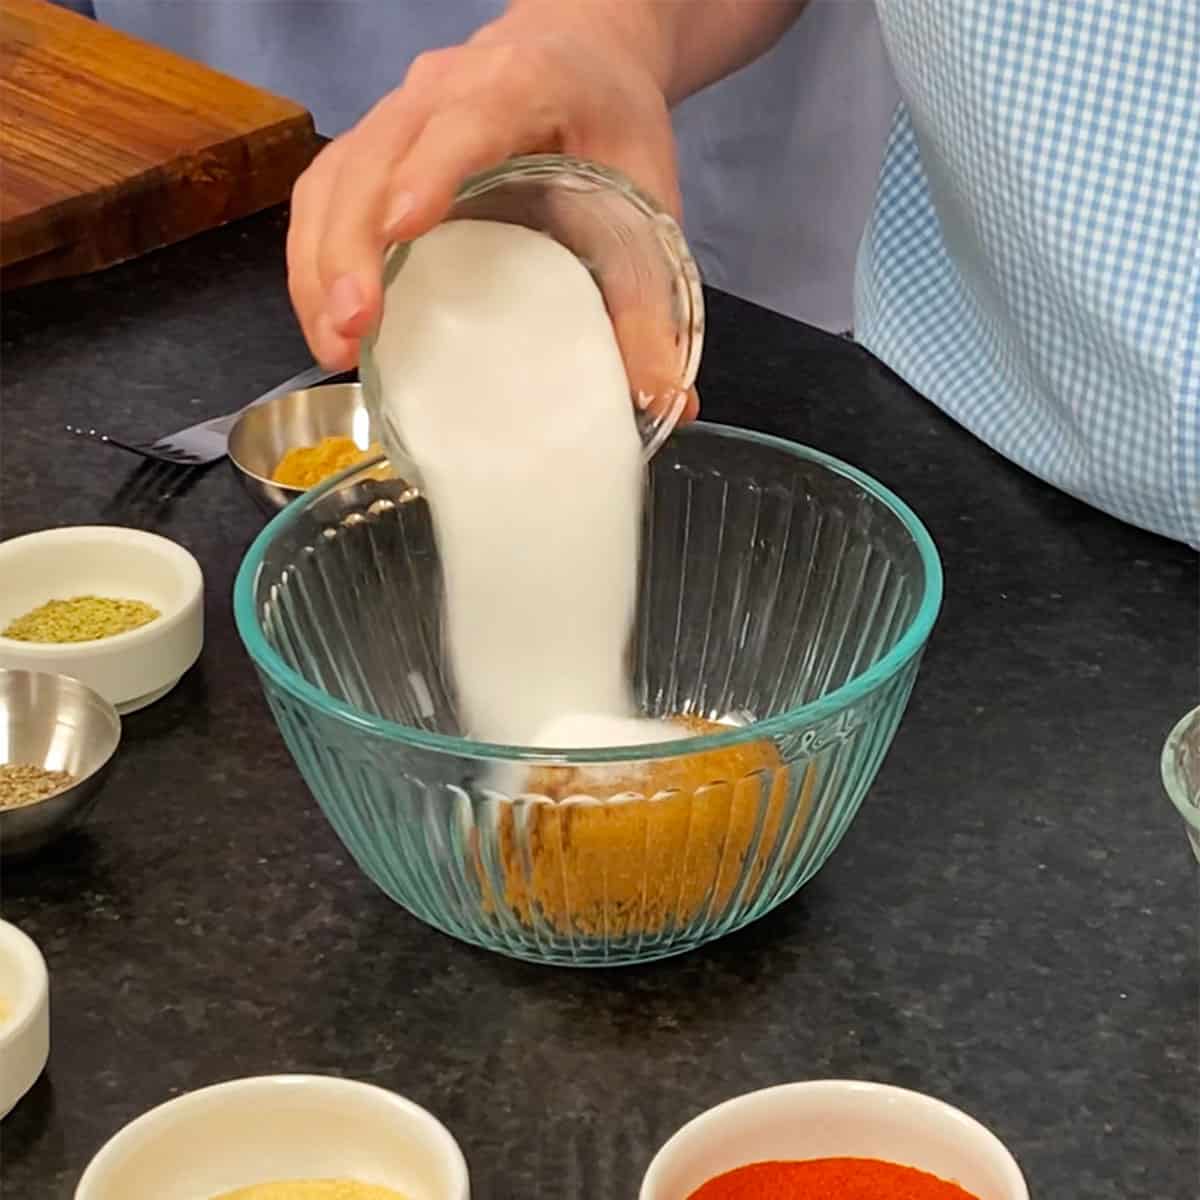
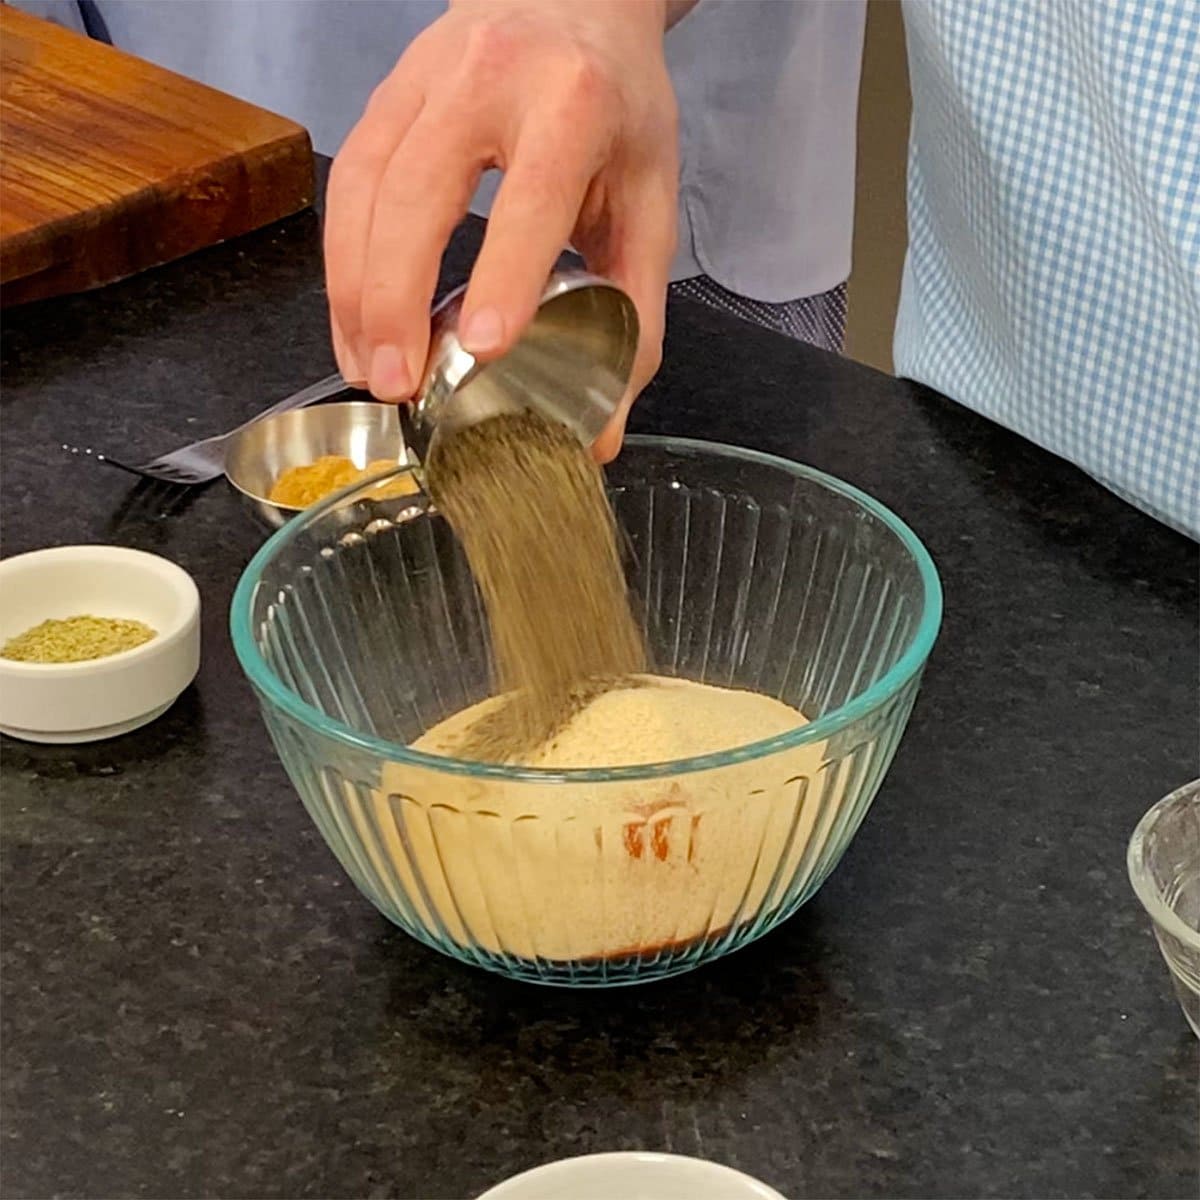
- Step 1: Pour the granulated sugar and dark brown sugar into a glass bowl.
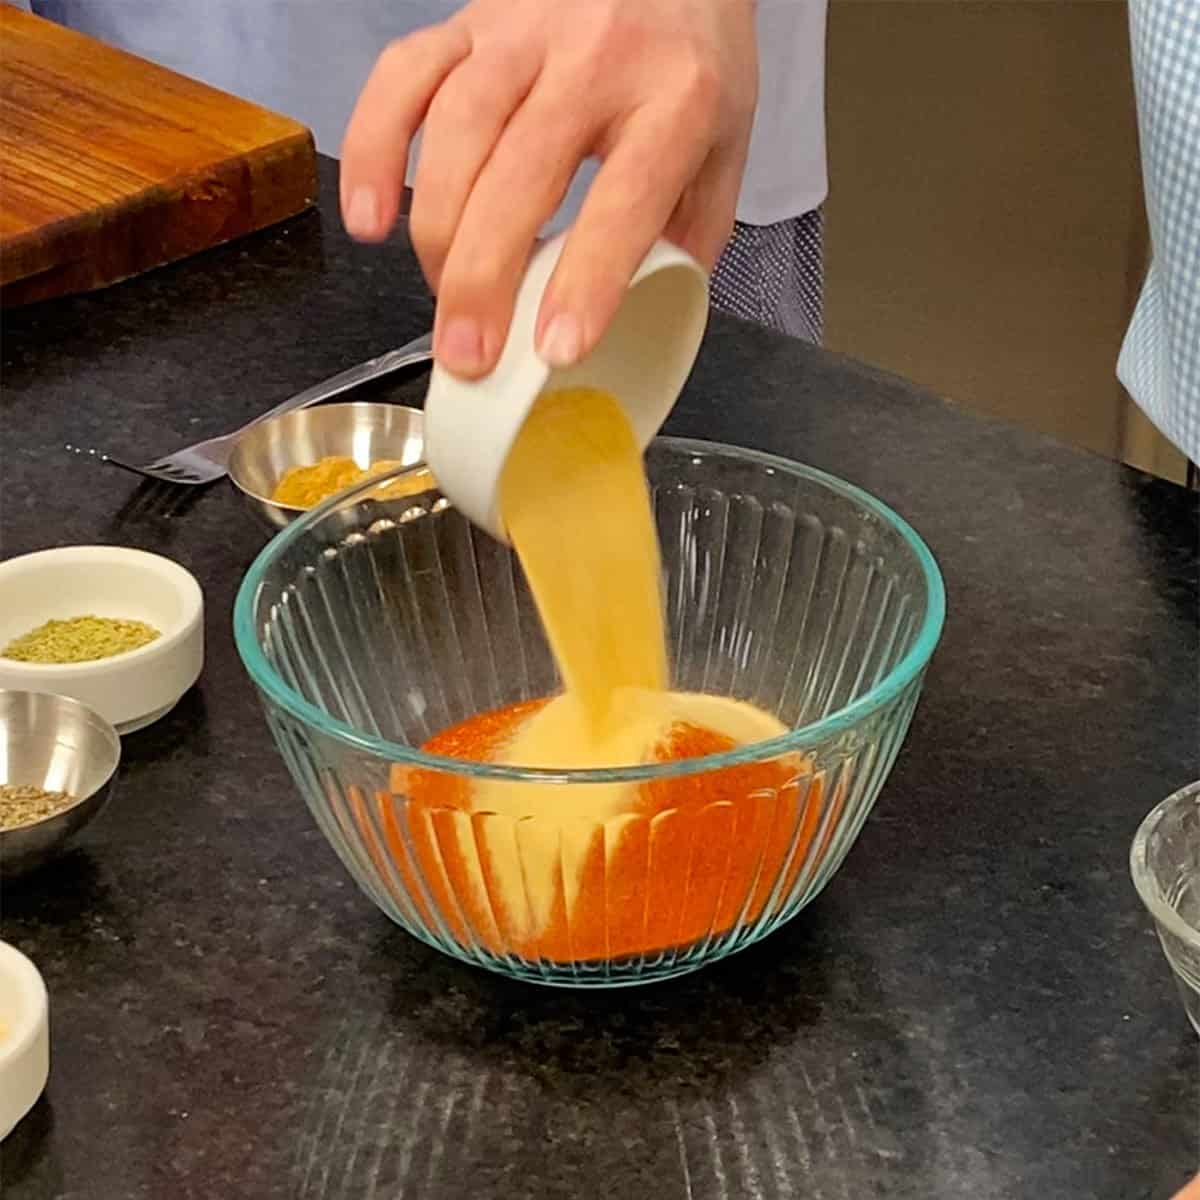
- Step 2: Add the onion powder and garlic powder.
- Step 3: Add the black pepper.
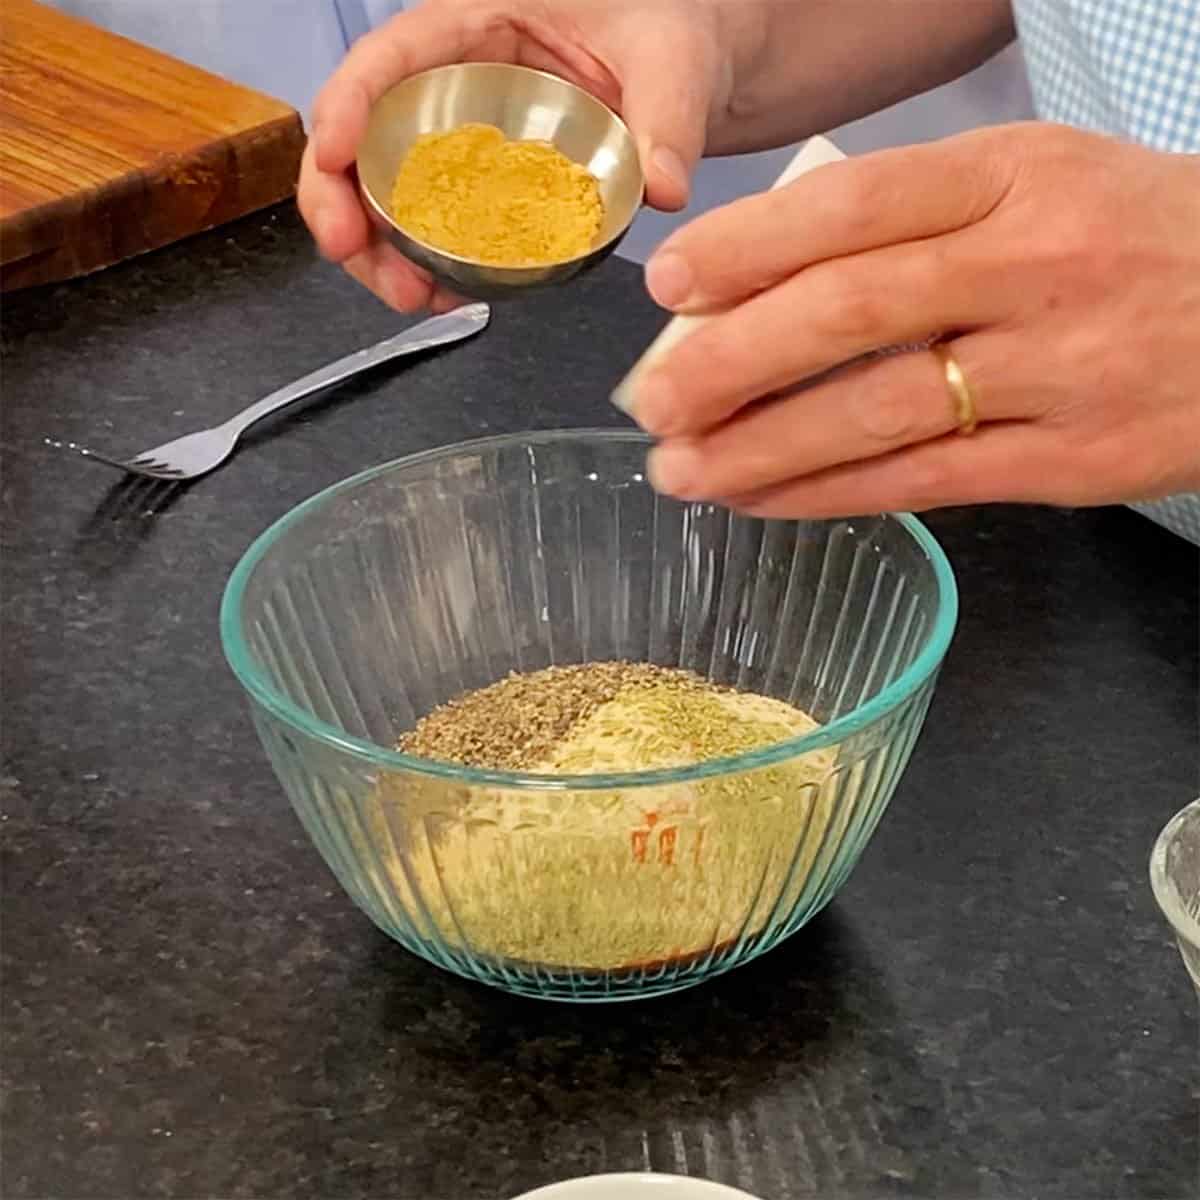
- Step 4: Add the ground ginger and dried rosemary.
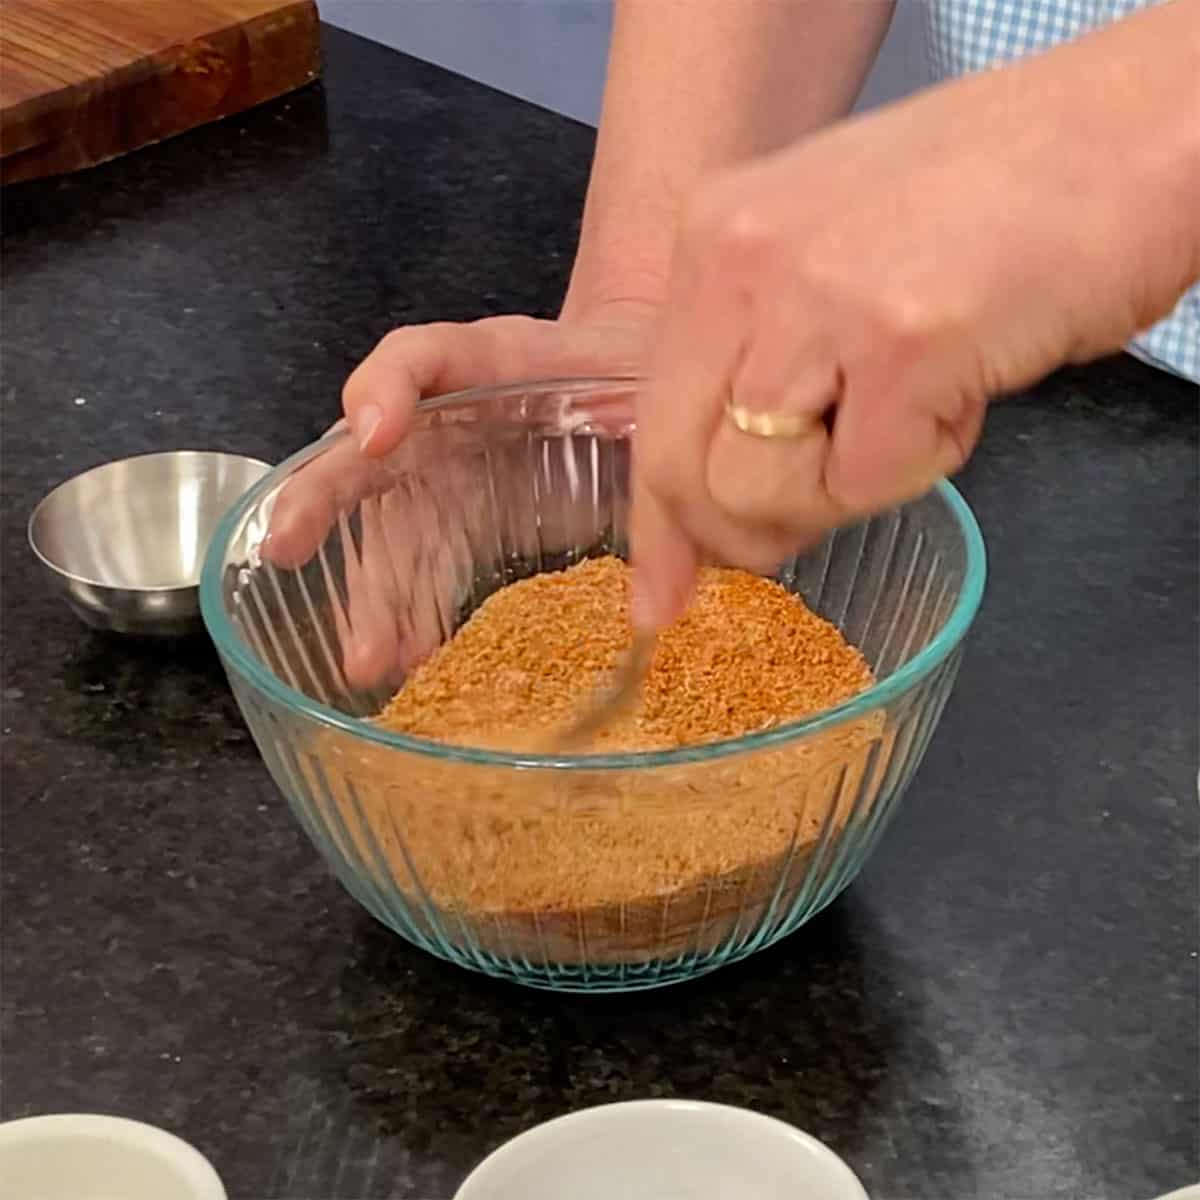
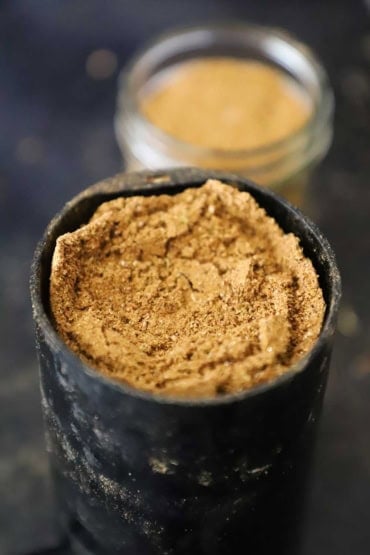
- Step 5: Use a fork to mix the spices until fully combined.

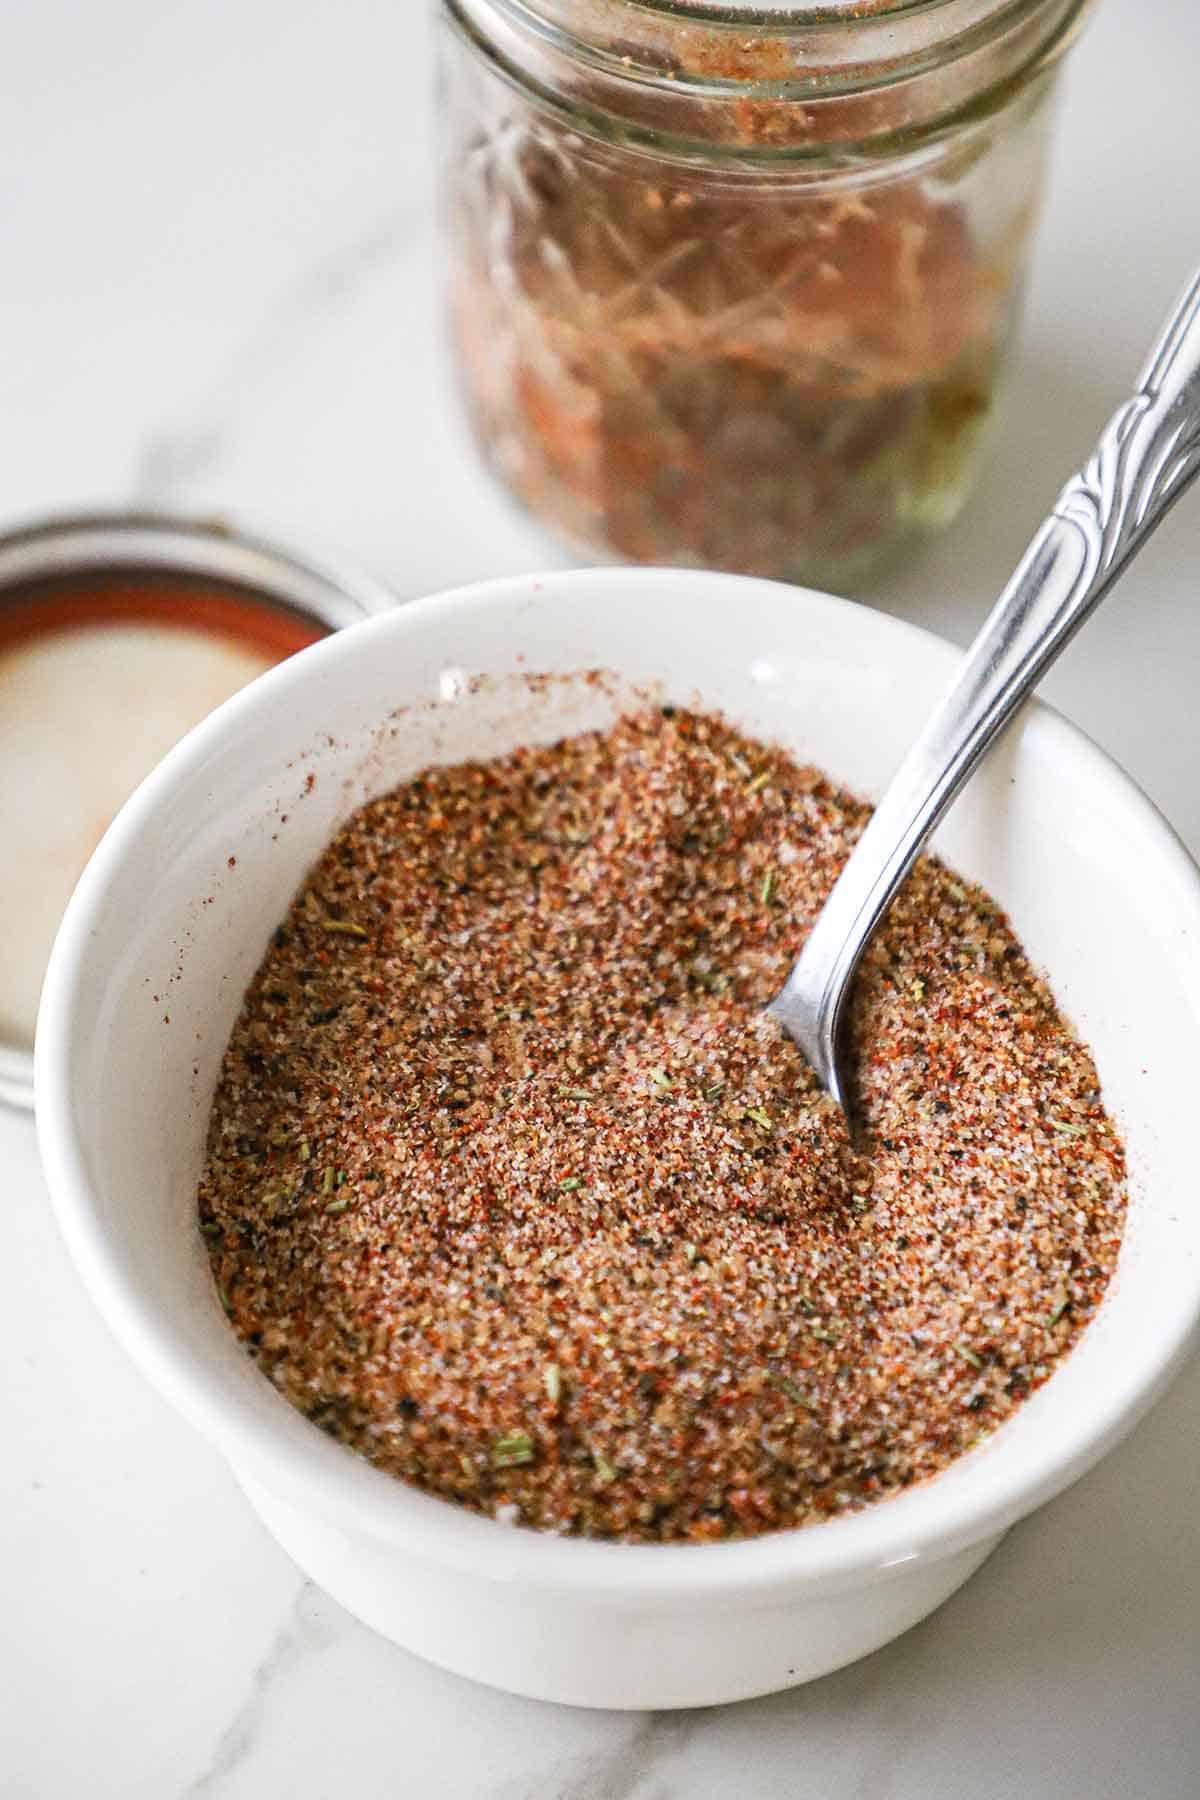
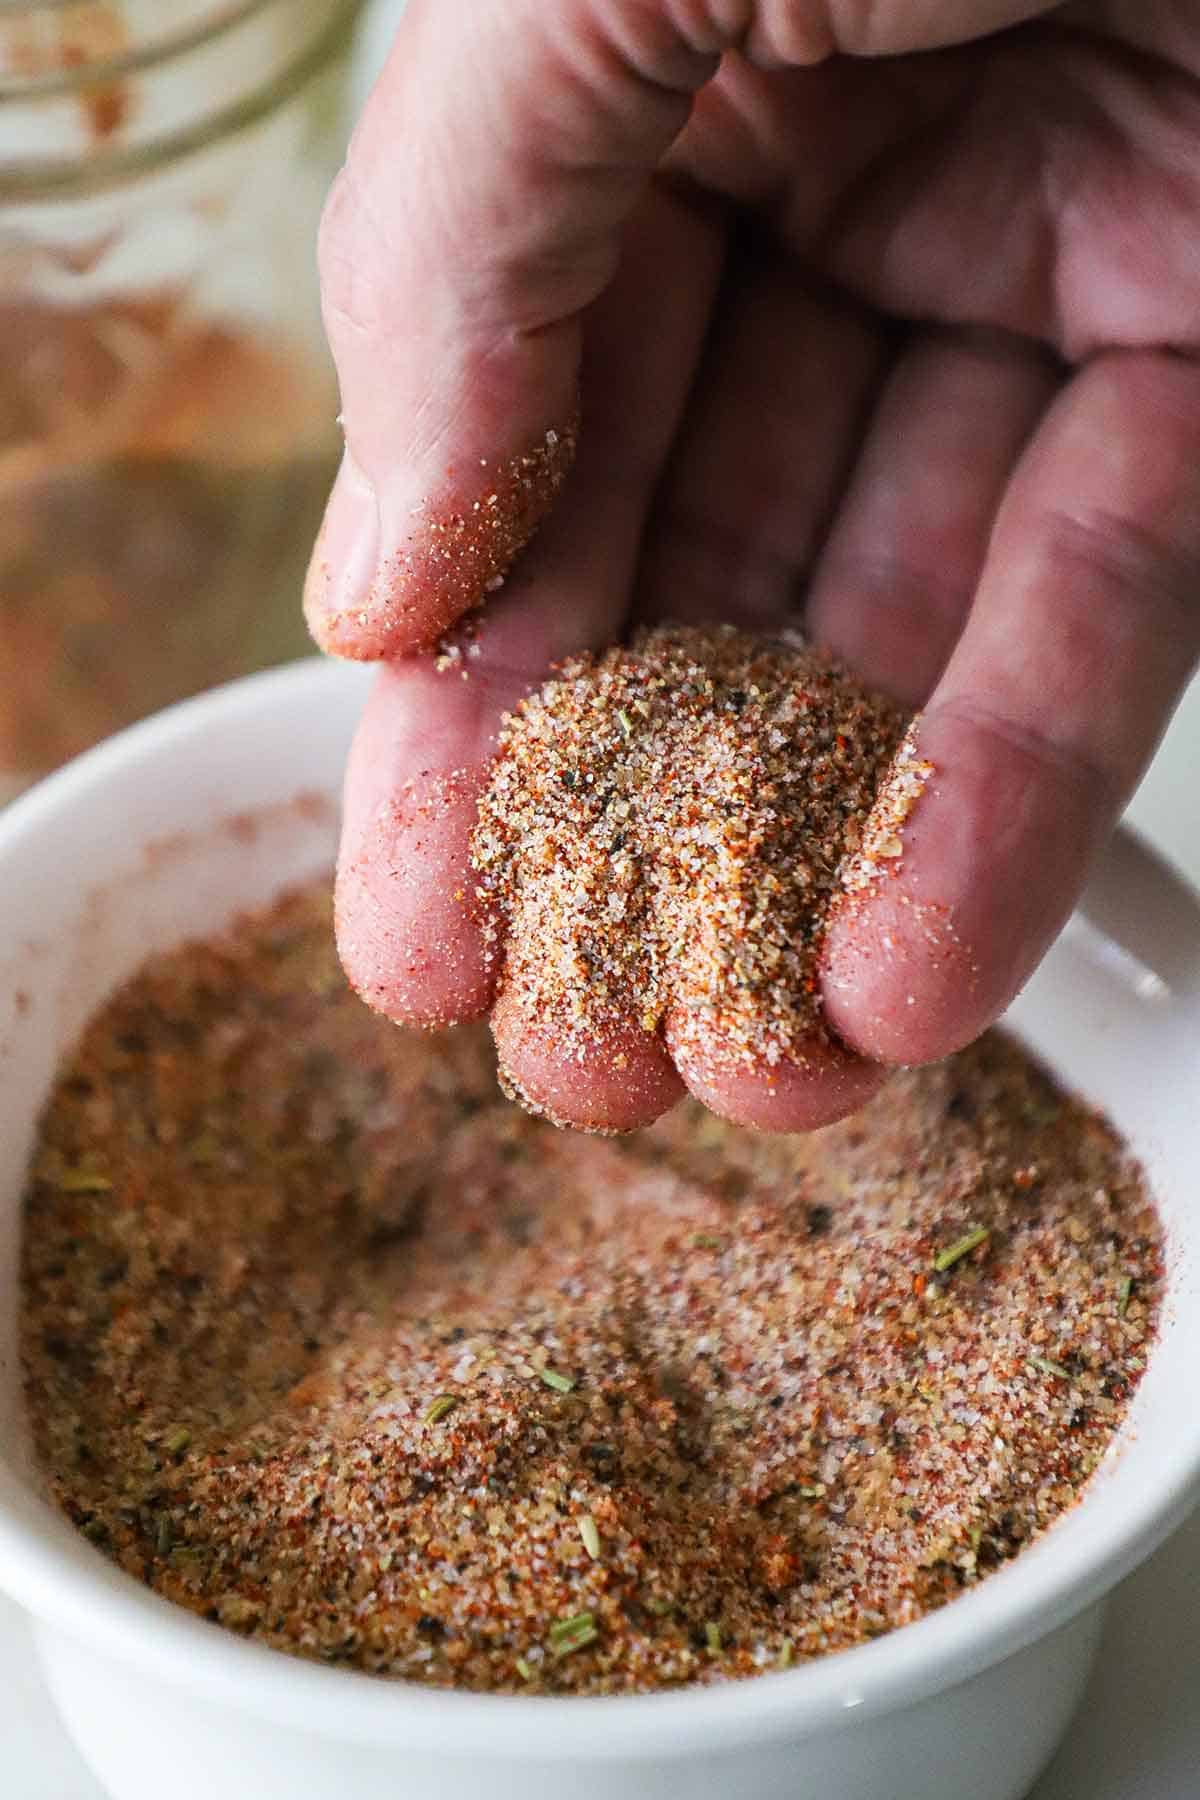
- Step 6: Store in a jar with a tight-fitting lid for 1 to 2 months.
Expert Tip
Note that this rub does not contain any salt. In most cases, we recommend salting the pork liberally and chilling for at least an hour (even better overnight) before applying the rub.
🙋🏽♂️ Frequently Asked Questions
Store it in a jar (or container) with a tight-fitting lid, and it will keep (unrefrigerated) for 2 months.
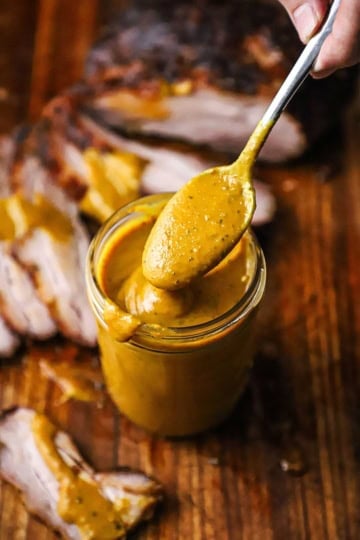
You can rub a neutral oil, such as vegetable or canola, all over the meat and then apply the pork rub. Our favorite method is to smear yellow mustard over the pork and then apply the rub. The mustard does not impart flavor.
Absolutely! While it’s specifically designed for pork, this versatile rub works wonderfully on other meats like chicken, beef, and even vegetables, adding a delicious flavor to any dish.
🔥 Other BBQ Rubs and Condiments


This rub is the real deal and will elevate your pork dishes to culinary greatness!
When you use the rub, be sure to take a photo of the finished dish, post it on Instagram, and tag @HowToFeedaLoon and hashtag #HowToFeedaLoon!

Best Pork Rub
Ingredients
- ⅓ cup dark brown sugar
- ⅓ cup sugar
- ¼ cup paprika
- 2 tablespoon garlic powder
- 1 tablespoon black pepper
- 1 tablespoon ground ginger
- 1 tablespoon onion powder
- 1 teaspoon rosemary dried
Instructions
- Mix all of the ingredients together in a medium bowl. Break up any clumps of sugar with your fingers or a fork.⅓ cup dark brown sugar, ⅓ cup sugar, ¼ cup paprika, 2 tablespoon garlic powder, 1 tablespoon black pepper, 1 tablespoon ground ginger, 1 tablespoon onion powder, 1 teaspoon rosemary
- Store in a jar with a lid for up to 2 to 3 months.