


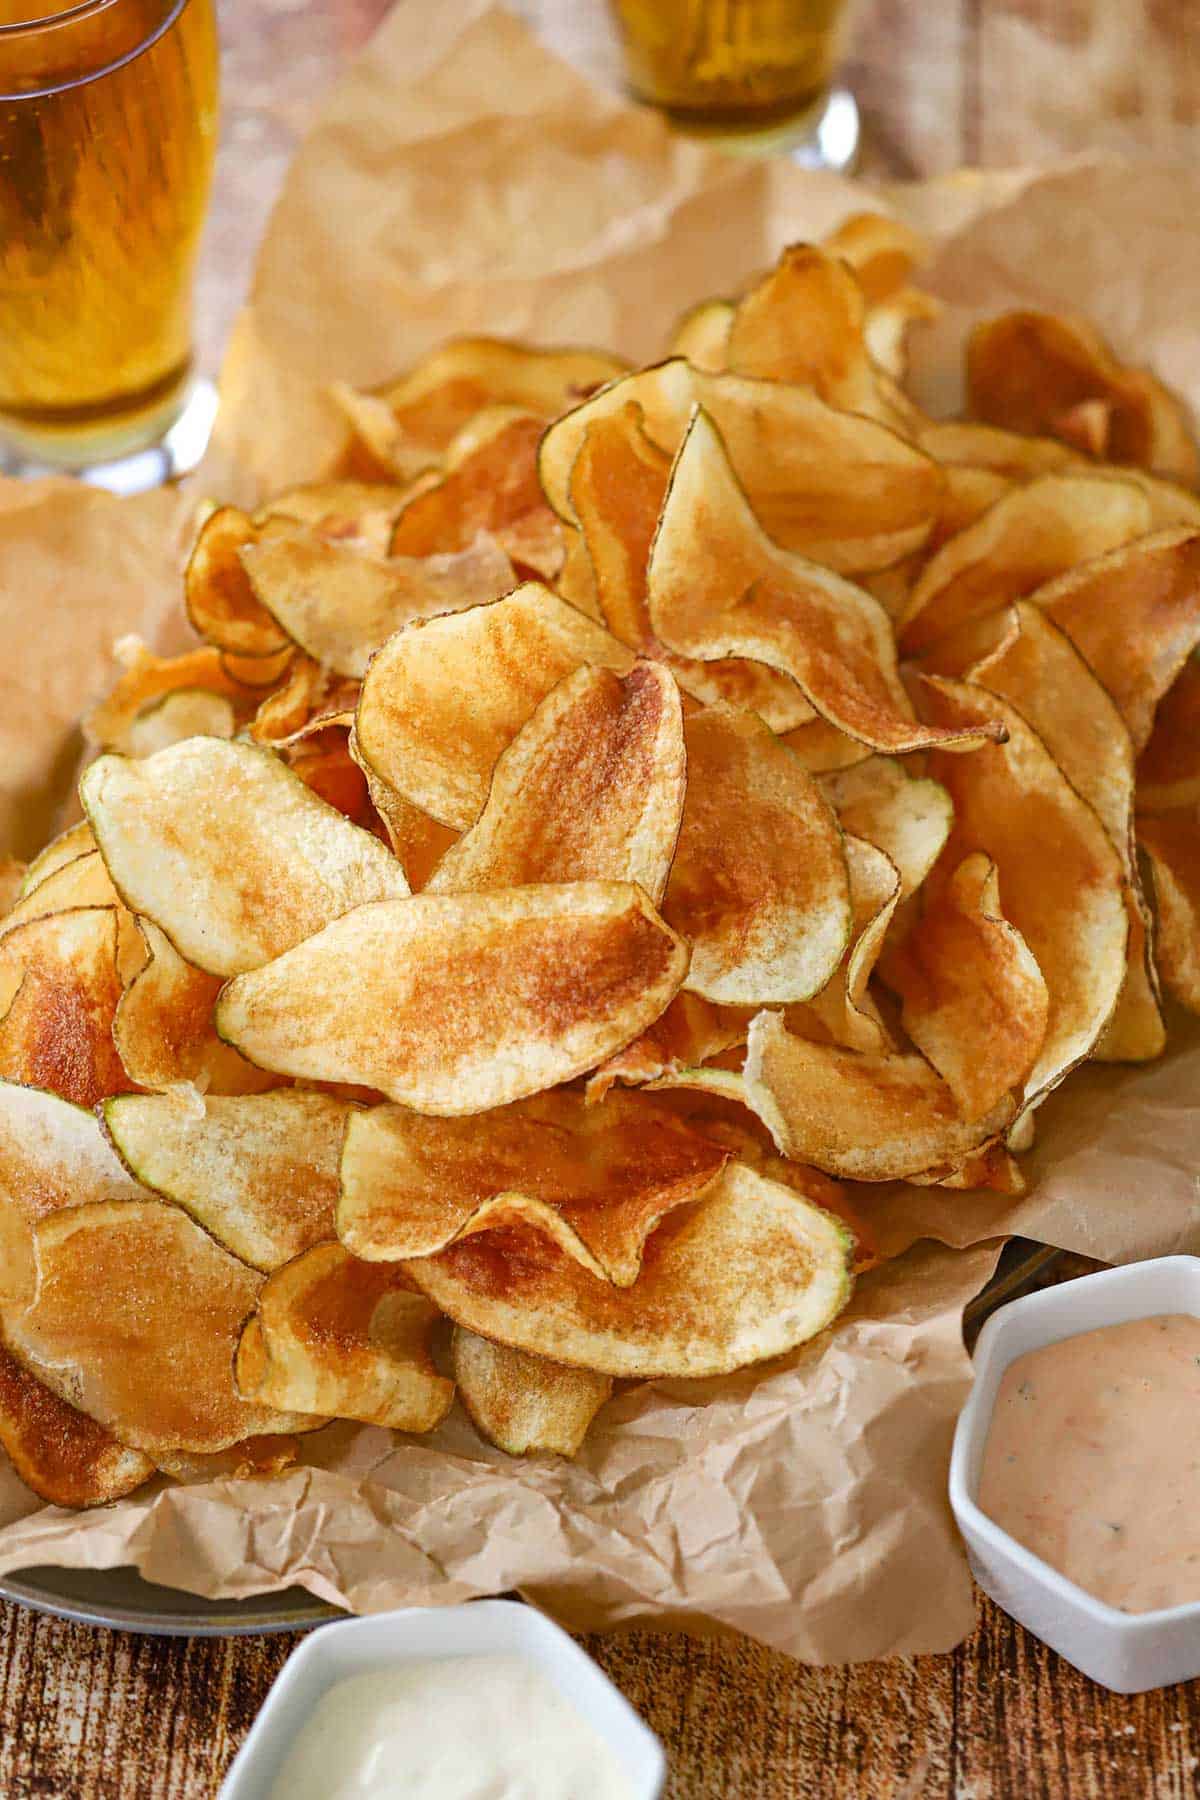
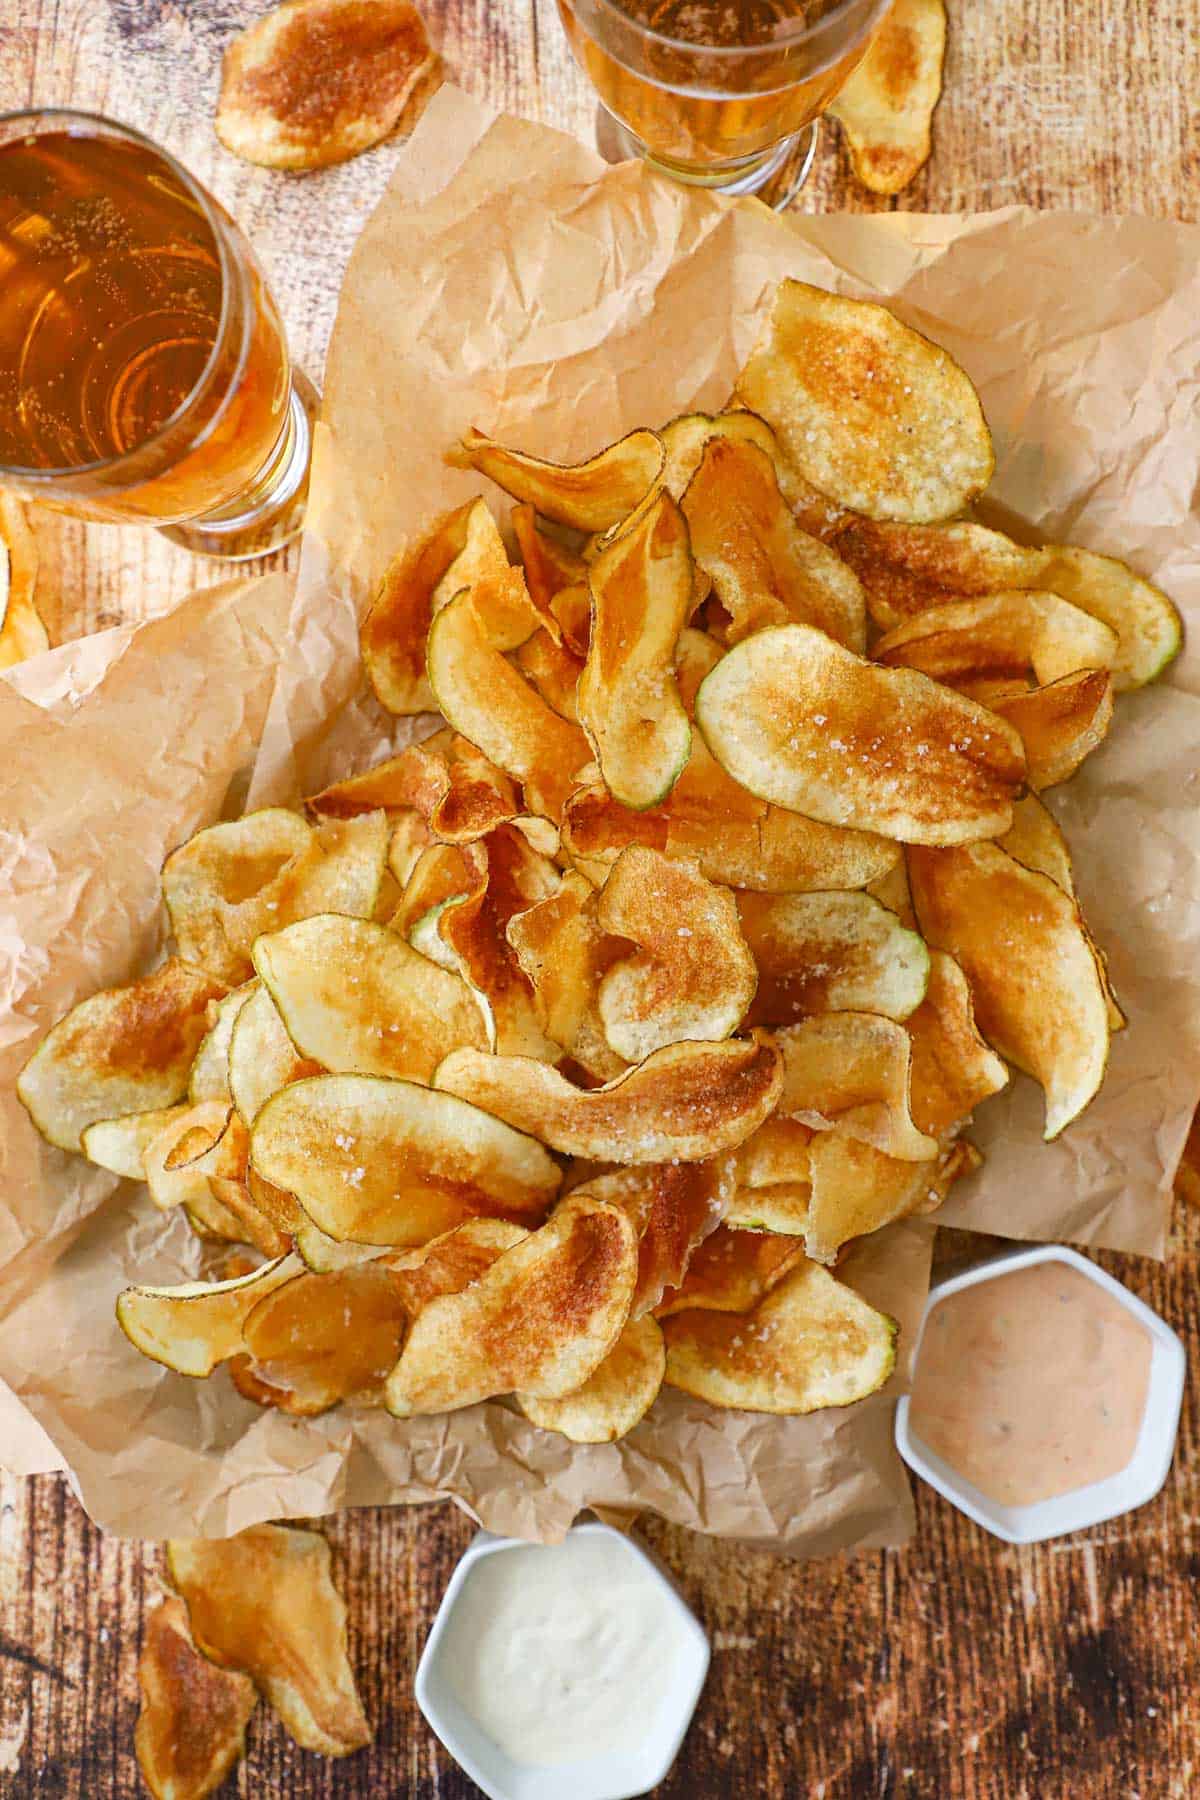
Nothing beats the crunch of these Perfectly Crispy Homemade Potato Chips! They are the ultimate side for our Slammin’ Sloppy Joes and even better when dunked into Cajun Remoulade or Homemade Ranch. One bite and you’ll never go back to store-bought. Just watch out—once your guests start snacking, they’ll be gone in a flash!
Jump to:
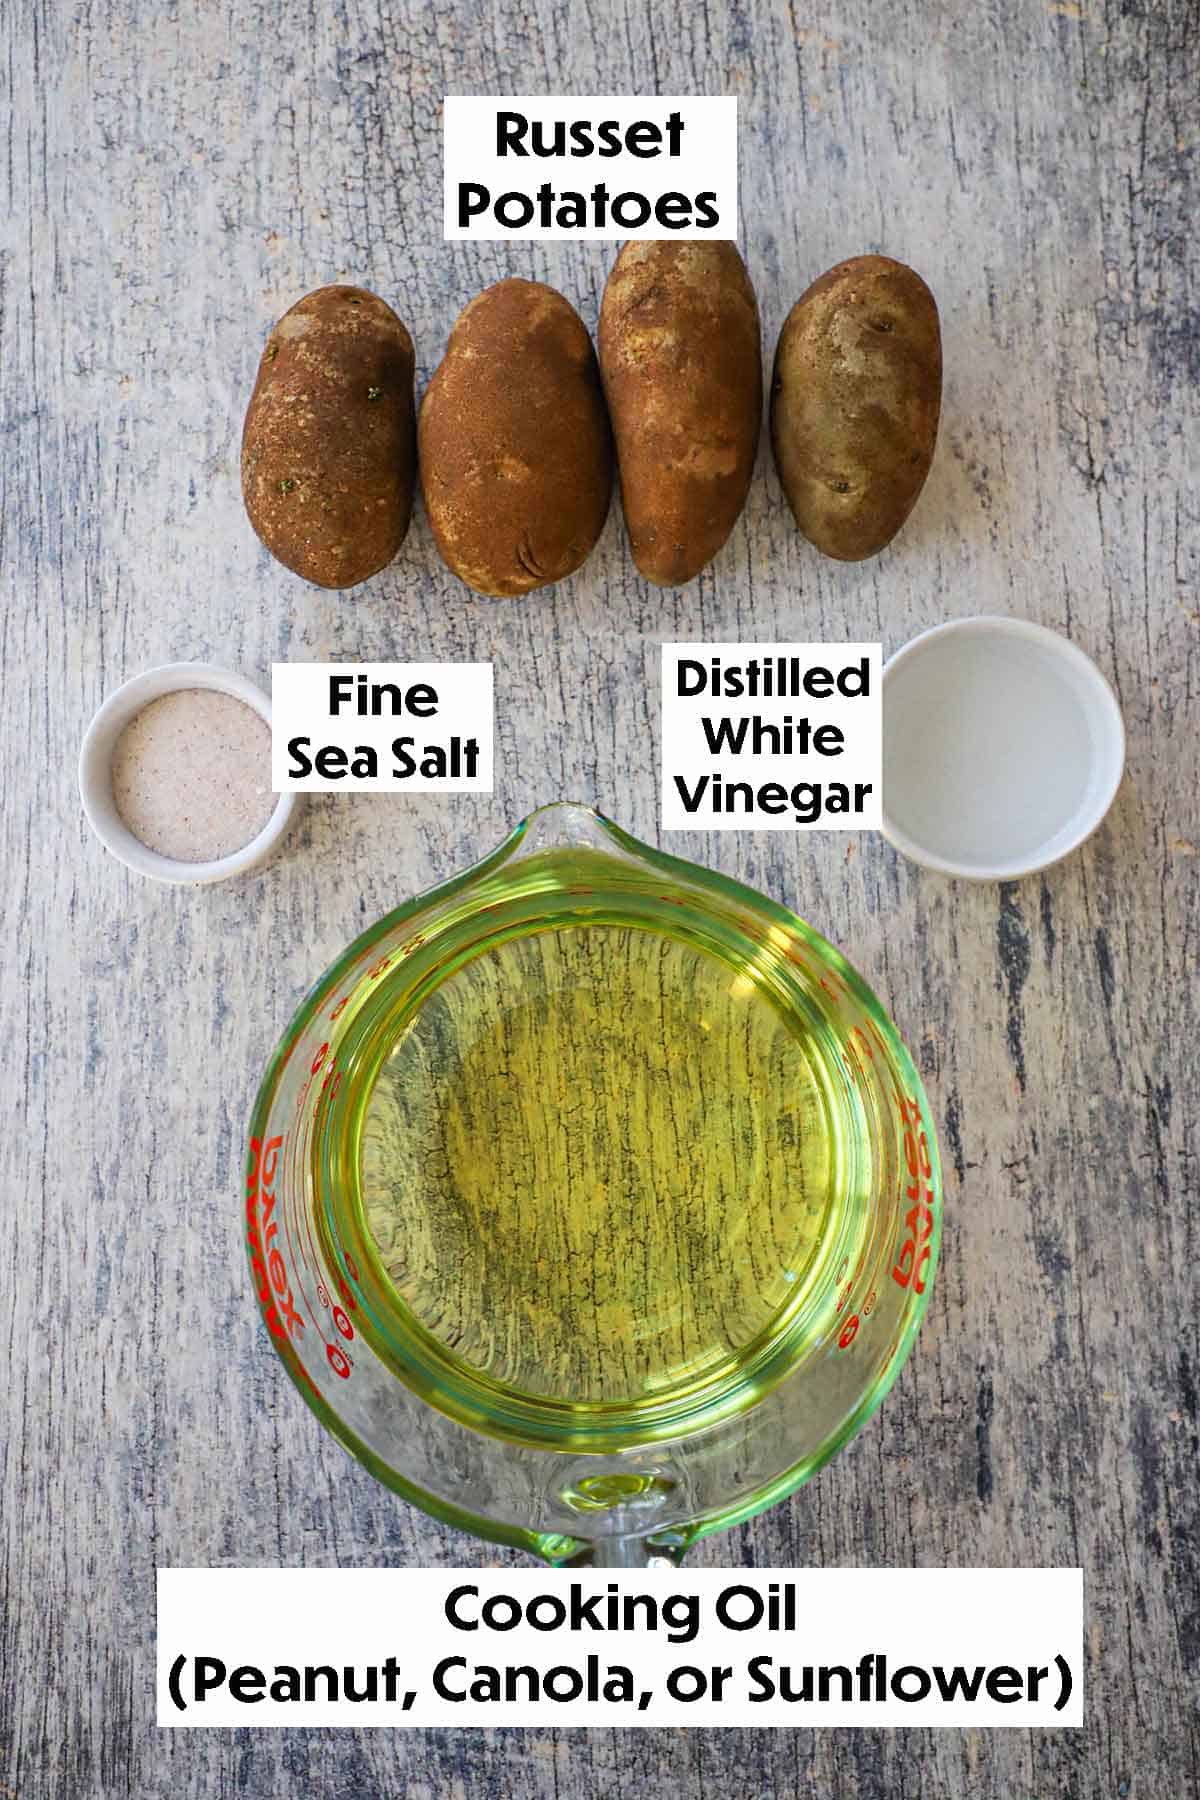
🥔 The Ingredients
You only need a few simple pantry staples and a high-heat oil to transform humble spuds into the crunchiest, most delicious snack you’ve ever tasted. Find ingredient notes (including substitutions and variations) below.
📝 Ingredient Notes with Substitutions
- The Potatoes: Russet potatoes are essential for that classic chip crunch due to their high starch and low moisture content. If you must substitute, Yukon Golds will work, but they contain more sugar and will brown much more quickly in the oil.
- The Oil: Peanut oil is our top choice because it has a high smoke point and a clean finish. However, you can easily substitute it with other neutral oils like sunflower, canola, or vegetable oil with great results.
- The Vinegar: Distilled white vinegar is the secret to the perfect texture; it helps the potato slices stay firm and prevents them from over-browning. If you don’t have white vinegar, apple cider vinegar is a suitable alternative for the soak.
- The Salt: We recommend fine sea salt for the first toss because the small grains adhere perfectly to the hot oil. For a gourmet touch, you can finish the bowl with a sprinkle of coarse sea salt or flaky Maldon salt to give it that extra “Loon” sparkle.
- The Water: Always use cold water for the soaking process. This helps draw out the excess starch, which is the key to ensuring your chips don’t stick together or turn out soggy.
🔥 Tips and Tricks for Success
- Safety First: When using a mandoline to get those paper-thin slices, always use the safety guard. We want crispy chips, not a trip to the emergency room!
- Uniformity is Key: Ensure your slices are all the same thickness. This guarantees that every chip in the batch finishes cooking at the same time, preventing some from burning while others stay soft.
- Bone-Dry Potatoes: After soaking, make sure you pat the potato slices until they are completely dry. Any lingering moisture will cause the oil to splatter and prevent the chips from reaching maximum crispiness.
- Monitor the Temp: Use a deep-fry or candy thermometer to keep your oil at a steady 350°F. If the temperature drops too low, the chips will absorb too much oil and become greasy rather than crunchy.
- Don’t Overcrowd: Fry in small batches! If you add too many slices at once, the oil temperature will plummet, and the chips will stick together.
- The Agitation: Use a slotted spoon or a “spider” to gently move the chips around as they fry. This ensures they cook evenly on both sides and don’t develop any soft spots.
- Drain on a Rack: Instead of piling chips onto paper towels (which can trap steam), drain them on a wire cooling rack set over a baking sheet. This allows air to circulate around the chips, keeping them shatteringly crisp as they cool.
👩🏼🍳 How to Make Perfectly Crispy Homemade Potato Chips
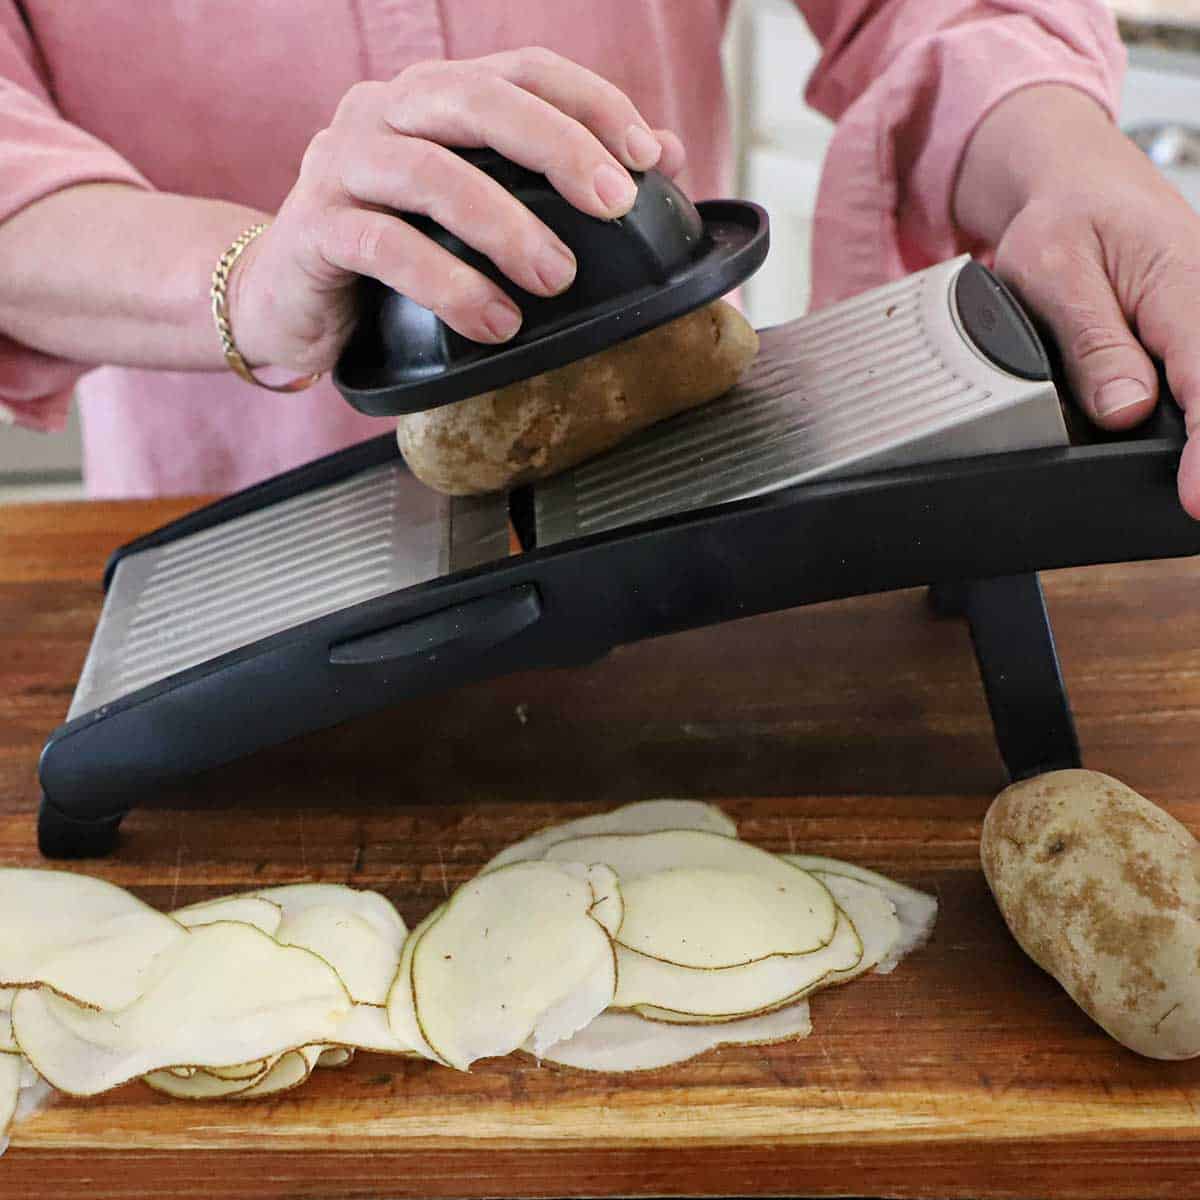
- Step 1: Use a mandolin to slice the russet potatoes very thin. Use the safety guard for protection!

- Step 2: Place the potato slices in a large bowl and cover them with cool water. Toss around to help remove starch. Drain and repeat two more times.

- Step 3: Add more cool water to cover the potatoes and stir in the distilled vinegar.
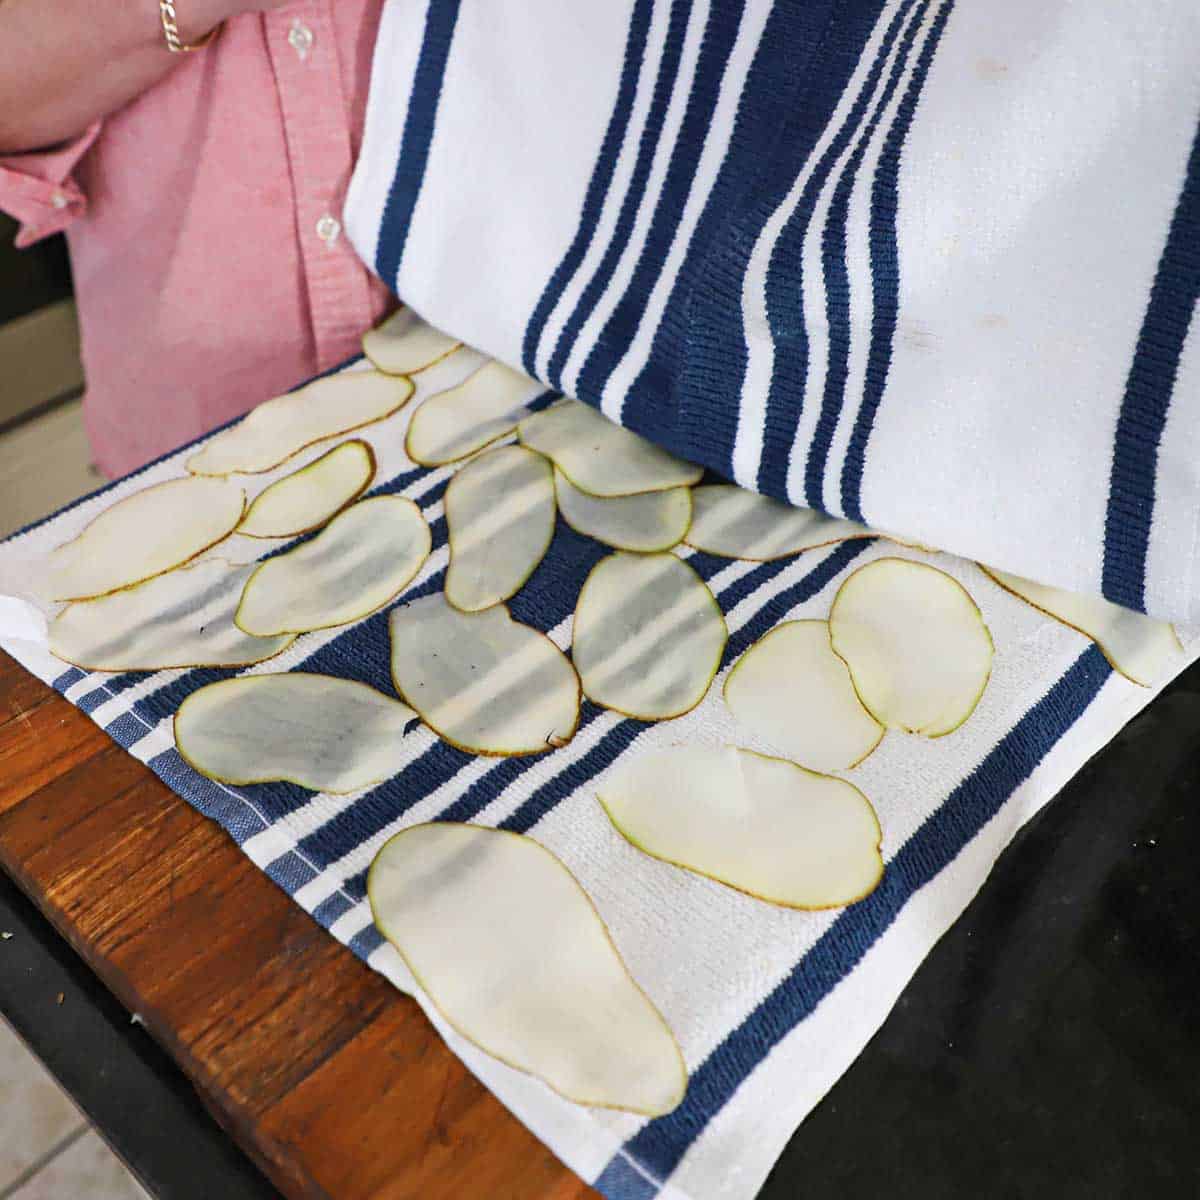
- Step 4: Working in batches, dry the slices between a clean kitchen towel or paper towels. Make sure they are completely dry before frying!
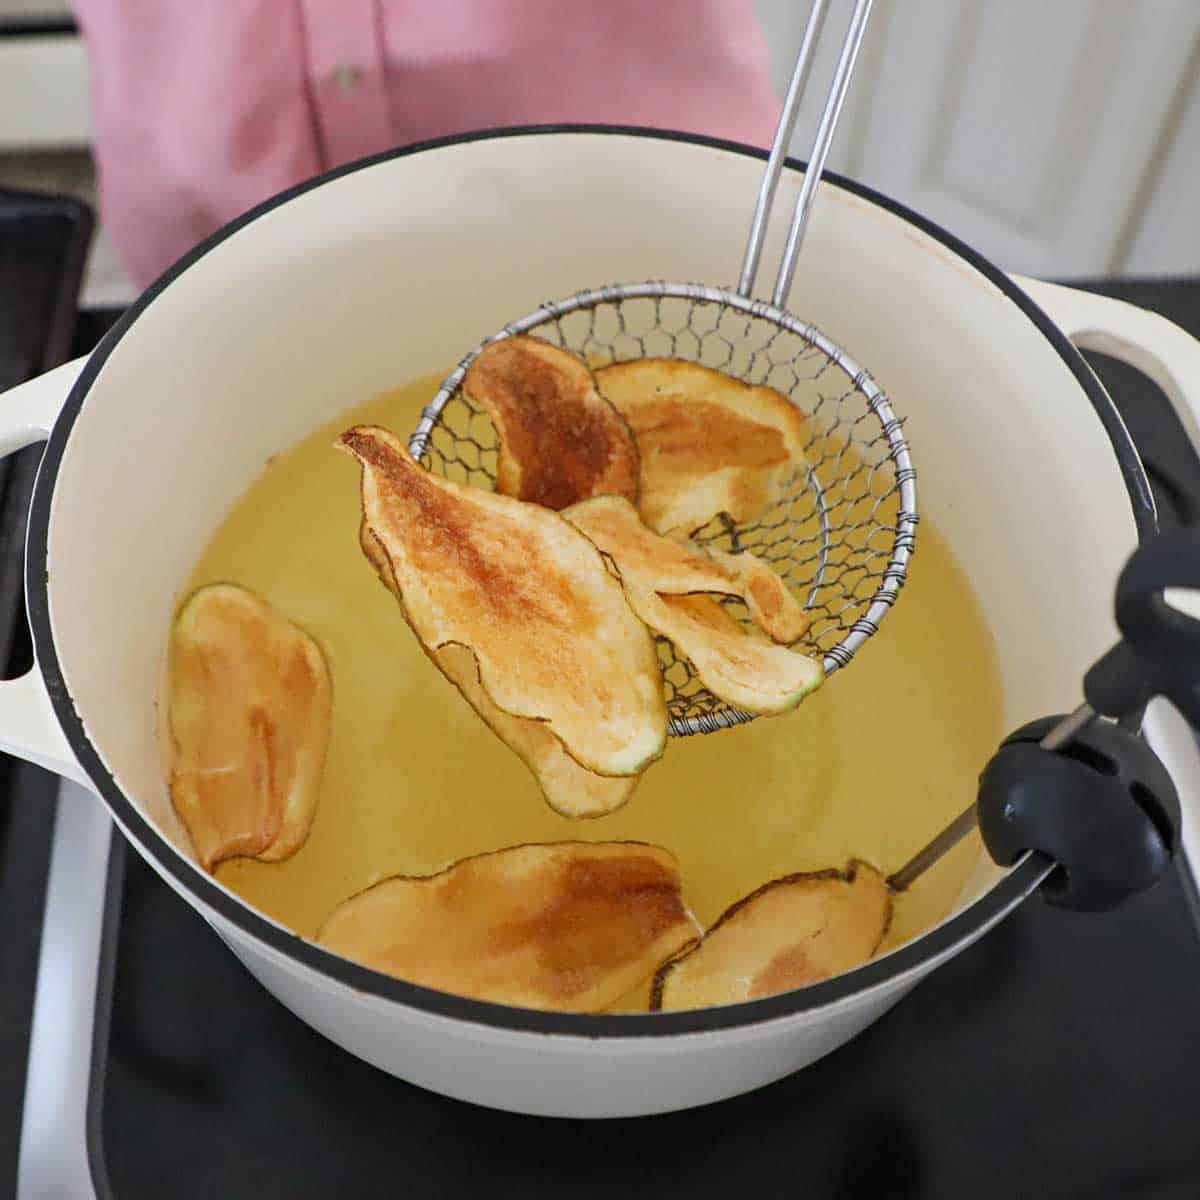
- Step 5: Heat your oil to 350°F and then fry the chips in small batches until lightly browned, about 3 to 5 minutes.

- Step 6: Drain on a baking rack (on a baking sheet) and sprinkle immediately with fine sea salt.
Expert Tip: The Flavor Shake!
While we love the simplicity of classic sea salt, these chips are the perfect canvas for your favorite seasonings. The secret is to toss them with your spices—like smoked paprika, garlic powder, or even a little dried dill—the very second they come out of the oil. While the chips are still hot and slightly glistening, the seasoning will adhere perfectly. For the most even coating, toss them gently in a large metal bowl or even a clean brown paper bag to ensure every crunch is packed with flavor!
🍽️ How to Serve
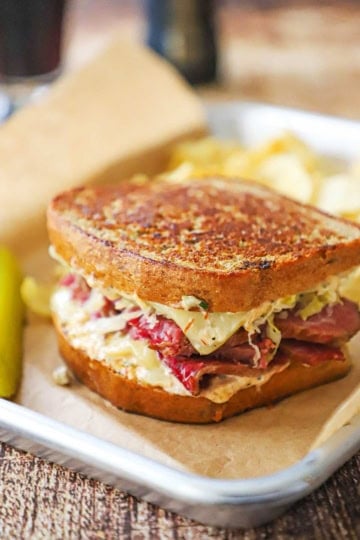
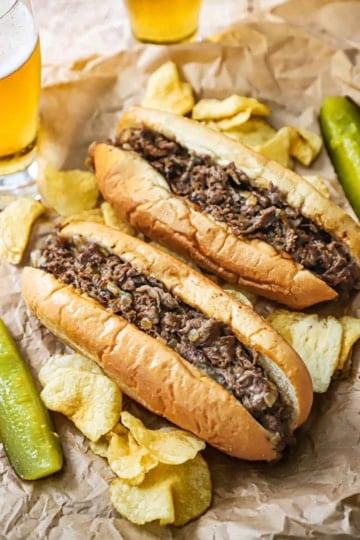
- The Ultimate Sandwich Side: These chips are the perfect salty companion to a hearty sandwich. They provide a much-needed crunch alongside our Slammin’ Sloppy Joes, the Best-Ever Smash Burger, or an Italian-Style Panini.
- The Dipping Station: While they are incredible on their own, these sturdy chips are built for dunking! Serve them with a side of cool Homemade Ranch, zesty Cajun Remoulade, or a classic caramelized onion dip.
- Get Creative with Flavors: Use these classic salt chips as a base for fun variations. Toss them with smoked paprika and brown sugar for a BBQ twist, or add a drizzle of truffle oil and a dusting of Parmesan for a gourmet experience.
- Party Style: For a gathering, pile them high in a large wooden bowl or serve them in individual parchment-lined wire baskets. They make a fantastic, crowd-pleasing appetizer for game day or a backyard BBQ.
- Warm and Fresh: For the absolute best experience, serve them while they are still slightly warm from the fryer. There is nothing quite like a fresh, homemade chip to make your guests keep coming back for more!
🙋🏽♂️ Frequently Asked Questions
Russets are the gold standard because their high starch and low moisture content result in the lightest, crunchiest snack possible.
Place them in an airtight container or a sealed zip-top bag at room temperature. They will stay fresh and snappy for up to 5 days (if they even last that long)!
This step draws out the surface starch and reinforces the potato’s cell structure, which allows them to get incredibly crunchy without over-browning in the oil. And they do not make the chips taste like vinegar at all.
You certainly can, though for that authentic, deep-fried “shatter” crunch, the traditional stovetop method in peanut oil is hard to beat.
Simply spread them on a baking sheet and warm them in a 300°F oven for a few minutes; this will quickly draw out any moisture and restore that fresh-from-the-fryer texture.
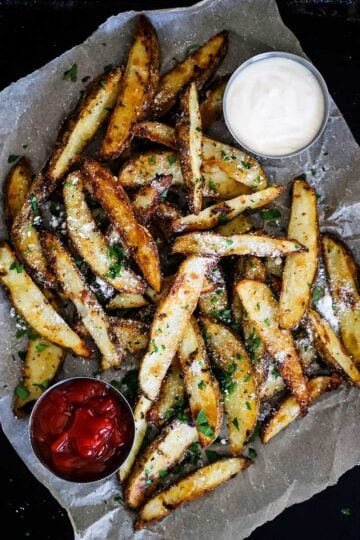
😋 Other Delicious Sides/Appetizers


Ready to make the best potato chips in town? Go for it!
And when you do, be sure to take a photo of them, post it on Instagram, and tag @HowToFeedadLoon and hashtag #HowToFeedaLoon!

Perfectly Crispy Homemade Potato Chips
Video
Equipment
- mandolin
- bowl of soaking potato slices
- pot for oil or deep-fryer
Ingredients
- 3 to 4 russet potatoes sliced on the thinnest setting on your mandolin
- water for rinsing and soaking
- 2 tablespoon distilled white vinegar
- peanut oil or canola, sunflower, or vegetable
- fine sea salt
- coarse sea salt for extra garnish, optional
- Cajun remoulade
Instructions
- Place the thinly sliced potatoes in a large bowl and cover with cool tap water. Swish the potatoes around in the water, helping to remove some of the starch. Use one hand to hold the potatoes in place and tilt the bowl to drain the water into the sink. Repeat this process 2 ot 3 more times until the water is clear.3 to 4 russet potatoes, water
- Drain the potatoes into a colander. Add the potatoes back into the bowl and cover them with cool water. Use your hands (or a large wooden spoon) to stir in the vinegar. Let the potatoes rest in the vinegar water for 45 minutes to 1 hour.2 tablespoon distilled white vinegar
- Heat the oil (about 2 to 3 inches deep) in a large, sturdy skillet or deep-fryer to 350°F. A high-heat thermometer (or a candy thermometer) will help you maintain a consistent oil temperature.peanut oil
- Working in batches, dry the potato slices in a clean, dry kitchen towel (or paper towels). You must get the slices completely dry. If they are wet (or even damp), they won't crisp up and could be soggy.
- Carefully lower the dried potato slices into the hot oil (working in batches). Use a metal slotted spoon or a metal spider to move the chips around in the hot oil gently. Remove the chips as they are beginning to brown (some may brown a little more quickly than others). This will take about 3 to 5 minutes. Crank the heat up when you add the potatoes because the slices will bring the temperature of the oil down significantly.
- Place the chips on a baking rack that is in a foil-lined baking sheet (this makes clean-up easy). Immediately sprinkle the fine sea salt over the chips. Repeat until all chips have been fried.fine sea salt
- Serve warm or at room temperature, garnished with a sprinkle of coarse sea salt and Cajun remoulade (if desired).coarse sea salt, Cajun remoulade
Notes
- Safety First: When using a mandoline to get those paper-thin slices, always use the safety guard! We want crispy chips, not a “Loon-sized” injury.
- The Right Spud: Russet potatoes are the gold standard for this recipe. Their high starch content is what creates that light, airy, and “shatteringly” crisp texture.
- Don’t Skip the Soak: The vinegar soak is the secret to success. It removes excess starch and reinforces the potato’s structure, allowing it to get perfectly crunchy without burning.
- Bone Dry is Key: Ensure the potato slices are completely dry before frying. Any moisture left on the surface will cause the oil to splatter, preventing the chips from reaching maximum crispiness.
- Monitor the Heat: Use a deep-fry thermometer to keep your oil at a steady 350°F. If the oil gets too cold, the chips will be greasy; if it’s too hot, they’ll burn before they crisp.
- Season Immediately: Always salt your chips as soon as they come out of the oil. The residual heat and oil help the fine sea salt adhere perfectly to every curve.
- Storage: Store leftovers in an airtight container or a sealed zip-top bag at room temperature for up to 5 days. If they lose their snap, just pop them in a 300°F oven for a few minutes to refresh them!

Ted Larson says
These are better than anything store bought.
Kris Longwell says
Woo hoo! We agree!!!
Wes says
So crispy! Totally blown away by how crunchy these were. Absolutely fantastic (and addictive)!
Kris Longwell says
Yay!!!