


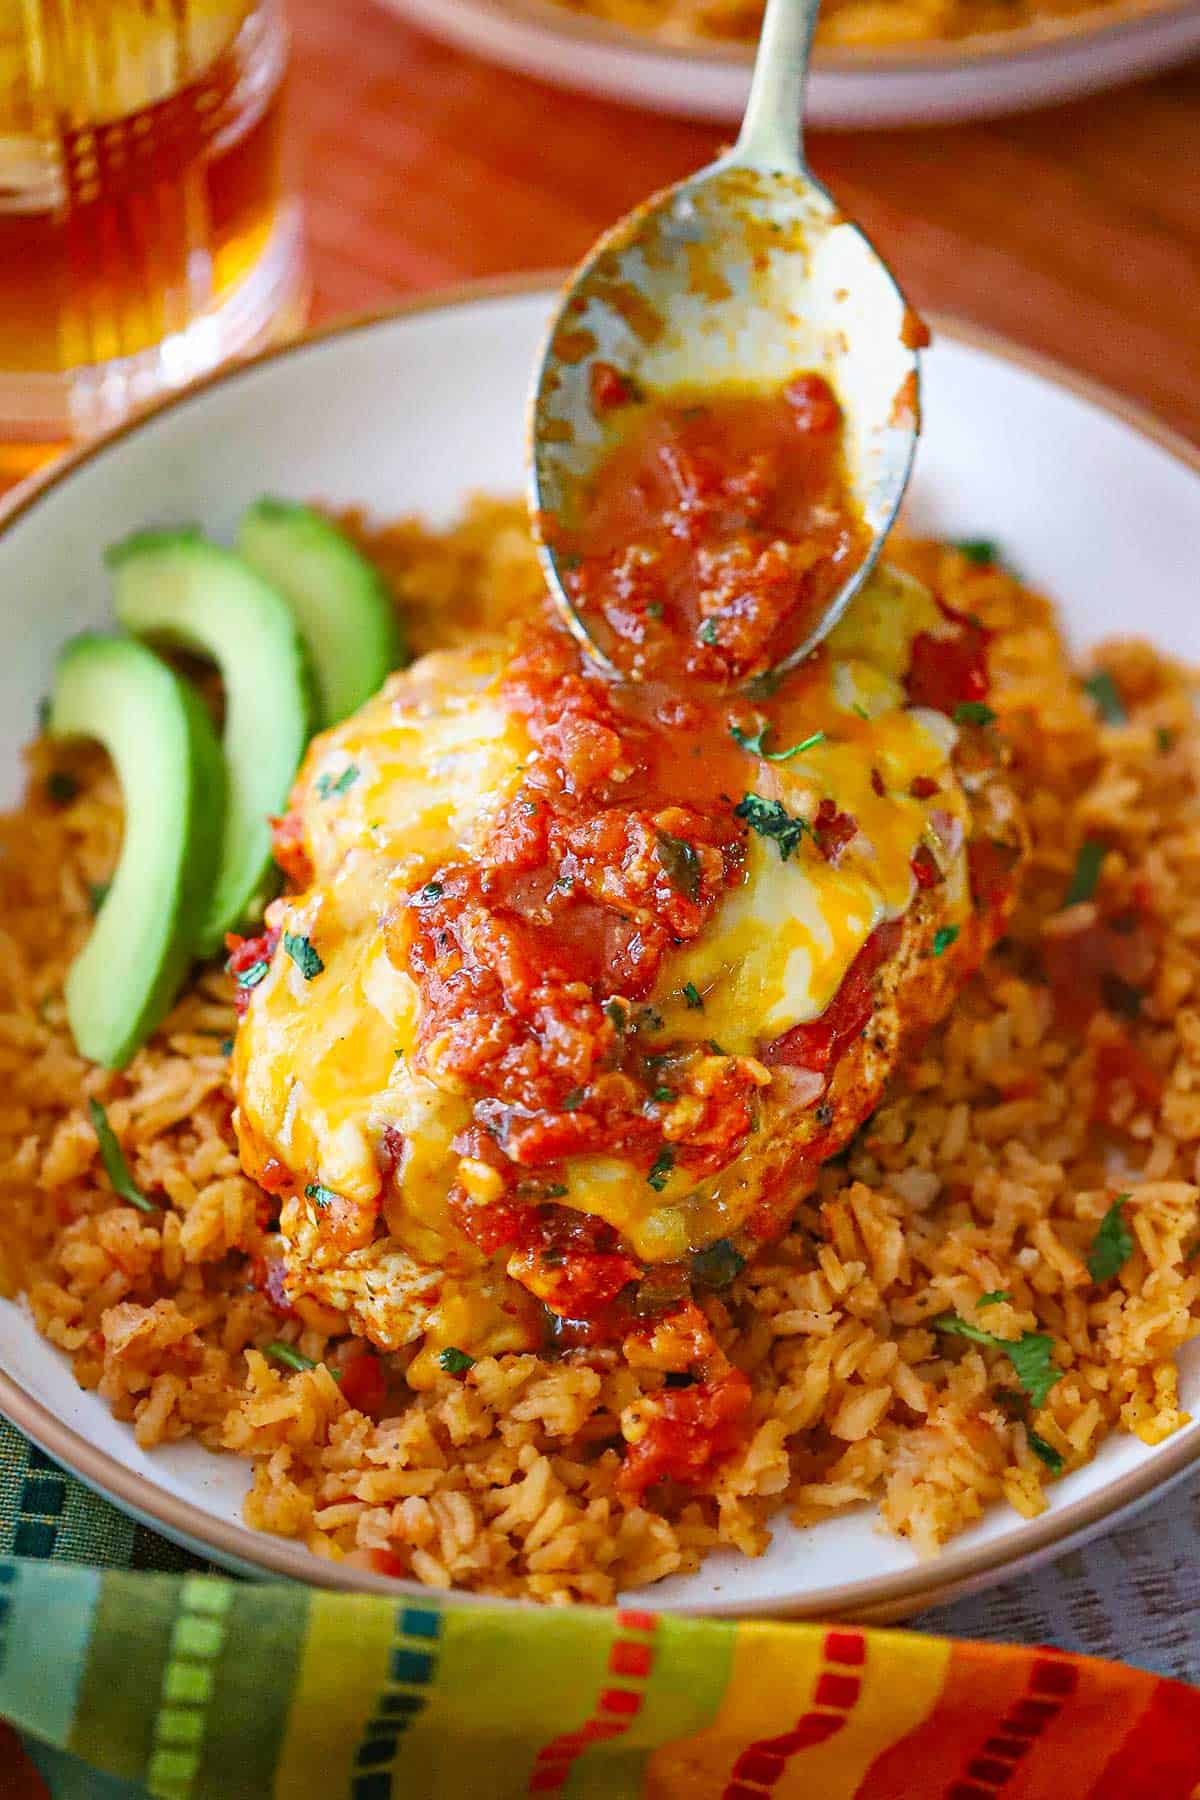
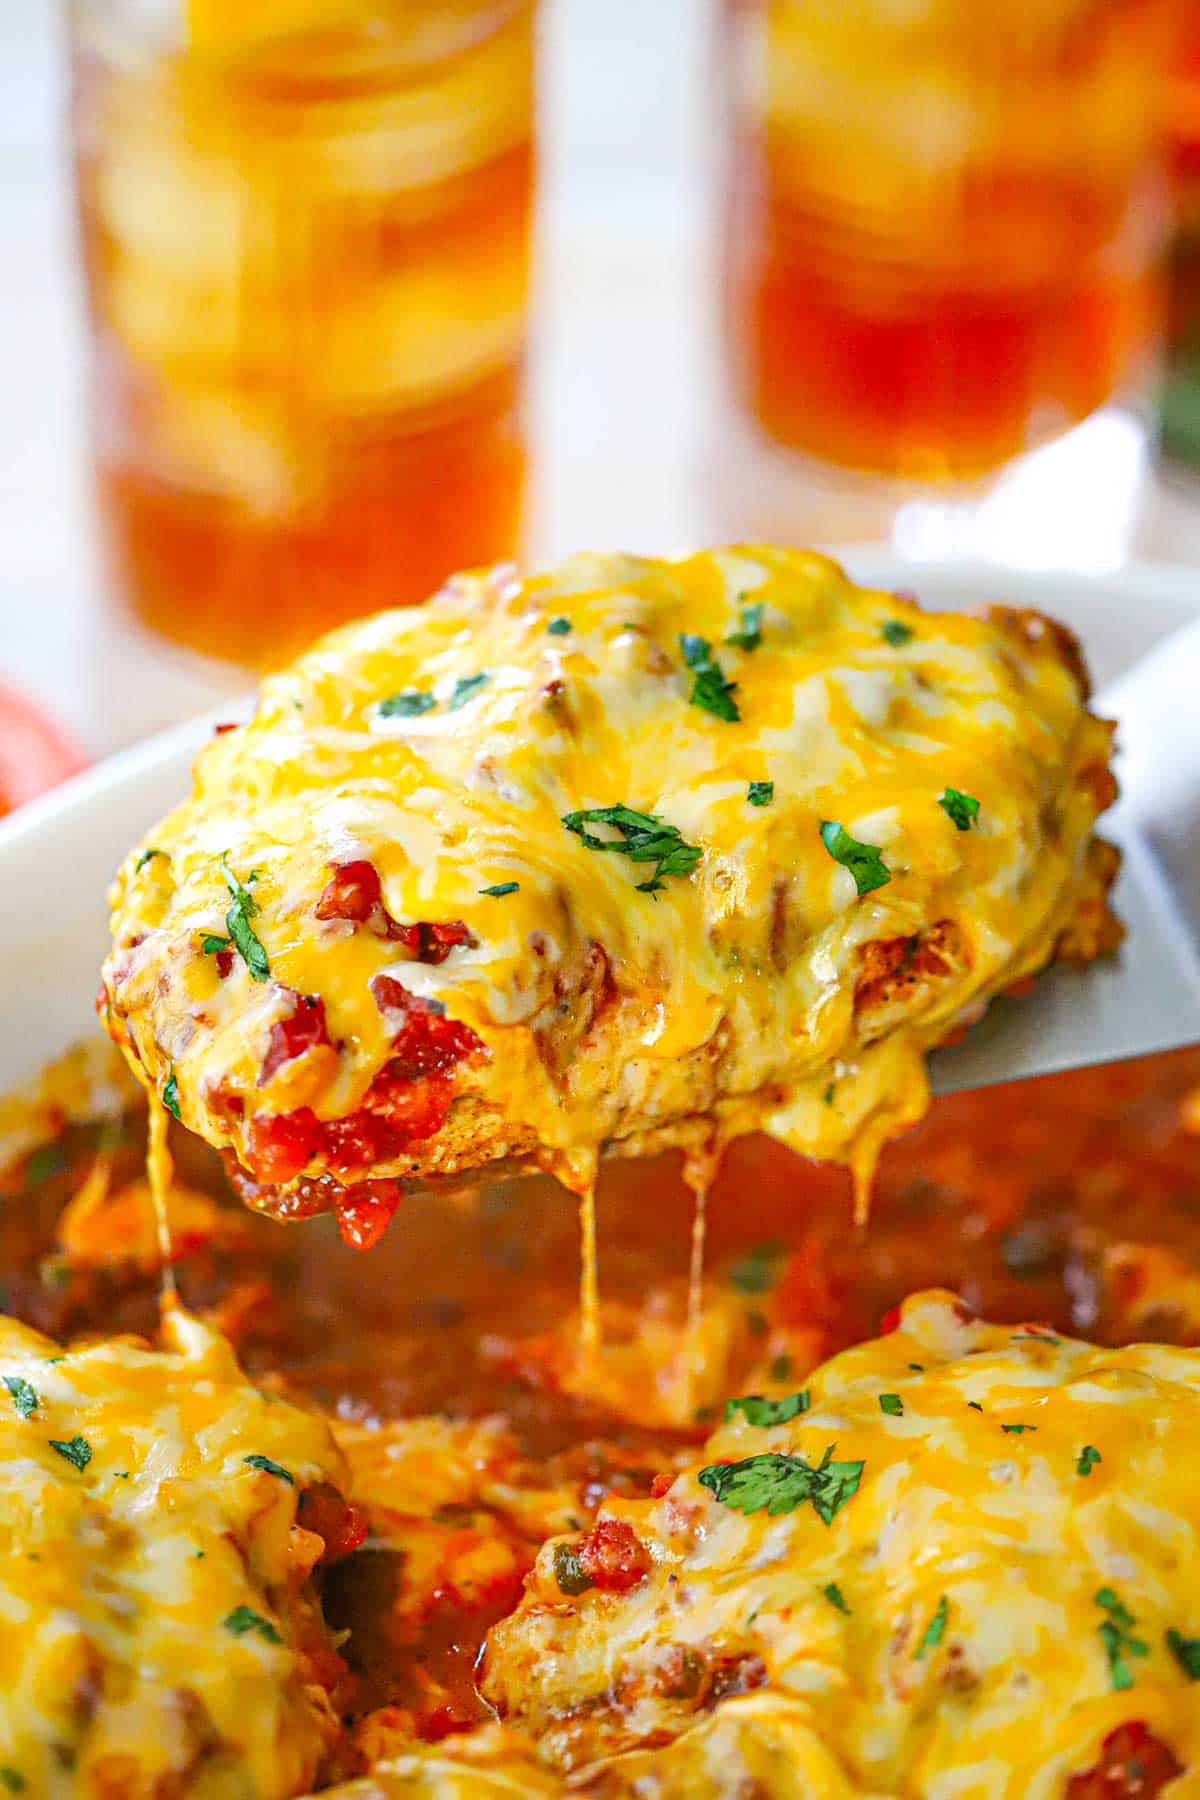
This Easy Cheesy Salsa Chicken is a weeknight game-changer that delivers juicy, flavor-packed results with very little effort. While jarred salsa works in a pinch, taking a few extra minutes to make your own chunky salsa from scratch truly elevates the flavor to restaurant-quality status. Serve it alongside a big helping of homemade Mexican rice for a fiesta on a plate!
Jump to:
🧀 The Ingredients
This recipe relies on a handful of common kitchen essentials and our signature fresh-made components to create a vibrant, cheesy dinner that feels truly special without the extra work. Find ingredient notes (including substitutions and variations) below.
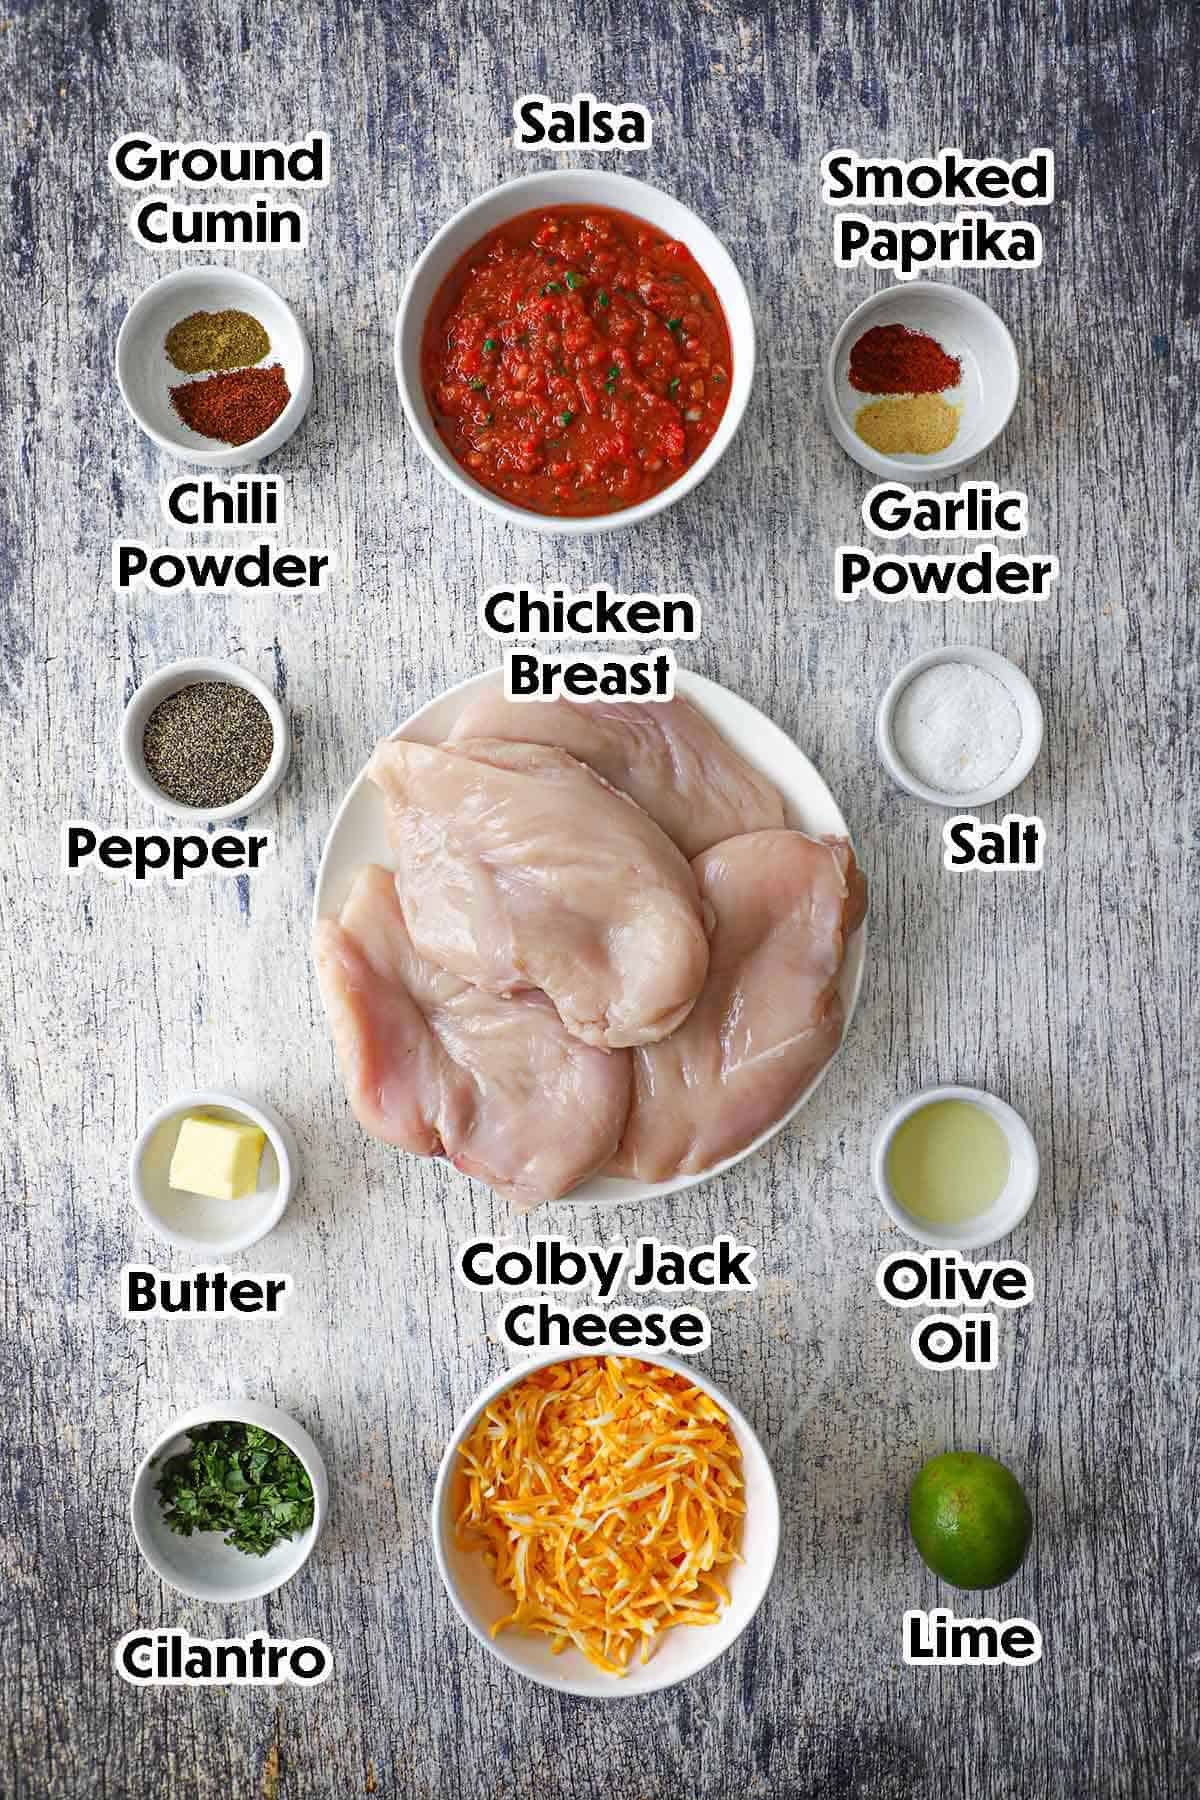
📝 Ingredient Notes and Substitutions
- The Chicken: We find that boneless, skinless chicken breasts are perfect for this dish, but if you prefer dark meat, boneless skinless chicken thighs are an incredibly juicy and flavorful alternative. Just be sure to pound the breasts to an even thickness so they cook at the same rate!
- The Salsa: While a jar of your favorite store-bought brand works in a pinch, using our Easy Homemade Salsa is a total game-changer.
- The Cheese: A blend of Monterey Jack and Sharp Cheddar offers the perfect balance of “gooey melt” and “tangy flavor.” You can also use Colby or a Mexican blend; however, we always recommend shredding your own cheese from a block for the best melt.
- The Spice Rub: If you are missing one of the individual spices, you can substitute the entire dry rub with 2 tablespoons of your favorite taco seasoning. If you like a little extra heat, feel free to add a pinch of cayenne pepper to the mix!
- Olive Oil & Butter: We use a combination of both for searing because the oil prevents the butter from burning, while the butter adds that classic, rich flavor to the chicken’s crust. If you’re looking to keep it lighter, you can use all olive oil or even avocado oil.
- Garnish: Don’t skip the fresh cilantro and lime wedges!
Refer to the recipe card (with video) below for a full list of ingredients and measurements.
🔥 Tips and Tricks for the Best Salsa Chicken
- Pound the Chicken: For the juiciest results, use a meat mallet or a heavy skillet to pound your chicken breasts to an even thickness (about 1 inch). This ensures the entire breast cooks at the same rate, so the thin end doesn’t dry out before the thick end is done!
- Don’t Skip the Sear: While we’ve included a “no-sear” option, taking those 6–8 minutes to brown the chicken in the skillet creates a “fond” (those delicious browned bits) on the bottom of the pan. When you pour the salsa over it, that flavor gets pulled into the sauce for a much deeper, savory taste.
- The “Salsa Sandwich” Method: Be sure to put a layer of salsa on the bottom of the dish as well as the top. This creates a braising environment that keeps the chicken incredibly moist and prevents the bottom from sticking or burning.
- Use a Meat Thermometer: Chicken is perfectly cooked and safe at 165°F (74°C). Since every oven and stovetop is a little different, using an instant-read thermometer is the best way to ensure your chicken is tender and juicy, never rubbery or overcooked.
- Let it Rest: It is tempting to dig in immediately, but let the chicken rest in the pan for about 5 minutes after it comes out of the oven. This allows the juices to redistribute back into the meat and gives the salsa sauce a moment to thicken up so it clings to the chicken.
- Fresh is Best: If you can, grate your cheese from a block. Pre-shredded cheese is coated in potato starch to keep it from clumping in the bag, which can prevent it from melting into that perfectly smooth, gooey blanket of cheese we all love.
👩🏼🍳 How to Make Easy Cheesy Salsa Chicken
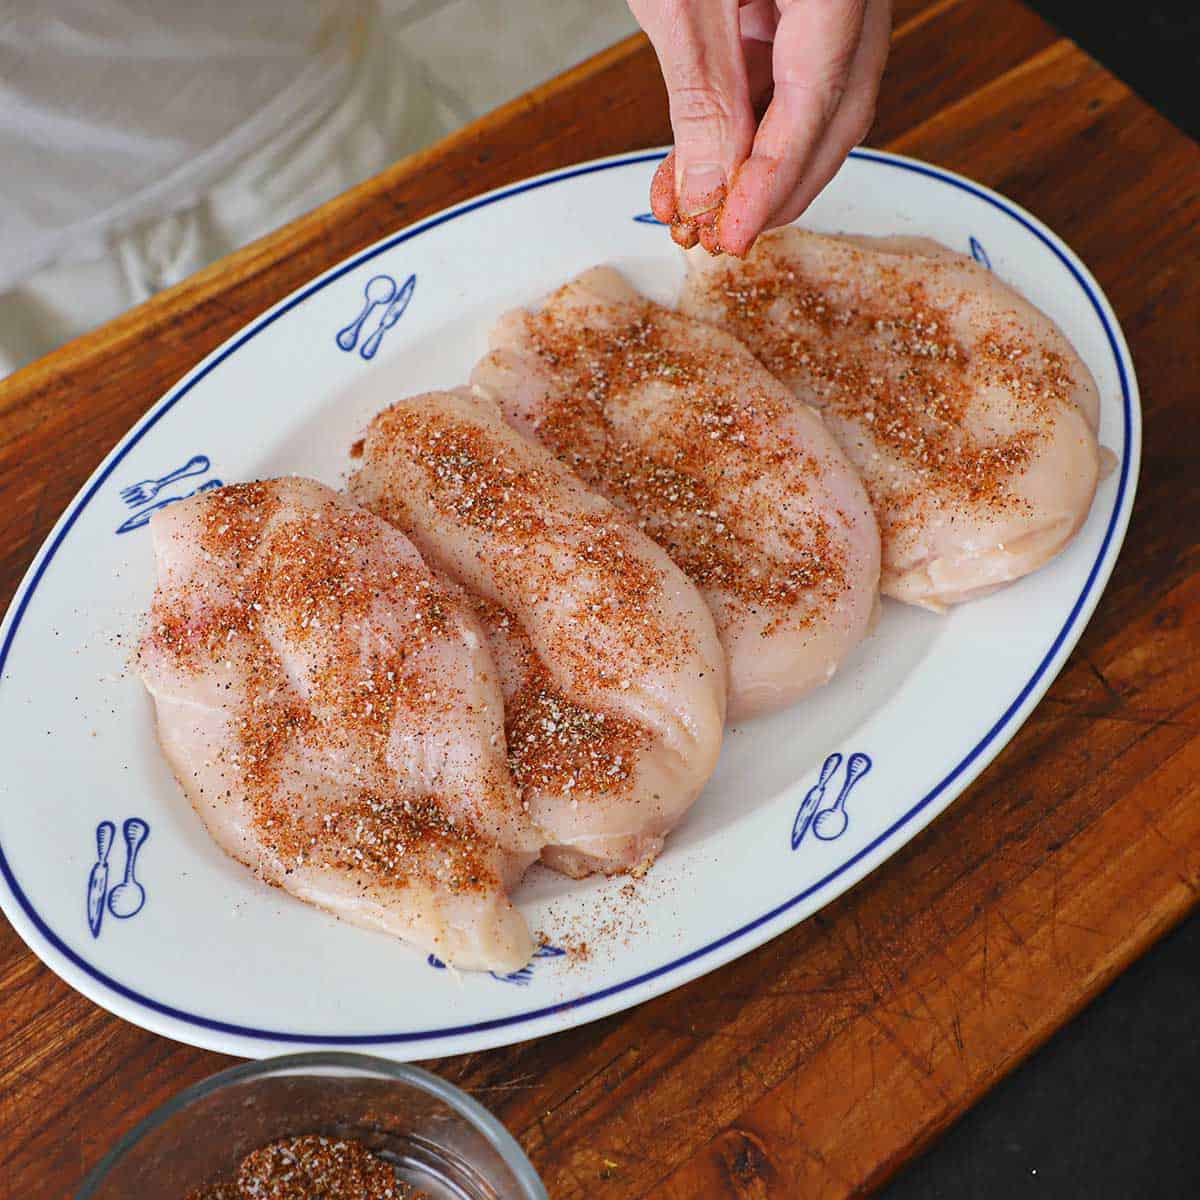
- Step 1: Combine the spices with the salt and pepper and sprinkle them all over the chicken breasts.
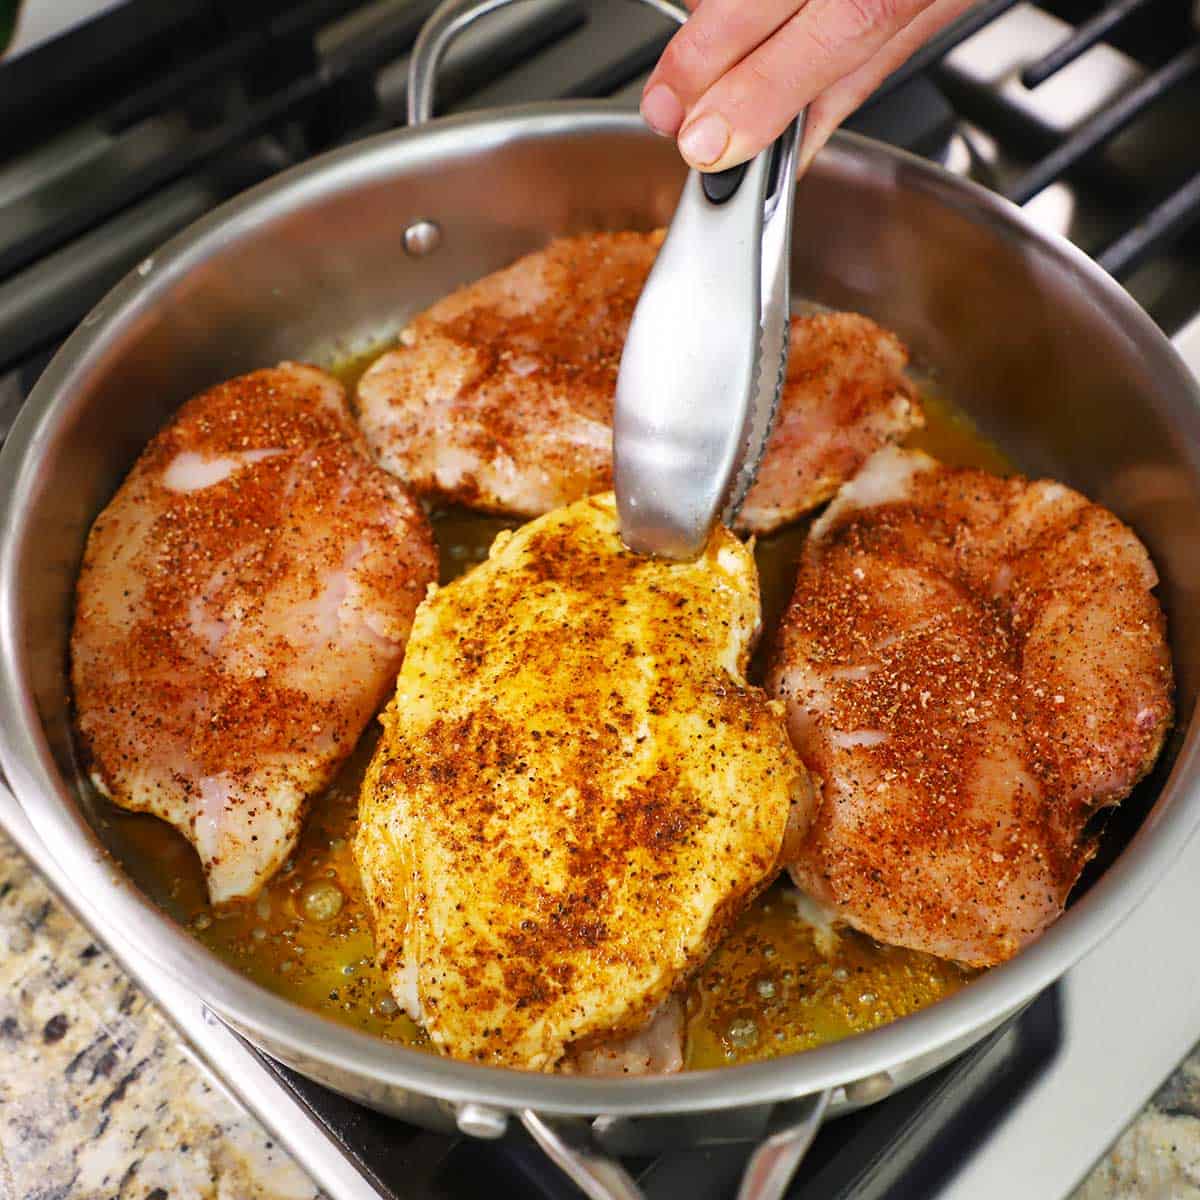
- Step 2: Sear the seasoned breasts in the oil and butter in a large skillet over medium heat for about 5 minutes per side. Remove the chicken from the skillet and set aside.
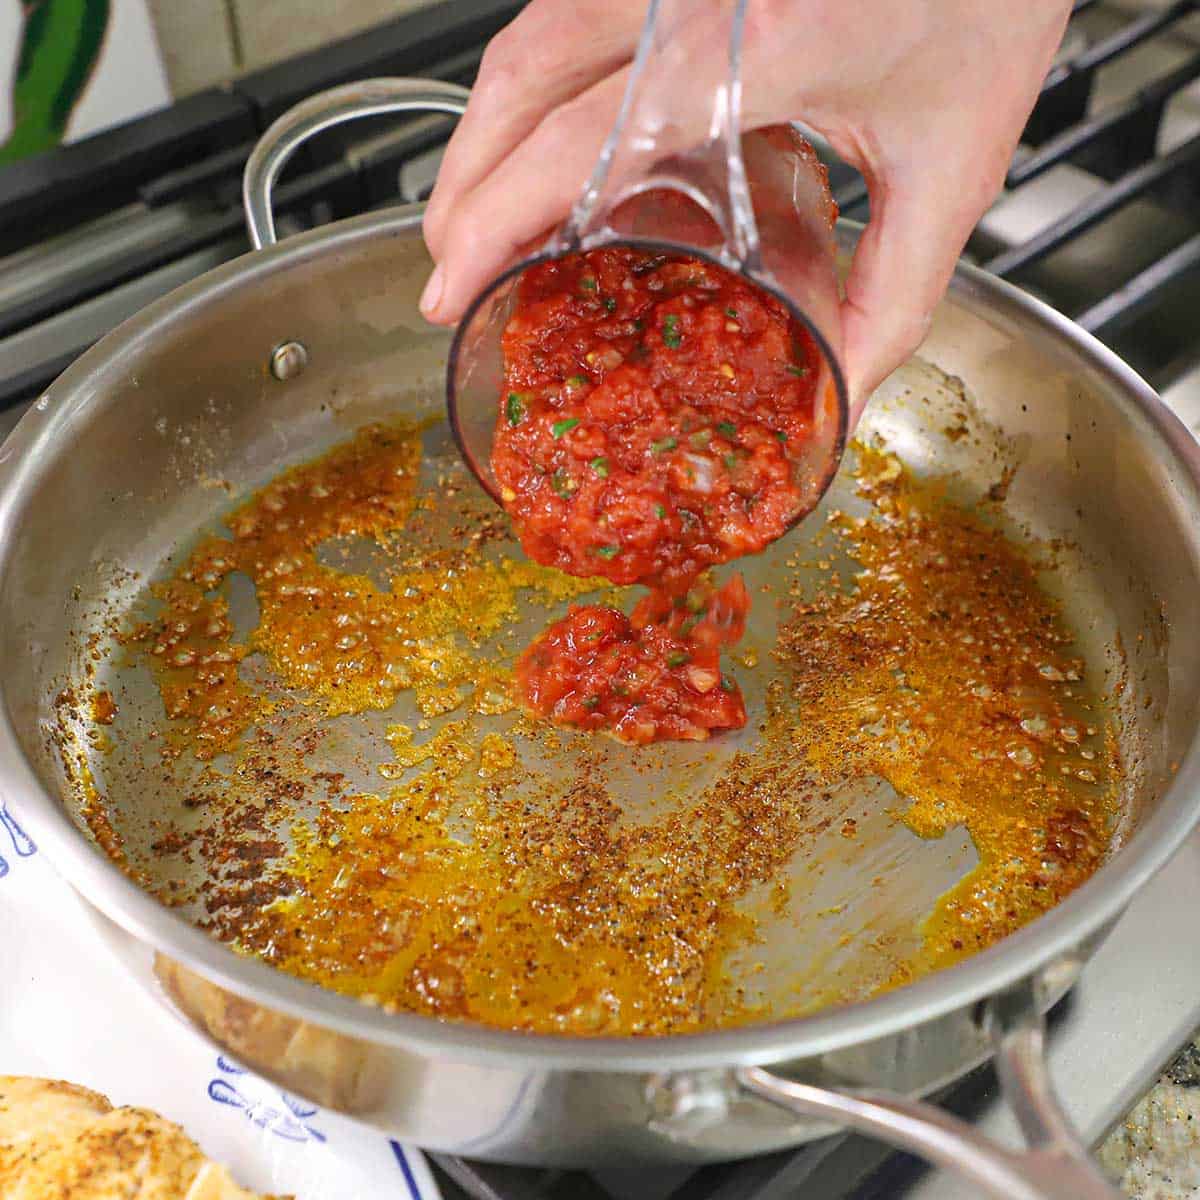
- Step 3: Pour about 1 cup of the salsa into the pan and use a wooden spatula to scrape up any stuck-on bits in the skillet. Cook for 1 to 2 minutes.
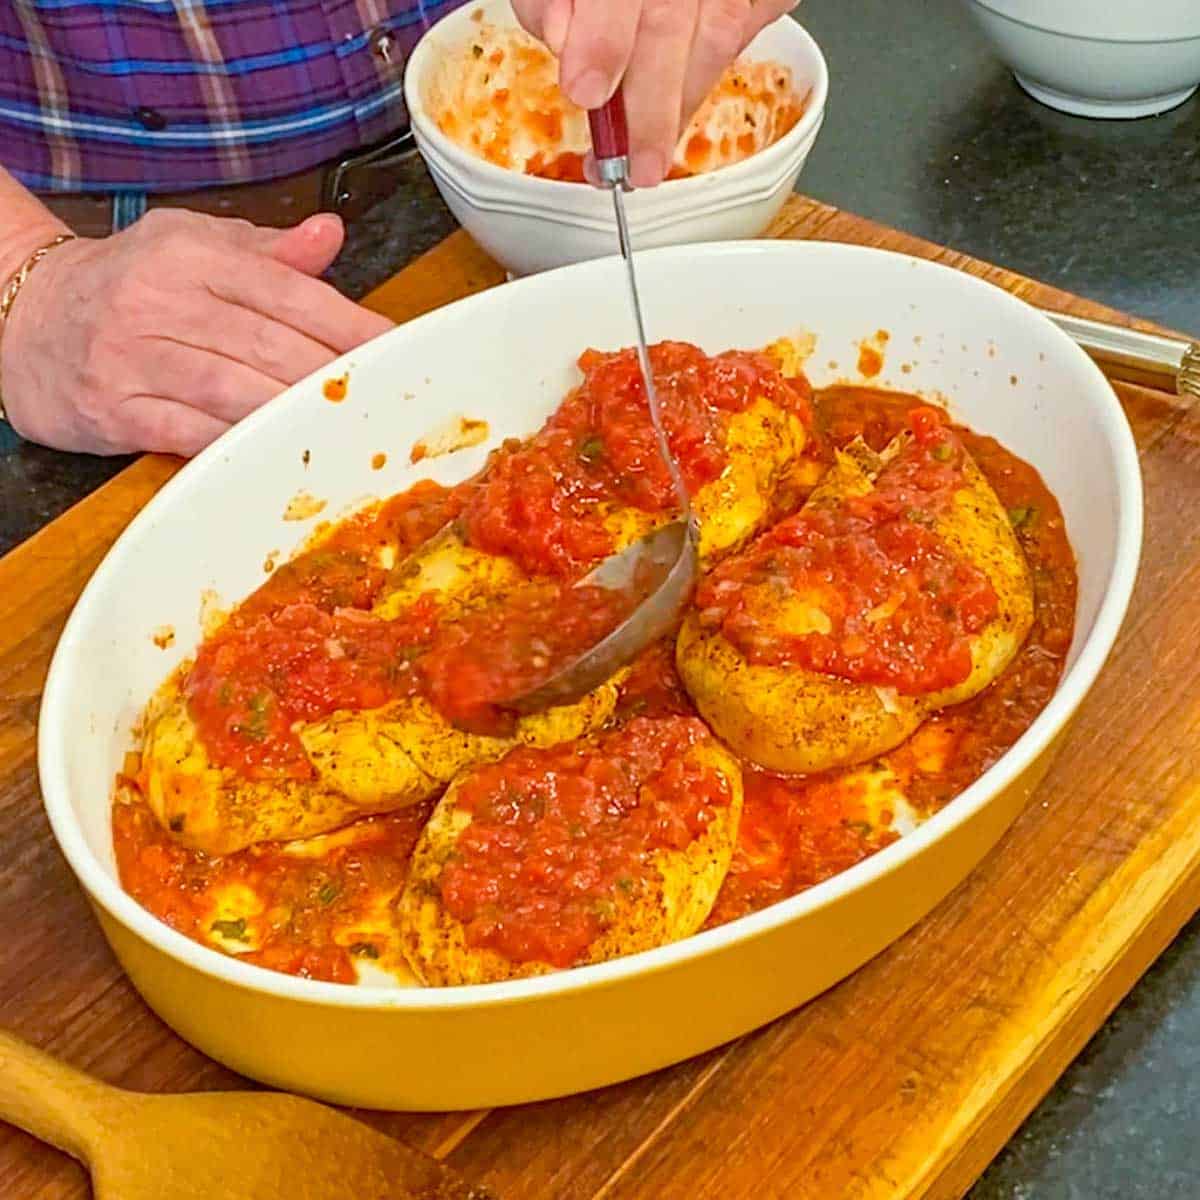
- Step 4: Pour the skillet salsa into the bottom of a casserole dish. Place the seared chicken breast over the salsa, and then ladle more salsa over the top of each breast (about a ¼ cup per breast).
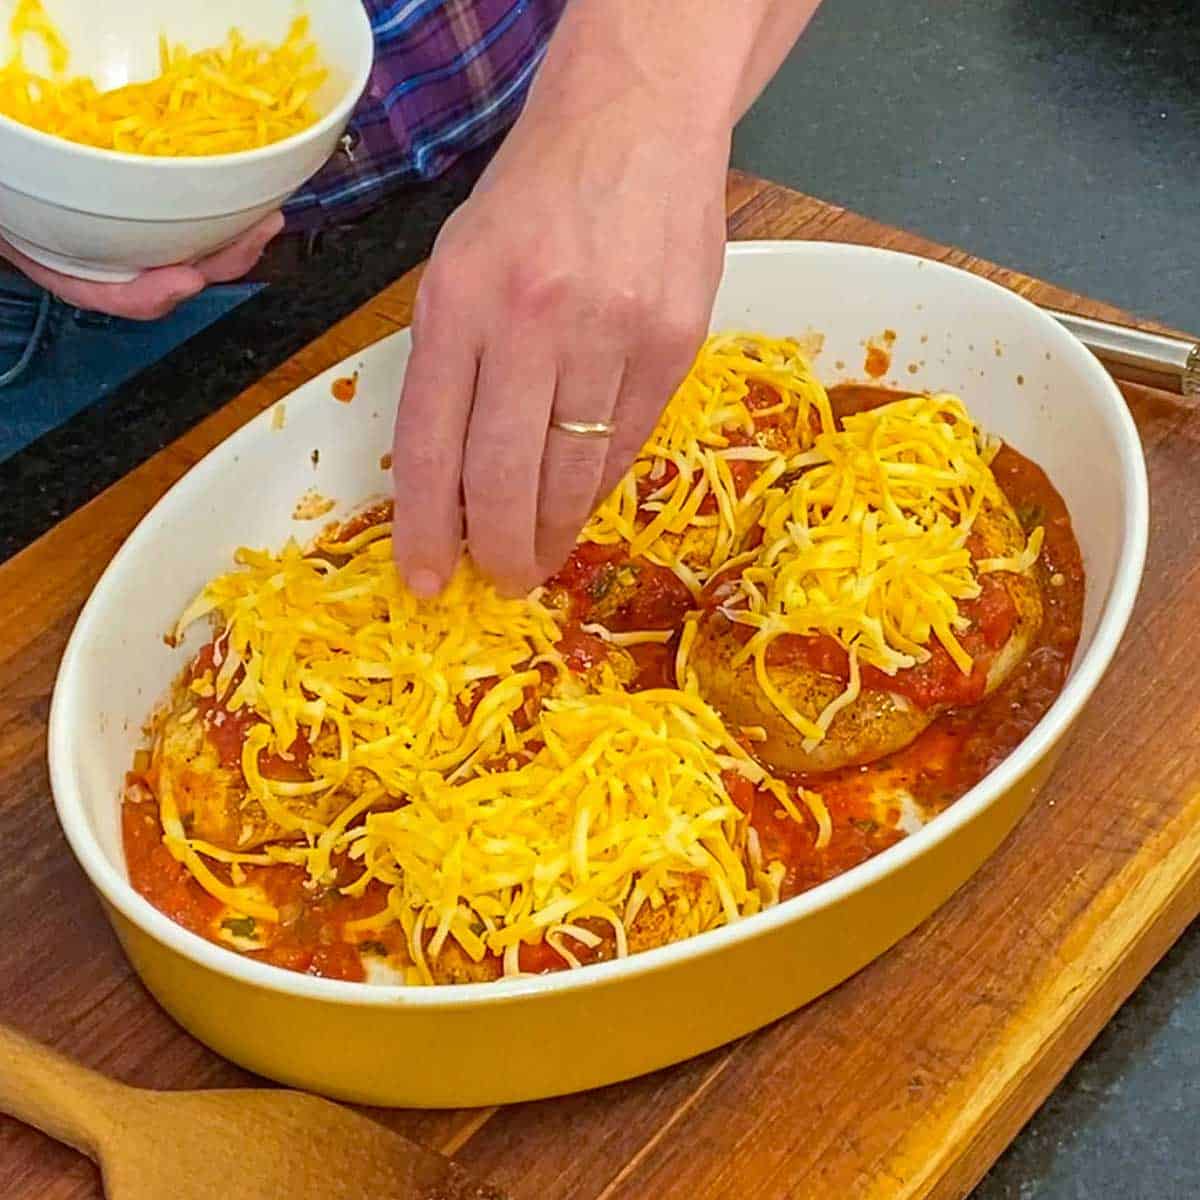
- Step 5: Place a mound of cheese over each chicken breast (about a ¼ cup per breast).
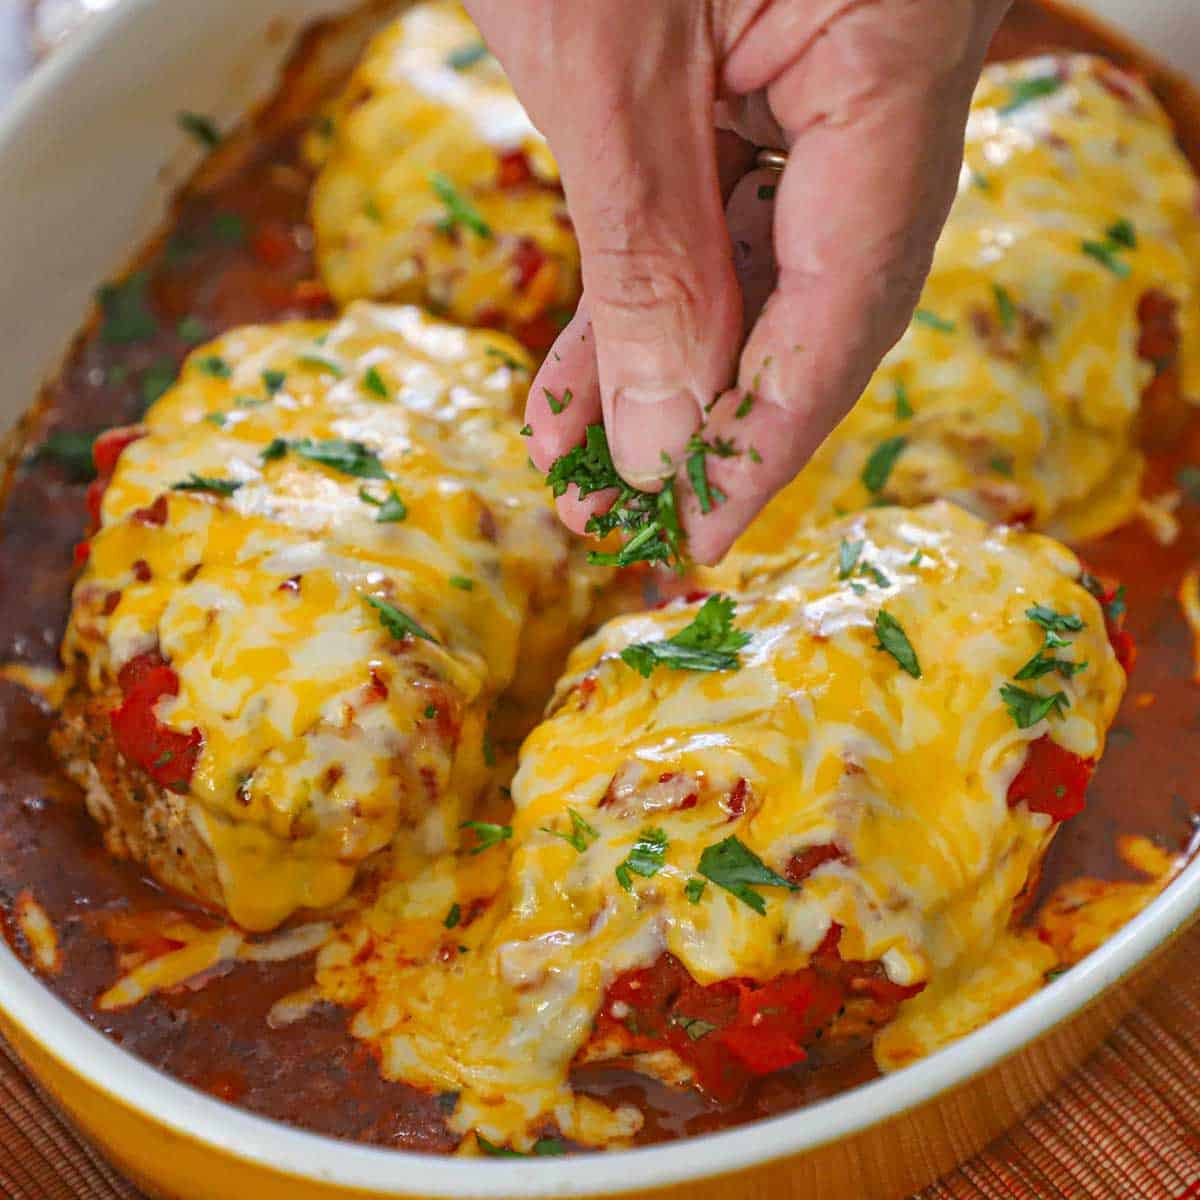
- Step 6: Bake at 400°F for 25 minutes, or until the internal temperature in the chicken reaches 165°F. Remove from the oven, let rest for a few minutes, and then garnish with chopped cilantro.
🍽️ How to Serve
- The Classic Bed of Rice: Our favorite way to serve this is over a generous helping of Homemade Mexican Rice. The rice acts like a sponge, soaking up all that delicious, concentrated salsa sauce from the bottom of the skillet.
- Warm Tortillas: If you want a more “hands-on” meal, serve the chicken with a stack of warm flour tortillas or corn tortillas. You can slice the chicken into strips and build your own gourmet tacos right at the table!
- Load Up the Toppings: To get that true “Loon” look, don’t be shy with the garnishes. Add a big dollop of sour cream (or Mexican crema), plenty of sliced avocado or Best-Ever Guacamole, and some pickled jalapeños for those who like a little extra heat.
- Fresh and Bright: Always serve with extra lime wedges. A fresh squeeze of lime juice just before eating cuts through the richness of the melted cheese and makes the spices in the rub really sing.
- The Perfect Sidekick: Round out the plate with a side of slow-simmered black beans or our Authentic Refried Beans topped with a little crumbled queso fresco.
🙋🏽♂️ Frequently Asked Questions
Absolutely! Dark meat is naturally juicier and more forgiving, so it works beautifully here; just keep in mind that the cooking time might need to be extended by a few minutes.
You can certainly season the meat and prepare the homemade sauce a day ahead, storing them separately in the refrigerator. When you’re ready to eat, simply assemble and bake as directed for a fresh and hot weeknight meal that comes together in minutes.
Place any remaining portions in an airtight container and keep them in the fridge for up to three days. For the best results, reheat in the oven or a covered skillet on low heat to keep the meat tender and the cheese perfectly melted without becoming rubbery.
While our fresh-made version provides the most vibrant flavor and texture, a high-quality chunky brand from the grocery store is a great time-saving alternative that still yields a delicious and satisfying result for a busy family dinner.
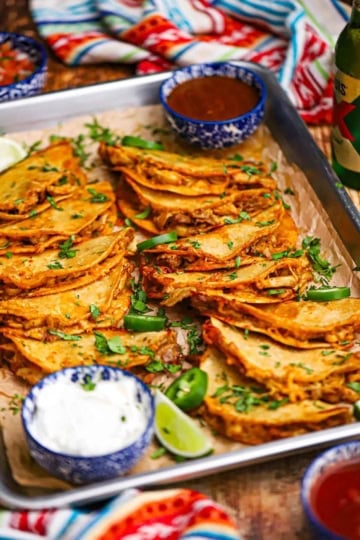
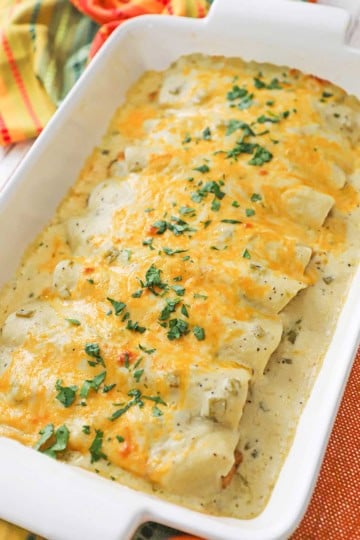
🌮 More Easy Chicken Mexican Recipes


Ready to make the easiest, but most delicious, chicken dish of all time? Go for it!
And when you do, be sure to take a photo of it, post it on Instagram, and tag @HowToFeedaLoon and hashtag #HowToFeedaLoon!
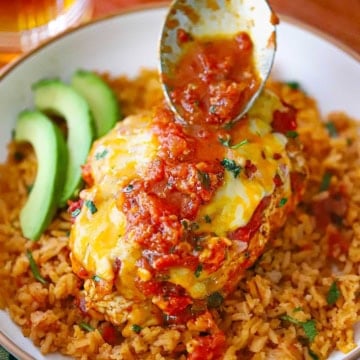
Easy Cheesy Salsa Chicken
Video
Equipment
- 1 large (12") skillet
- 9"x13" baking dish see NOTES
Ingredients
- 1 teaspoon chili powder
- ½ teaspoon ground cumin
- ½ teaspoon smoked paprika
- ½ tsp garlic powder
- 1 teaspoon Kosher salt
- ½ teaspoon black pepper
- 4 chicken breast boneless, skinless, pounded to 1-inch in thickness
- 1 tablespoon olive oil
- 1 tablespoon unsalted butter
- 2 cups salsa chunky is best, divided, see NOTES
- 2 cups Colby Jack cheese shredded
- 2 tablespoon cilantro chopped, for garnish
- lime wedges for garnish (optional)
- avocado slices for serving (optional)
Instructions
- Preheat your oven to 400°F.
- In a small bowl, combine the chili powder, cumin, paprika, garlic powder, salt, and pepper. Season the chicken breasts all over with the seasoning.1 teaspoon chili powder, ½ teaspoon ground cumin, ½ teaspoon smoked paprika, ½ teaspoon garlic powder, 1 teaspoon Kosher salt, ½ teaspoon black pepper, 4 chicken breast
- Heat the oil and butter in a large skillet over medium heat. Add the chicken and sear until browned all over, about 5 minutes per side. Remove the chicken and place it on a plate or platter. It won't be fully cooked at this point. Set aside.1 tablespoon olive oil, 1 tablespoon unsalted butter
- Add 1 cup of the salsa to the skillet and use a wooden spatula to scrape up any browned bits in the pan. Simmer for a couple of minutes.2 cups salsa
- Pour the simmered salsa into a casserole dish and evenly spread it. Place the chicken on the salsa in the dish. Top each chicken breast with about a ¼ cup of the remaining salsa. Place a ¼-cup mound of cheese on the top of each chicken breast.2 cups Colby Jack cheese
- Bake until the internal temperature of the chicken breasts reaches 165°F. Remove from the oven and let the chicken rest in the dish for 5 minutes.
- Serve warm, with sauce from the dish served on the side. Garnish with chopped cilantro and serve with lime wedges and avocado slices, if desired.2 tablespoon cilantro, lime wedges, avocado slices
Notes
- The Salsa: For the best results, use a chunky salsa that can stand up to the heat of the oven. While store-bought works in a pinch, our Easy Homemade Salsa is so simple to make and adds a level of fresh, restaurant-quality flavor that really makes this dish shine!
- The Chicken: Chicken breasts vary in size, so we recommend pounding them to an even 1-inch thickness before seasoning. This ensures that the entire breast cooks at the same rate, keeping the meat tender and juicy throughout.
- The Shortcut: If you’re in a real rush, you can skip the searing step and go straight to the baking dish! Simply season the raw chicken, place it on the salsa, and bake for 20-25 minutes until the chicken reaches an internal temperature of 165°F.
- The Spice Rub: If you don’t have all the individual spices on hand, feel free to swap out the dry rub for 2 tablespoons of your favorite store-bought taco seasoning. It’s a great time-saver that still packs a punch!
- The Cheese: For that perfect, gooey “Loon-style” cheese pull, try to grate your cheese fresh from the block. Pre-shredded cheeses are often coated in starch to prevent clumping, which can keep them from melting as smoothly as freshly grated Monterey Jack or Cheddar.
- Make it a Meal: This dish produces a delicious “pan sauce” from the salsa and chicken juices. Be sure to serve it with plenty of Homemade Mexican Rice or warm tortillas to soak up every flavorful drop!
Annika says
Made this for Taco Tuesday with boneless, skinless chicken thighs. Everyone loved it. Thank you for another delicious recipe!
Kris Longwell says
Annika! We are so thrilled you made the salsa chicken and loved it!! And chicken thighs are sooo flavorful!!! Thanks so much for sharing and for the awesome review! That means so much to us!! xo Kris & Wesley
Wesley says
I can’t believe how good this is and so simple to make. We used the leftovers to make tacos and were EXCELLENT!
Kris Longwell says
Woo hoo!!!! So good!!