Spatchcocked Turkey is a game-changer when it comes to preparing the bird for the big feast.
There are so many reasons that spatchcocking has become our preferred method for cooking the turkey for our holiday feasts, but the most important one is taste. We’ll explain the how’s and why’s and you can see for yourself!
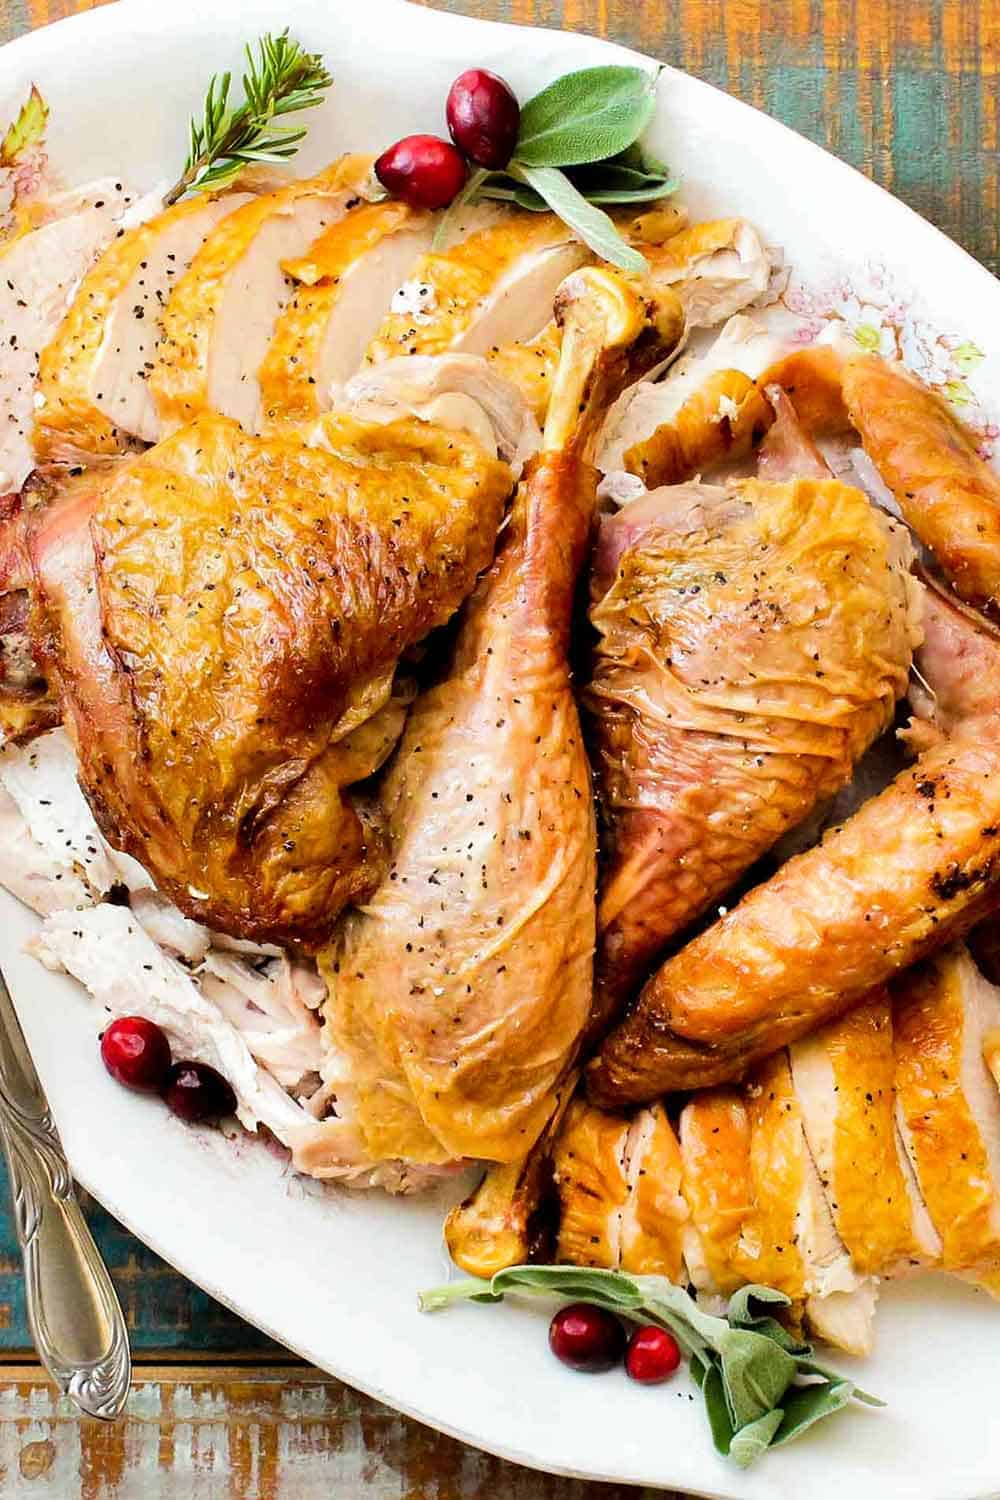
HOW TO SPATCHCOCK A TURKEY
All spatchcocking means is having the backbone removed from a turkey or a chicken and flattening the bird. It’s essentially the same thing as butterflying the bird.
The easiest way to spatchcock a bird (turkey or chicken) is to have your butcher do it. But, it’s really not difficult to do yourself.
All you need are some sturdy kitchen shears and a boning knife. Turn the bird on its breast, and cut along one side of the backbone. You’ll have to put a little muscle into it, especially near the legs, but keep working it, and you can get it done. Repeat on the other side of the backbone, and then just pop it right out.
Now, flip the bird back over, and locate the wishbone near the top of the breastbone. Use a sharp boning knife to cut around it, and then just pop it right out. This is not 100% necessary, but it does make it easier to carve a little later on.
Watch us show you how to cook a spatchcocked turkey and make amazing gravy!
PREPARING THE SPATCHCOCKED TURKEY
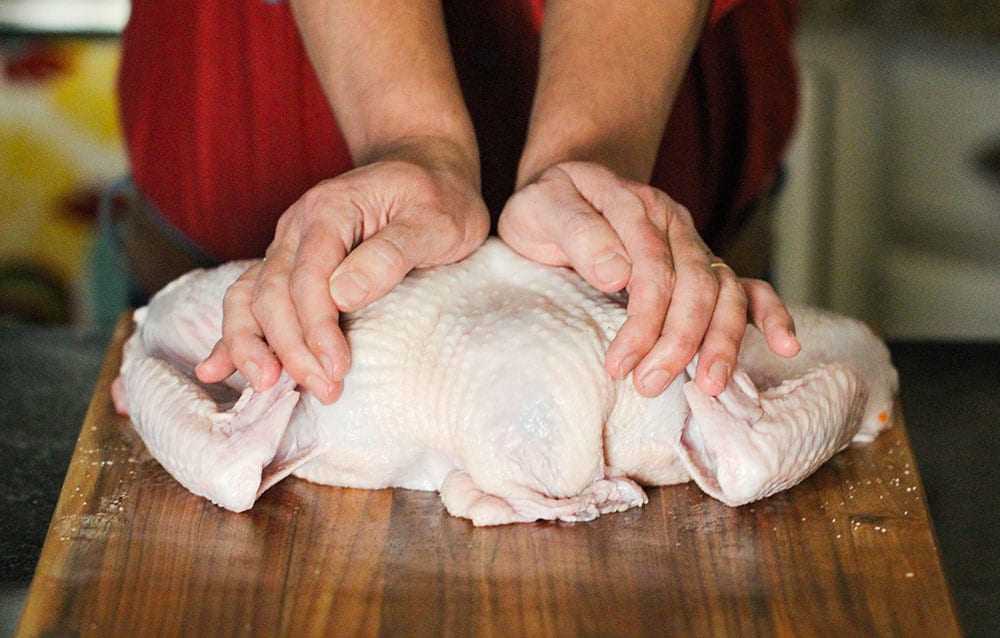
Even if you have your butcher remove the backbone for you, still place the bird on a large cutting board, skin-side up, and press down with the palms of your hand.
You want the turkey to be a flat as possible.
EXPERT TIP: Spatchcocking the turkey allows the bird to cook much, much more evenly, because it’s flat. No more dried out thighs, or under-cooked breast meat!
VEGETABLES ARE IMPORTANT WHEN SPATCHCOCKING
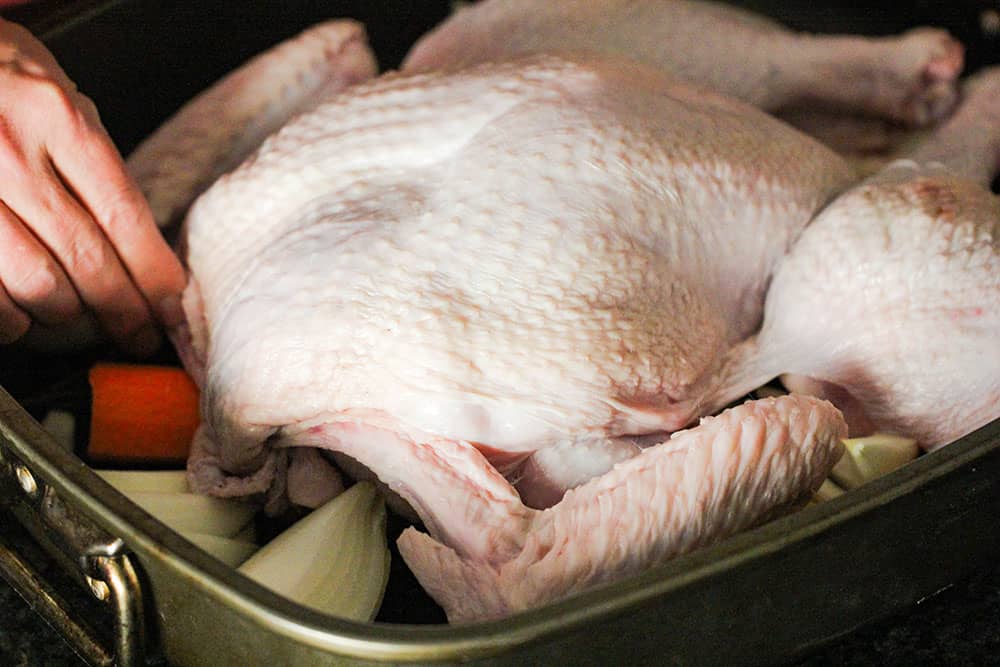
Now, it’s time to pull out your roasting pan. No rack is needed!
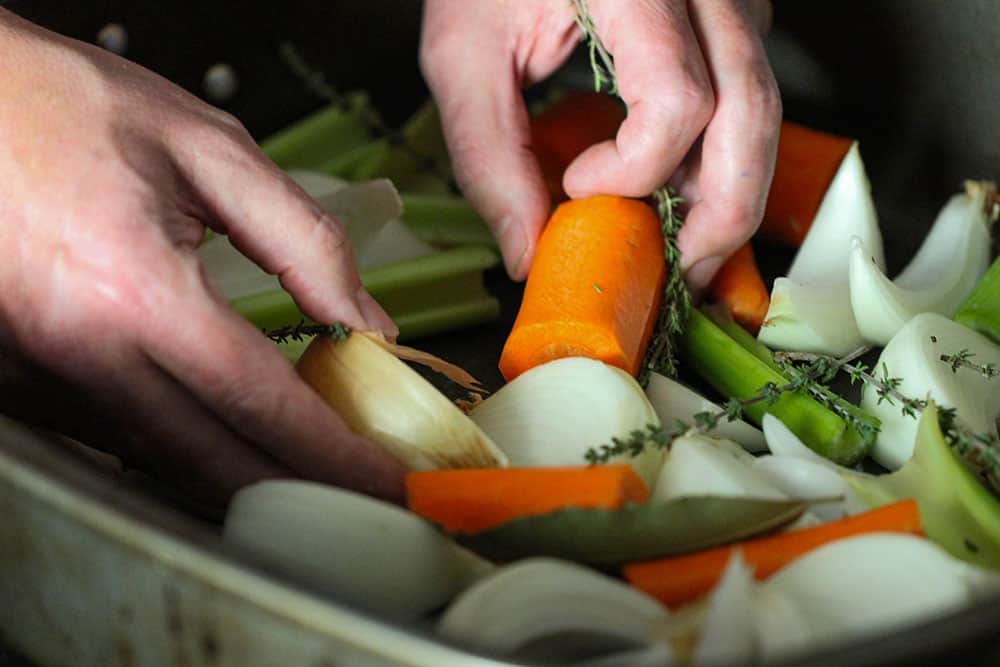
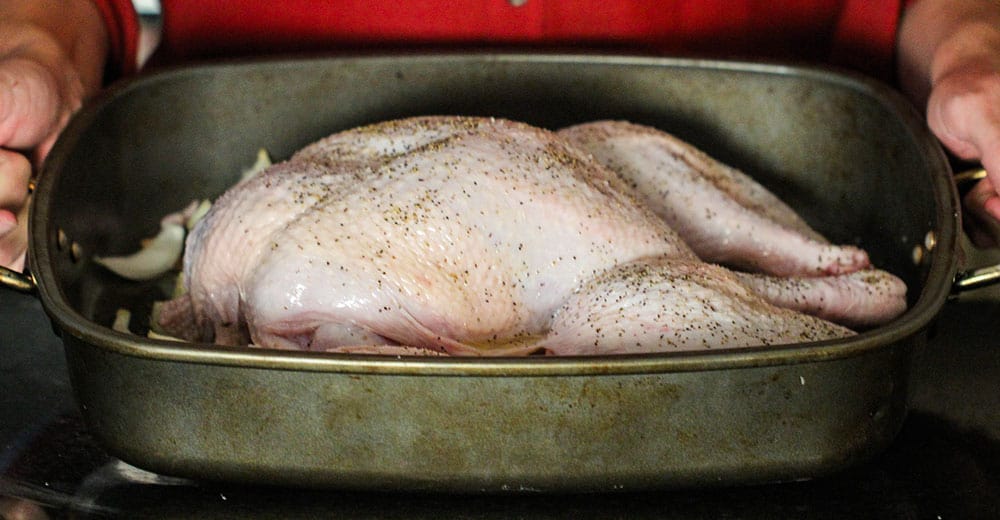
Put the mirepoix (roughly cut carrots, celery and onion) in the pan with a few sprigs of fresh thyme and a couple bay leaves, this will all serve as the rack for roasting the turkey.
EXPERT TIP: The mirepoix does a couple of very important tasks when spatchcocking. First, it imparts delicious flavor into the turkey as it is cooking. It also releases steam, which helps make the bird super juicy.
HOW TO SEASON THE SPATCHCOCKED TURKEY
Another amazing feature in spatchocking is that because you are roasting the bird in a flat position, with skin on the top, all the drippings go right into the meat.
More flavor. And even more juicy.
EXPERT TIP: If you like to brine your turkey, no problem! Brine the spatchcocked turkey as you normally would, and then just follow the instructions for cooking the spatchcocked bird. See our brine recipe in our Perfect Turkey recipe. You can also inject flavoring into the bird at this point, too.
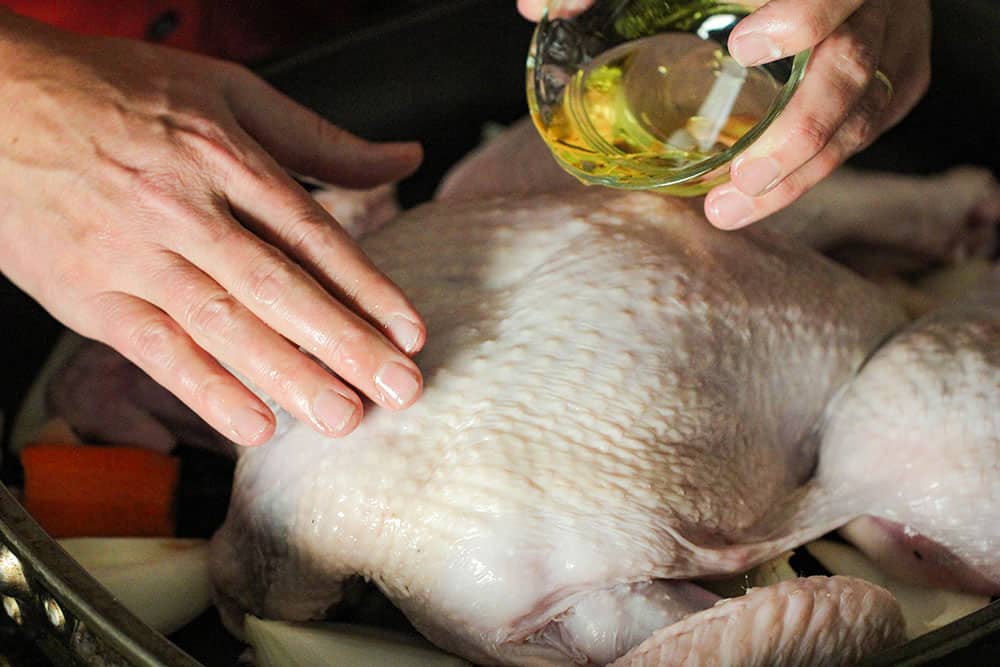
But folks, this method produces such a flavorful bird, you’ll be great with just a little oil, salt and pepper spread all over the spatchcocked turkey.
HOW LONG TO COOK THE BIRD
We told you there were a lot of advantages to spatchcocked turkey. Here’s another big one: It cooks in about half the time as non-spatchcocked bird.
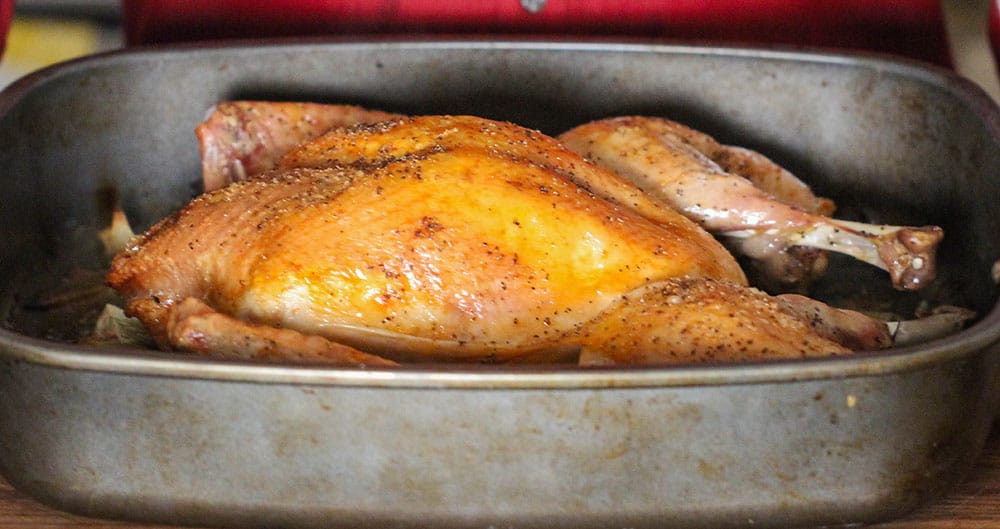
Because the bird is flattened, there is more surface area, and the bird simply cooks quicker. This is great because it saves you time, but it also keeps the bird from drying out in the hot oven! We start with a quick 30 minutes at high temperature (425 F) and then lower to medium (350 F) for about another hour. Use an instant-read thermometer inserted into the thickest part of the breast to ensure you reach 165 F.
EXPERT TIP: We recommend going with a medium-sized bird when spatchcocking, around 11 to 14 lbs. Ready for another benefit? Because of the flat cooking process, you can easily fit two birds on two racks in your oven. Big gathering for the big feast? No problem!
HOW TO MAKE THE BEST GRAVY
Whatever you do, make sure you hold onto the backbone (be sure to ask your butcher for it), because it will help produce the most delicious gravy you’ll ever have.
We’ve included the steps for making the gravy in the recipe.
You can make the gravy in advance, or you can make it when the turkey is roasting.
HOW TO CARVE THE TURKEY
Once the turkey is finished, let it rest for about 30 minutes. In fact, the turkey is so delicious, it can rest for an hour or so before carving and serving. This will give you time to bring all the other sides, such as:
- Cornbread Dressing with Sausage and Cranberries
- Maple Orange Cranberry Sauce
- Gourmet Green Bean Casserole
- Candied Yams
- Homemade Dinner Rolls
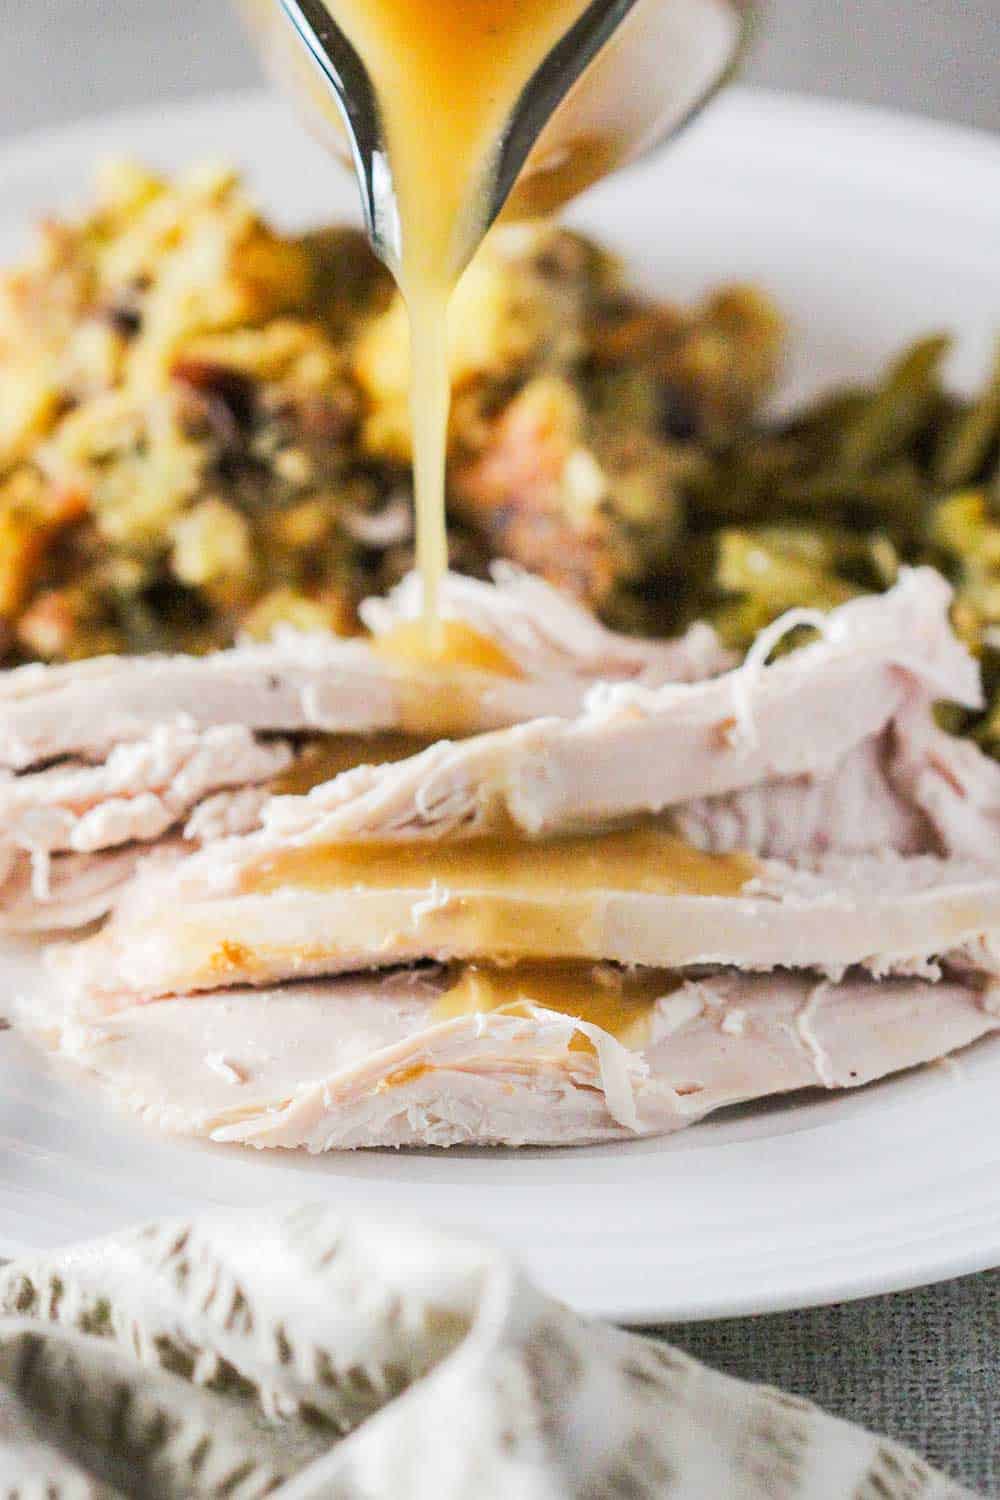
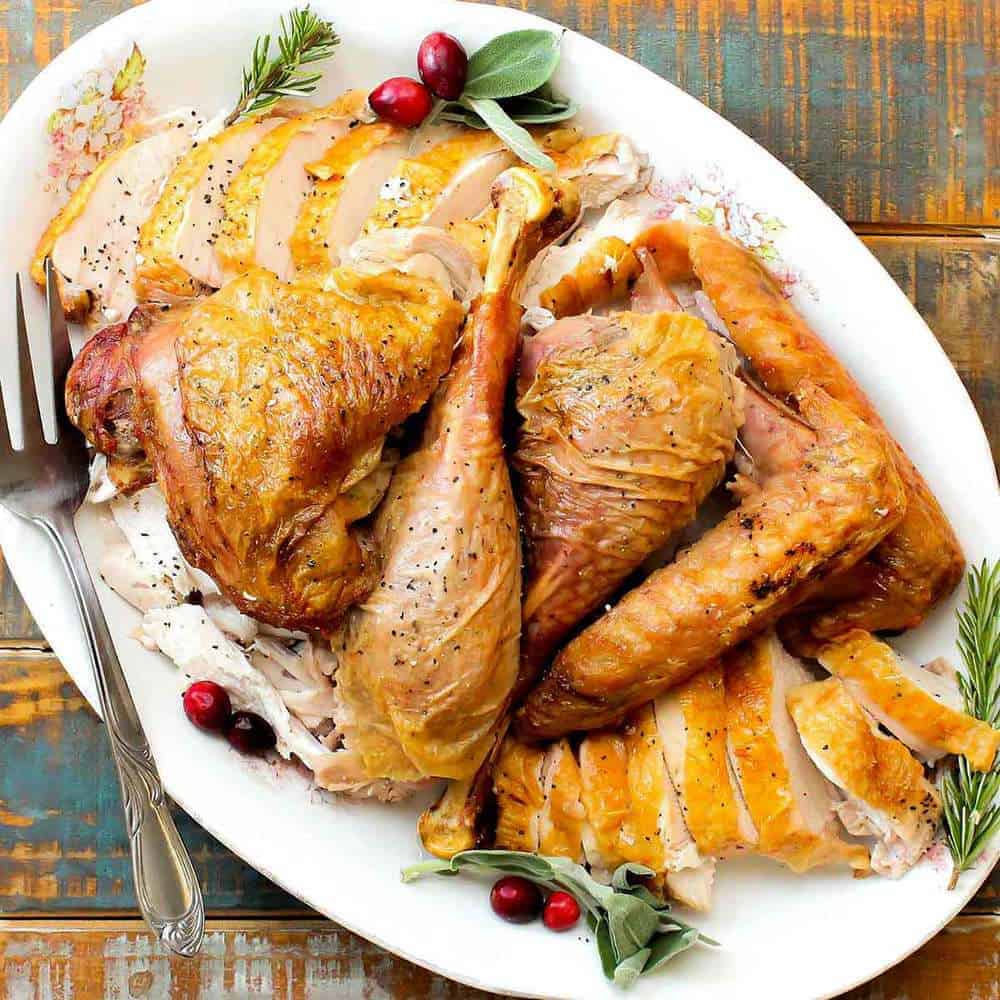
Now, to carve, start with the legs. Move the leg back and forth, and cut along where the joint is. Then do the same for the hip/thigh and wings. Cut the breast meat away from the breastbone, and then cut into ½-inch slices. Also, cut the dark meat from the thigh, and slice as well. Arrange on a platter and be ready to impress!
Ready to make the best turkey you will ever serve (and eat!) for your Thanksgiving feast? Now you can! Go for it…and HAPPY TURKEY DAY!
And when you make this amazing Spatchcocked Turkey, be sure to take a picture, post it to Instagram, and tag @howtofeedaloon and #howtofeedaloon!

Spatchcocked Turkey
Video
Equipment
- Roasting Pan, Kitchen Shears (if removing the backbone yourself)
Ingredients
FOR THE TURKEY
- 2 onions roughly chopped
- 2 carrots peeled and roughly chopped
- 4 stalks celery roughly chopped
- 4 - 5 sprigs fresh thyme
- 3 fresh bay leaves
- 1 12 lb turkey spatchcocked (or butterflied) - backbone removed
- 2 tablespoon oil or softened butter
- Kosher salt and freshly ground black pepper
FOR THE GRAVY
- 1 tablespoon olive oil
- Backbone from the spatchcocked bird chopped into pieces (use a chef's knife to cut, or ask your butcher)
- Giblets and neck from the turkey
- 1 onion peeled and roughly chopped
- 1 carrot peeled and roughly chopped
- 1 stalk celery roughly chopped
- 2 sprigs fresh thyme
- 1 fresh bay leaf
- 5 cups stock chicken or turkey
- 2 tablespoon unsalted butter
- 3 tablespoon flour
Instructions
PREPARE THE TURKEY
- Pre-heat the oven to 450°F.
- Place the turkey on a large cutting board, skin-side up, and press down with the palms of your hands to further flatten the bird.
- Scatter the onions, carrots, celery, thyme and bay leaves across the pan. Place the turkey, skin-side up, directly on top of the vegetables in the pan.
- Pat turkey dry with paper towels and rub all over with 1 tablespoon of oil. Season liberally the the skin with salt and pepper.
- Tuck wing tips behind the back.
- Transfer the turkey to oven and roast for 30 minutes, then lower the temperature to 350°F. Continue roasting until an instant read thermometer inserted into the the breast reaches 165°F., about one hour longer.
- Remove from the oven and allow to rest on a new baking sheet at least 15 - 20 minutes before carving.
- Carefully pour any collected juices from the the roasting pan through a fine mesh sieve in a measuring cup. Skim off fat and then save the juices for pouring into gravy (recipe below).
- Care turkey and serve with gravy!! ENJOY!!
MAKE THE GRAVY
- Heat the oil in a medium sauce pan over medium heat.
- Brown the backbown, neck and giblets until lightly browned, about 5 minutes.
- Add the onions, carrots and celery and continue to cook for another 5 minutes.
- Add the turkey or chicken stock, and then the thyme and bay leaf and simmer for 45 minutes.
- Strain the stock through a fine mesh sieve/strainer into a large measuring cup and discard the solids.
- Melt butter over medium-high heat in a medium sauce pan.
- Add flour and cook, stirring constantly until lightly browned, about 3 minutes.
- Whisking constantly, add strained stock in a thin, steady stream until it is fully incorporated.
- Simmer and cook until thickened, about 10 - 15 minutes longer.
- Pour drippings from roasted turkey into the gravy and mix.
- Keep gravy warm then serve with roasted turkey.
Notes
- Use a sharp knife to cut the legs from the body at the point where thigh meets the breast.
- Cut through the leg joint, moving back and forth, to separate the drumsticks from the thighs.
- Hold drumstick and slice meat off bone, if desired.
- Slice thigh meat off the bone, angling you knife as you cut.
- Carve both breasts from the breastbone and rib cage. Slice breast meat crosswise into slices.
Nutrition
POST UPDATE: This recipe was originally published in November, 2016, but was updated with new improvements to the recipes, new photography, and a fabulous new video in November, 2019!


Terence says
Can you deep fry a spatchcocked turkey?
Kris Longwell says
Hi Terence! Sorry for the delayed response. I would think that could be difficult because most turkey fryers have you place the cavity of the turkey around a central upright rod. With no backbone, that could be difficult. Fried turkey, however you do it, is fantastic. Without seeing your fryer, I’m not 100% sure, but my guess you’d be better off to not spatchcock a turkey that you plan to fry. Spatchcocking is best for roasting, smoking, or grilling. Hope this helps!