



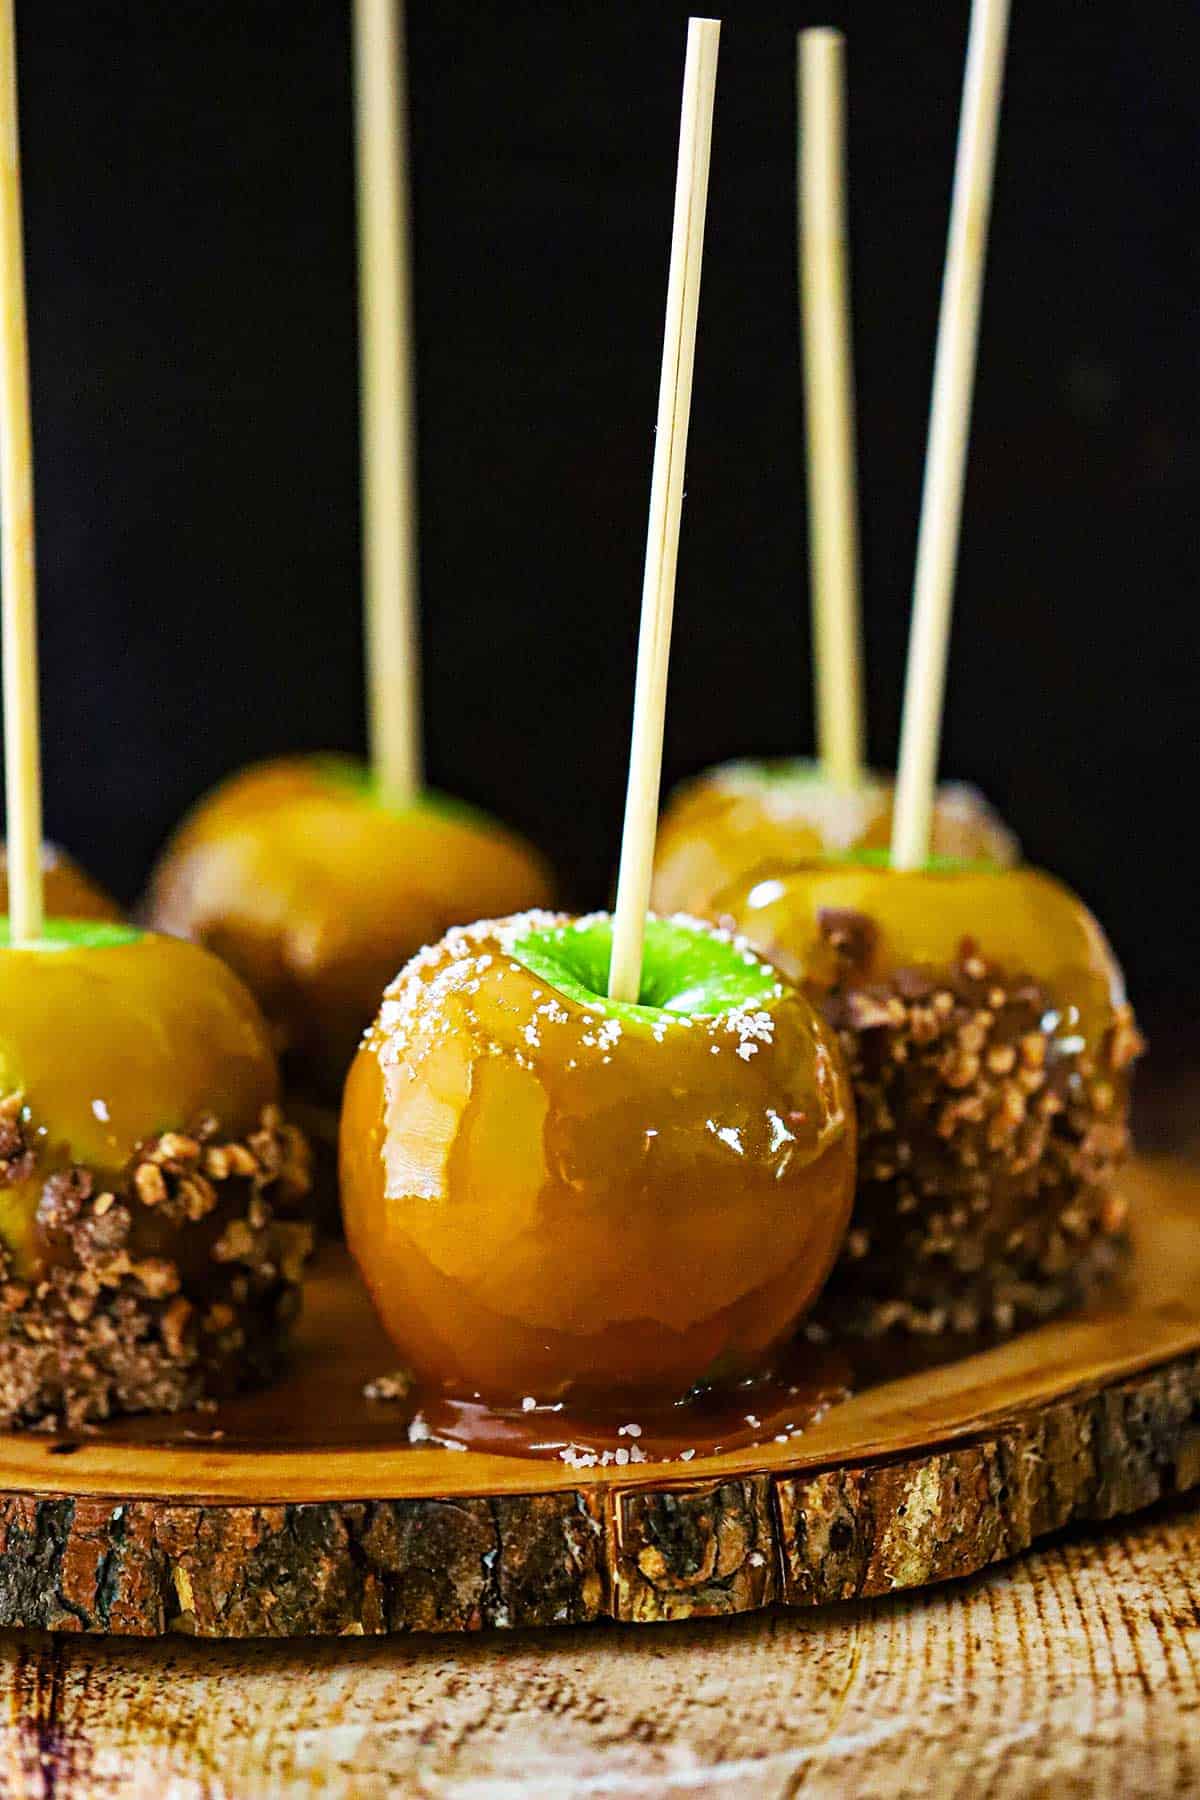
These honey caramel apples pair crisp, tart apples with a rich, chewy homemade caramel coating. Finish them with crunchy Heath toffee bits or a simple sprinkling of coarse sea salt for an easy fall (and Halloween) treat that’s as fun to make as it is to eat.
Jump to:
🍏 The Ingredients
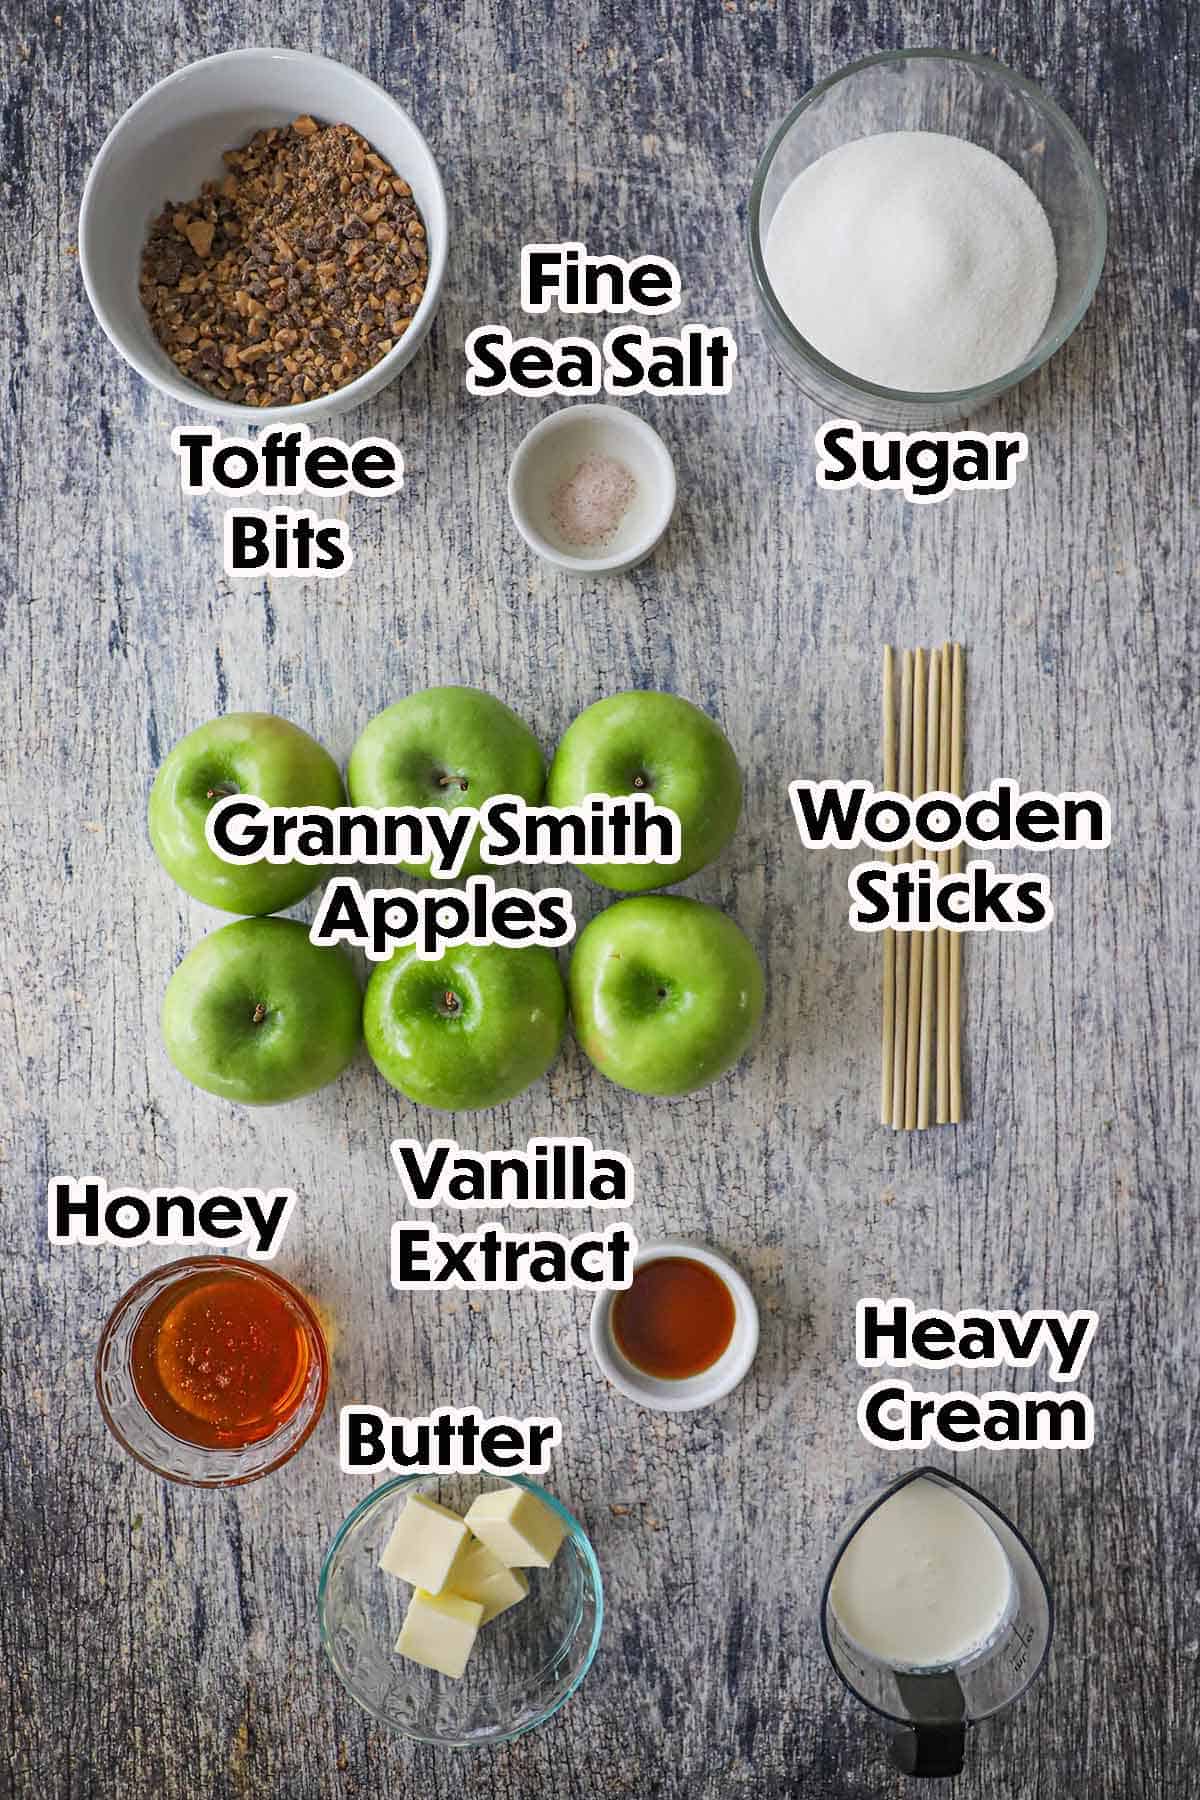
This recipe balances crisp fruit with a buttery, chewy coating and a crunchy finish for a sweet treat with plenty of texture. Find ingredient notes (including substitutions and variations) below.
📝 Ingredient Notes and Substitutions
- Apples: Small, firm apples are easiest to coat and eat. Granny Smith apples provide a tart contrast to the sweet caramel; crisp Honeycrisp or Pink Lady apples also work.
- Honey: A mild-flavored honey keeps the caramel balanced. Maple syrup may work, but it will change the flavor and can affect how the caramel sets, so test it before using it for a published variation.
- Heavy cream: Use full-fat heavy cream for a smooth, rich caramel. Lower-fat milk or cream can make the coating thinner and less reliable.
- Butter: Unsalted butter lets you control the saltiness. If using salted butter, reduce or omit the added salt.
- Salt: Fine salt blends easily into the caramel; flaky salt is best sprinkled on top.
- Vanilla: Pure vanilla extract adds warmth. Add it off the heat to preserve its flavor.
- Heath toffee bits: Press them onto the freshly dipped apples while the caramel is still tacky. Chopped Heath bars are a good substitute; other crunchy toppings, such as toasted pecans or crushed pretzels, also work.
- Sticks: Use sturdy wooden apple sticks or thick skewers, inserted firmly so the apples are easy to dip.
📌 Tips and Tricks for Perfect Caramel Apples
- Remove the wax: Wash the apples in hot water, rubbing them thoroughly with a clean towel. Dry them completely before dipping.
- Use room-temperature apples: Cold apples can make the caramel set too quickly. If you chill them, wipe off any condensation and let them sit briefly before dipping.
- Use a candy thermometer: Caramel temperature affects its texture. Follow the recipe’s temperature cues, and check that your thermometer isn’t touching the bottom of the pot.
- Keep a close eye on the caramel: It can change quickly near the target temperature. Use a heavy-bottomed saucepan for more even heating.
- Dip when the caramel is fluid but not too hot: Let it cool to the recipe’s dipping temperature so it coats the apples instead of running off.
- Work quickly with toppings: Press Heath bits or other toppings onto each apple while the caramel is still tacky.
- Rewarm gently if needed: If the caramel thickens before you finish dipping, warm it over low heat, stirring carefully. Avoid overheating it.
- Handle hot caramel with care: It can cause serious burns. Keep children away from the stove and avoid touching or tasting the caramel until it has cooled.
👩🏼🍳 How to Make Honey Caramel Apples
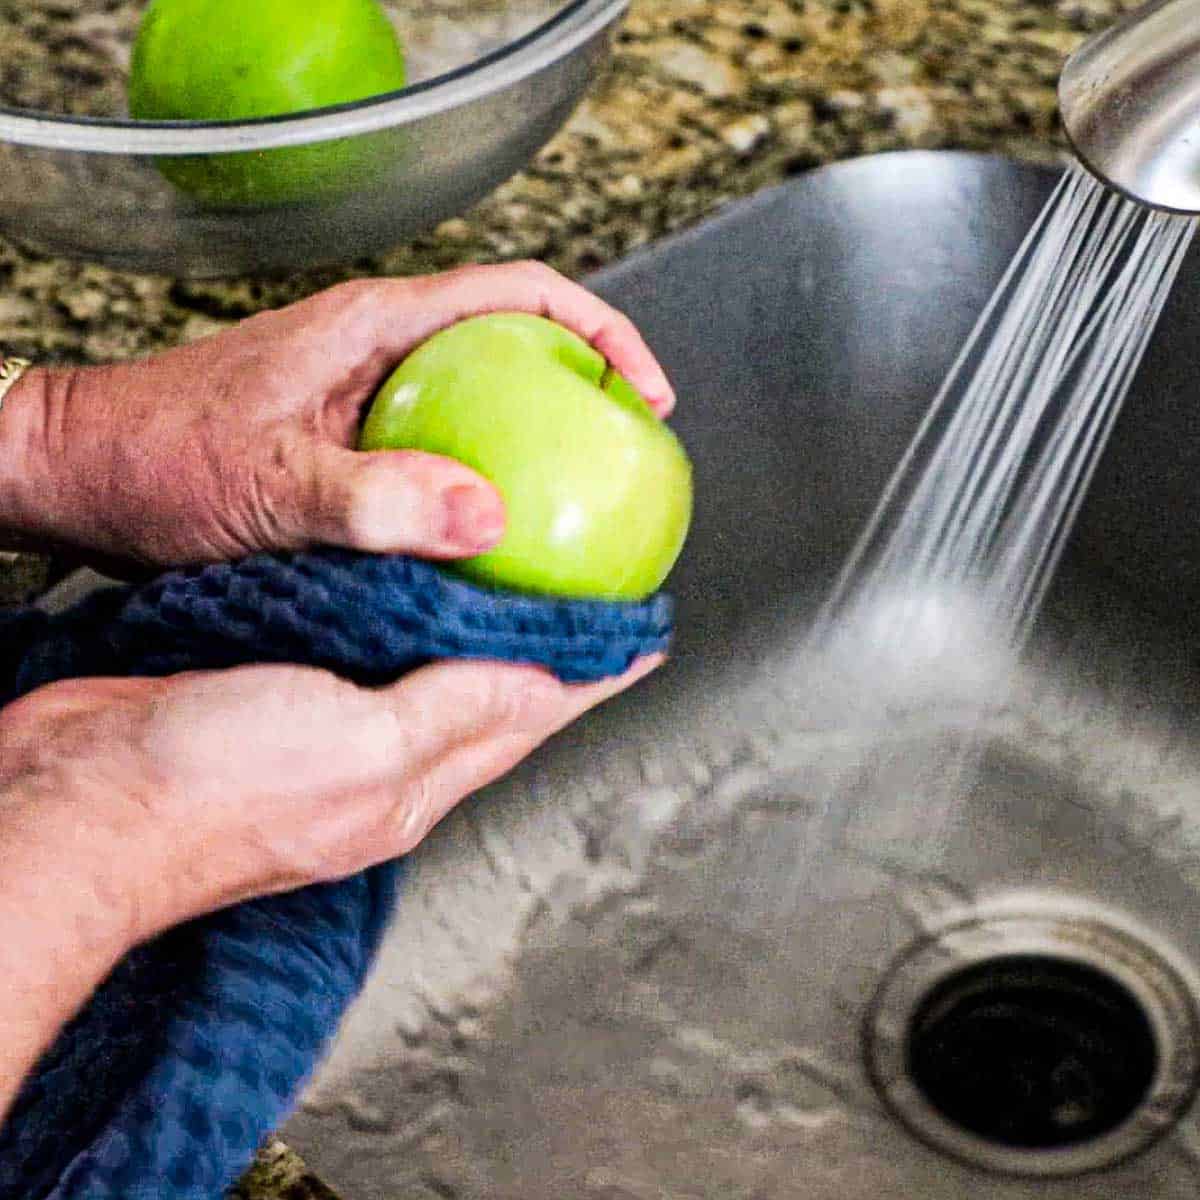
- Step 1: Wash the apples in hot water and scrub them with a kitchen towel. Remove the stem, dry the apples completely, and insert the wooden sticks. Cool in the fridge while you make the caramel.
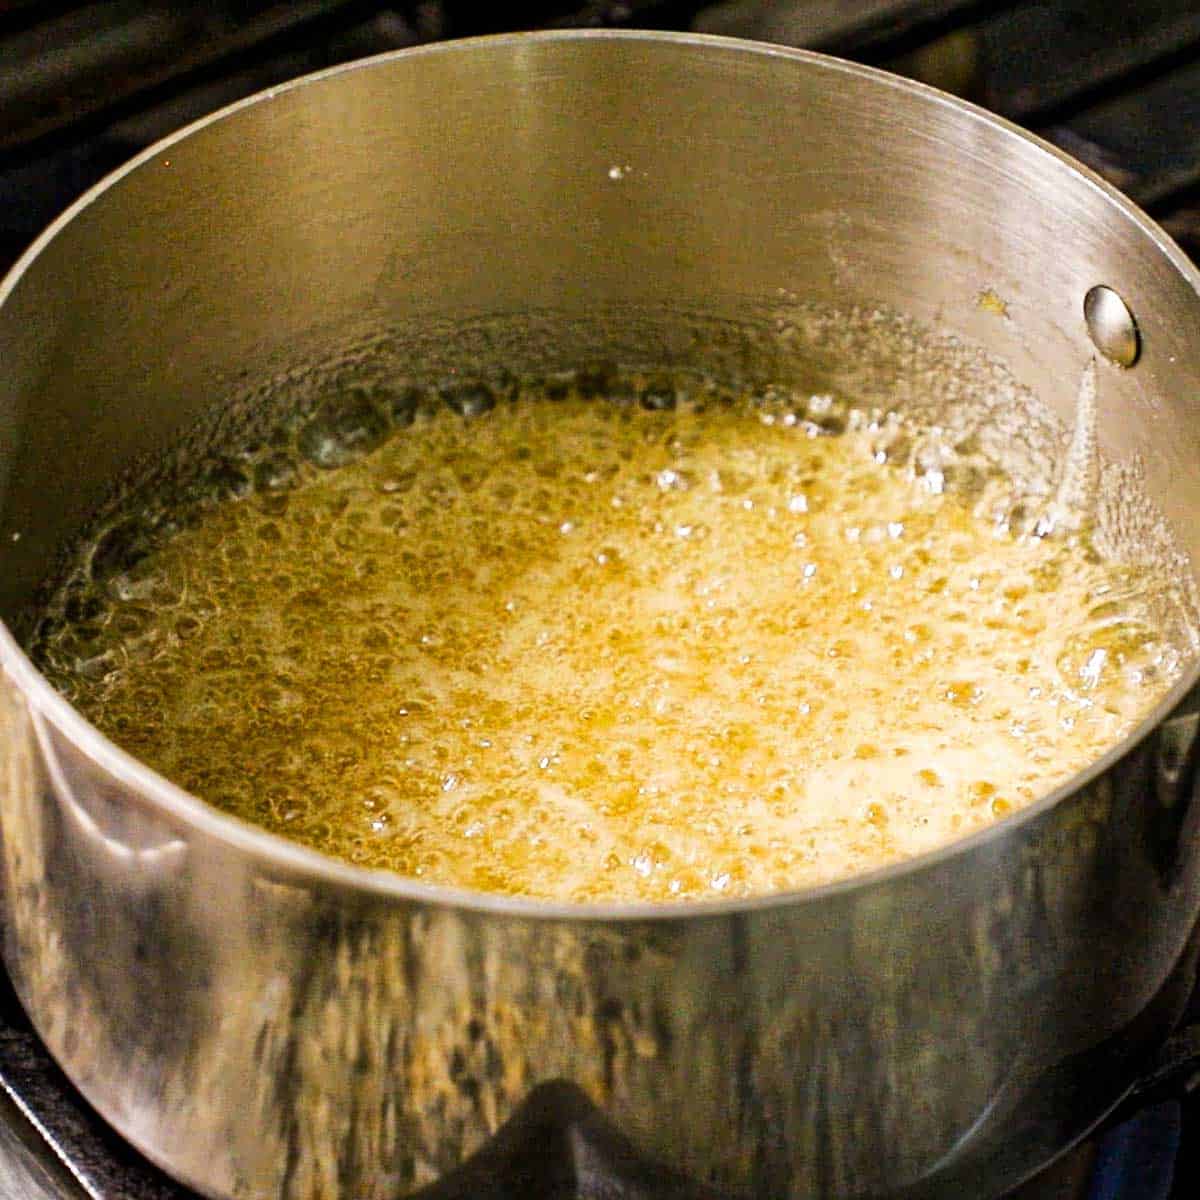
- Step 2: In a sturdy saucepan, bring the sugar and honey to a boil, stirring often. As soon as it starts boiling, stop stirring, and swirl the pan occasionally.
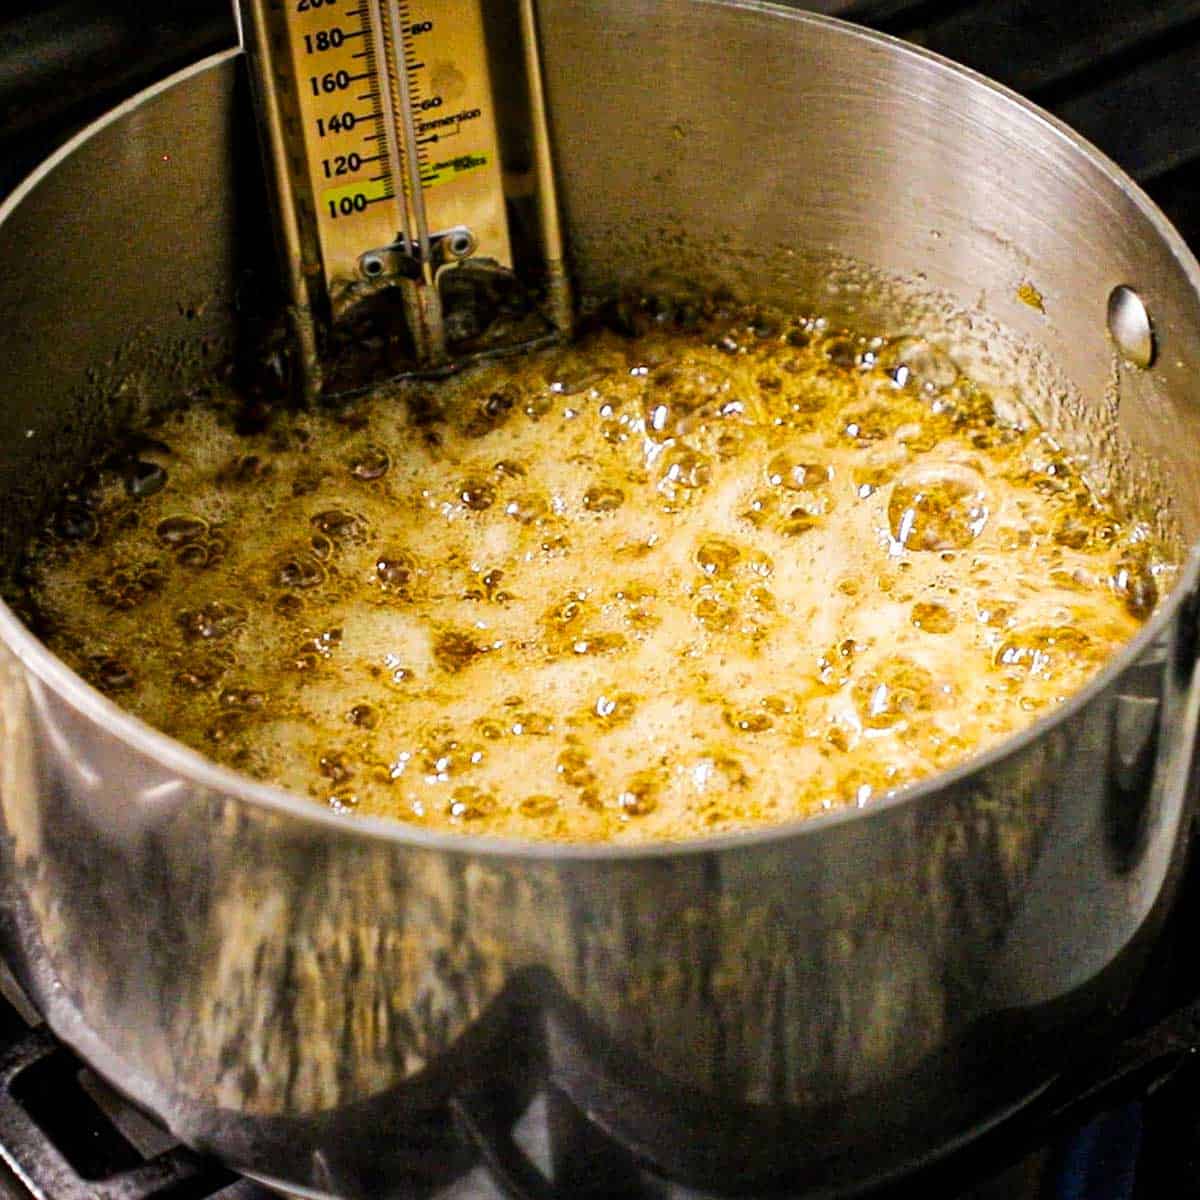
- Step 3: Boil, swirling the pan occasionally, until a thermometer reaches 300°F and it is dark amber in color.
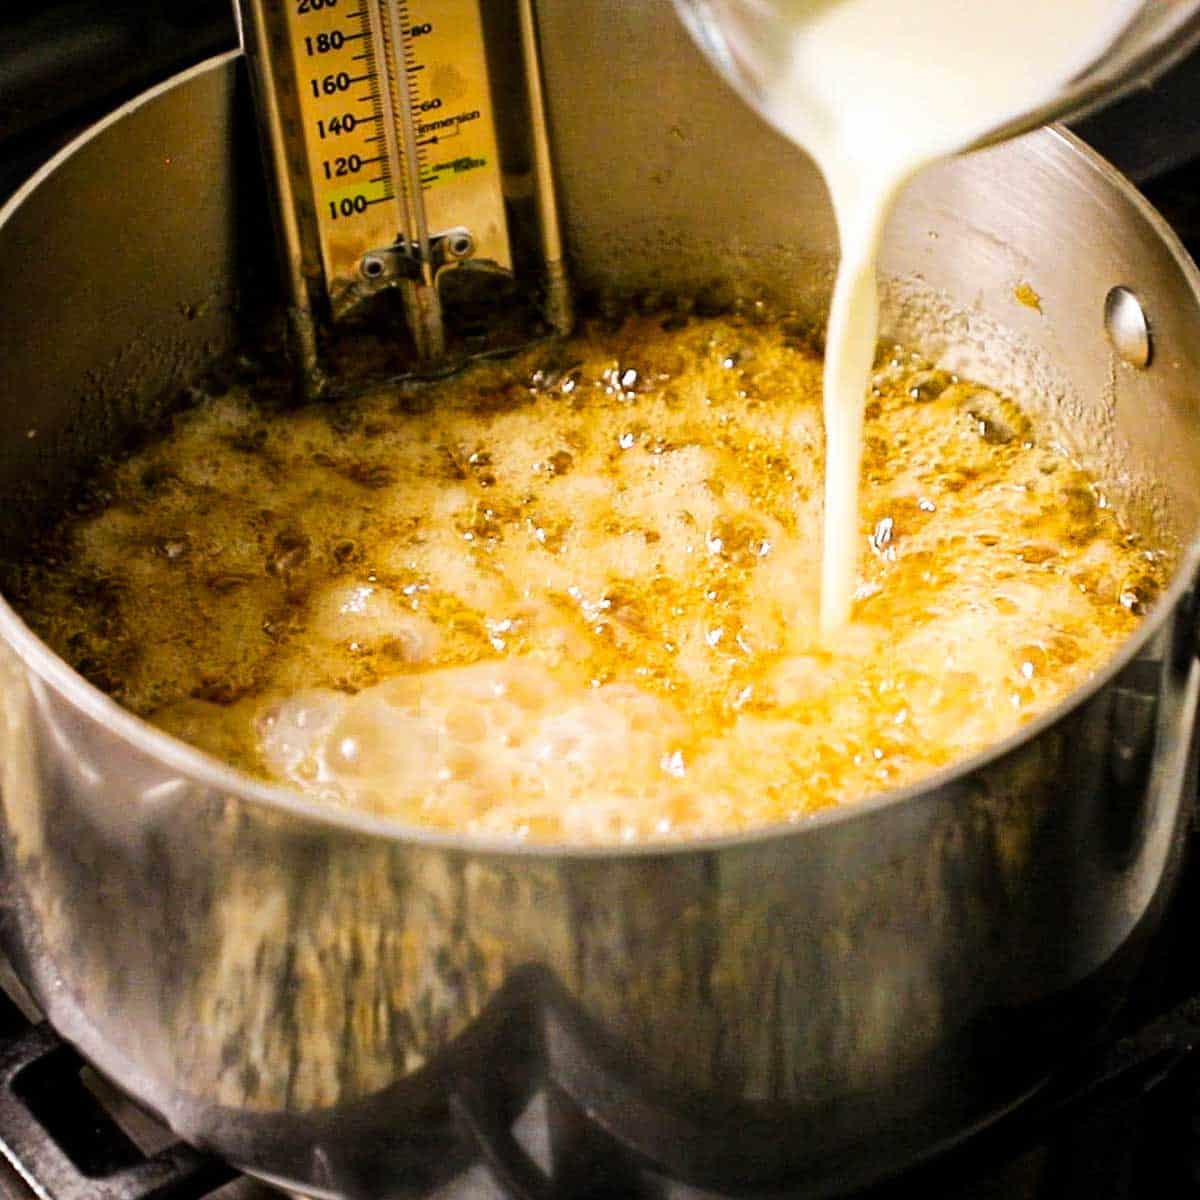
- Step 4: Turn off the heat, and carefully pour in the warm cream. It will gurgle vigorously.
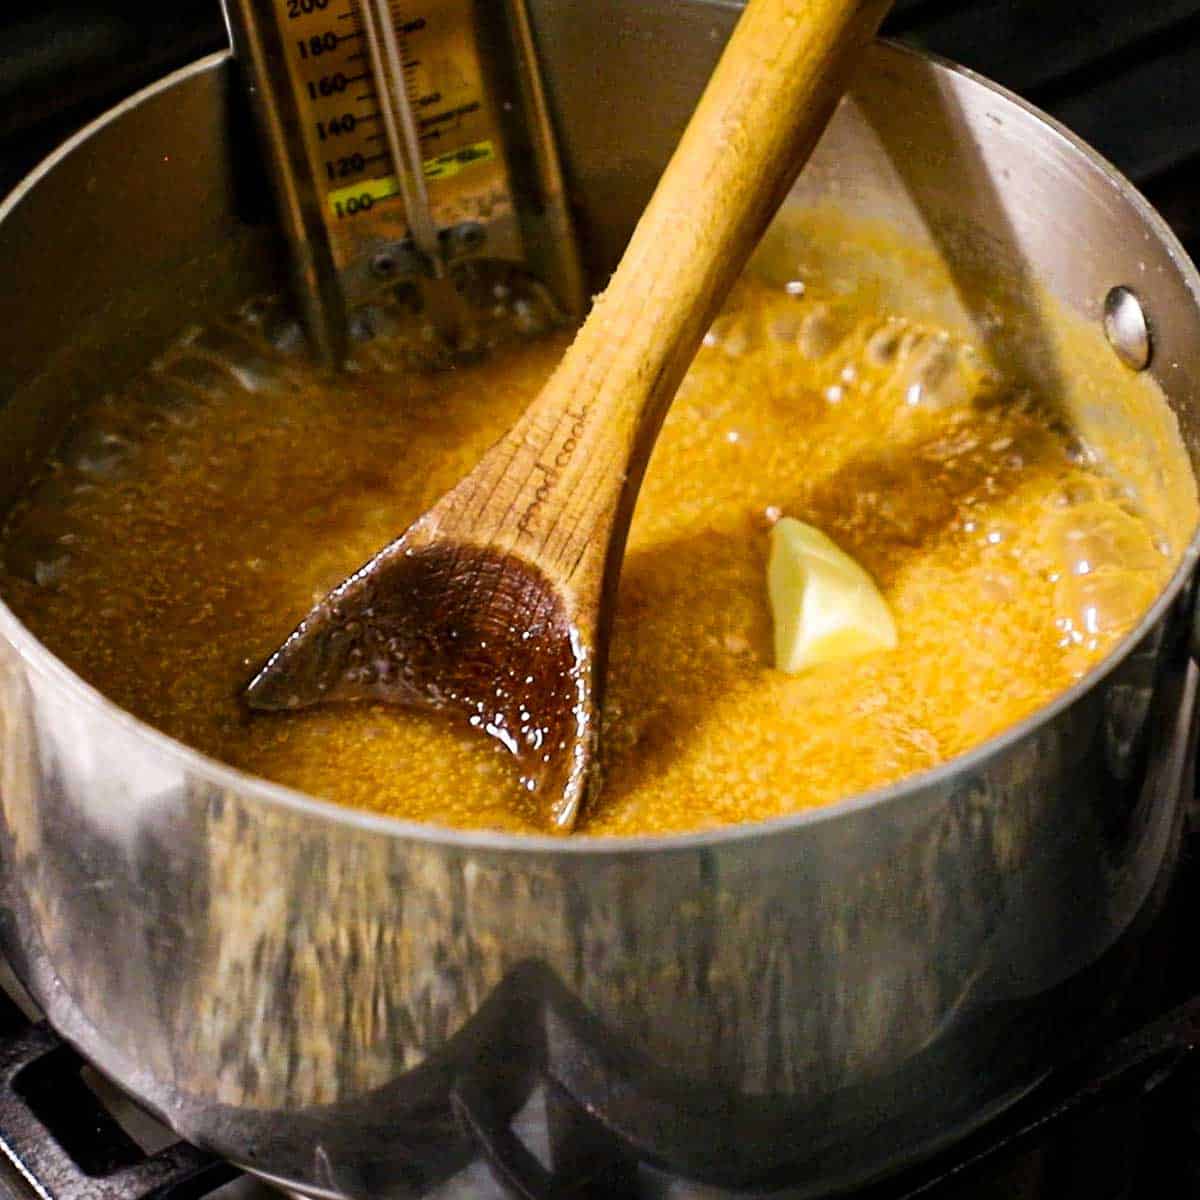
- Step 5: Stir in the butter, turn the heat to medium-low, and cook, stirring occasionally, until the sauce reaches 245°F.
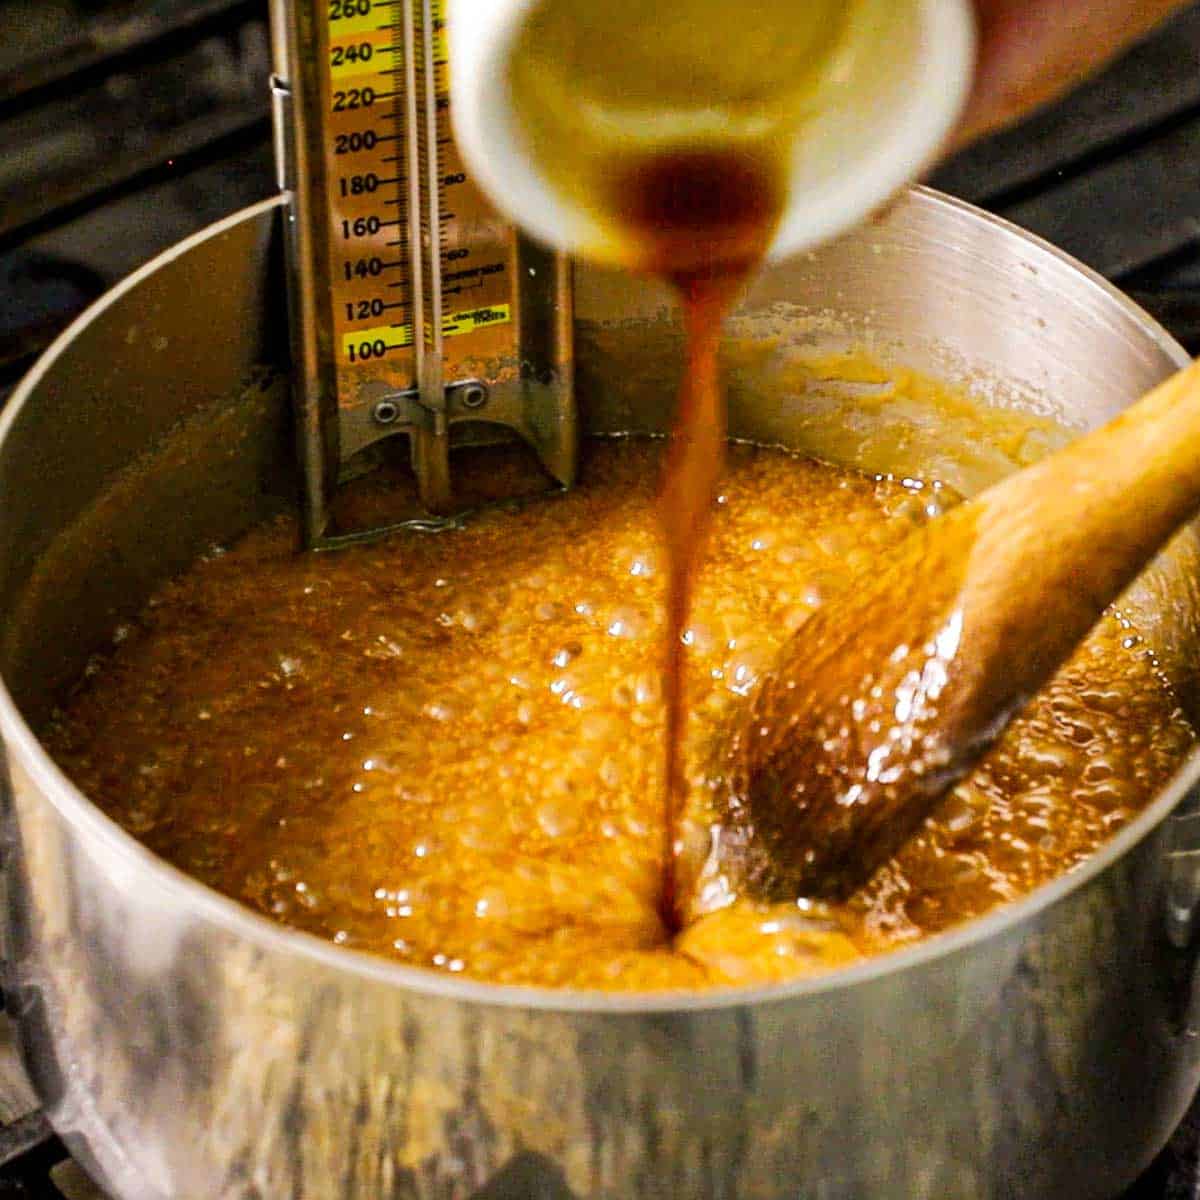
- Step 2: Remove from heat, stir in the vanilla, and let the caramel cool to 200°F.
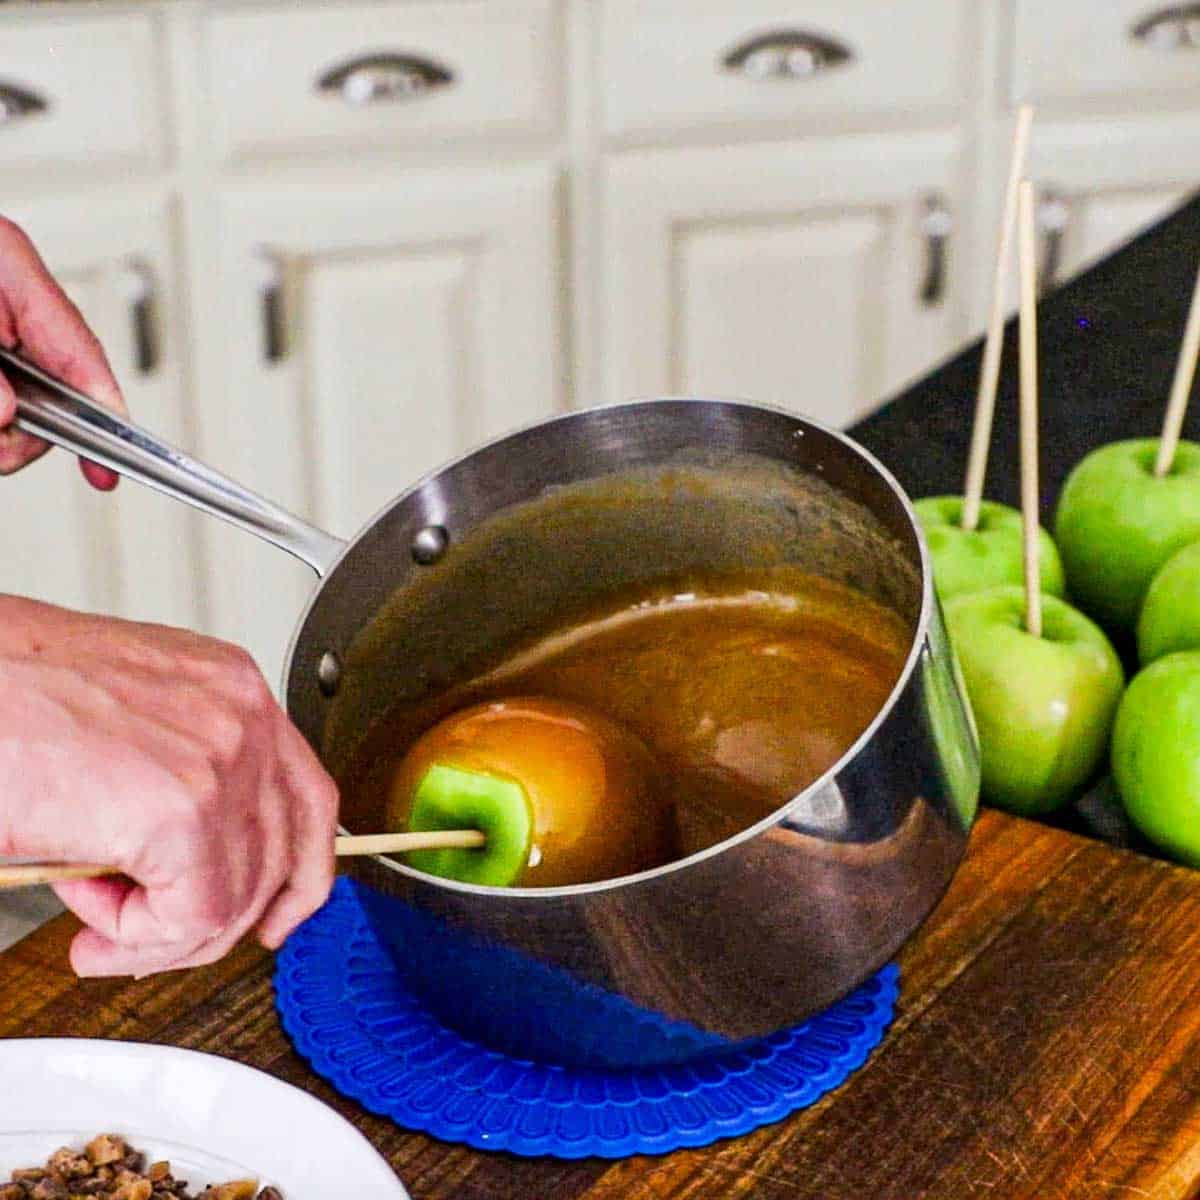
- Step 7: Tilt the pan to pool the caramel. Hold each apple by the stick, and turn to coat in the syrup. Hold the apple straight up, allowing the excess to drip off.
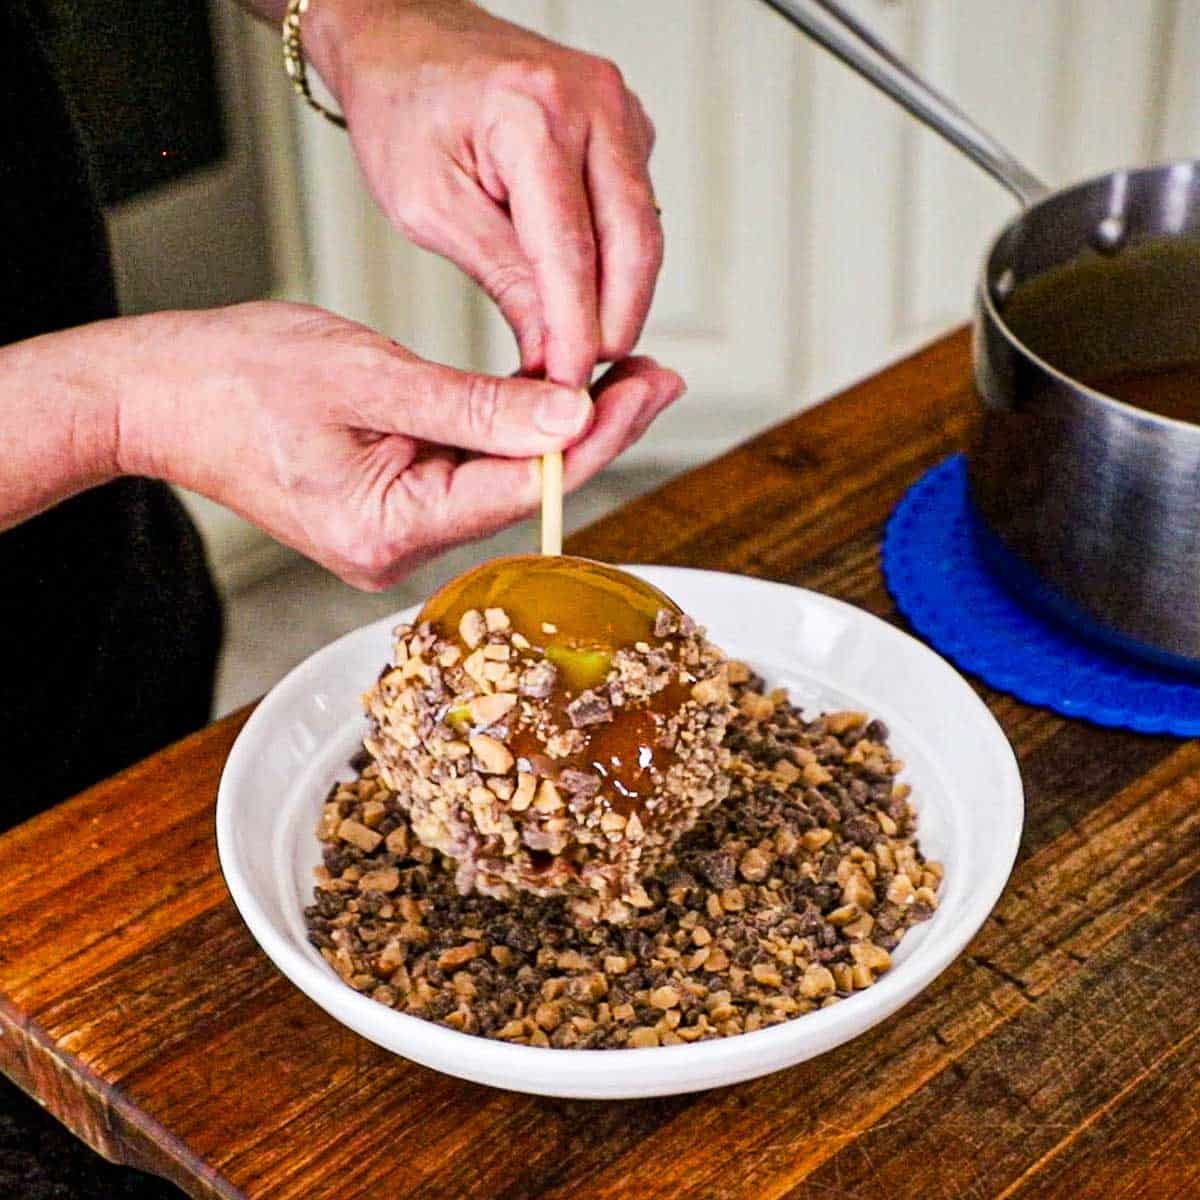
- Step 8: Immediately roll the caramel apple in the desired toppings (if using). Place upright on a baking sheet lined with parchment paper. Continue with remaining apples. Allow them to rest for 30 minutes for the caramel to set. Slice the apples, if desired.
🎃 How to Serve
- Serve the apples whole once the caramel has fully set.
- For easier eating, slice them into wedges just before serving; remove the stick first.
- Arrange them on a platter with extra Heath toffee bits or a little flaky salt for garnish.
- Pair with hot coffee, apple cider, or a scoop of vanilla ice cream.
- If serving at a gathering, cut the apples shortly before guests arrive to help keep the slices fresh.
🙋🏽♂️ Frequently Asked Questions
Wash the apples thoroughly to remove wax, then dry them completely before dipping. Moisture on the skin can keep the coating from sticking.
Yes. Make them the day you plan to serve them for the best texture. Store them in a covered container in the refrigerator, and let them sit briefly at room temperature before serving.
The apples may have wax or moisture on them, or the caramel may be too warm and runny when dipped. Clean and dry the apples well, and let the caramel cool to the recipe’s dipping temperature.
Refrigerate them in a covered container. If stacking, separate the apples with parchment so the coatings don’t stick together.
Remove the stick and cut each apple into wedges just before serving. Use a sharp knife and work carefully through the firm coating. Or, leave the stick in, and slice in quarters around it.
🍁 More Amazing Fall Sweet Recipes


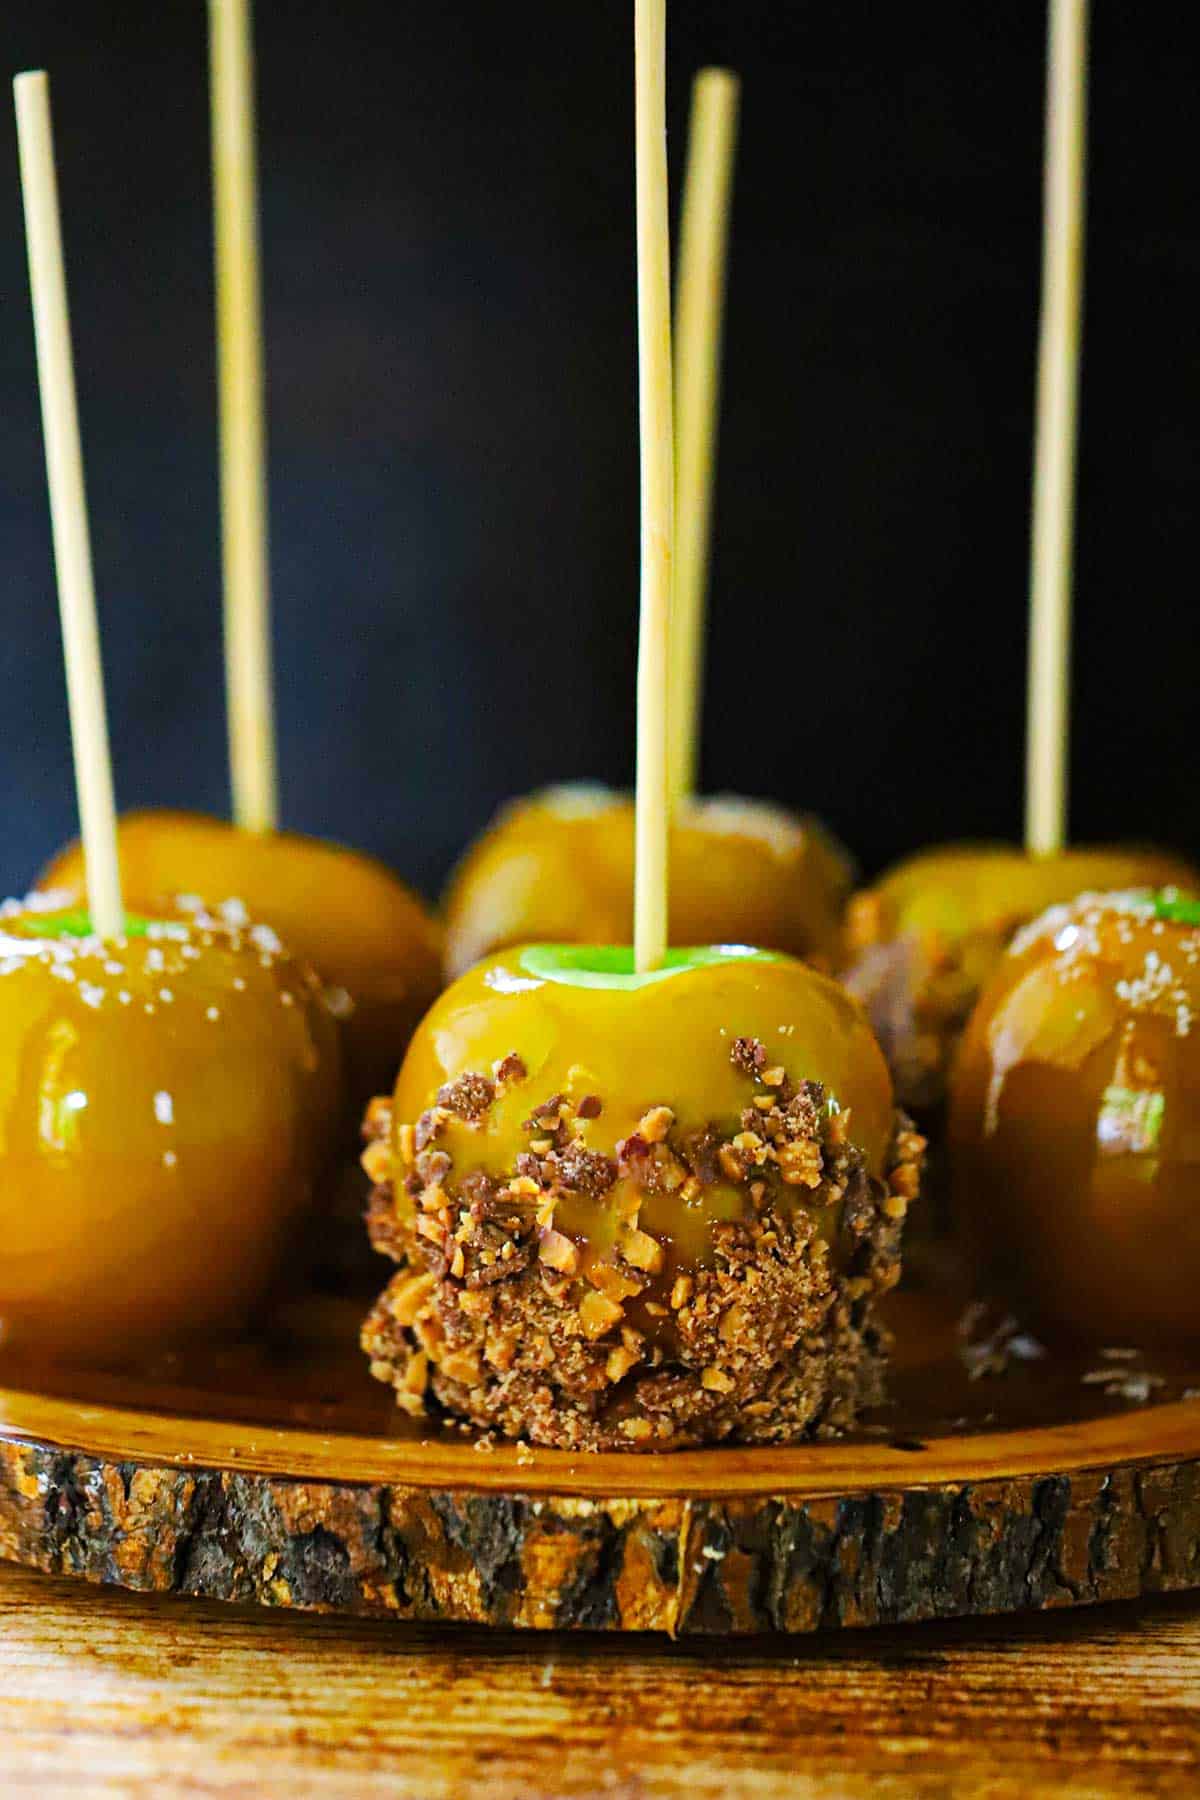
Ready to make the best caramel apples in the land? Go for it!
And when you do, be sure to take a photo of them, post it on Instagram, and tag @HowToFeedaLoon and hashtag #HowToFeedaLoon!
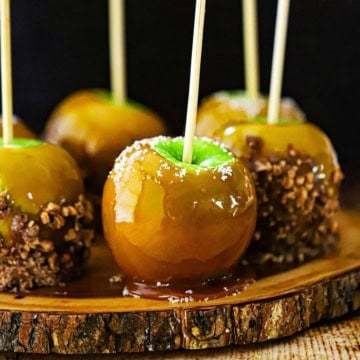
Honey Caramel Apples
Video
Equipment
- Medium saucepan
- Baking sheet lined with parchment paper or a silicone mat
Ingredients
- 6 medium Granny Smith apples
- 6 wooden sticks or skewers
- 1½ cups granulated sugar
- ½ cup honey
- ½ cup heavy cream warmed
- 4 tablespoon unsalted butter cut into pieces
- ½ teaspoon fine sea salt
- 1 teaspoon vanilla extract
- 2 cups toffee bits or chopped pecans or pretzels (optional)
- coarse sea salt (optional)
Instructions
- Wash the apples thoroughly in hot water, rubbing the skins to remove any wax. Dry completely, remove the stems, and insert a wooden stick into each apple. Chill them while you prepare the caramel. Line a tray with parchment paper or a silicone mat.6 medium Granny Smith apples, 6 wooden sticks
- In a heavy-bottomed saucepan, combine the sugar and honey. Cook over medium heat, stirring gently just until the sugar looks evenly moistened. Once the mixture begins to boil, stop stirring. Swirl the pan occasionally and cook until the syrup reaches 300°F (149°C) and looks amber.1½ cups granulated sugar, ½ cup honey
- Remove the pan from the heat. Slowly pour in the warm cream, keeping your face and hands away from the pan—the caramel will foam vigorously. Stir carefully until the bubbling settles, then add the butter and salt. Return the pan to low heat and stir until smooth.½ cup heavy cream, 4 tablespoon unsalted butter, ½ teaspoon fine sea salt
- Continue to cook, stirring gently, until the caramel reaches 245°F (118°C). Remove from the heat and stir in the vanilla. Let it stand until it cools to about 195–200°F (90–93°C), so it’s thick enough to cling but still easy to dip.1 teaspoon vanilla extract
- Tilt the pan to pool the caramel on one side. Dip each apple, turning it to coat, then lift it out and let the excess drip back into the pan. If using, place the toffee bits (or any topping) in a shallow bowl and turn the sticky apple to coat. You can sprinkle coarse sea salt instead of toppings, if desired.2 cups toffee bits, coarse sea salt
- Place the apples on the lined tray and leave them until the coating is firm, about 30 minutes. For easier slicing, cut just before serving.
Notes
- Wash apples thoroughly to remove wax, then dry them completely so the caramel can adhere.
- Use a candy thermometer for the most reliable caramel texture. Let the caramel cool to 195–200°F (90–93°C) before dipping.
- Add Heath toffee bits while the caramel is still tacky.
- If the caramel thickens before you finish dipping, warm it gently over low heat until fluid again.
- Store finished apples covered in the refrigerator. Let them sit briefly at room temperature before serving.


Leave a Reply