
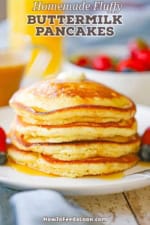
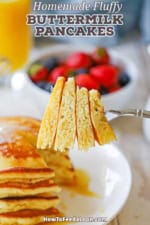
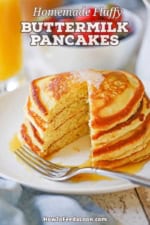
Nothing brings everyone to the table faster than a towering stack of golden-brown, ultra-fluffy buttermilk pancakes dripping with warm maple syrup. With crisp, buttery edges and a melt-in-your-mouth center, this classic diner-style recipe is effortless to make on a standard skillet or flat-top griddle!
Jump to:
🧈 The Ingredients
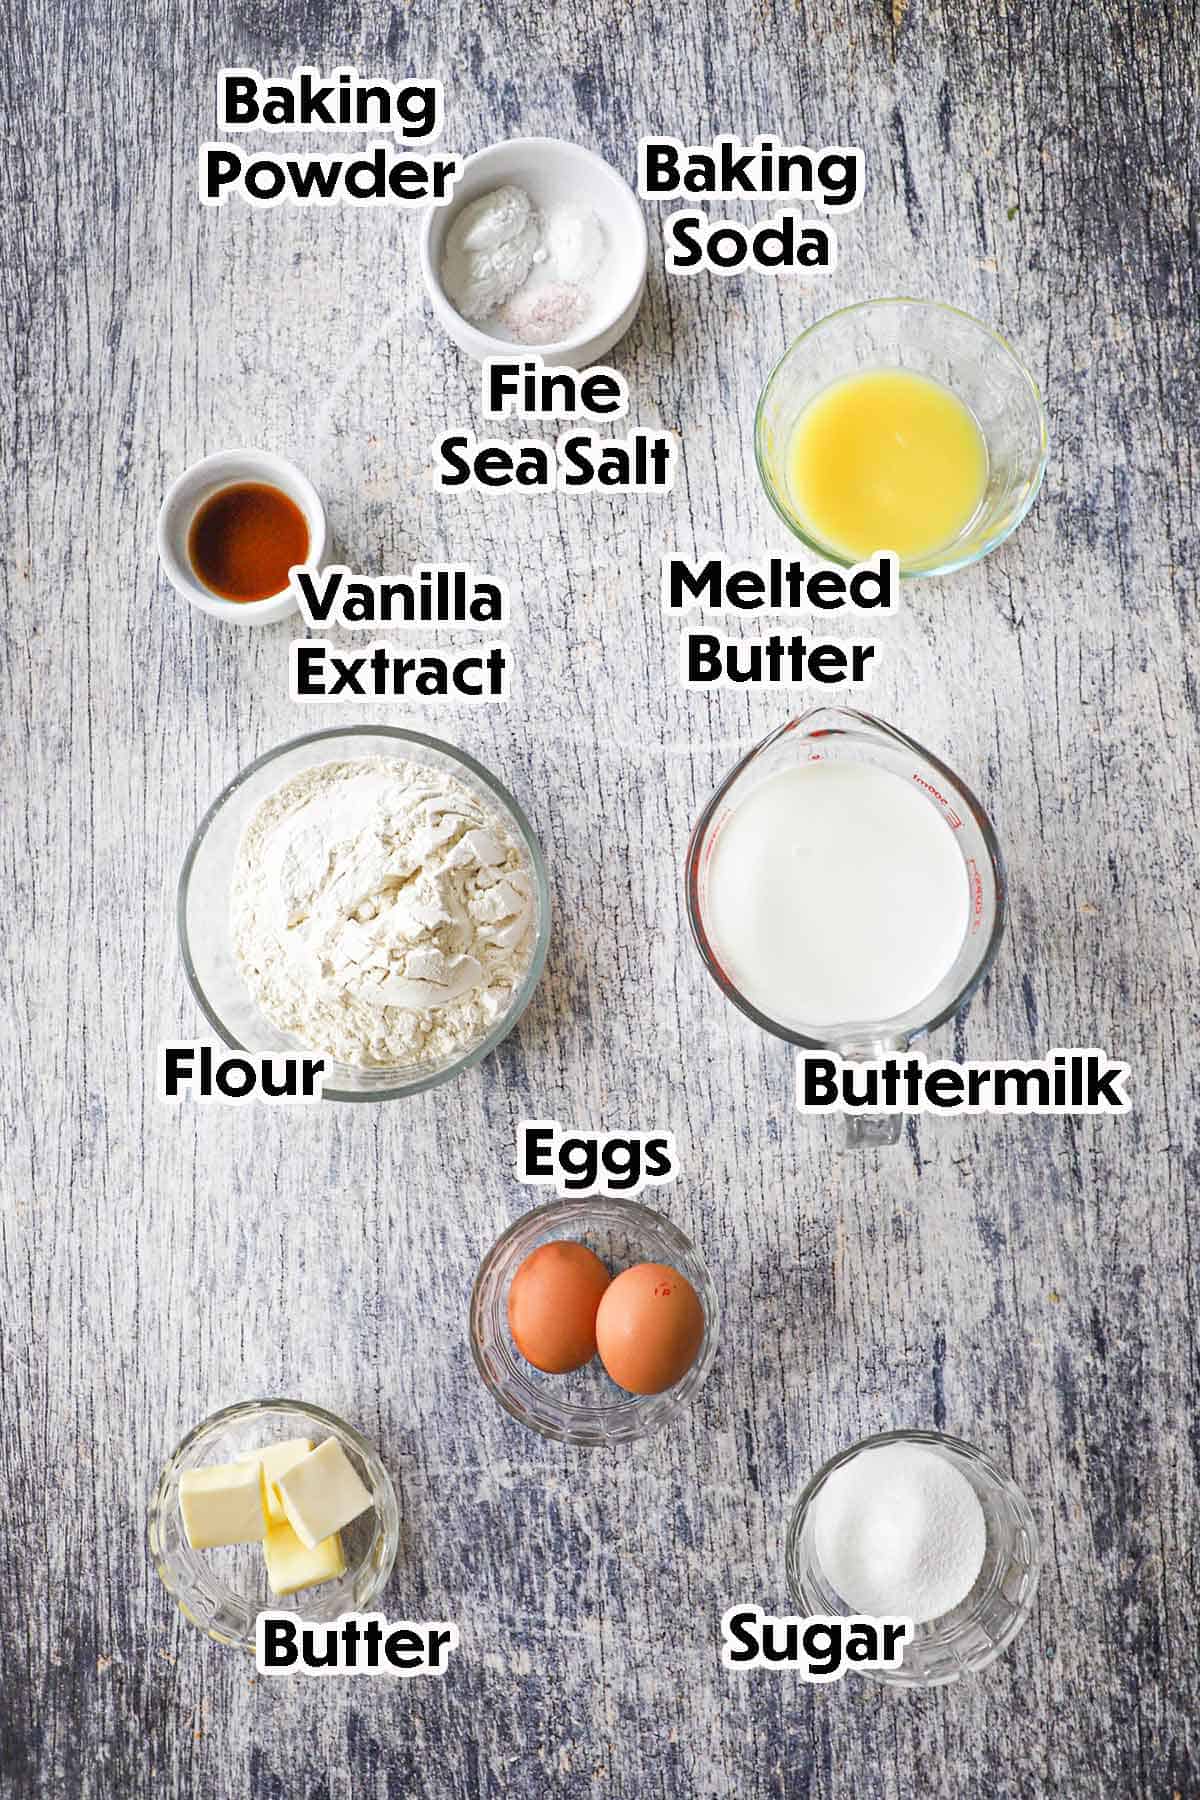
Best of all, this recipe relies on simple, everyday kitchen staples you likely already have on hand to create pure, scratch-made breakfast magic. Find ingredient notes (including substitutions and variations) below.
📝 Ingredient Notes and Substitutions
- All-Purpose Flour: Standard all-purpose flour gives the best structure. Always use the “spoon and level” method when measuring so your pancakes stay light and airy, not dense.
- Buttermilk: Full-fat cultured buttermilk yields the most tender crumb and tall rise.
- Substitute: Stir 2 tablespoons of fresh lemon juice or white vinegar into 2 cups of whole milk and let it sit for 5 minutes.
- Baking Powder & Baking Soda: Using both is the secret to height and color. Baking powder provides the lift, while baking soda neutralizes the acid and creates that deep golden-brown crust.
- Granulated Sugar: Just a touch sweetens the batter and helps caramelize the edges. Light brown sugar also works well.
- Eggs: Use large, room-temperature eggs, so they incorporate smoothly without solidifying the melted butter.
- Melted Butter: Adds rich flavor and keeps the interior moist. If using salted butter, reduce the recipe’s added salt to ½ teaspoon.
- Vanilla Extract: A splash of pure vanilla adds that nostalgic, bakery-style aroma.
- Cooking Fat (Oil + Butter): A drop of neutral oil (vegetable or avocado) paired with butter on the griddle keeps the butter from burning while delivering that crispy, golden diner edge. Clarified butter (ghee) is another great choice.
🔥 Tips for Making the Fluffiest Buttermilk Pancakes
- Leave the Lumps Alone: When combining wet and dry ingredients, mix just until the dry pockets disappear. Overmixing develops gluten, turning your pancakes rubbery and flat instead of light and fluffy. A lumpy batter is a happy batter!
- Rest the Batter (The Secret Step): Let the batter rest for 10 to 15 minutes before cooking. This hydrates the flour and gives the buttermilk and baking soda time to react, resulting in a thick, airy batter that rises sky-high on the griddle.
- Use a Batter Dispenser for Perfect Circles: For mess-free, diner-perfect rounds, fill a batter dispenser and hold the nozzle strictly vertical, about 1 to 2 inches above the griddle. Squeeze the trigger and keep still—gravity naturally flows the batter into a flawless circle without any need to spread it with a spoon.
- Look for “Popped” Bubbles, Not Just Wet Ones: Don’t flip too early! Wait until bubbles rise to the surface, pop, and stay open like tiny craters, and the edges transition from glossy to matte (about 3 minutes).
- Flip Only Once: Pancakes should be flipped just once. Sliding the spatula underneath and flipping a second time deflates their airy interior and makes them dense.
- Scrape and Refresh Between Batches: Before dropping your next round, use your spatula to quickly scrape away spent butter solids, then add a fresh drop of oil and a pat of butter. This keeps subsequent pancakes golden and delicious rather than scorched and bitter.
👩🏼🍳 How to Make Fluffy Buttermilk Pancakes
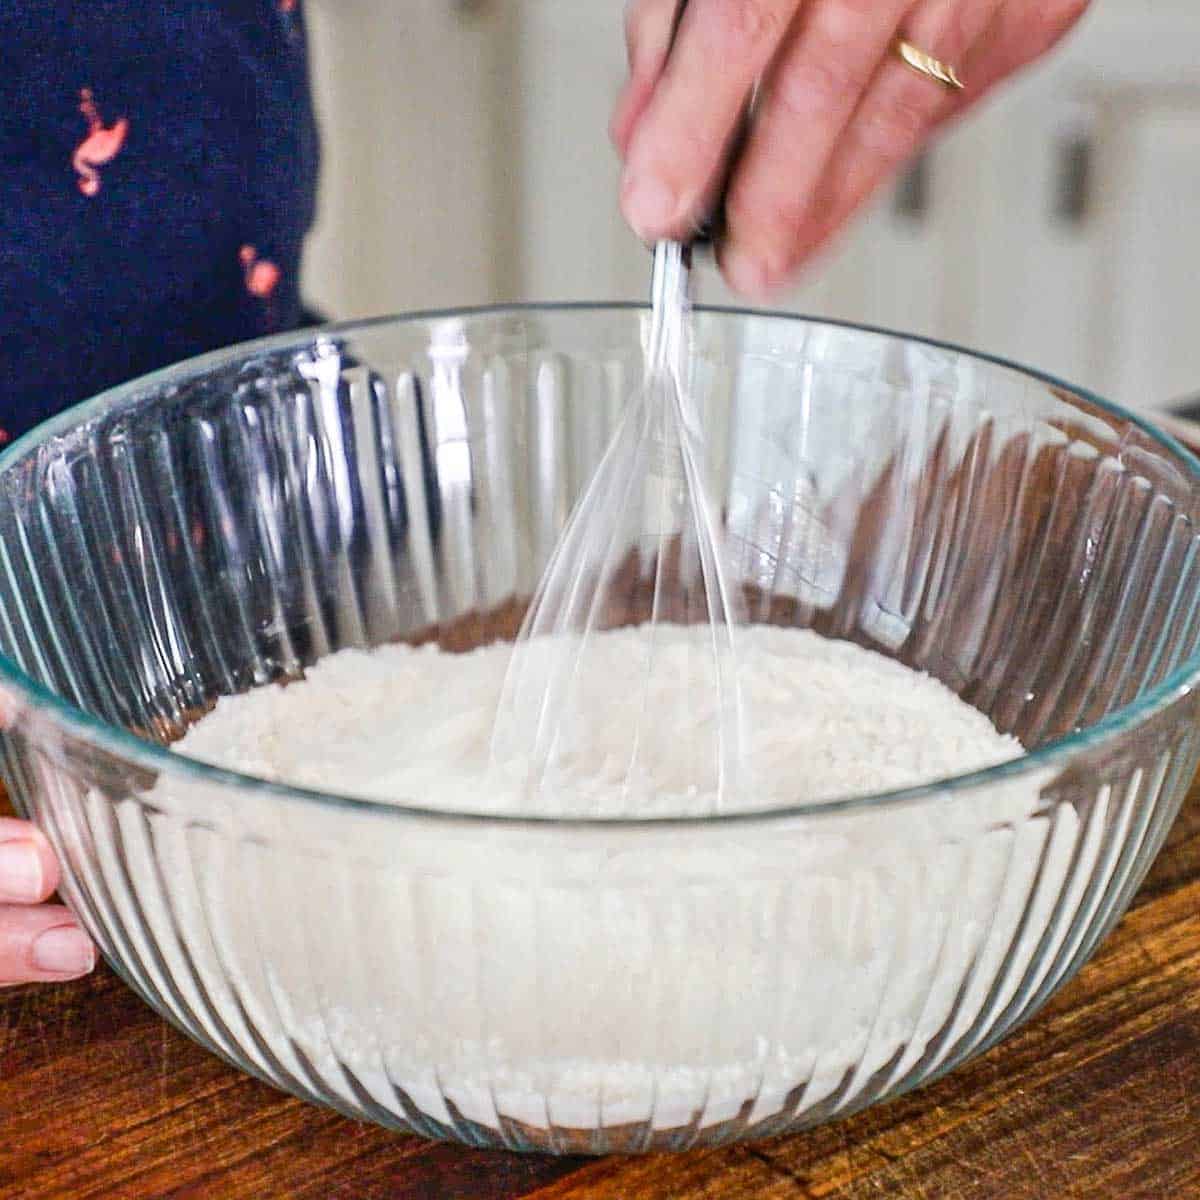
- Step 1: In a large bowl, whisk the flour with the sugar, baking powder, baking soda, and salt
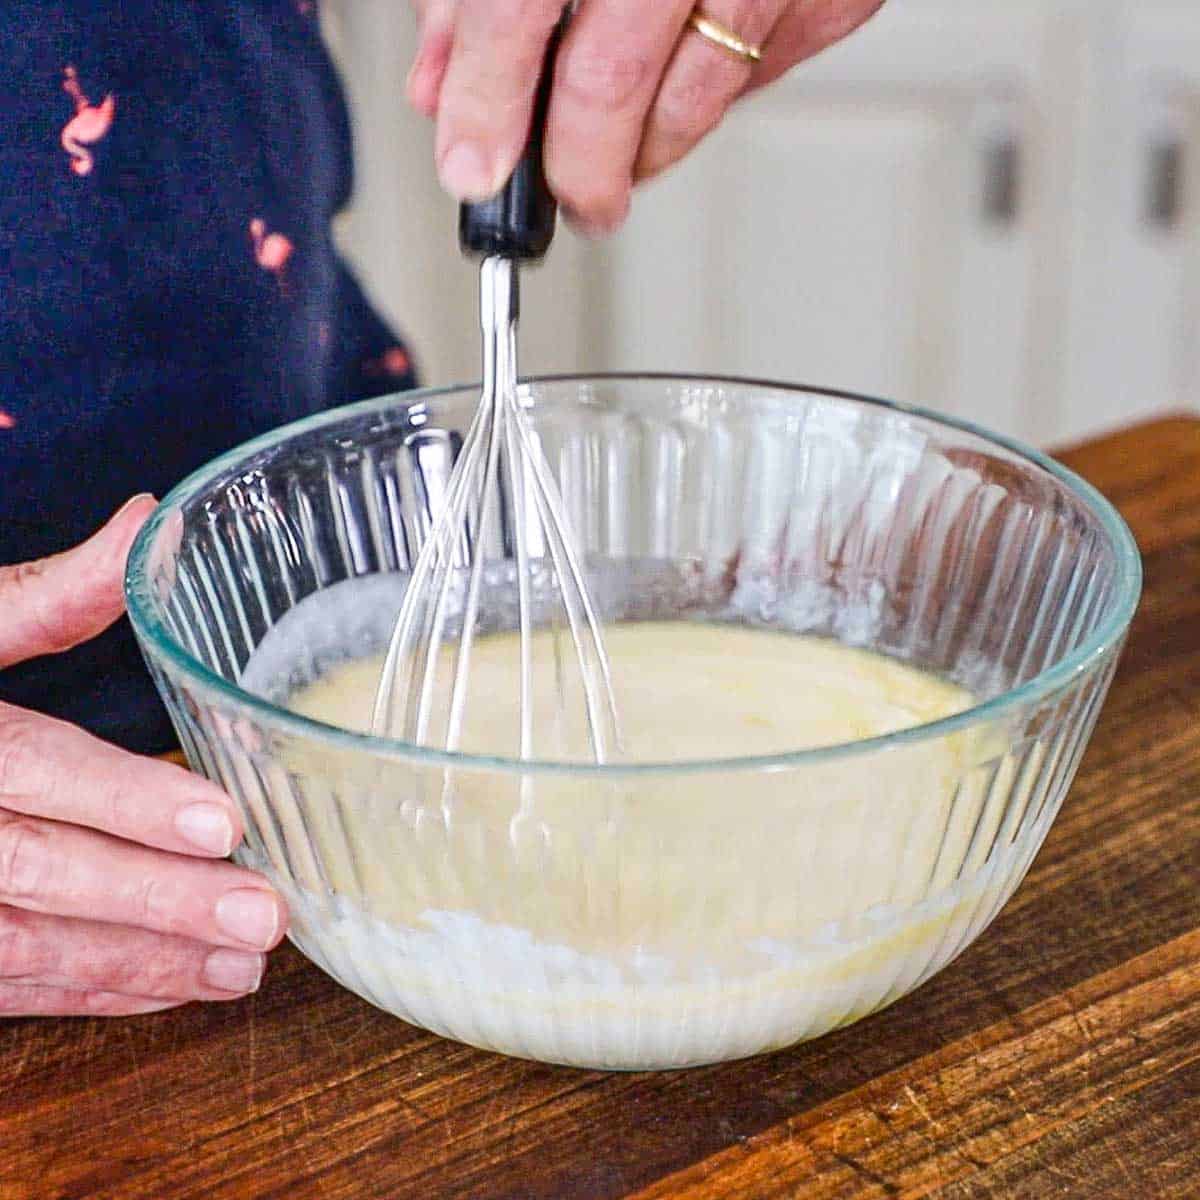
- Step 2: In another bowl, whisk the buttermilk with the eggs, melted butter, and vanilla extract.
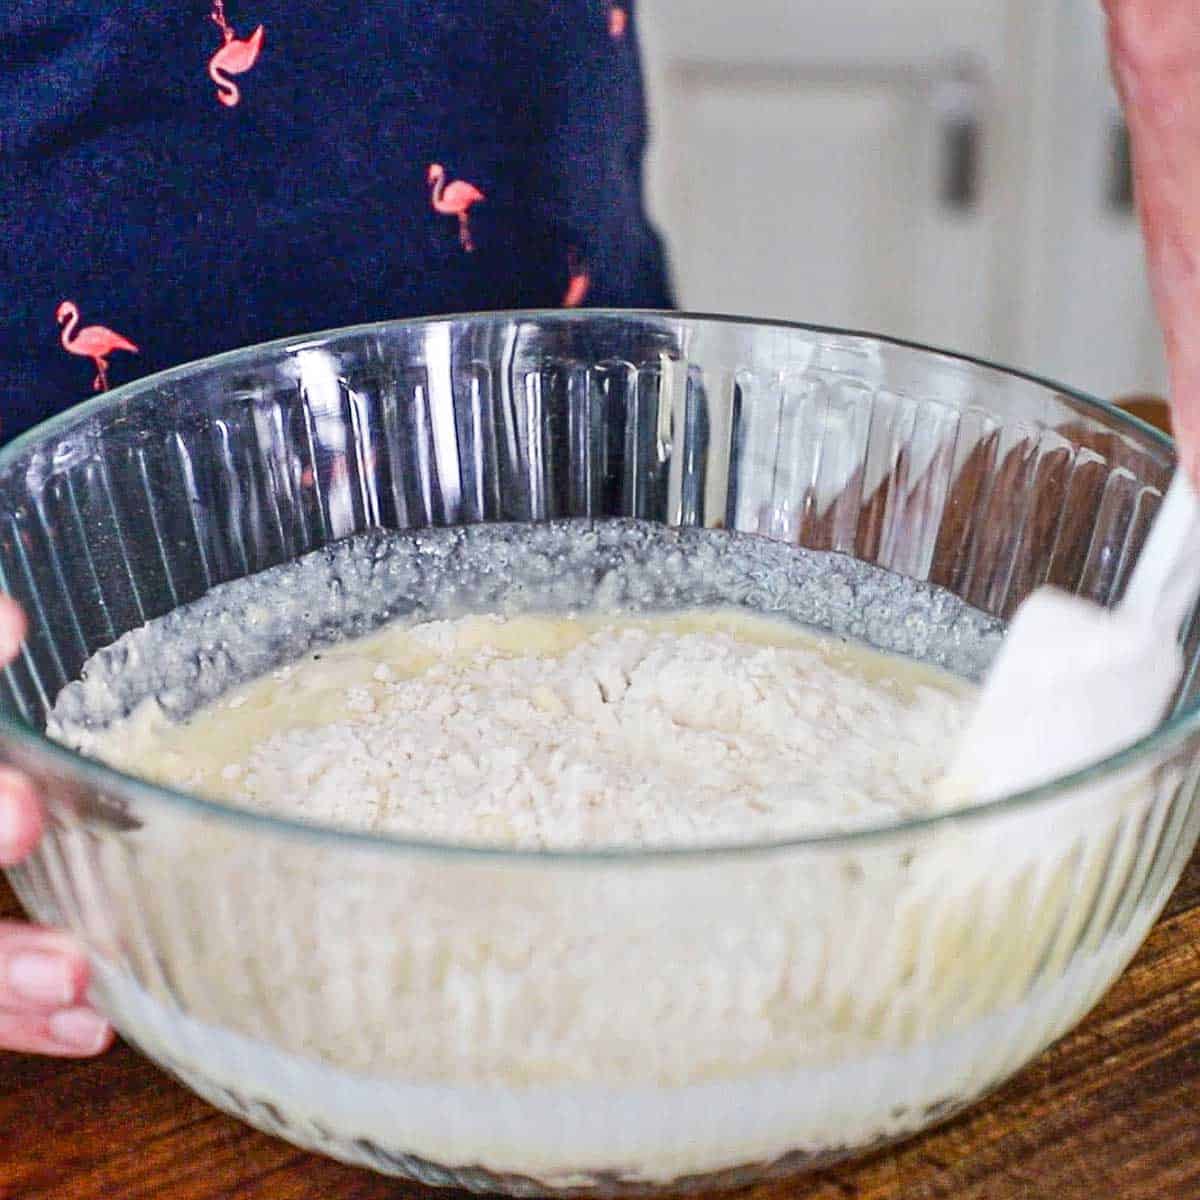
- Step 3: Pour the wet mixture into the dry mixture and use a rubber spatula to fold the ingredients together until just combined. Don’t overmix! It should still be a little lumpy. Let the batter rest for 15 minutes.
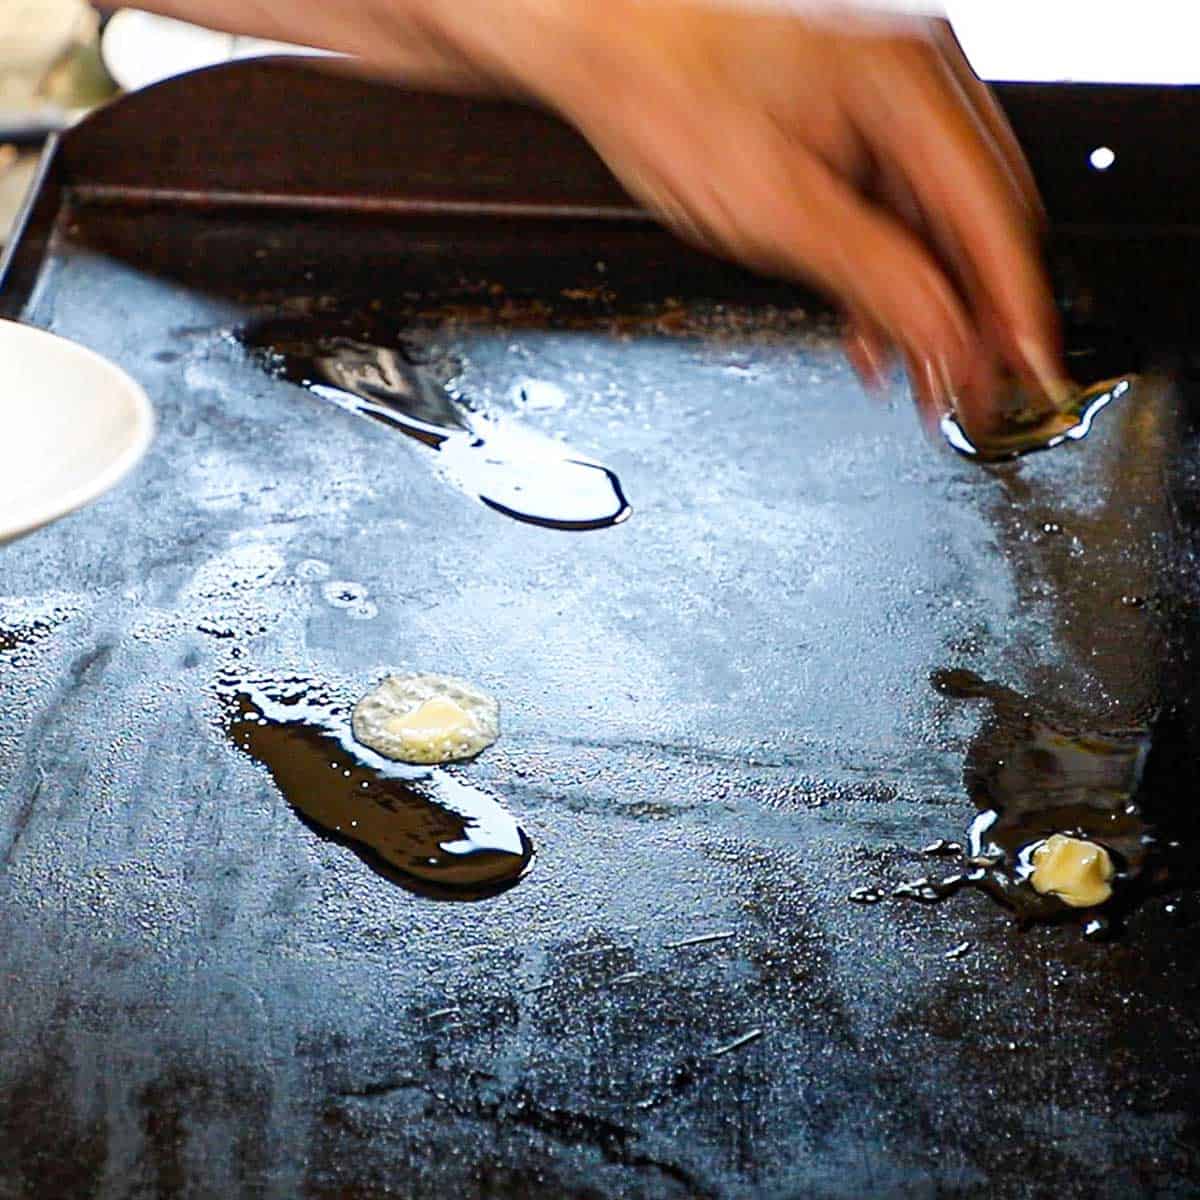
- Step 4: Add a small amount of vegetable oil to a griddle or skillet over medium-low heat. Then add about ¼ tablespoon of butter (one set of oil/butter for each pancake).
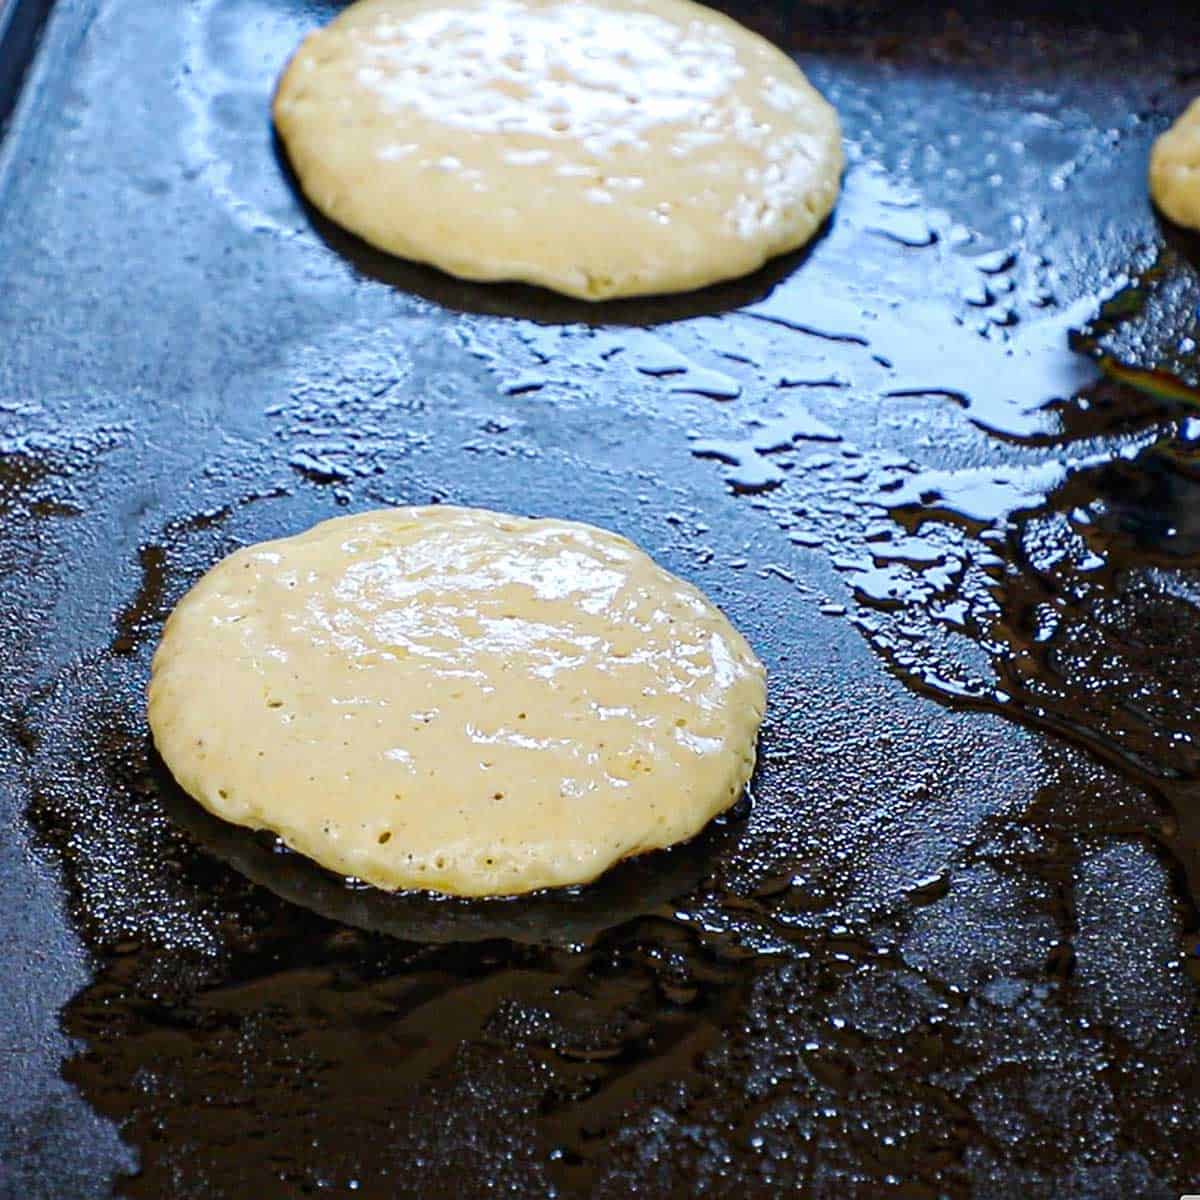
- Step 5: Add about half a cup of the batter over the oil and melted butter. Let cook, undisturbed, for 2 to 3 minutes.
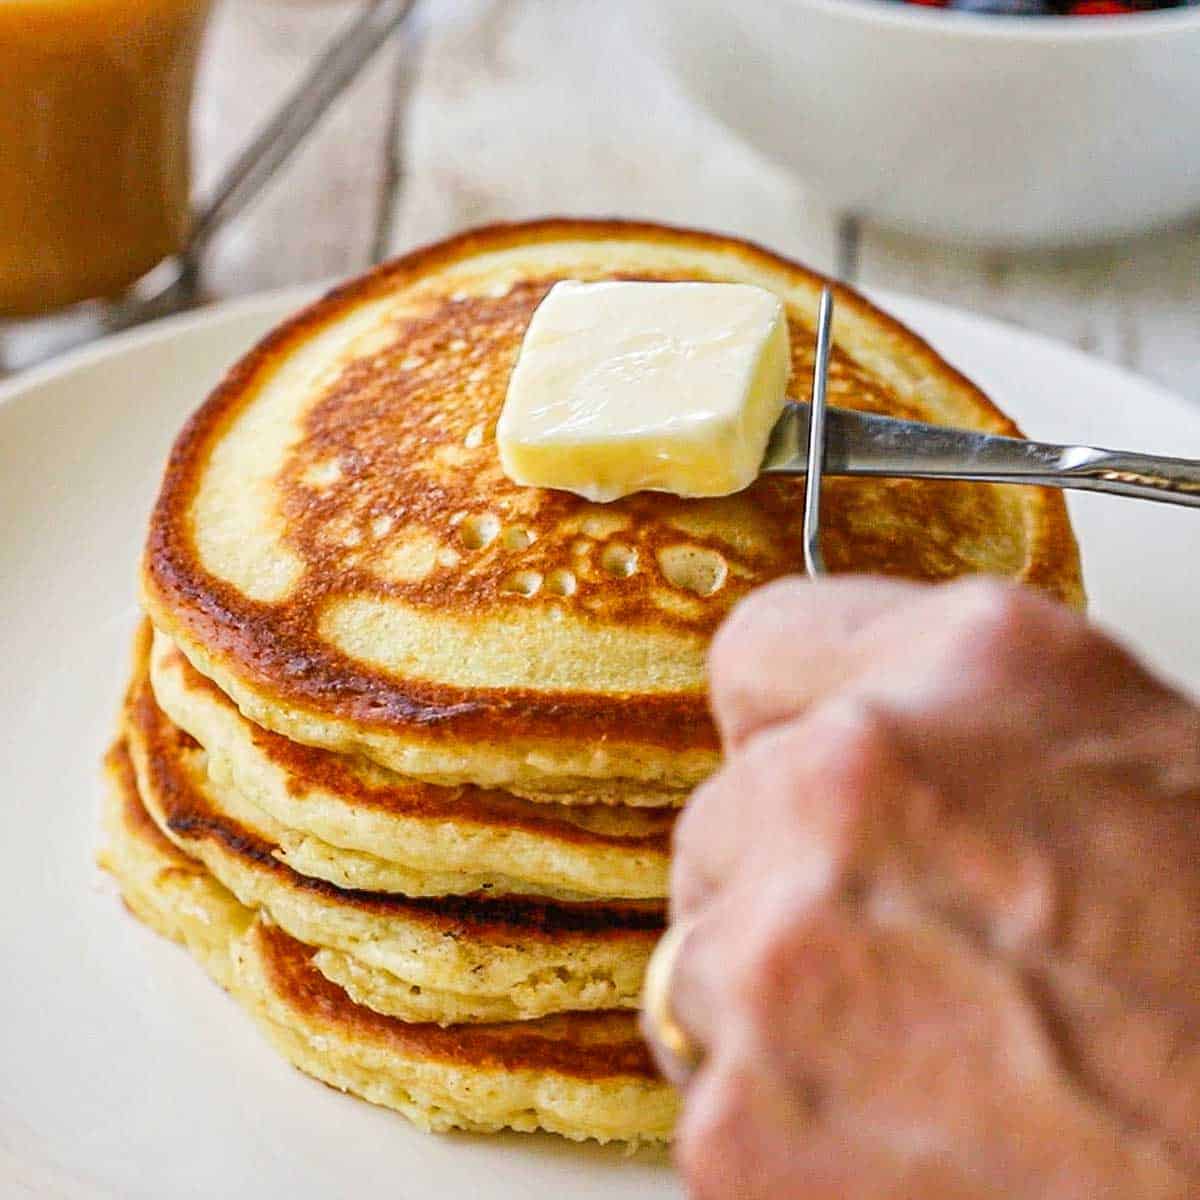
- Step 6: Flip and cook for another 3 minutes. Serve at once, topped with butter and maple syrup.
EXPERT TIP: The Best Pan for the Job
The key to golden, diner-style pancakes is even heat retention. Here are the best surfaces to use:
- Outdoor Flat-Top Griddle (Blackstone): Ideal for cooking large batches all at once with authentic diner flavor. Keep the burners on Low to Medium-Low (325°F–350°F), so the thick centers cook through without scorching.
- Cast-Iron Skillet: Excellent for indoors. Its superior heat retention delivers unmatched browning and crisp, buttery edges. Preheat slowly over medium-low heat.
- Electric Griddle: The most foolproof indoor option. It offers wide, rimless flipping space and precise temperature control (dial it right to 325°F).
- Heavy-Bottom Nonstick Skillet: Perfect for smaller batches—just avoid thin pans that create harsh hot spots.
Rule of thumb: Steer clear of lightweight pans; heavy steel or iron ensures that beautiful, even browning every single time!
🍽️ How to Serve
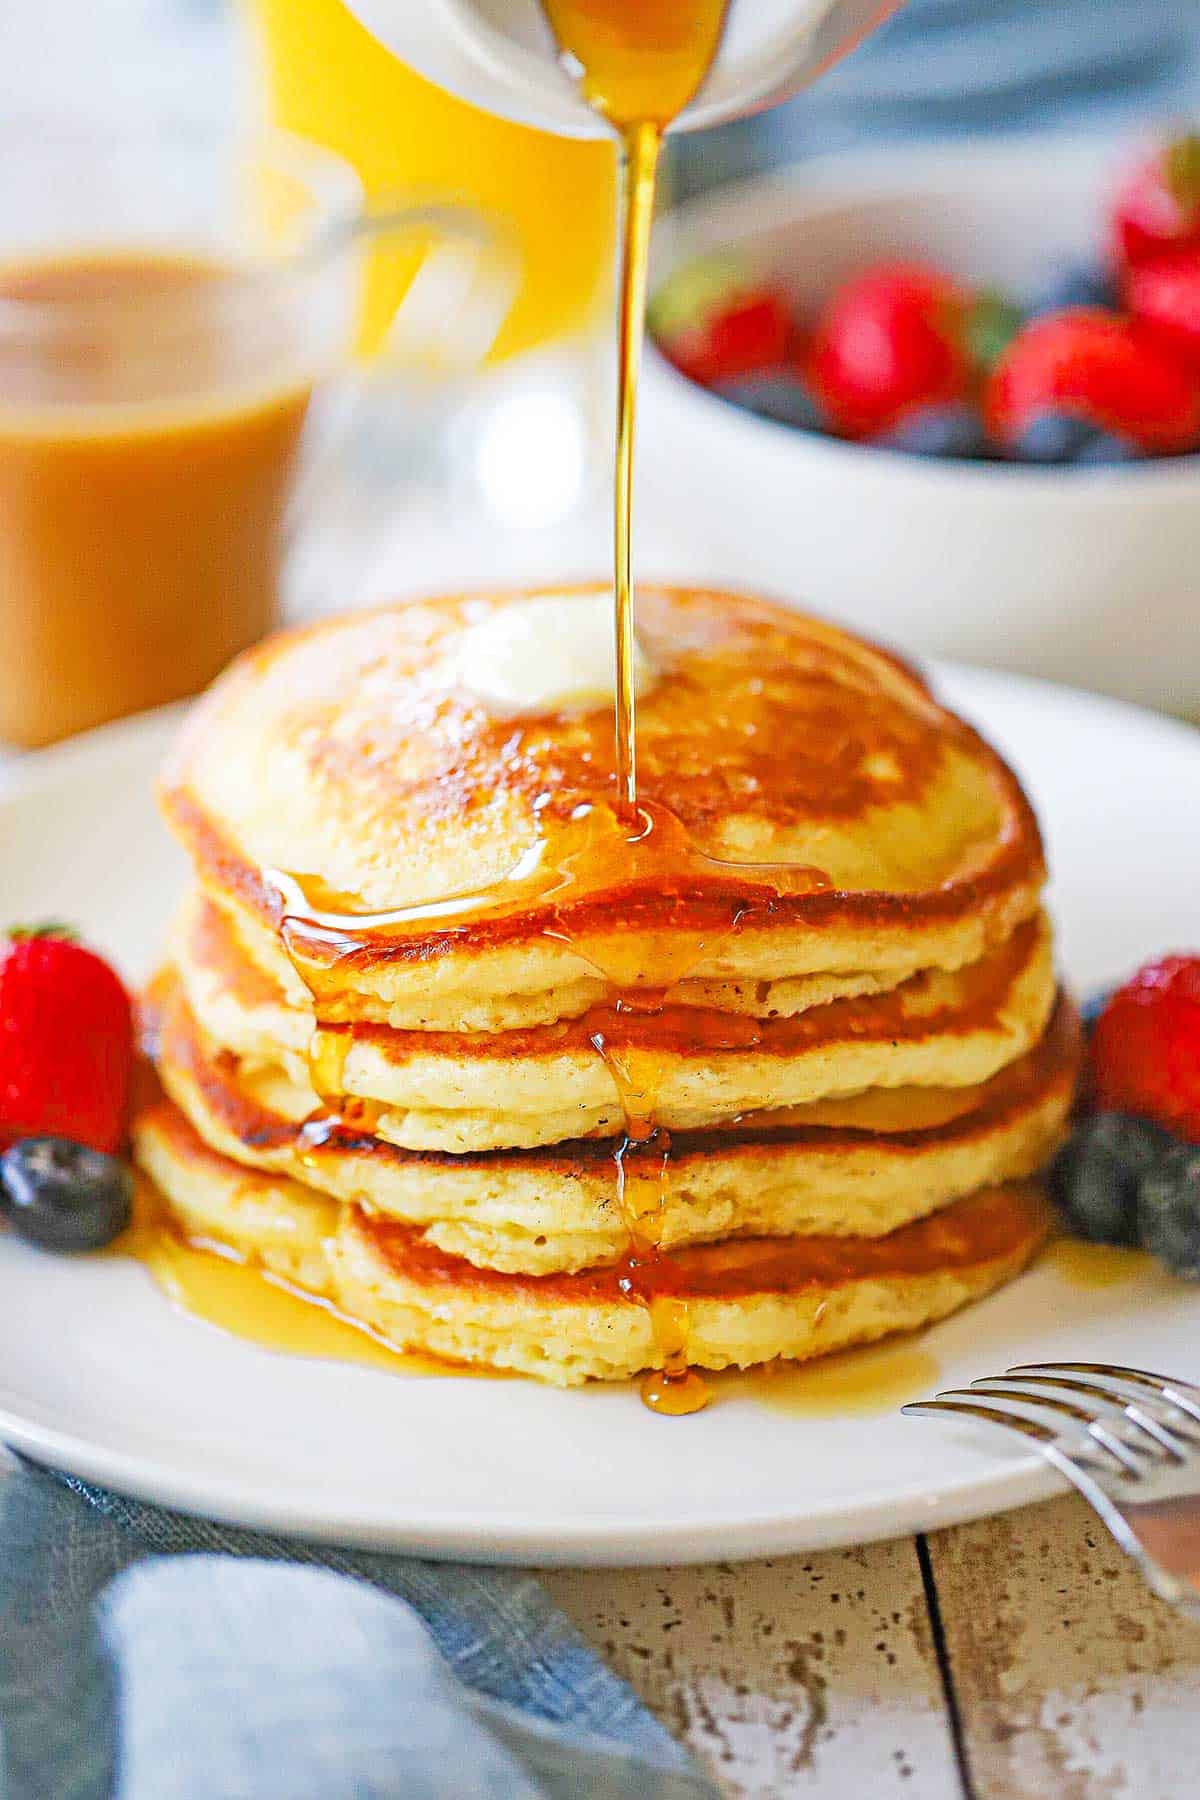
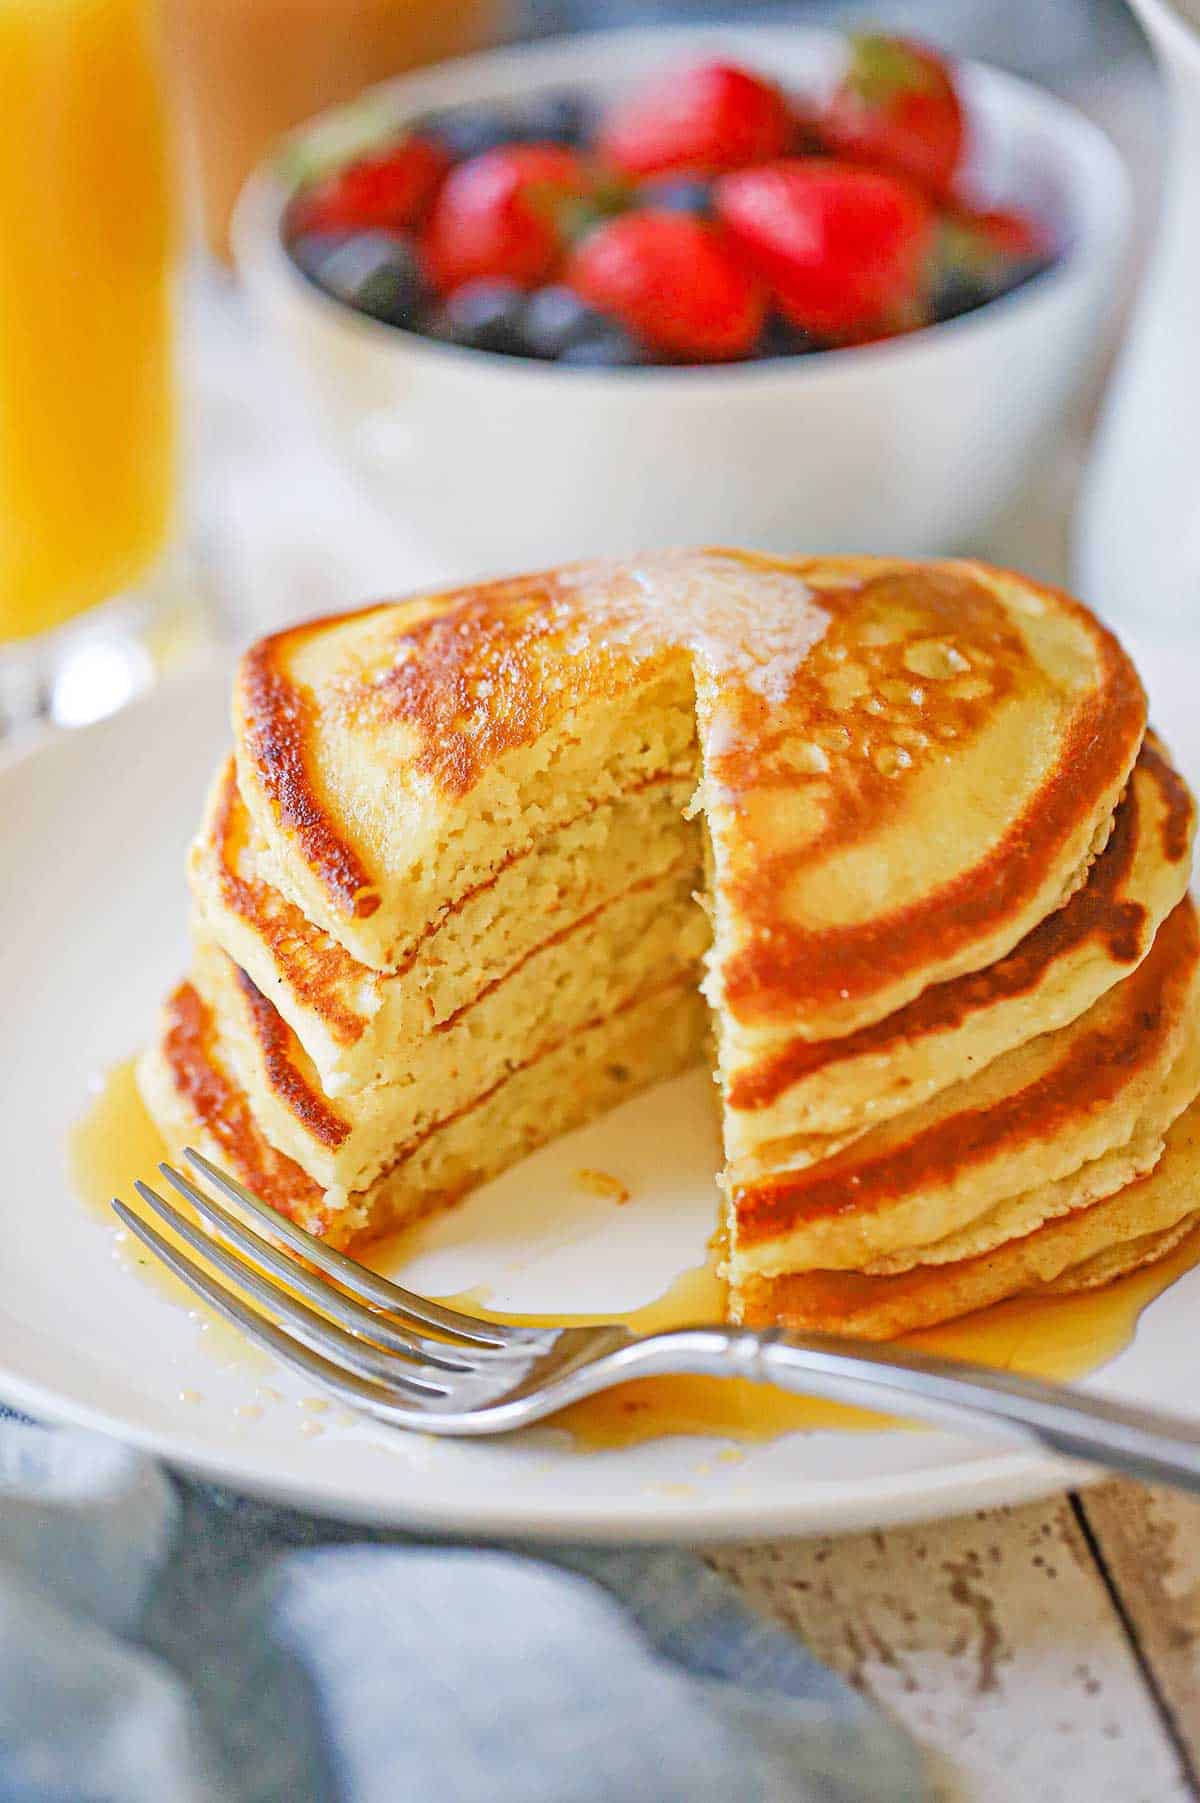
- The Classic Diner Stack: Serve immediately topped with a generous slab of softened, salted butter and plenty of warm, 100% pure maple syrup. (Warming the syrup first keeps your pancakes piping hot!)
- Fresh Berries & Whipped Cream: Balance the rich, buttery pancakes with fresh seasonal fruit—sliced strawberries, plump blueberries, or blackberries—and a dollop of fresh, lightly sweetened whipped cream.
- A Touch of Elegance: Dust the tops lightly with powdered sugar and add a spoonful of blueberry compote, lemon curd, or homemade strawberry jam.
- Sweet & Salty Breakfast Feast: Turn it into a true weekend feast by serving alongside maple pepper crispy bacon, homemade breakfast sausage patties, and soft-scrambled eggs or eggs over-easy.
- Kid-Friendly Toppings: Set out small bowls of mini chocolate chips, toasted pecans or walnuts, sliced bananas, and peanut butter or Nutella for a fun build-your-own pancake bar!
🙋🏽♂️ Frequently Asked Questions
The most common causes are overmixing the batter or using expired baking powder and baking soda. Always mix gently just until the flour pockets disappear—leaving plenty of lumps—and ensure your leaveners are fresh for a tall, airy rise.
Aim for 325°F to 350°F (165°C to 175°C), which is low to medium-low heat on most skillets and flat-top griddles. Anything hotter will scorch the butter and sugars on the outside before the thick centers can cook through.
It is best made fresh. While a 10-to-15-minute rest on the counter is ideal, letting it sit overnight exhausts the reaction between the buttermilk and baking soda, leading to flat, heavy results the next morning.
Yes! Let them cool completely, stack them separated by sheets of parchment paper, and seal them in a freezer bag for up to 2 months. Reheat straight from frozen in a toaster or on a baking sheet at 350°F (175°C) for 6 to 8 minutes.
Use a handheld batter dispenser! Hold it straight up and down about an inch above the griddle and release roughly ½ cup without moving your hand. Or, just carefully use a measuring cup (½ cup) to pour the batter onto the griddle or skillet.
☀️ More Delicious Sweet Breakfast Recipes
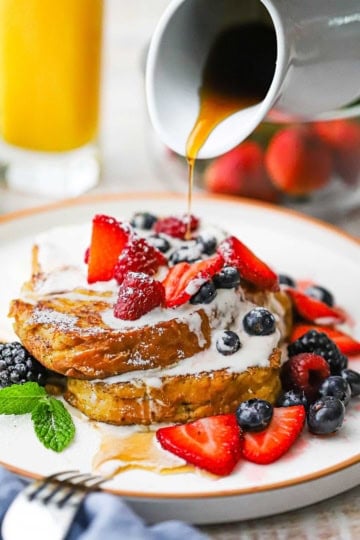
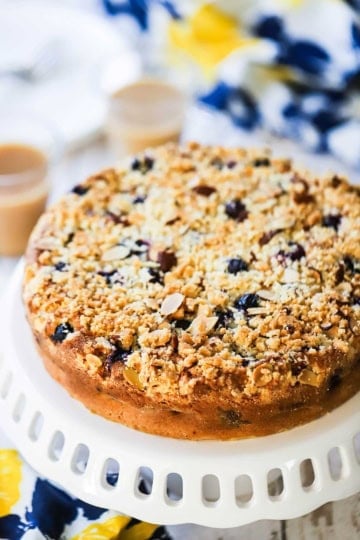

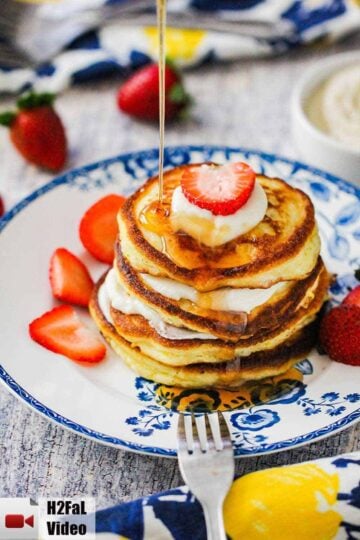
Ready to make the best diner-style pancakes in town? Go for it!
And when you do, be sure to take a photo of them, post it on Instagram, and tag @HowToFeedaLoon and hashtag #HowToFeedaLoon!
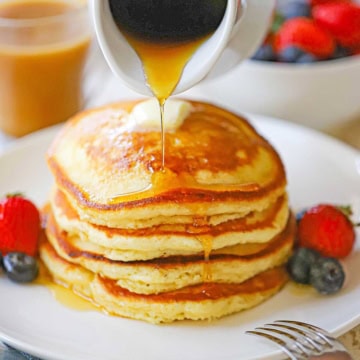
Homemade Fluffy Buttermilk Pancakes
Video
Equipment
- flat-top griddle or large skillet
- batter dispenser optional, but helpful for making perfectly shaped pancakes
Ingredients
- 2 cups all-purpose flour
- 3 tablespoon granulated sugar
- 2 teaspoon baking powder
- 2 teaspoon baking soda
- ¾ teaspoon fine sea salt or regular table salt
- 2 cups buttermilk preferably whole, and room temperature
- 2 large eggs preferably room temperature
- 4 tablespoon unsalted butter melted, plus extra for cooking and serving
- 1 teaspoon vanilla extract
- vegetable oil for cooking the pancakes
- maple syrup preferably warmed, for serving
Instructions
- In a large mixing bowl, whisk together the flour, granulated sugar, baking powder, baking soda, and salt until completely uniform2 cups all-purpose flour, 3 tablespoon granulated sugar, 2 teaspoon baking powder, 2 teaspoon baking soda, ¾ teaspoon fine sea salt
- In a separate medium bowl or large measuring cup, whisk the buttermilk, eggs, melted butter, and vanilla extract together until smooth.2 cups buttermilk, 2 large eggs, 4 tablespoon unsalted butter, 1 teaspoon vanilla extract
- Pour the wet mixture into the dry mixture. Using a rubber spatula, fold the ingredients together just until no dry pockets of flour remain. Tip: The batter should look lumpy. If you mix until it’s silky smooth, gluten will form, and the pancakes will turn out tough and flat instead of fluffy.
- Transfer the batter into your batter dispenser (or leave it in the bowl if ladling). Let it rest undisturbed for 10 to 15 minutes.
- Heat your griddle or skillet to medium-low heat.
- Lightly oil the surface, then melt a small pat of butter directly where you plan to drop the pancakes. Do this for each pancake.vegetable oil
- Add about ½ cup of the batter over the oil/butter. The batter will pool out into a thick, uniform disc. Cook, undisturbed, for 2 to 3 minutes. Look for bubbles rising through the surface that pop and stay open like tiny craters, and edges that look set and matte (no longer glossy).
- Slip a wide griddle spatula underneath in one swift motion and flip. Cook the second side for 1½ to 2 minutes, until deeply golden brown and cooked through.
- Transfer immediately to a warm platter. Top with generous slabs of softened salted butter and warm pure maple syrup.maple syrup
Notes
- Don’t Overmix: A lumpy batter is essential for fluffy pancakes! Stir just until the flour pockets disappear. Overmixing develops gluten and makes them dense and chewy.
- The 10-Minute Rest: Don’t skip resting the batter. This allows the flour to fully hydrate and the leaveners to activate, resulting in maximum fluffiness and height on the griddle.
- Buttermilk Substitute: In a pinch, add 2 tablespoons of fresh lemon juice or white distilled vinegar to a 2-cup liquid measuring cup, fill to the 2-cup line with whole milk, and let sit for 5 minutes before using.
- Portioning: For true diner-sized pancakes, use ½ cup of batter per pancake. A handheld batter dispenser creates perfectly round, mess-free circles, but a ½-cup measuring scoop or large ladle works great, too.
- Griddle Heat Control: Cooking on low to medium-low heat (aim for 325°F–350°F / 165°C–175°C) is key. The combination of a drop of oil and a pat of butter prevents scorching while creating those crisp, golden diner-style edges.
- Storage & Freezing: Store leftover cooked pancakes in an airtight container in the refrigerator for up to 4 days, or freeze layered between parchment paper in a freezer bag for up to 2 months. Reheat straight from the freezer in a toaster or warm oven.
bonnie Thomson says
The amount of baking powder was omitted from the ingredients list>. Thank you.
Kris Longwell says
Thank you!!! 2 teaspoons. Updated the recipe card. Thanks again so very much!
Bonnie Thomson says
Thanks so much, now I can make them for breakfast tomorrow morning. Love your recipes and your videos. They are so much fun to watch. Keep up the amazing work.
Kris Longwell says
Thanks, Bonnie! Let us know how they turned out!! xo