

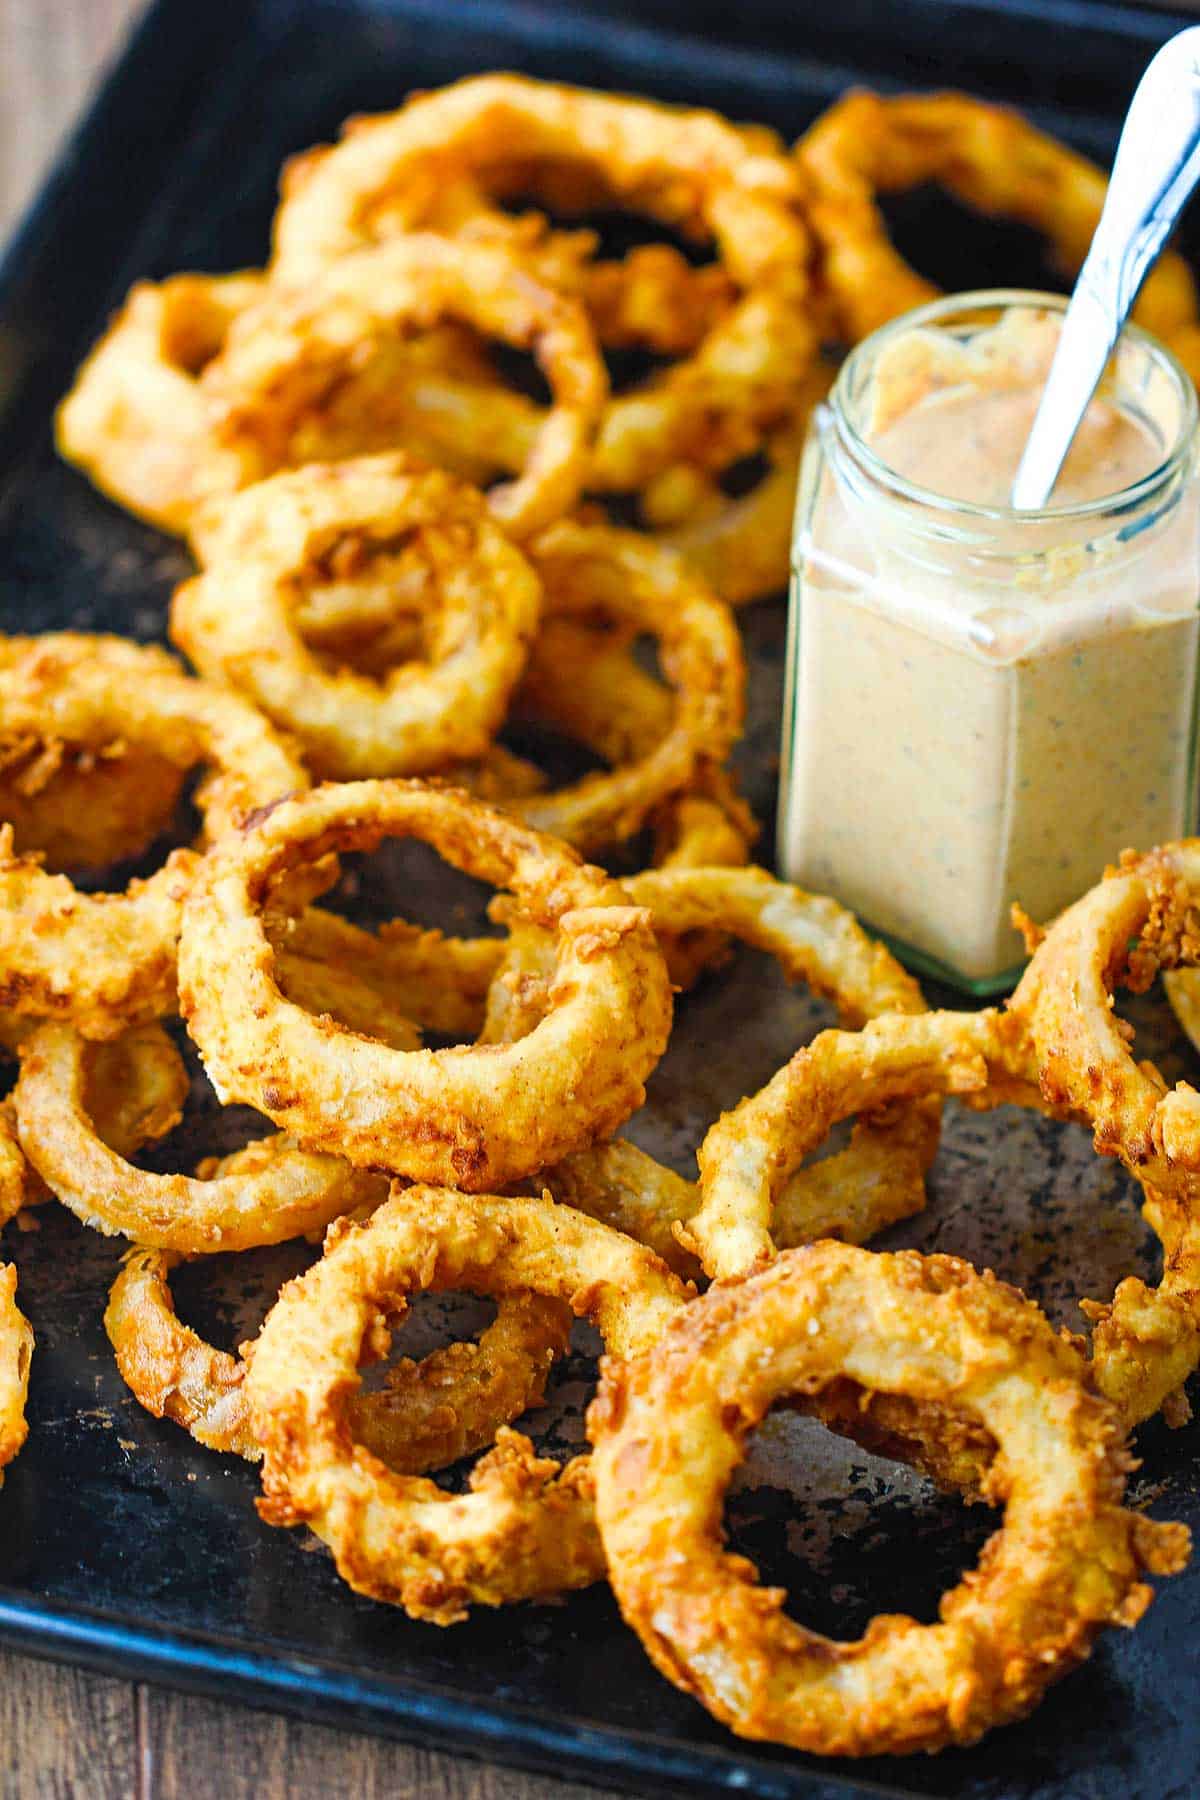
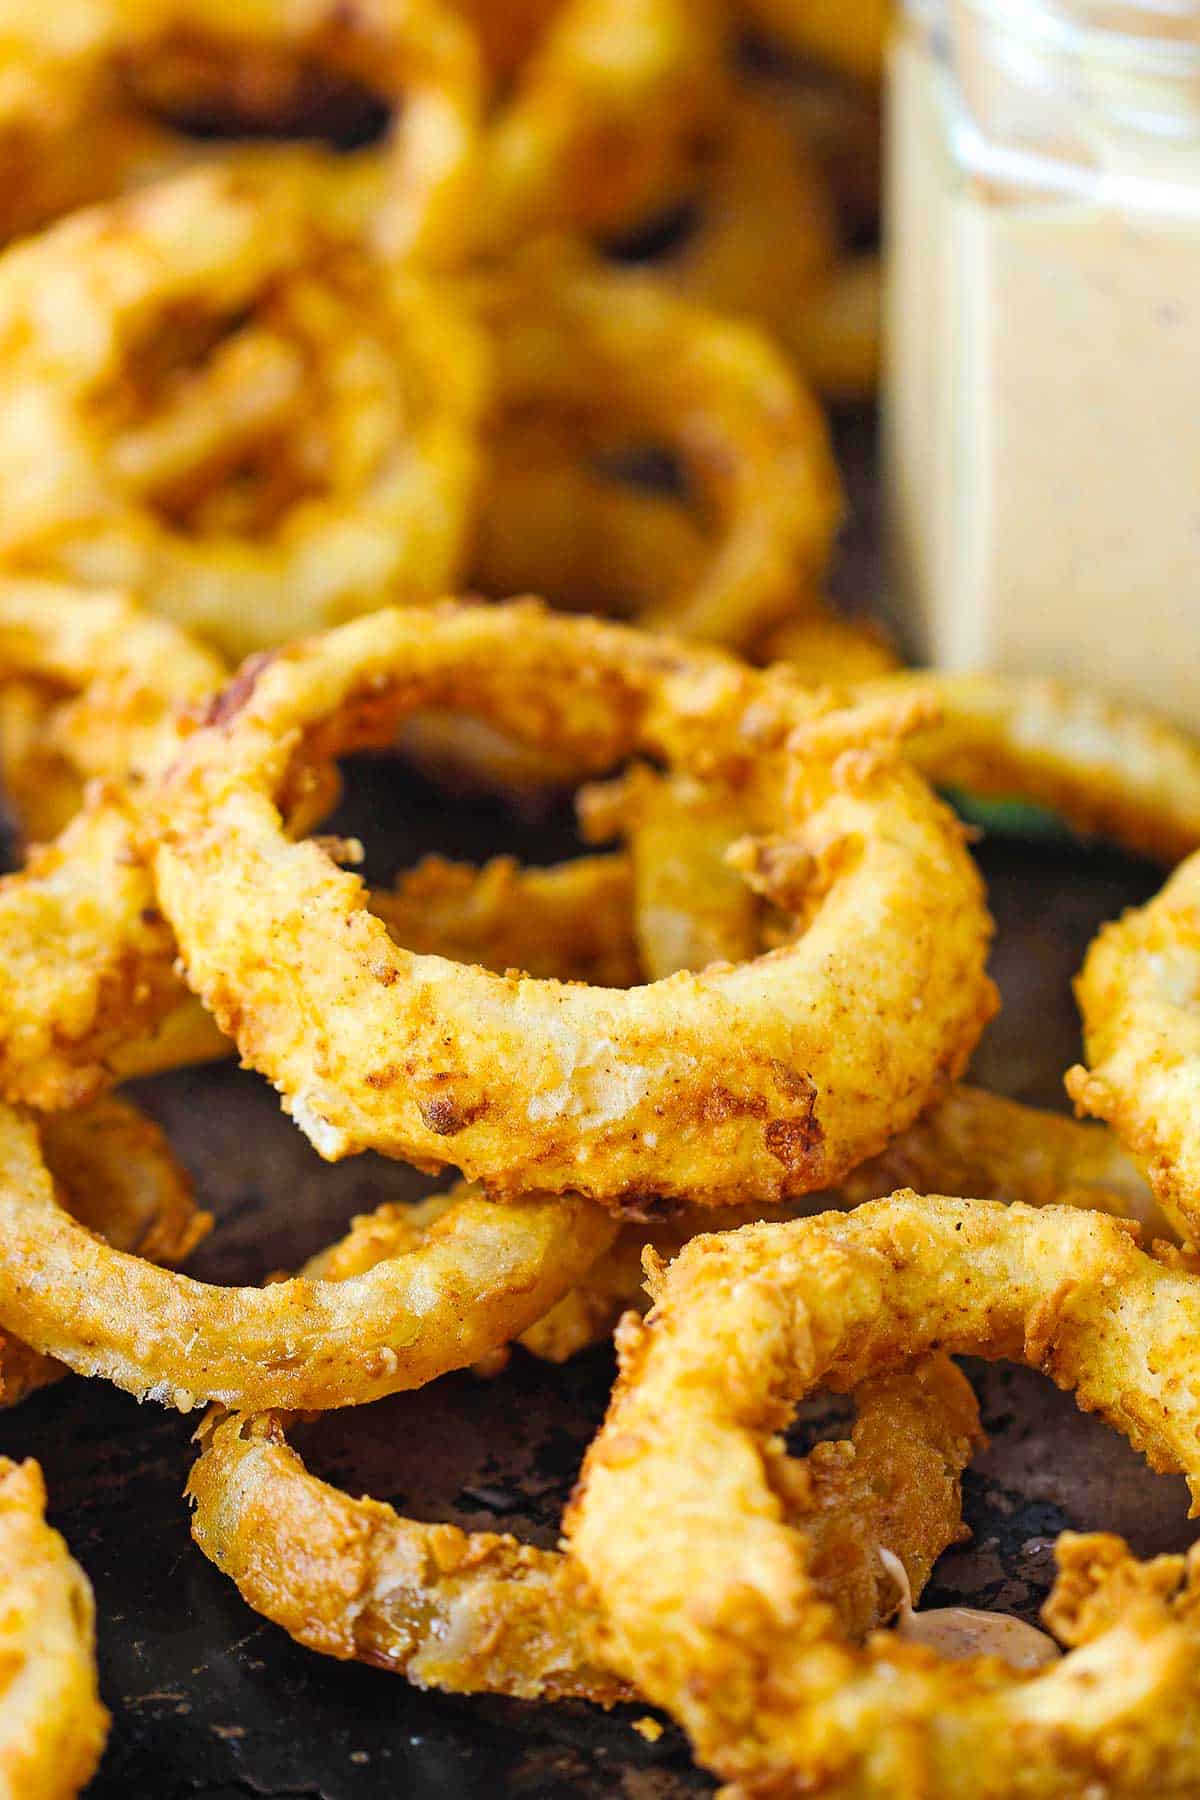
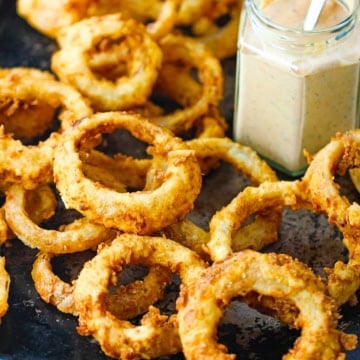
These Steakhouse Onion Rings feature a perfectly seasoned buttermilk batter that delivers an irresistible crunch in every single bite. They offer a bold flavor profile that pairs beautifully with our zesty Cajun Remoulade or Homemade Ketchup. Whether you’re serving them as a standalone appetizer or stacking them high on a BBQ burger, these golden rings are the ultimate restaurant-quality treat.
Jump to:
🧅 The Ingredients
This recipe combines thick-cut onions with a tangy, spice-infused coating to achieve a bold flavor profile and that signature restaurant-style crunch. Find ingredient notes (including substitutions and variations) below.
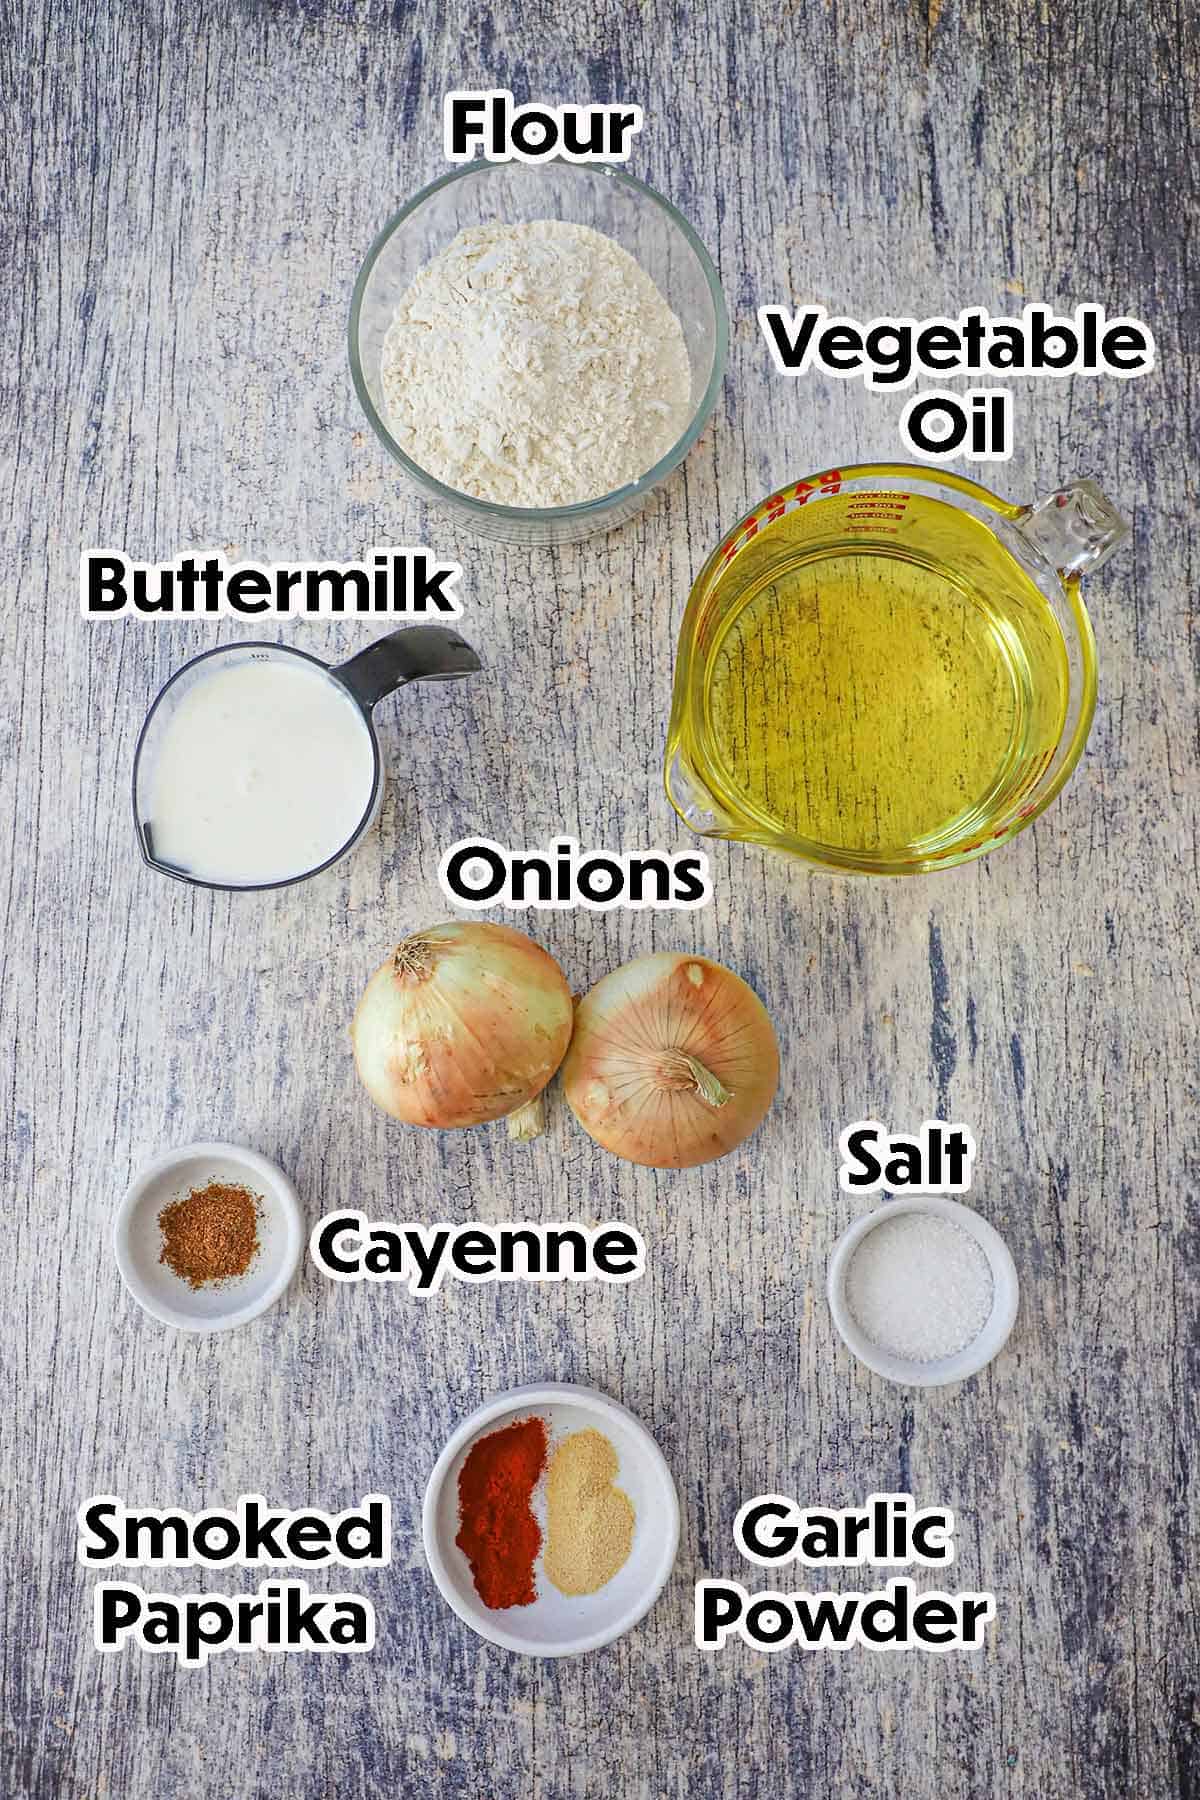
📝 Ingredient Notes and Substitutions
- Yellow Onions: We use yellow onions for their perfect balance of astringency and sweetness when cooked. You can substitute Vidalia or Walla Walla onions if you prefer a much sweeter “sweet onion” ring, or white onions for a sharper, more pungent flavor.
- Buttermilk: The acidity in buttermilk tenderizes the onion and helps the seasoned flour adhere for a thicker crust. If you don’t have any on hand, you can make a quick substitute by whisking 1 tablespoon of lemon juice or white vinegar into 1 cup of regular milk and letting it sit for 5 minutes.
- All-Purpose Flour: This provides the classic steakhouse structure. For an even crispier, “shatter-like” texture, you can replace ¼ cup of the flour with cornstarch or rice flour.
- Smoked Paprika & Cayenne: These provide the signature golden color and a subtle “back-end” heat. If you prefer a smokier profile without the spice, swap the cayenne for chipotle powder, or simply use sweet paprika for a completely mild version.
- Vegetable Oil: A neutral oil with a high smoke point is essential for deep frying. Canola, peanut, or grapeseed oil are all excellent substitutes that will allow the rings to get golden brown without burning.
- Garlic Powder: We recommend powder over fresh garlic here to ensure the flavor is evenly distributed throughout the batter without the risk of small garlic pieces burning in the hot oil.
Refer to the recipe card (with video) below for a full list of ingredients and measurements.
🔥 Tips and Tricks for Perfect Onion Rings
- The “Wet Hand, Dry Hand” Method: To avoid getting your fingers coated in thick batter (often called “club hand”), designate one hand for the buttermilk soak and the other for tossing the rings in the seasoned flour.
- Maintain Oil Temperature: Use a kitchen thermometer to keep your oil consistently between 350°F and 375°F. If the oil is too cool, the rings will absorb too much fat and become greasy; if it’s too hot, the coating will burn before the onion inside has a chance to soften.
- Don’t Overcrowd the Pot: Fry the rings in small batches. Adding too many at once will cause the oil temperature to drop rapidly, resulting in a soggy rather than “shatter-crisp” crust.
- Use a Cooling Rack: Instead of draining the finished rings on paper towels—which can trap steam and make the bottoms soggy—place them on a wire cooling rack set over a baking sheet. This allows air to circulate all the way around the ring to keep it crispy.
- Uniform Slicing: Aim for a consistent thickness of about ¾ of an inch. This ensures that every ring in the batch cooks at the same rate and provides that substantial, steakhouse-style “heft.”
- The Pro Reheat: If you are making these ahead of time for your BBQ burgers, skip the microwave! Reheat them in a 400°F oven or an air fryer for 2–3 minutes to restore that “just-fried” crunch.
👩🏼🍳 How to Make Steakhouse Onion Rings
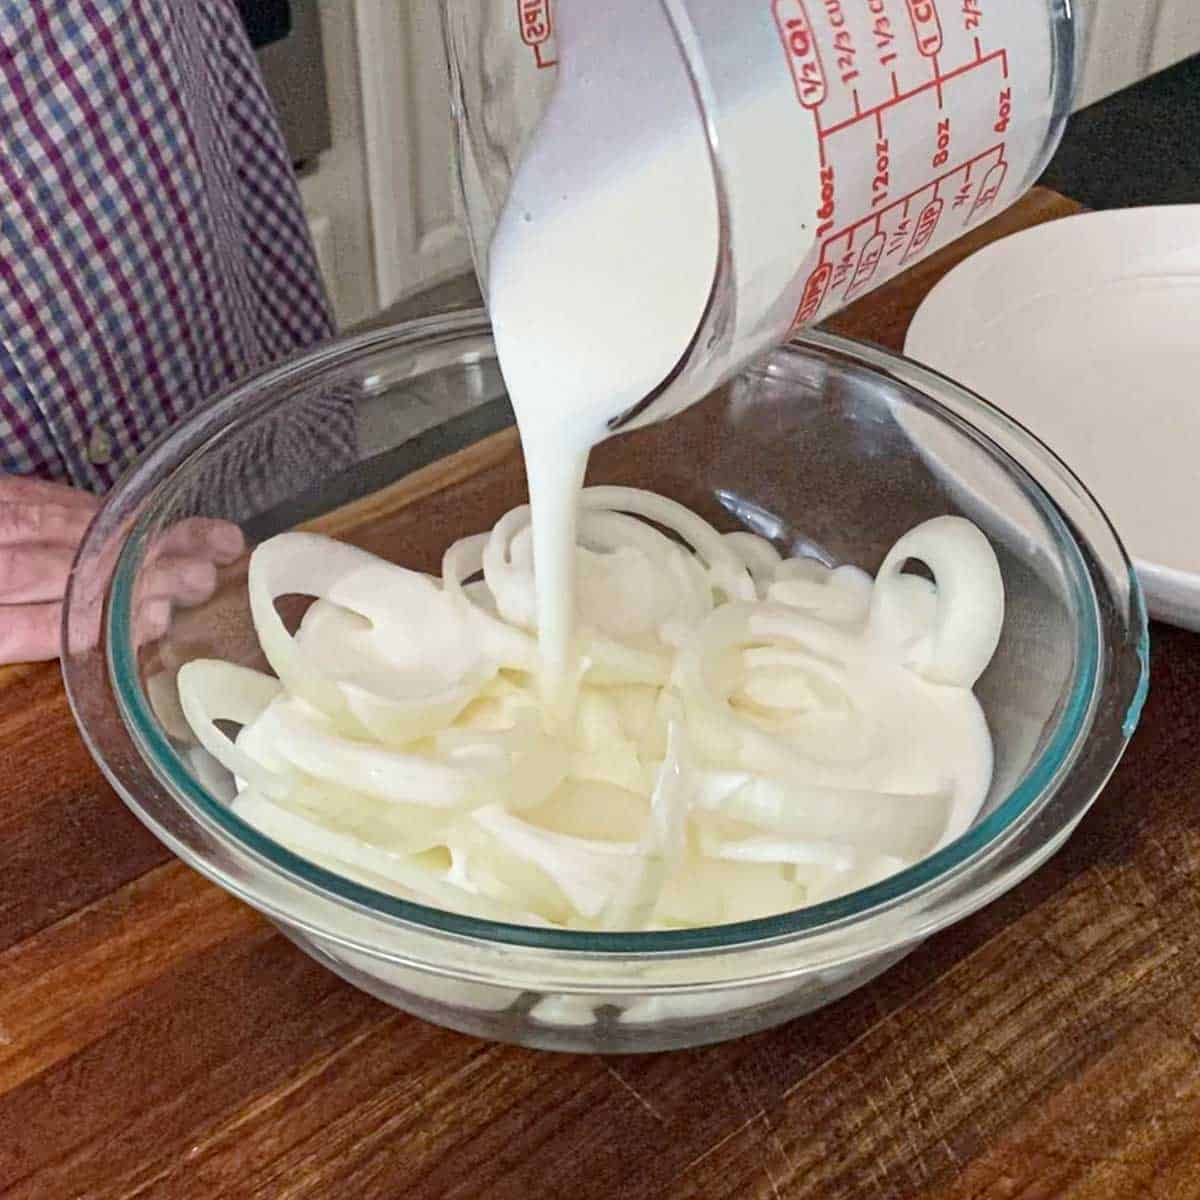
- Step 1: Place the sliced onions in a large bowl and pour the buttermilk over them.
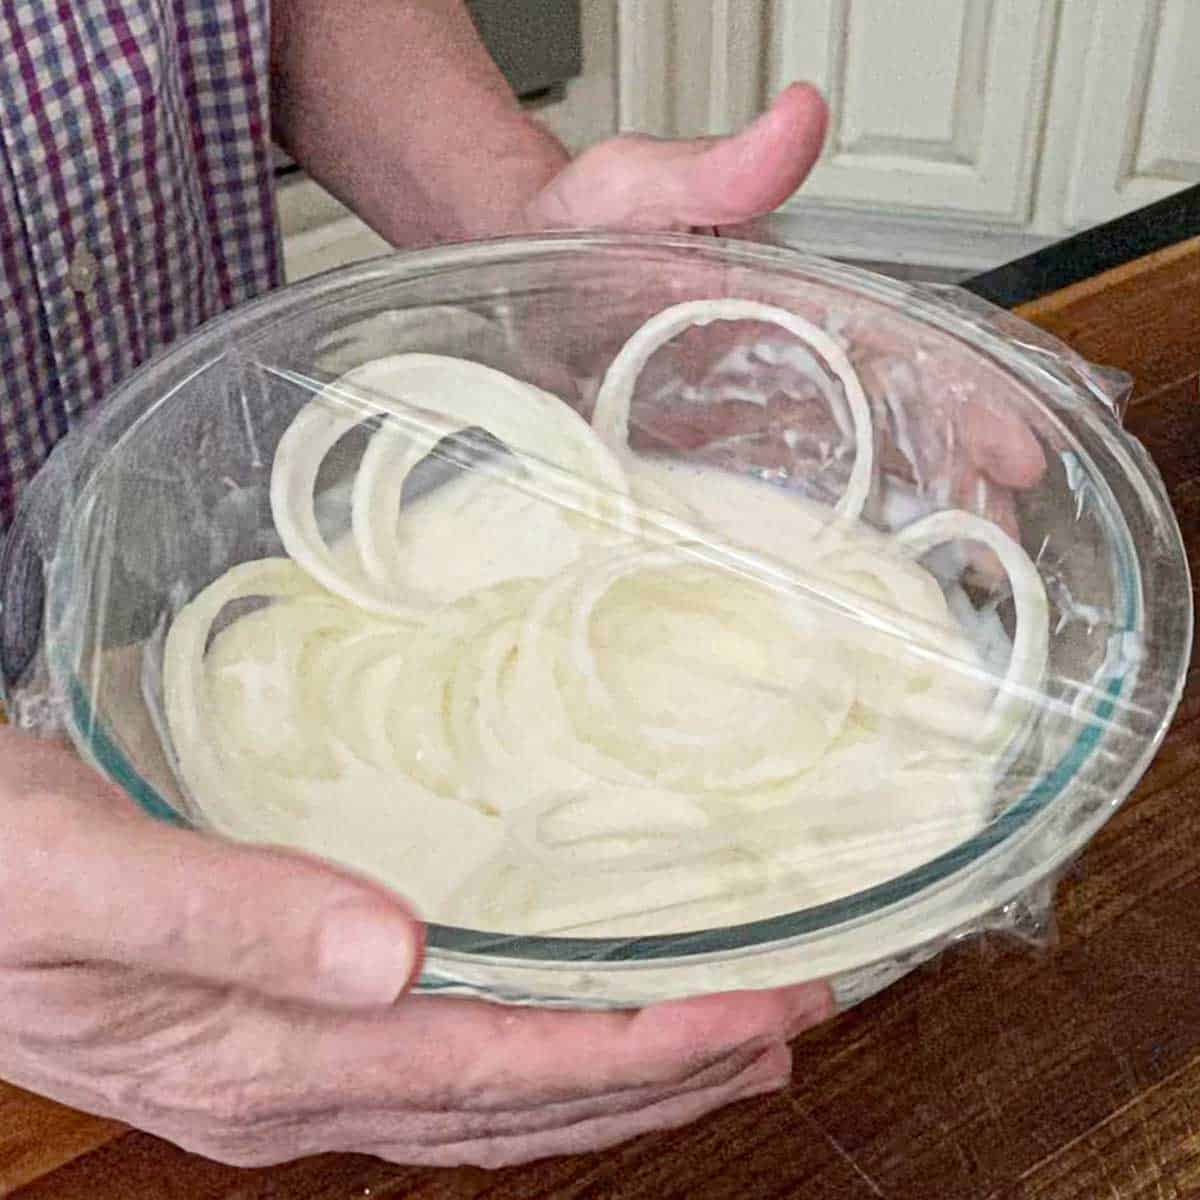
- Step 2: Cover the bowl with plastic wrap and chill it in the refrigerator for at least 1 hour (or overnight).
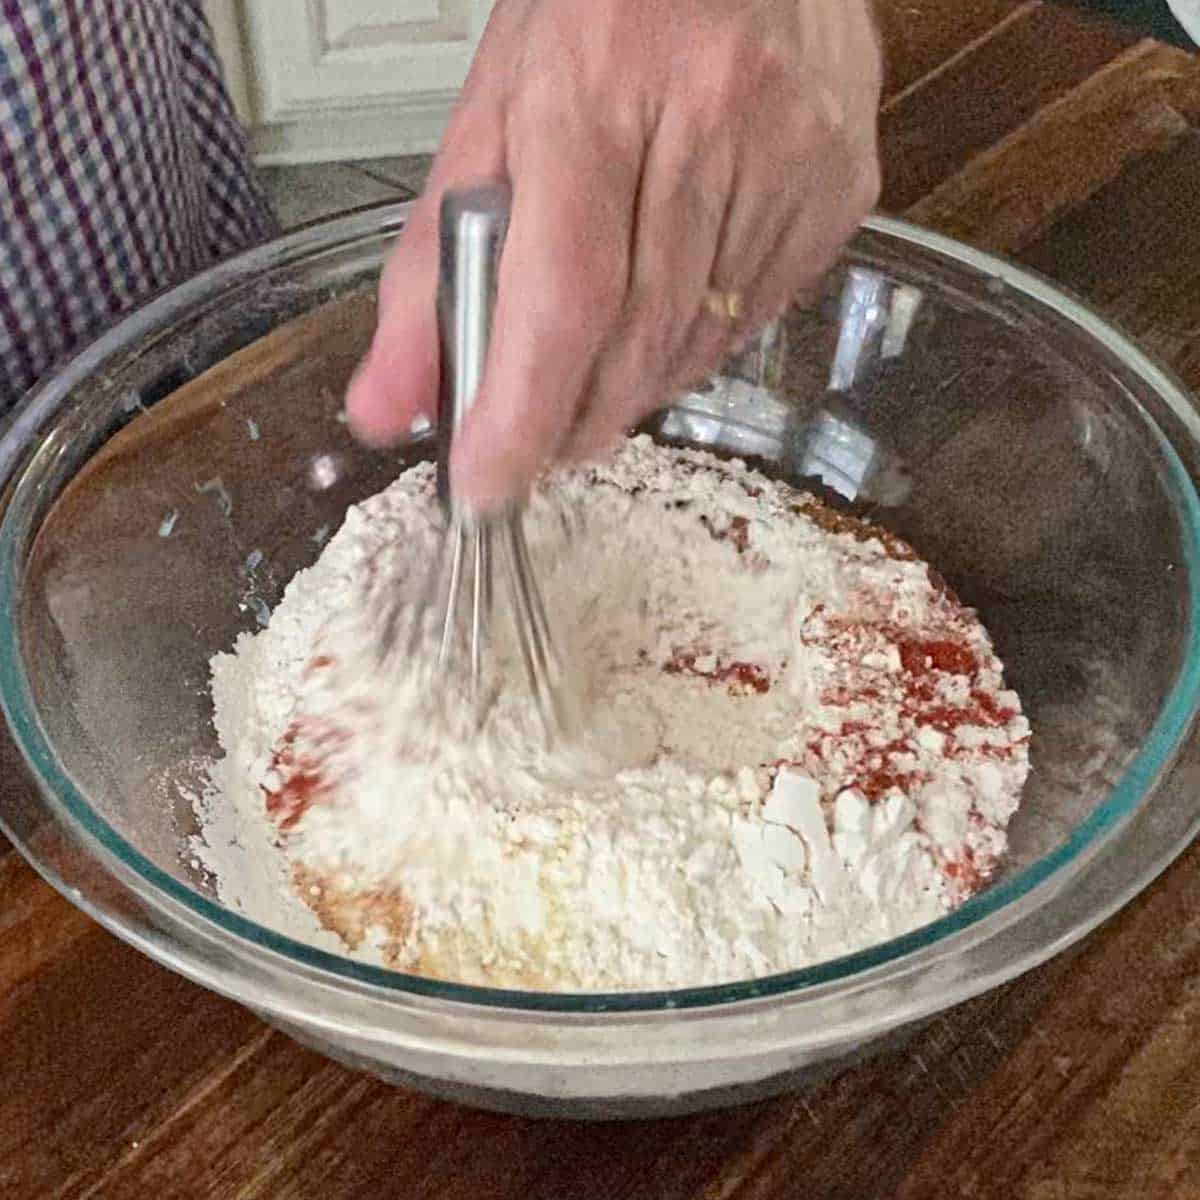
- Step 3: In a large bowl, whisk together the flour, salt, pepper, smoked paprika, garlic powder, and cayenne.
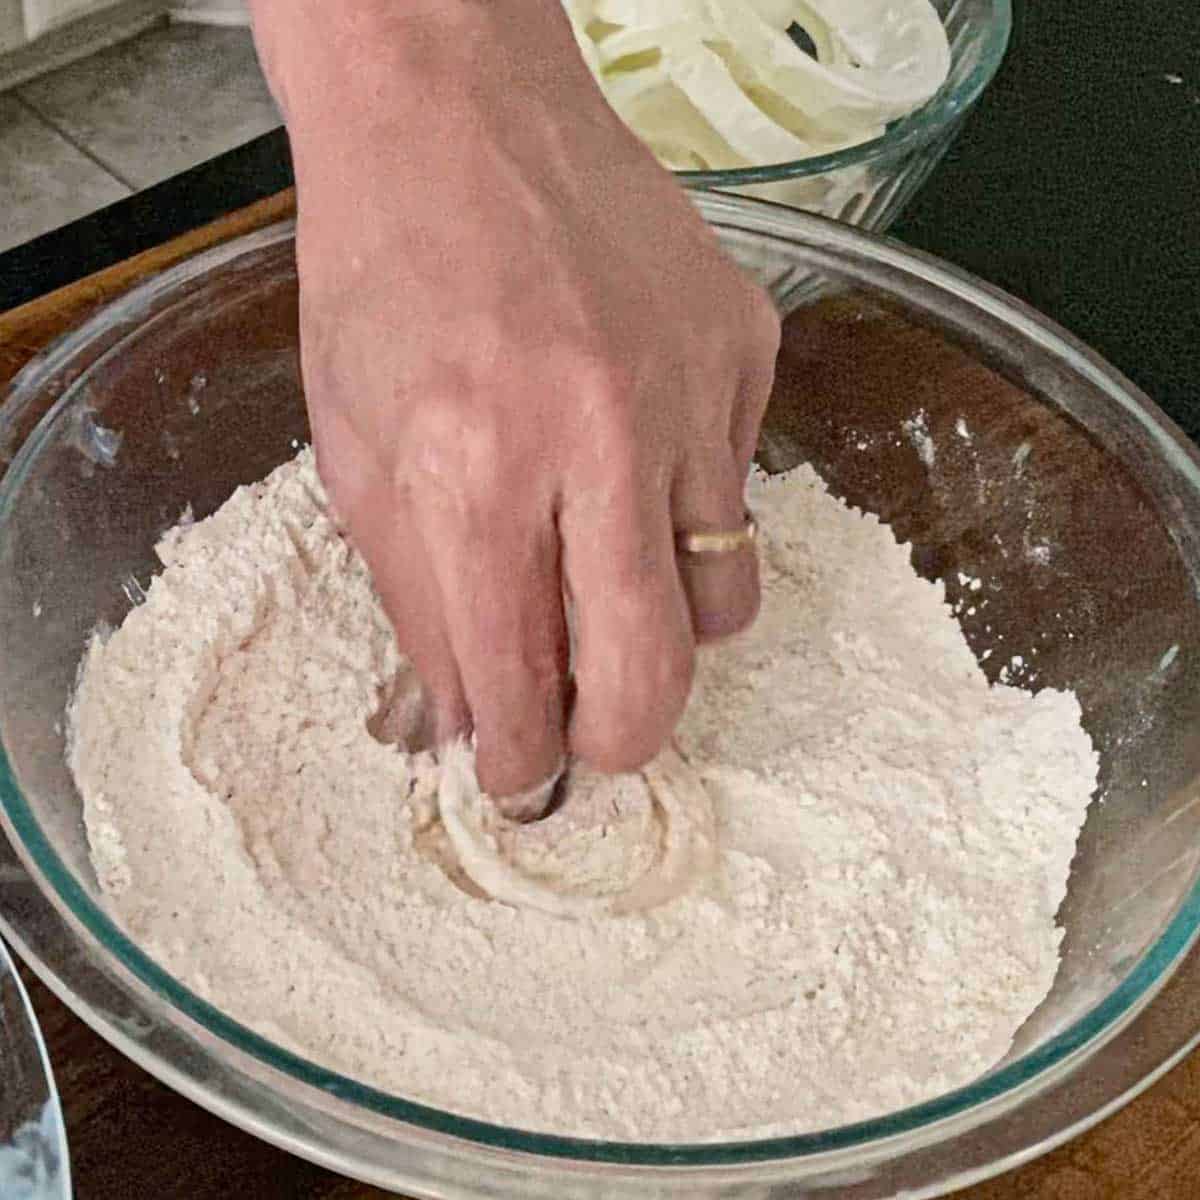
- Step 4: Take the onion rings out of the buttermilk and place them in another bowl. Working in batches, dredge the rings through the seasoned flour.
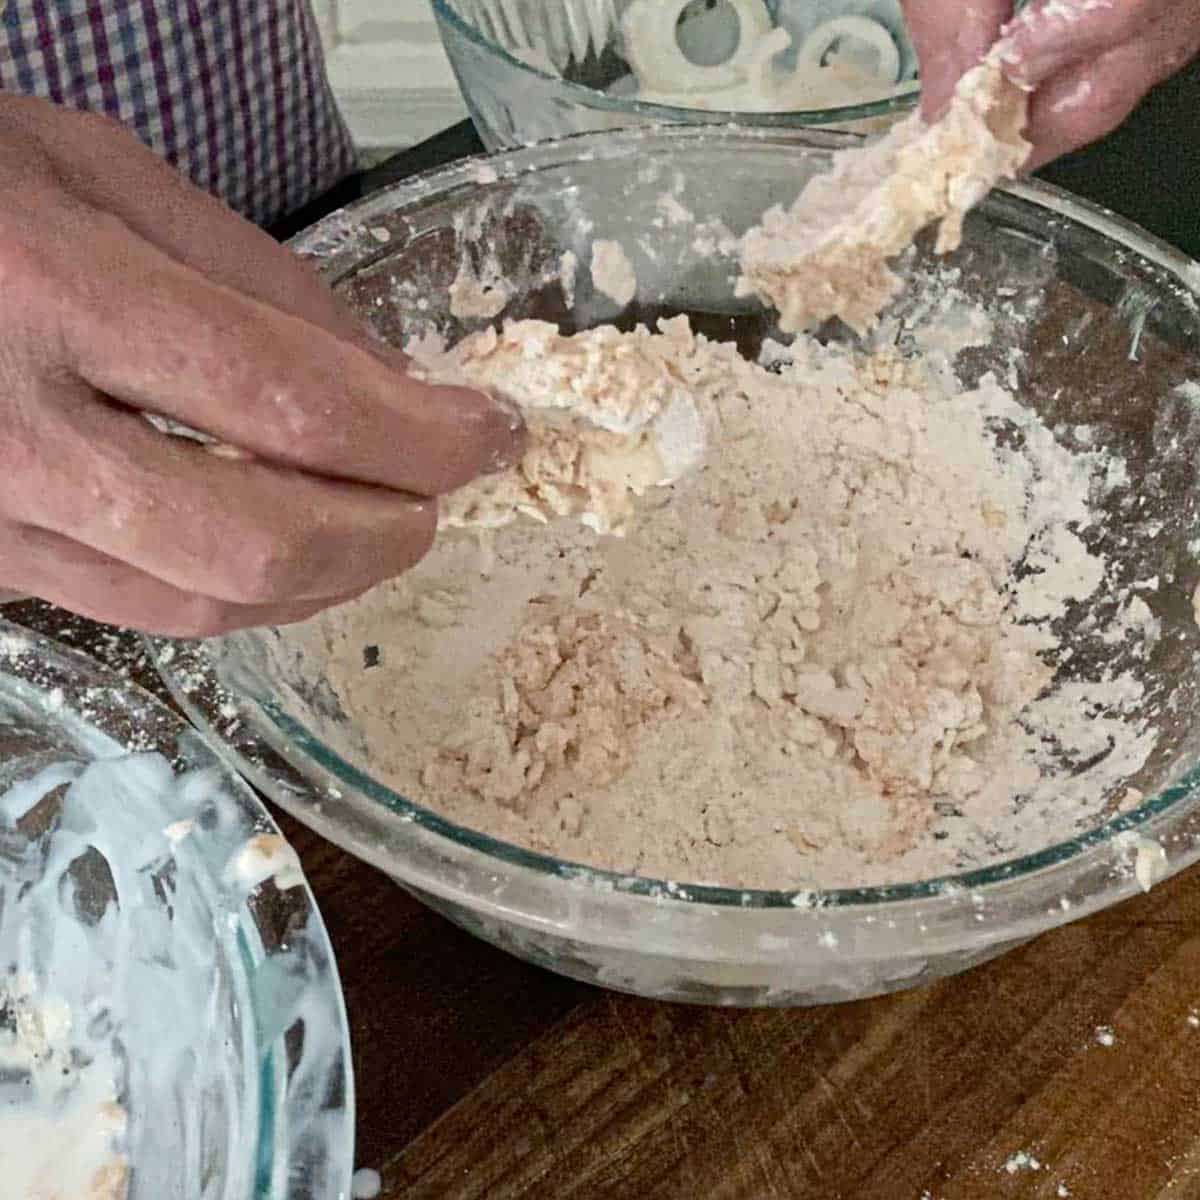
- Step 5: Place the rings back in the buttermilk and dredge one more time in the seasoned flour. Continue the process with a few more onion rings.
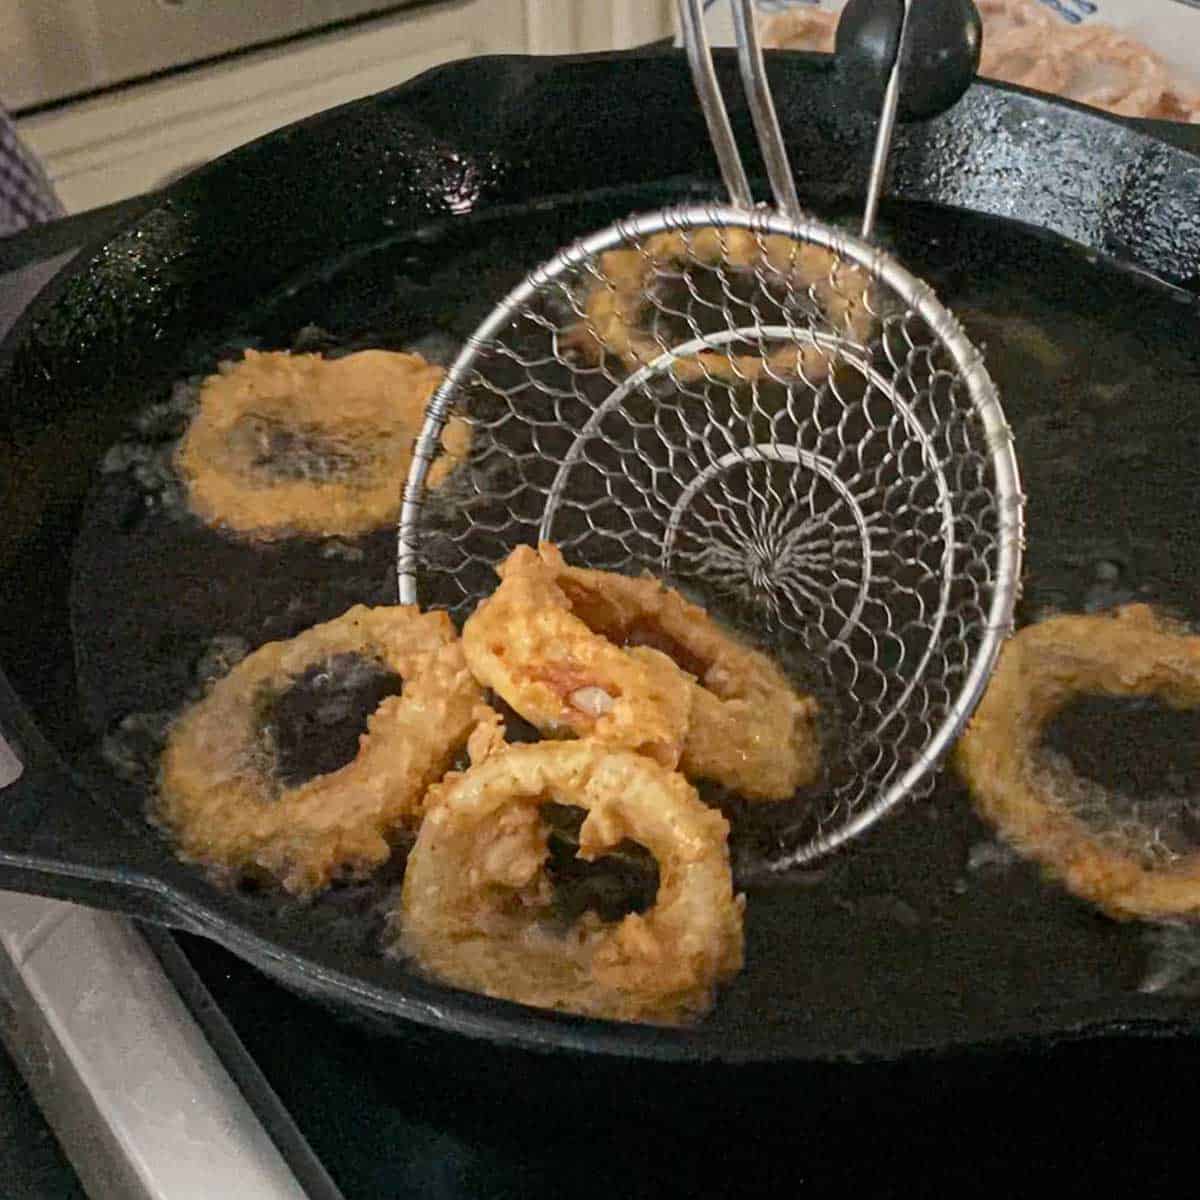
- Step 6: Fry in 350°F oil until golden and crispy. Remove from the oil and let drain on paper towels or a wire rack. Repeat this process with the remaining onions.
🙋🏽♂️ Frequently Asked Questions
You can certainly use that method for a lighter version, though the texture will be less traditional. To do so, spray the breaded rounds generously with oil and cook at 375°F for about 10-12 minutes, flipping halfway through until they reach a golden brown color.
Large yellow varieties are the preferred choice because they offer a sturdy structure and a balanced flavor that becomes sweet and mellow when cooked. If you prefer a much milder, sweeter taste, you can substitute them with Vidalia or Walla Walla varieties.
While you can slice the vegetables and let them soak in the buttermilk for several hours in the refrigerator, it is best to dredge and fry them immediately before serving. This ensures the crust stays light and airy rather than becoming heavy or doughy.
To restore the original crunch, place them in a single layer in an air fryer or a 400°F oven for 3 to 5 minutes. Avoid using the microwave, as the moisture will soften the breading and make it chewy.
😋 More Classic Steakhouse Sides (or Starters)



Ready to make onions ring that are even better than a steakhouse? Go for it!
And when you do, be sure to take a photo of them, post it on Instagram, and tag @HowToFeedaLoon and hashtag #HowToFeedaLoon!
Steak House Onion Rings
Video
Equipment
- large (12") sturdy skillet for frying
Ingredients
- 2 or 3 large onions ends cut off, and then sliced into ⅛ inch rings
- 2 cups buttermilk
- 2 cups all-purpose flour
- 2 teaspoon smoked paprika
- 1½ teaspoon Kosher salt
- 1 teaspoon black pepper
- 1 teaspoon garlic powder
- ½ teaspoon cayenne pepper
- Vegetable oil for frying
Instructions
- Place onion rings into a bowl and cover with buttermilk.2 or 3 large onions, 2 cups buttermilk
- Cover with plastic and place in the fridge for 1 hour (or up to 12 hours).
- Whisk the flour, paprika, salt, pepper, garlic powder, and cayenne pepper together in another large bowl.2 cups all-purpose flour, 2 teaspoon smoked paprika, 1½ teaspoon Kosher salt, 1 teaspoon garlic powder, ½ teaspoon cayenne pepper, 1 teaspoon black pepper
- Lift the onions out of the buttermilk and place them in another bowl.
- Add the onion to the flour mixture and toss to coat. If you prefer extra crispy onion rings, do a double dredge (add the coated rings back into the buttermilk, then dredge in flour again).
- Place oil in a large, heavy saucepan about halfway up the side of the pan, or heat your deep fryer to 350°F.Vegetable oil
- Working in batches, fry the rings in hot oil until golden brown and crispy, about 2 minutes per batch.
- Transfer onions to paper towels or a baking rack.
- Season with a little more salt (if desired) and serve immediately! Delicious served with Cajun Remoulade!
Notes
- Make it a Meal: These rings are the perfect size for stacking! Try placing 2 or 3 of them on top of a BBQ burger crusted with beef rub for a true “steakhouse style” experience.
- Oil Temperature: Use a kitchen thermometer to keep your oil between 350°F and 375°F. If the oil is too cold, the rings will be greasy; if it’s too hot, the outside will burn before the onion is tender.
- Adjusting the Heat: This recipe has a mild “back-end” heat from the cayenne. If you prefer a completely mild ring, omit the cayenne and double the smoked paprika. For more spice, add a teaspoon of hot sauce to the buttermilk soak.
- Storage & Reheating: Leftovers can be stored in an airtight container in the fridge for up to 2 days. To regain that signature crunch, reheat them in an air fryer or a 400°F oven for 3–5 minutes. Avoid the microwave, as it will make the breading soggy.
- Serving Suggestions: While these are incredible on their own, we highly recommend serving them with a side of Cajun Remoulade for a zesty kick or Homemade Ketchup for a classic pairing.

Marcia M Oberg says
With regards to the lady wishing for a recipe for 2 people, I don’t know where you get it but some websites have the button you can hit, above the actual recipe, that let’s touch choose X1, X2, and times X3.
Anne says
These are the best onion rings I have ever made. I had been using a recipe I got before we got married (56 years) ago and these are easier and tastier! Thanks!
Kris Longwell says
HI Anne! We can’t even begin to tell you how happy this makes us! We LOVE making these onion rings from scratch and we are so thrilled you made them and loved them, too! Woo hoo! Thank you so much for sharing and for the GREAT review! And congrats on such a long and beautiful marriage! So inspiring! Please stay in touch! All the best, Kris & Wesley (this year is our 31 year wedding anniversary!).
Anne says
Congratulations on your anniversary! Long and lasting relationships make my heart sing!!!
Kris Longwell says
Thank you so much!!! Us, too!!! xoxo
Diane says
Guys – I love your recipes but I wish you would include more recipes for 2 or 3 people. It’s not always easy to downsize your wonderful recipes but keep up the good work.
Chris says
Excellent. Only change was I cut the cayenne pepper in half and used 1 large Vidalia onion. Serves 4. For only 2 of us I fully cooked 1/2 and not quite finished cooking 1/2 to freeze and finish in the air fryer later.
Gugi says
Is there a trick to keeping the batter it breading from falling off the onion while frying?
Kris Longwell says
Hi Gugi, so sorry for the delayed response. It really takes a little massaging to get the flour mixture wet enough once you dredge in the buttermilk and then the flour. We sometimes dredge two or three times. And this particular method will still leave a little of the onion shining through. Hope this helps and we hope you have success with the onion rings. Let us know how they turn(ed) out! Best, Kris & Wesley
Judy says
Can these be made in an air fryer?
Kris Longwell says
Hi Judy! No, we don’t recommend using an air fryer with a wet batter. To fry with an air fryer, then dredge in flour, dip in egg, and then coat in breadcrumbs. They’ll be delicious! Hope this helps!! Best, Kris & Wesley
S McDowall says
350 or 365 .. for the oil? There is a discrepancy between the text – 365 – and the recipe.. Also the recipe should maybe mention the optional double dredge ?? Currently it says to just drain the onions ..
krislongwell says
Updated the recipe based off your feedback. Thanks!! Best, Kris & Wesley
Umm Haneefah @The Halal Gourmet says
I lo-ove onion rings and for some ridiculous reason feel like I can’t or shouldn’t make them at home. These look amazing especially with that super huge photo right at the top. HIghly likely, I will try theeese!
krislongwell says
Hi there! These really are yummy, and pretty easy to make! Let me know how they turn out, I love your site, BTW…beautiful!