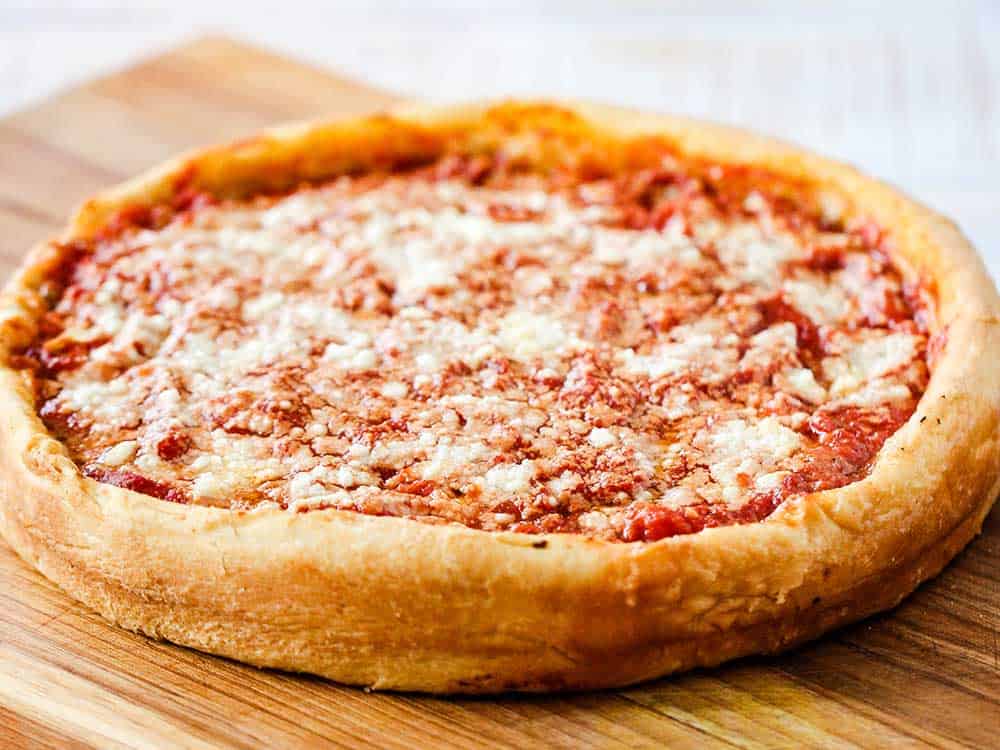
This pizza is truly the stuff that dreams are made of. Dreams of unbelievable deliciousness.
But folks, this isn’t a dream. It’s the real deal. The crust is buttery and classic Chicago-style. The sauce is robust. And the sausage and cheese are the perfect topping. If you want an authentic Chicago Deep-Dish pizza recipe, you’ve come to the right place. Let’s do this! This pizza gives New York-Style Pizza a run for its money!
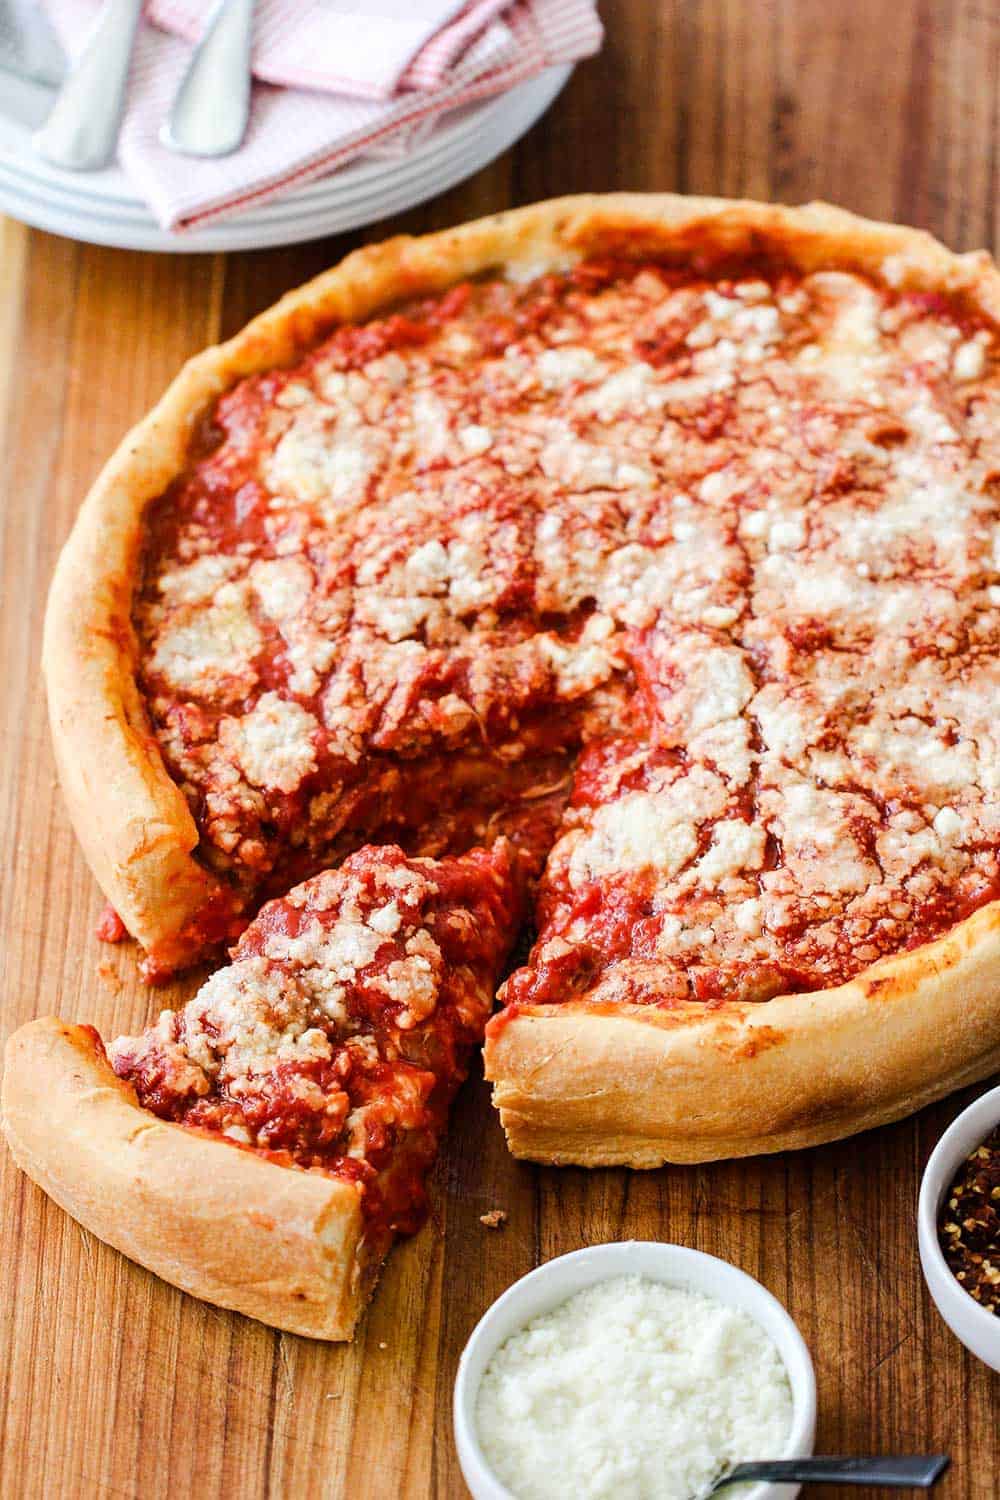
HOW TO MAKE CHICAGO-STYLE DEEP DISH PIZZA
As we go through this not-difficult-to-have-success process, we’ll show you exactly how to make a Chicago deep-dish pizza that rivals even the best in Chi-Town. Learn more about its amazing history here.
We’ll go over all this shortly, but here’s what makes a great Chicago deep-dish pizza: The dough! The dough! The dough! And then the sauce, the cheese, and the sausage. And did we mention the dough?
PERFECT CHICAGO DEEP-DISH PIZZA CRUST RECIPE
We are using a technique called laminating for this dough. It’s a similar concept to flaky, buttery croissants.
Butter is a key component of this dough. For the best results, we use our stand mixer and the dough attachment.
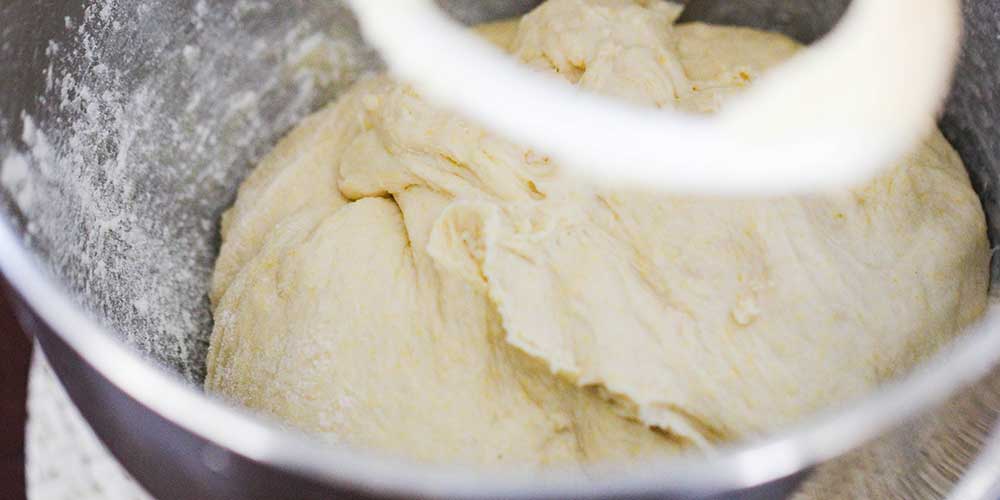
Mix together the flour, cornmeal, sugar, salt, and yeast. Add the warm water and melted butter and mix until the dough is smooth and satiny. About 5 minutes.
EXPERT TIP: We use Quick Rise (or Instant Rise) yeast for this recipe. You can use regular Active Yeast, too, you just may need the dough to rise a little longer for it to reach double in size. We do heat the water slightly, and the melted butter should not be scorching hot. If the water or butter is too hot, it will kill the yeast. Around 100°F is perfect.
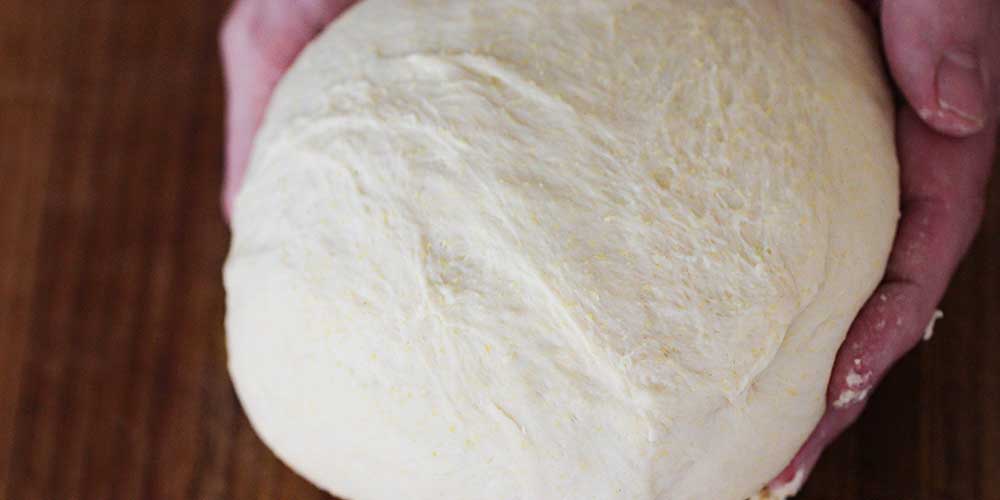
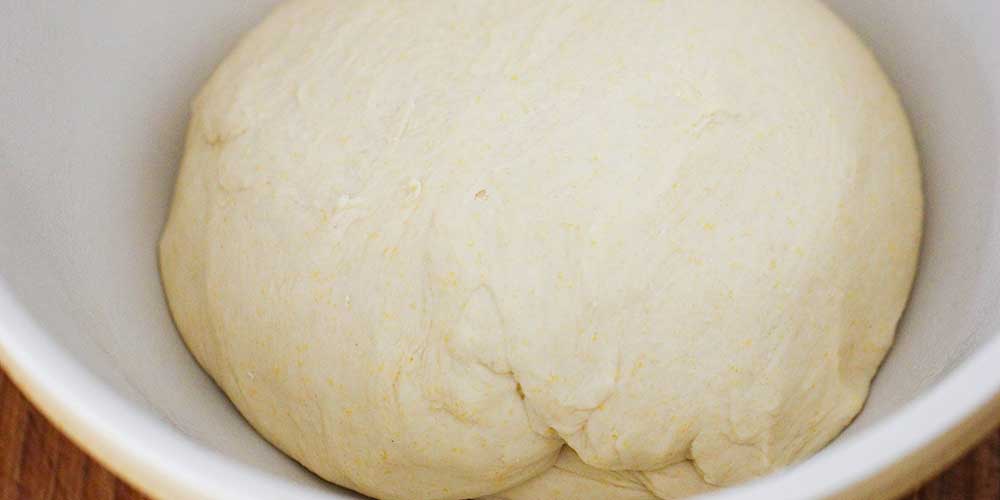
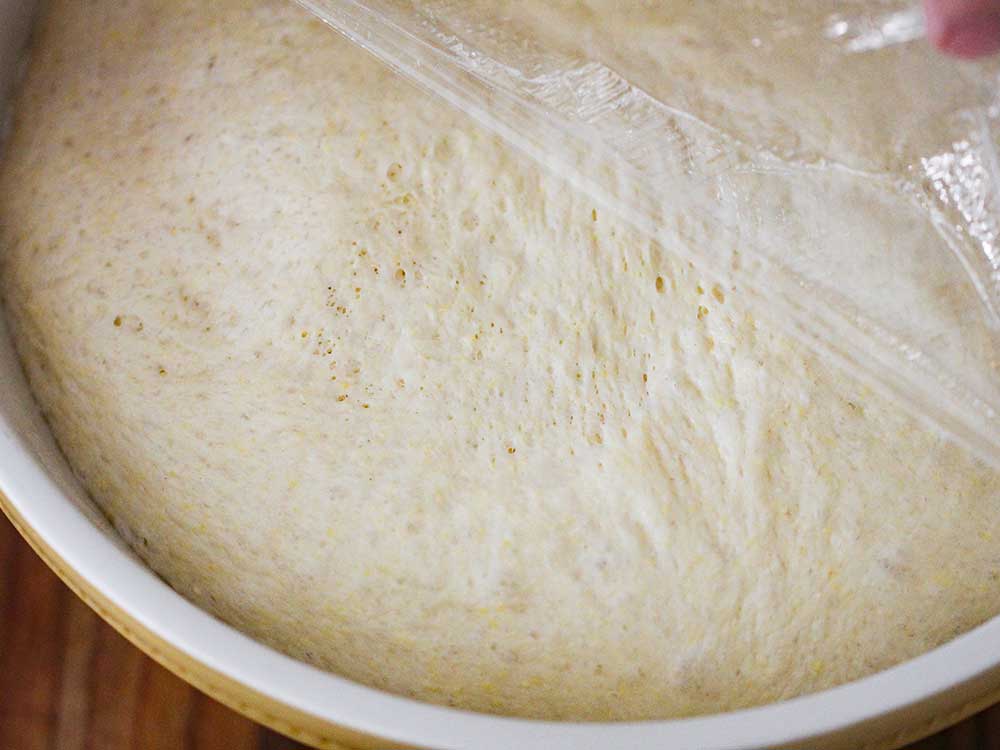
Next, roll the dough into a smooth ball by rounding out the sides with your hands, and then place it in a greased bowl and cover it with plastic wrap. Place in a warm and draft-free area for 90 minutes to 2 hours.
BUTTERY AND FLAVORFUL GUARANTEED
After 1½ to 2 hours, the dough should have nearly doubled in size. Remove the plastic wrap, gently dump the dough onto a lightly floured surface, and press it down (or gently give it a couple of punches).
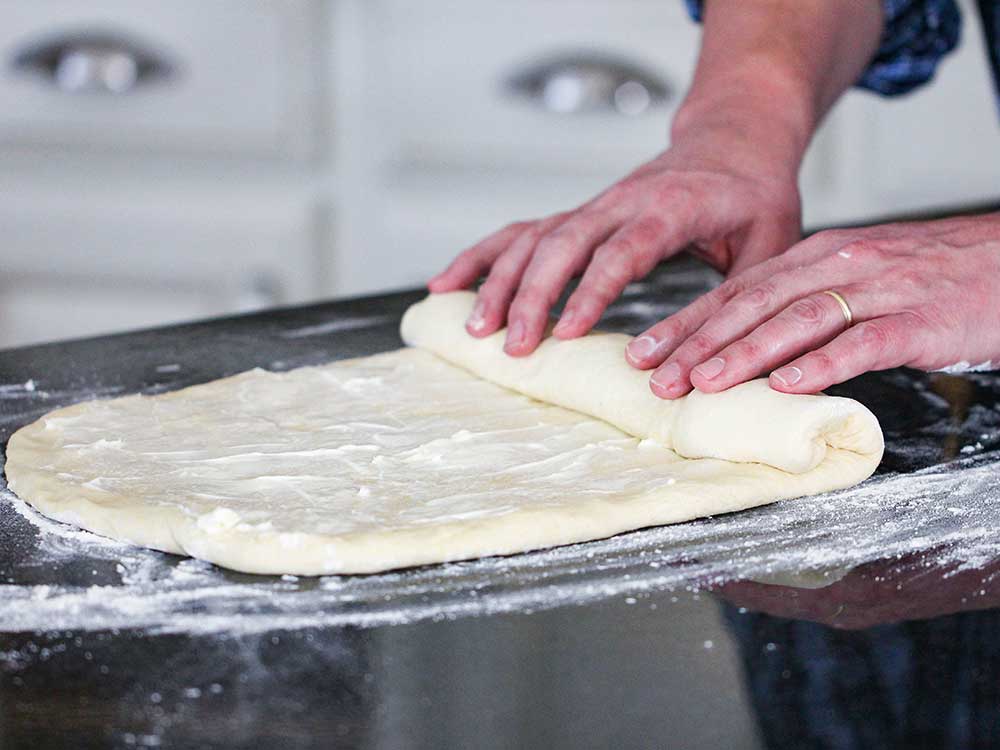
Use a rolling pin to roll the dough out roughly into a 9″x15″ rectangle. Brush on the ¼ cup of softened butter, and then roll the dough up with both hands from the short end of the rectangle.
Form the dough into a ball again, place it back in the greased bowl, cover it again with plastic wrap, and place it in the refrigerator for another 45 minutes.
Now, it’s time to roll the dough out and transfer it to the pizza pan.
If you are using a 12-inch pizza pan, then roll the dough out to a 19 to 20-inch diameter. If using two 9-inch pans, then divide the dough into 2 pieces, and roll each out to a diameter of 14 to 15 inches.
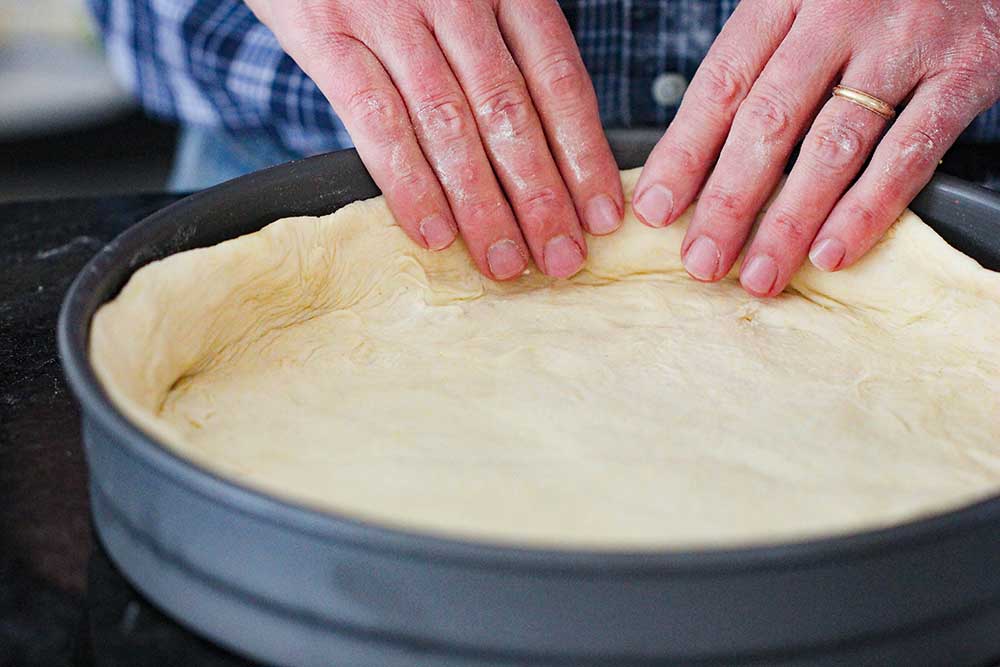
Carefully transfer the dough to the pan, and trim away the excess. Use your fingers to press the dough along the edges of the pizza pan.
CHICAGO-STYLE PIZZA SAUCE
The sauce for this pizza is quite simple to put together, yet deeply flavorful.
We use 7/11 Ground Tomatoes in our version, but if you can’t find ground tomatoes, you can use crushed tomatoes.
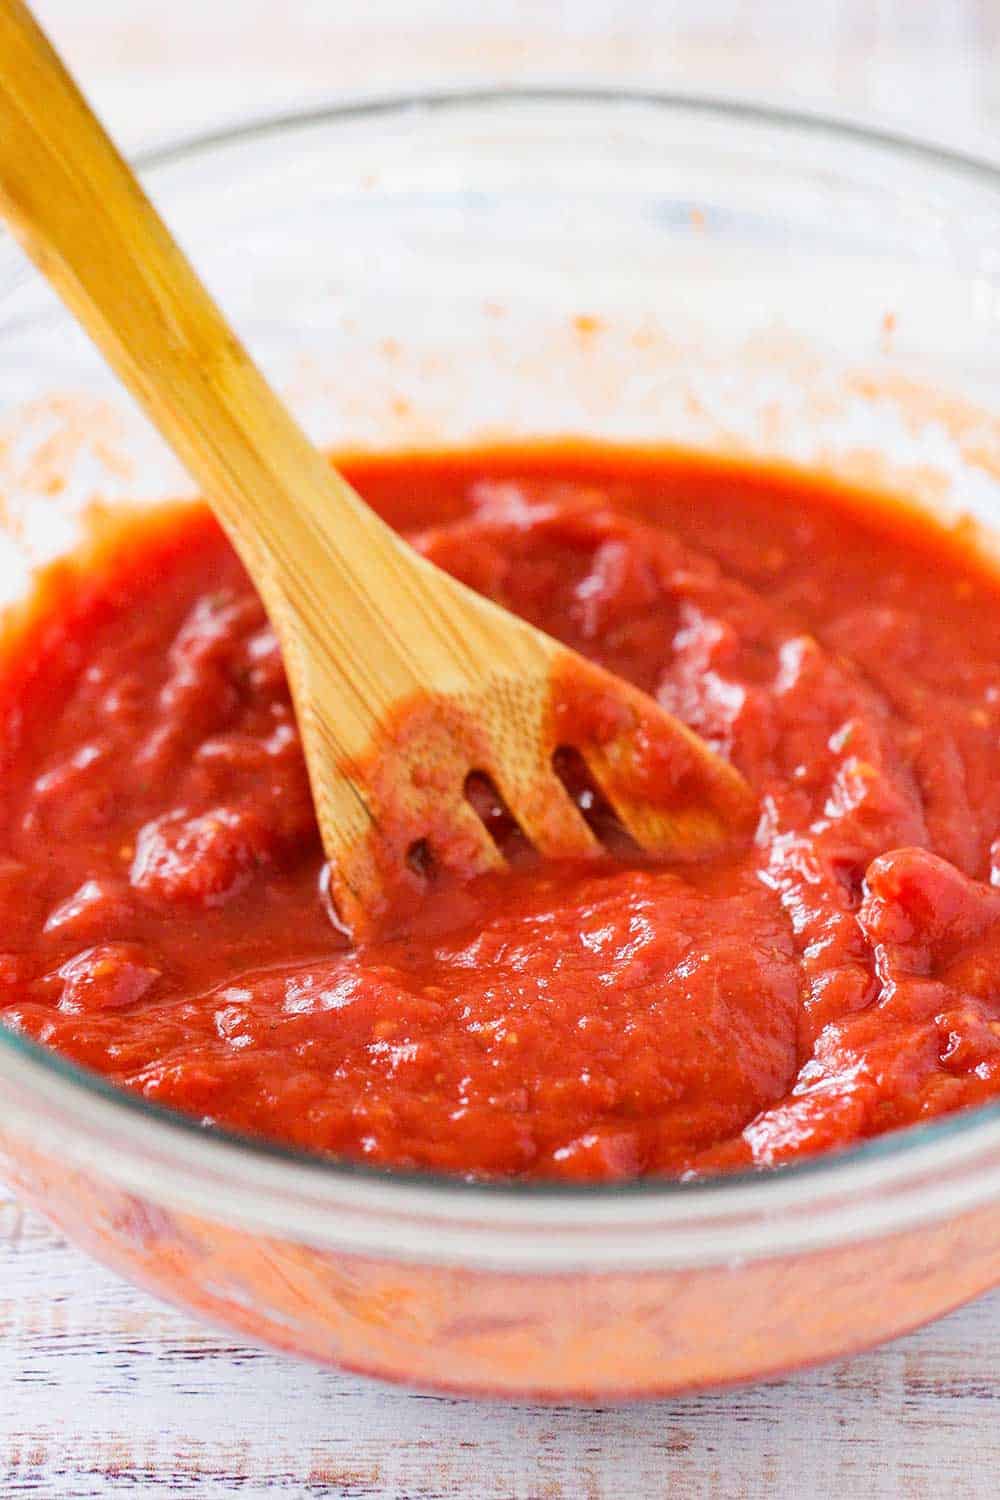
No cooking is needed. Simply mix together the tomato paste with the ground (or crushed) tomatoes and seasonings, and then stir in the hand-crushed whole tomatoes.
Now, it’s time to layer the pizza.
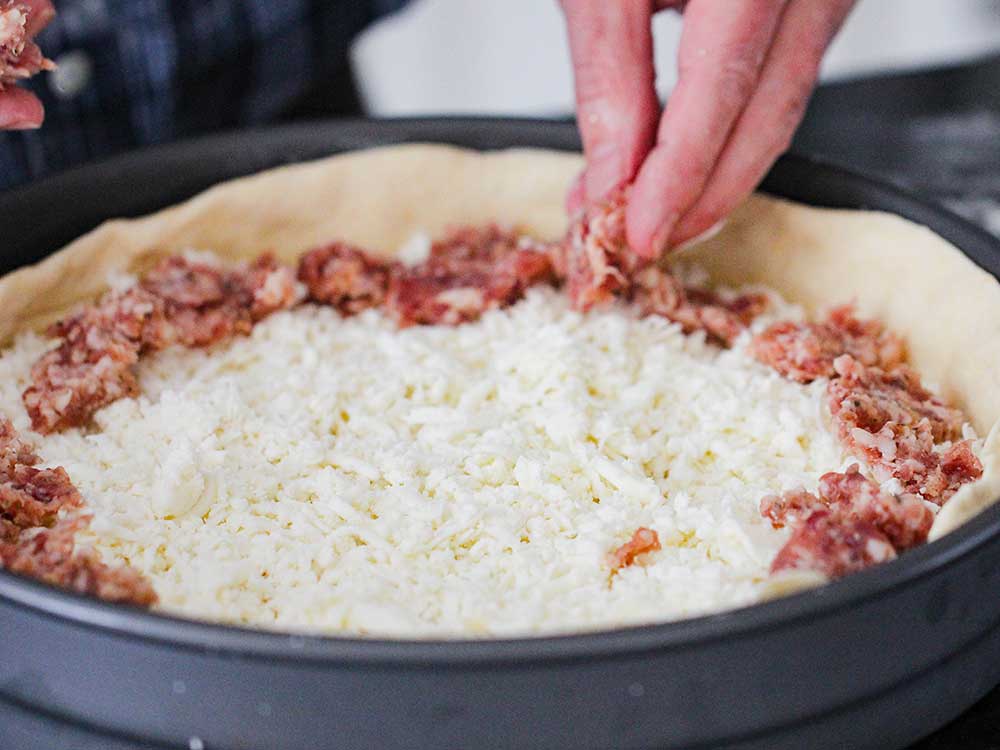
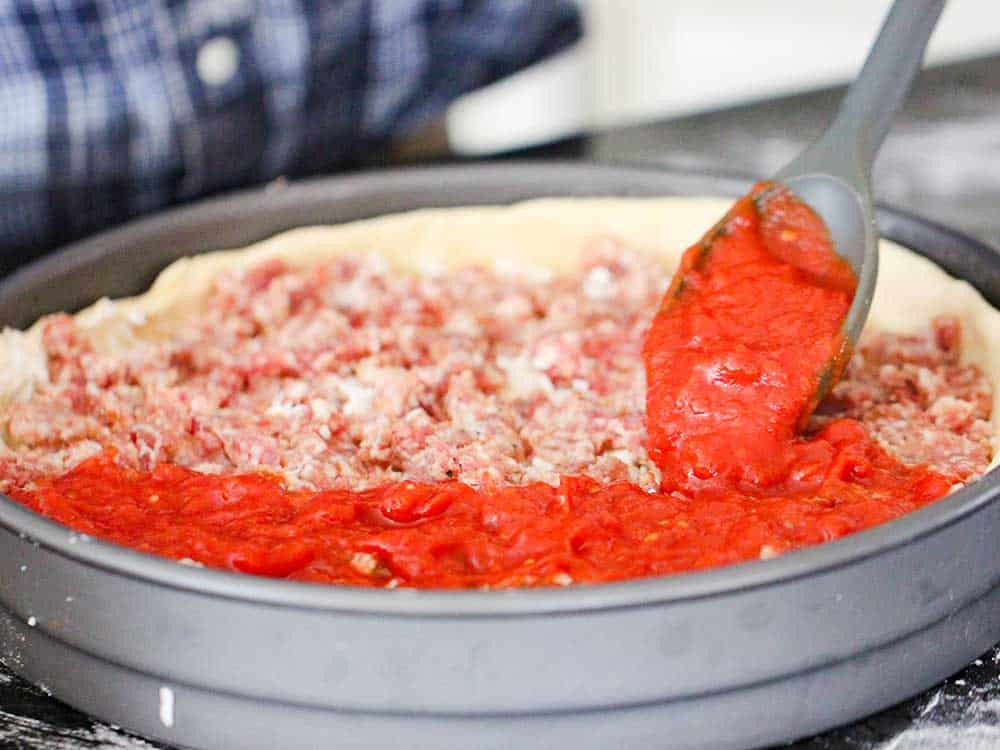
Start with 4 cups of grated (or sliced) fresh mozzarella. Next is the sausage, and then the sauce.
EXPERT TIP: We recommend using fresh mozzarella rather than pre-shredded packaged cheese. There is just a better taste and texture with fresh. Shred the mozzarella with a box grater or thinly slice it. Also, no need to cook the sausage before baking the pizza. Simply layer in small pieces of the sausage to cover the mozzarella.
FINISHING THE PIZZA OFF
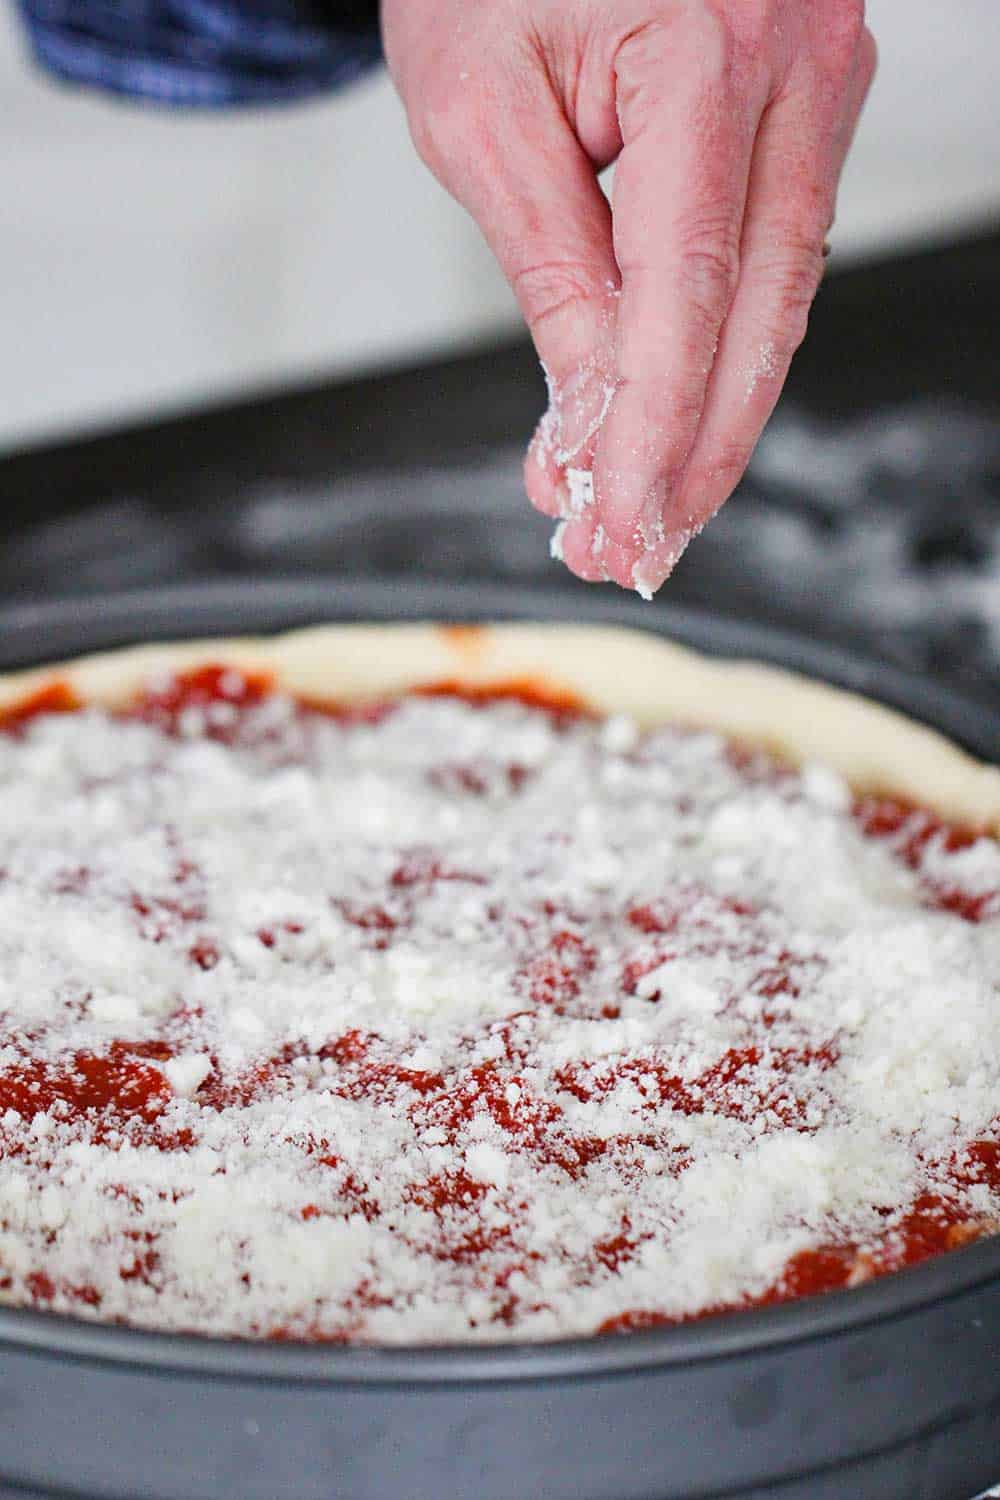
We love to top our Chicago-Style Deep Dish Pizza with a healthy amount of grated Parmesan.
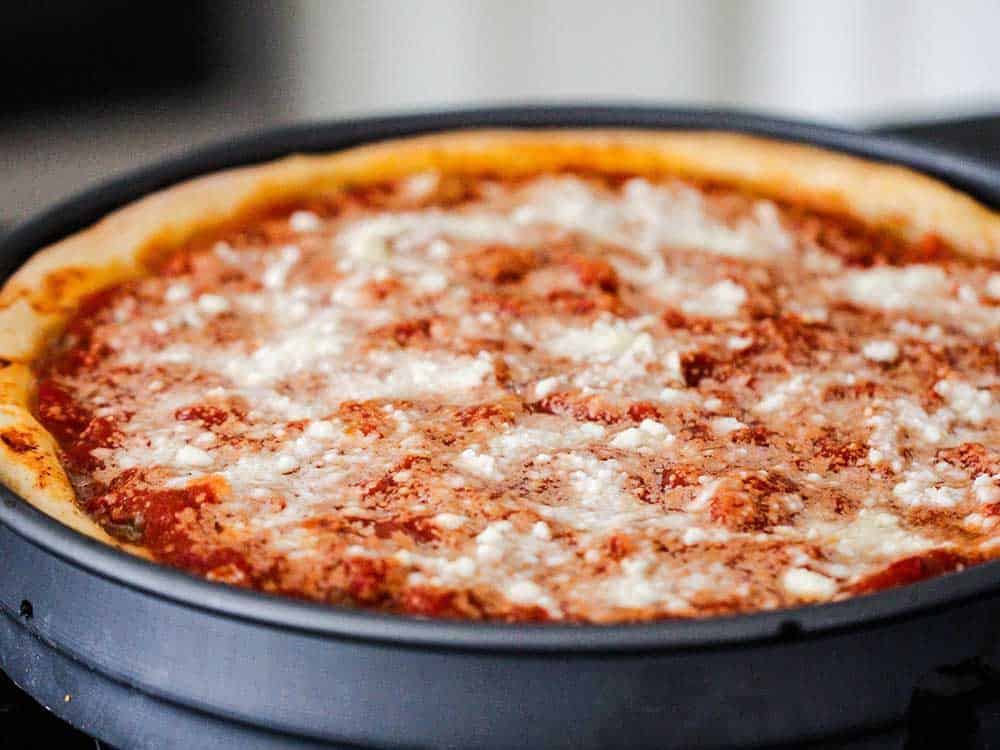
The pizza is now ready to be baked.
EXPERT TIP: The pizza bakes for 28 to 30 minutes. Keep an eye on the crust, we usually loosely cover the pizza with a sheet of foil after about 15 minutes to prevent the edges from getting too browned.
After the pizza is finished baking, you’ll want it to rest for 10 minutes.
You will probably see some liquid bubbling on the surface when you take the pizza from the oven. This is normal and will settle while it rests.
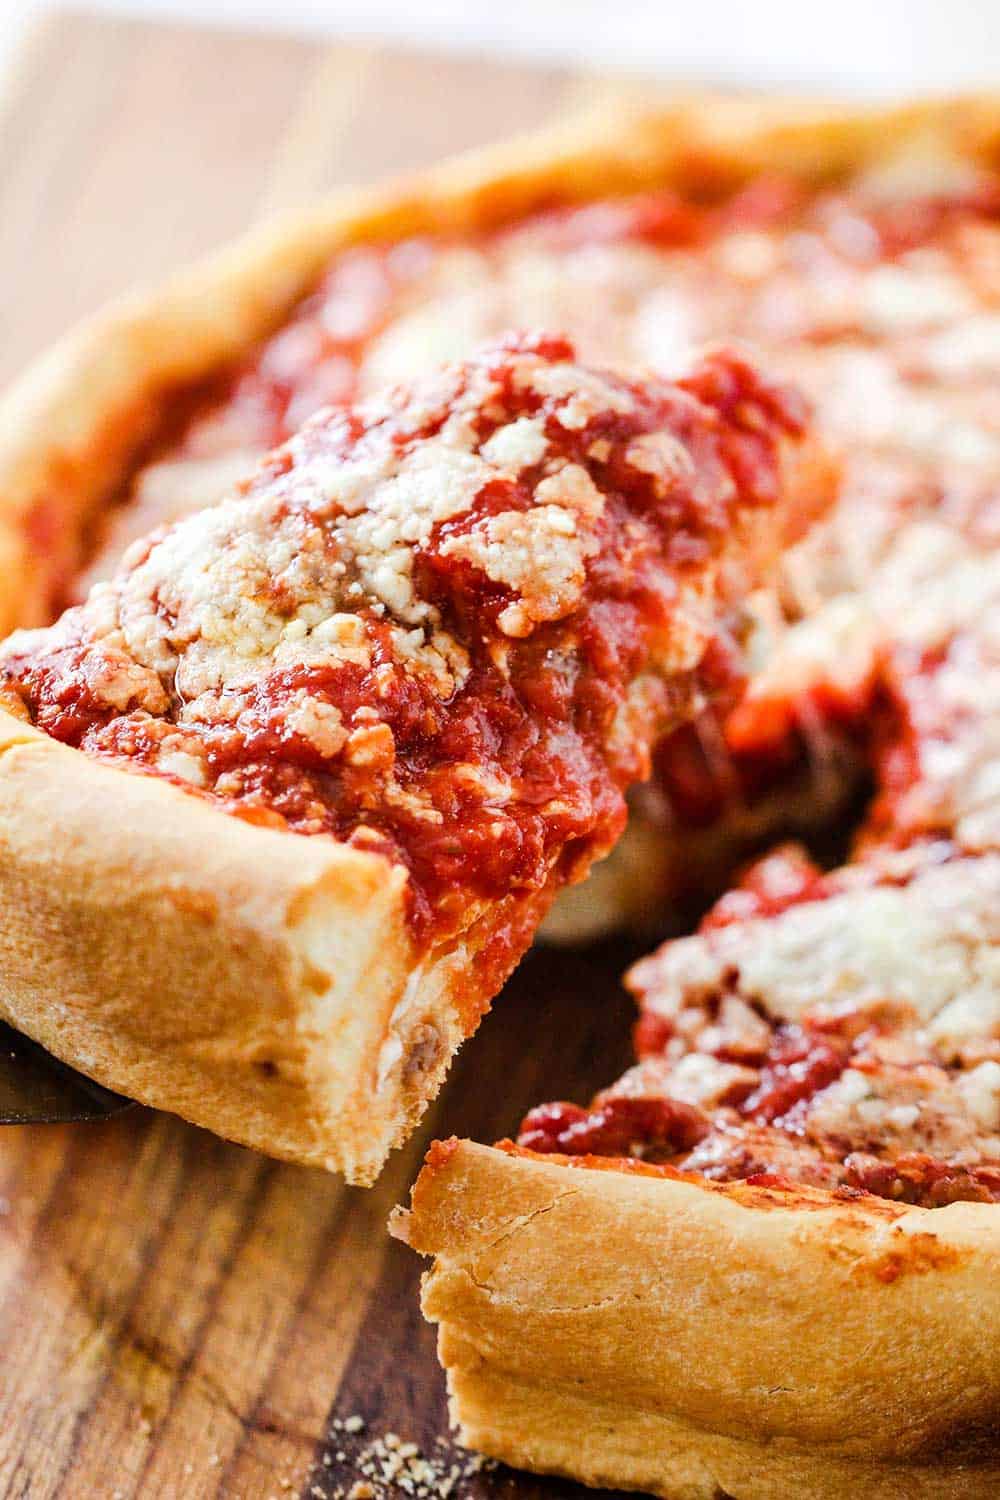
Use a large spatula or wooden spoon to help you ease the pizza out of the pan and onto a cutting board.
HOW TO SLICE CHICAGO-STYLE DEEP-DISH PIZZA
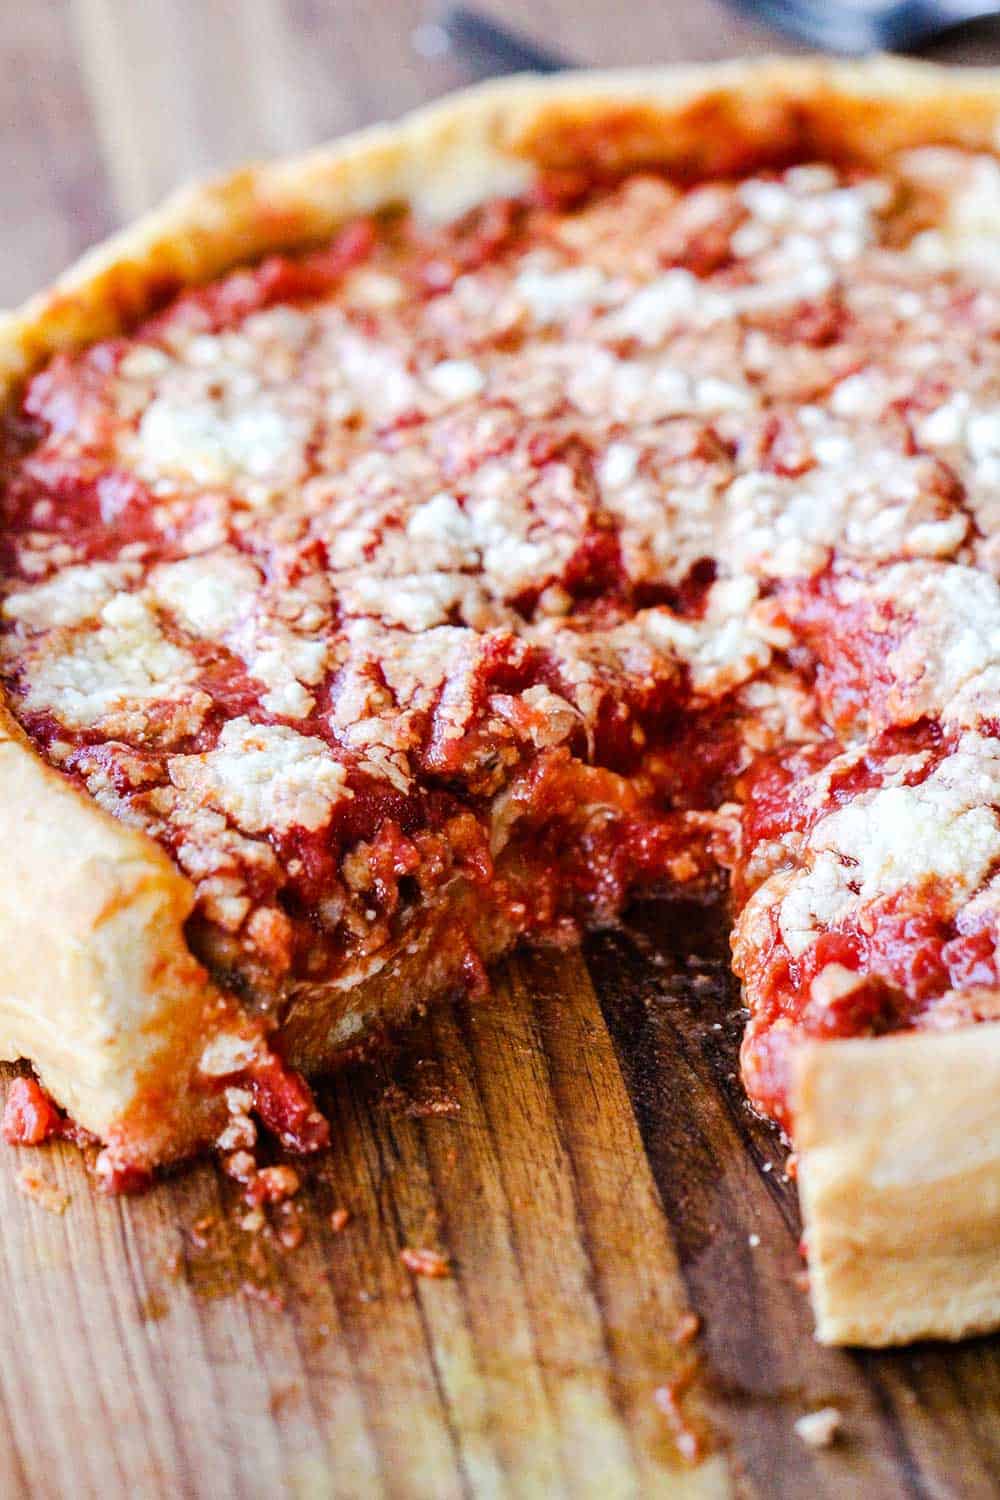
We find that using a serrated knife is the best way to slice the pizza.
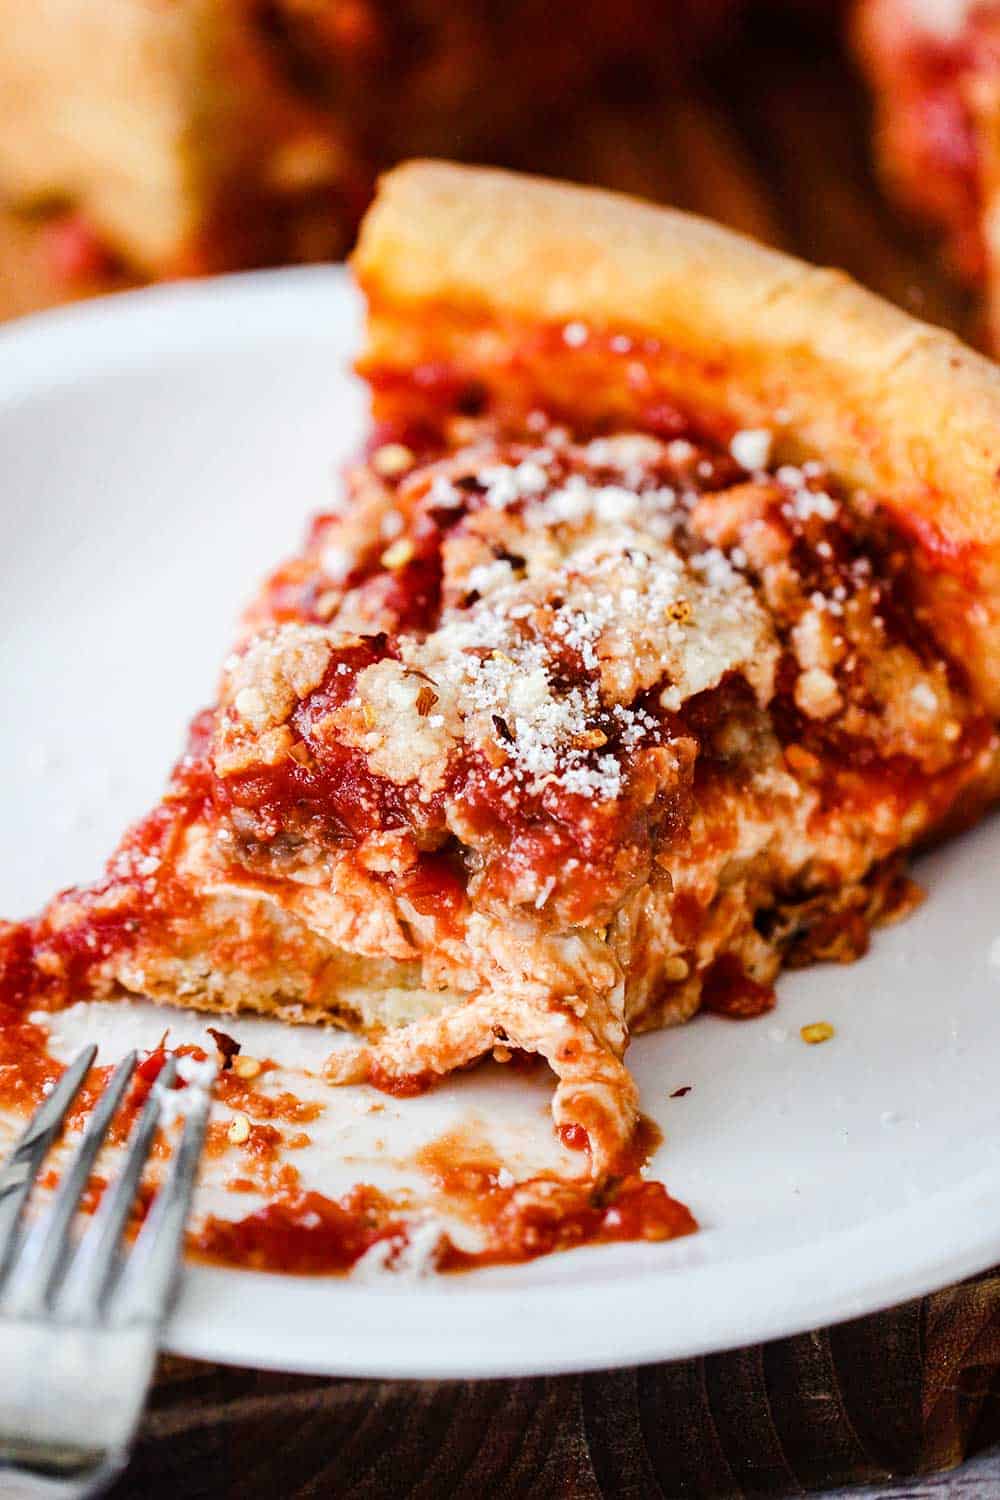
Obviously, this dough is thicker than regular pizza crust and almost has a light bread texture to it.
Be sure to serve it nice and hot (although it’s still amazing even the next day!).
There is truly something magical about this pizza.
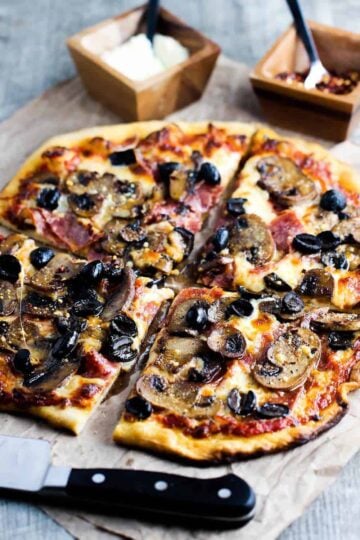
We love all kinds of pizza, including our wonderful Thin Crust Pizza with Soppressata, Mushrooms and Olives,and Detroit-Style Pizza.
And folks, just look at this deep-dish beauty.
CHICAGO-STYLE DEEP DISH PIZZA FAQs
- Can I use Active Dry Yeast instead of Rapid Rise? Of course! You may need to allow the dough to rise a little longer, but even after just two hours, the dough should have doubled on the first rise.
- Can I make this in a cast-iron skillet? Absolutely! We recommend using a 12-inch skillet if going with the cast-iron skillet method. Roll the dough out to at least 20 inches in diameter before placing to into the pan.
- How far in advance can I assemble the pizza? You can assemble the pizza for up to an hour before baking. The longer the dough sits before baking, however, it will continue to rise. If you want to make the dough the night before, no problem, just let it proof (rise) in the refrigerator.
- Does the entire baked pizza need to be removed from the pan? Not at all. It’s a little more challenging to cut out the first piece when it’s still in the pan, but it’s certainly doable.
Ready to make the best pizza that even the Windy City folks will rave about? Go for it!
And when you do, be sure to take a photo, post it on Instagram, and tag @howtofeedaloon and hashtag #howtofeedaloon!

Chicago-Style Deep Dish Pizza
Video
Equipment
- 1 12-inch deep dish pizza pan, or 2 9-inch cake pans with 2-inch straight-edge sides
Ingredients
FOR THE DOUGH
- 3¼ cups all-purpose flour
- ⅓ cup medium-ground cornmeal
- 1½ teaspoon salt
- 1 tablespoon sugar
- ¼ oz. rapid rise yeast 1 package
- 1¼ cups warm water 90 to 100 F
- ¼ cup unsalted butter melted and cooled to 90 F
- ¼ cup unsalted butter softened
- 1 tablespoon olive oil for coating the pan
FOR THE SAUCE
- ⅔ cup tomato paste
- ¼ cup ground tomatoes
- ¾ teaspoon oregano dried
- ¼ teaspoon Kosher salt
- ½ teaspoon extra-virgin olive oil
- 1 28 oz. can whole tomatoes drained and hand-crushed
TOPPINGS
- 4 cups mozzarella fresh, sliced or mozzarella
- 14 oz Italian sausage hot or sweet, removed from casing and crumbled
- ½ cup Parmesan cheese grated
Instructions
MAKE THE DOUGH
- In the bowl of a stand mixer fitted with the dough attachment, add the flour, cornmeal, salt, sugar, and yeast. Mix on low until combined.
- Turn the speed to medium and add the melted butter and then warm water. Continue mixing until the dough has come together and is smooth and not too sticky to the touch, about 5 minutes. Remove from the bowl, and use your fingers to form a ball, turn the edges under to smooth it out. Place in a large greased bowl. Cover with plastic wrap and place in a warm, draft-free area until doubled in size, 90 minutes to 2 hours.
- Transfer the dough to a lightly floured surface, and gently punch the dough a few times with your hands. Roll the dough out to a 10" x 16" rectangle.
- Smear the softened butter all over the dough. Starting at the short end of the rectangle, use your fingers to roll the dough, jelly-roll style, into a log. Lift the dough from the surface and form into a ball. Place back into the bowl, cover with plastic wrap, and place in the refrigerator for 45 to 50 minutes.
MAKE THE SAUCE
- In a medium-sized bowl, whisk together the tomato paste, ground (or crushed) tomatoes, oregano, salt, and oil until completely mixed. Use your hands to crush the whole tomatoes into the bowl. Stir again until all is incorporated. Set aside.
ASSEMBLE THE PIZZA
- Preheat oven to 475°F.
- Remove the dough from the refrigerator and transfer it to a lightly floured surface. If using a 12-inch pan, use a rolling pin to roll the dough out to an 18 to 20-inch diameter. If using 2 9-inch pans, divide the dough in half, and roll them out to 15 to 16 inches in diameter.
- Fold the dough in half to create a semi-circle. Then fold it again, into a quarter-circle.
- Lightly oil the pizza pans and then gently transfer the dough to the pan. Unfold the pizza and use your hands to press the dough into the sides of the pan. Use a knife, or kitchen shears, to clip away excess dough that's hanging over the edge of the pan.
- Add the mozzarella over the dough, and then pinch off pieces of the sausage and cover the cheese. Spread the sauce over the top, and then sprinkle on the Parmesan cheese.
- Bake for 28 minutes, loosely covering the pizza with foil once the dough is nicely browned, usually after about 15 minutes.
- Remove from oven and let rest for 10 minutes.
- Use a hot pat to hold the pan at an angle with one hand. With the other hand and a large spatula, carefully ease the pizza out of the pan onto a cutting board or pizza paddle. Use a serrated knife to slice the pizza. Serve at once!
Notes
Nutrition
POST UPDATE: This recipe was originally published in April 2014, but was updated with improved tweaks to the recipes, with new tips, photography, and a fabulous new video in March 2020!
The crust for this recipe was adapted from Cook’s Illustrated.





Denise W says
Have made this recipe several times and it is AMAZING !!
Thank you for sharing !!
Kris Longwell says
Woo Hoo!! Denise!! We LOVE that you have been making our Chicago-Style Pizza and having such great success with it! Isn’t it the bomb???? Thank YOU so much for sharing and for the GREAT review! That means so much to us! Please stay in touch! All the best, Kris & Wesley
Rene says
Making it for the third time now! It could change your pizza at home life. Really fun video too.
The only question to ask yourself before making this is, will it also make you dance?
Kris Longwell says
Sorry for the delayed response here, Rene. You have no idea how big our smiles are right now reading your comment. We flip for this pizza, too, and we are overjoyed that you love it, too!! And YES!! It will make you DANCE for joy!!!! Thanks so much for letting us know and for the awesome review!!! Means the world to us!!! Stay in touch!! xoxoxo Kris & Wesley
Leo says
Cornmeal for Deep Dish pizza really???
Kris Longwell says
Works for us!!
FELICIA ANDERSON says
I don’t care about the recipes I just LOVE you two big kids. I would love just to be in the midst of you. SOOOOO! much fun. Keep the laughter coming. My favorite recipe is the deep dish pizza. LOVE YOU BOTH!!!!
Kris Longwell says
Felicia!!! You make our hearts swell with big ole happy smiles!!! Thank you so so so much!! We send lots and lots of love back to you, too!! That deep dish pizza is awesome!! Stay tuned…lots more on the way! And stay in touch!! xoxoxo Kris & Wesley
Susie says
This is a fabulous recipe. I made it last night and followed all of your tips. The crust did brown quite a bit even though I covered it with tin foil. No matter, it was still divine. I sliced onions, peppers and mushrooms and layered them in as well, so it was a complete meal. We enjoyed it again for lunch today and was just as tasty! Your recipes are all excellent! Thank you for what you do!!
Kris Longwell says
Awesome, Susie!! Onions, peppers, and mushrooms are PERFECT additions! Thank you so so much for letting us know and thanks for the great support! Stay in touch and stay tuned…lots more on the way! Best, Kris & Wesley