

This homemade frozen treat is honestly as delicious as it sounds
It just doesn’t get much better than homemade ice cream. We all have those childhood memories of waiting for the ice cream to be finished and frozen and ready to eat. We love fruit-flavored ice cream, such as our Strawberry Ice Cream. And just wait until you try this variety. Amazing.
How To Make Homemade Blueberry Ice Cream
This ice cream is not hard to make, but you do need to give yourself some time for chilling and freezing.
In fact, the custard can be made up to 24 hours in advance.
NOTE: If you liked this video, please subscribe to our YouTube channel. Remember to click the ‘bell’ icon so you’ll never miss a new video. Thank you!
The Ingredients You Will Need
There are really just a handful of ingredients you’ll need to bring this ice cream together. Here’s what you’ll need:
Blueberries – 3 pints, which equals 6 cups
Lemon juice – From one juicy lemon, or two tablespoons
Condensed milk – Sweetened, from a 14 oz. can
Egg yolks + a whole egg – 8 of them! Save the whites to make meringue
Whole milk – Whole milk is strongly recommended
Heavy cream – You’re going to need 1 quart
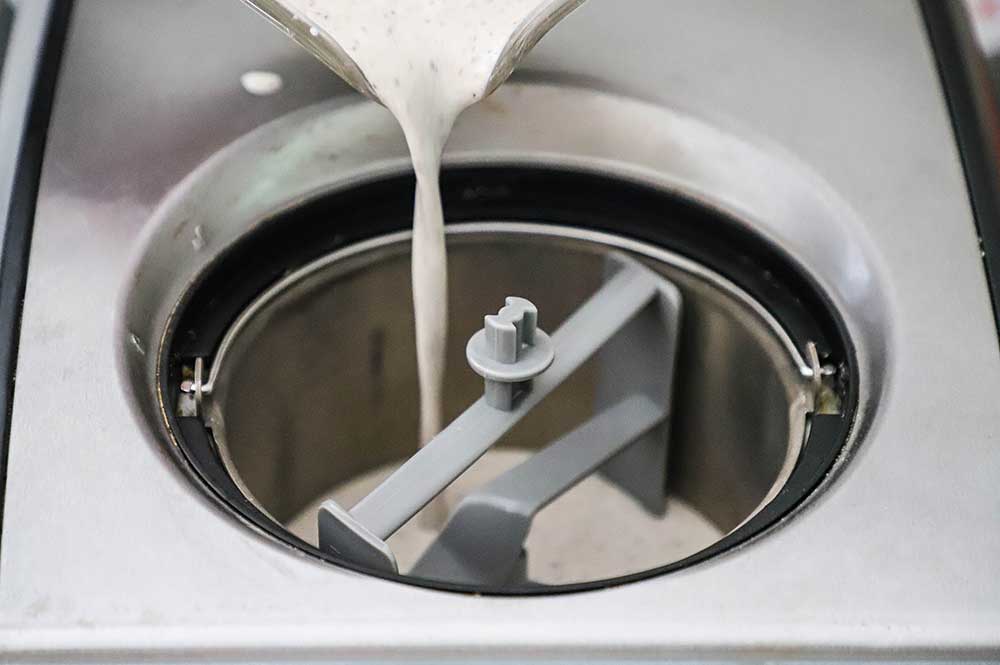
The ice cream maker we use in the video is a 1.5 quart Cuisinart Automatic Freezer that requires no pre-freezing. It seems as though they have discontinued this model. They now offer a 2-quart version.
Here is a link to the ice cream containers that we used to freeze the ice cream.
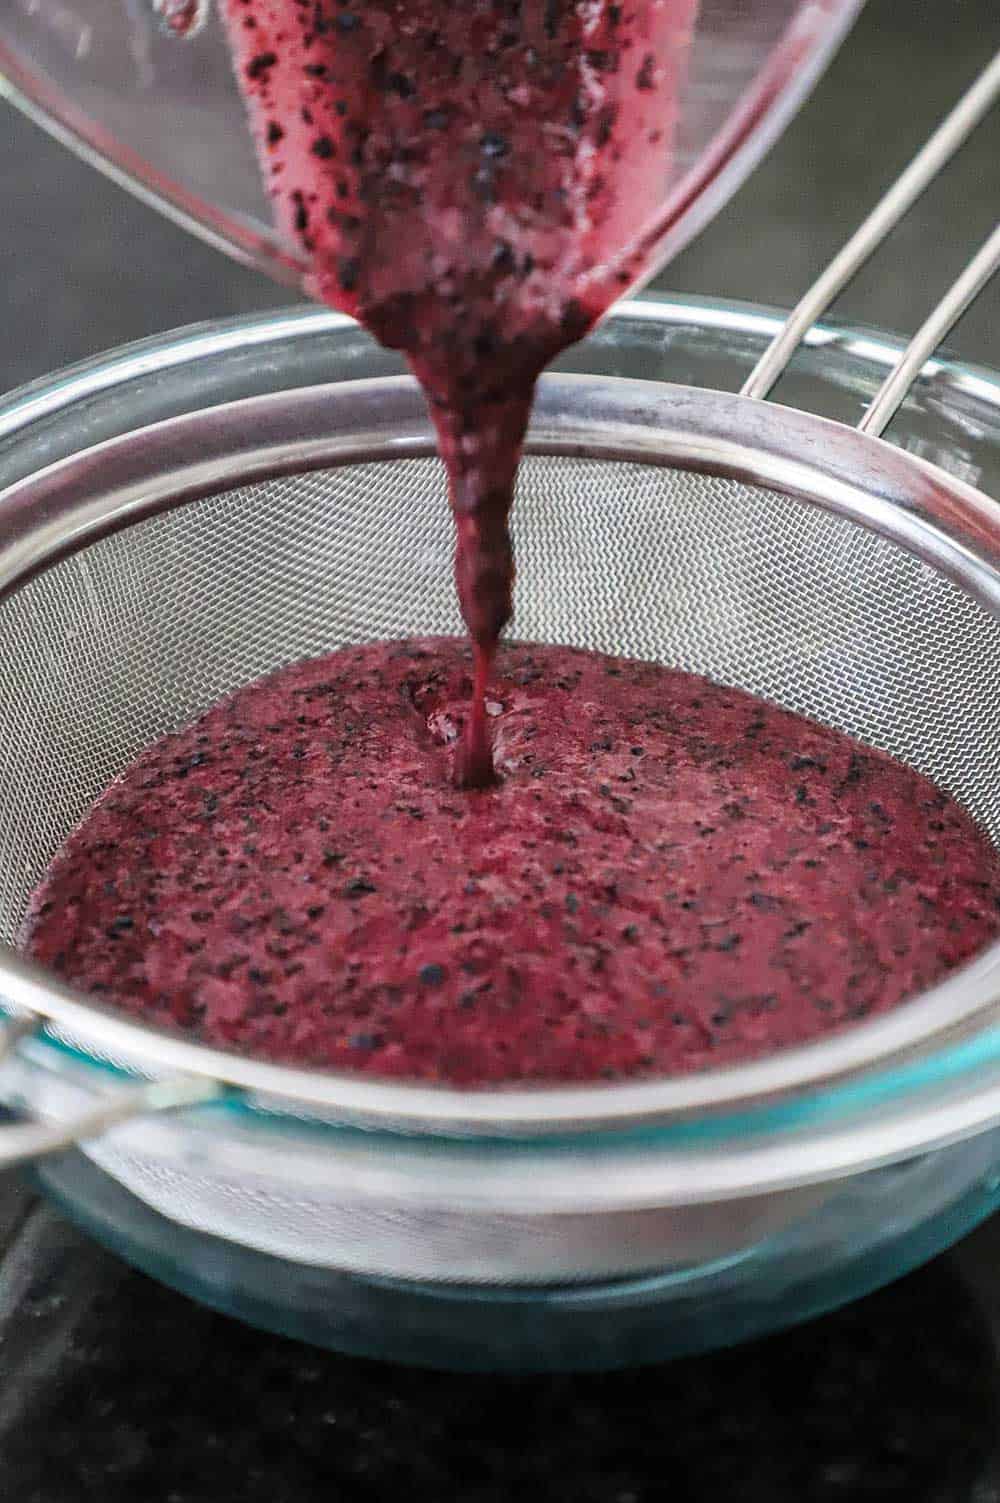
EXPERT TIP: We recommend puréeing 2 pints (4 cups) of the fresh blueberries in your blender and then straining through a colander or fine-mesh sieve to get rid of the skins. Use a wooden spoon to help put this blueberry juice through the sieve into a bowl
Tips for Making Ice Cream
Temper the Eggs – This simply means gently cooking the egg mixture without scrambling them. This is a crucial step for making smooth ice cream, but it also will kill any lingering bacteria that may be hanging out in the raw egg yolks.
Cool the Custard – After you’ve tempered and gently simmered the custard, you’ll be tempted to add it directly to your ice cream maker. Place the custard in a bowl over an ice bath and then let cool in the fridge. If you don’t do this, it will take the ice cream a long time to thicken and won’t deliver the dense, luxurious texture that we all love.
Thawing – If the ice cream has completely frozen (from being in the freezer all night), it will be very hard and difficult to eat. Let it sit out for about 20 minutes before serving.
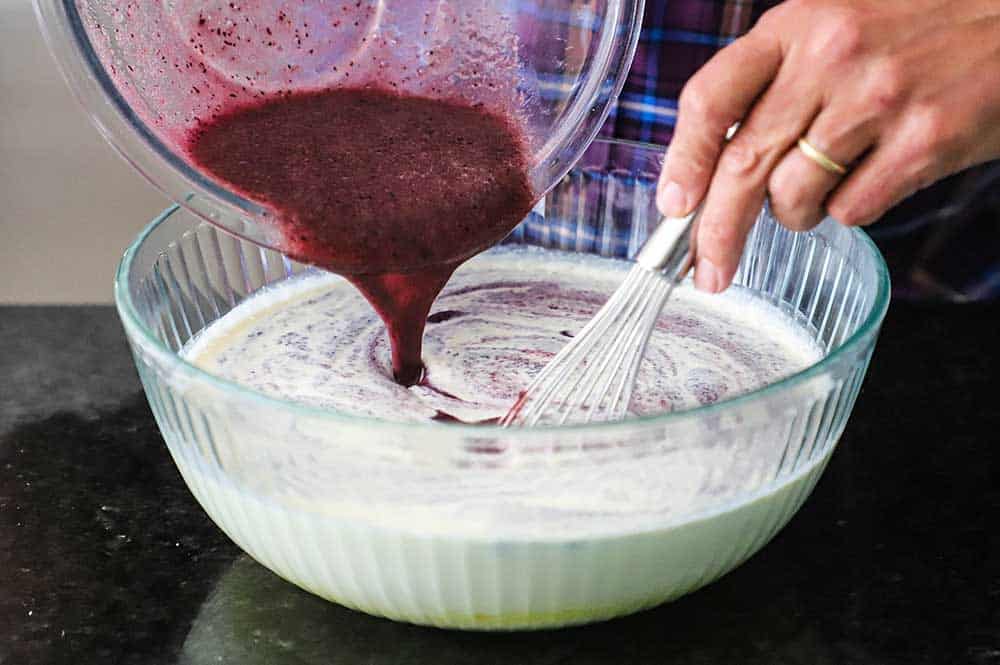
EXPERT TIP: When whisking the custard, including adding in the blueberries, try not to over-whisk. The more you whisk, the more air bubbles will form in the custard, resulting in less dense and creamy ice cream.
How To Serve
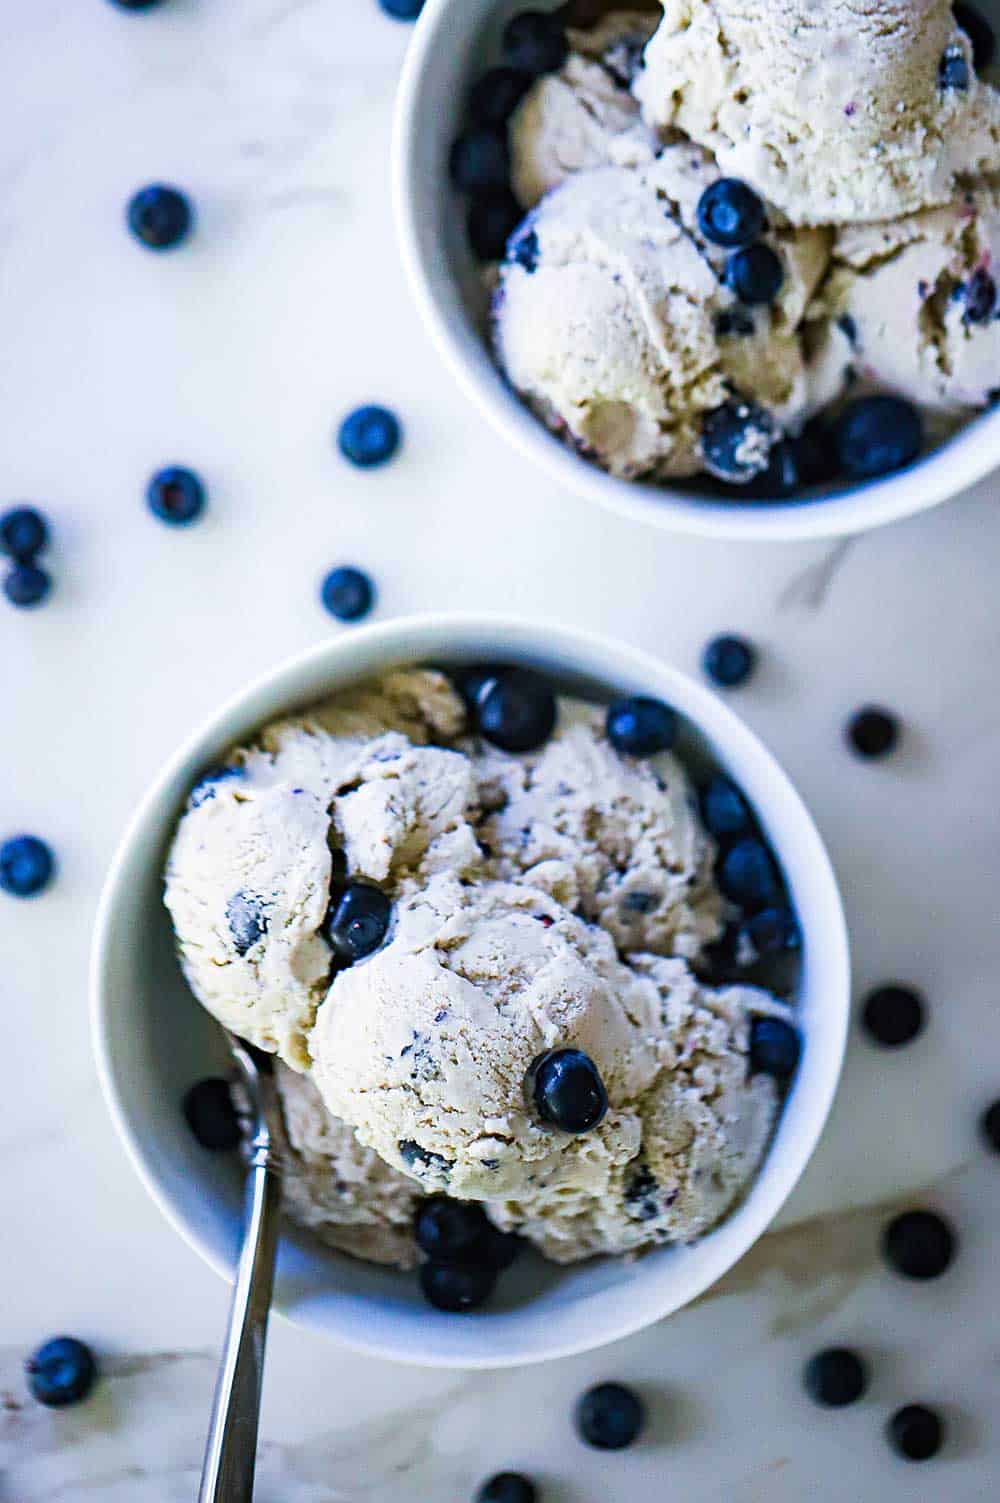
This ice cream is actually 100% perfection served all by itself.
However, if you want to really impress your guests, spoon some softened homemade blueberry ice cream between two homemade oatmeal cookies and freeze.
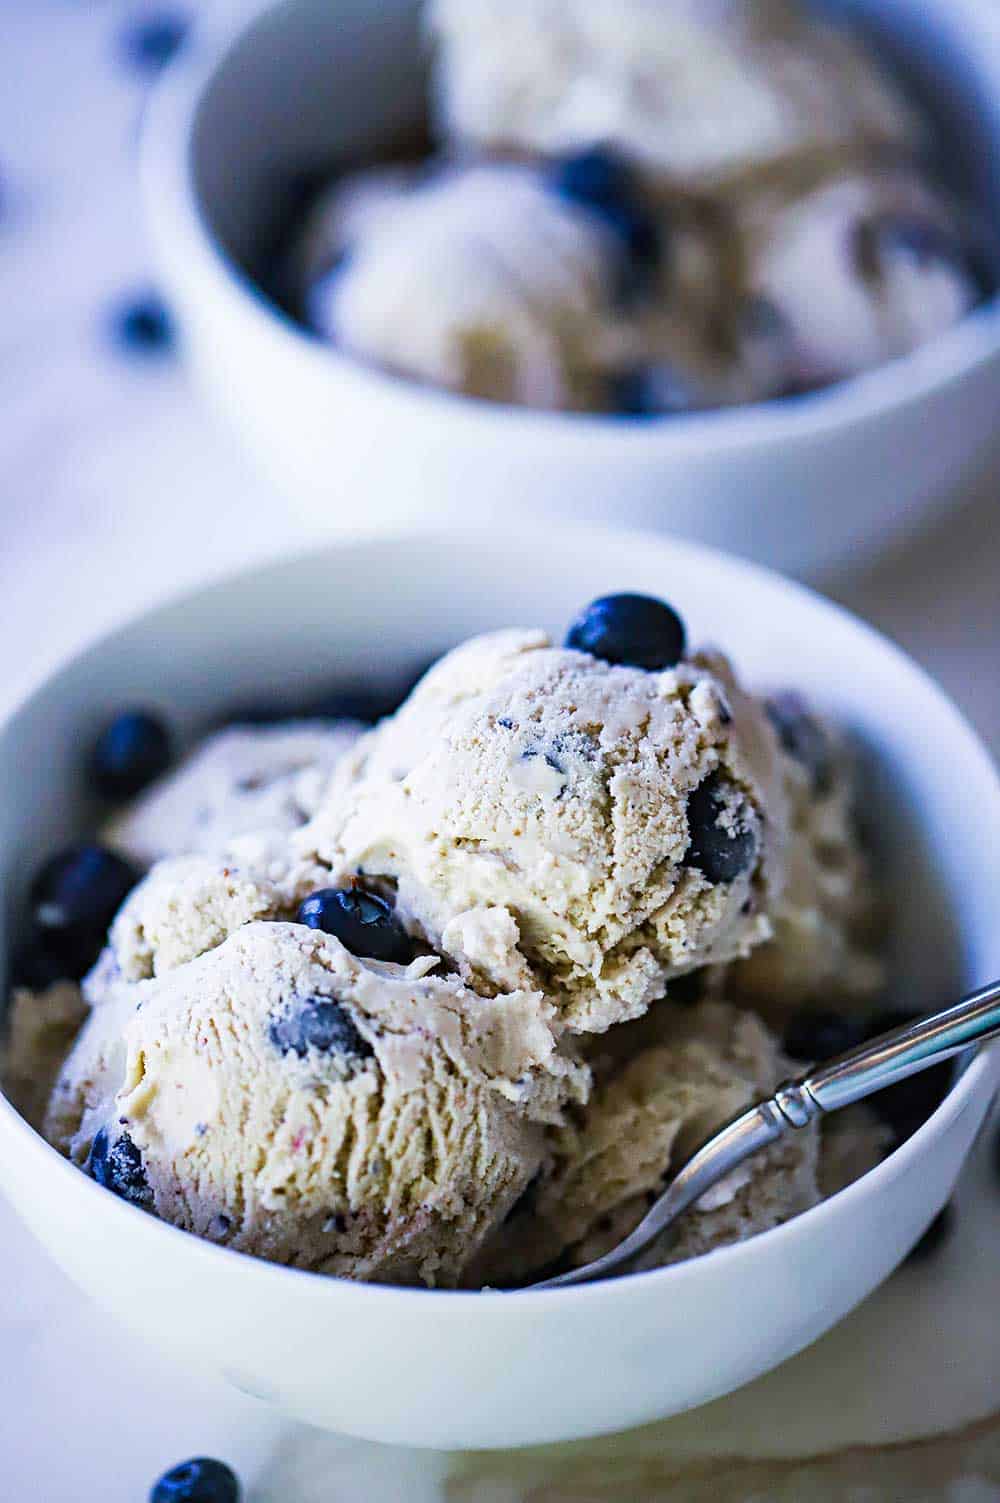
The addition of fresh blueberries is the perfect topping for this glorious frozen sweet treat.
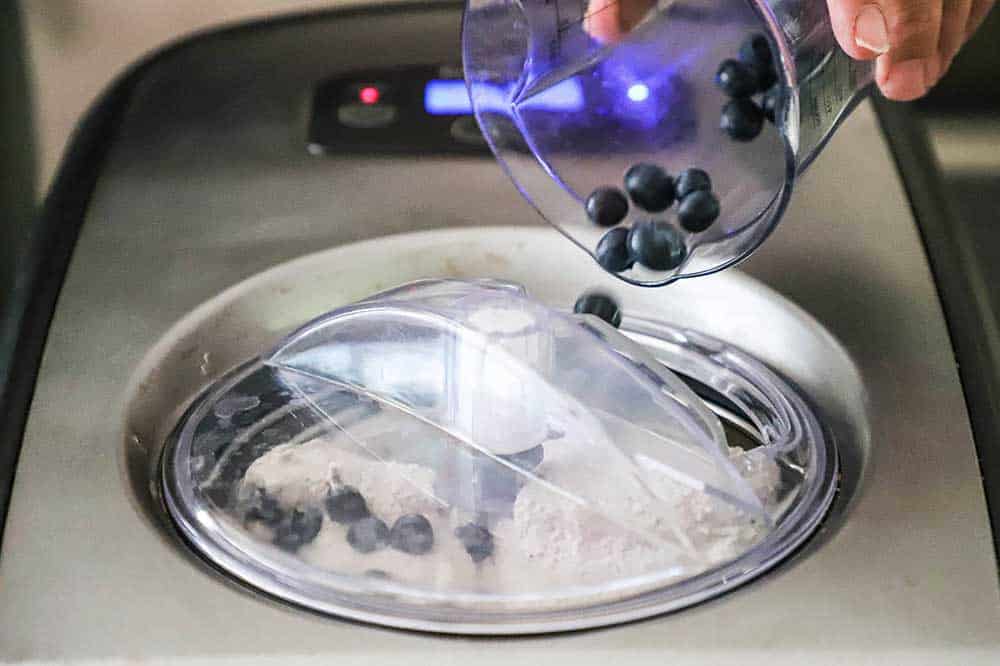
EXPERT TIP: About five minutes before the ice cream has become nice and thick (but not completely frozen) in your ice cream maker, add in about 1 pint (2 cups) of fresh blueberries directly into the machine.
More Homemade Ice Cream Recipes
There is so much to love about this ice cream, but here are some of our other favorite ice cream recipes for you to try:
S’Mores Ice Cream
Peanut Butter Cup Ice Cream Cake
Strawberry Ice Cream
Sweet Corn with Pistachio Ice Cream
Olive Oil Ice Cream with Balsamic Strawberries
But in the meantime, wait until you try this amazing blueberry ice cream.
This ice cream is perfect for a hot summer day, especially as a spectacular dessert for a fun-filled outdoor BBQ feast.
It will keep in the freezer for up to 2 weeks and is always a crowd favorite.
Make this ice cream and be prepared for lots and lots of praise. It’s really that delicious.
Ready to make the absolute best homemade ice cream in town? Go for it!
And when you do, be sure to take a photo of it, post it on Instagram, and tag @HowToFeedaLoon and hashtag #HowToFeedaLoon!
Homemade Blueberry Ice Cream
Equipment
Ingredients
- 1 14 oz. can sweetened condensed milk
- 8 egg yolks
- 1 whole egg
- 1 cup whole milk
- 1 quart heavy cream
- 3 pints blueberries fresh, rinsed and dried
- 2 tbsp lemon juice fresh
Instructions
- In a large bowl, gently whisk together the egg yolks, whole egg, and sweetened condensed milk. Set aside.
- In a large skillet, add the milk and heavy cream over medium heat. Heat until just starting to shimmer and is warmed.
- Ladle about 2 cups of the hot cream mixture into the egg mixture, whisking constantly until fully combined. Do this gradually, continuously whisking. Slowly pour the egg mixture back into the pan with the hot cream, whisking constantly. Continue whisking and stirring for about 1 minute, until slightly thickened. Pour back into the bowl and place in an ice bath. Let cool completely.
- Meanwhile, pureé two pints (4 cups) of the blueberries in a blender. Save the other pint (2 cups) to add into the ice cream later.
- Strain the juice into a bowl, discarding the skins. Stir in the lemon juice.
- Once the custard mixture is cooled, stir in the puréed blueberries.
- Depending on the size of your ice cream maker, you may need to churn the ice cream in two batches. Process the ice cream until the mixture has thickened but not frozen. In the final 5 minutes of churning, add in the remaining 1 pint of fresh blueberries.
- Transfer the ice cream to a plastic container with a tight-fitting lid and freeze for at least up to 4 hours. If freezing for more than 4 hours, allow the ice cream to thaw for about 20 minutes before serving.
Notes
Nutrition
POST UPDATE: This recipe was originally published in August, 2014, but was updated with improved tweaks to the recipe with new tips and photography and a fabulous new video in July, 2022!

Thank you a lot for sharing the idea! Such treasure. Looking forward to your new awesome recipes. You’ve created an amazing blog.
Thank you so so much, Carol!!
I can’t wait to try these! I love your recipes and I LOVE blueberries a lot and soo going to make this icecream today
Hi Jenny! So sorry for the delayed response! We hope you got to try the blueberry ice cream recipe and had great success with it! Let us know! Best, Kris & Wesley
One of the best summertime ice creams of all time! So creamy and so delicious!